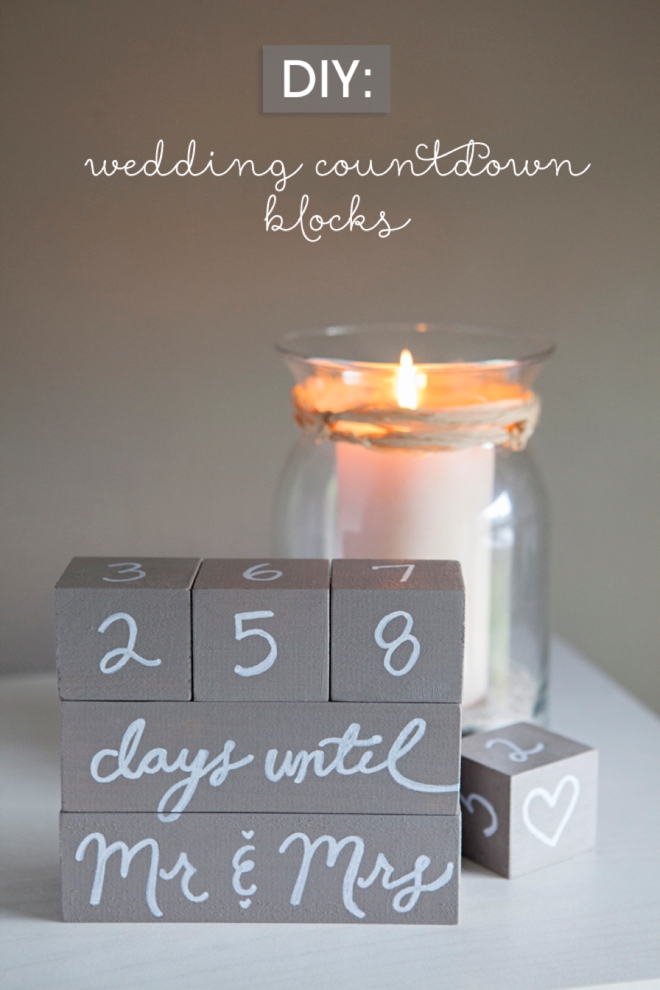
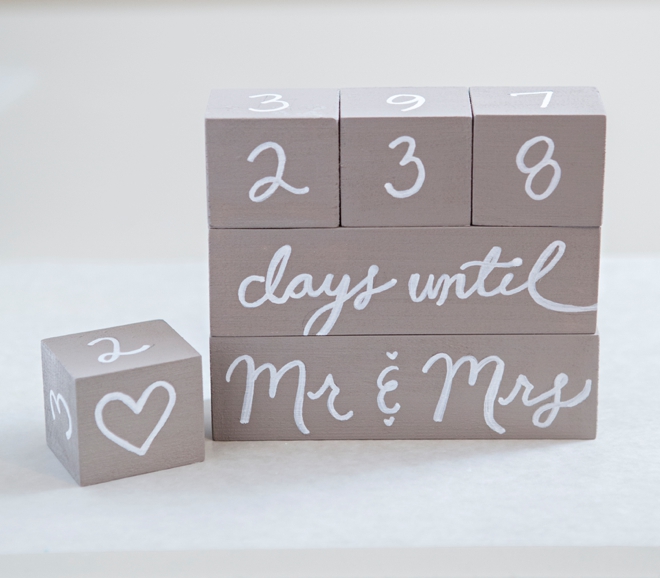
Dreaming, planning and preparing for your big day should be one of the most special times of your life. Trying on wedding dresses, tasting cakes, choosing colors, spending extra time with your girlfriends… it’s all just so much fun. I had the time of my life planning my own wedding, but through some aspects it was hard to enjoy the day-to-day tasks, the non-fun stuff like transportation, signing contracts, paying bills and making the seating chart. Recently I’ve noticed a few of these “wedding countdown” projects around the web and thought it would be the perfect way for our creative brides to take a few moments each day to reflect and enjoy their planning process. So I’m sharing detailed steps (+ number key!) of how to make your own using either a Sharpie paint pen or stickers. Your actual wedding day will go by in a flash, so do everything you can to enjoy the entire process!
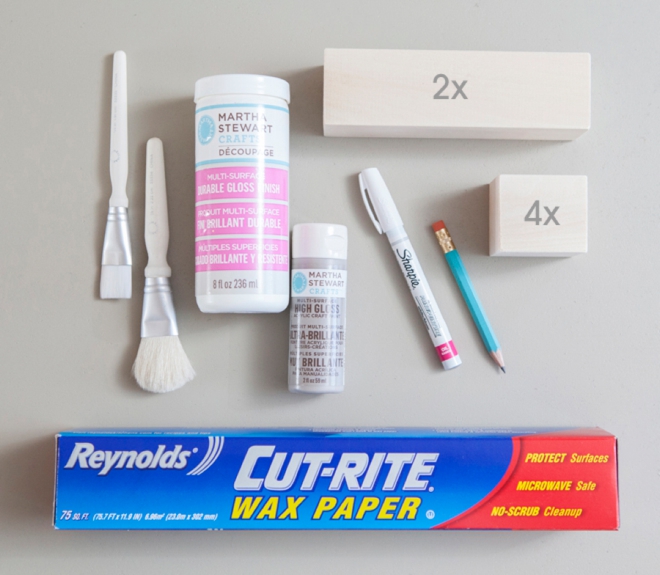
SUPPLIES:
- Wood Blocks (2x – 5.25″ x 1.75″ x 1.75″ — 4x – 1.75″ x 1.75″ x 1.75″)
- Martha Stewart Crafts Paint in your favorite color (pictured: Gray Wolf + Caribbean Blue)
- Sharpie Paint Pen -or- Stickers
- Paint brushes
- Pencil
- Waxed paper
To find these supplies visit the “credits” at the bottom of the post.
The Wood Blocks
First let’s talk about the wood blocks. You can use ANY size wood blocks that you’d like, but the sizes I used here are below. For the turquoise set, my rectangle blocks were a little longer than 5.25″, around 5.75″. So again, use any size you want or you can cut down from what wood you might have laying around. I purchased two 10″ x 1.75″ x 1.75″ wood blocks off Amazon (linked below) and cut them down to the right sizes myself using a chop saw.
2x — 5.25″ x 1.75″ x 1.75″
4x — 1.75″ x 1.75″ x 1.75″
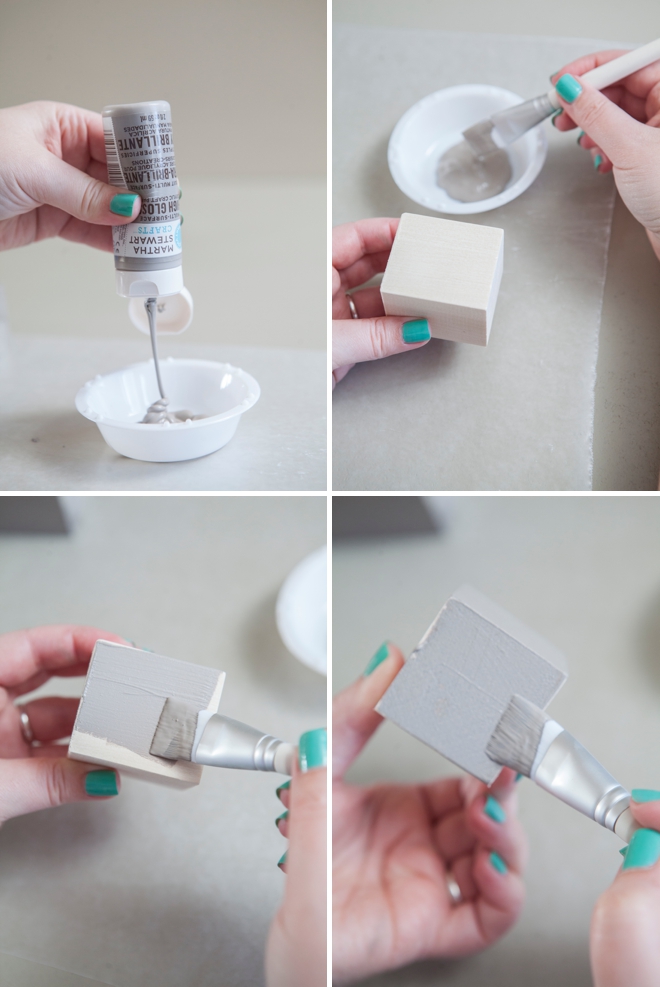
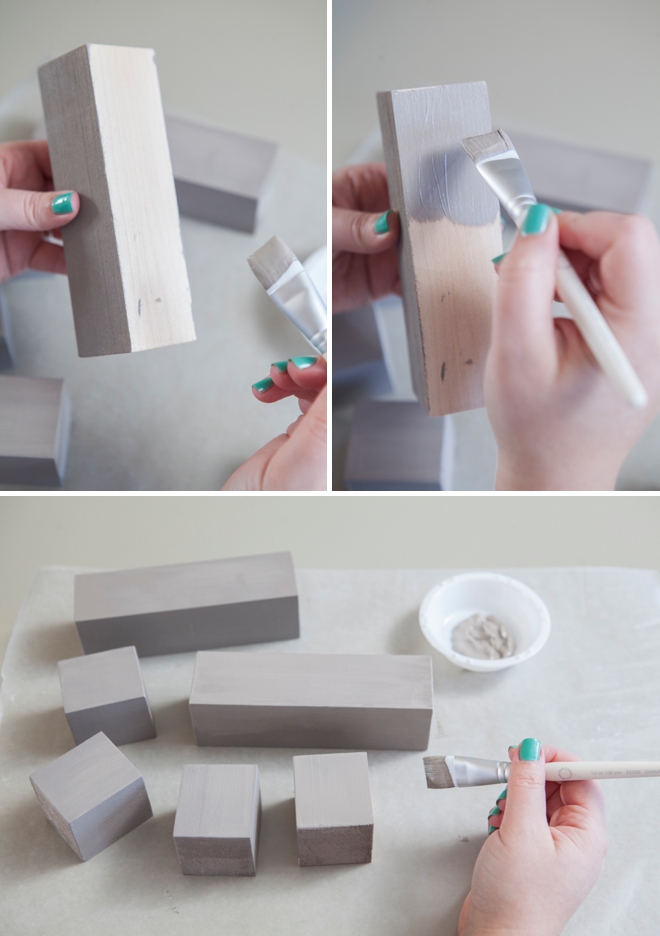
After you’ve cut and sanded your blocks, it’s time to paint! Protect your work surface with a piece of waxed paper. Paint only a few sides at one time so that you can lay the blocks down to dry without ruining the paint. Allow at least an hour of dry time in between each coat. I did two full coats of each color of paint.
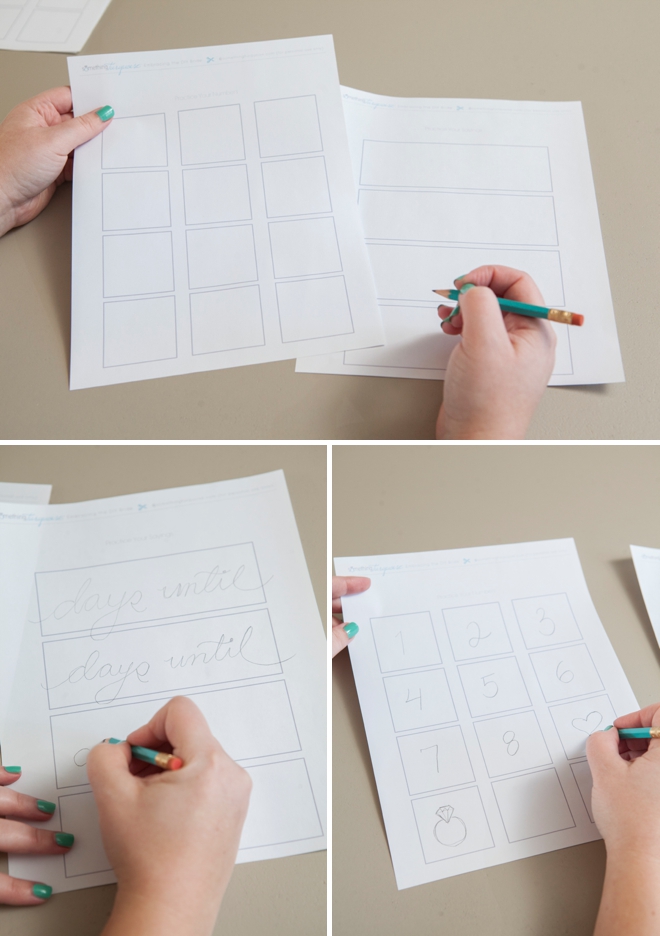
I’ve provided two templates below that you can download and print to “test” your handwriting and design before you actually paint on your blocks.
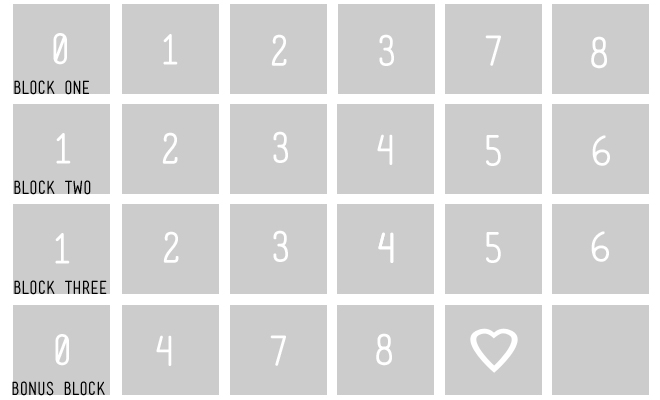
Block Number Key
So you might have realized that each block only has 6 sides and we need 10 numbers. So to make it easier to countdown, you’ll need to make a 4th block with extra numbers. Here I’ve created a key that you can follow as to what blocks need what numbers. Note: the 6’s double as 9’s so keep that in mind when choosing your font.
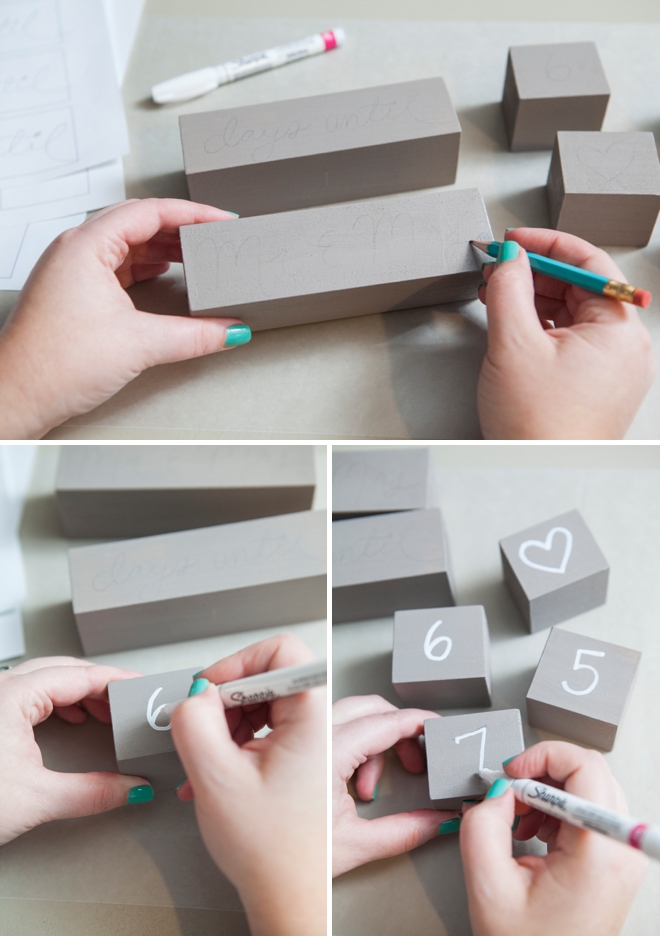
Sharpie Paint Pens
Using a pencil draw your design onto each block and then trace with your paint pen. Depending on the color of paint pen you choose combined with the wood block color, you might have to go over the lines a few times.
There are many different sayings that you can create for this block-duo!
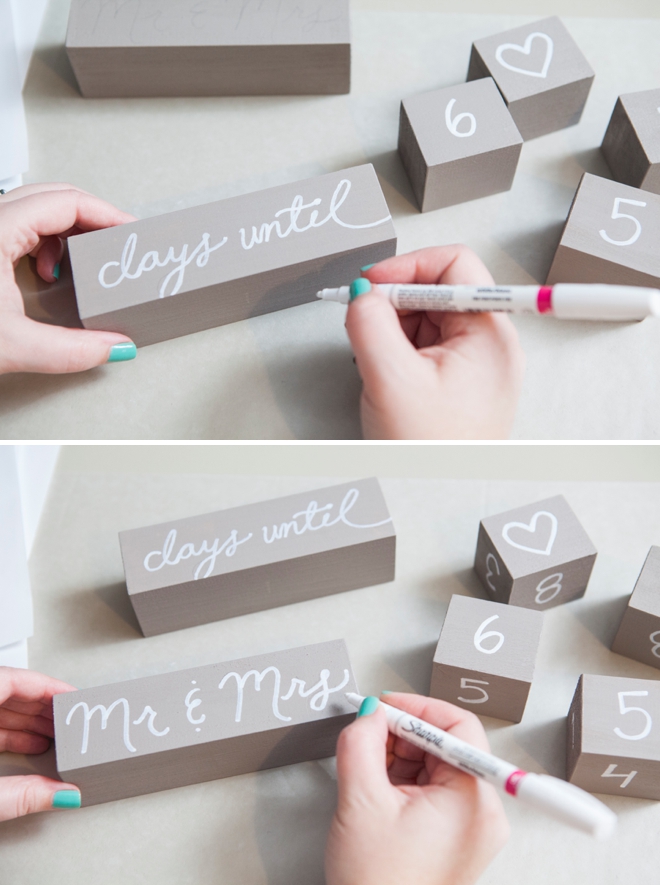
This project can easily be created in a weekend. Make for yourself or for a friend who just got engaged… if you are a bride, you could even pass this on after you’ve said “I Do”, to a friend getting ready to take the plunge!
Stickers
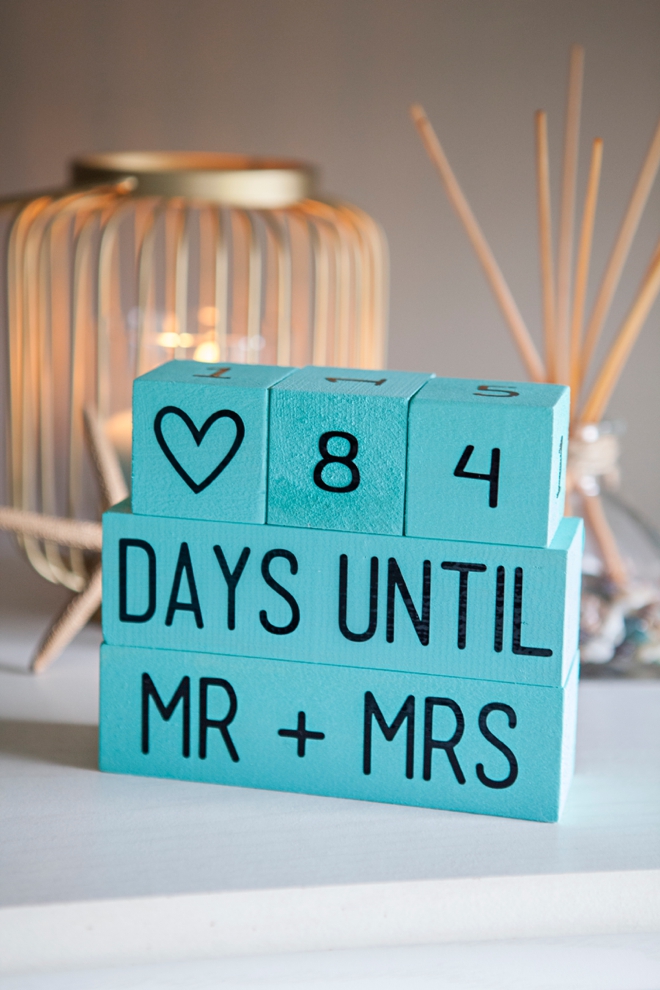
So let’s say you aren’t a fan of your own handwriting, no big deal — use stickers instead! I couldn’t find a sticker font I liked at my local craft store so I cut these out using black vinyl and my Cricut Explore. Note: make sure the stickers you choose are thin, the puffy or 3D stickers will not allow your blocks to sit flat and could make them look weird. Font used: Mensch.
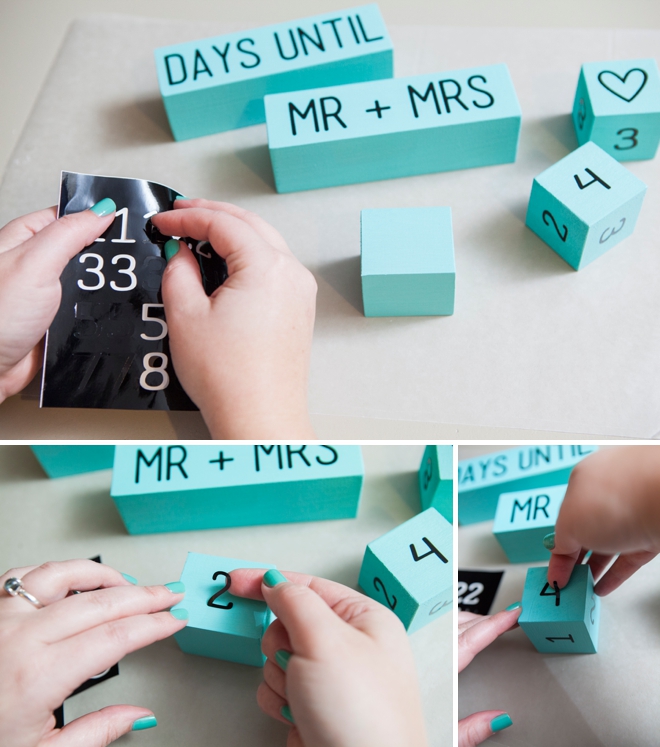
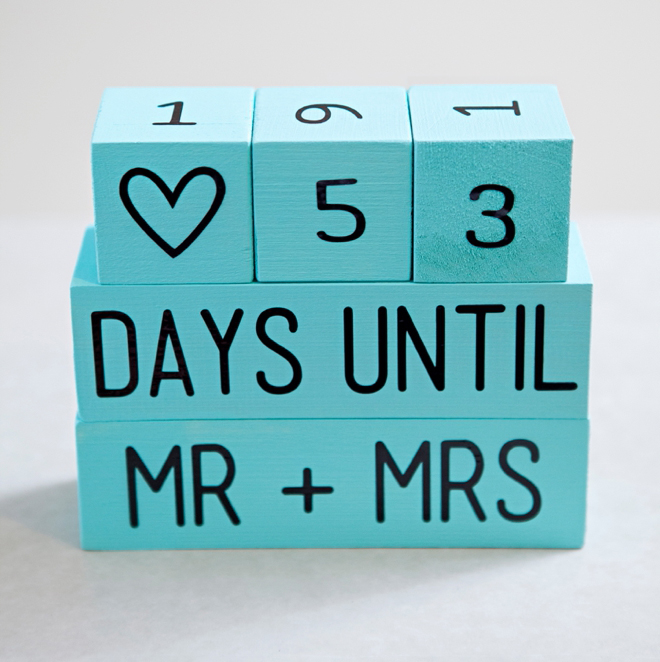
Adorable right? For this version, the wood blocks are a slightly different size just showing again that you really can use ANY size wood that you want!
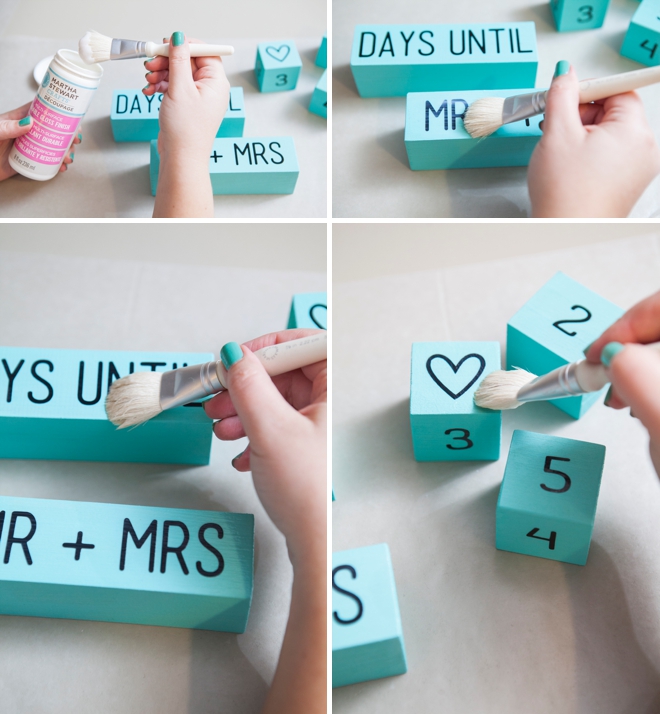
Optional: although this step is optional, I highly recommend it. Stickers + Wood = not the best seal. Seal your stickers to the wood using your favorite decoupage glue. Two coats, with at least an hour of dry time in between each means your stickers will be stuck to that wood for good!
This little countdown ceremony will surely add to the enjoyment of your wedding planning!
As with all our DIY tutorials, if you create one of our projects please send us a picture – We Love Seeing Your Creativity! If you use Instagram or Twitter please use the hashtag #SomethingTurquoiseDIY and it will show up on our Get Social page. Happy Crafting!
DIY Tutorial Credits
Photography: Something Turquoise Photography for SomethingTurquoise.com // DIY tutorial and free downloads: Jen | Something Turquoise // Martha Stewart Crafts; paint in Gray Wolf and Caribbean Blue, Gloss decoupage glue and brushes: courtesy of Martha Stewart // 10″ x 1.75″ x 1.75″ carving wood block: Amazon // Medium White Sharpie Paint Pen: Amazon // Font used: Mensch // nail polish: OPI – Withstands the Test of Thyme
Shop The Supplies
Find the supplies you’ll need for this project from our affiliate links below:



Comments