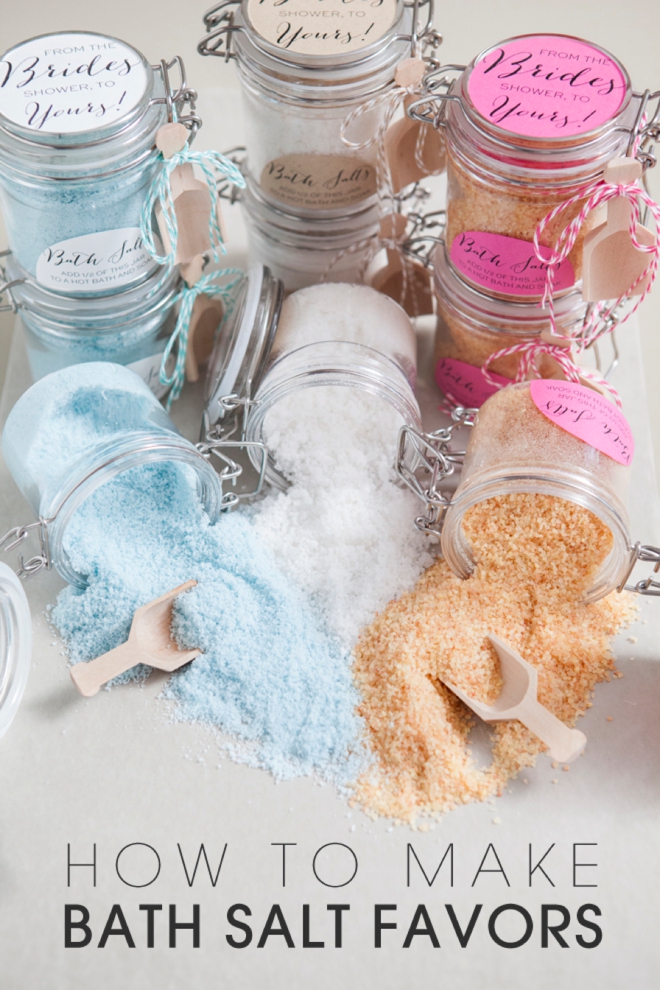
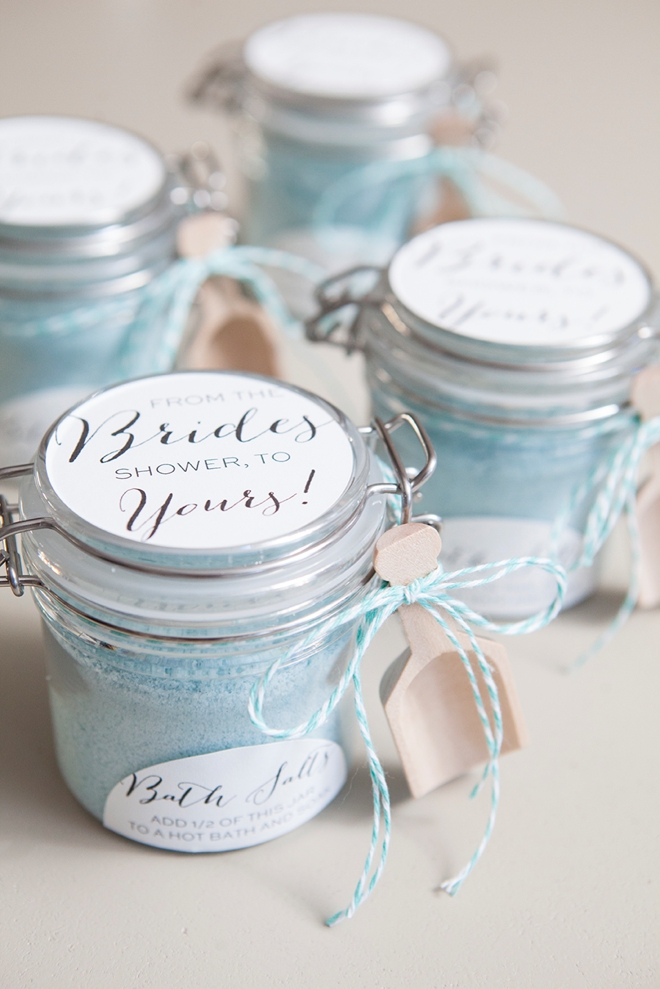
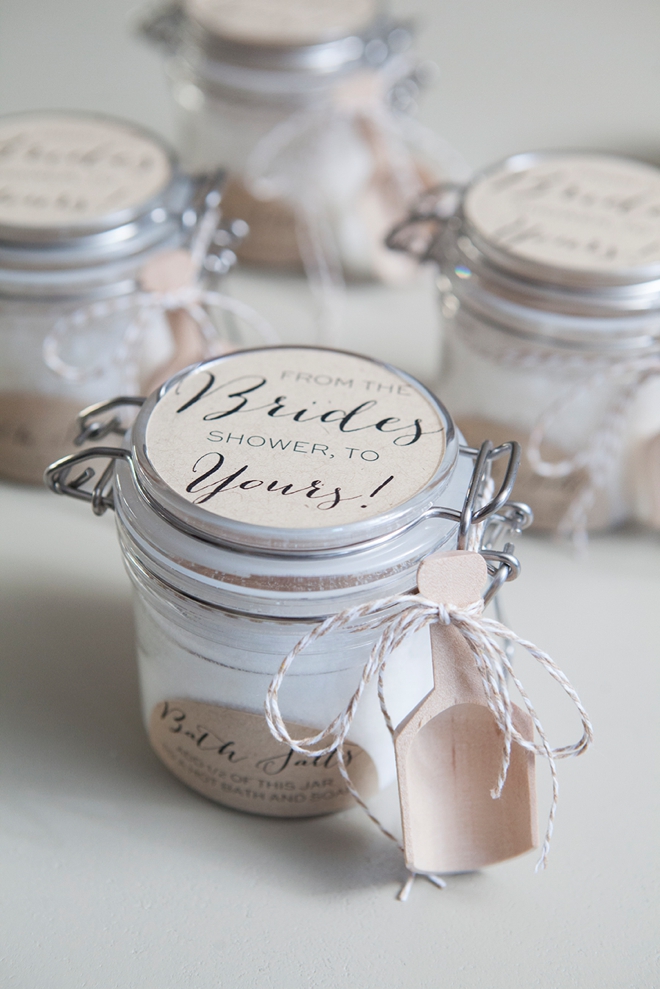
I’m addicted to beauty DIY; like my lip balms, bath bombs, soap and nail polish projects… so I figured “bath salts” would naturally be next. Except there’s something extra special about these bath salts, they are baked! Yes, baked. After adding multiple oils to salt (which makes them bath salts) the mixture can get clumpy, moist and sticky – baking eliminates that problem. Simply baking your special bath salt mixture for 15 minutes turns your blend into a beautifully smooth, dry and clump free texture. It looks so professional your friends won’t believe that you made it! I’m sharing a very basic recipe that you can customize yourself, or you can follow one of my 3 unique recipes that I created just for you! Just as the label reads, “From The Brides Shower, To Yours” these would make terrific bridal shower favors – but they would also make great:
- bridesmaid gifts
- vendor gifts
- bride gift – for her to soak in weekly to relieve planning stress!
SUPPLIES:
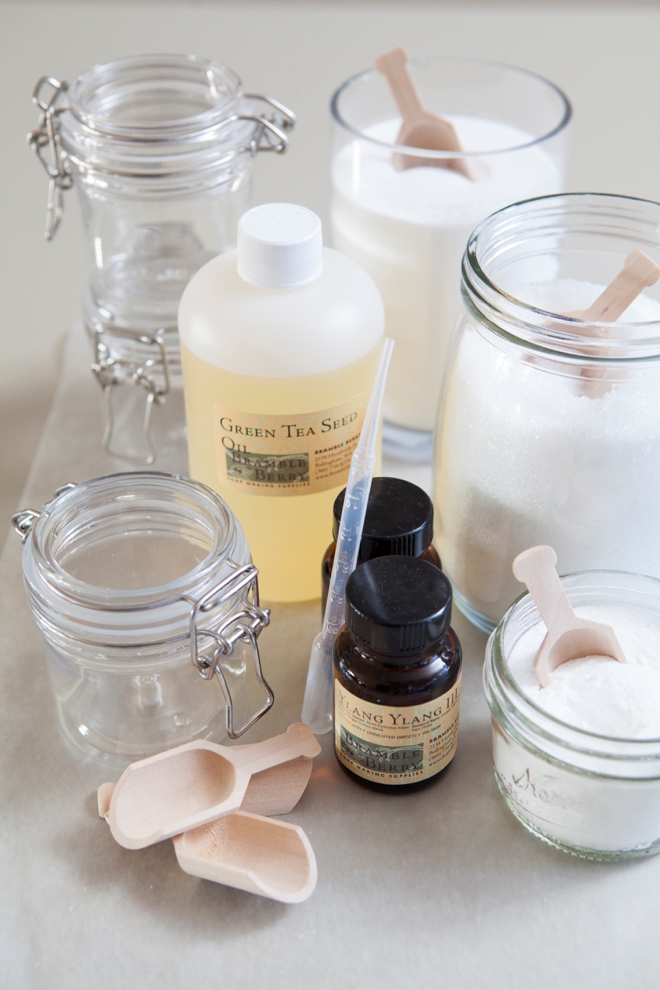
- Your choice of Salt (Pink Sea, Epsom, Dead Sea, Dendritic, etc.)
- Your choice of Liquid Oil (like Green Tea Seed, Sweet Almond, Avocado, Vitamin E, etc.)
- Your choice of Essential Oil (you can also use fragrance oils)
- Tall 8 oz. Plastic Bail Jars
- Baking Soda
- Pipettes
- LabColor (optional)
- 3″ wooden scoops
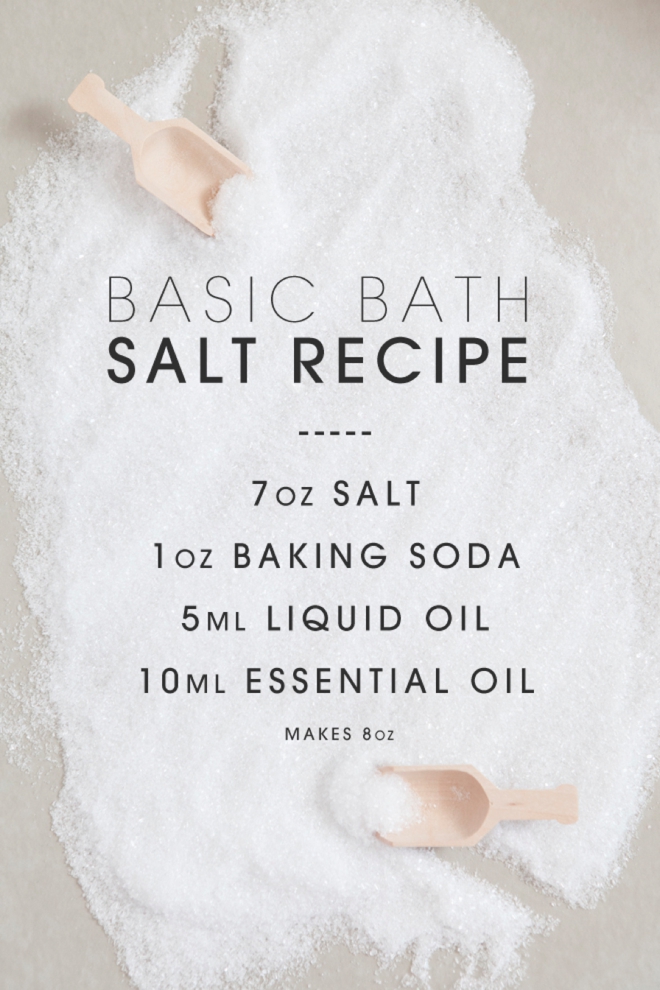
I’ve created a very simple “Basic Bath Salt Recipe” for you so that it’s easy to customize:
Salt + Baking Soda + Liquid Oil + Essential Oil
The amounts shown below make 1 – 8 oz. batch of bath salts, but of course you can make more at one time like I do here. You can use ANY salt that you’d like, pink sea salt, epsom salt, dead sea salt, etc. — the choice is yours. Soaking in salt has many different benefits for our bodies. The baking soda helps to soften skin and it holds oil well. The liquid oil is your choice, used to help moisturize your skin. And the essential oil again is your choice. Using essential oils will take your “bath salts” to the next level; calming, energizing and relaxing your mind, body and spirit. Use all one scent of essential oil or break the 10 ml. down and mix your own blend. Although, if you aren’t a fan of essential oils you can use fragrance oils at exactly the same ratio. Below I share 3 unique and wonderful recipes that I created just for you!
You will also need a few other things to tackle this project:
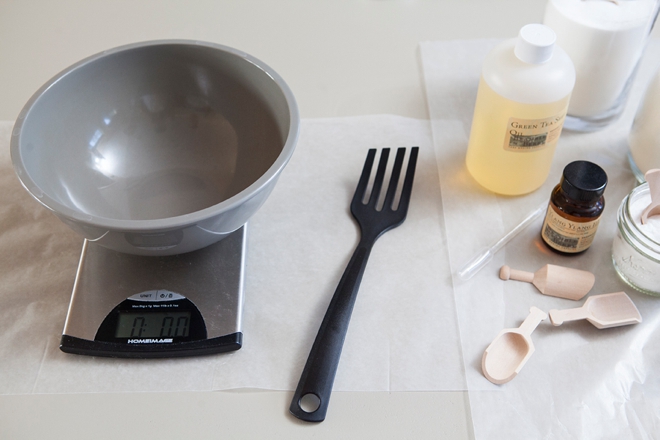
- a scale
- bowl
- spatula
- foil
- cookie sheet
- oven
- pot holder
- wax paper to protect your surface
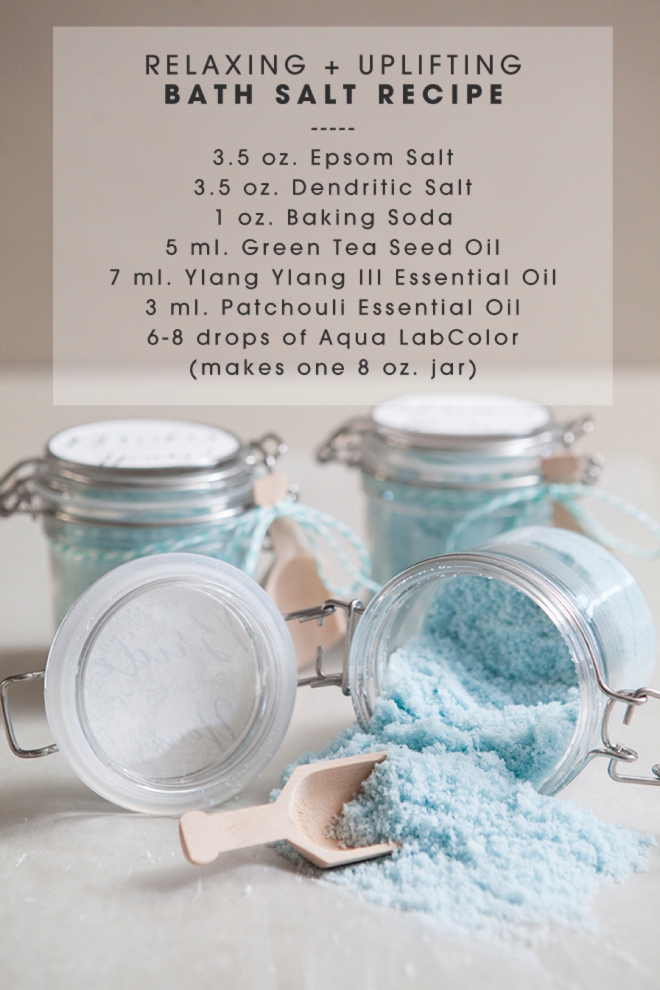
This Relaxing & Uplifting bath salts recipe is what I will be demonstrating for you today + how to color your bath salts! This scent combination is absolutely amazing.
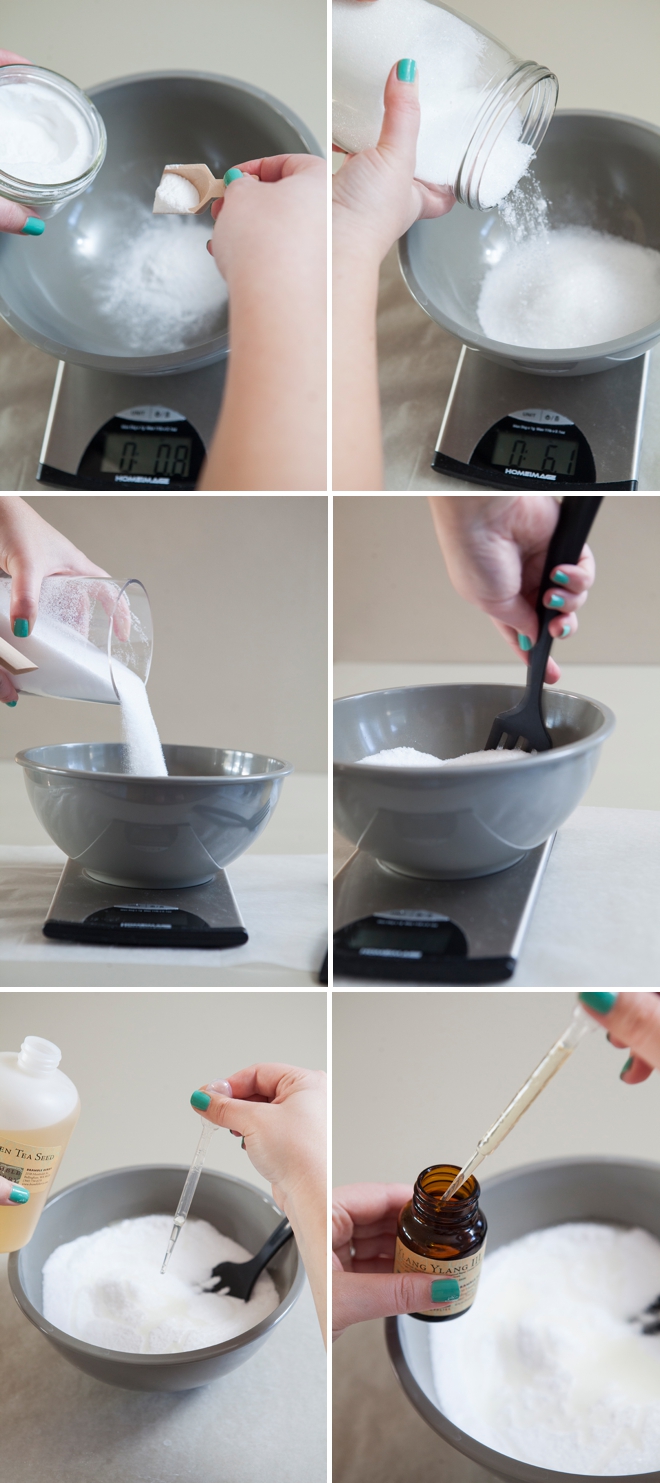
I’m making 4 – 8 oz. batches here at one time, in one bowl:
- With a bowl on a digital scale, add your baking soda (sift to remove clumps)
- Next add your salt, stir to combine
- Then add your liquid oil
- Last add your essential oil, stir to thoroughly combine the entire mixture.
This is the exact same process for all recipes, even the one you create for yourself! **If you aren’t coloring your salt, you can move onto the baking step.
How to Color Your Bath Salts
Coloring your bath salts is easy using LabColors from BrambleBerry.com — using a pipette add 5 – 10 drops of color per batch and stir thoroughly.
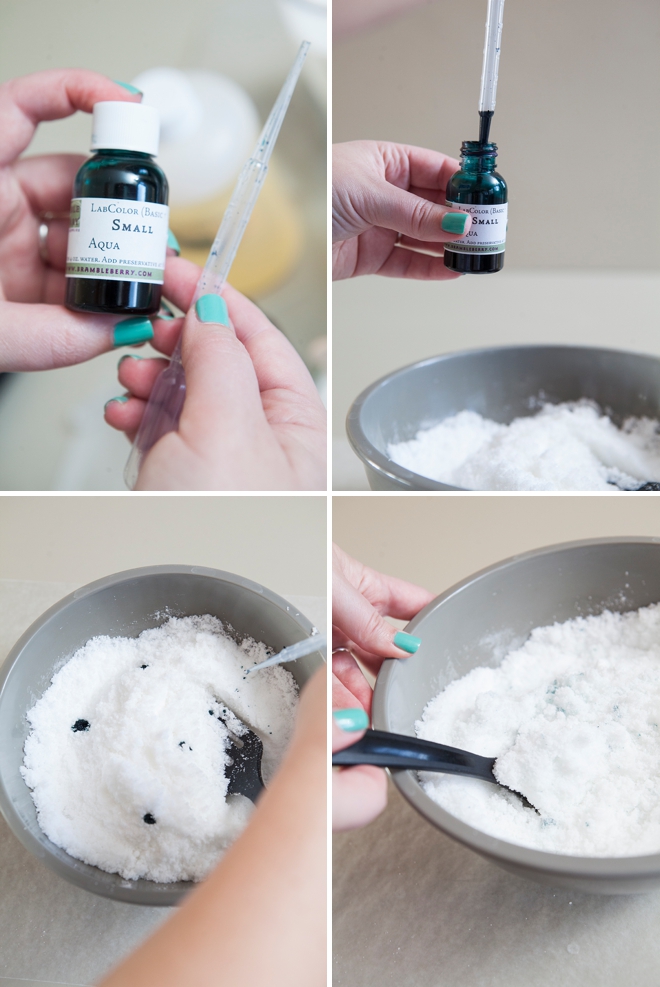
Make sure to thoroughly stir in the color, don’t leave any clumps behind. If the color isn’t dark enough for you, simply add more. The colorant you use will give a very tiny tint to your bath water (not enough to stain anything) — which is kinda fun!
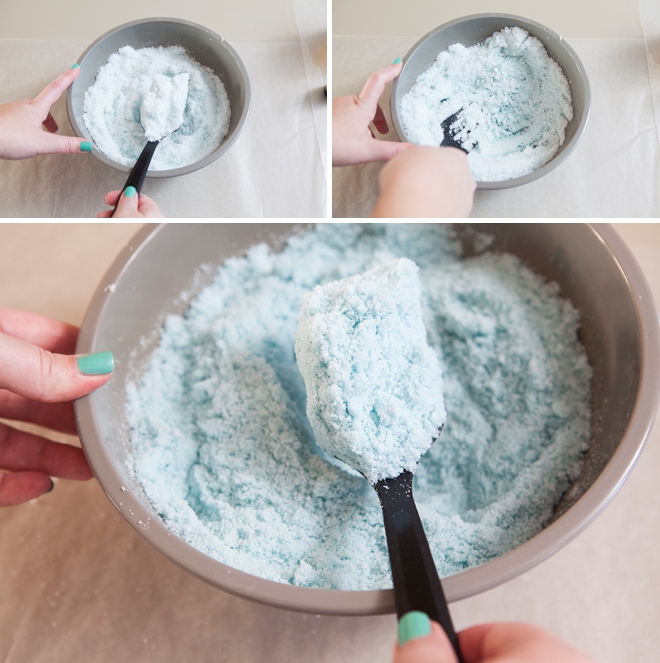
How to Bake Bath Salts:
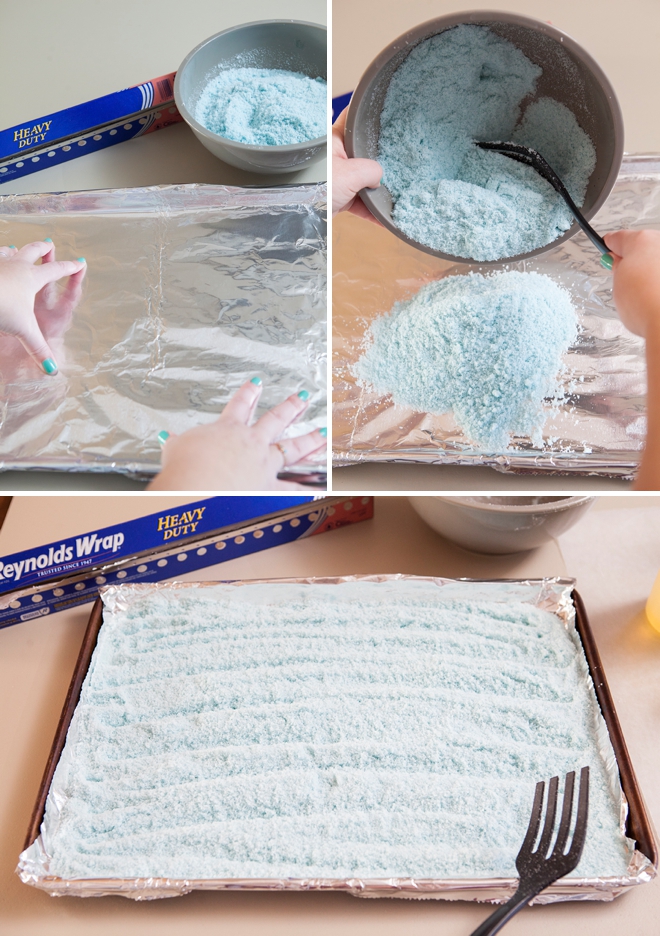
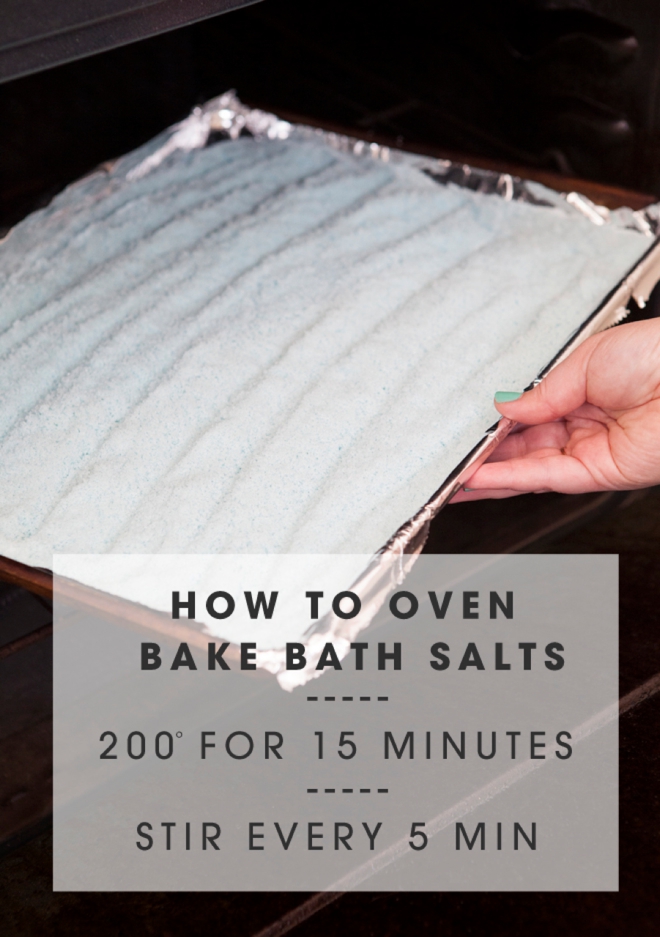
Cover a cookie sheet with heavy duty foil (so that when you stir the salt the foil won’t rip) and spread out your salt. Like the graphic says below; bake at 200* for 15 minutes, stirring every 5 minutes.
Yes, you can bake essential oils at this low of heat. Yes, you can bake the LabColor. Yes, you can bake the liquid oil. Yes, you can bake the salt.
Baking the mixture leaves you with a smooth, dry and clump free texture that is just beautiful. It looks and smells so professional your friends will be shocked that you made it!
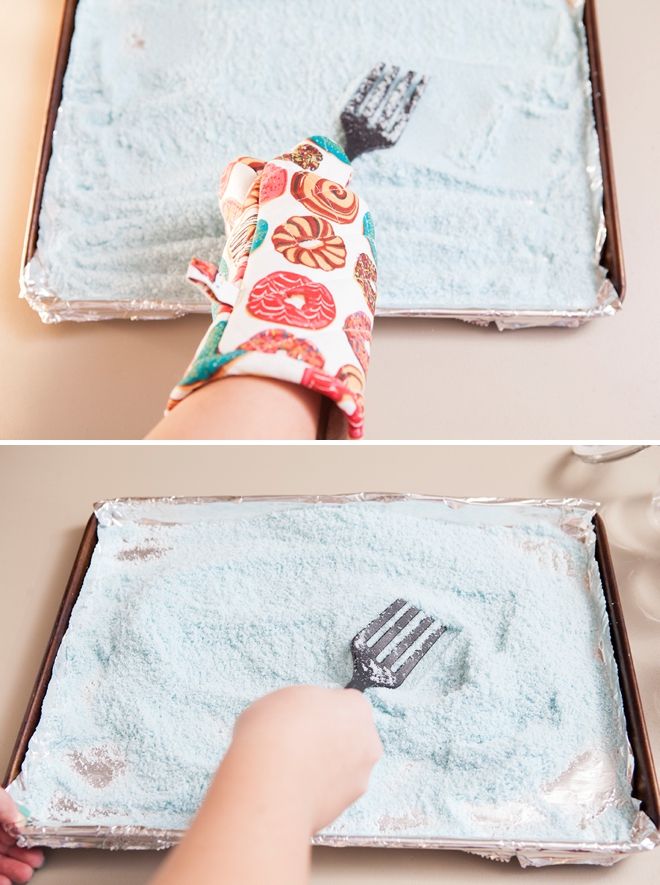
You must stir your batch every 5 minutes – don’t let it over heat as it can burn! Once you stir your batch the 2nd time you will really start to see how the salt dries out — it’s so much fun! The last image below is of me stirring the salt after I was done baking it and it had cooled down, hence no donut oven mitt.
Add your perfectly baked bath salts into their jars!
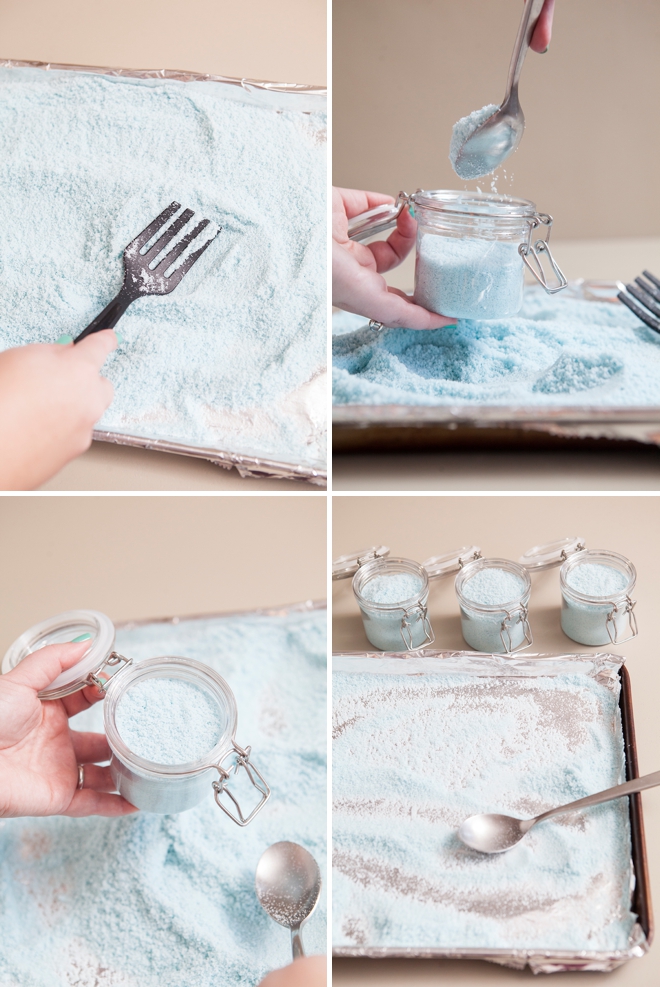
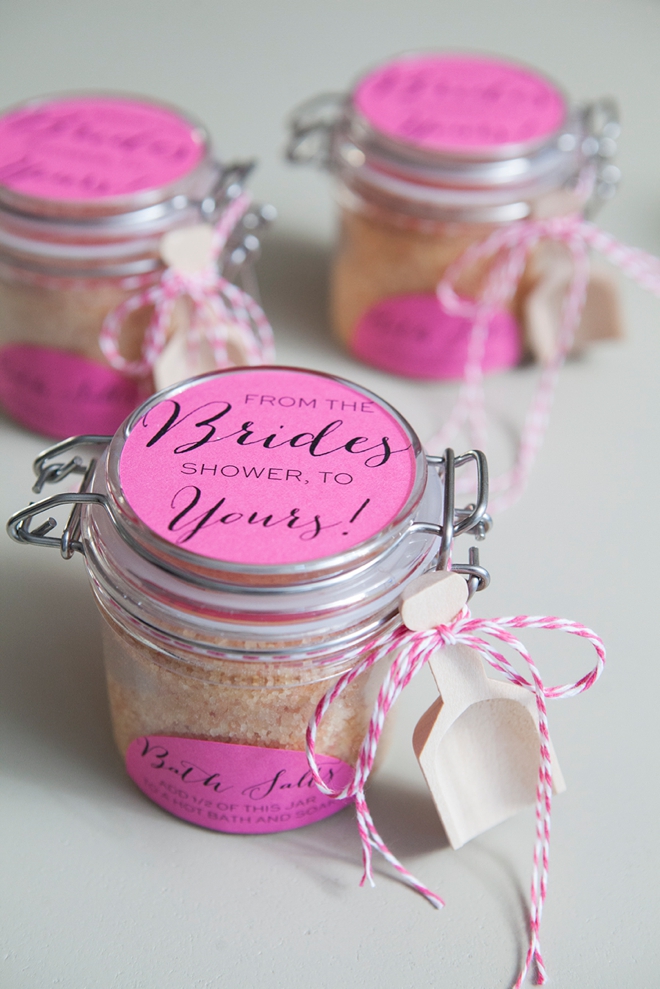
Add our cute labels below and a darling little scoop to complete your gift! These jars hold 8 ounces of bath salts, and you only need 4 ounces per bath — meaning there are two bath soaks in each jar.
At the bottom of the post I’m offering two free downloads: one for the top of the jar and one for the side of the jar! You will need 2.5″ round labels for both designs.
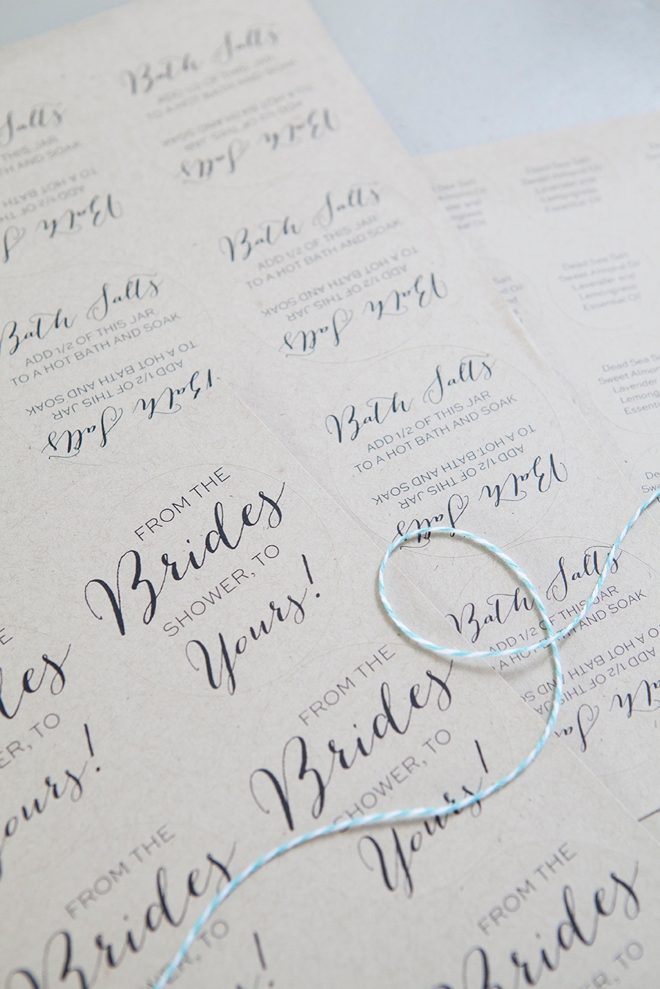
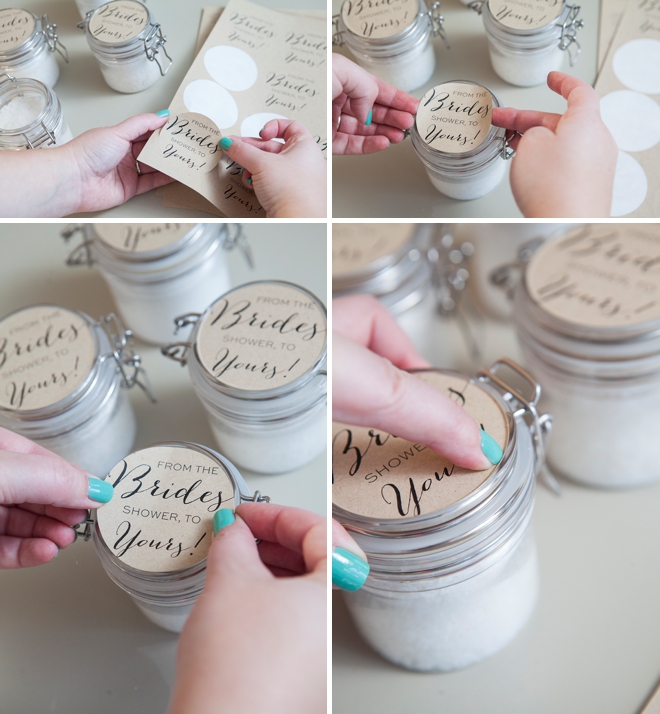
Download our labels below or design your own. Use your nail to press the label into the edge of the jar.
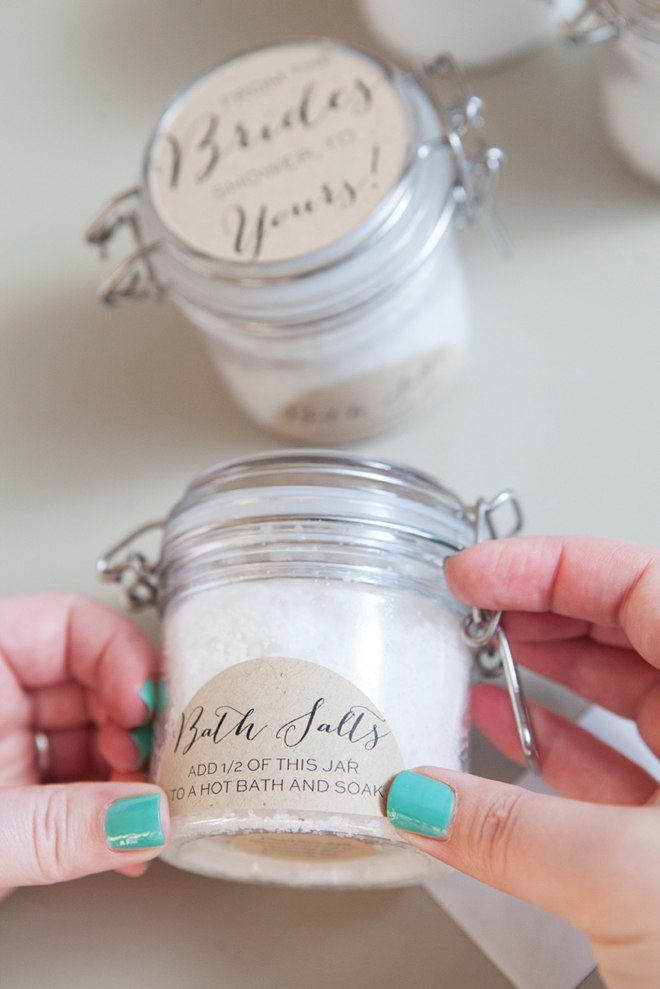
I made additional labels that can be added to the edge of these jars with the usage information: add half of this jar to a hot bath and soak!
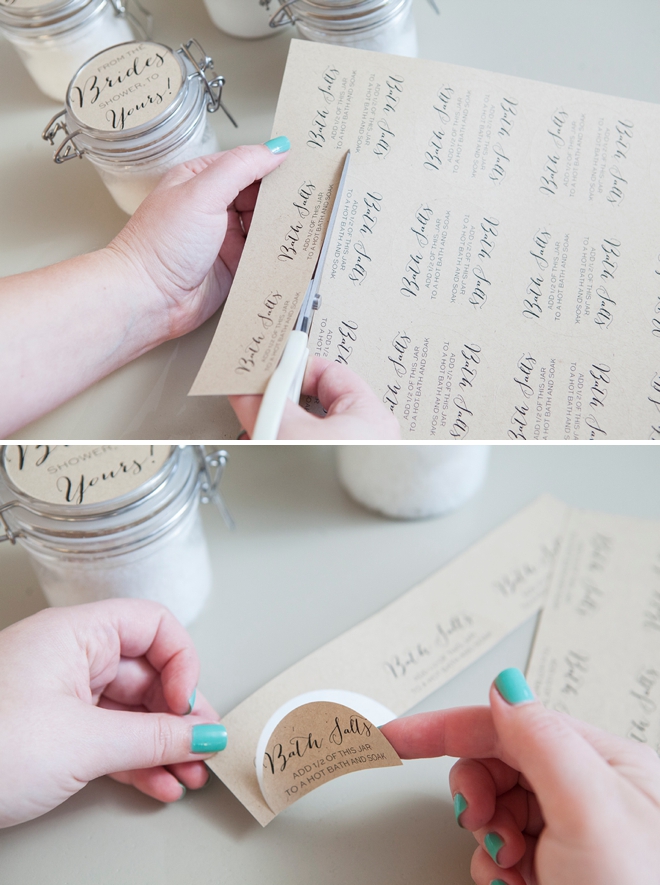
Cut the labels in half and add to the bottom of the jar.
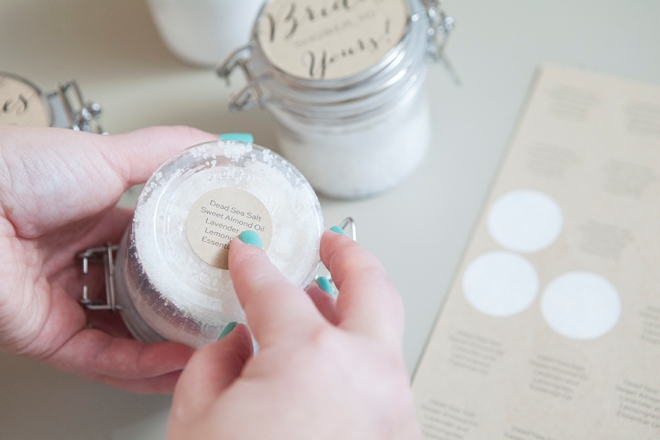
Optional: add a 1.5″ round label with your ingredients to the bottom of the jar. I’m sure your friends will like to know what is inside this fab mixture!
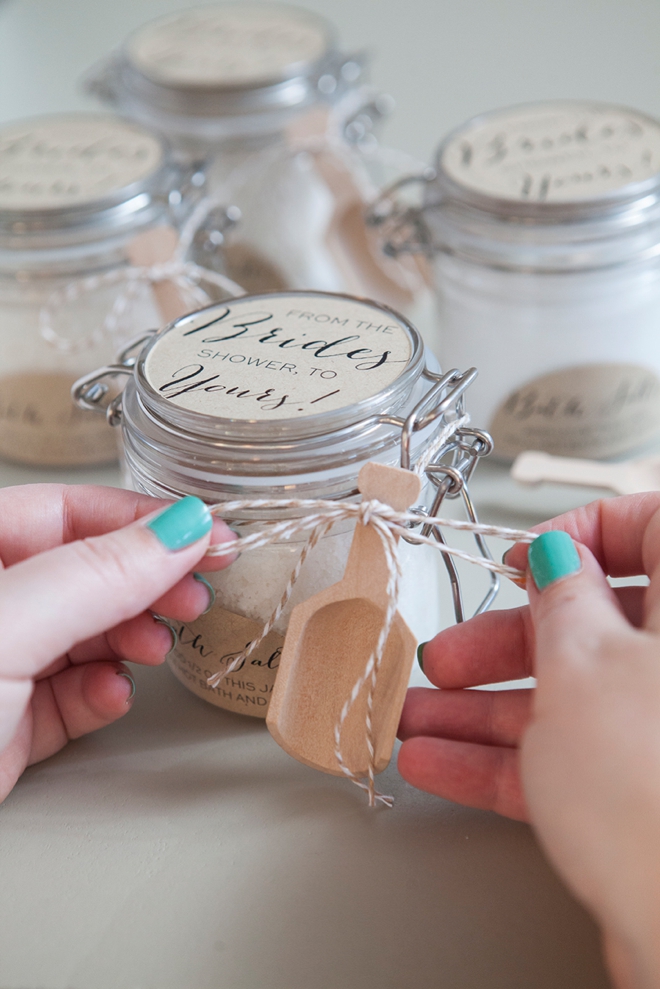
Using twine or ribbon add that darling little wooden scoop.
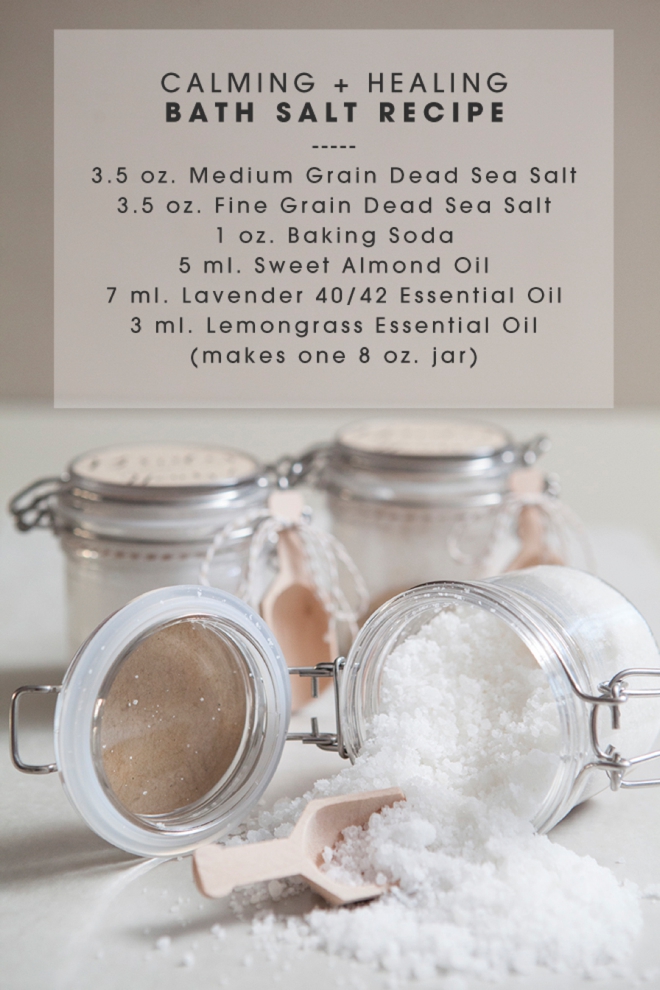
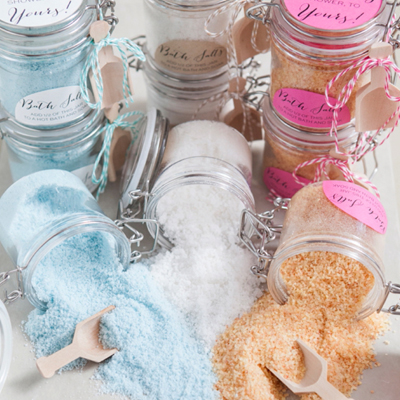
Calming & Healing. Here I used two grains of dead sea salt with an amazing mixture of lavender and lemongrass – can you say heaven?
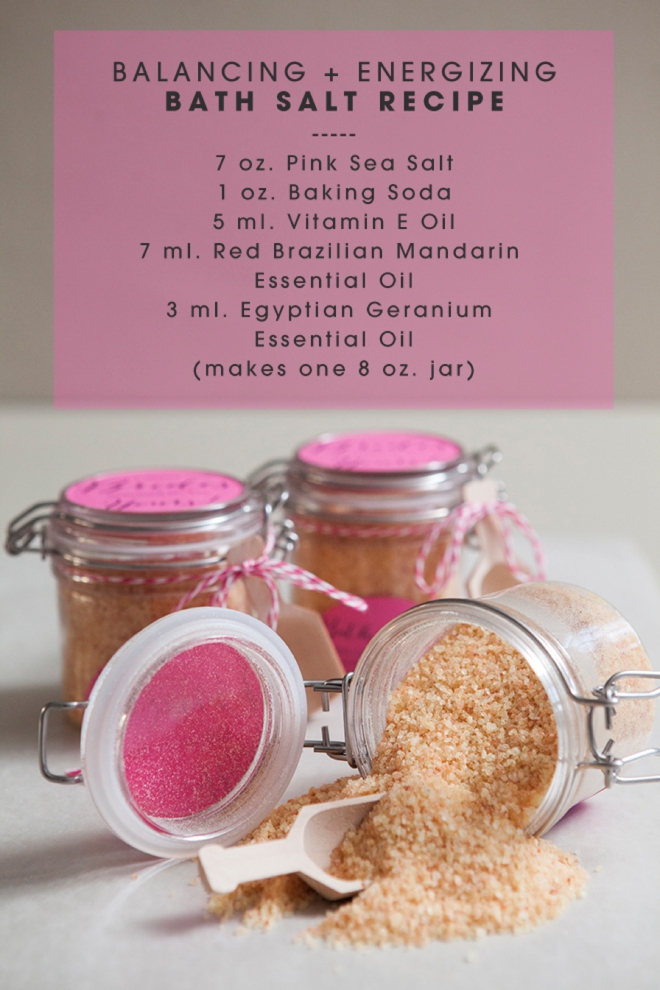
Energizing and Balancing. I really wanted to use Red Brazilian Mandarin Essential Oil but it has a yellow color — if you use it with white salt it will turn yellow! So combining it with the pink himalayan sea salt was the perfect combination that created a coral type color! Paired with the Egyptian Geranium Essential Oil, this is a romantic scent has a light floral touch.
Not all essential oils are clear; if you want a specific color of salt this is very important!
Free Label Downloads:
As with all our DIY tutorials, if you create one of our projects please send us a picture – We Love Seeing Your Creativity! If you use Instagram or Twitter please use the hashtag #SomethingTurquoiseDIY and it will show up on our Get Social page. Happy Crafting!
DIY Tutorial Credits
Photography: Something Turquoise Photography for SomethingTurquoise.com // DIY tutorial: Jen | Something Turquoise // ALL bath salt supplies, including jars courtesy of: BrambleBerry.com // darling little 3″ wooden scoops courtesy of: CMWrapNShipSupply via Etsy // donut pot holder, 2.5″ round labels and 1.25″ round labels (in Fushia, Superfine White, and Paper Bag): Paper-Source // twine: Amazon // nail polish: Withstands The Test of Thyme
Shop The Supplies
Find the supplies you need for this project from our affiliate links below:



Comments