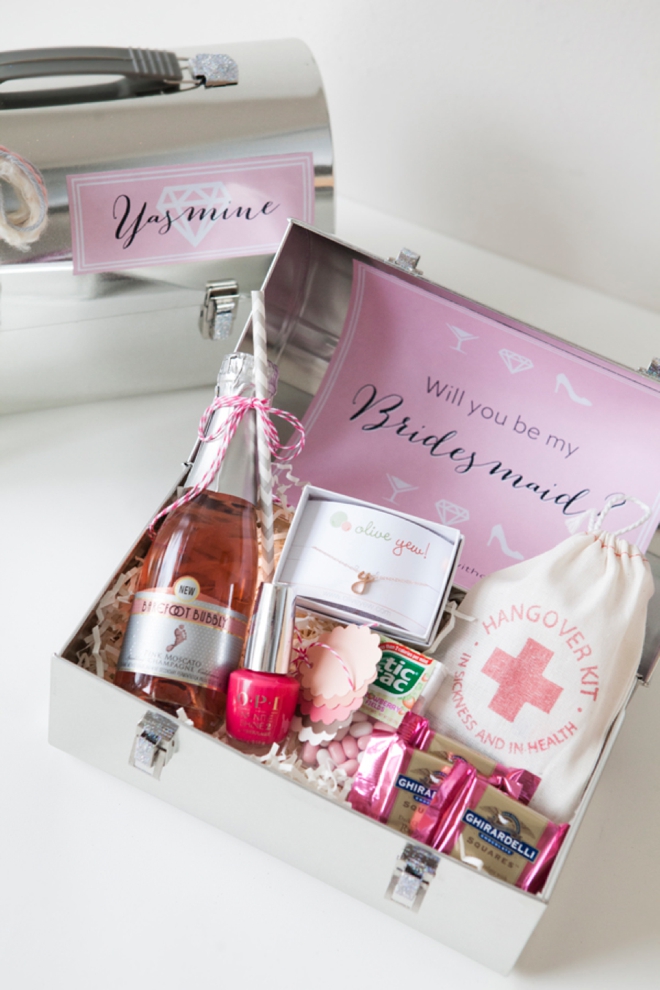
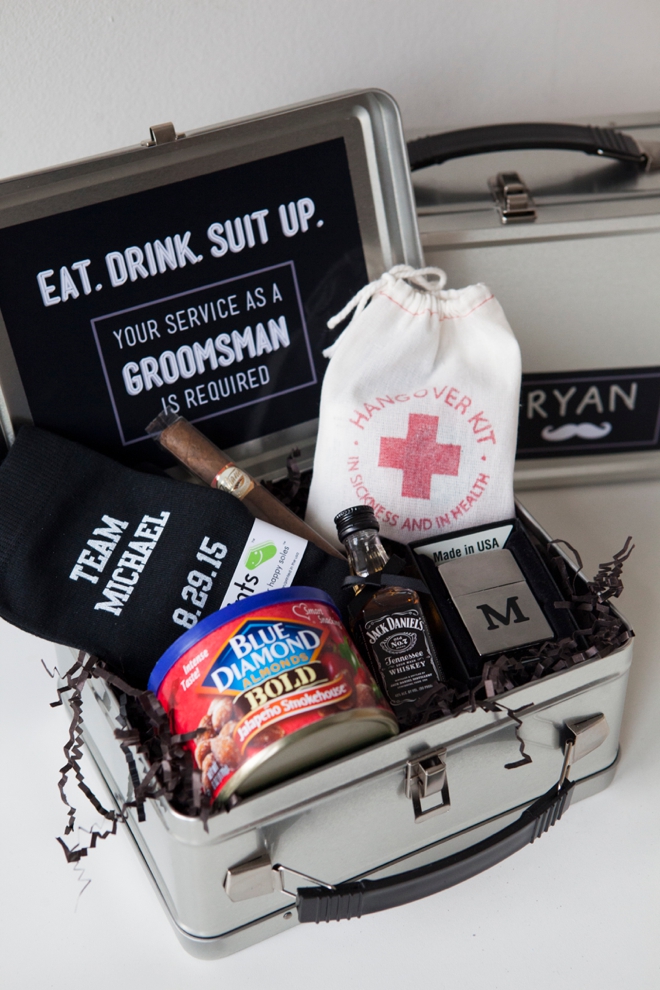
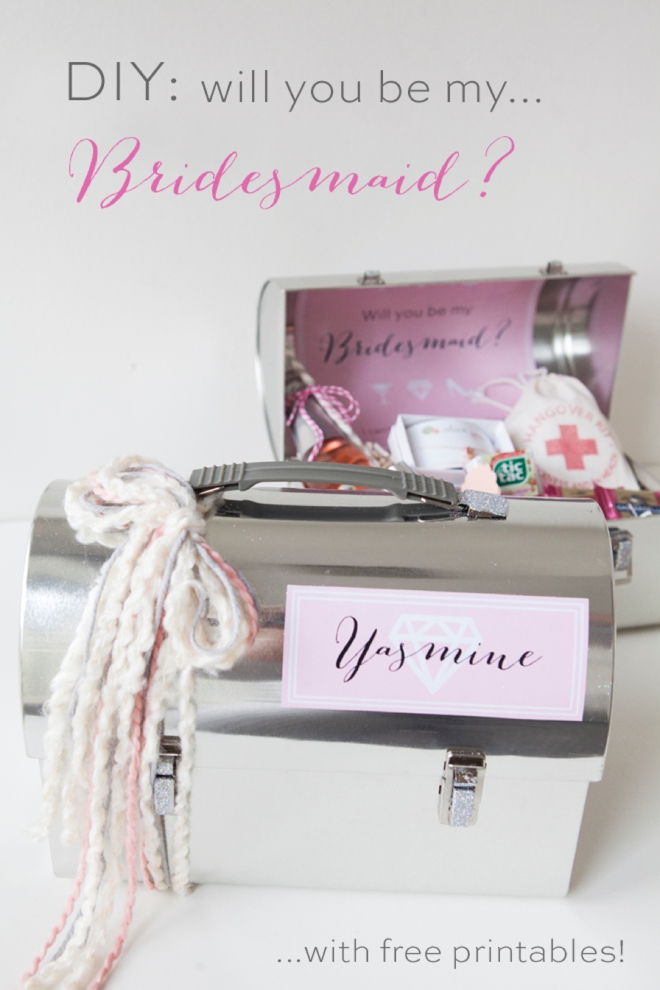
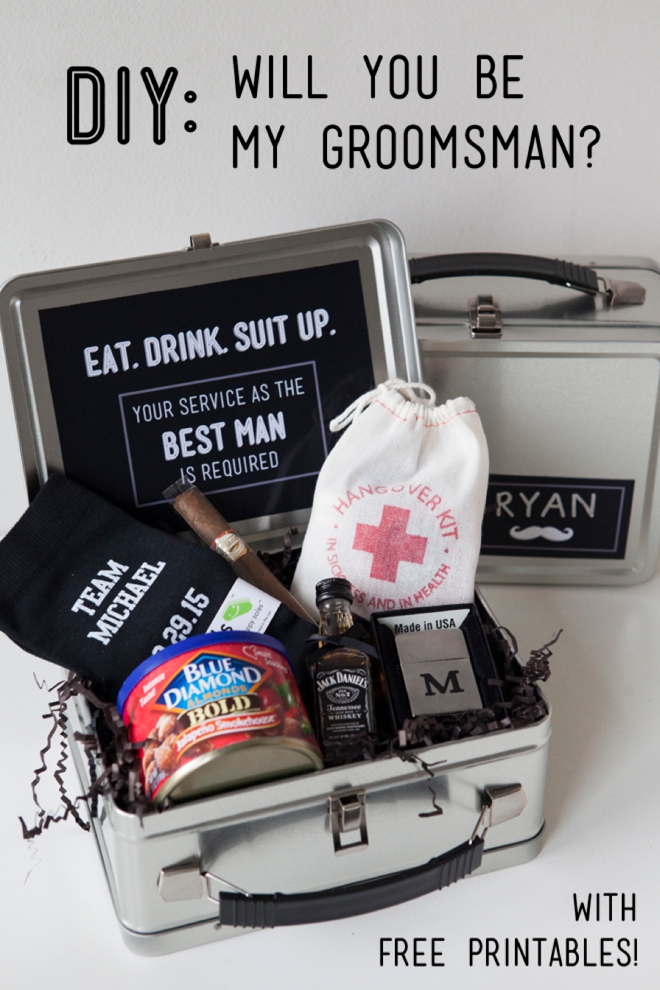
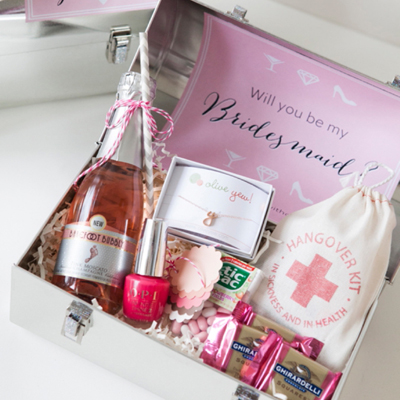
Since I’m absolutely positive that we have some lovely new readers thanks to engagement season (aka. the holidays) I thought it would be the perfect time to share a fun new “Will You Be My Bridesmaid” gift and this time I’m also sharing a killer “Will You Be My Groomsman” idea too! Darlingly packaged in tin lunch boxes these gifts are sure to get an exuberant YES! from your friends while being easy on your budget. My favorite thing about this project is that I printed the designs onto magnet paper so they stick to the lunch boxes without adhesive and can easily be removed. So the lunch box actually doubles as a real gift that your friends can use, not something that they’ll keep around for a while and end up tossing after your wedding. In love with the items I’m are sharing here? Make sure to check out the end of the post to see where you can get them! Ohh… and Happy 1st DIY Friday of 2015!!!
SUPPLIES:
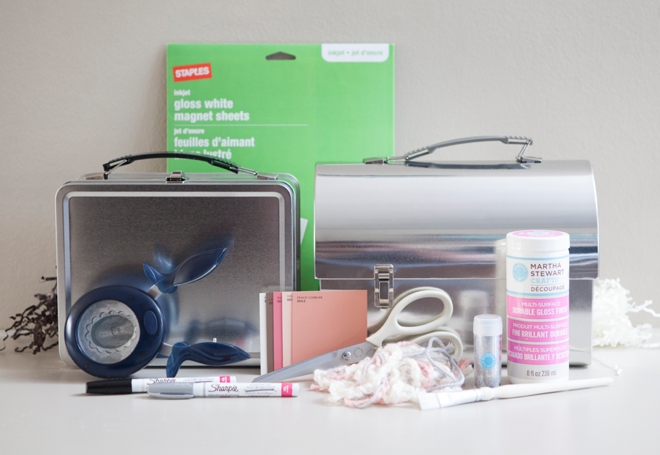
Normally I list ALL the things you’ll need for a project, but for this it’s such a long and adjustable list so if it’s all the same to you I’ll skip it. You’ll need to pack these darling lunch boxes full of fun things to start the celebration of your upcoming nuptials with your besties. To find links to everything I have here, see the information at the bottom of the post.
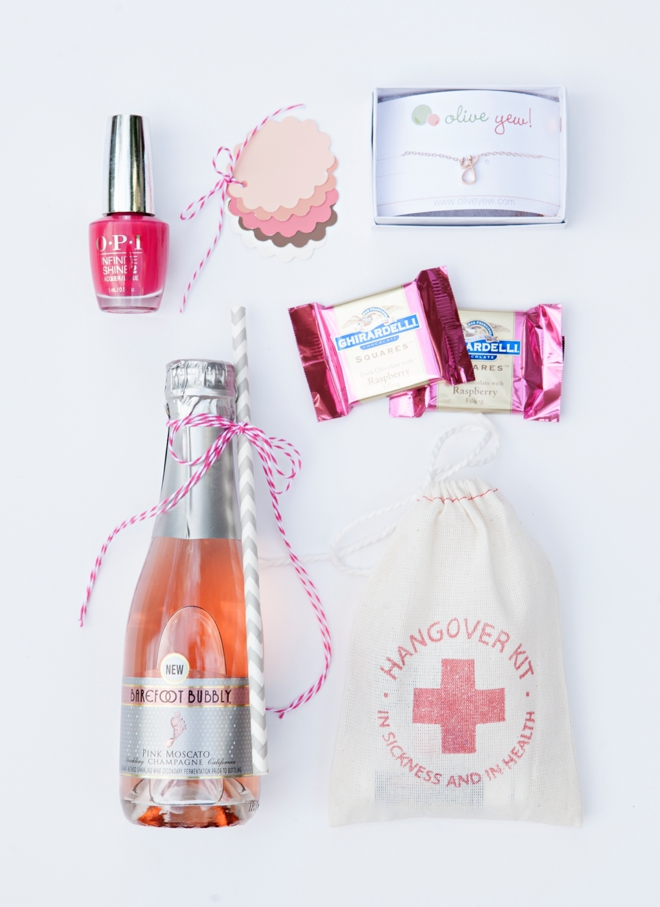
For the gals:
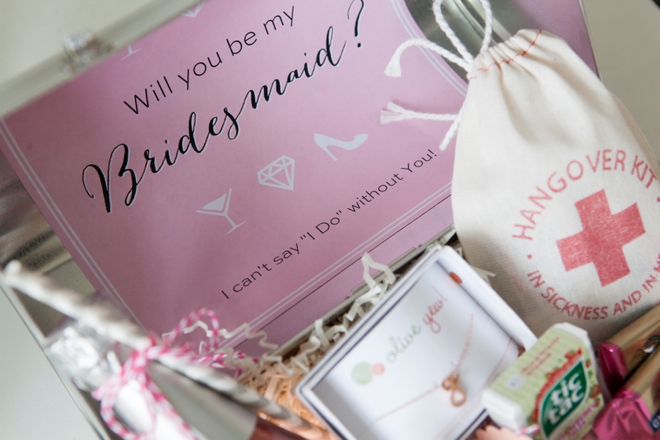
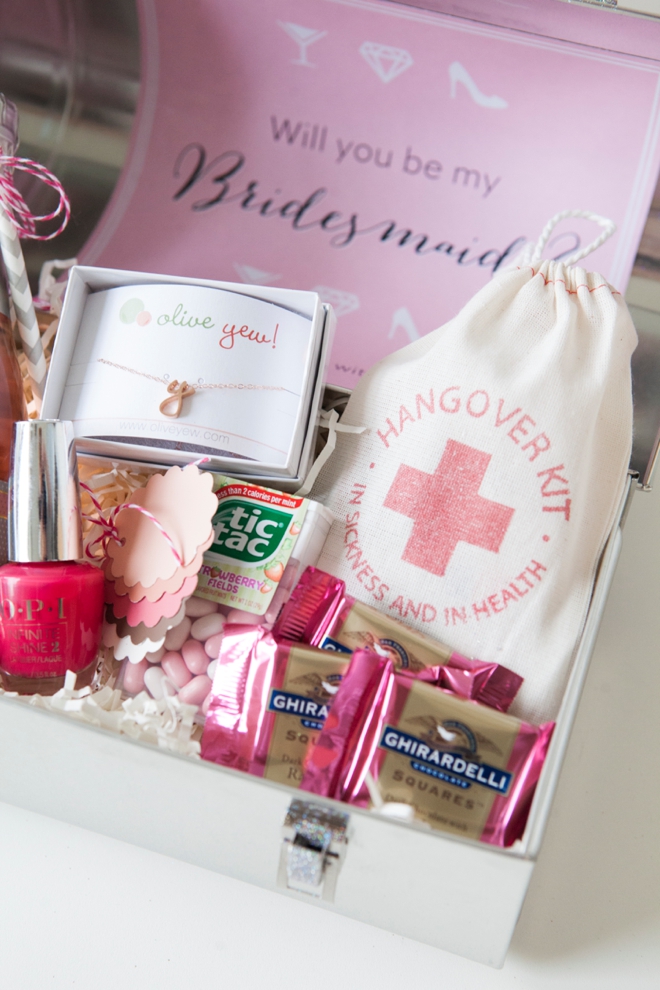
Our fun ideas include custom initial necklaces from Olive Yew!, Mini-Barefoot Bubbly PInk Moscato bottles, nail polish in the shade that you want them to wear for the wedding, chocolates (dugh!), a super cute Hangover Kit from Be Collective and a swatch book of your wedding colors. Of course these are just ideas… you can include anything your heart desires!
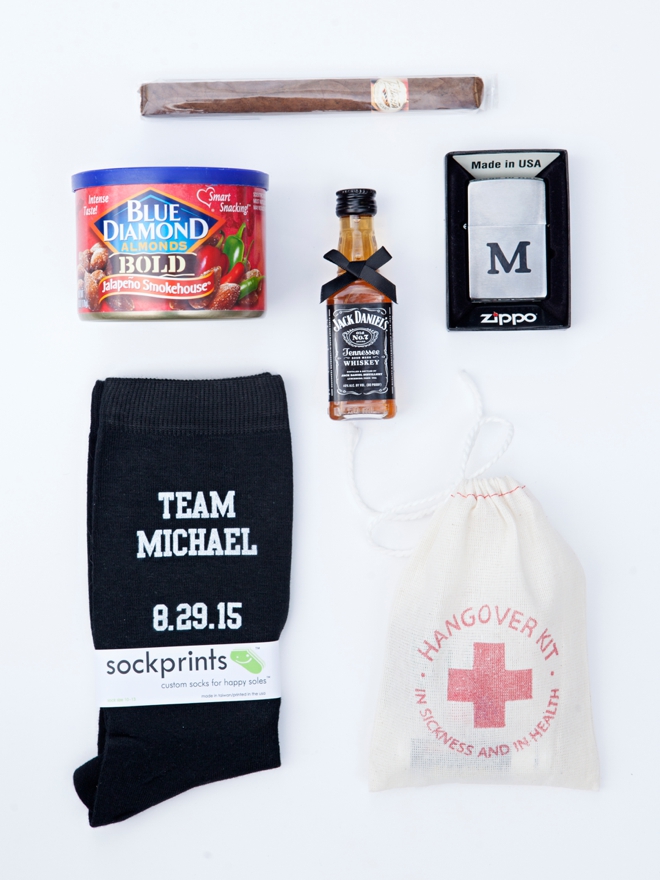
For the guys:
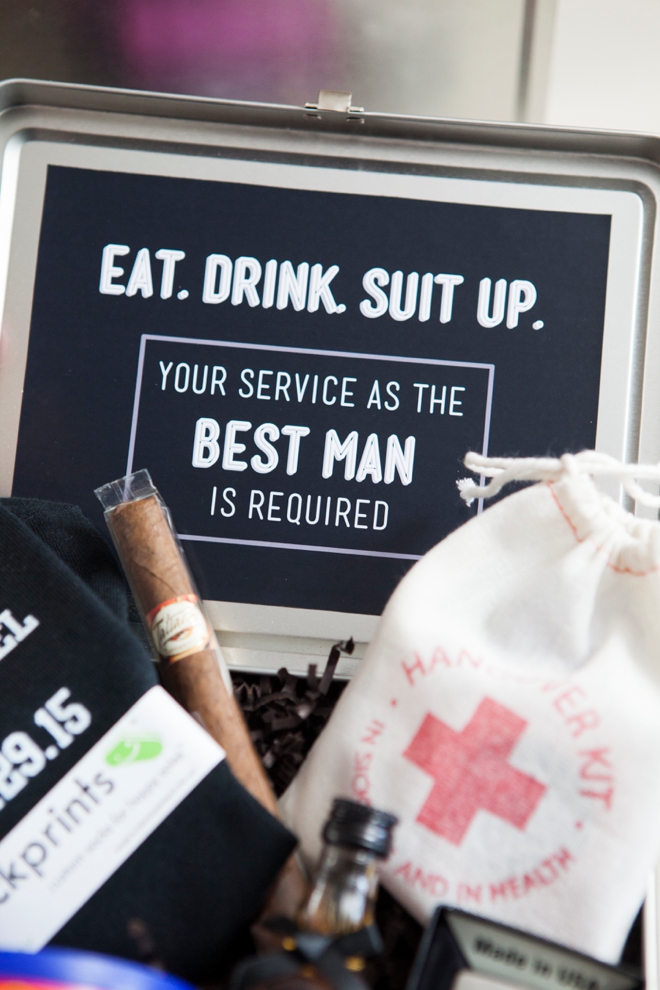
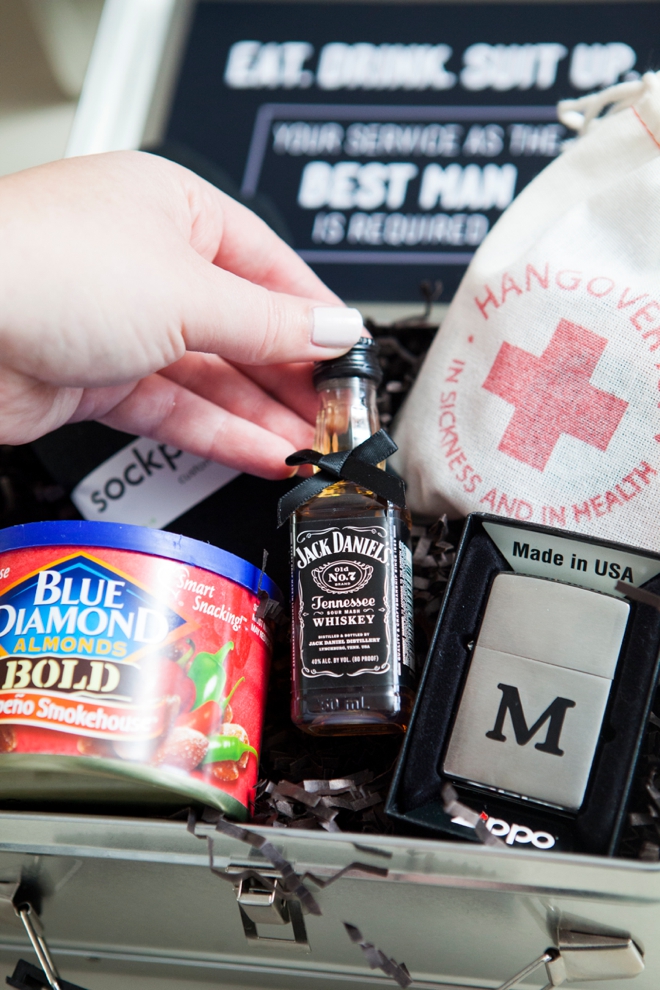
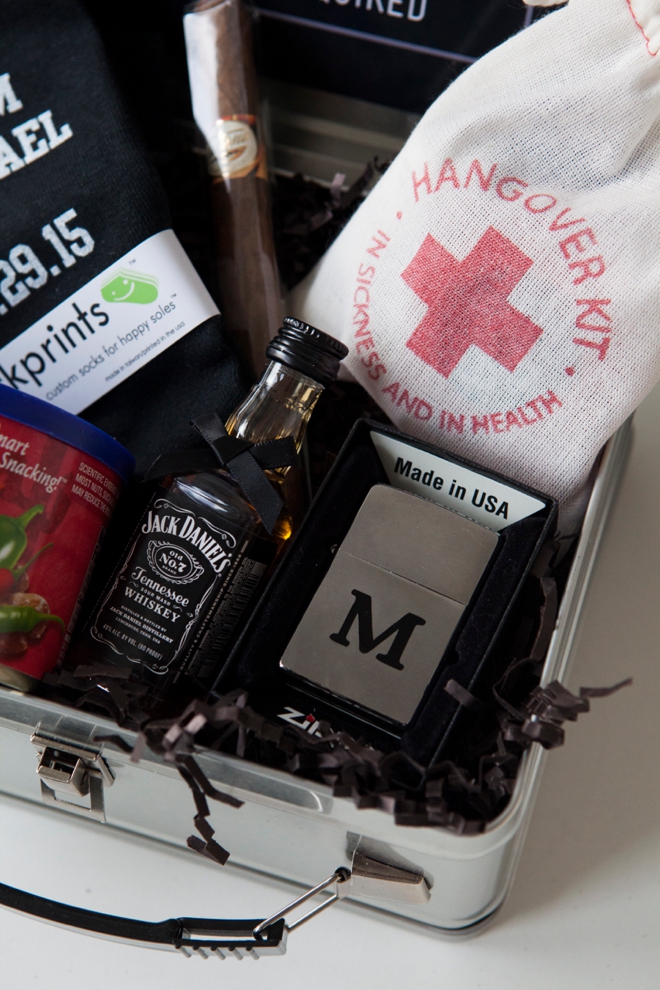
So for the guys we have custom printed “Team Grooms-Name” socks (obsessed) from sockprints, a cigar, spicy nuts, a little alcohol, of course the Hangover Kit and a Zippo. Read below about how I added the initial to the Zippo. Again, if these items don’t fit your groom, pick ones that do.
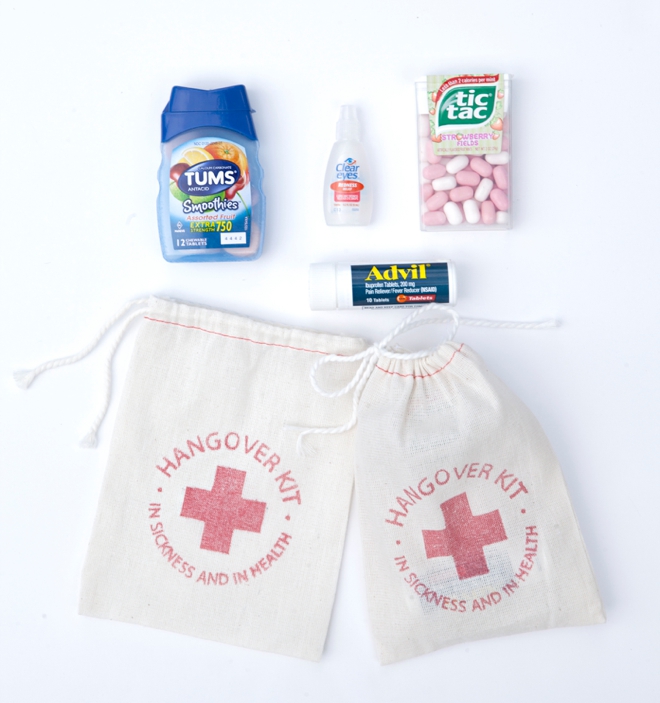
Hangover Kit Bags
To say that I’m obsessed with these bags is an understatement. “In sickness and in health” – are you kidding me? Pure genius. Emily from Be Collective is a custom bag-making rock star and you’ll have to check out her Etsy shop. She doesn’t sell the entire kits, you get to fill them yourself… but she sells these high quality bags for such a fair price they’ll fit into any budget.
If you’d like to bling out your boxes a bit, use my favorite Martha Stewart Crafts decoupage glue and glitter! One coat then add glitter.
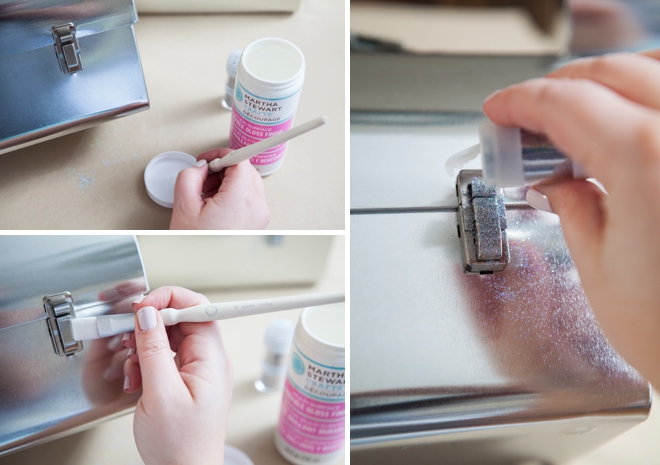
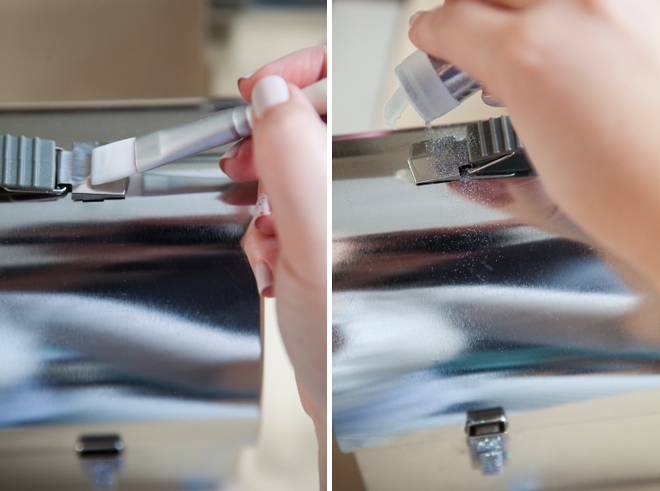
Once dry, wipe the excess off the tin box with a soft brush.
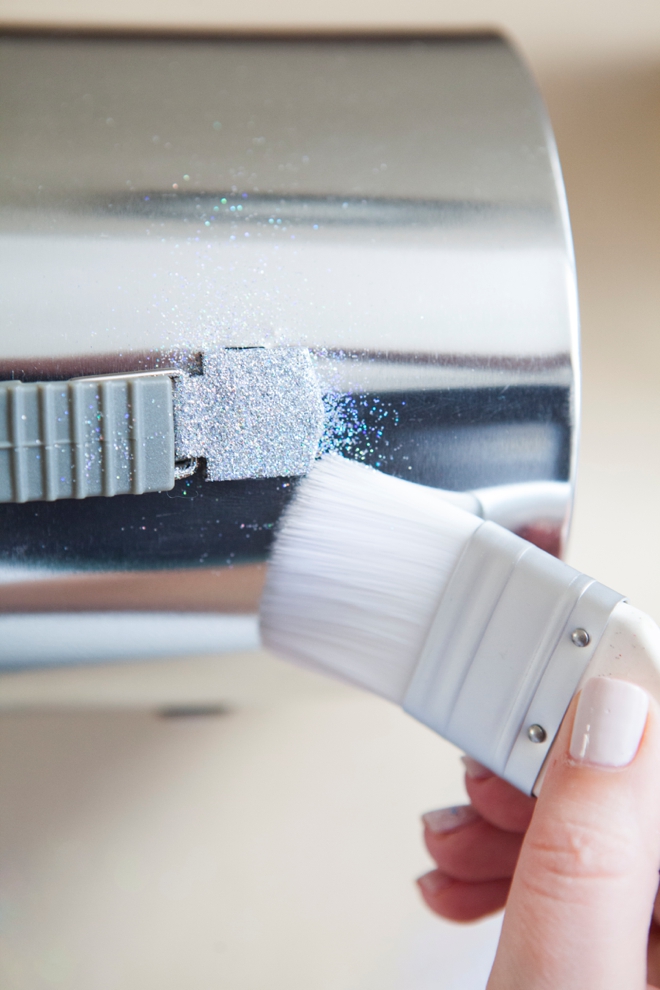
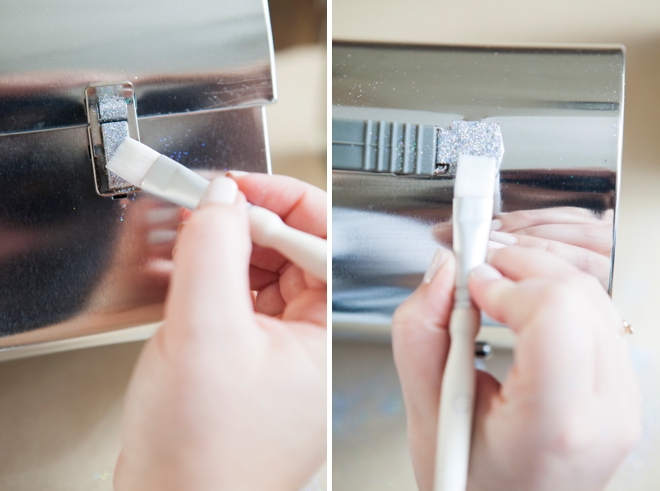
To finish off the glitter, do one more coat of decoupage on top.
Color Swatch Booklet
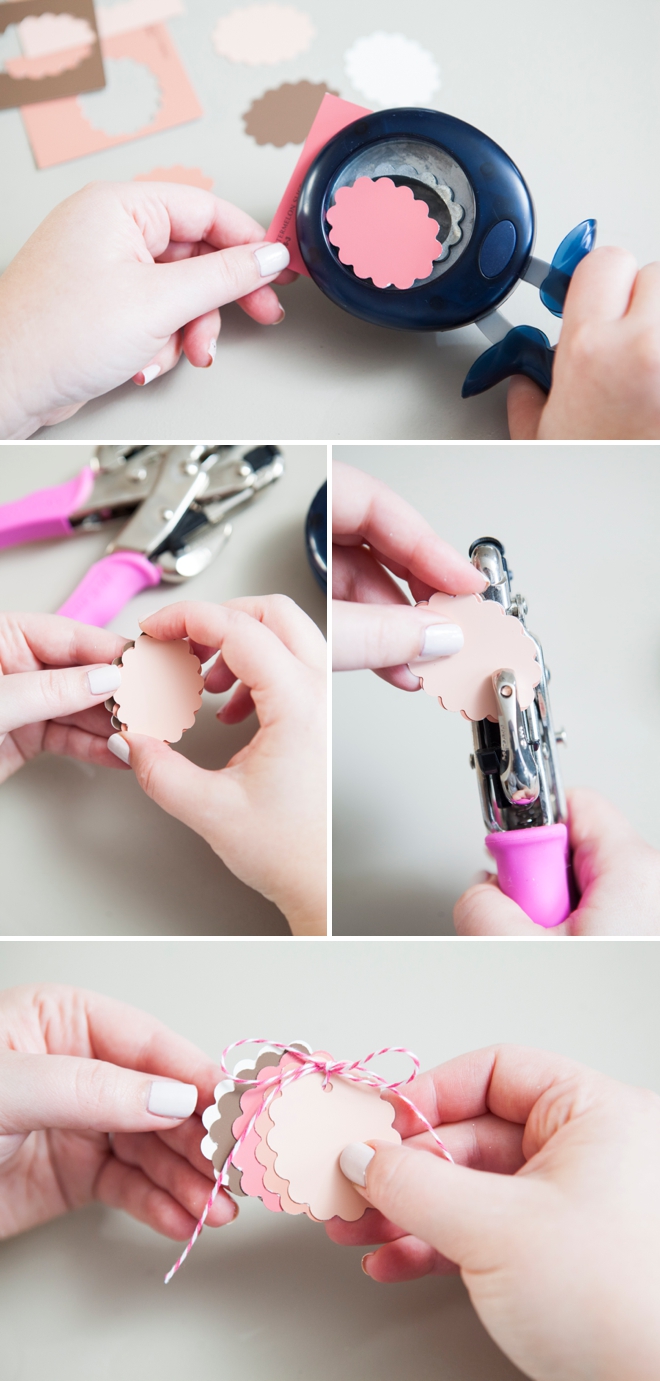
Steal a few color swatches from your local hardware store and using a cute punch like this one, punch shapes out. Then use a hole punch through each card. Add twine and you have a super cute swatch booklet!
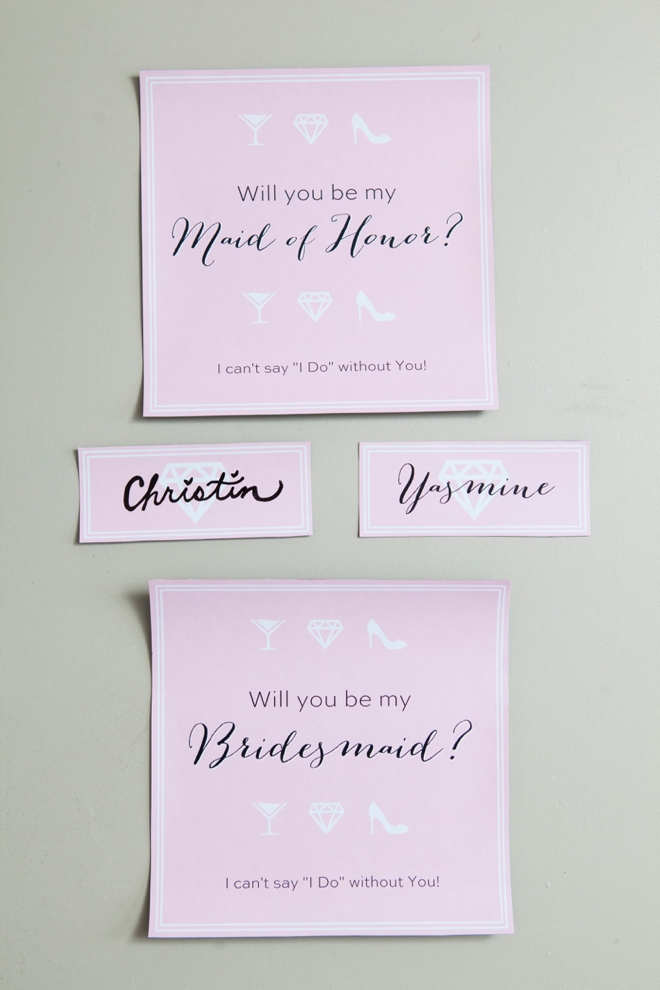
Grab all your FREE printable designs below! Then print them onto 8.5″ x 11″ inkjet white glossy magnet sheets. You’ll need one magnet sheet per lunch box.
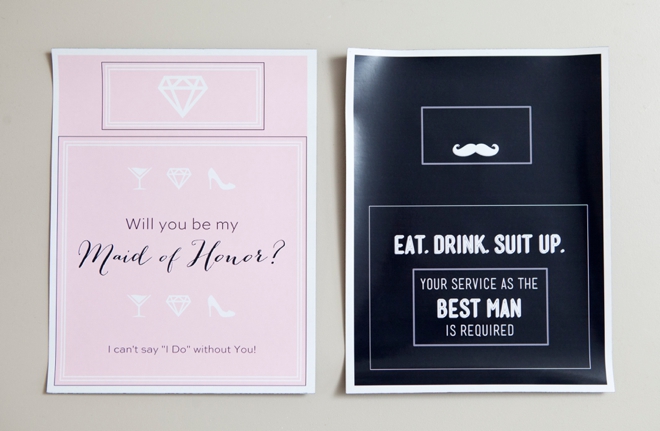
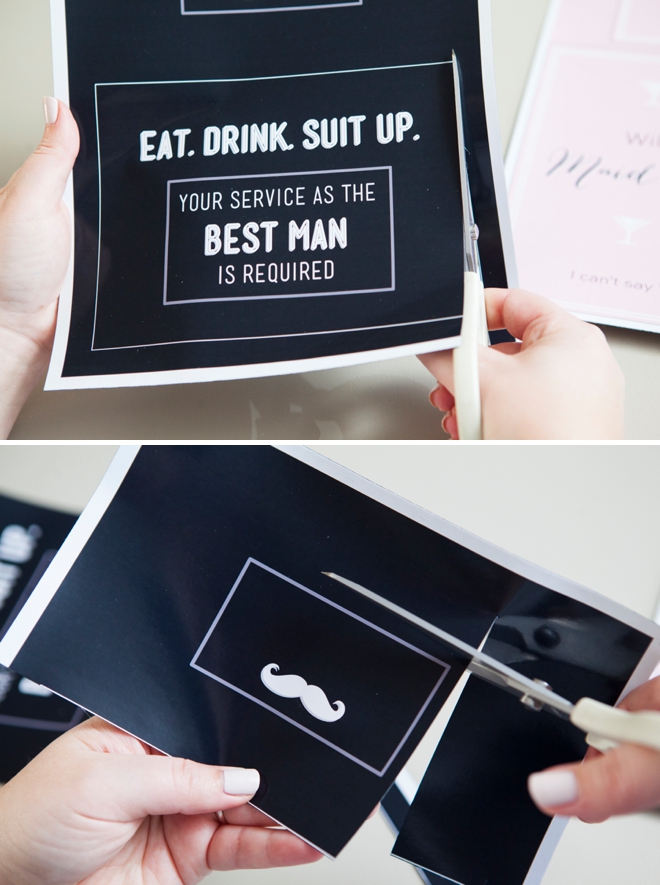
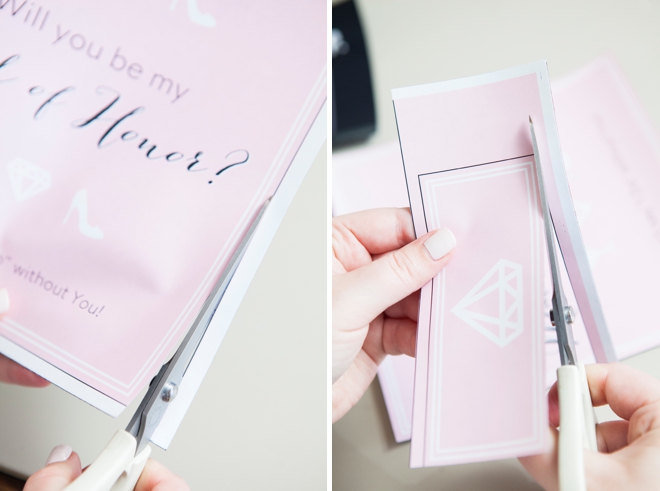
I’ve added lines on each design for you to cut around.
Using a Sharpie paint pen (not all Sharpies are created equal! If yours isn’t a paint pen, try it out on a scrap first!) write each of your bridesmaids + groomsmen names across the small magnets.
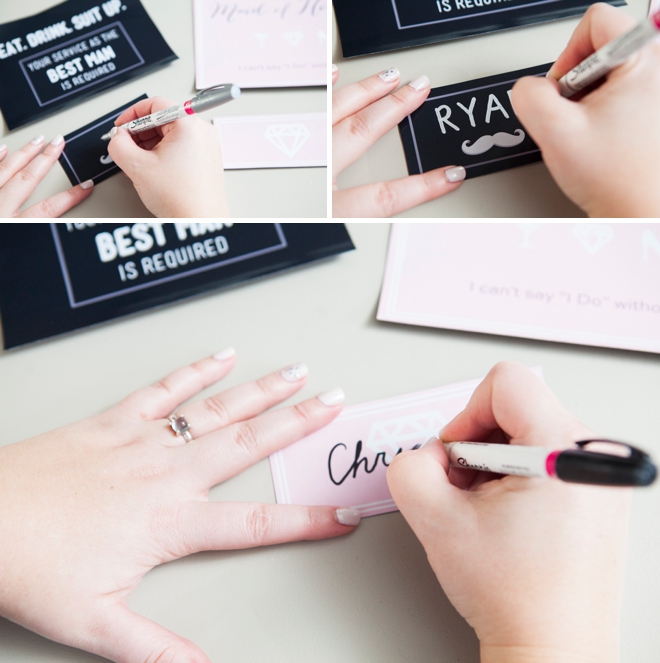
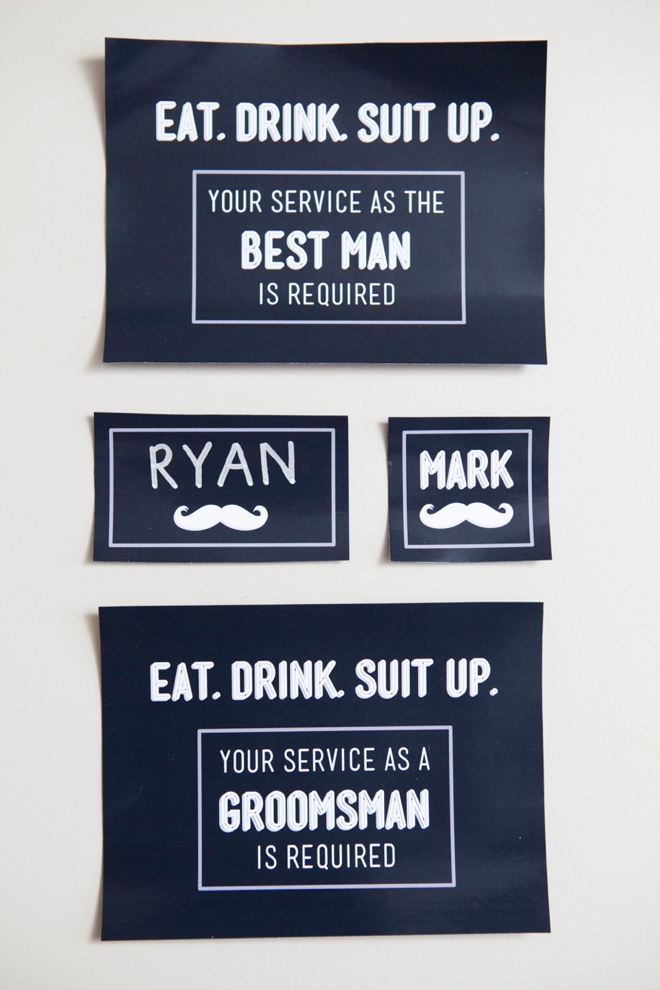
So I designed my own little name magnets, that’s what you are seeing here. Sorry I’m not offering editable downloads for this project… you can always create your own and customize them to your theme. The fonts I’ve used are Sweet Sans and Bombshell for the girls and Mensch for the guys.
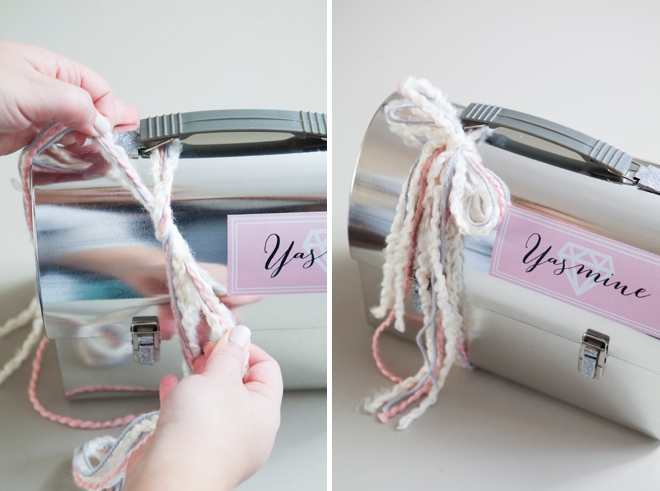
Add your magnet names to each box. This magnet “paper” is very easy to manipulate, if you find that the edges are flopping up just bend it a little in the direction you want it to go and magically it will go that way.
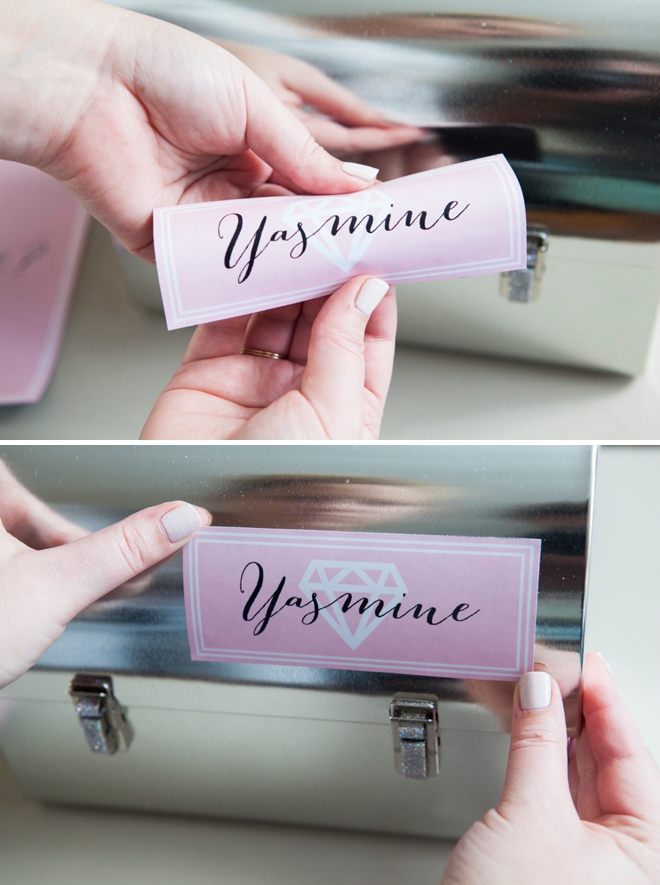
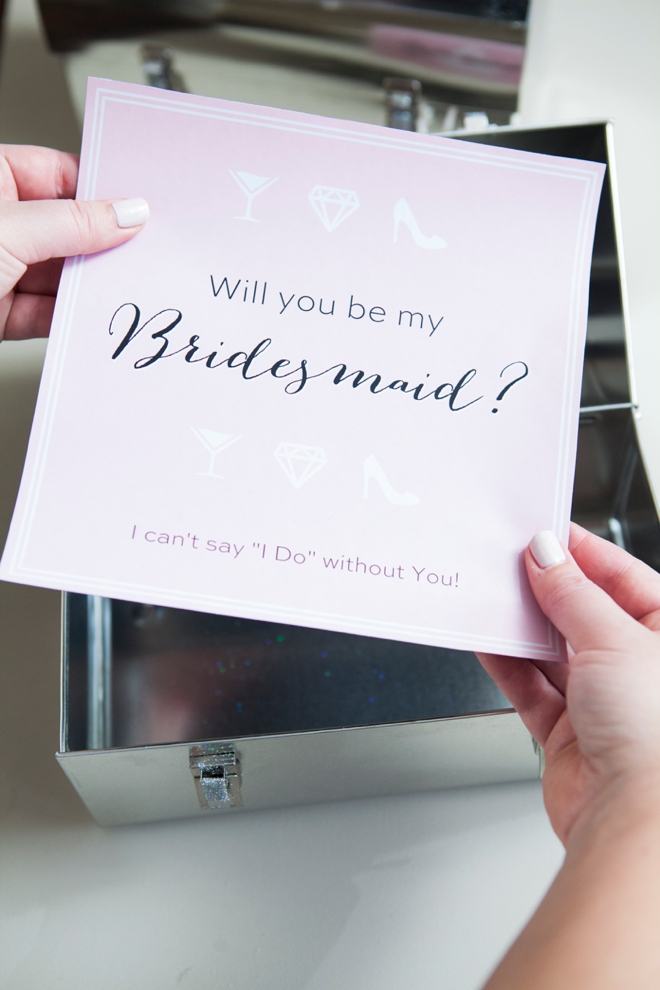
Adding this part is really simple, just line it up and let the magnet do the work.
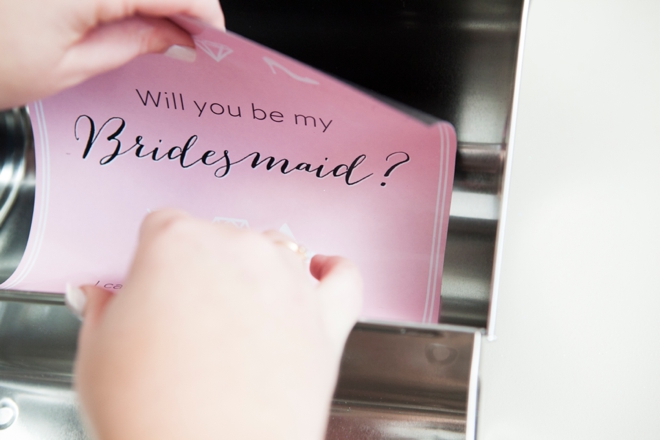
How cute do these look!?!
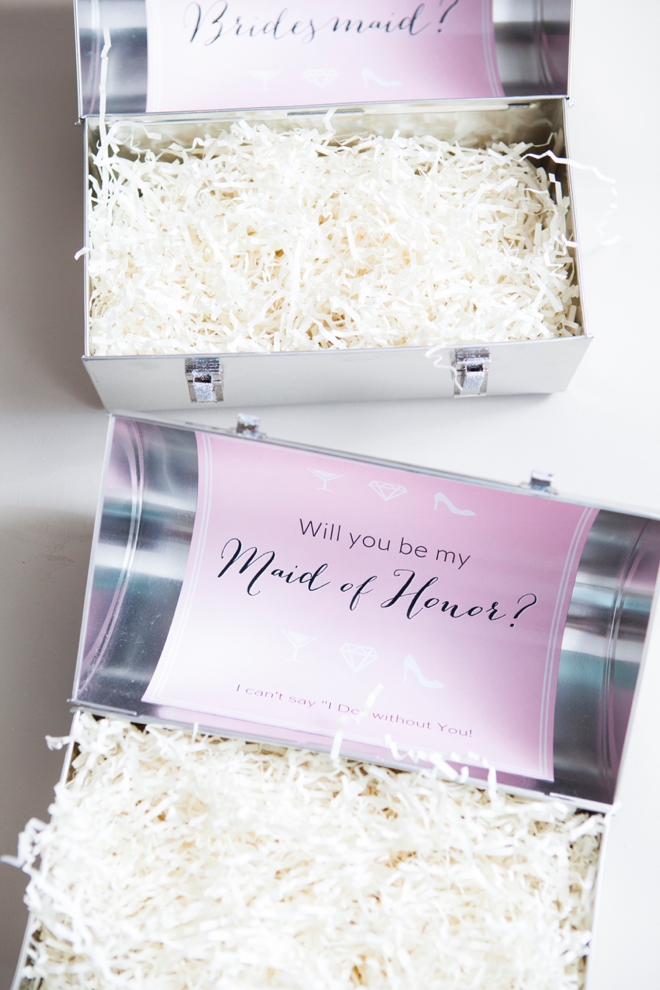
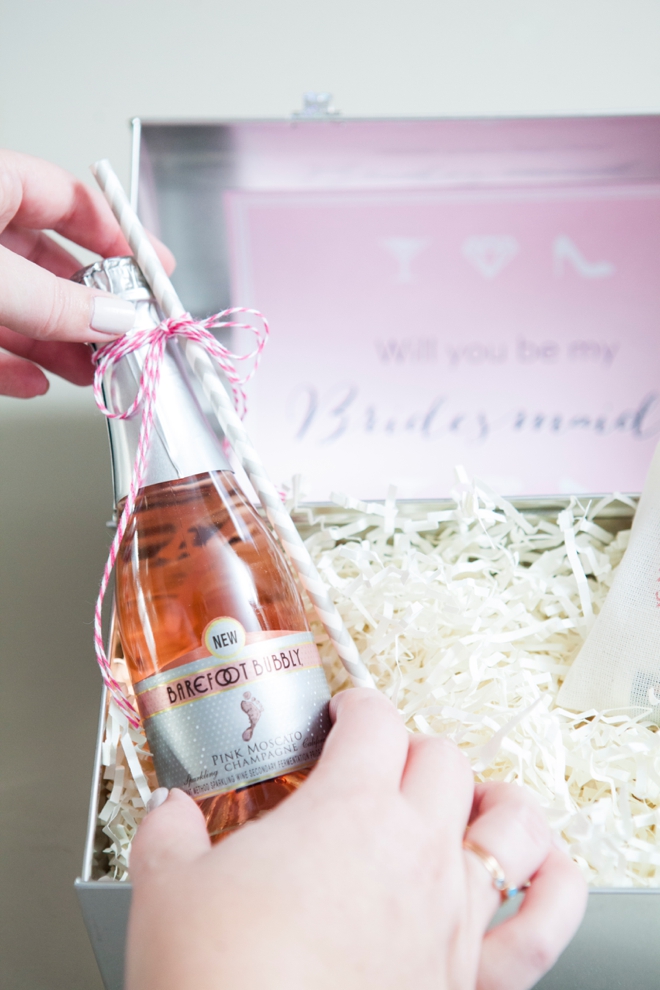
…add all your cute fun items!
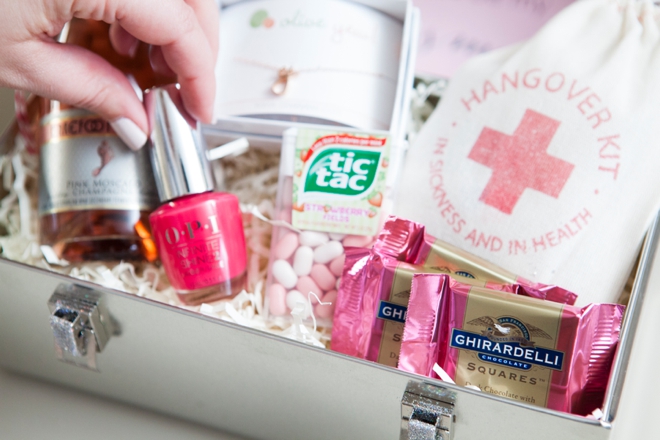
These beauties can hold a lot!
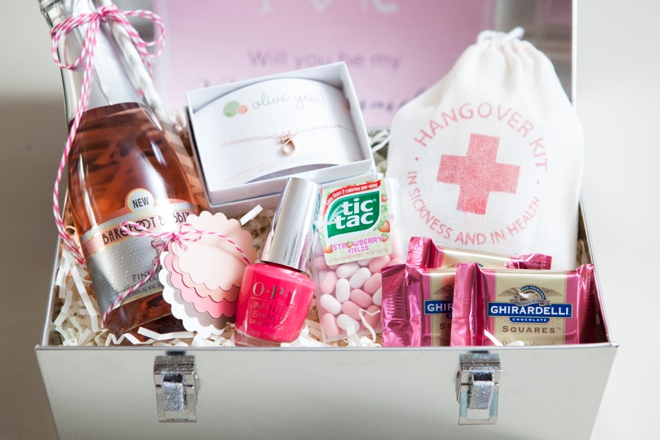
Once the boxes are complete, add a bow with ribbon or yarn.
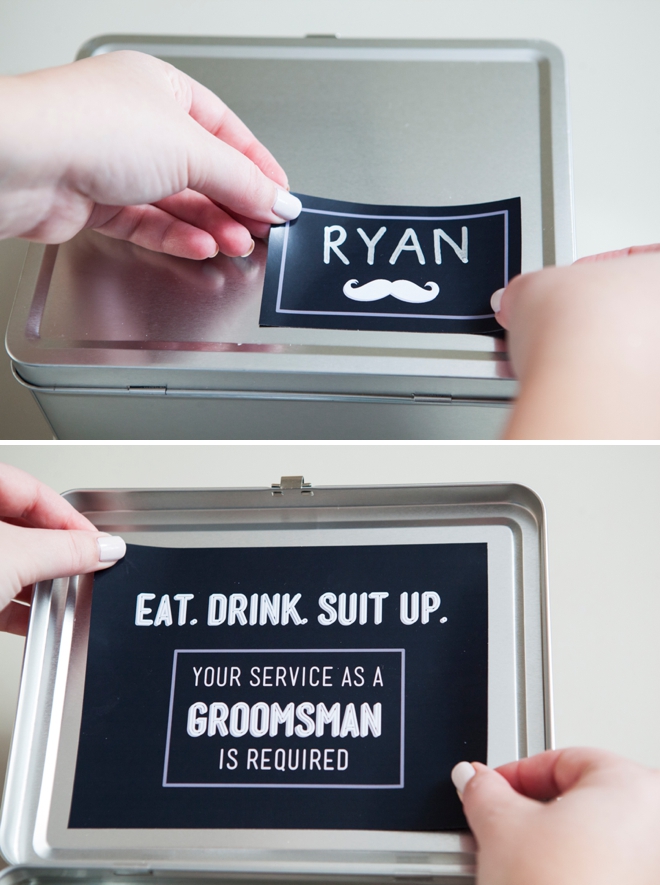
Add the guys magnets; one on the outside, one on the inside.
Then add all the guys stuff – but they don’t get a yarn bow, lol.
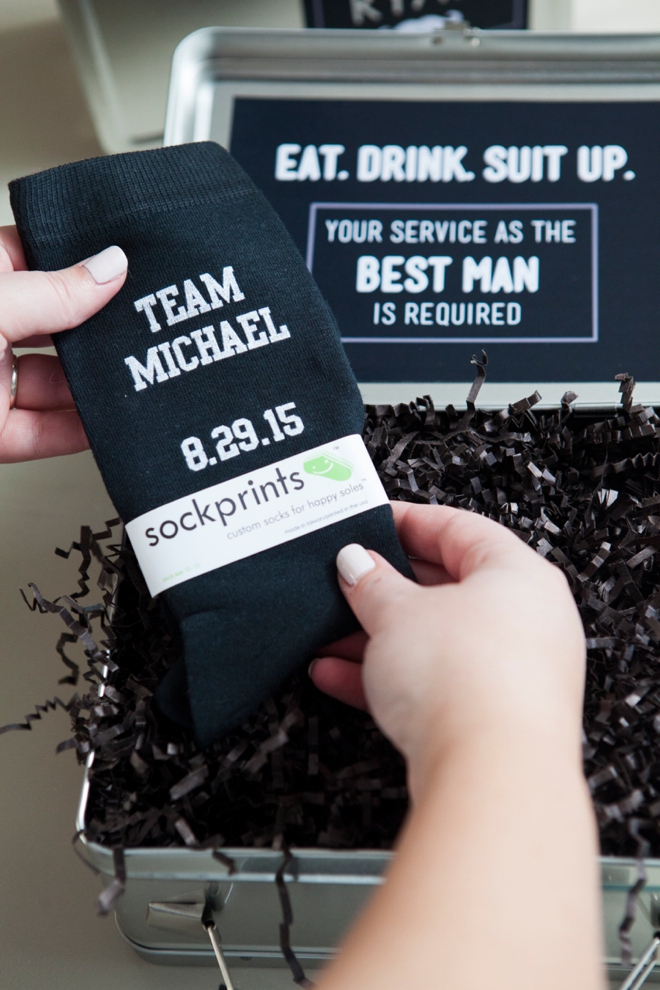
Let’s talk about that Zippo. The “M” is just a sticker… ssshhh, it’s a secret. Looks fancy right? I know you like that little bow I added to the Jack, it had to look just as fancy as the lighter.
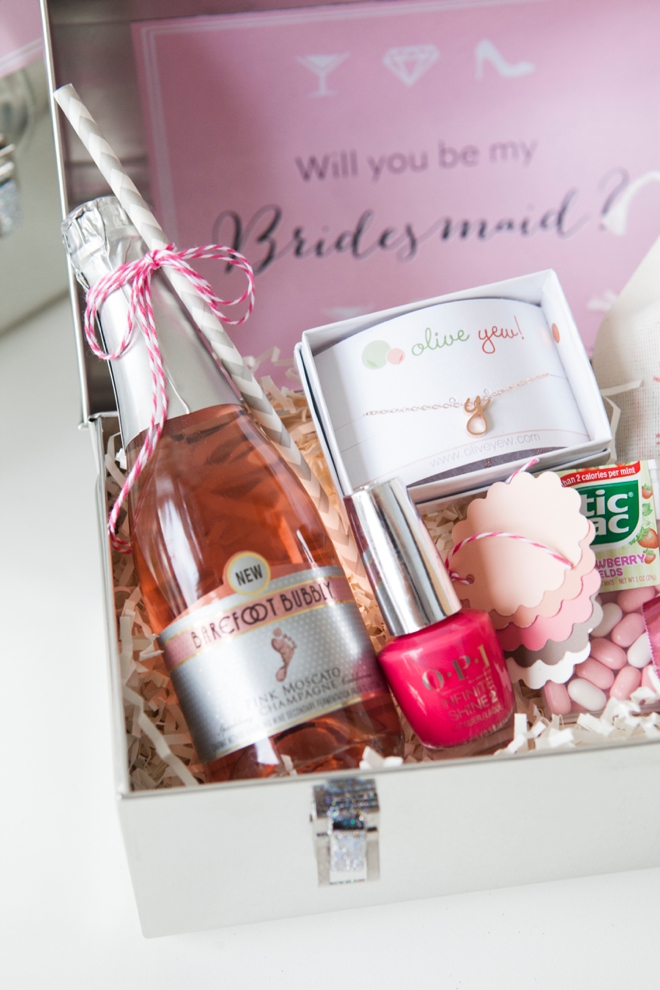
I hope that this project helps inspire you to create something special for the girls and guys that are going to be such a special part of your celebration.
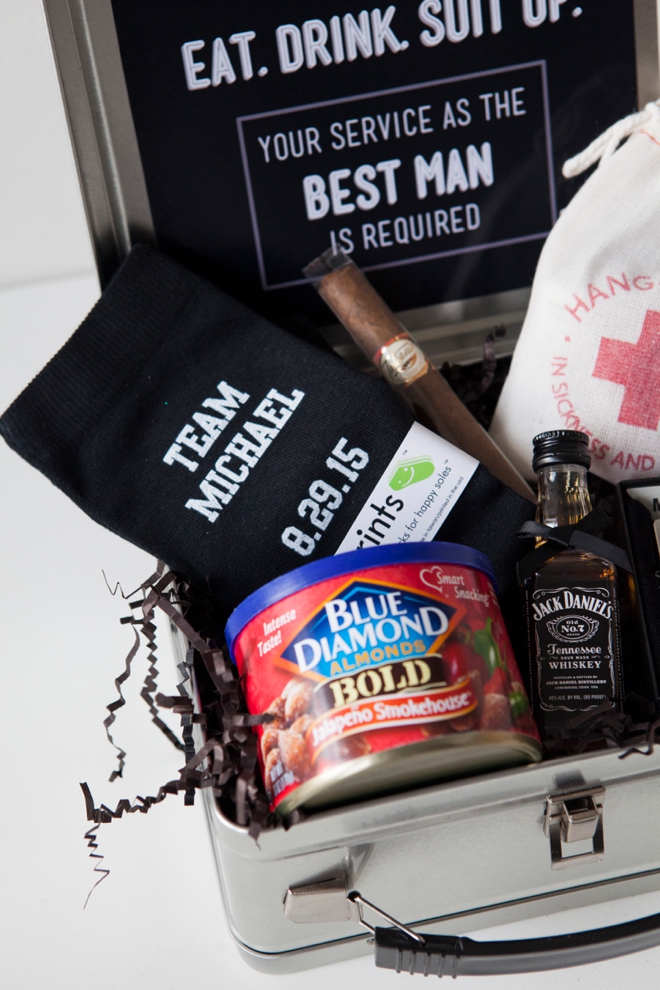
I have to say, my hubby was pretty excited that he got to drink the Jack, smoke the cigar and light it with his new custom lighter while eating all those spicy nuts; only after we shot this of course. The perks of being married to a wedding blogger!
Grab your design downloads here:
As with all our DIY tutorials, if you create one of our projects please send us a picture – We Love Seeing Your Creativity! If you use Instagram or Twitter please use the hashtag #SomethingTurquoiseDIY and it will show up on our Get Social page. Happy Crafting!
DIY Tutorial Credits
Photography + DIY Tutorial + Free Downloads: Jen Carreiro of Something Turquoise // Plain metal lunch boxes: LunchBoxes.com // Inkjet gloss white magnet sheets: Staples // Martha Stewart Crafts decoupage glue and glitter:Amazon // Scallop punch, paint brush, crinkle shred, scissors, Sharpies and Crop-a-dile: Michaels // Hangover Kit bags: Be Collective // Initial necklace: Olive Yew! // nail polish: Amazon // Tic-tacks, Tums, Visine, Advil, chocolates, and paper straws: Target // Mini-champagne bottles and Mini-Jack: Bev-Mo! // Custom Groomsman socks: sockprints // silver Zippo lighter (no initial): Amazon // cigar: local cigar shop // nuts: Amazon // my nail polish: Essie – Urban Jungle
Find the supplies you’ll need for this project from the images links below:



Comments