I’m super excited about December and all the awesome DIY projects I have planned for you this month (most of which can be given as gifts – tis’ the season!) starting with this one – how to make a “wedding keepsake ornament”! I love keepsakes. I love looking at old receipts and notes and little trinkets left over from good times, but where do you keep them? Mine are in a box that I pull out on occasion. That’s why the Christmas ornament keepsake is such a good idea – yeah, only a few things will fit inside, but each and every year you will be thrilled to hang it on your tree and see those treasures from the past. Here I’ve made a wedding, bachelorette party and honeymoon keepsake ornament – but obviously you can make them for any special occasion!
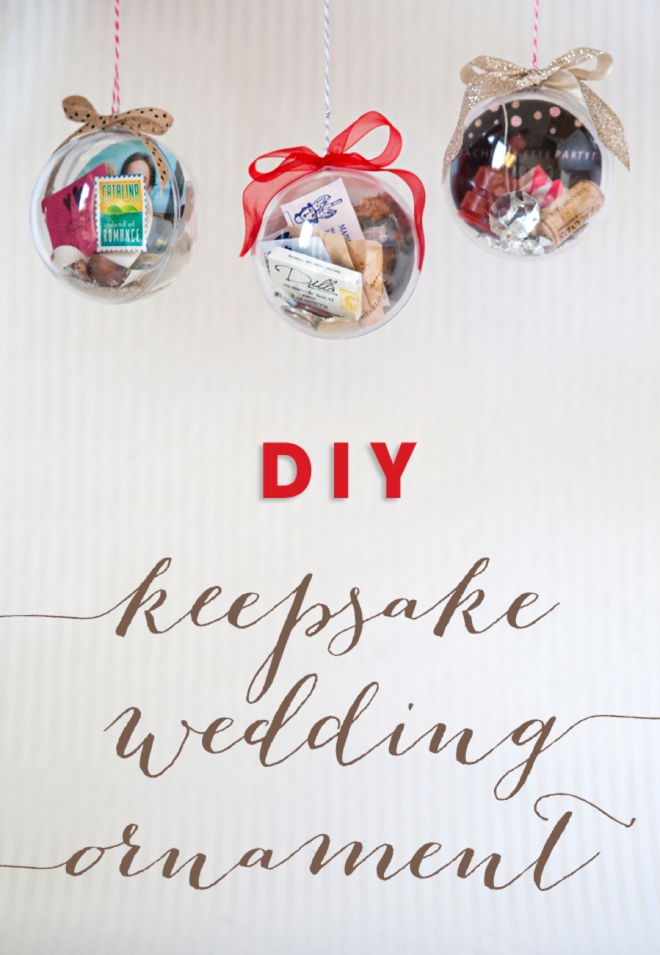
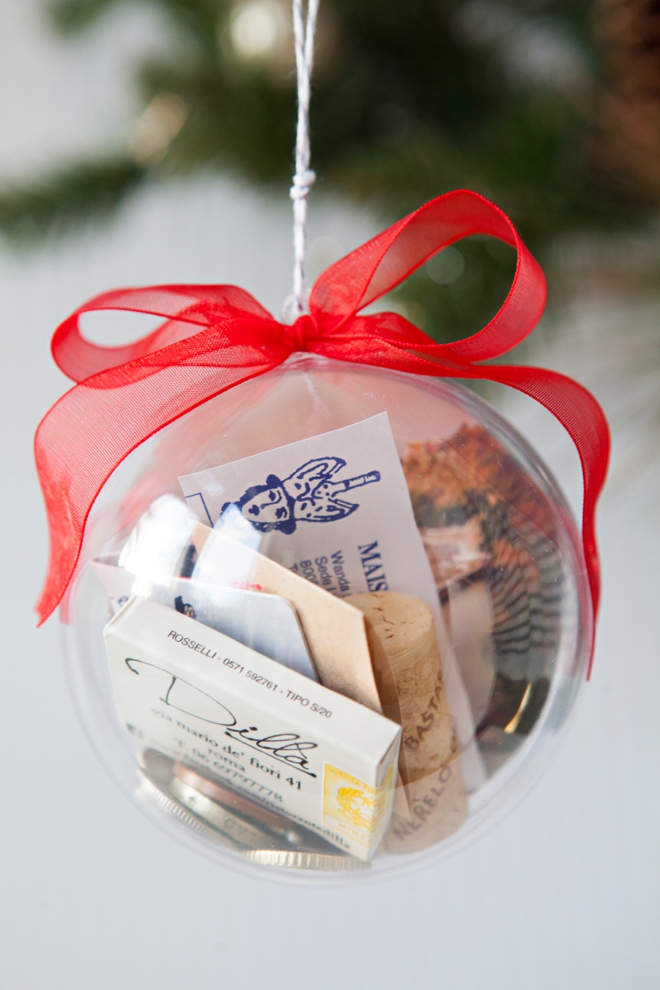
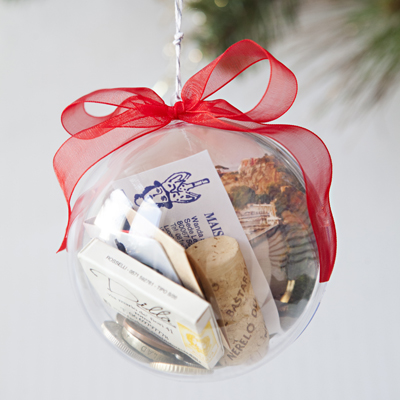
There are SO many little things that you could save and include from your wedding or honeymoon. The items in this ornament are actually from our wedding 8 years ago on Catalina Island. There is a picture of us (don’t worry, from another angle you can see my face), sand and seashells from where we said “I do”, matches which was one of our favors, on the backside are our sand dollar seating cards, a few receipts from our wedding weekend, our boat tickets to the island along with a little cut-out of our venue flyer.
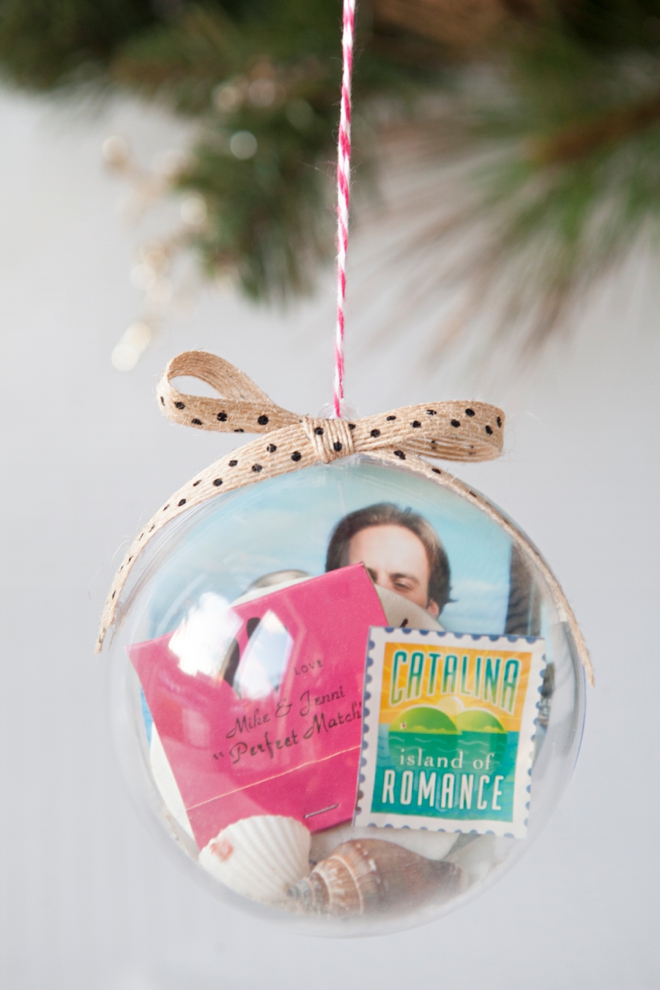
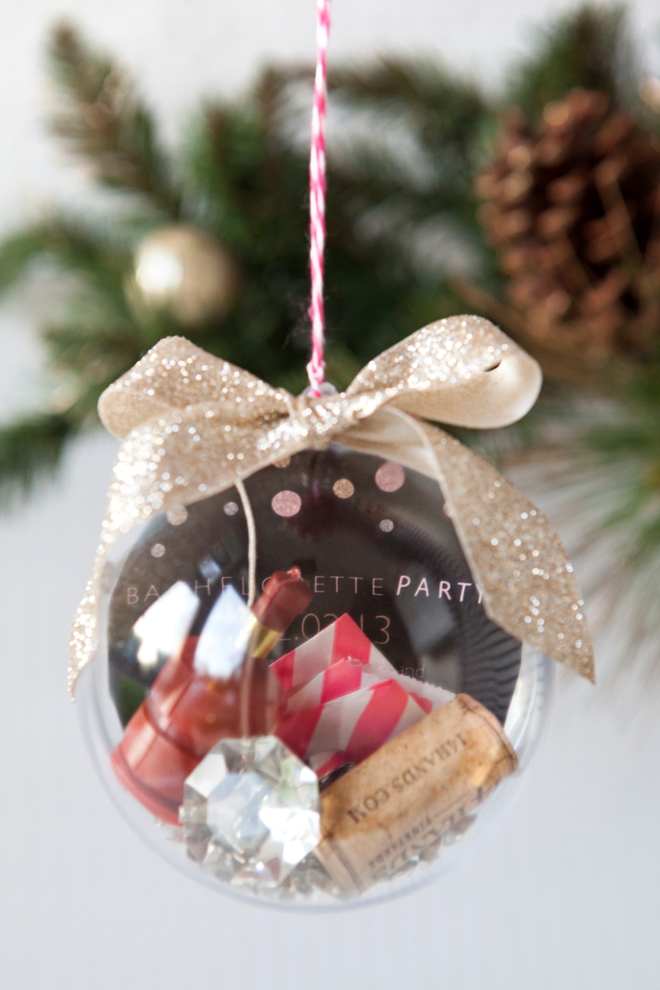
Saving fun little things from your engagement party, bridal shower, or bachelorette party would also make great ornaments. Pictured in this bachelorette party ornament is a wine cork, part of the invitation, a giant diamond ring charm, a party popper, a receipt and piece of wrapping paper from a gift given to the bride.
SUPPLIES:
- Large 100mm “fillable” acrylic ornament
- Glue Dots
- E600 glue
- Ribbon and/or twine
- Scissors
- Keepsake items
These large “fillable” ornaments come in two equal halves – some of them snapped together perfectly and others were a little loose, so I’m recommending that you glue them together.
Shop The Supplies!
Today we are excited to introduce a brand new feature to our DIY tutorials, an easy “hoverable” way to shop the supplies for the post! Hover over the supplies picture below to find all the items on Amazon!
[show_ms_widget id=”10156487″ image_id=”10624763″ width=”660″ height=”644″]
Things to save and include:
- Small pictures
- Receipts
- Currency
- Luggage tags
- Favors
- Trinkets
- Plane, boat or train tickets
- Matches
- Corks
- Hotel Keys
- Business cards
- Wrapping paper
- …anything small enough to fit
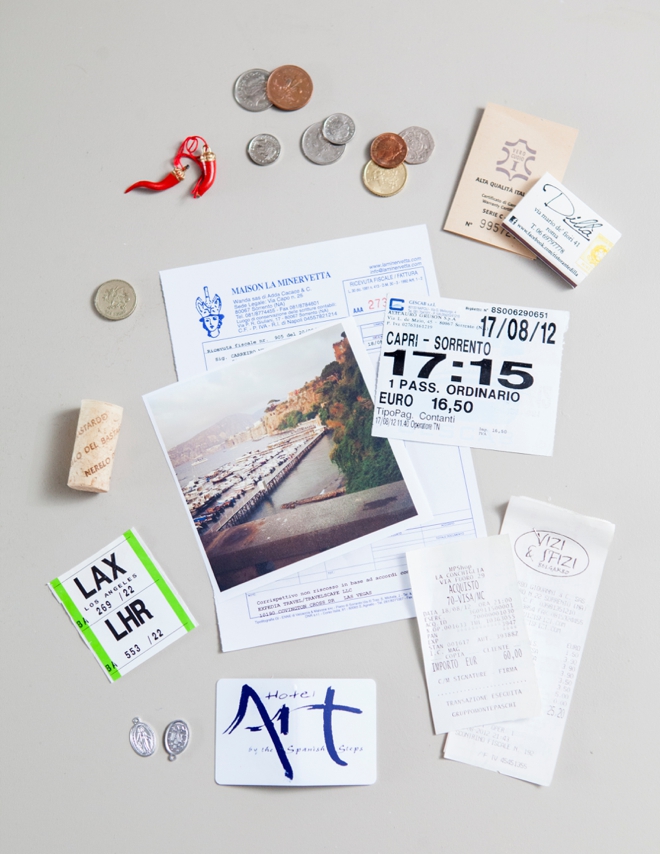
There’s not much to this simple project; save your items and fill up an ornament. But like always, here are my detailed tips on how I put these darlings together.
Use the ornament to trace and cut a circle of a picture to fit in the middle of your ornament, you can do one for both sides if you’d like. Trim about 1/4″ smaller than your trace line to make sure the picture fits inside nicely.
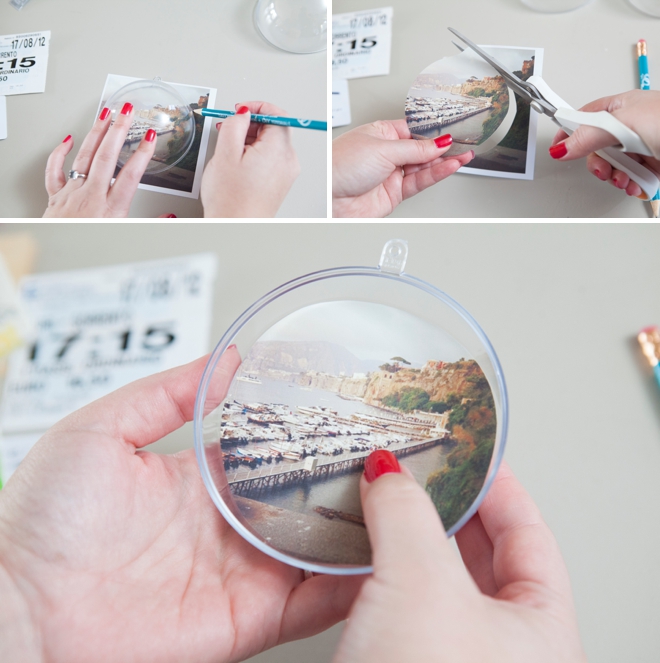
Next, fill up the backside of your ornament, fold and stuff.
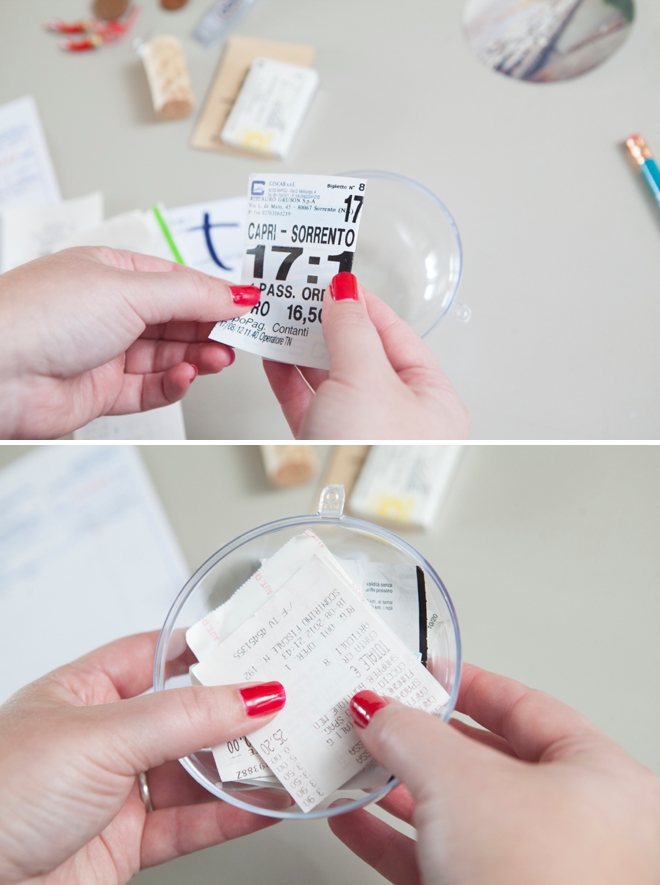
Then add a few Glue Dots to the edges of your cut circle picture and adhere it to the top of the pile of items or the sides of your ornament – facing you. This will be different for everyone since what’s inside will be different.
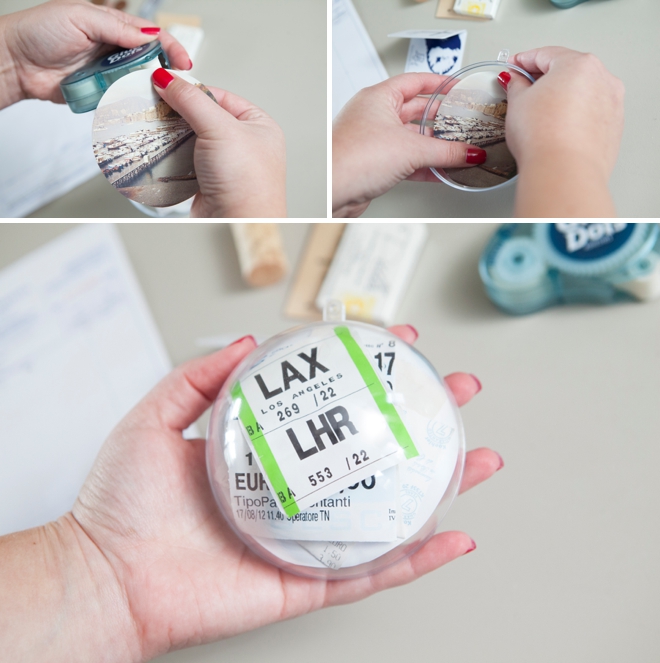
Then carefully add more items on top of your picture, stacked like – knowing that you’ll but the second part of your ornament right on top. If you don’t like the layout of your items you can use the Glue Dots to stick certain things together.
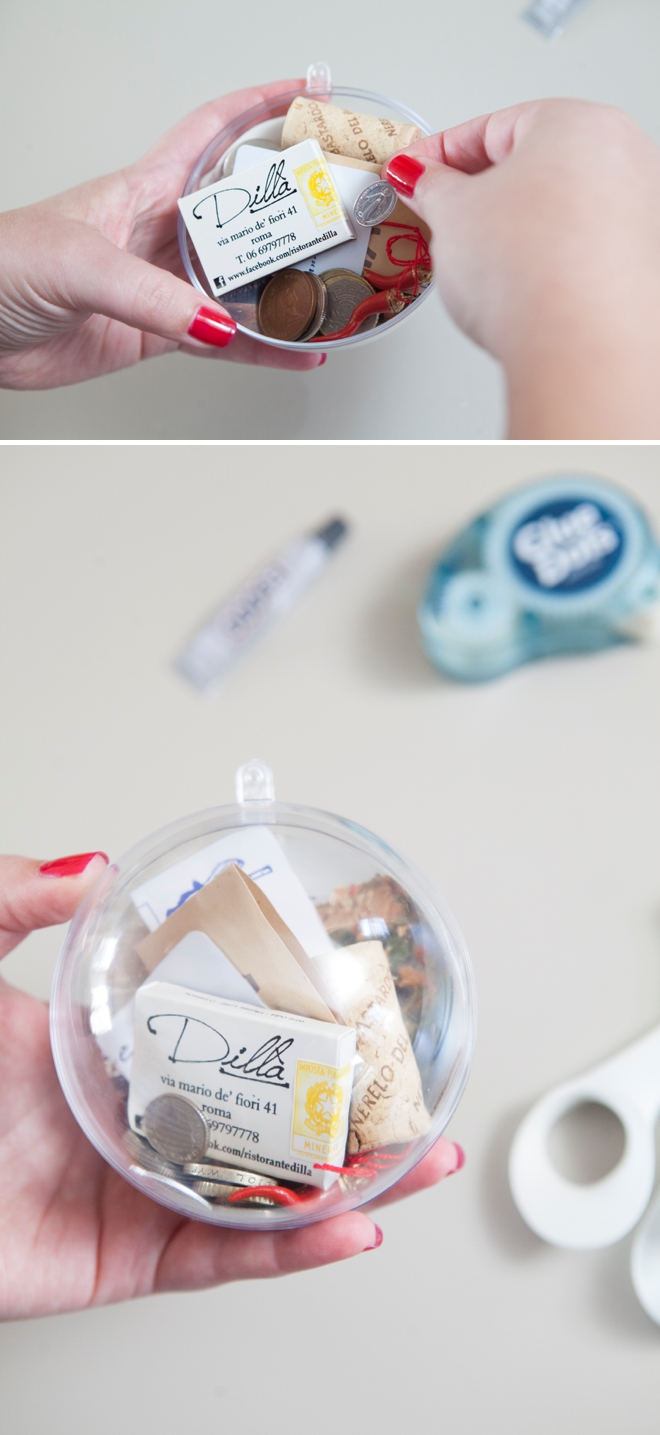
Once you are happy with the configuration of your items, put a few tiny dabs of E600 glue around the ornament – then snap the pieces together and wipe the excess glue away. Some of these ornaments snapped together perfectly and some were a little loose, that’s why I’m suggesting to glue the two pieces together. If you are using heavy items like rocks or currency you’ll definitely want to use glue.
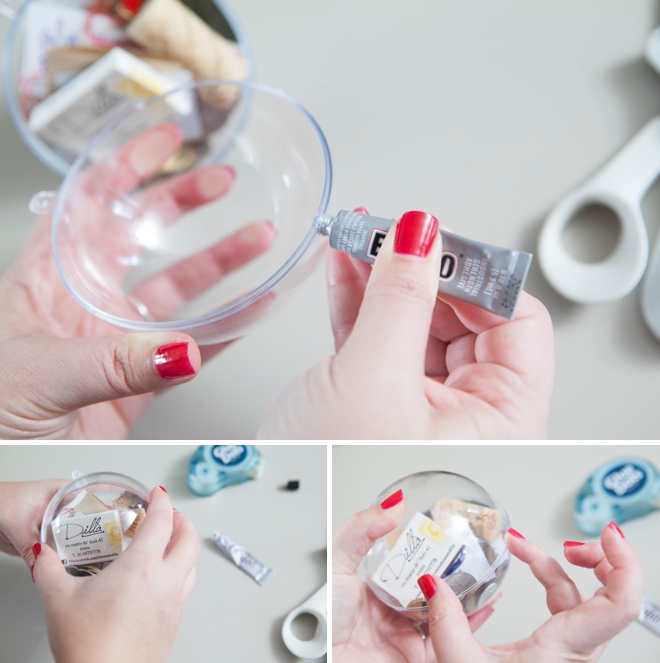
The next step is to add twine or an ornament hook through the little hole at the top.
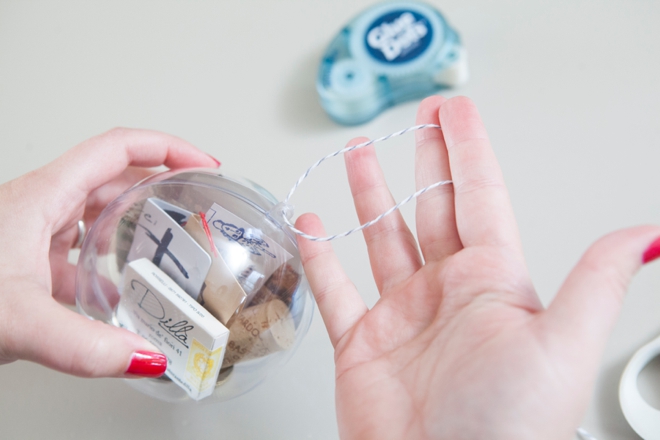
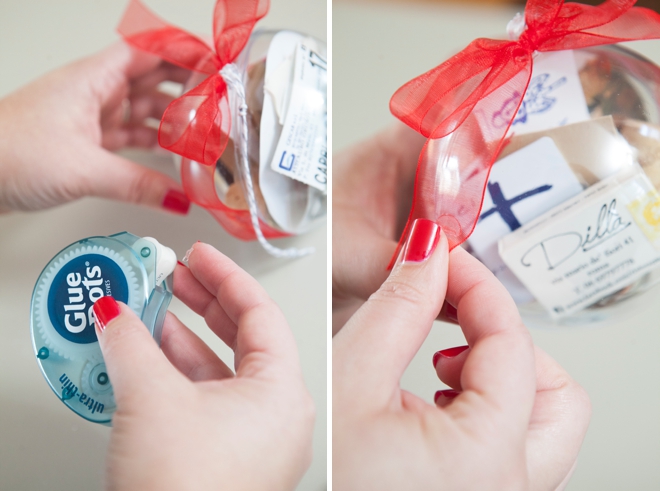
If you’d like add a bow! Tie a simple bow, add a Glue Dot or two underneath and adhere to the top of your ornament, then trim the edges.
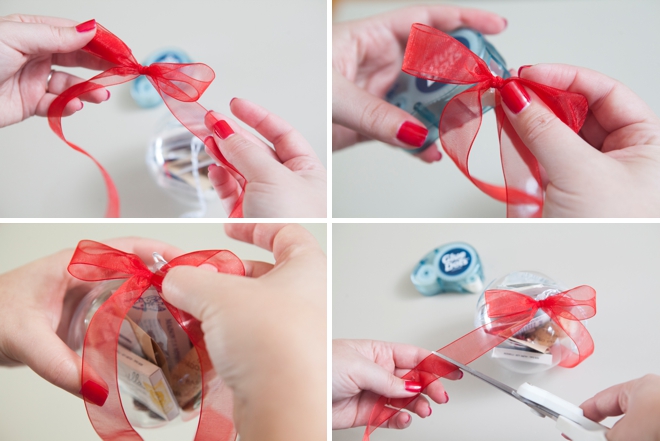
Secure the edges of your ribbon to the ornament with a Glue Dot.
Ta-da! Honeymoon keepsake ornament done :-)
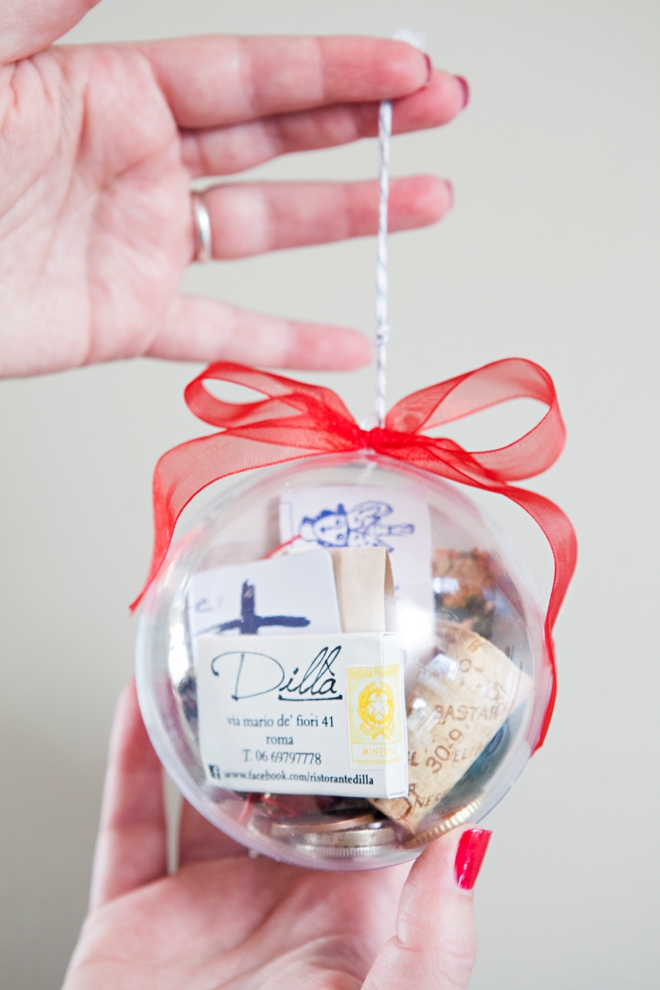
These ornaments hold a lot – this is a front and back shot to show how many trinkets can actually fit inside them. Everything from the “keepsake layout” picture above fit into this ornament!
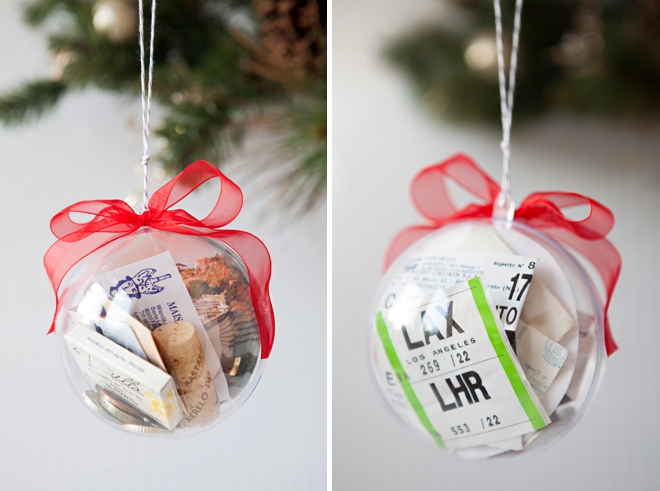
These items aren’t from our honeymoon but they are from our first trip to Europe together, that was a few years back. I’m so thrilled to add these ornaments to our tree this year and I look forward to unpacking them for years to come.
As with all our DIY tutorials, if you create one of our projects please send us a picture – We Love Seeing Your Creativity! If you use Instagram or Twitter please use the hashtag #SomethingTurquoiseDIY and it will show up on our Get Social page. Happy Crafting!
DIY Tutorial Credits
Photography: Something Turquoise Photography for SomethingTurquoise.com // DIY tutorial: Jen | Something Turquoise // 100mm fillable ornaments: Amazon // Glue Dots: Courtesy of Glue Dots // E6000 Glue: Amazon
// twine and ribbon: from multiple places // nail polish: OPI – Unequivocally Crimson
Shop the project with Amazon and these affiliate links below:
[show_shopthepost_widget id=”428327″]


Comments