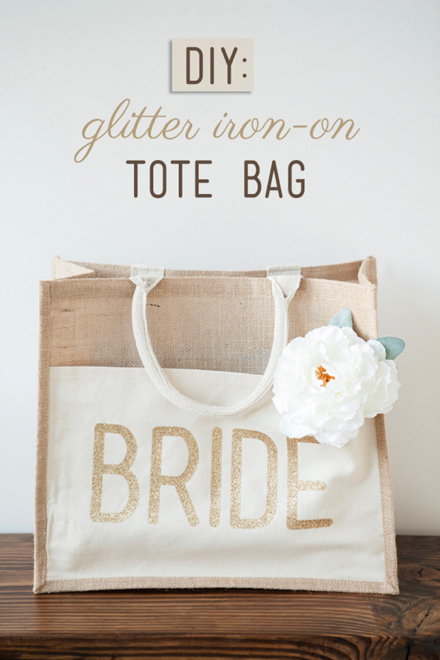
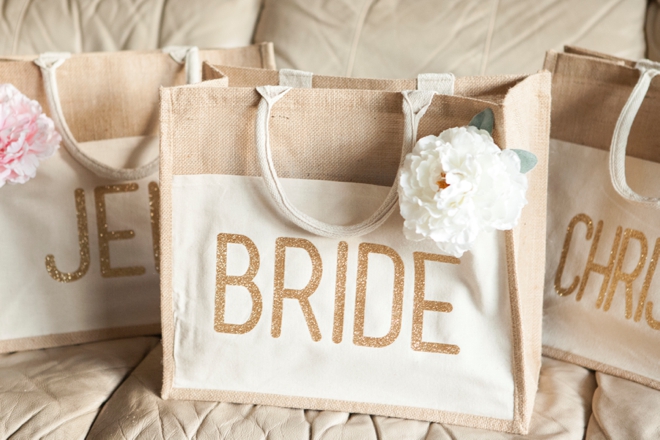
This project is for all my glitter-loving DIY brides! Today I am sharing my second Cricut Explore tutorial (here’s the first) and like I said earlier this month, I’m going to slowly warm you up to using this fab machine. It can be intimidating at first but once you get into it – I know you’ll be obsessed. That’s why I’m sharing such detailed information here, I want you to see how easy it can be. Below you will learn exactly how I personalized these tote bags with the Cricut iron-on glitter material. This bag belongs on the arm of a new “bride” and would make wonderful bridesmaid gifts, the best part is they can be completed in less than an hour from start to finish.
SUPPLIES:
- Burlap tote bag with cotton pocket (*any canvas or cotton bag will do)
- Cricut Explore
- Cricut Iron-on material in glitter
- Scissors
- Iron
The iron-on glitter sheet is only 12″ x 19″ – meaning if you make each name about 6″ tall you’ll be able to get 3 out of one package.
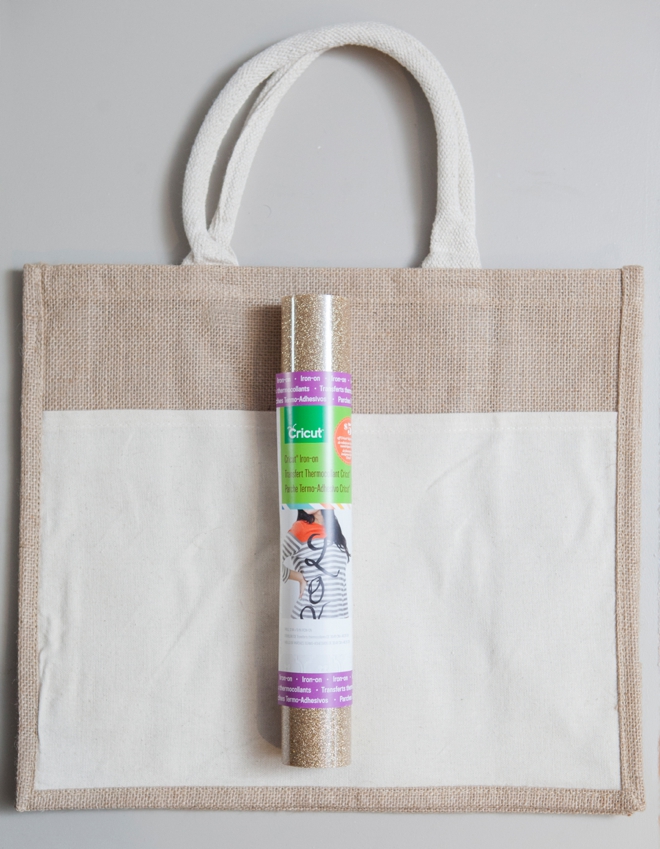
The Cricut Explore makes this such as easy project and I’m not just saying that. If you didn’t want one before – you are going to want one now.
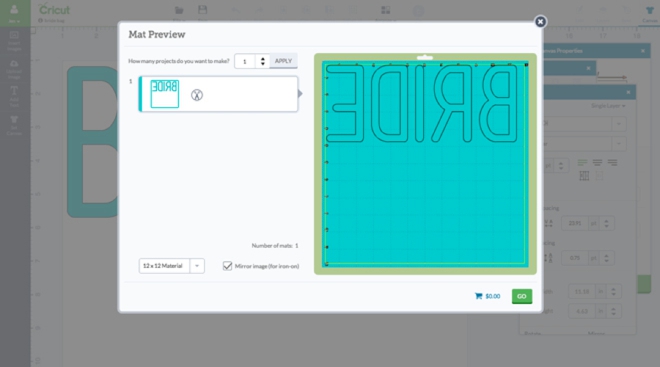
Start in your Cricut Design Space and open a text box. Write whatever word you would like, here I am cutting BRIDE using the font Mensch – which I downloaded from LostType.com – but any font will do. Stretch the text box as large as you want, staying within the size of your bag.
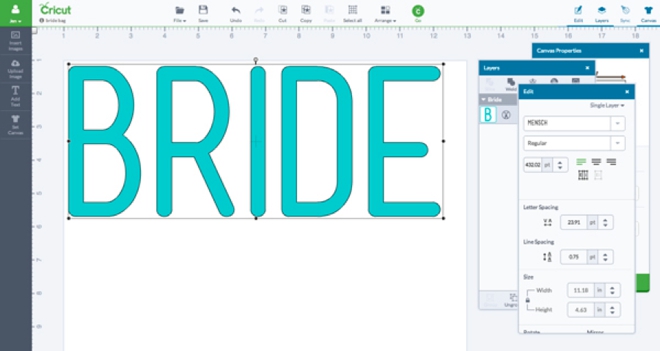
That’s all there is to it. Make sure to check off the “mirror image” box so that your wording is cut backwards. It will be right side up once it’s ironed on.
Important!!! Glitter side down!!! You want the vinyl backing facing you on your cutting mat. Feed into your machine and press go!
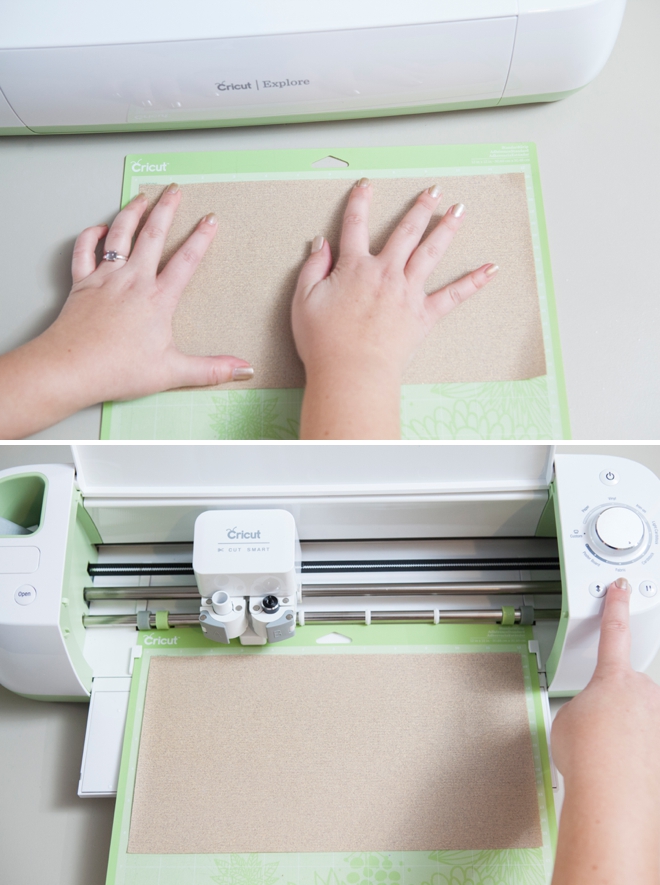
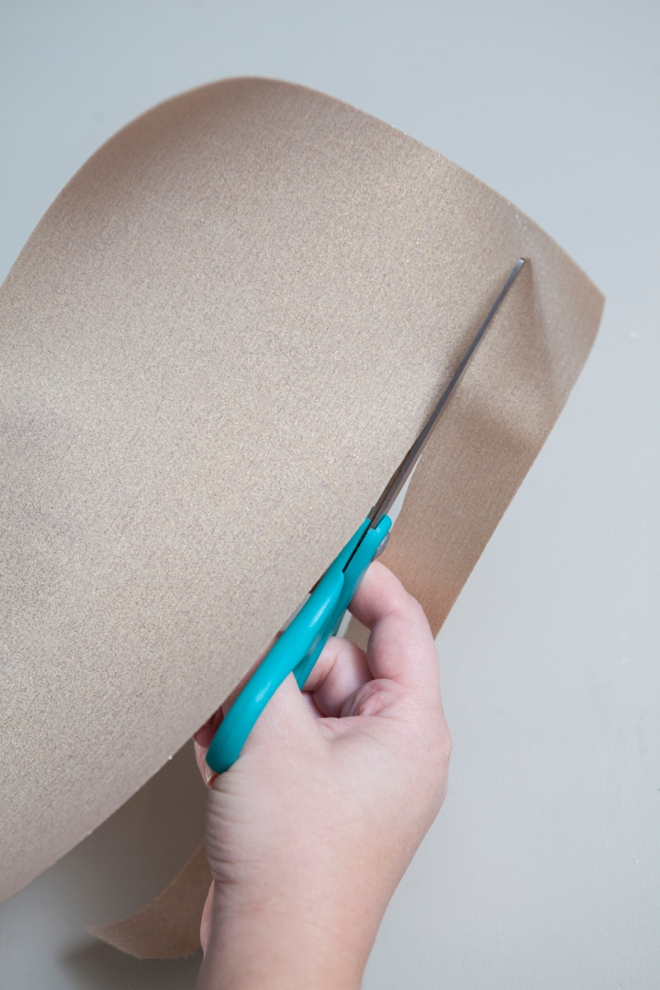
In seconds you’ll have a perfectly cut out statement. It’s really hard to see the cuts in this picture but they are there. Cut around your design as close as you can.
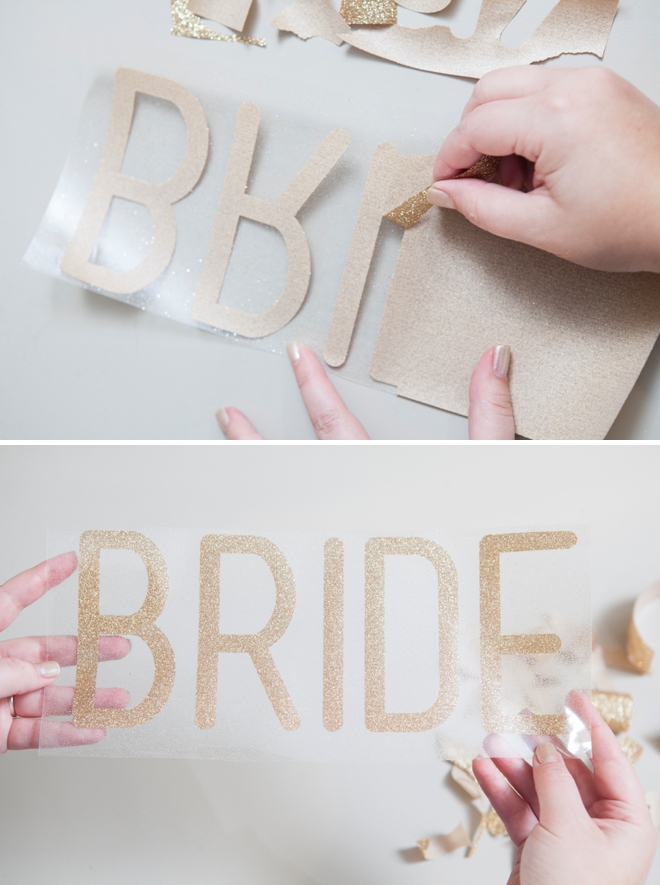
The next step is called ‘weeding’. Remove all the excess material that has nothing to do with your iron on design. What you are left with is your word on a clear vinyl sheet – ready to iron.
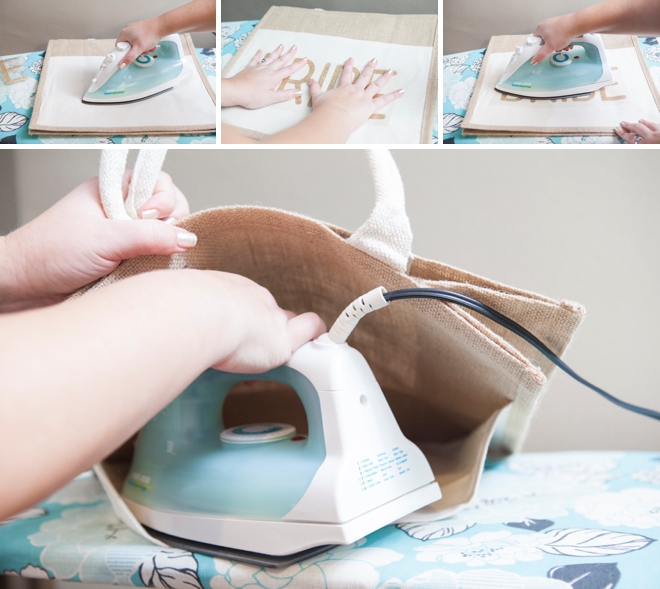
Follow the directions on the iron-on glitter package including; pre-heating your surface, adding your design, ironing it thoroughly, and ironing from the opposite side – in this case from the inside of the pocket.
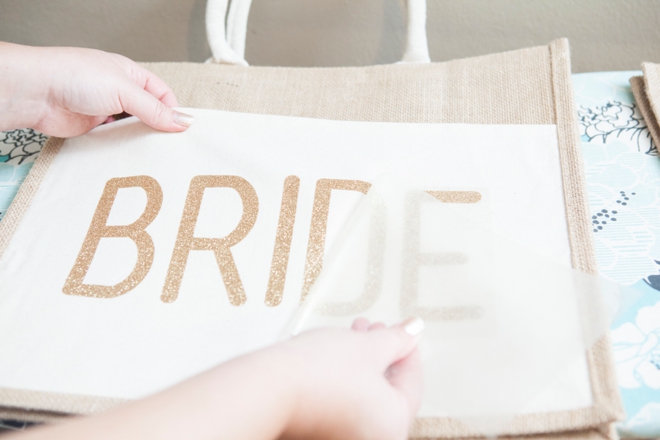
Once cool you can remove the clear backing and you’re done!
This iron on decal can even be put in the washing machine! However I’m not sure if this bag can be ;)
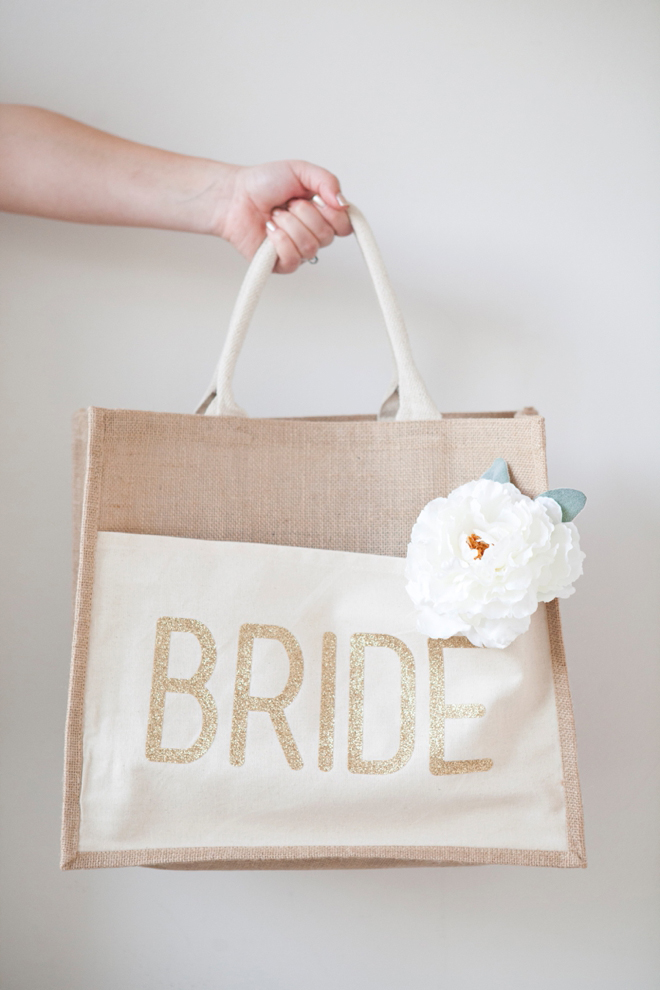
These bags would make the PERFECT bridesmaid gift! Keep in mind that using your friends name is the best gift, no bridesmaid wants a bag that says “bridesmaid” – lol.
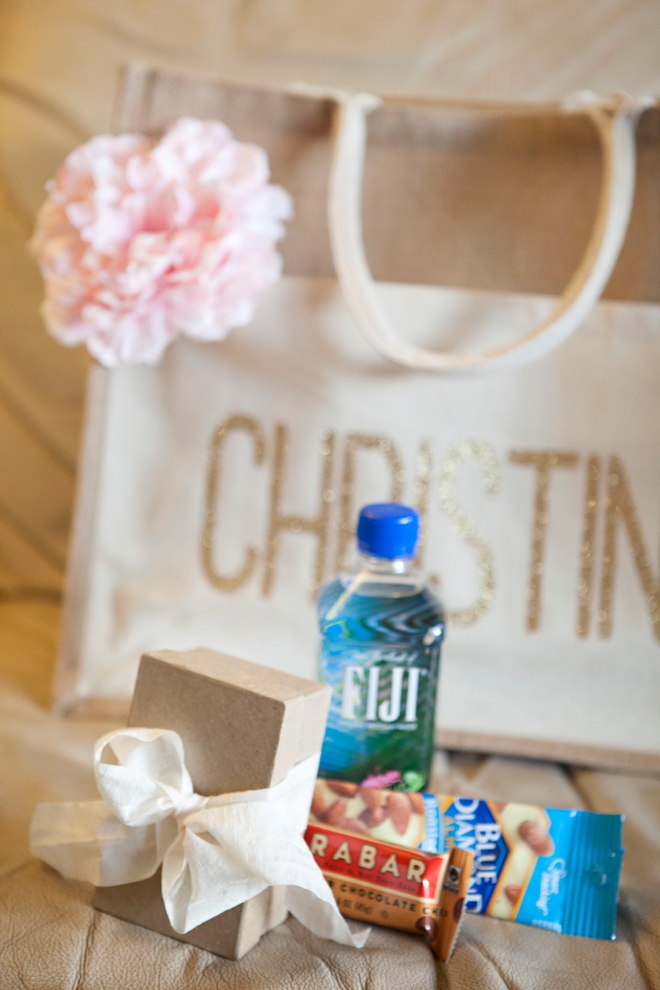
Add other gifts, snacks and waters to each one and have them waiting for your girls on the morning of your wedding – they will love it!
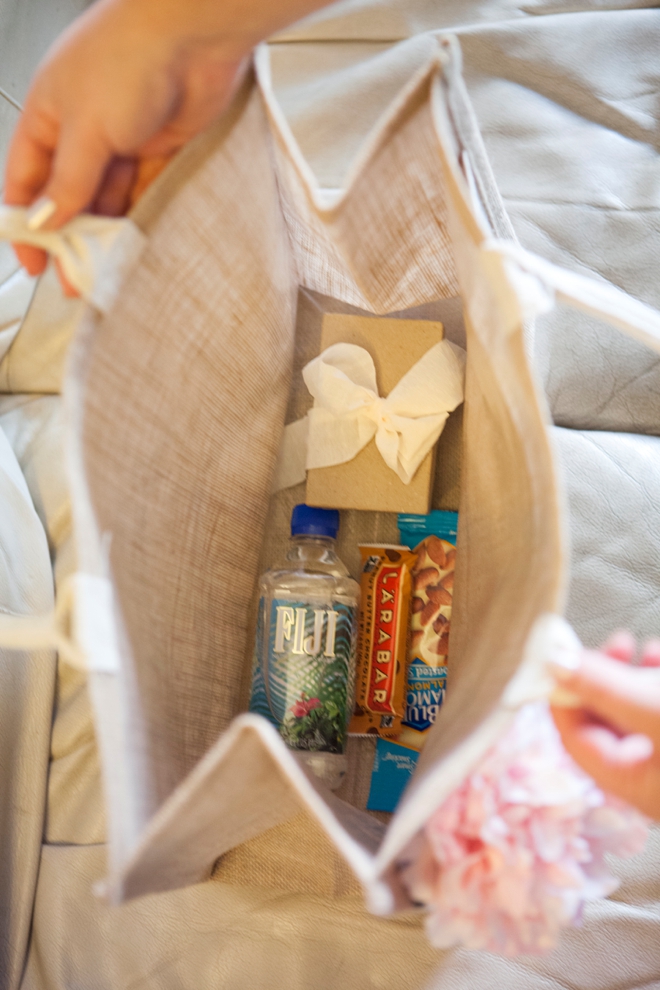
Using a simple font is perfect for this project, but for those of you who are more skilled at using your Cricut – the sky is the limit with what you can create and iron-on.
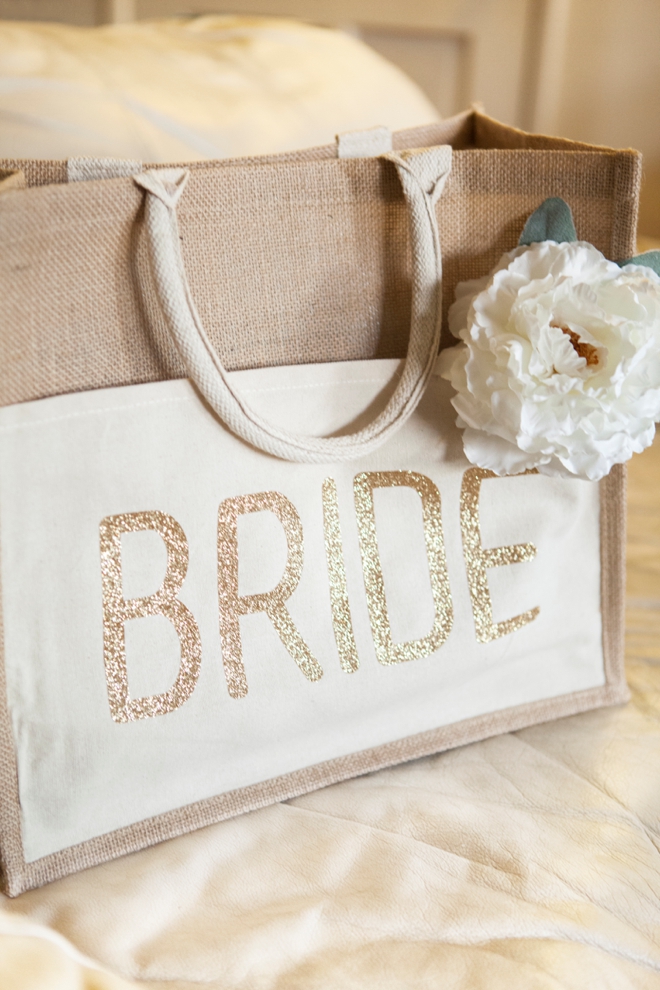
As with all our DIY tutorials, if you create one of our projects please send us a picture – We Love Seeing Your Creativity! If you use Instagram or Twitter please use the hashtag #SomethingTurquoiseDIY and it will show up on our Get Social page. Happy Crafting!
DIY Tutorial Credits
Photography: Something Turquoise Photography // DIY tutorial: Jen | Something Turquoise // burlap tote bag with cotton pocket: Amazon // Cricut iron-on in gold glitter: Amazon
// Cricut machine: courtesy of Cricut // font used: Mensch // ironing board: Target // nail polish: OPI – Designer.. De Better
Find the products you need for this project from our affiliate links below:



Comments