Happy DIY Friday!!! There is an old tradition that says wedding guests (other than the immediate family and bridal party) should not actually walk down the ceremony aisle to be seated. They should walk around the chairs or pews to find their seats. This was meant to show respect and honor to the ones about to walk down the aisle, and I think there might have been a little superstition mixed in there too. It makes sense to abide by this etiquette if you have beautiful flower petals lining the aisle or other decor that you don’t want ruined by hundreds of foot steps before the bride gets to grace the aisle herself. Today’s project is bringing this romantic custom back to life by adorning the last two chairs with a darling “ceremony aisle tie-off sign”. Upholding tradition has never looked so good!
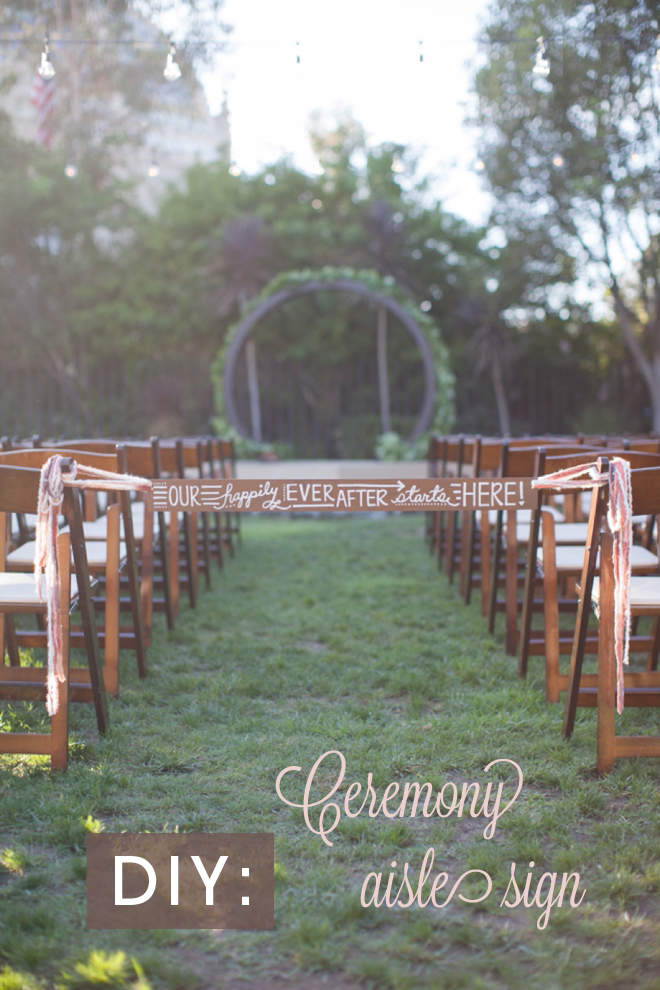
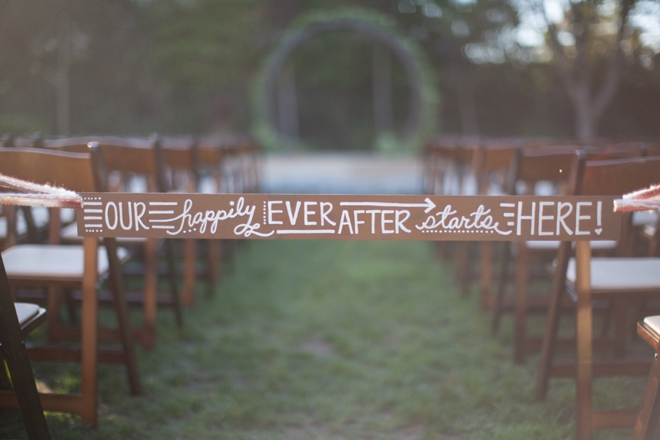
I made this sign specifically for The Big Fake Wedding (formerly known as The NotWedding) that I was apart of in San Diego last month. These event images are courtesy of Natalie Bray Photography, check her out she’s amazing.
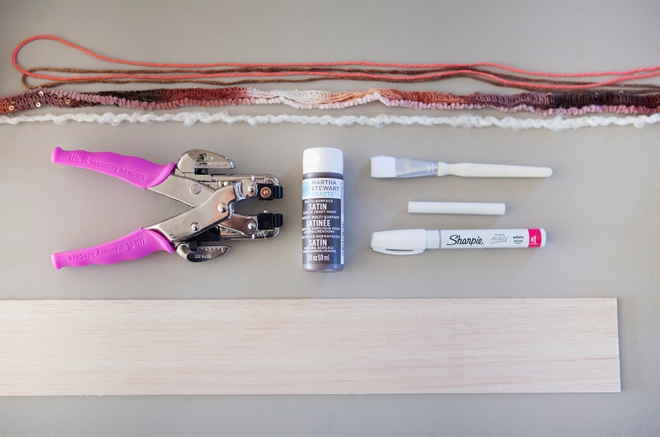
SUPPLIES:
- strip of light wood (ours is balsa wood at 3″ x 3′)
- Martha Stewart Crafts paint (Vanilla Bean) and brush
- Sharpie paint pen
- Chalk
- Crop-a-dile hole punch
- lots of yarn
Be very picky about what type of wood you use! If the wood is too heavy, you might have to weight the chairs down that it’s tied to. That’s why I used balsa wood, it’s super light and super smooth. The paint pen worked perfectly on it, if your wood has a heavier grain/texture – you might need to hand paint the wording.
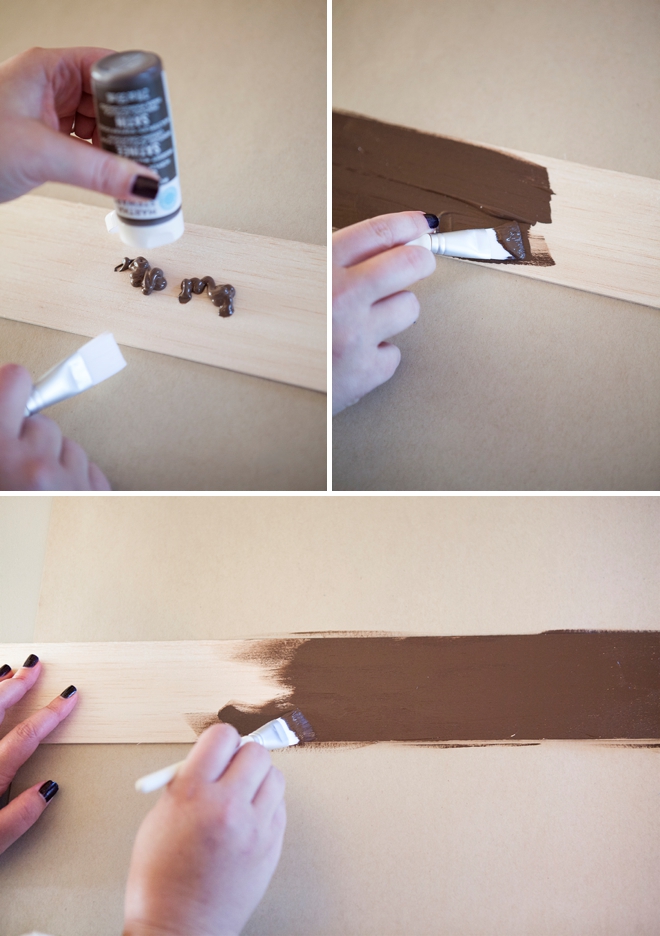
Paint your wood, of course this step is optional.
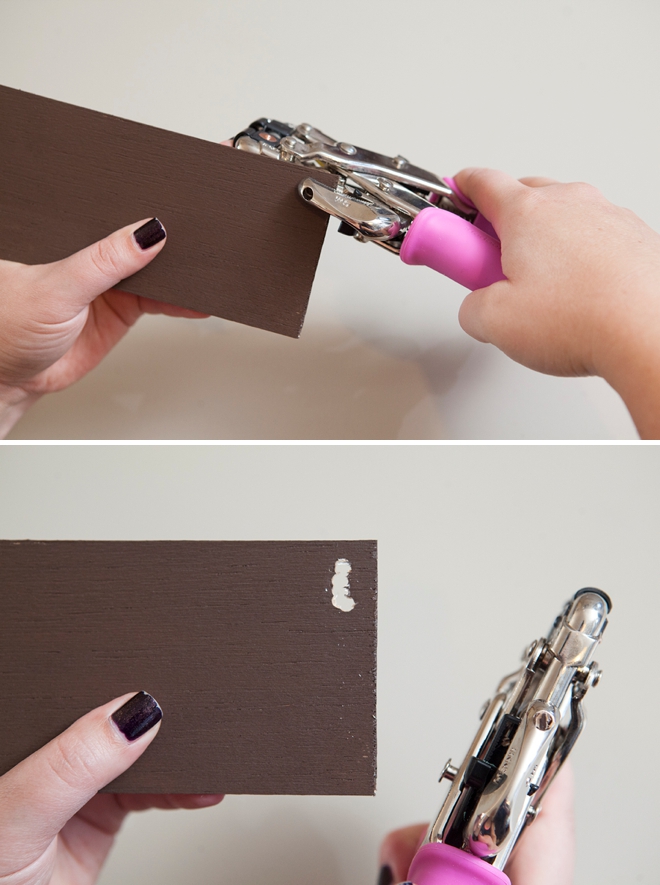
After the paint is completely dry, hole punch the balsa wood a few times to make a little slot for the yarn. Easy, no power tools required and any hole punch should do. Obviously if you use real wood you will have to drill holes or cut a notch out with a dremel tool.
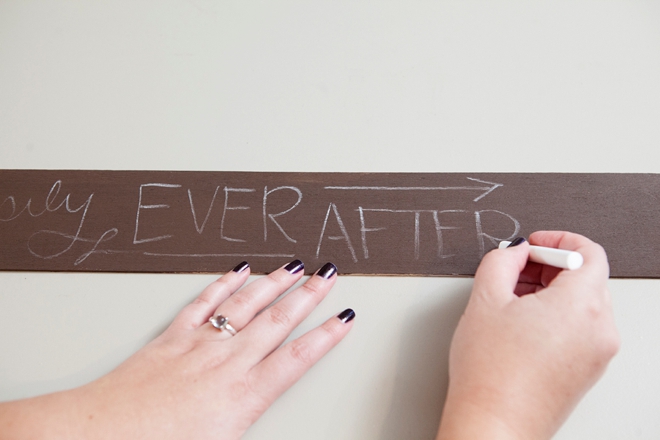
Lightly trace your wording with chalk first! This step helps to keep your design right on track, and if you mess up you can erase.
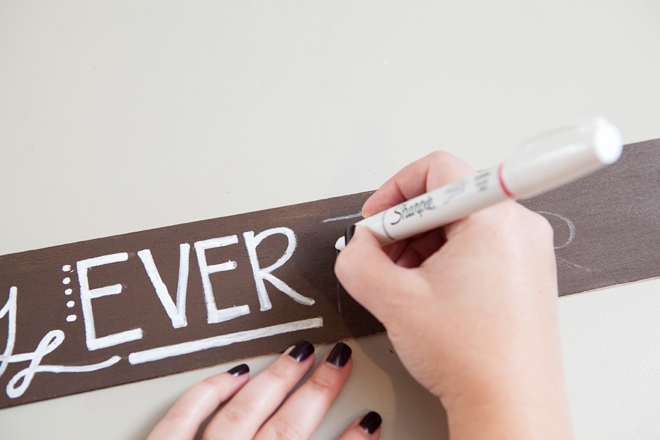
Use a paint pen to create your sign wording, carefully following your chalk line.
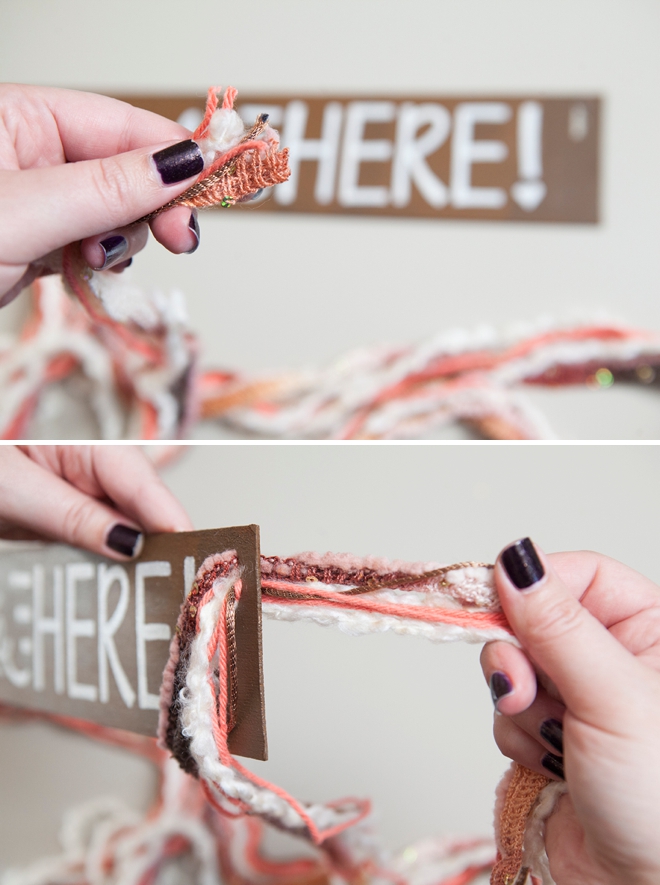
Then add your yarn. I used 5 different colors and textures and left the strands really long until I got to the ceremony and cut them to fit.
Tie your sign to the last two ceremony chairs at your wedding. Remember, keep your sign as light as possible so that you don’t pull these chairs over with it. If needed, you can use small sandbags to hold the chairs down.
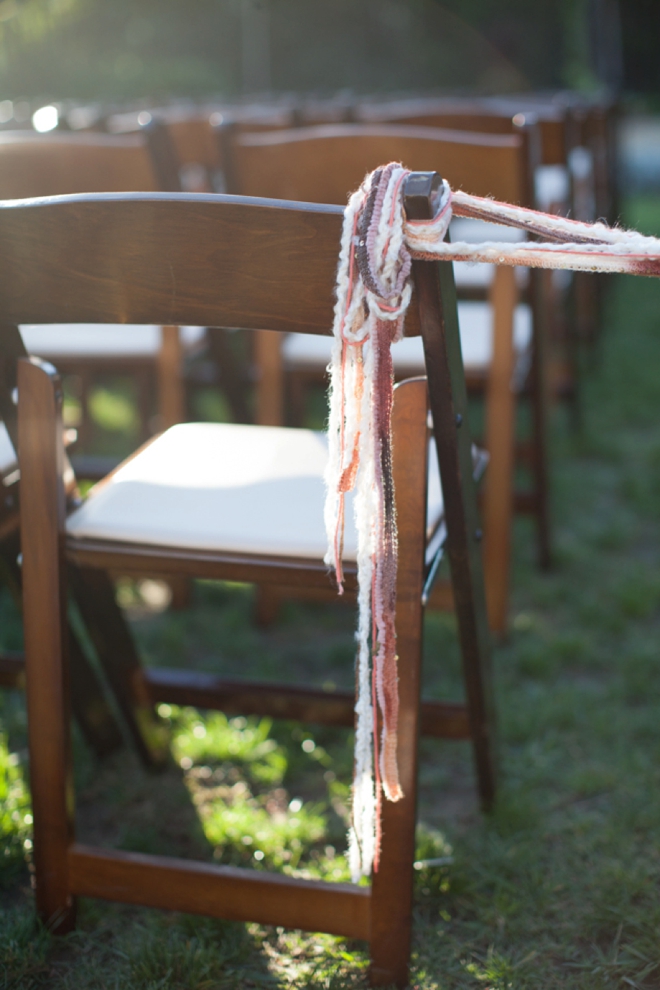
Isn’t it darling??
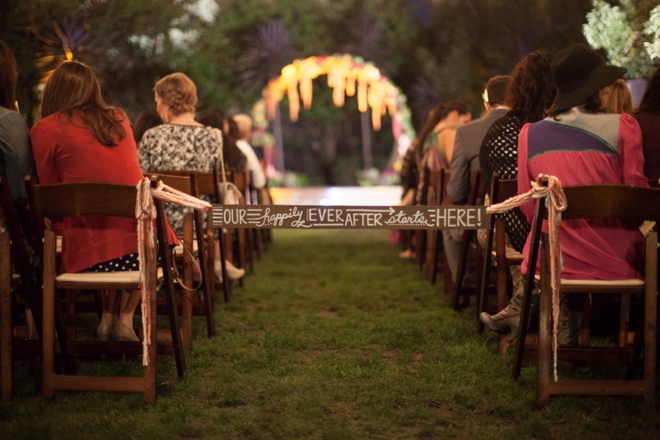
Don’t worry, your guests will think this sign is so sweet that they totally won’t mind walking around to be seated.
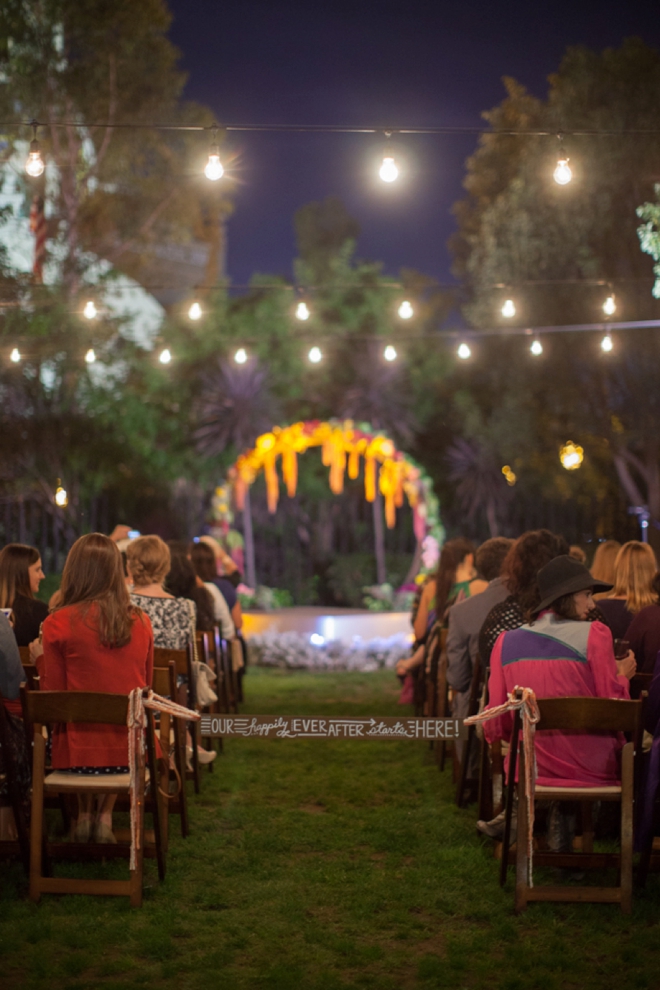
As with all our DIY tutorials, if you create one of our projects please send us a picture – We Love Seeing Your Creativity! If you use Instagram or Twitter please use the hashtag #SomethingTurquoiseDIY and it will show up on our Get Social page. Happy Crafting!
DIY Tutorial Credits
Event Photography: Natalie Bray Photography // Images from The Big Fake Wedding, San Diego 2014 // Step by Step photography: Something Turquoise Photography // DIY tutorial: Jen | Something Turquoise // Martha Stewart Crafts paint in Vanilla Bean, paint brush, balsa wood, Sharpie paint pens and all yarn from: Michaels.com // Crop-A-Dile hole punch/eyelet setter: Amazon
// nail polish: OPI – DS Mystery


Comments