There is so much that can be done with just paint – it can literally transform nothing into something incredibly special. In this months 12 Months of Martha project, I’m sharing how to create this personalized (and darling!) ring bearer pillow box! With a few simple steps and a couple of hours, you will have a DIY wedding detail that’s beauty will only be rivaled by the jewels placed in it! Happy crafting!
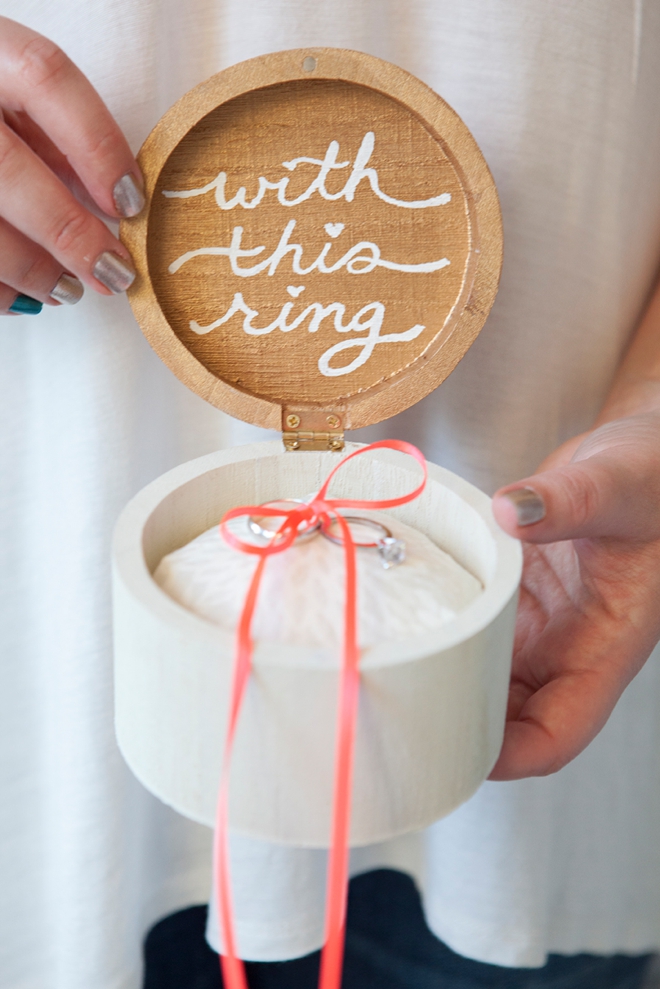
Keep your rings safe until you say “I do”!
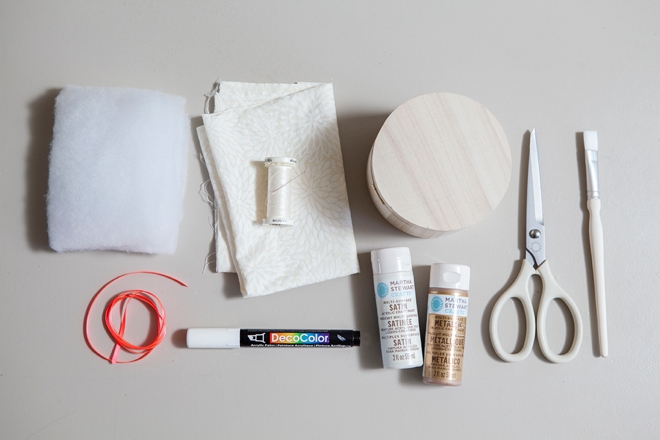
SUPPLIES:
- round wooden hinge box (ours is from Michaels)
- Martha Stewart Crafts paints in your choice of colors
- MSC paint brush
- Tacky Glue
- Cute fabric
- Pillow batting
- Paint pen (optional)
- Needle and thread
- 20″ of thin ribbon
- MSC scissors
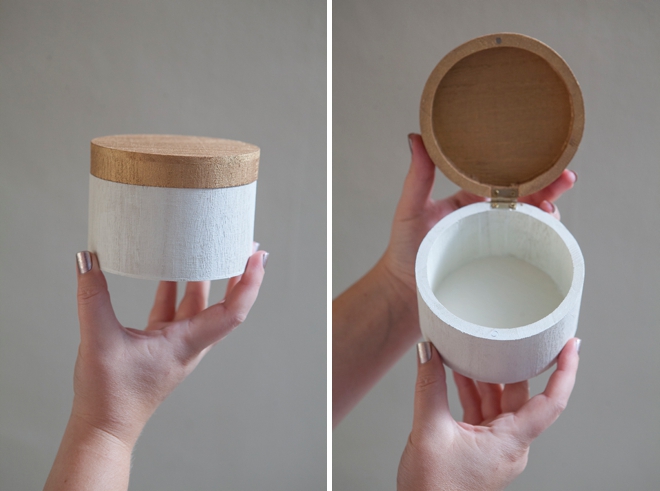
Using your choice of Martha Stewart Craft paints (ours are satin Summer Linen and metallic Brushed Bronze)… paint your darling wooden box. We chose to do a color-block style; bronze on top – white on bottom.
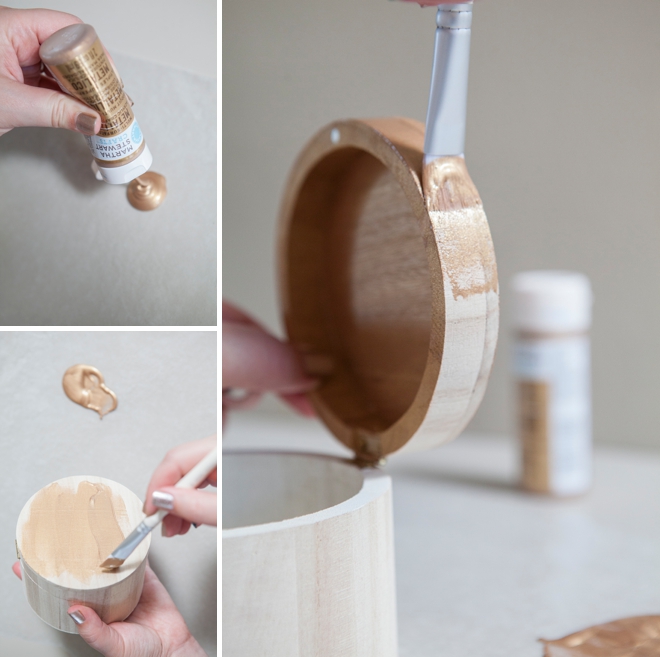
I’m obsessed with this brand new color white… summer linen!
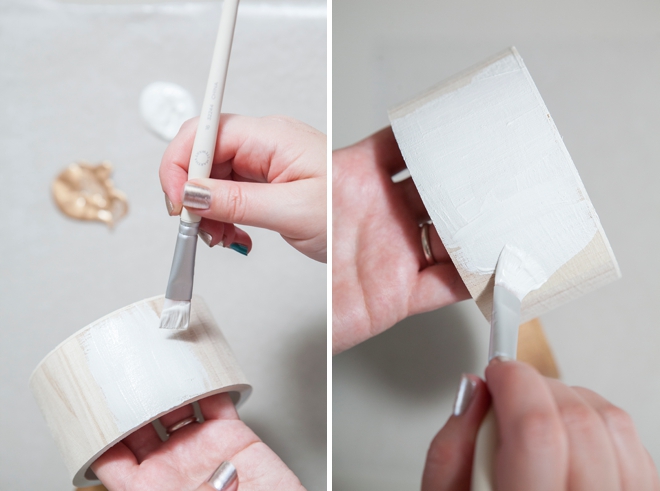
The dimensions of this box are 3″ high, with a 4.5″ diameter – the inside diameter is 3.75″.
Let the wood fully dry before moving to the next step. Depending on your choice of color, your box might require two coats of paint.
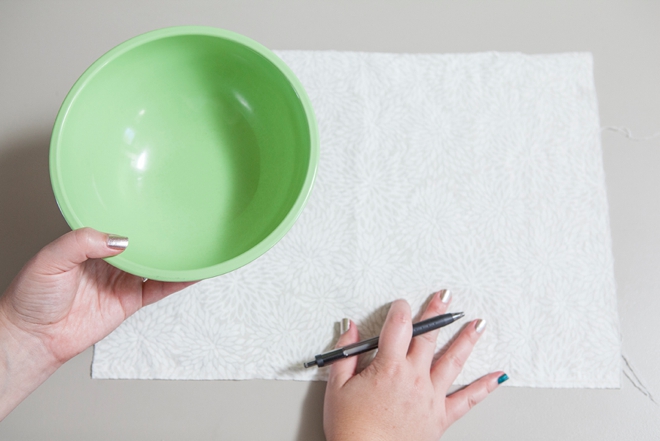
Now to make the tiny little pillow for your rings! Here we have a small piece of fabric and a bowl that is 7″ in diameter – which made the perfect sized pillow for our 3.75″ diameter box.
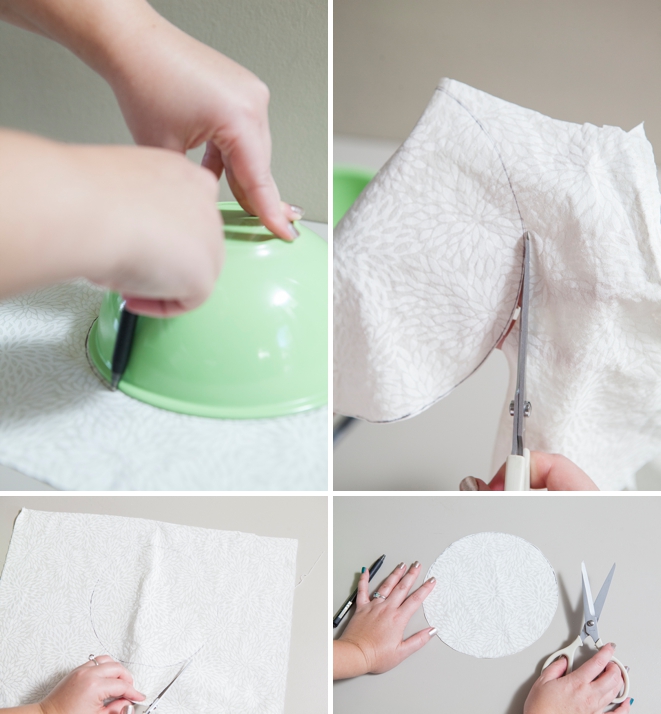
Trace the bowl circle onto your fabric, then cut out the circle – it doesn’t have to be perfect.
—> If your wooden box is a different size than ours – you might need to experiment with the size of your fabric circle!
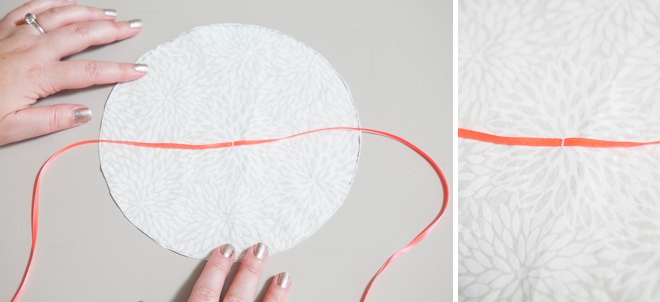
Now you need to sew your ribbon to the middle of your fabric circle. A few solid stitches will do.
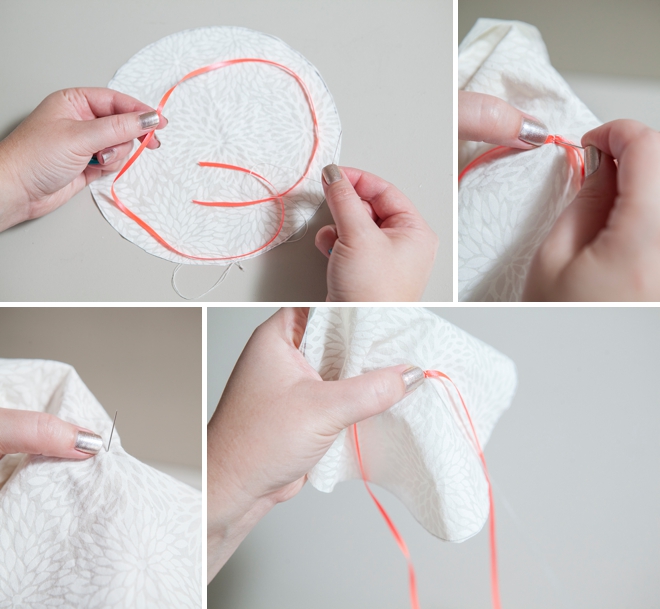
This will tie your wedding rings to the pillow!
Now for the construction of the pillow. Taking large stitches, sew around the entire fabric circle about a half inch from the edge. Try not to gather it too much yet…
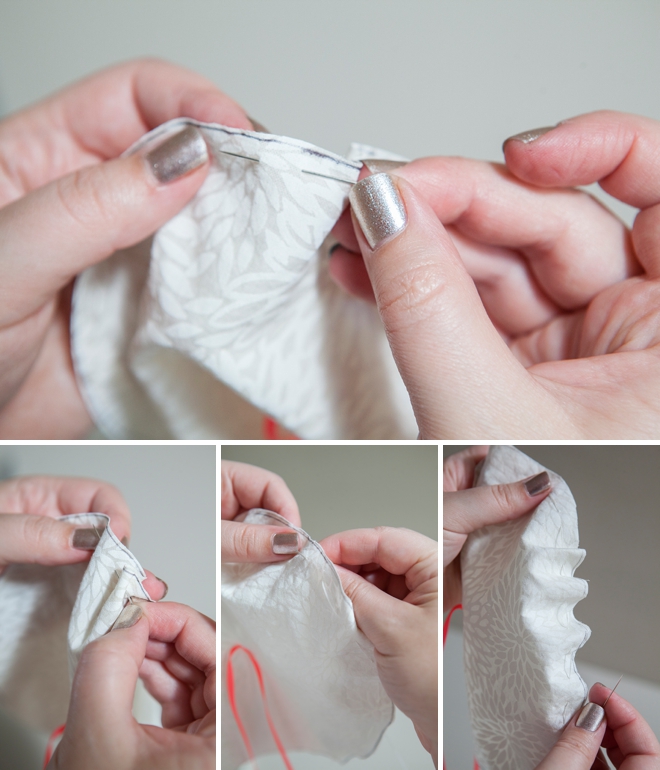
Once finished, one end of the string should be free and the other should have a very secure knot.
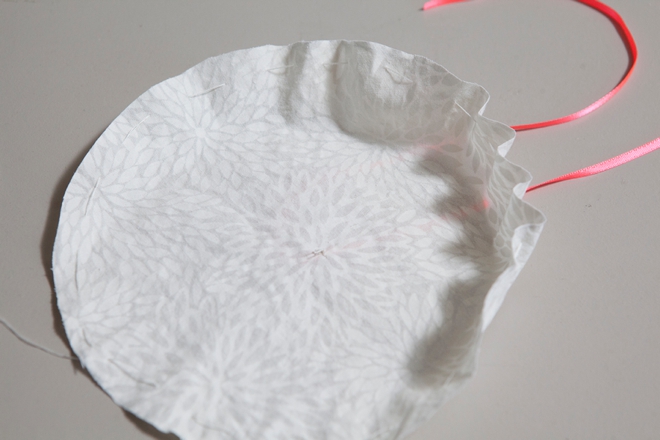
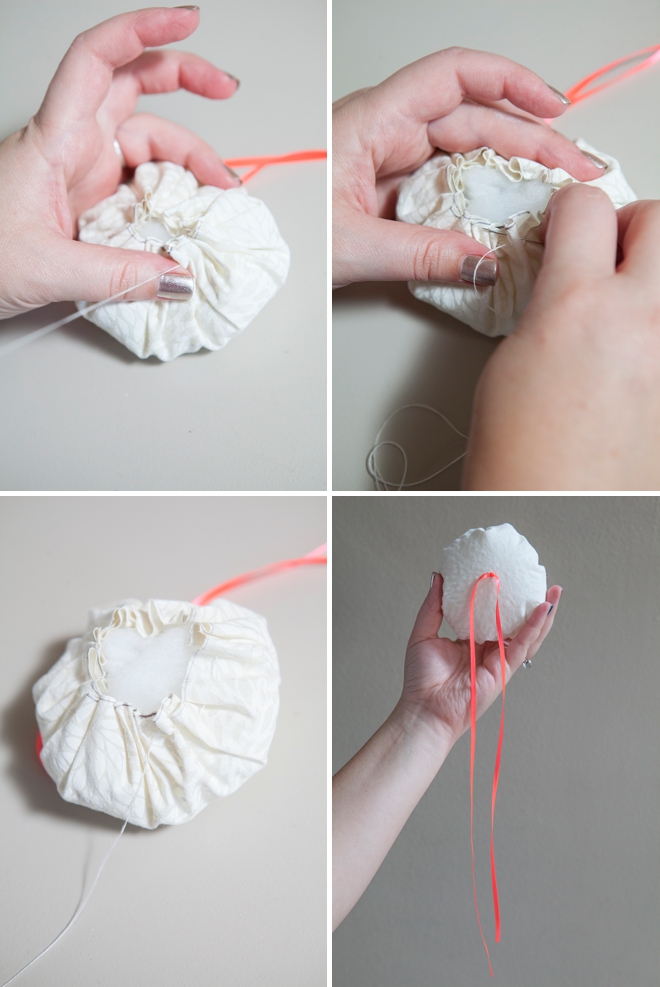
Add a little clump of pillow batting (or the like) to the middle of your fabric circle and pull the loose end of the string tight! This gathers the entire circle together around the batting – making the perfect little pillow!
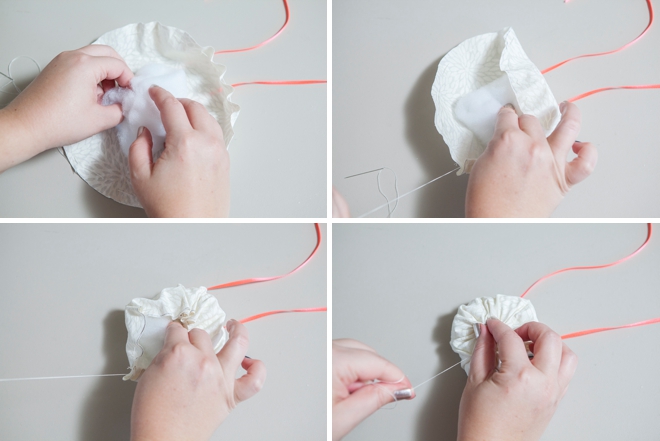
Stitch across the base a couple times to secure your pillow edges and voila!
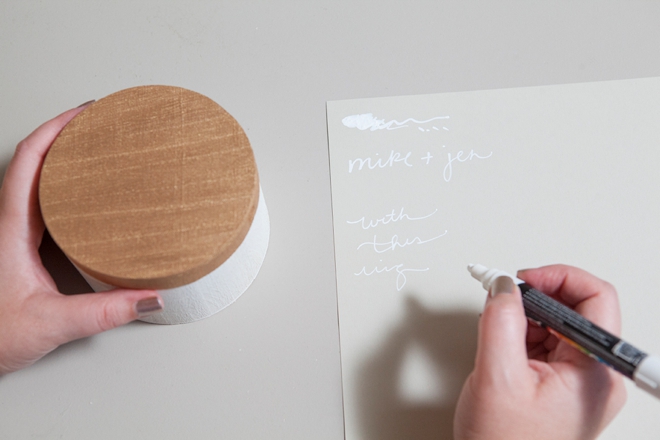
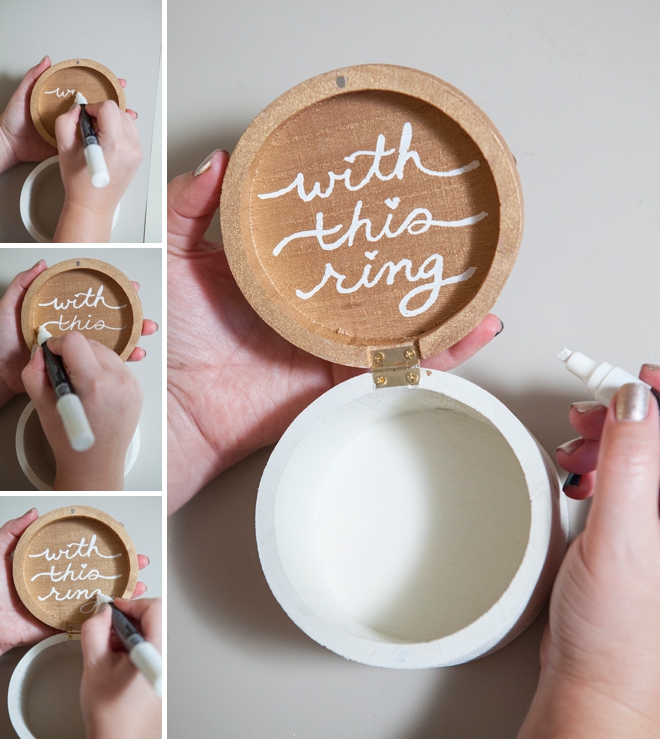
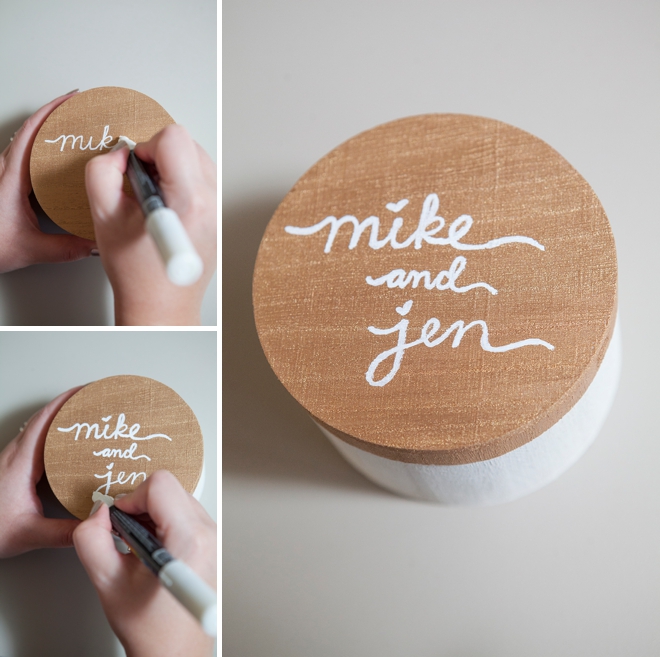
Now to embellish your ring box… here we used a paint pen but you can use whatever you are comfortable with. Practice on paper before you paint!
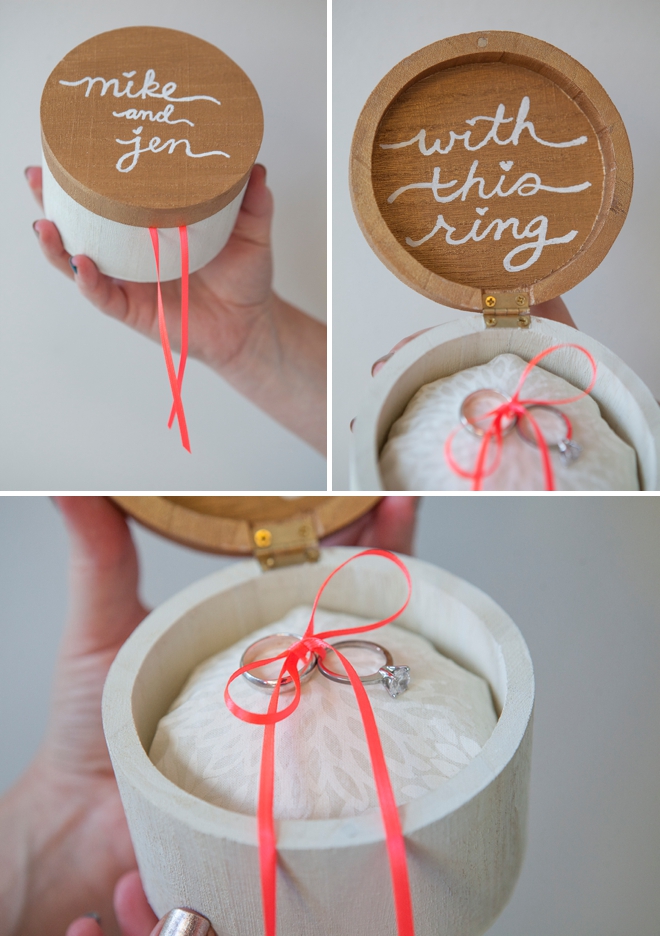
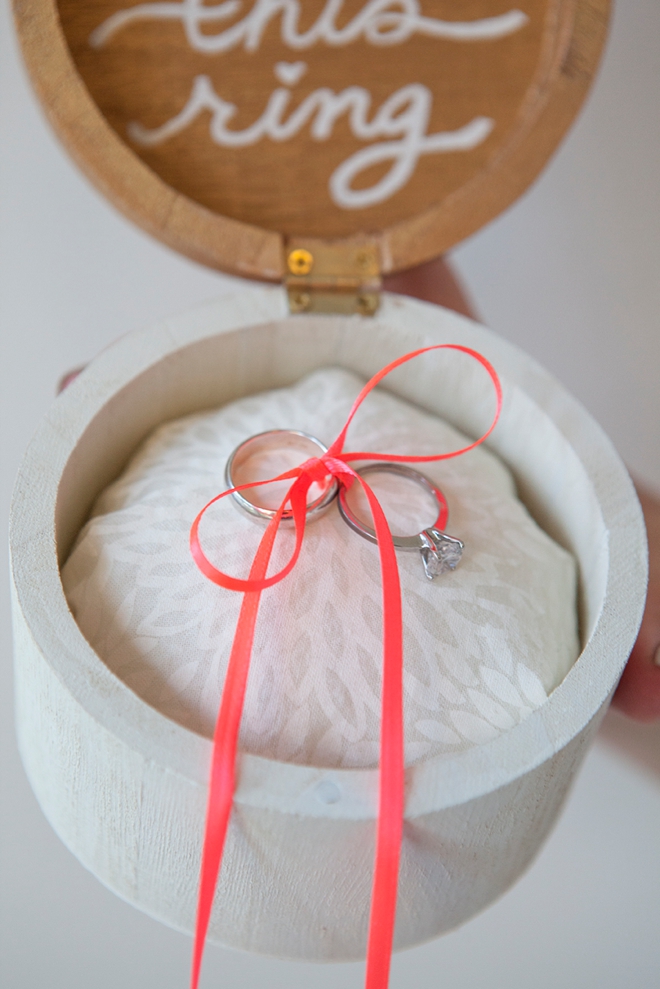
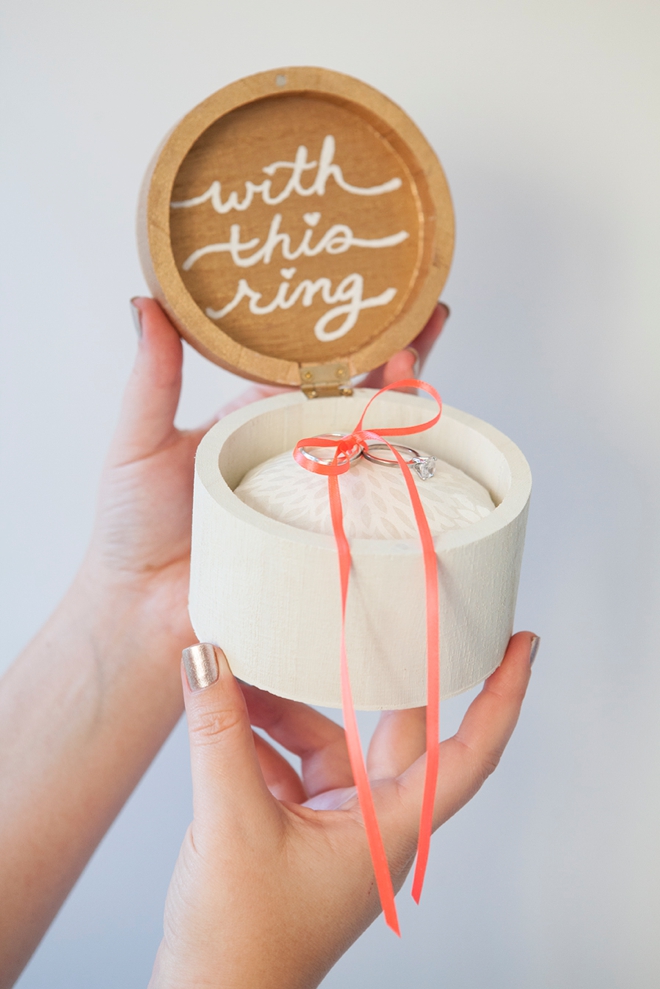
The inside of our box reads; “With this Ring”.
The outside simply has our names… but your design can say anything you’d like!
Take your little pillow and get ready to glue it into your box.
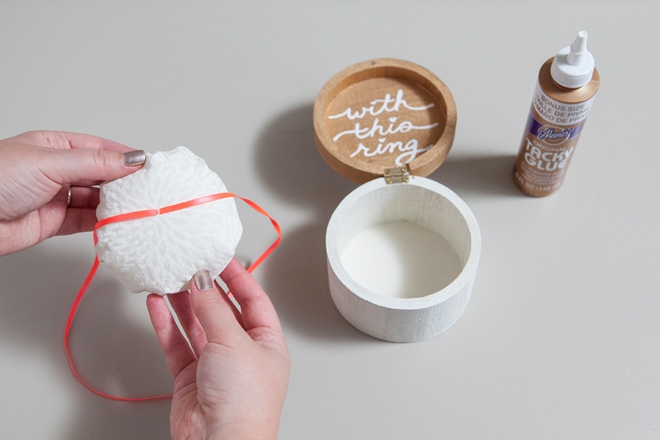
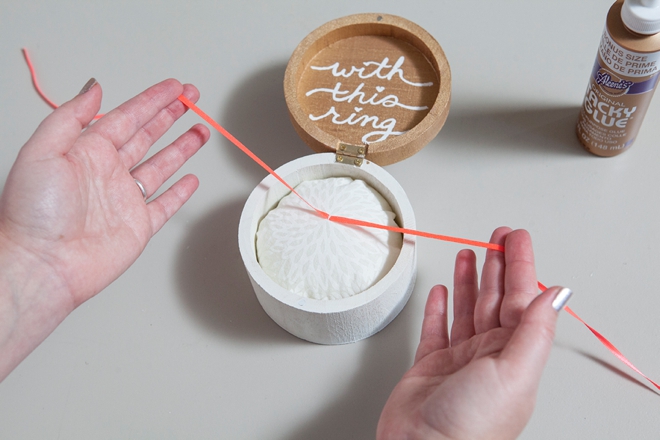
Before you glue, place it inside the box to make sure that you like how it’s fitting. Make adjustments to the pillow if need be.
Add a large amount of tacky glue to the bottom of the box and press your pillow into it. Let it dry for 24 hours.
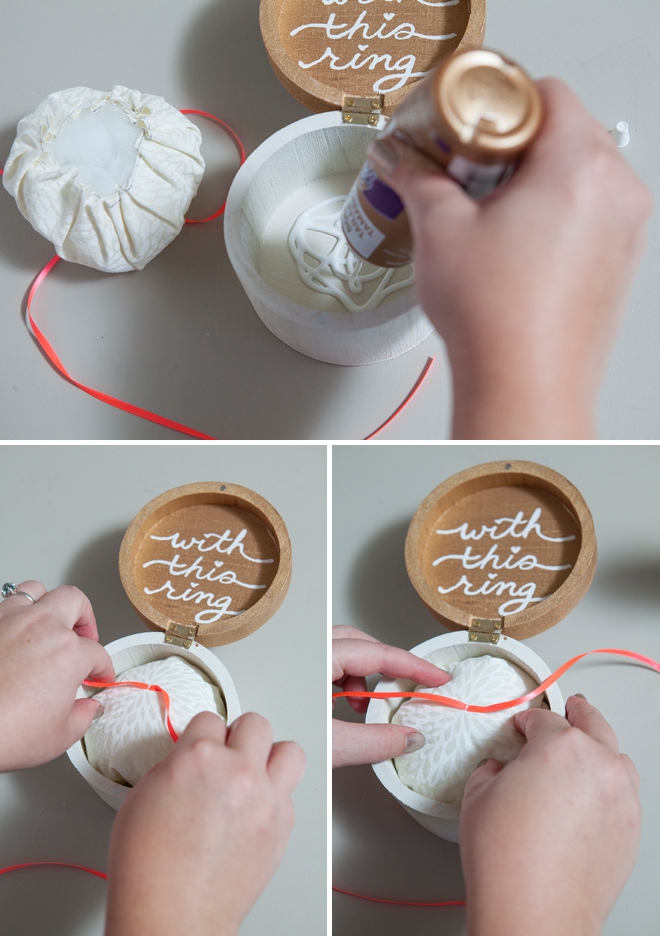
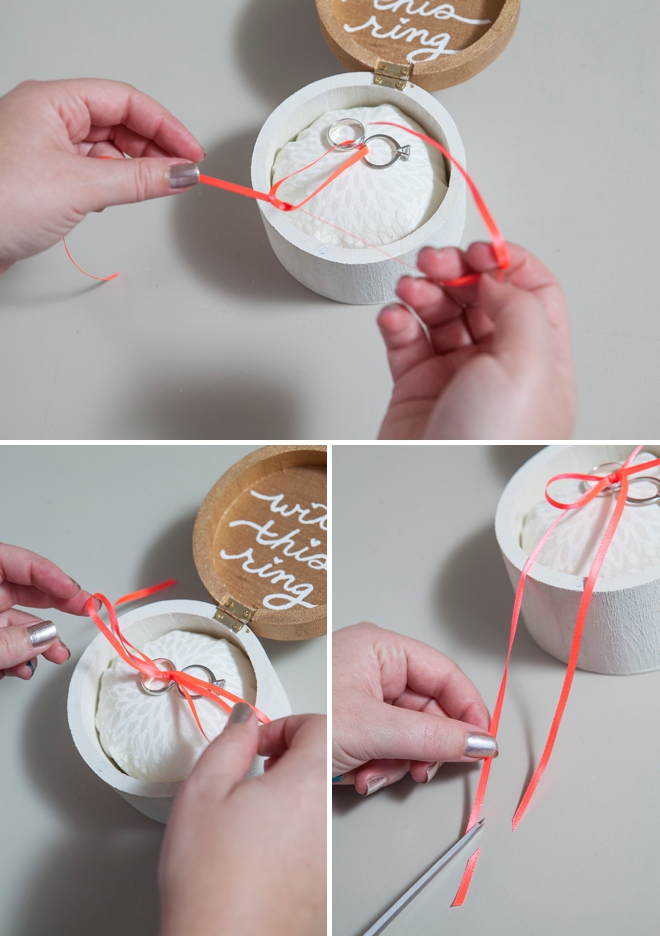
When you are ready… string your rings onto the ribbon…
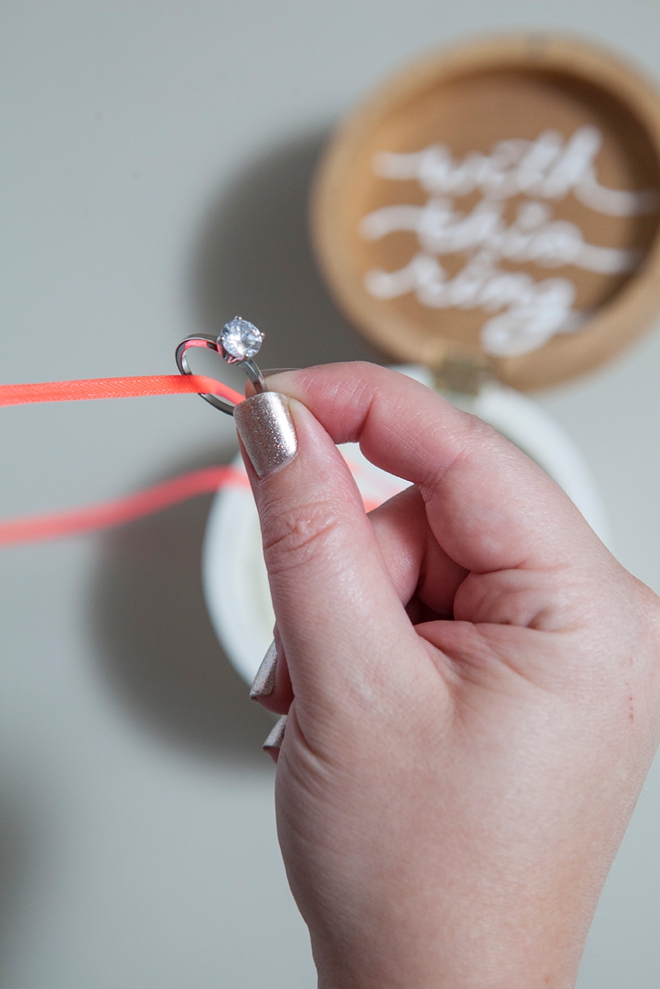
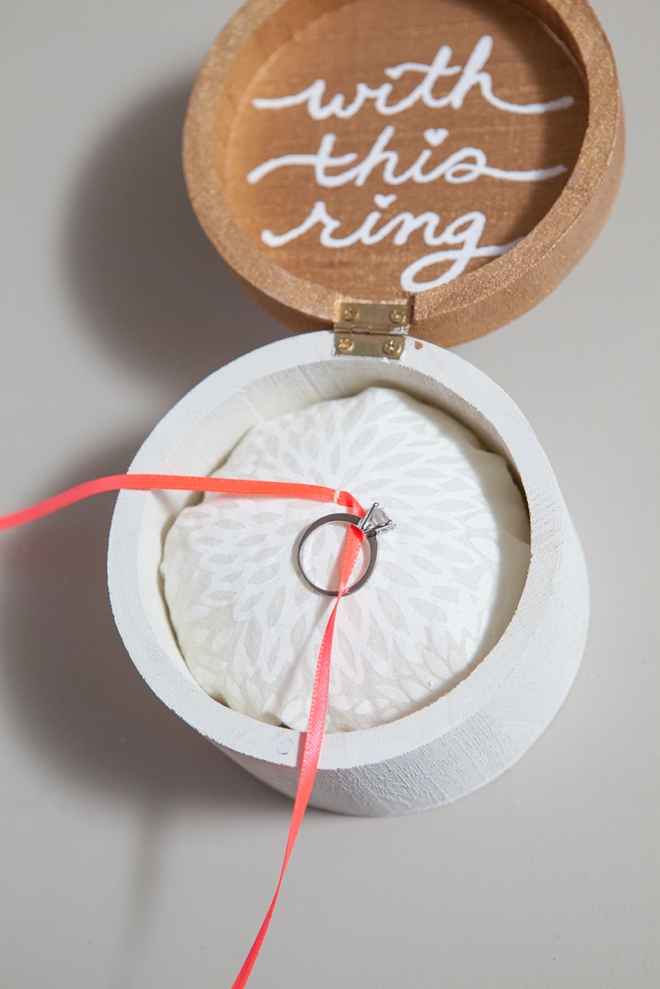
…tie a bow and cut to your desired length. So fab!
Such a special and personal way to have your rings carried down the aisle.
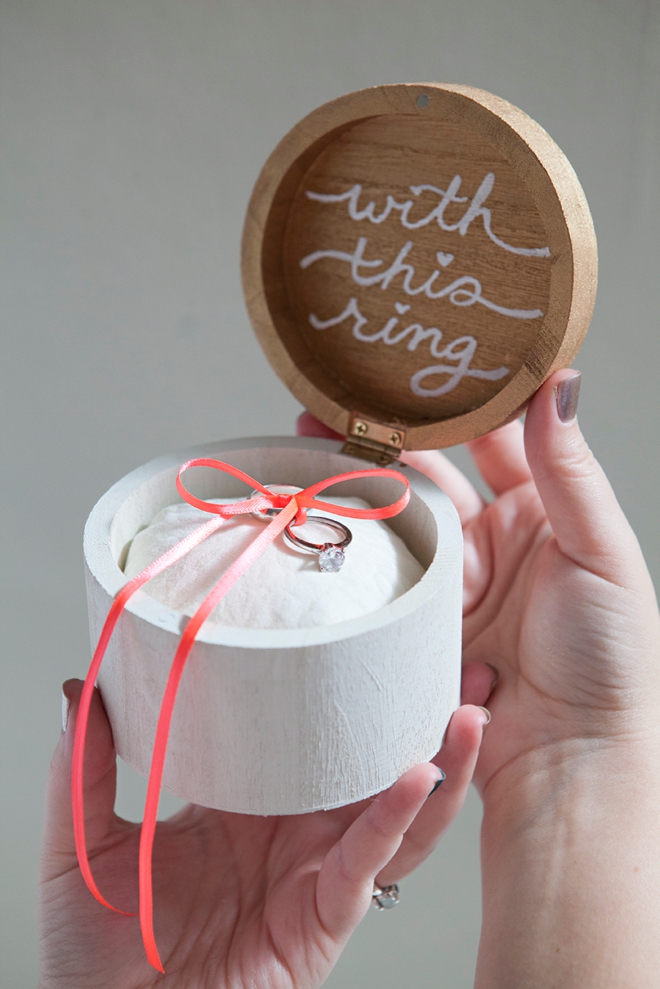

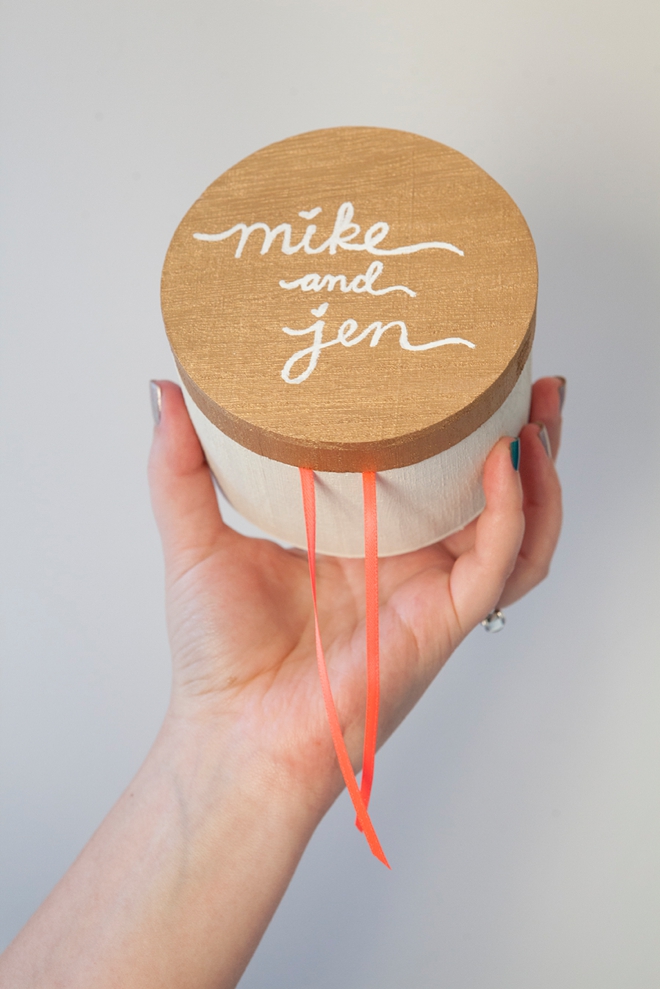
The paint – fabric – ribbon color options are endless… what colors will you choose?
As with all our DIY tutorials, if you create one of our projects please send us a picture or a trackback – We Love Seeing Your Creativity! If you use Instagram or Twitter please use the hashtag #SomethingTurquoiseDIY. Happy Crafting!
DIY Tutorial Credits
Photography: Studio 11 Weddings // DIY tutorial: Jen | Something Turquoise // Martha Stewart Crafts scissors and paint in Satin Summer Linen and Metallic Brushed Bronze: Editors at Martha Stewart Living // round wooden box and DecoColor paint pen: Michael’s // fabric, batting, thread and neon ribbon: JoAnns // nail polish: OPI – Designer de Better and Essie Trophy Wife


Comments