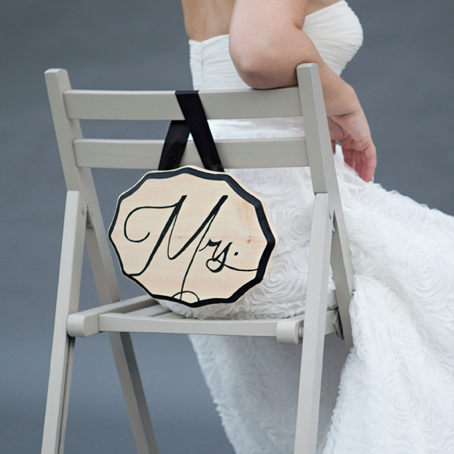
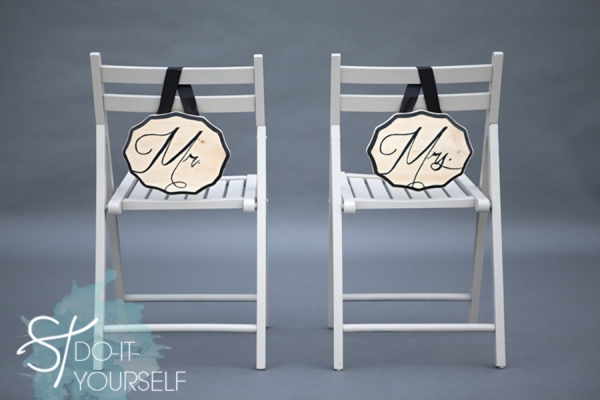
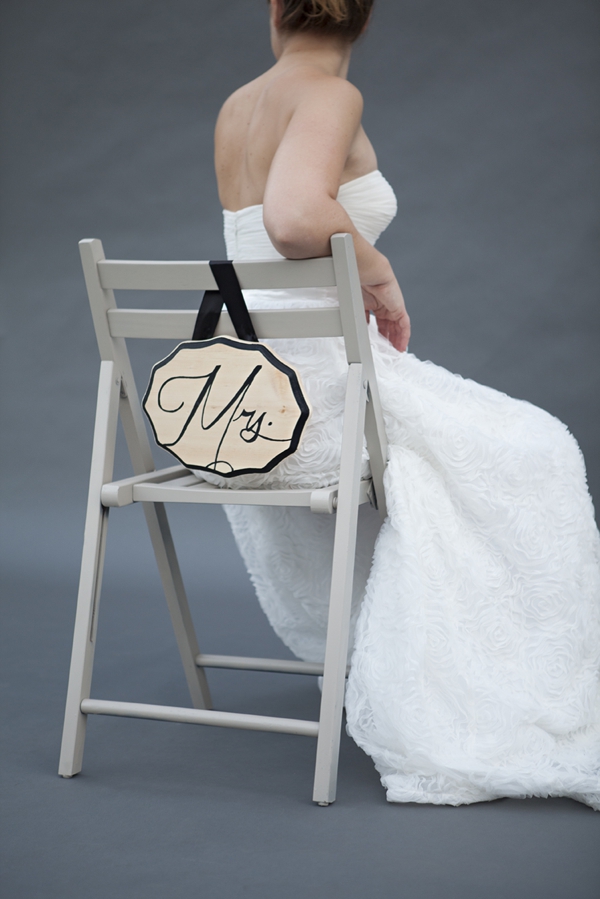
We are all about the new trend of ‘reception chair signs’… especially when they are DIY-ed! Today we are sharing the easy way to make AMAZING Mr & Mrs. chair signs with your favorite font. These will be the perfect touch for your special day…
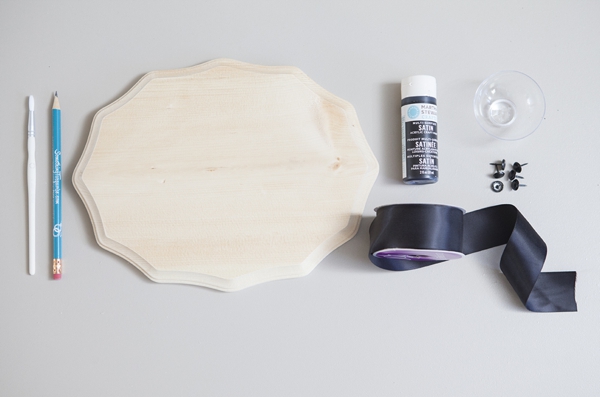
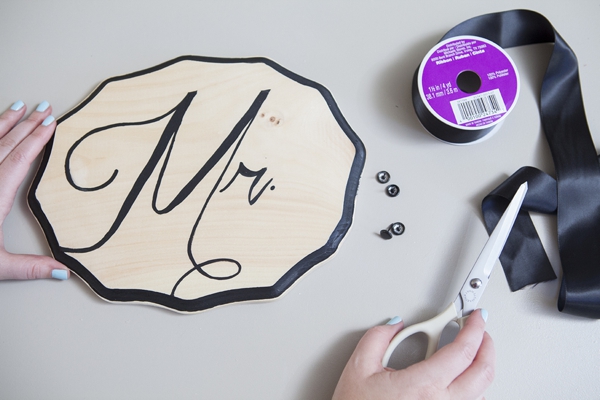
SUPPLIES:
- wood plaque of any style
- a pencil
- your choice of craft paint
- paintbrush
- furniture tacks
- ribbon
- print out of the words you’d like to use, sized for your plaque
To start, print out the words you would like to use (mr, mrs, bride, groom, his, hers, etc.) and size it for your choice of wooden plaque.
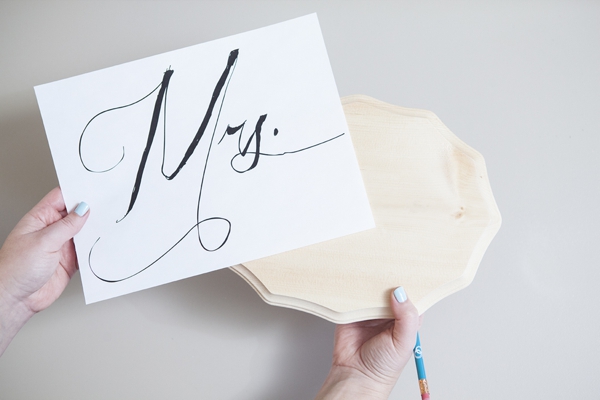
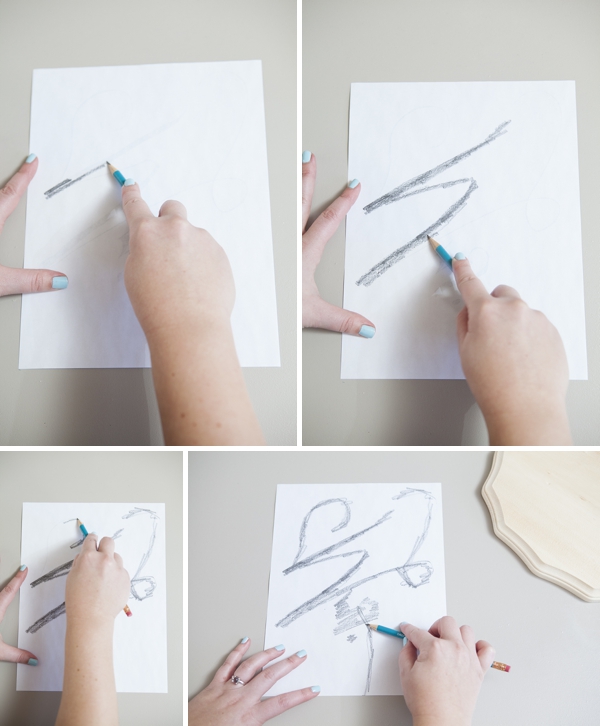
Turn the print-out upside down and shade the entire font area with the side of your pencil.
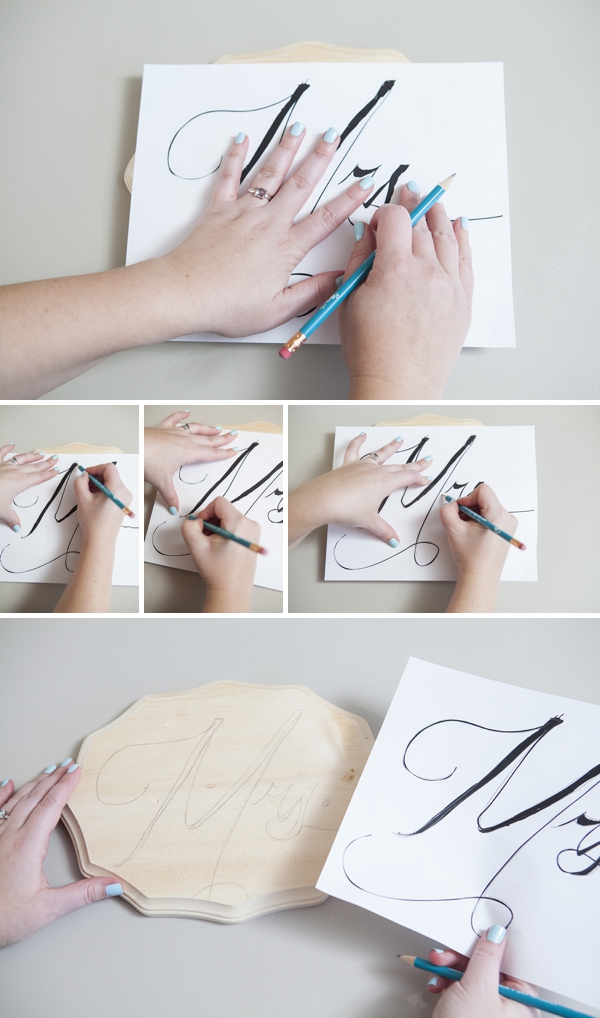
With the pencil side facing your plaque, carefully trace the entire word and all it’s details. This creates the perfect outline of your word on the plaque… it’s a graphite transfer!
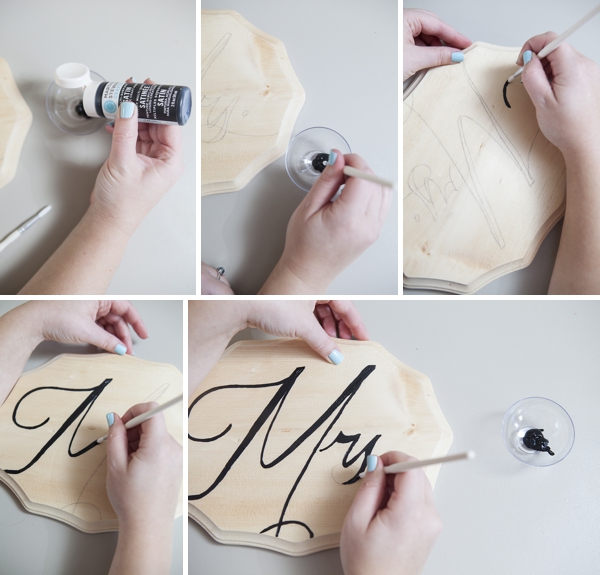
Then carefully paint your word, keeping the printout close by for reference. *If you aren’t great with a paint brush, you can also do this step with a paint pen or Sharpie, but Sharpies can bleed a little on the wood.
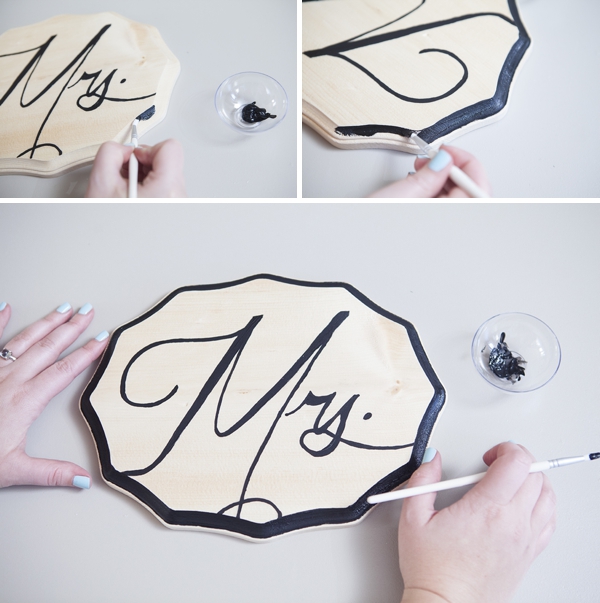
I painted the edge of my plaque for a finishing touch… let the paint dry for at least 4 hours before moving onto the next step.
Now for the ribbon.. this is how you will hang your sign.
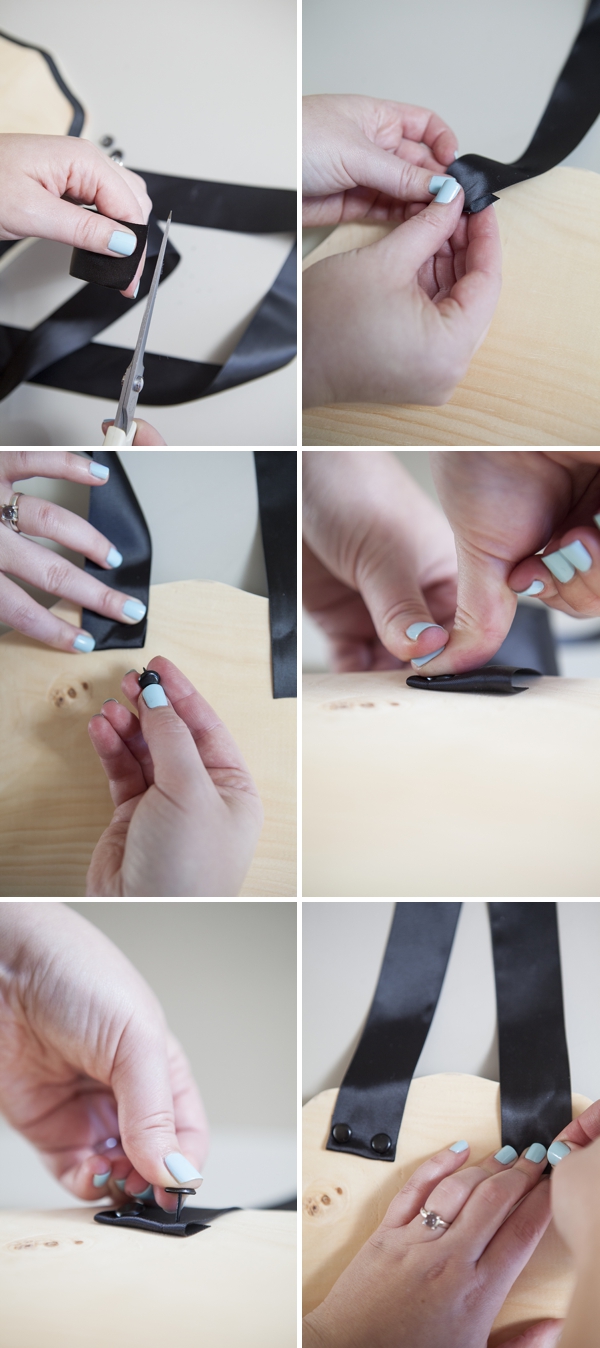
Cut roughly 20″ of 1.5″ ribbon. Fold one end under and then push two furniture tacks through the ribbon and into wooden plaque; one on each side.
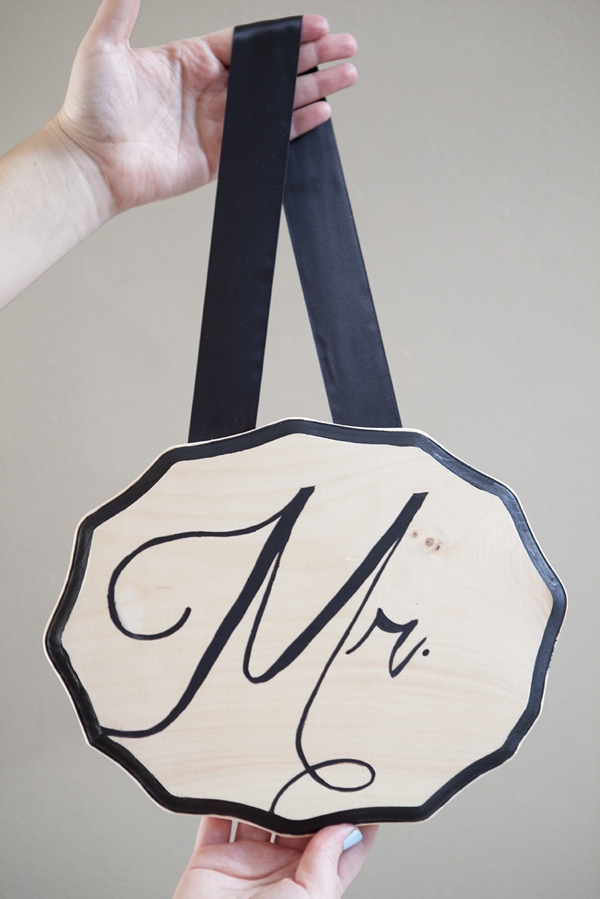
Isn’t it lovely..? Such a beautiful sign for such a simple technique.
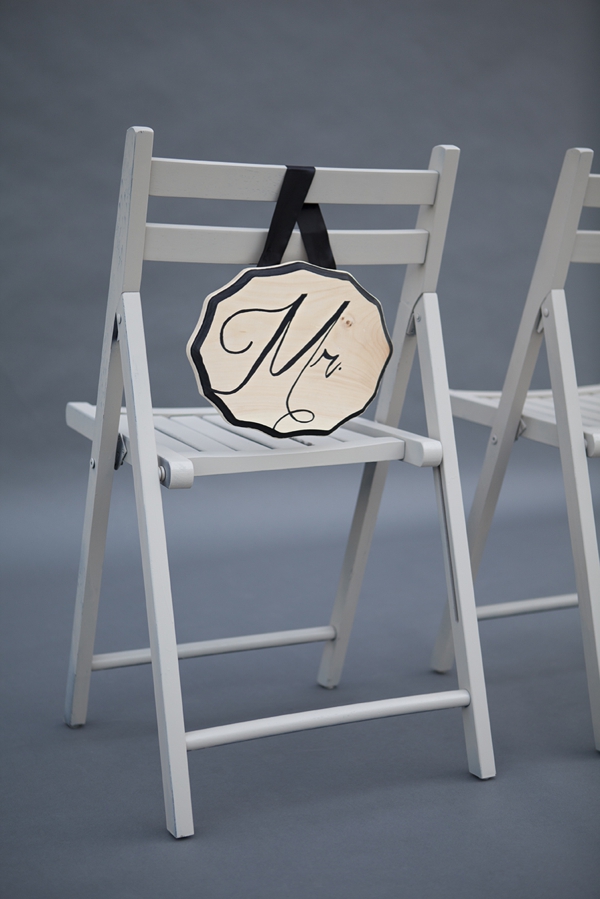
CRAFTERS TIP // if you want to hang these signs off the corner of your chairs – tacking both ends of the ribbon right away is fine. If you want them to hang like ours, you will need to have someone tack one end of the ribbon at your venue over the chair back. Also, the exact length of your ribbon will differ due to the type of chair it will be placed on.
The great thing about this technique is that you can use any font you desire along with the paint color of your choice; meaning your custom sign will perfectly match your special event!
As with all our DIY tutorials, if you create one of our projects please send us a picture or a trackback – We Love Seeing Your Creativity! If you use Instagram or Twitter please use the hashtag #SomethingTurquoiseDIY. Happy Crafting!
Photography: Studio 11 Weddings // DIY tutorial by: Jen | Something Turquoise // FREE font used: ‘Shipped Goods’ via Dafont.com // Martha Stewart Crafts paint in Beetle Black, MSC paint brush and scissors, wooden plaque, 1.5″ black ribbon: Michaels // furniture tacks: Lowes // dress: Nordstrom // nail polish: Essie – Mint Apple Candy


Comments