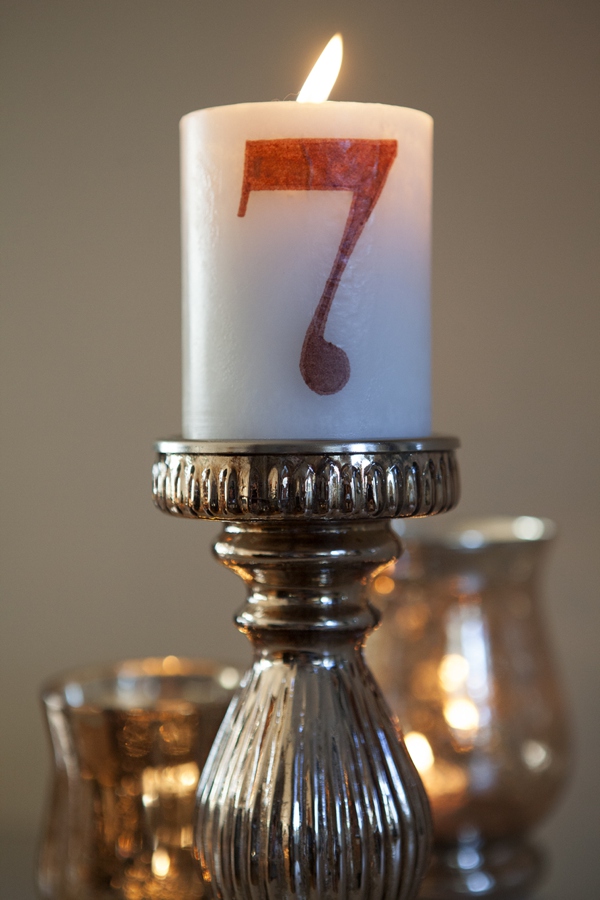
We are beyond obsessed with today’s fab DIY project!!! This tutorial will show you exactly how to make these tissue paper transfer candle table numbers! I know, lots of words… but you won’t believe how simple this actually is! Making your wedding table numbers is a great project because you are only having to make 10 -25 items… it’s not like making a favor for every single guest. Happy Crafting!
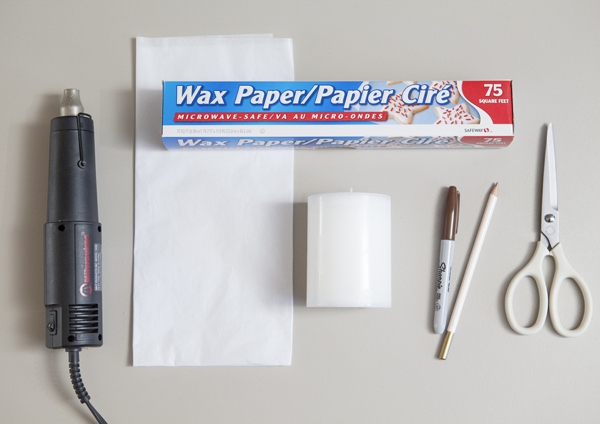
Supplies:
- Embossing Gun
- Wax Paper
- white tissue paper
- white candle (or another color.. but your candle and tissue paper must match!)
- Sharpie, colored pencil, pen… your choice, all give a different look
- scissors
- number print outs in your favorite font
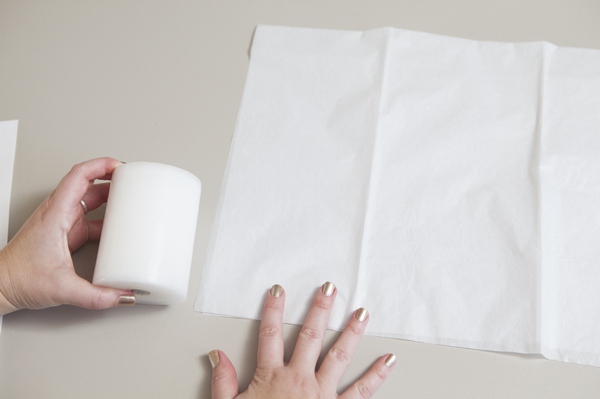
Start with a smooth piece of white tissue paper and a plain white candle. Or, any other color you would like BUT your tissue paper and your candle must match each other perfectly!
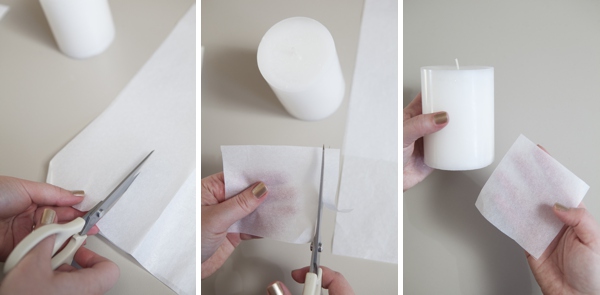
Cut a small piece of tissue paper the height of your candle..
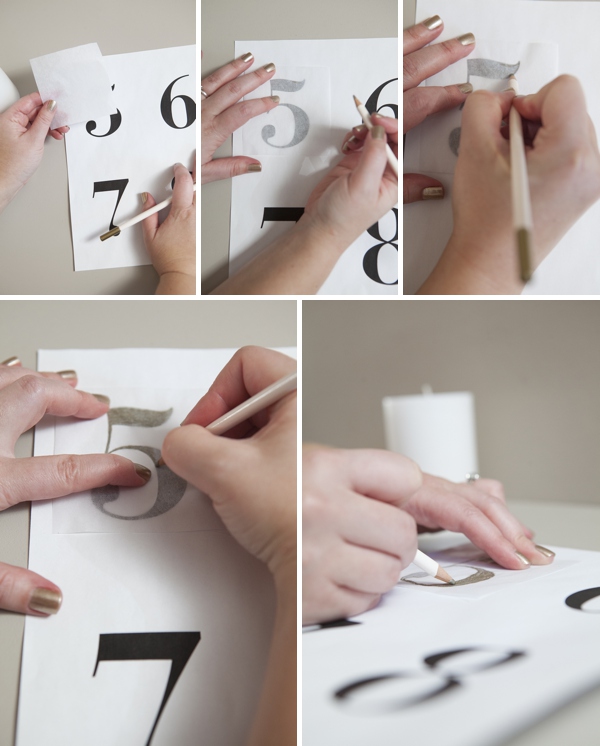
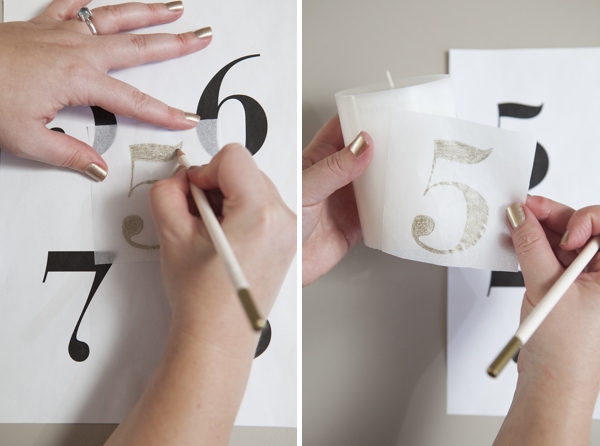
///// Print out each table number in your favorite font! /////
Place your cut piece of tissue paper over each table number and carefully trace it. Tracing a computer print out is SO much easier than trying to draw it yourself! You can use a colored pencil, a Sharpie or a pen… try out the look of your choice of writing implement on a votive or something before you commit. Here we are using a gold colored pencil and we love the soft result.
Once complete, move the tissue over a solid white background to fill in any blank spaces.
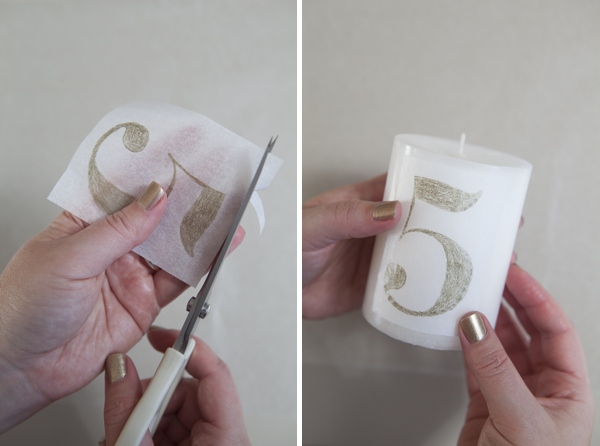
Then trim the excess tissue around the number and make sure it fit’s your candle.
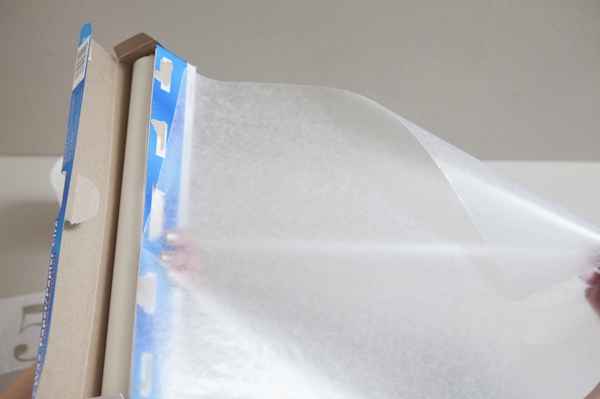
Tear a nice large piece of waxed paper… enough to wrap the candle.
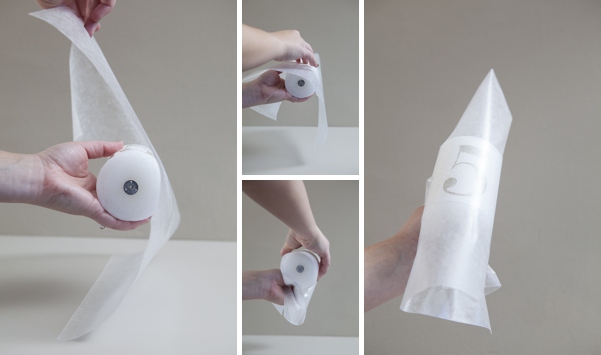
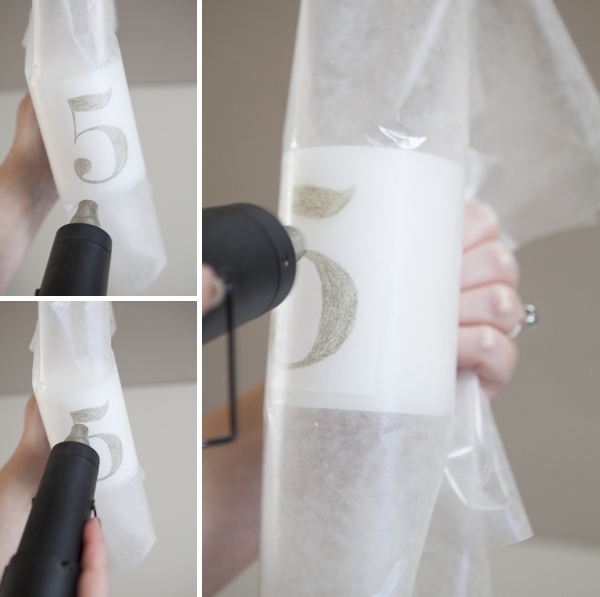
With the tissue paper number on your candle, place the waxy side of the wax paper onto the number and wrap it around the candle. Hold it tightly against the candle by grabbing the ends of the wax paper on the backside as shown. Don’t let go.
Take your embossing gun and heat the entire area of the number. This heat will slightly melt the candle and the wax from the wax paper, perfectly transferring the tissue number onto the candle!!! You are looking for the surface to get evenly glossy.
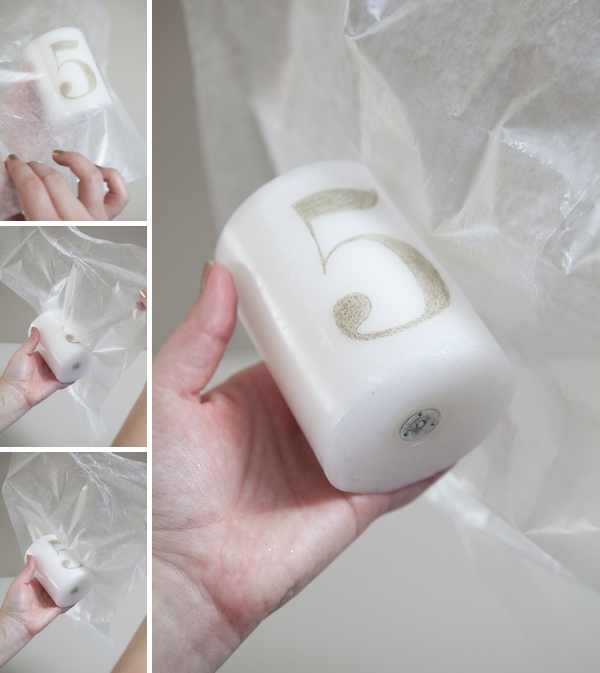
Let it cool for a few seconds and then carefully remove the tissue paper! Voila!!! A beautiful table number! **Crafters Tip: if the tissue paper lifts up with the wax paper, you didn’t melt it long enough. Try again and make sure that the waxy side of the paper is facing the candle!
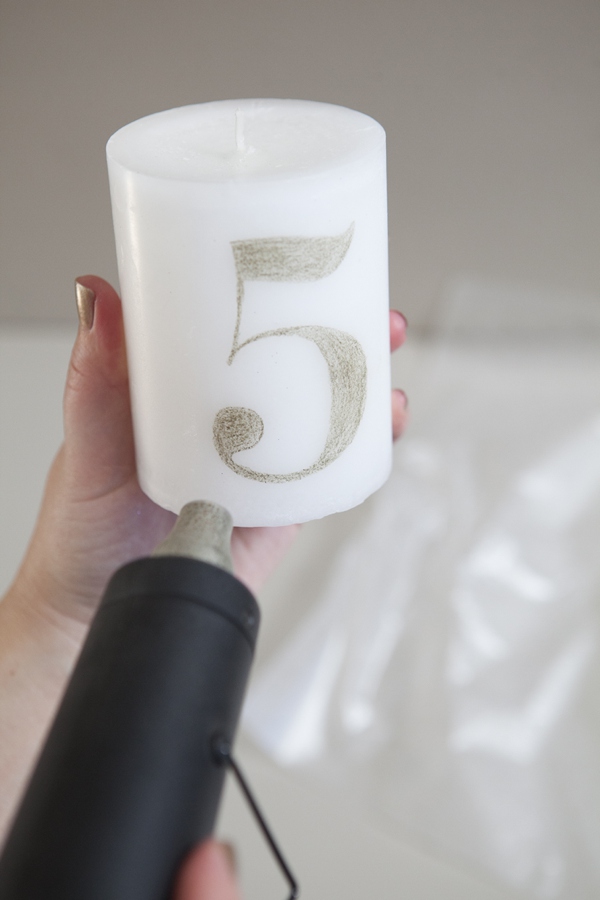
Go over the tissue number with your embossing gun just a tad to completely seal the wax and tissue. It helps to even out any wax paper lines and completely seal any edges of the tissue that weren’t completely melted.
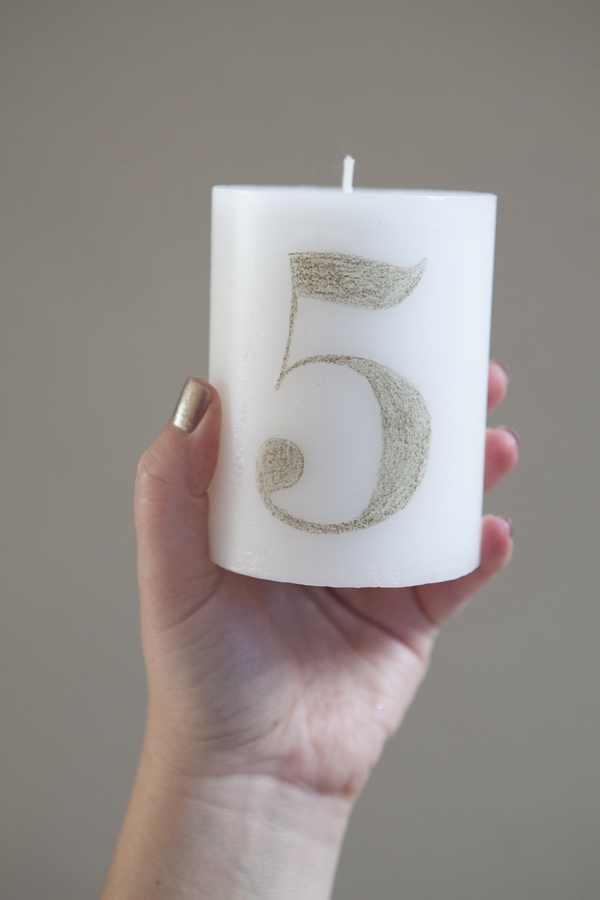
There you have it. A very crafty and very unique wedding table number!
**Crafter’s Tip: when burning, if your candle burns down evenly, you don’t need to worry about the tissue paper being effected by the flame. To ensure that it burns evenly, burn once and when the melted wax area gets about a half inch from the sides, blow out the candle. From then on the candle will burn only to that line, and will never touch the tissue paper!
This is what the color looks like if you use a Sharpie! Same steps apply. Trace. Place tissue number on candle. Cover with wax paper. Heat evenly with the embossing gun. Voila!
Isn’t this project just so much fun! It doesn’t stop at table numbers… you can write special things on the paper and give the candle as a gift, you can draw a picture, or maybe even your initials. Such a fun and personal touch to add to any candle!
As with all our DIY tutorials, if you create one of our projects please send us a picture or a trackback – We Love Seeing Your Creativity! If you use Instagram or Twitter please share using the hashtag #SomethingTurquoiseDIY. Happy Crafting!
Photography: Studio 11 Weddings // DIY tutorial by: Jen | Something Turquoise // Martha Stewart Scissors and colored pencil: Editors at Martha Stewart // embossing gun, plain white candle, tissue paper, and gold mercury glass candle holders: Michaels // font used: Bauer Bodini Bold BT // nail polish: OPI – Glitzerland





Comments