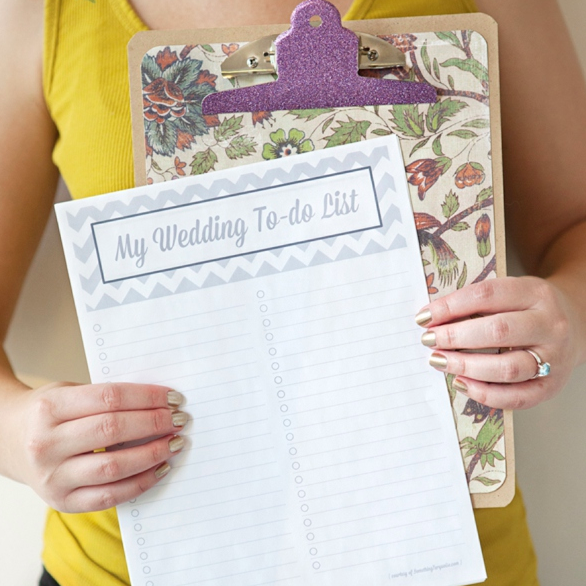
We all know how wedding “to-do lists” can quickly get out of hand… especially if you are doing things yourself. So, why not make a darling wedding clipboard and print out our fun + free to-do lists to keep all your tasks organized! It’s always more fun to cross off pending to-do’s when your list is super cute!
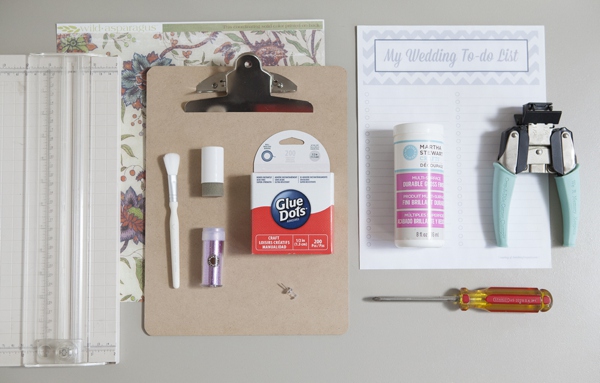
SUPPLIES:
- clipboard
- fun scrapbooking paper
- paper trimmer
- Glue Dots
- thumbtack
- screw driver
- corner rounder
- Martha Stewart Crafts Decoupage glue in Gloss finish
- Martha Stewart Crafts glitter in your favorite shade
- Martha Stewart Crafts paint pouncer and paint brush
- our FREE printable below
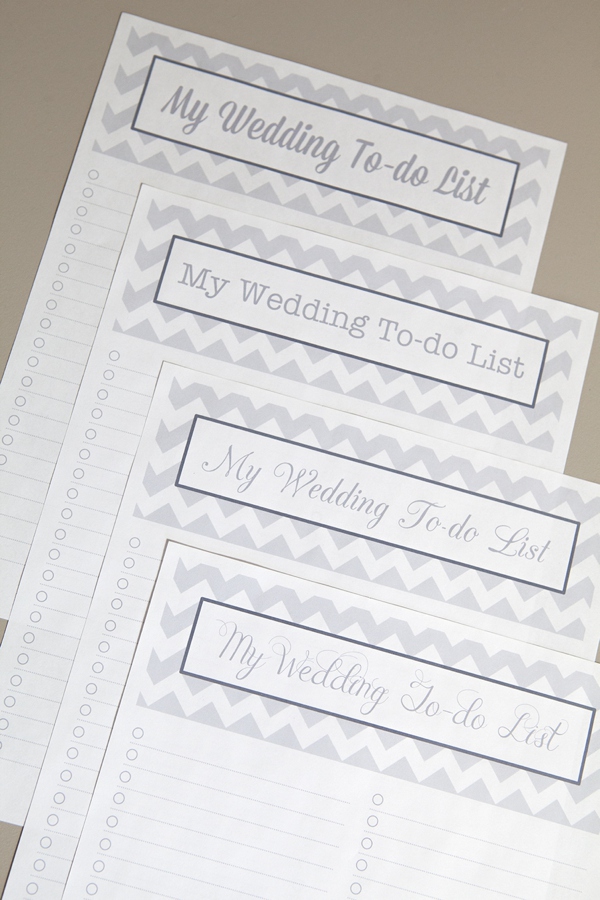
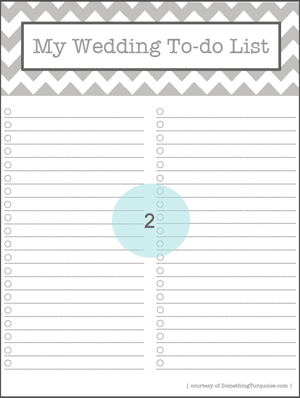
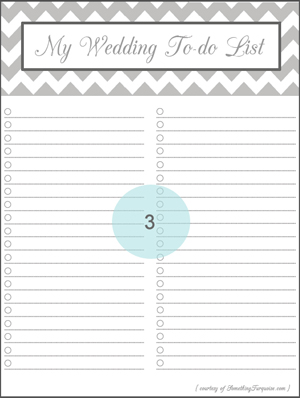
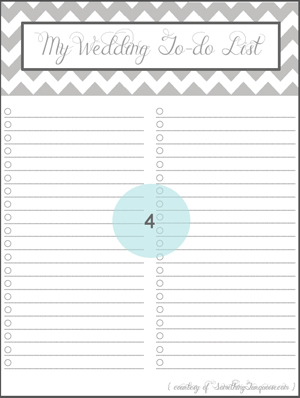
I’ve designed four free wedding to-do list’s for you below!
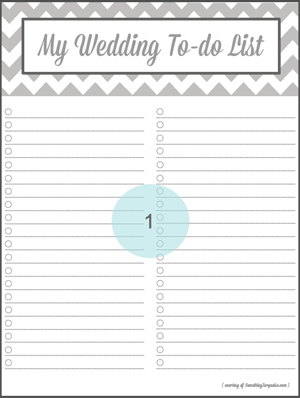
Click on your favorite design below to print for FREE!
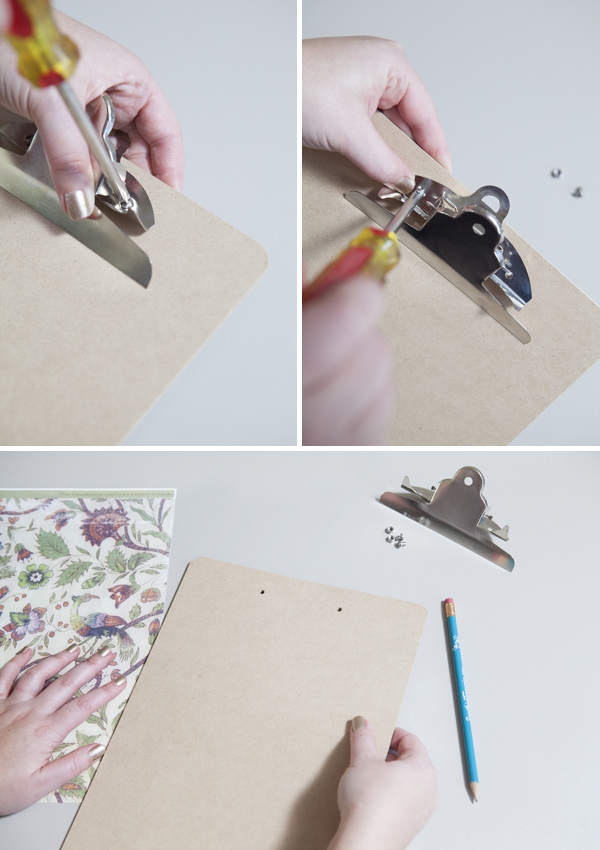
To embellish your clipboard, start by removing the spring clamp. Be careful, it’s tight!
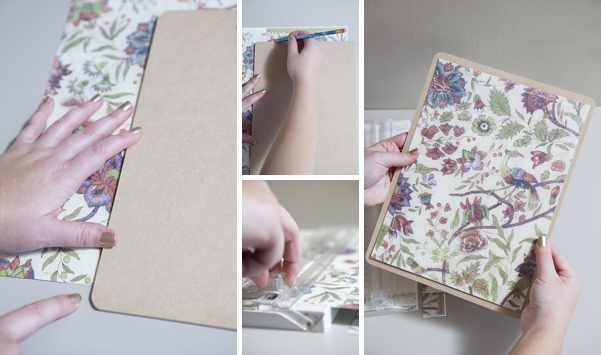
Trace your clipboard about an inch too short so that part of the board will show as a border. Using scissors or a paper trimmer, cut your scrapbook paper to fit your clipboard.
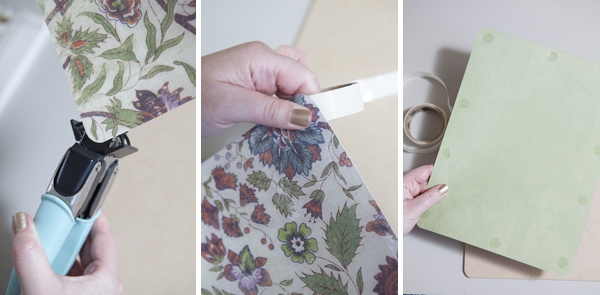
Using a corner rounder, round the corners. Then add Glue Dots around the edge of the backside of the paper…
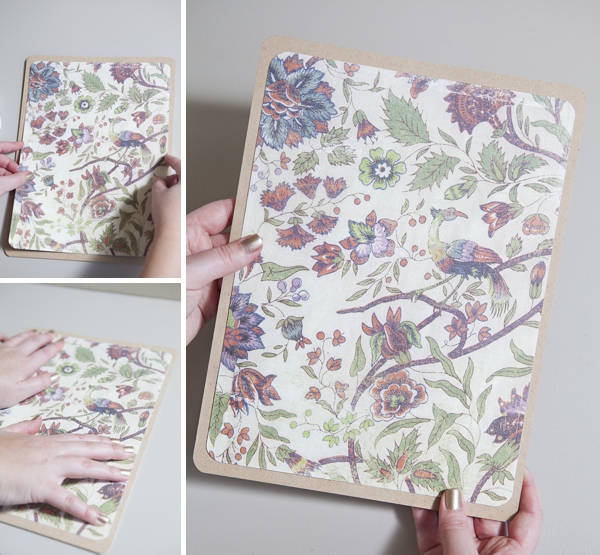
..firmly press the paper to your clipboard!
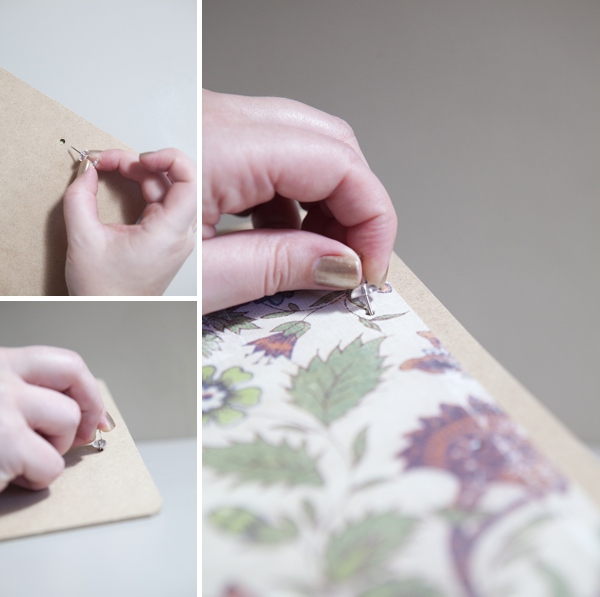
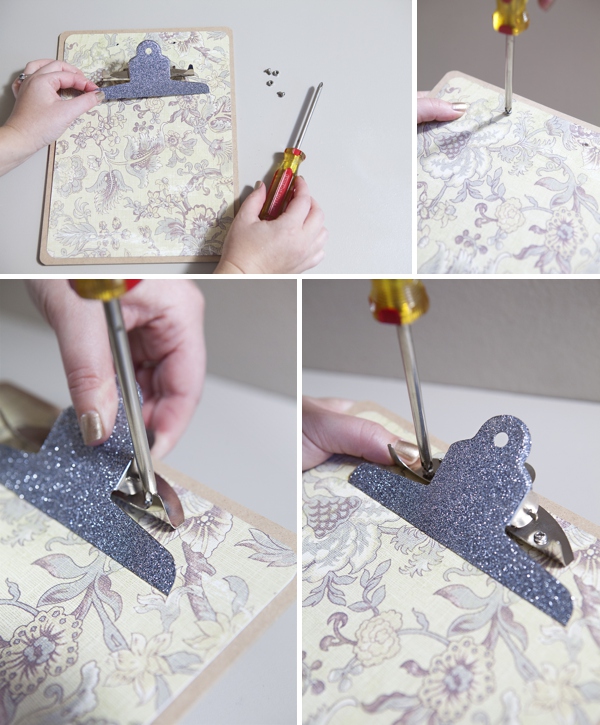
To easily copy the holes in the clipboard to your paper, use a thumbtack to pierce the paper and then widen the hole by wiggling it around to fit the screw.
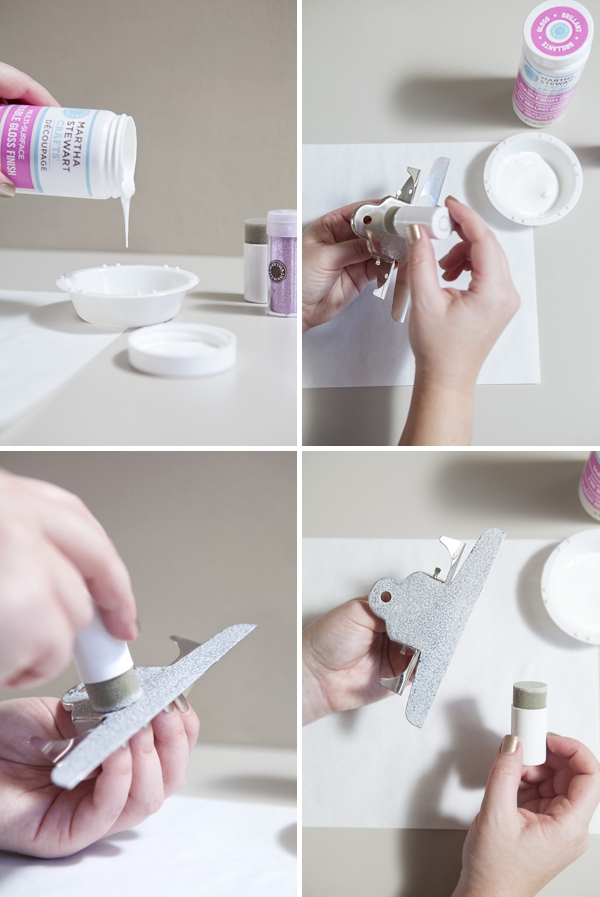
Now to embellish the clamp! Apply a coat of MSC decoupage glue with a foam pouncer. The pouncer leaves an even coat of glue for the glitter to adhere to.
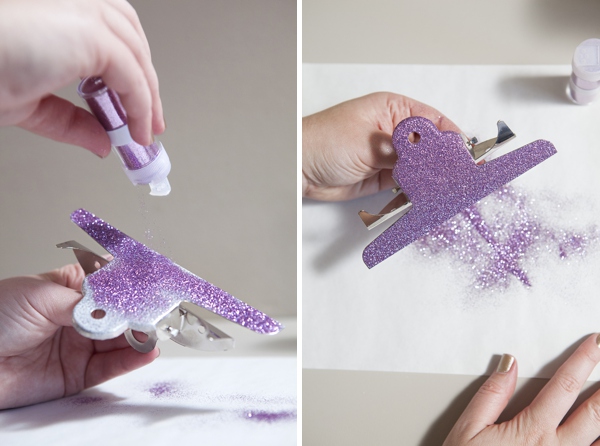
Cover the glued area with your favorite shade of glitter! Let it dry for one hour. Lighter shades of glitter might require two coats. Repeat the steps above as needed.
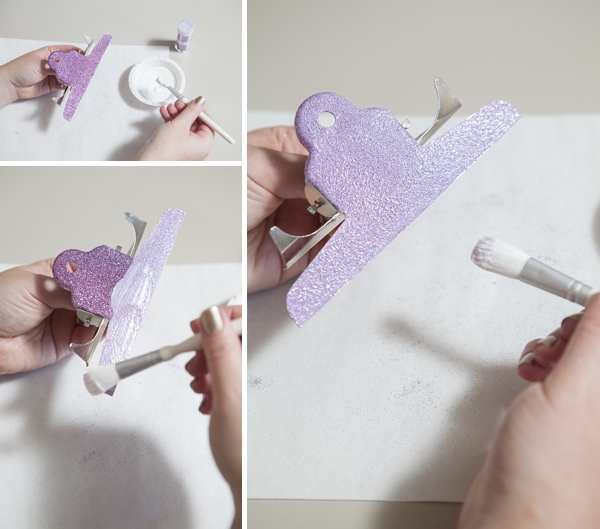
To seal your glitter, apply one coat of MSC decoupage glue over the fully dried coat of glitter. This way you won’t loose one sparkle! Let dry for one hour.
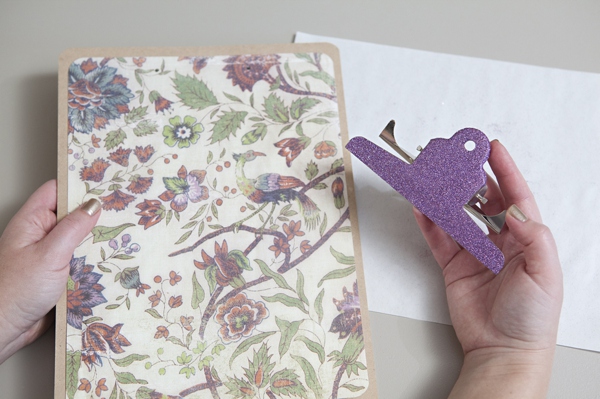
Once your glittery clamp is fully dry you need to screw it back onto the board.
This step can be buggy, because you are working against the force of the spring clamp. **Crafters Tip: put your screws threw the holes first to make sure the holes are big enough and have someone help you hold it if need be.
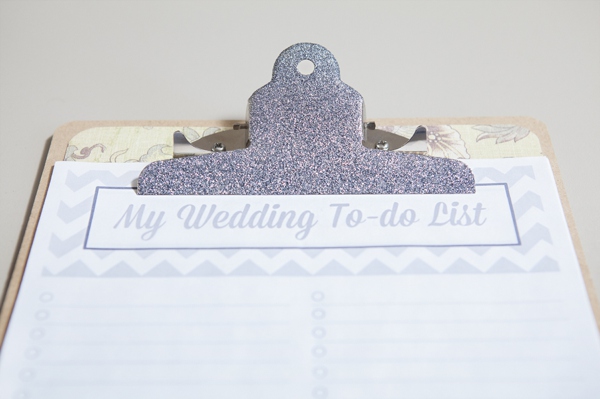
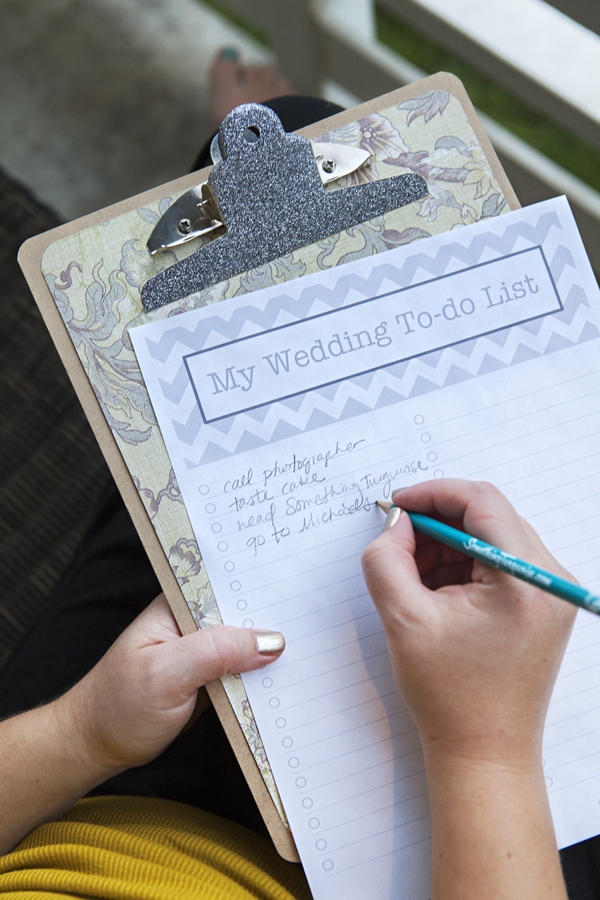
See how much fun making to-do lists can be!
You can use these super cute clipboards after your wedding for all types of things from honey do’s to shopping lists… is it just me that loves making to-do lists or do you as well??
As with all our DIY tutorials, if you create one of our projects please send us a picture or a trackback – We Love Seeing Your Creativity! If you use Instagram or Twitter please share using the hashtag #SomethingTurquoiseDIY. Happy Crafting!
Photography: Studio 11 Weddings // DIY tutorial by: Jen | Something Turquoise // Martha Stewart Crafts Decoupage glue, glitter (in: graphite and amethyst), paper trimmer, foam pouncer and paint brush: Editors at Martha Stewart // Glue Dots, Clipboard, Crop-A-Dile Corner Chomper: Michaels // beautiful scrapbook papers (grandpa + family roots) from my fav: My Mind’s Eye // fonts used: 1: Mission Script, 2: American Typewritter, 3: CAC Champagne, 4: Janda Celebration Script (all free and can be found here) // nail polish: OPI – Glitzerland



Comments