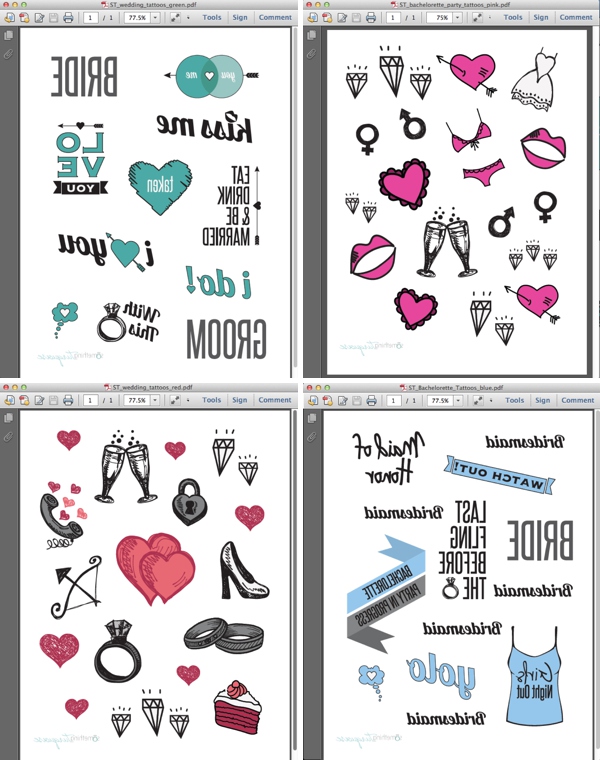
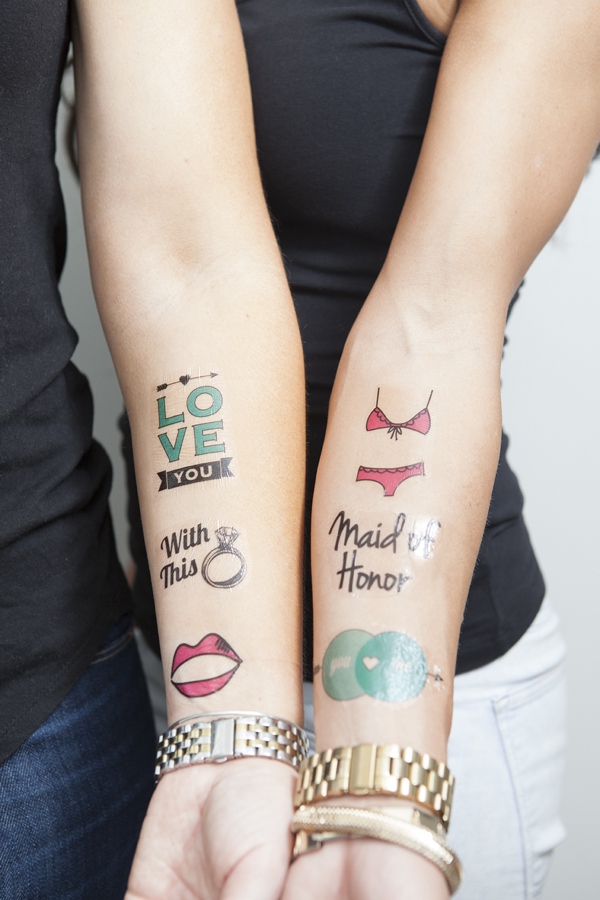
OMG. How much fun are these!?! It’s really not a party until someone puts on a temporary tattoo! With the four free design downloads below, tattoo paper and an inkjet printer ~ this super easy DIY will definitely draw some attention!
Temporary Tattoos are always a good idea! lol.
SUPPLIES:
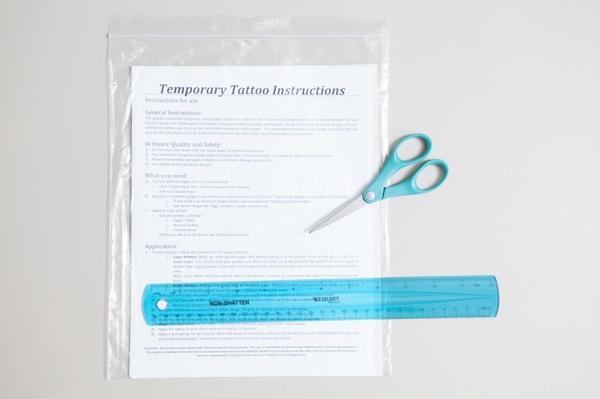
- Temporary tattoo paper
- ruler and scissors
- free downloads below, or your own designs!
////////// FREE DOWNLOADS //////////
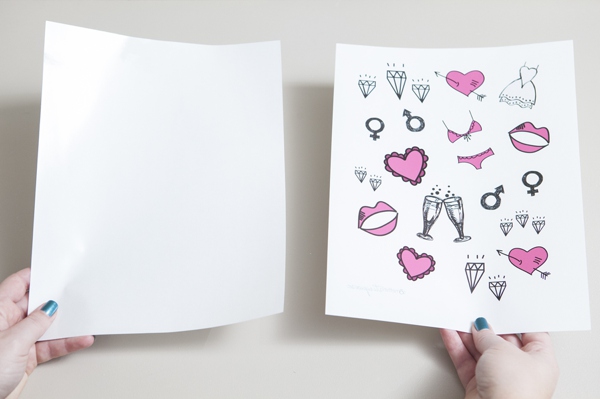
Following the instructions for the tattoo paper, using an inkjet printer – print one of the adorable designs above onto the correct side of the tattoo paper.
You can also design your own!!! Just remember you’ll need to print your designs in a ‘mirror’ image if using text… otherwise the words will be backwards on your skin! ***Our designs have already been saved in a ‘mirror’ image.
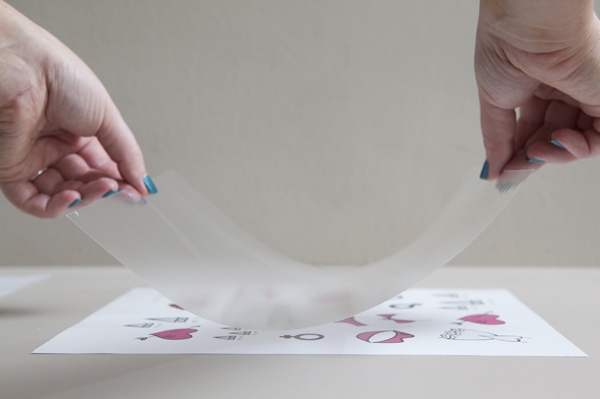
Take the clear adhesive sheet and carefully apply it to your freshly printed design.
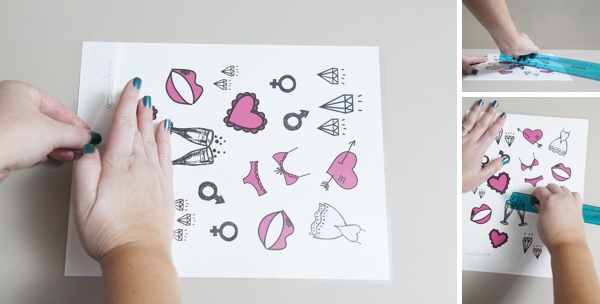
Firmly smooth the adhesive sheet onto the printed sheet, working out any bubbles using a ruler or the like. This pressing action will actually lift the printed design onto the clear adhesive sheet, so it needs to be done throughly.
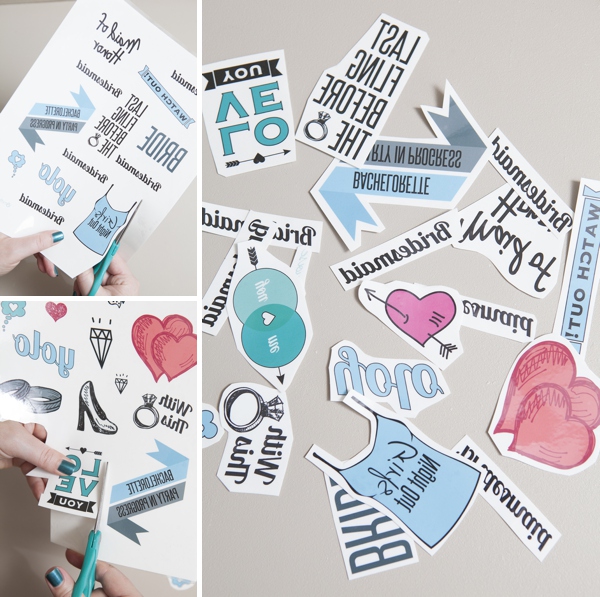
Cut out each design as close as you can to the colored area.
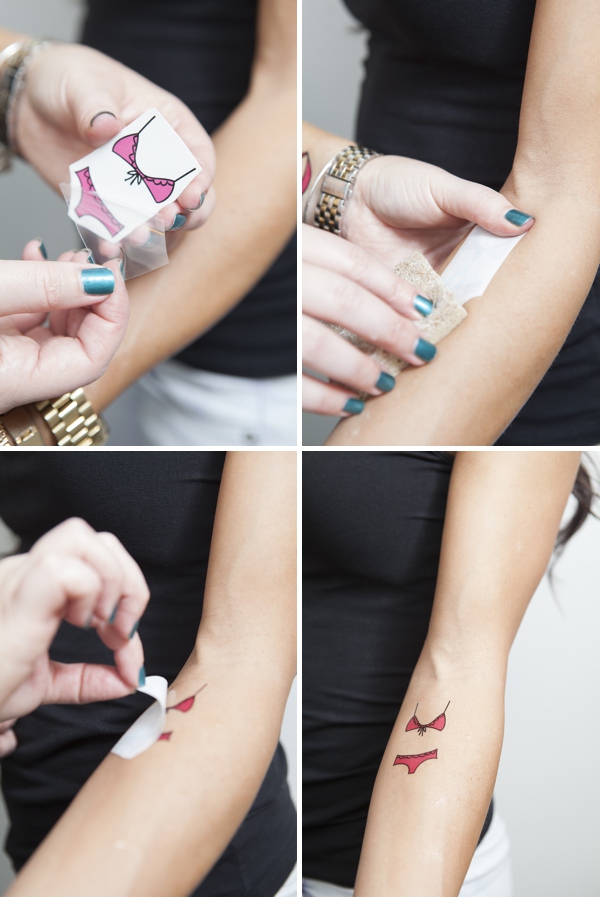
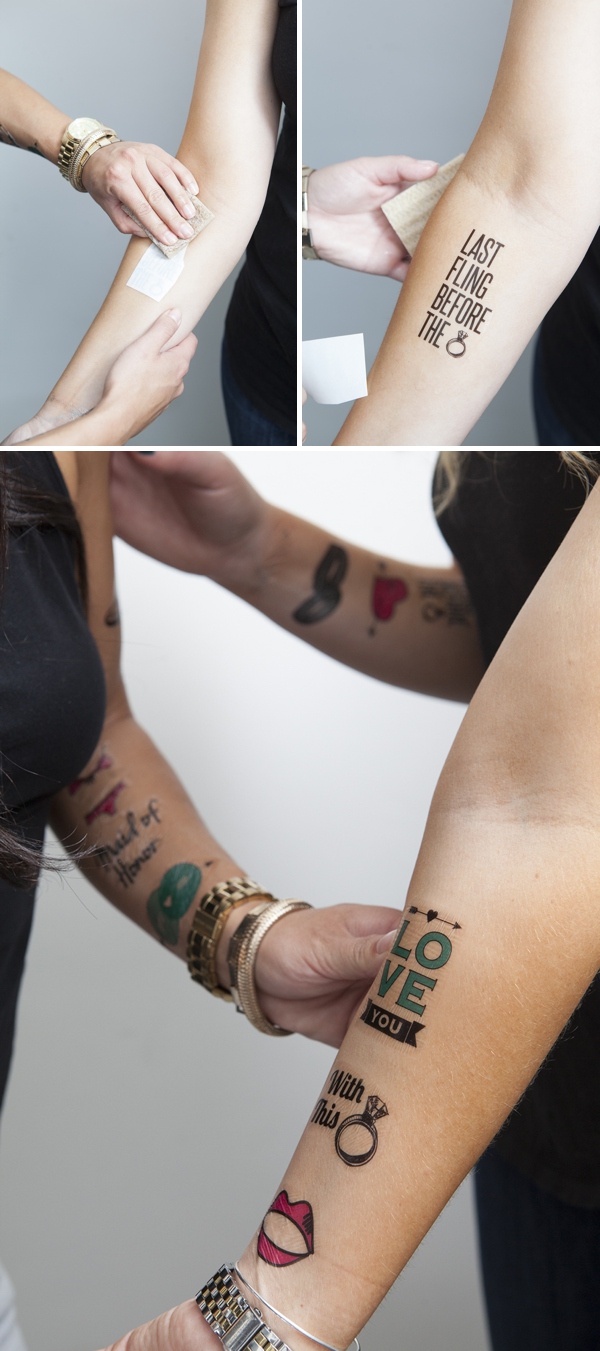
To apply these silly and fun temporary tattoos, use the regular steps: 1) remove the plastic backing 2) hold a wet sponge on the design for 60 seconds 3) Peel the paper baking away and ta-da!!!
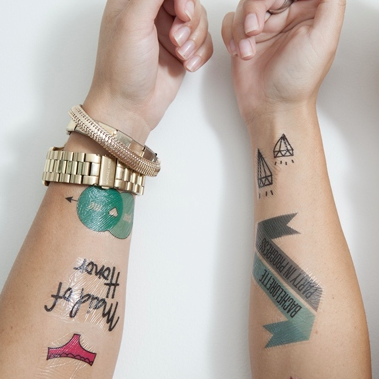
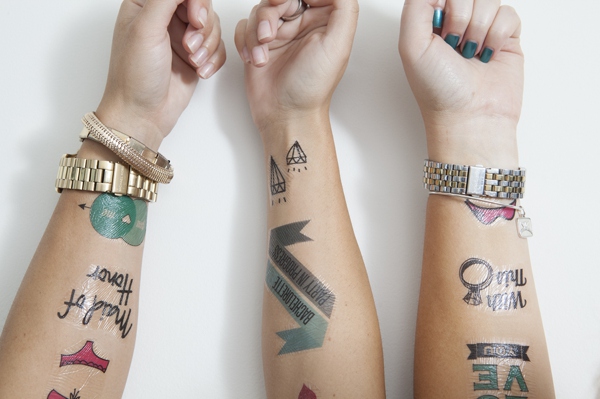
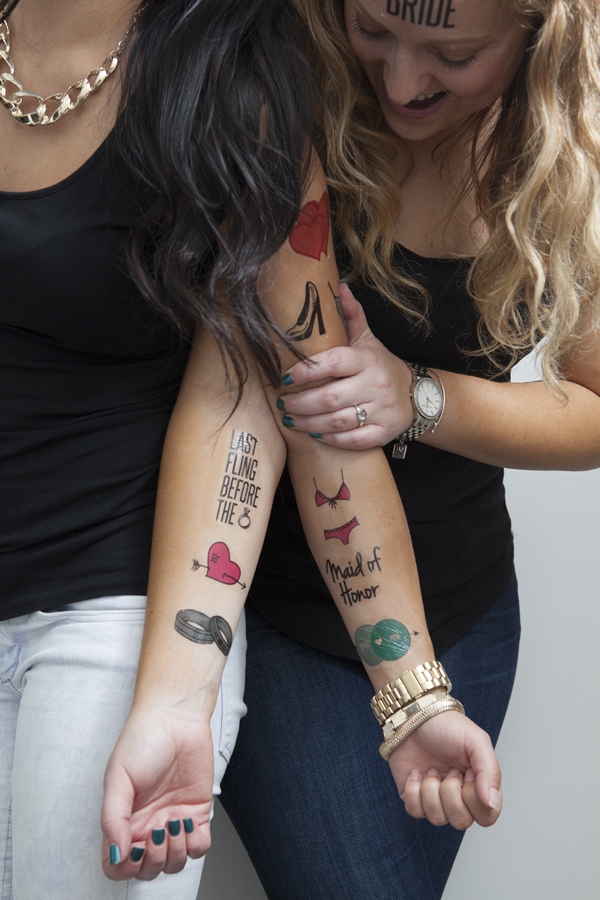
Aren’t these freaking adorable!?! These tattoos aren’t great fakes… they are a little shinny…
Tattoo paper + cute designs = custom wedding tattoos in under an hour!
A huge thanks to my friend Julia, our model and tattoo designer ~ aren’t they adorable!?!
As with all our DIY tutorials, if you create one of our projects please send us a picture or a trackback – We Love Seeing Your Creativity! If you use Instagram or Twitter please use the hashtag #SomethingTurquoiseDIY. Happy Crafting!
Photography: Studio 11 Weddings // DIY tutorial by: Jen | Something Turquoise // FREE wedding design downloads by: Julia Ensign // inkjet temporary tattoo paper: DecalPaper.com // nail polish: Essie – Trophy Wife



Comments