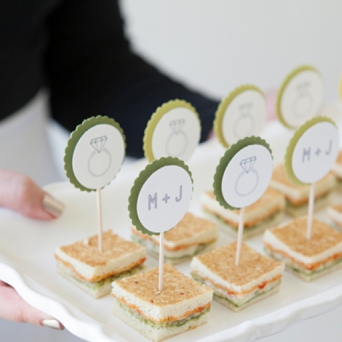
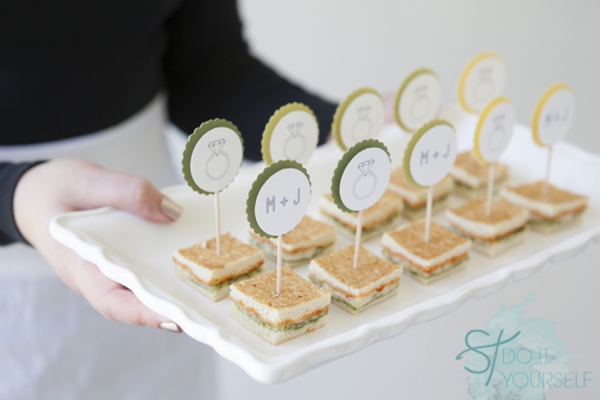
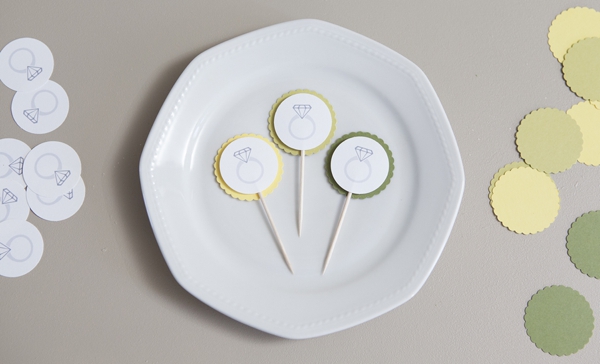
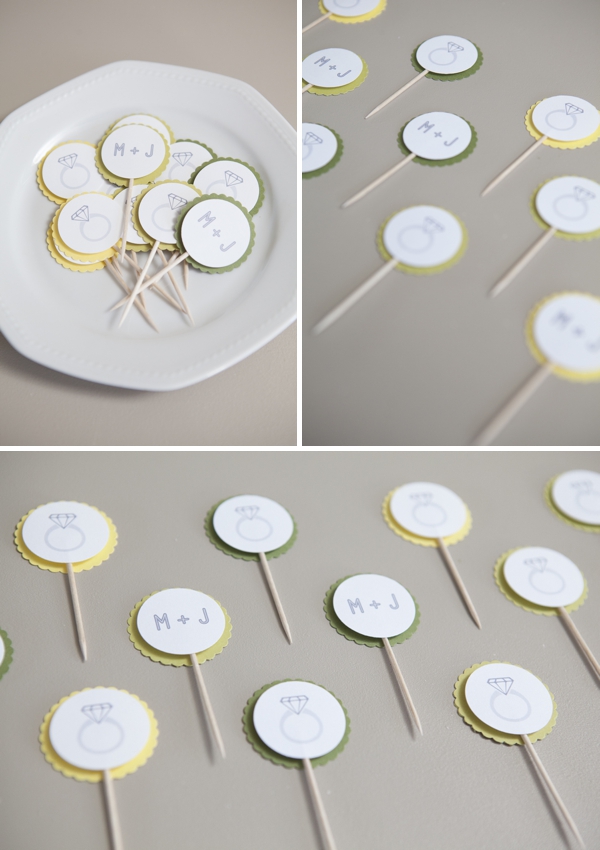
Cocktail hour is always the funnest of hours… make yours extra special by creating these adorable wedding cocktail picks! Perfect for engagement parties, bridal showers, bachellorette parties and of course weddings! These are so quick and so easy to make that you will never have borring cocktail picks again!
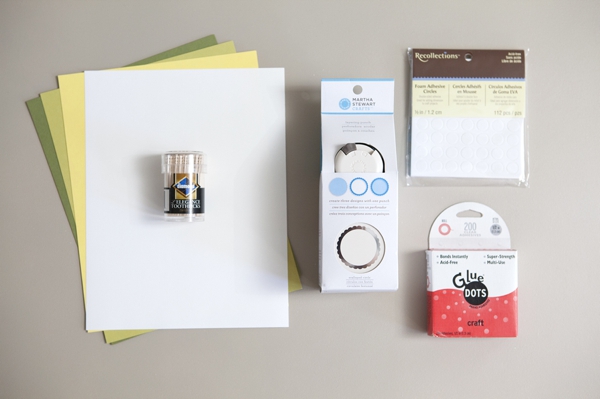
SUPPLIES:
- Martha Stewart Crafts Layering Punch ‘scalloped circle‘
- Toothpicks
- colorful cardstock and white cardstock
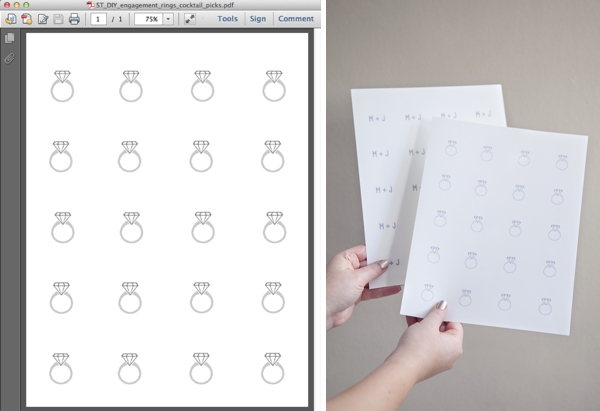
- free ‘wedding ring’ design downloads below
- 1/2″ foam adhesive circles
- Glue Dots
- paper-trimmer
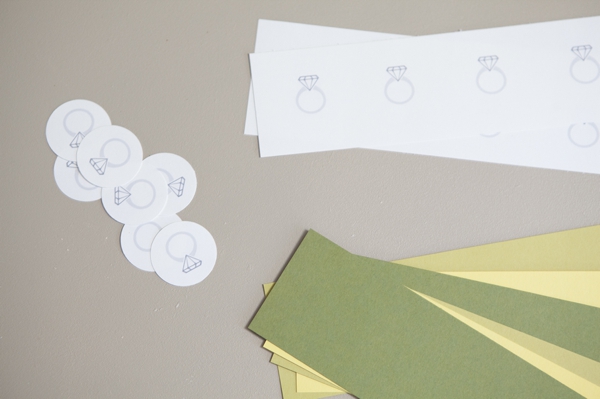
Download and print these free, adorable ‘ST wedding rings‘ onto your choice of 8.5″ x 11″ cardstock… and/or design your own layout with your initials or your wedding date!
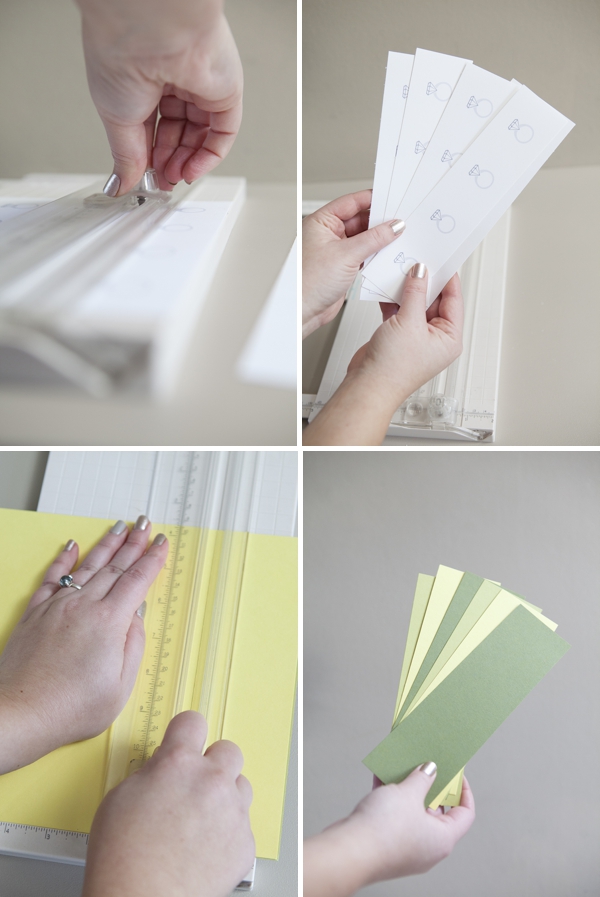
Cut the printed designs and colored cardstock into 2″ strips – to make them easy to punch.
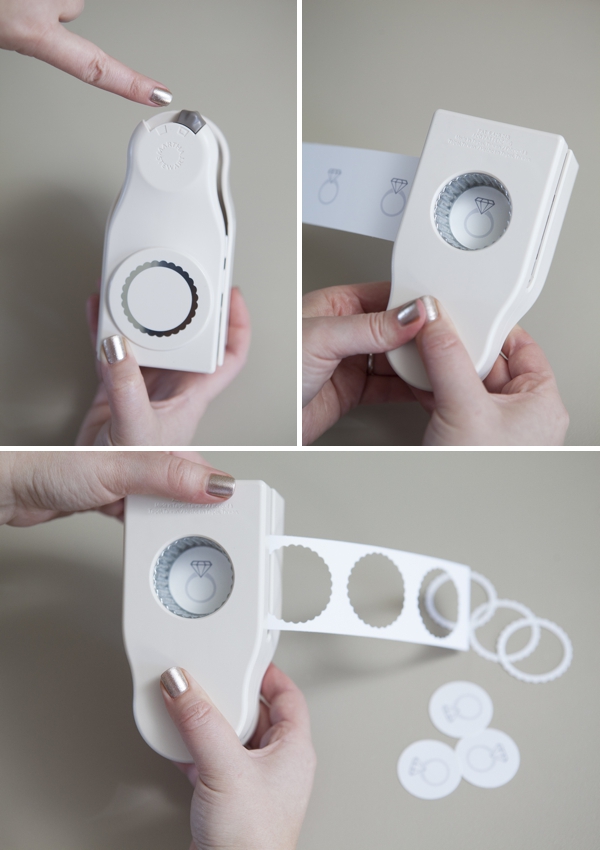
With your Martha Stewart Crafts layering punch set to punch a detailed shape, turn it upside down to easily see where to punch each engagement ring! The extra little scalloped ring punch that you get can be discarded.
The beauty of this punch is that you only need ONE punch to make this entire project! No more ‘nesting’ punches… this one does it all!
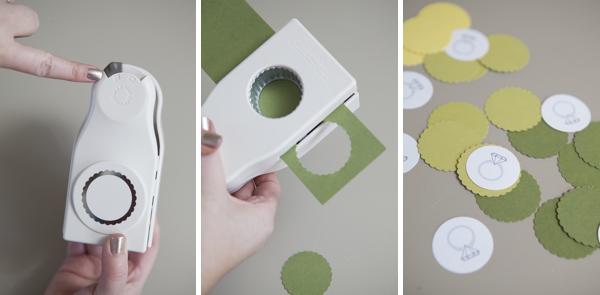
Now with the punch set to the solid shape, start punching all your colored cardstock.
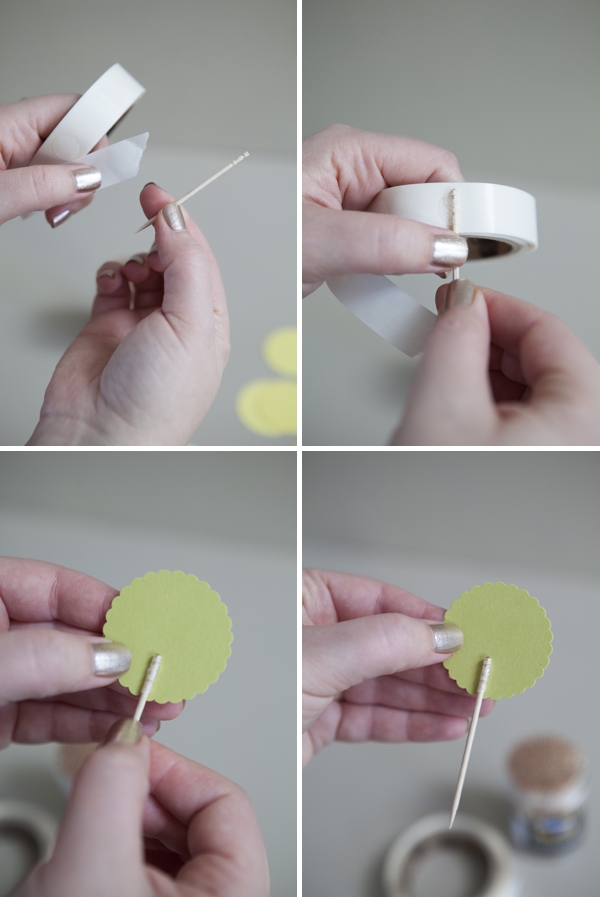
Now the fun part! My biggest pet peeve of handmade cocktail picks is that you can see the outline of the toothpick or stick through the design… but you don’t this way!!! First, roll the tip of your toothpick in a glue dot – then place it onto your scalloped cardstock punch.
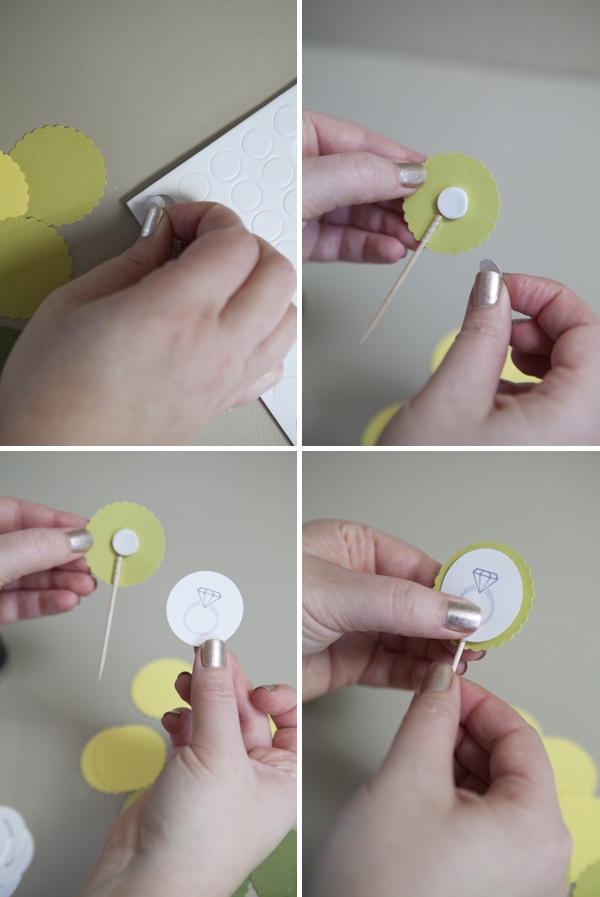
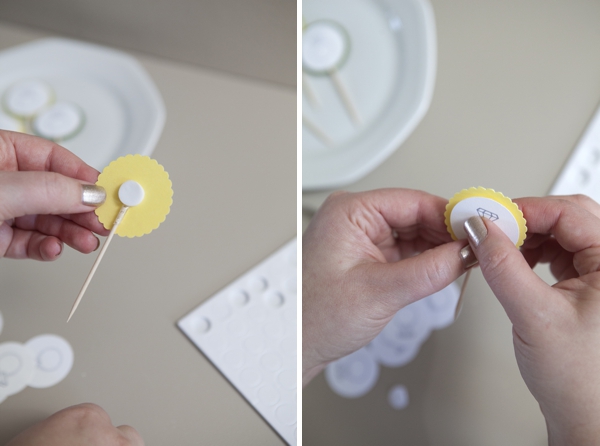
Next, take a foam adhesive circle and place it directly above the toothpick and then place your designed punch right on top, press firmly to adhere.
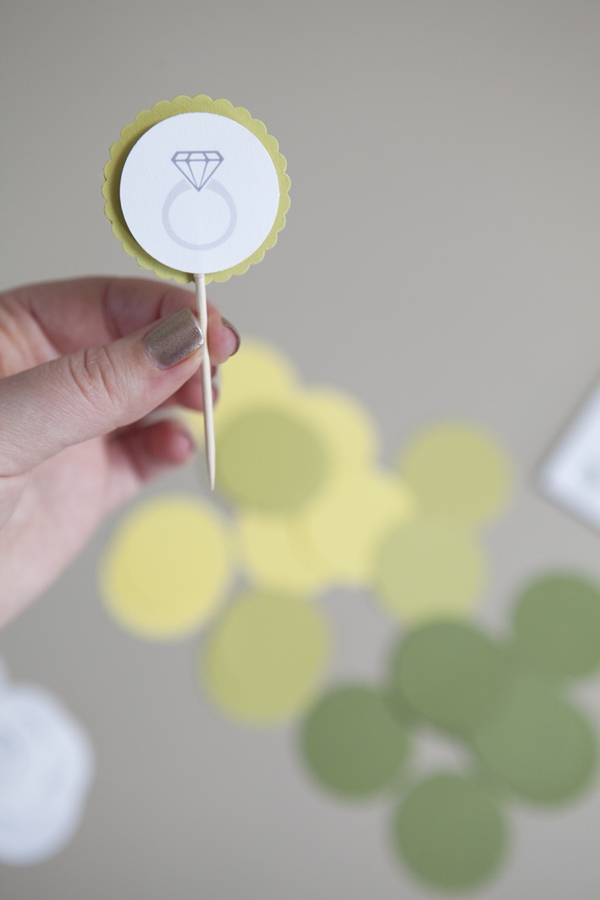
Using both the Glue Dot and foam adhesive together gives the perfect amount of depth so that when you place the designed punch on top – you don’t see the line from the toothpick! All you see is a beautiful, professional looking cocktail pick!
These are so fun and so easy, once you have this layered punch you will be able to make adorable cocktail picks in a snap for any type of party!
As with all our DIY tutorials, if you create one of our projects please send us a picture or a trackback – We Love Seeing Your Creativity! If you use Instagram or Twitter please use the hashtag #SomethingTurquoiseDIY. Happy Crafting!
Photography: Studio 11 Weddings // DIY tutorial and FREE download by: Jen | Something Turquoise // Martha Stewart Crafts Layering Punches are available at Michaels, JoAnn’s and Amazon // colored cardstock in Soft White, Sunshine, Chartreuse and Moss: Paper-Source // Glue Dots and Recollections Foam Adhesive Circles: Michaels // yummy cocktail sandwiches: Trader Joe’s // serving platter: Pier One // nail polish: OPI Designer de Better and Skull & Glossbones



Comments