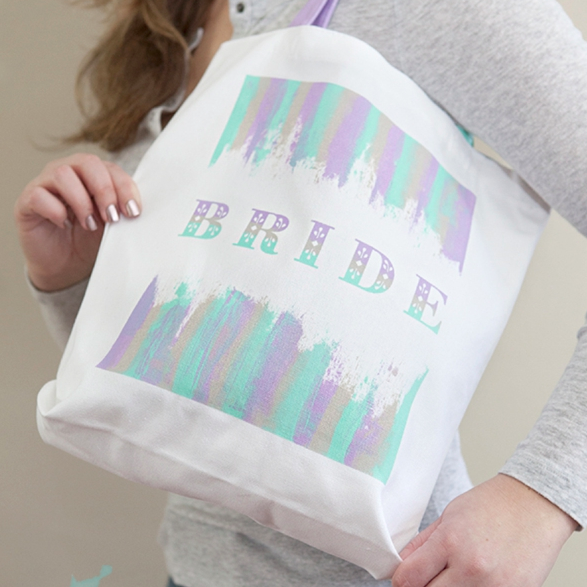
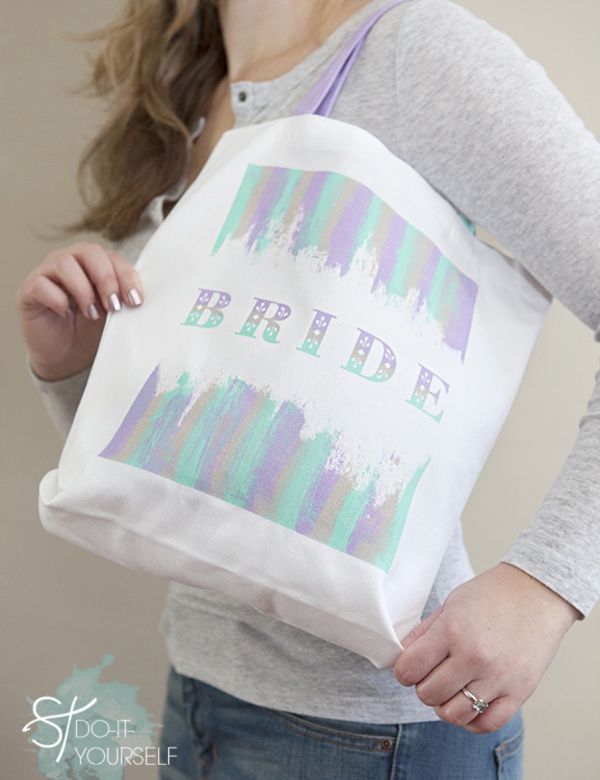
Most likely, if you are here you are crafty… so why not show off your crafty bride-side with this adorable bride tote bag! If you are really crafty you could even make one of these for each of your bridesmaids! Today I’m going to show you how to easily silkscreen this adorable tote in literally less than 5 minutes! The most difficult part will be choosing your paint colors…
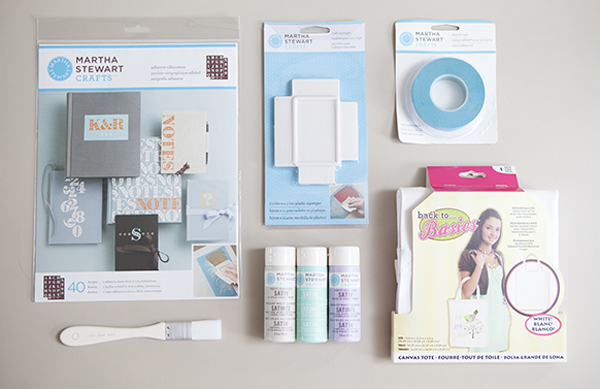
SUPPLIES:
- Martha Stewart Crafts Adhesive Silkscreen Alphabet
- Martha Stewart Crafts Paint Squeegee
- Martha Stewart Crafts Satin Craft Paint (lake fog, beach glass, hydrangea purple)
- Martha Stewart Crafts stencil tape and paint brush
- Canvas Tote
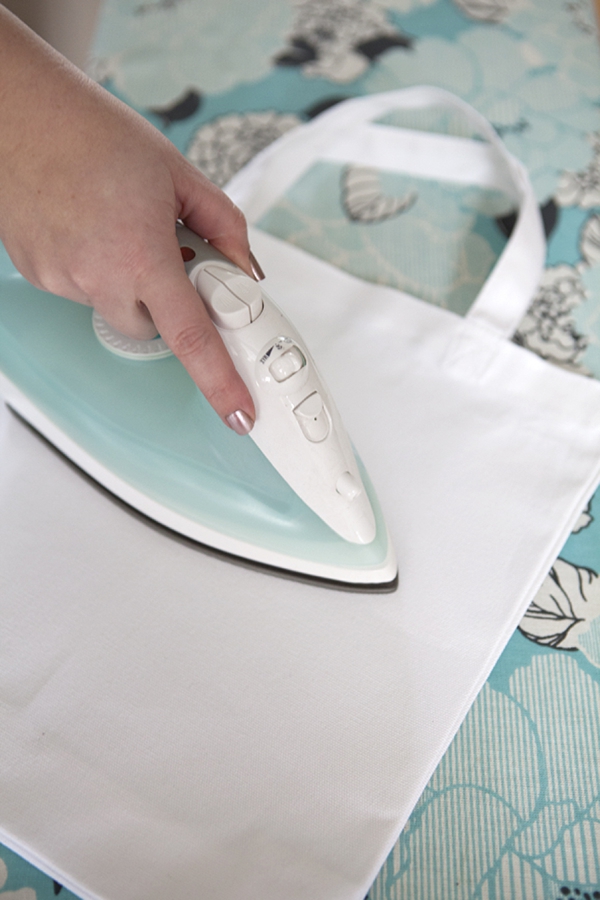
The tote that I purchased said on the package ‘ready to decorate – no pre-washing required’. If yours says the same, great. If not, pre-washing is always a good idea. It is a must that you iron your canvas tote – the silkscreen design is delicate and requires a flat surface.
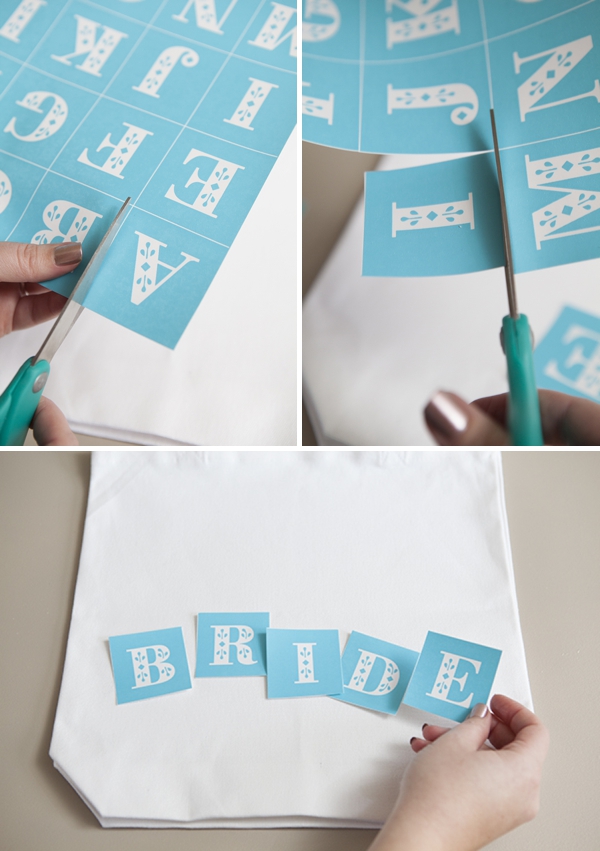
Start by cutting out each silkscreen letter that you will need for your design.
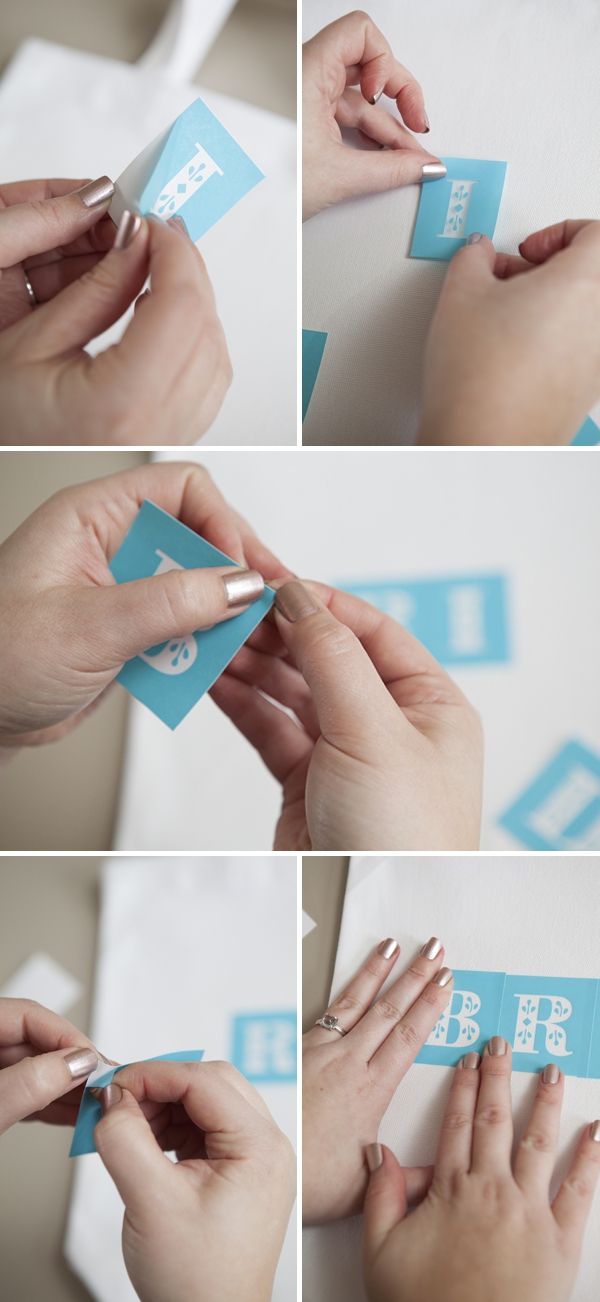
Carefully peel each adhesive silkscreen away from it’s backing and place on your tote. I started with the letter ‘I’ because it needed to be in the very middle of my design. I worked my way outwards from the ‘I’ to make sure my word was centered on the tote. These silkscreen stencils are amazing… this type of detail could never be achieved with a regular stencil!
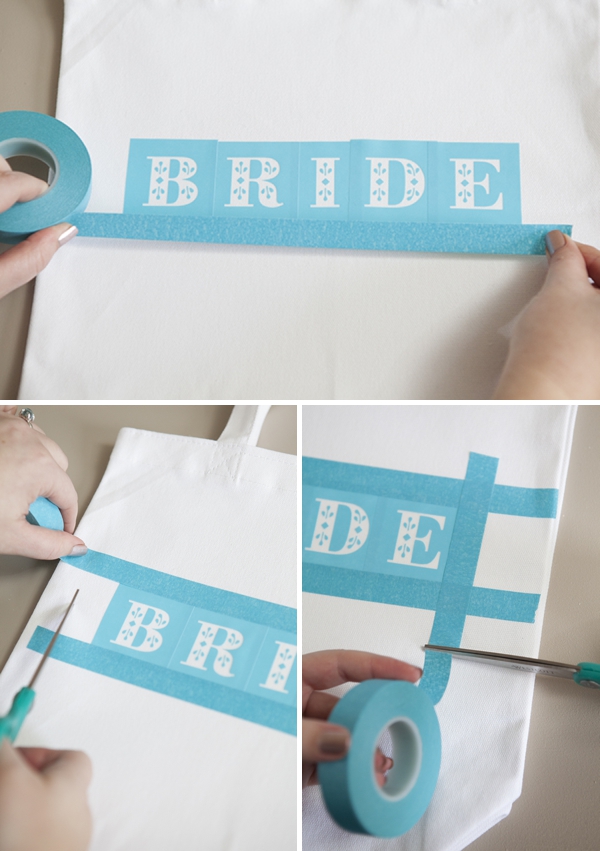
Even though the backside of these letters are tacky, I still recommend taping them down. Tape each side of your word to your tote.
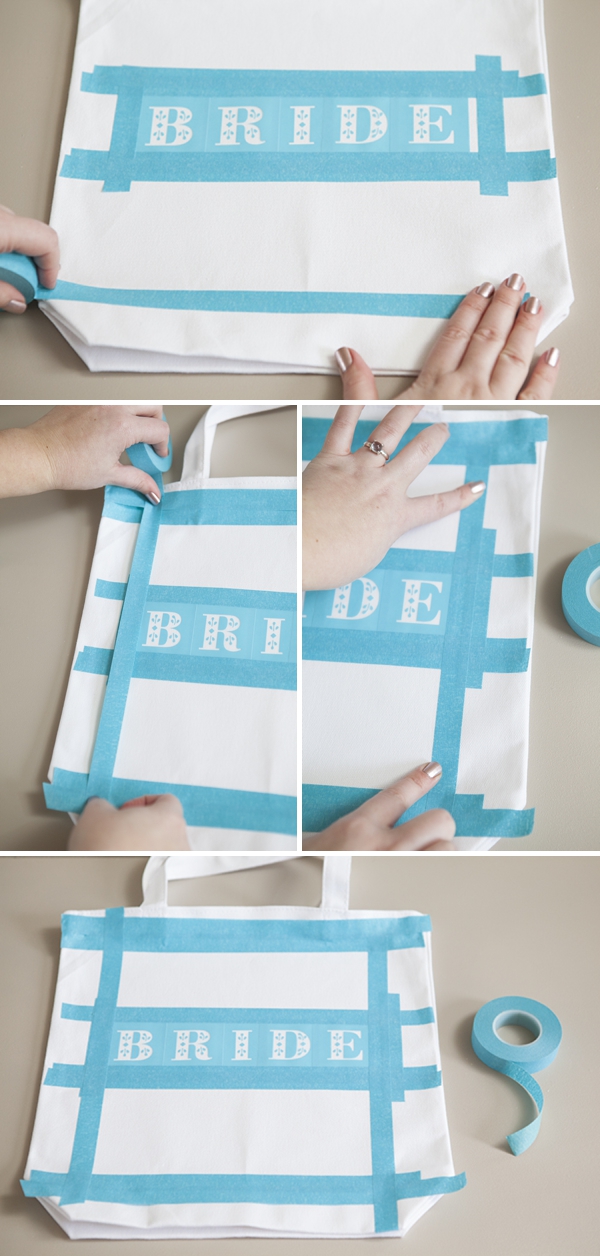
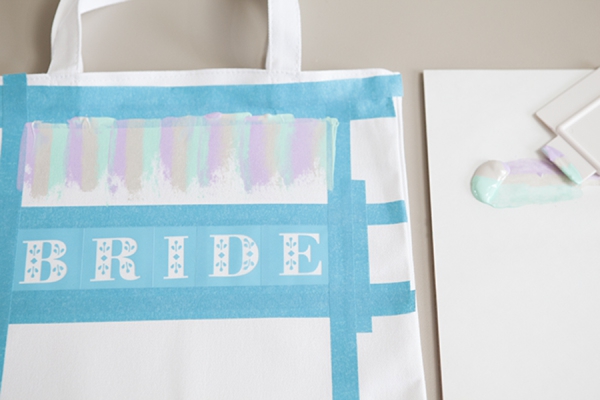
Next we will outline the area where we will be painting the free form part of the design. Start with a tape line across the length of both the top and bottom of the tote. Then add a straight tape line down each side of the tote, right next to your design. This creates two solid boxes, above and below the word of your choice.
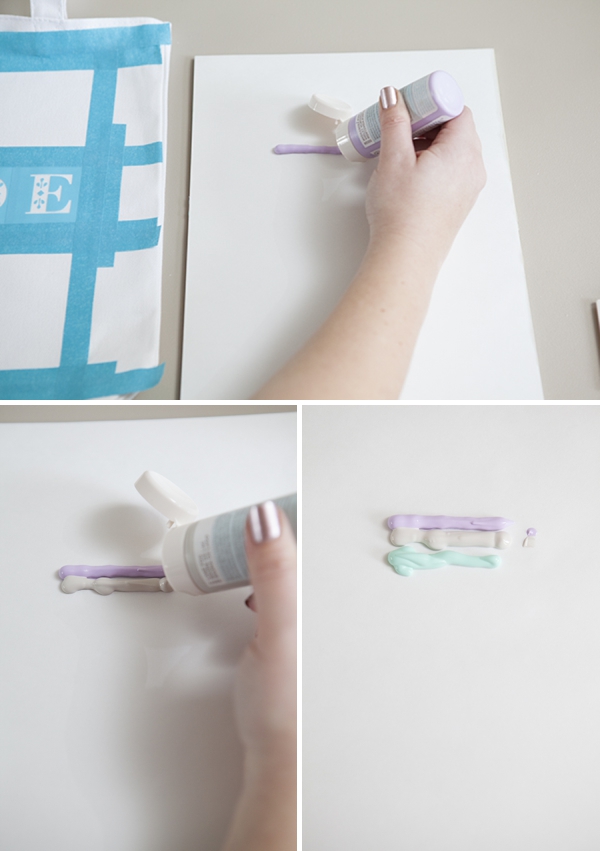
Now the fun part! With your choice of three colors – make three lines of paint on a sheet of wax paper, a paper plate or an artist paint palet like I have below.
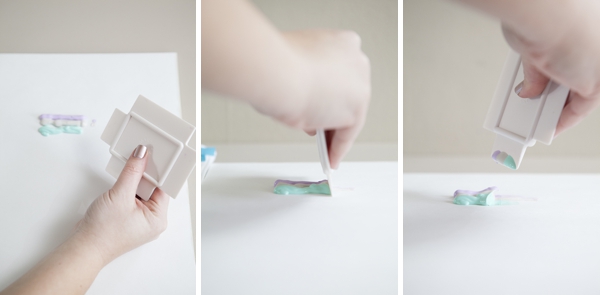
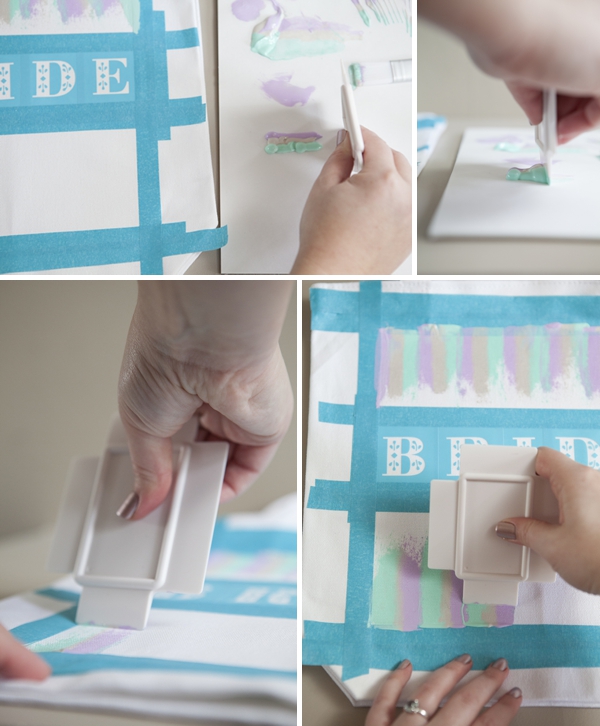
Using your fun paint squeegee, swipe and pick up a little of all three paints…
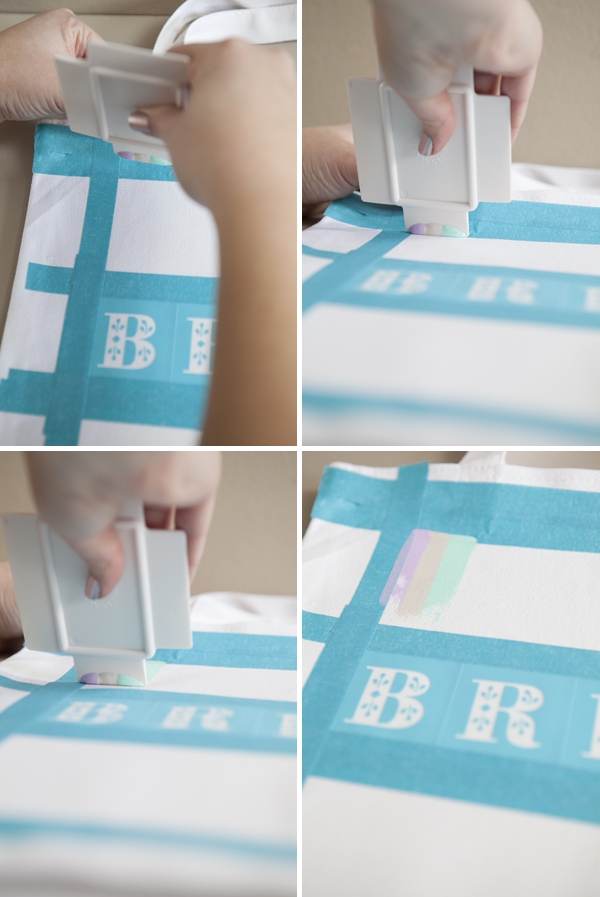
… and then inside your taped off area, pull the paint across your canvas! Go back to the palet, reload your squeegee and keep pulling until the entire box is complete!
The best thing about this technique is that it’s totally free form and can look however you’d like. In my design I’m lifting the squeegee off the canvas about an inch before the tape – I want the illusion of the paint melting into the word ‘bride’. Overlap each layer just a little…
This seriously takes one minute!
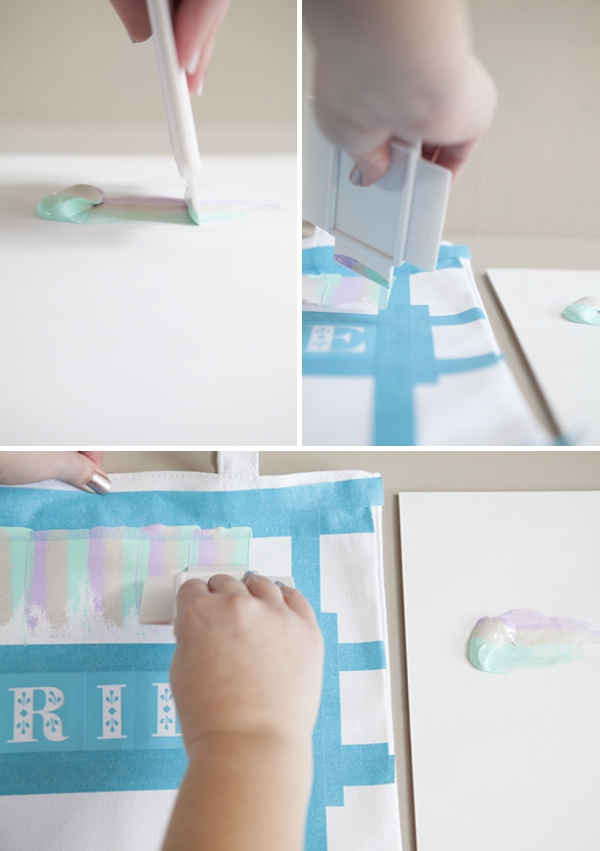
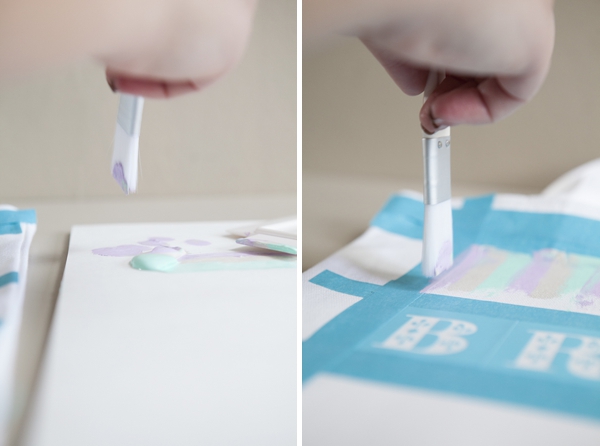
This step is optional. Take a paint brush and lightly paint the first and last color of the box all the way down to the tape base, making the design feel more like it’s boxed in.
On your palate, add another three paint lines and paint the bottom box!
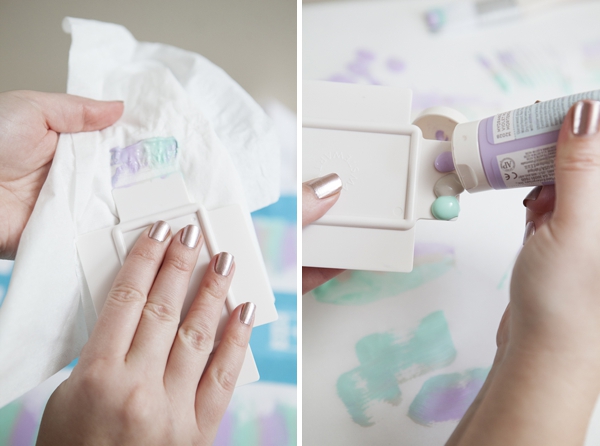
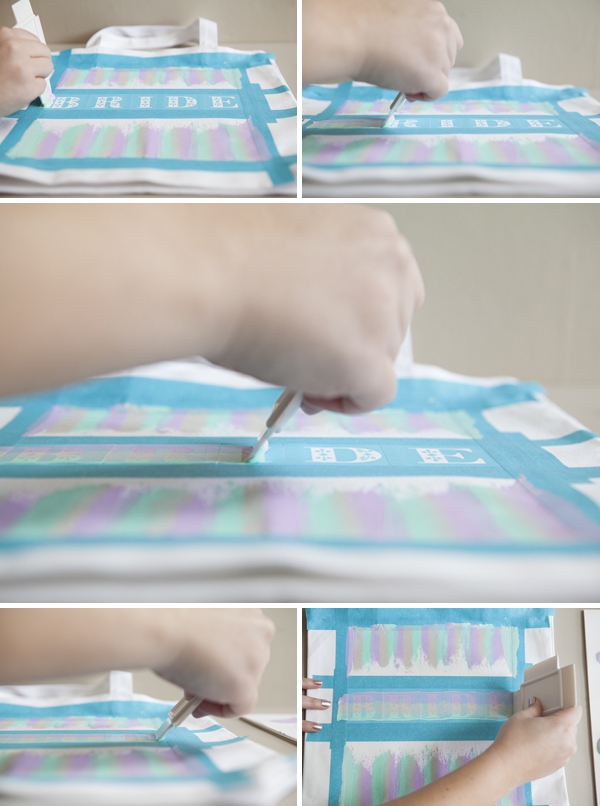
Clean off your squeegee and carefully add three dots of paint directly to it.
*Before you paint – make sure that each letter is firmly pressed to your canvas!!! This is very important! You should have no gaps in the stencil at all – gaps mean paint can seep under the design area which is bad news.
Starting at the beginning of your word, lightly pull the paint across each and every letter!
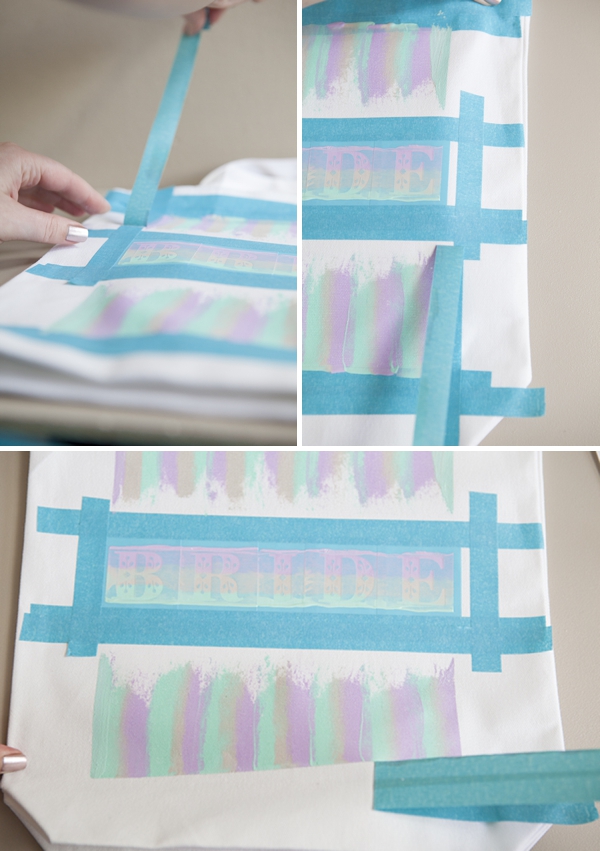
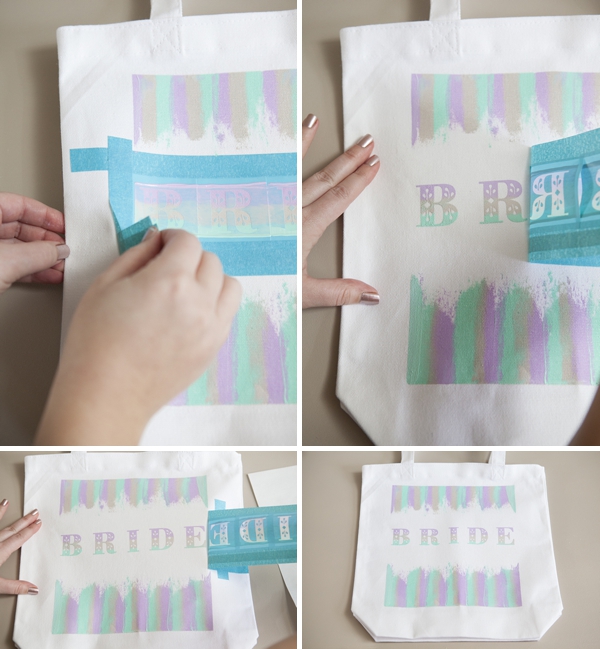
As soon as you are done silkscreening the word, carefully remove all the tape!
Start with the outer taped areas and then remove the word… to reveal it’s beauty!
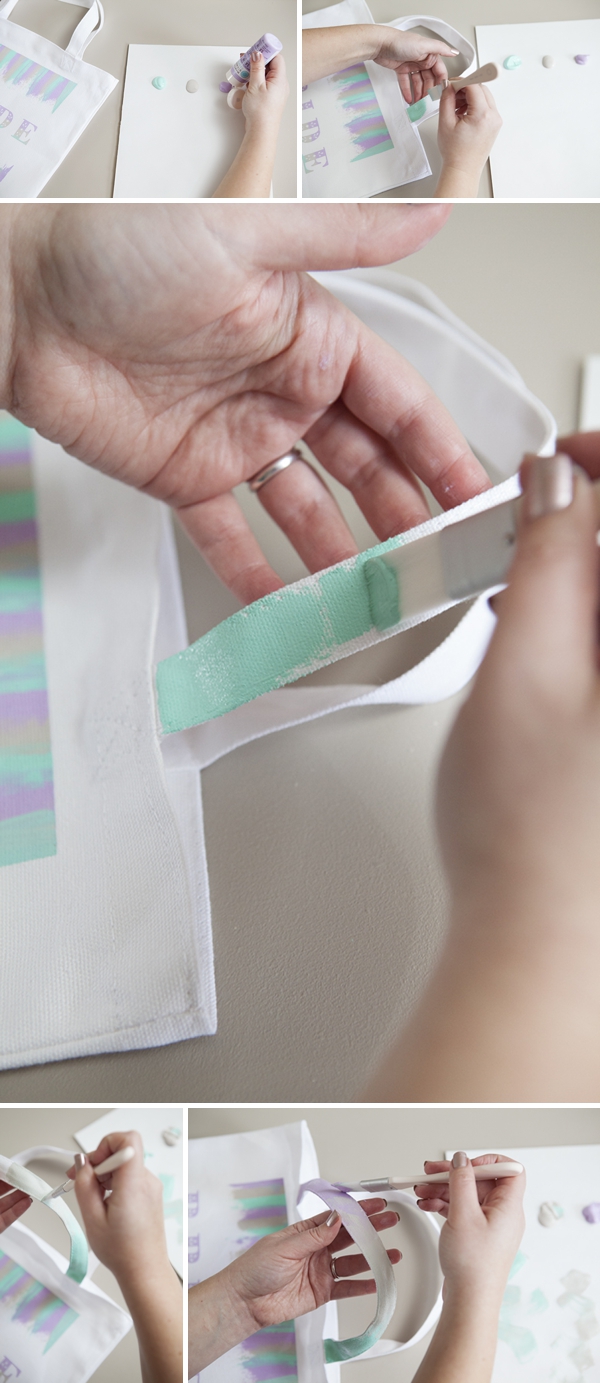
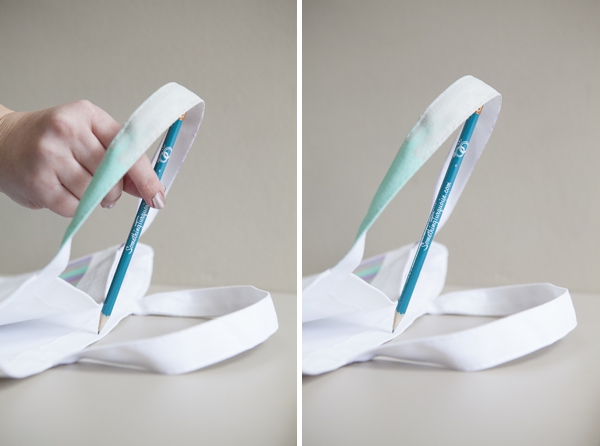
If you choose, you can also paint the strap of the tote to match your design. Start with one color and paint the next color right on top – getting that same blending feeling.
You will need to paint each strap side, one at a time – and this is how I let mine dry!
*CRAFTERS TIP // You might be wondering why I didn’t add Martha Stewart Crafts Fabric Medium to the paint before painting it on the canvas. If you would like to – please do! I didn’t for a couple of reasons, one being that canvas by nature is stiff so you won’t notice how stiff the paint actually makes the canvas, unlike other fabrics. Two, even after many many washings this paint absolutely will not budge from this fabric – trust me, I’ve lost a few shirts already… and three, it is easier without it and I like to keep things easy!
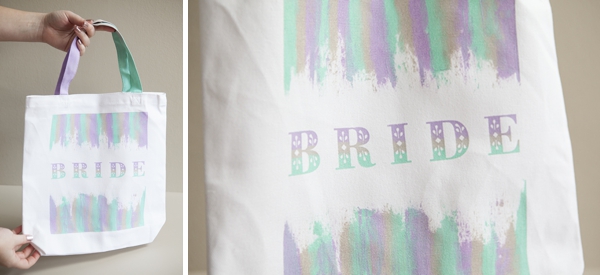
There you have it! An absolutely darling and totally crafty tote bag for the totally crafty bride!
As with all our DIY tutorials, if you create one of our projects please send us a picture or a trackback – We Love Seeing Your Creativity! If you use Instagram or Twitter please use the hashtag #SomethingTurquoiseDIY. Happy Crafting!
Photography: Studio 11 Weddings // DIY tutorial by: Jen | Something Turquoise // All the Martha Stewart Crafts products used here are available at Michaels, JoAnn’s and Amazon // tote bag and palate paper: Michaels // nail polish: Color Club, ‘Put a Pin in It’



Comments