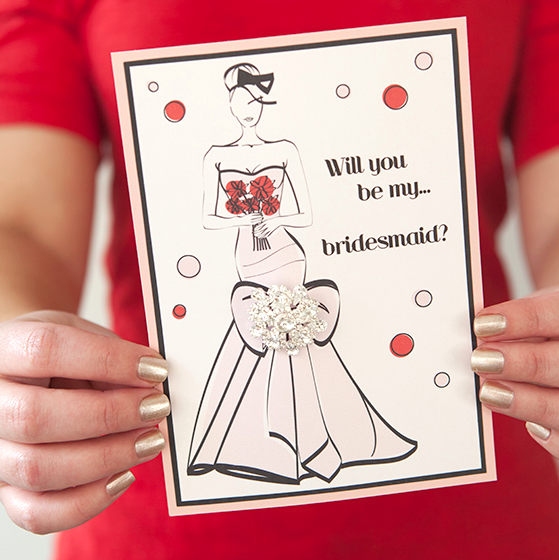
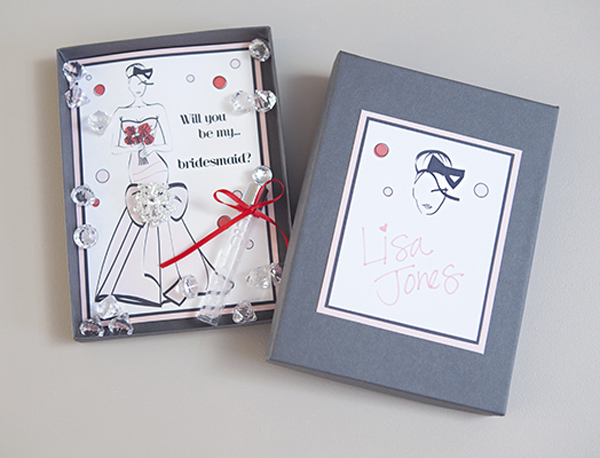
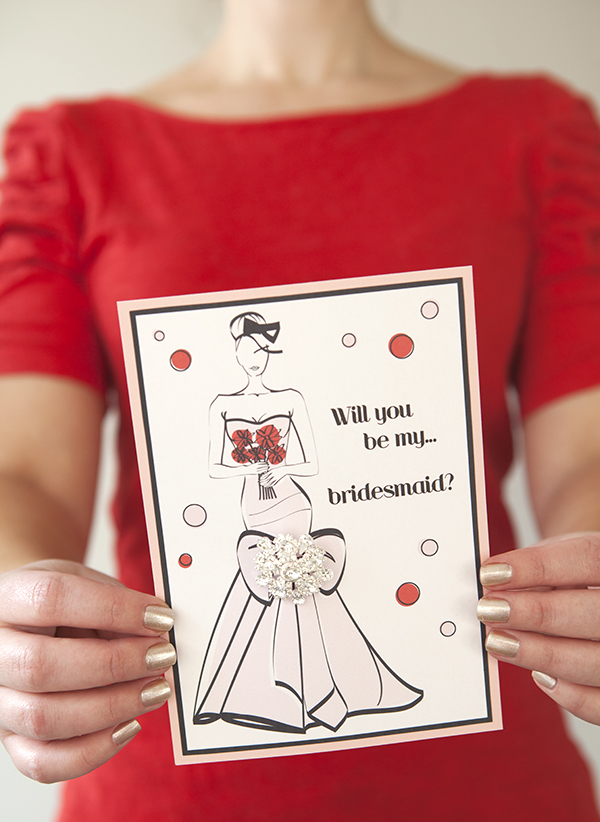
We have a super fabulous ‘Will you be my Bridesmaid?’ project for you today… sponsored by the brand new David Tutera DIY Bridal Collection craft line which is now available at Michael’s and JoAnns. Asking your best friends to stand by your side on your wedding day is a big commitment. Make sure that they know how how much you will appreciate their love and support throughout your wedding planning by asking them in a super cute way!!! And guess what!!?? These darling cards are FREE to download below!
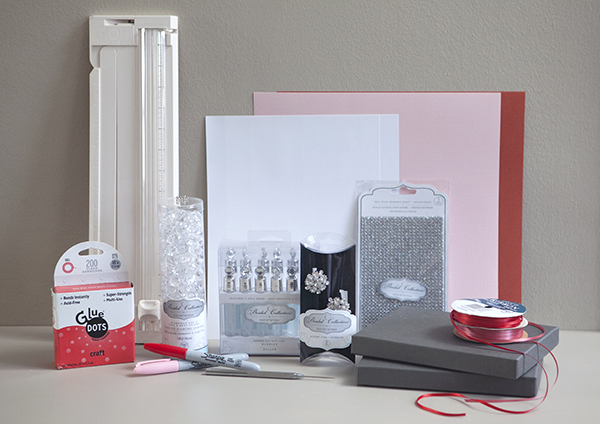
SUPPLIES // Faceted diamond charms, accent pins, self-stick shimmer sheet, and bubbles from David Tutera’s DIY Bridal Collection, box mailers from Paper Source, sticker paper, paper trimmer (or scissors), Glue Dots, and your choice of cardstock, ribbon and Sharpies.
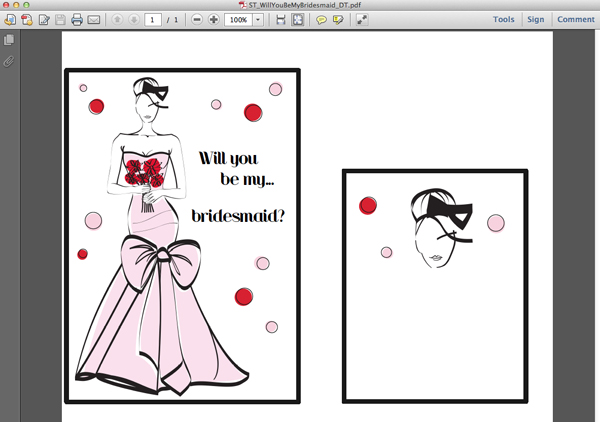
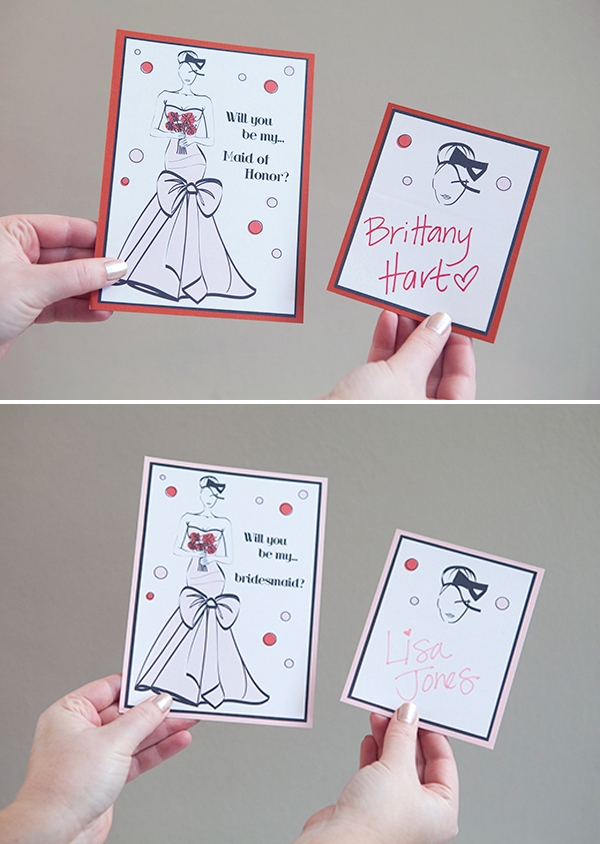
DOWNLOAD and PRINT this adorable ‘Will you be my Bridesmaid’ card and tag for FREE! Each sheet has one card and one tag… if you aren’t into the pink and red, simply set your printer to ‘black and white’ and it will print these in a grayscale!
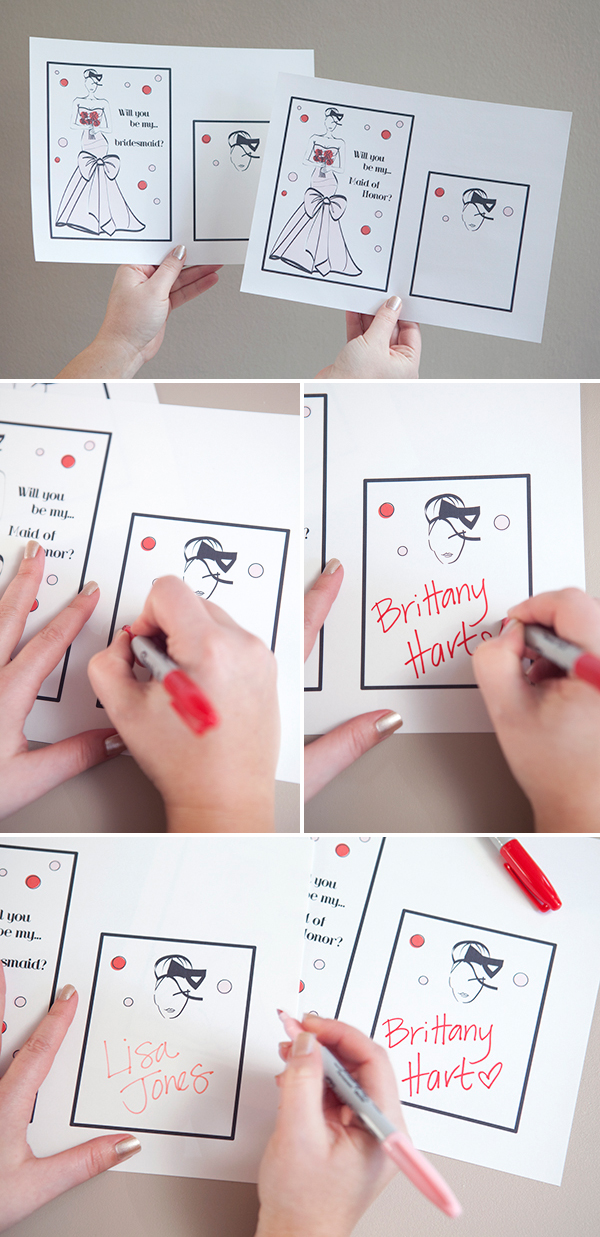
Once you have these cute designs printed on sticker paper (or white cardstock) write each of your bridesmaids names on the tag area. Write their names before you cut the cards out – just in case you mess up the name.
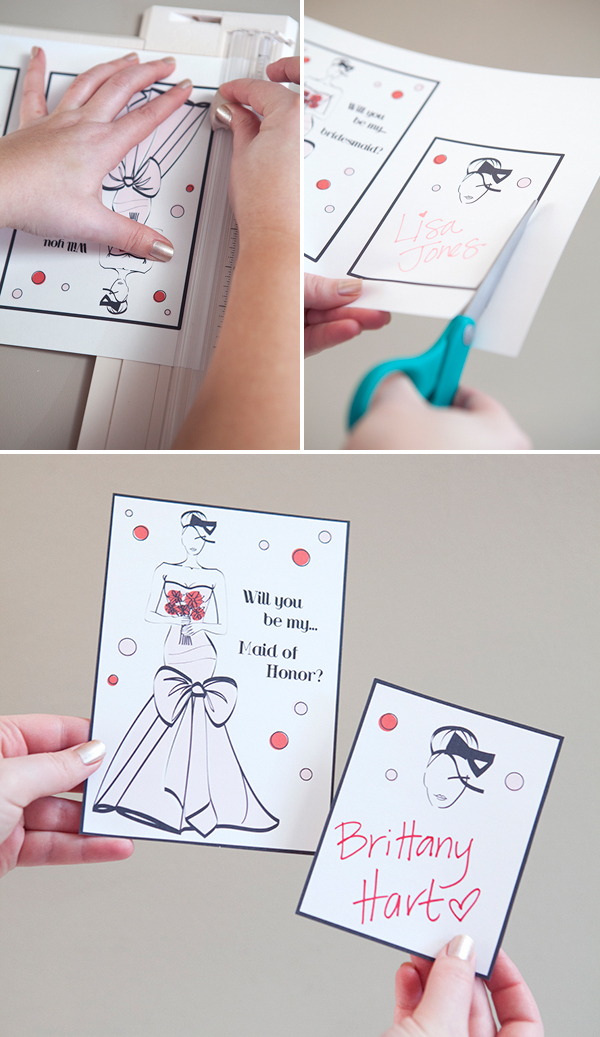
Using either a paper trimmer or scissors, whichever you are more comfortable with, cut out each card along the black line.
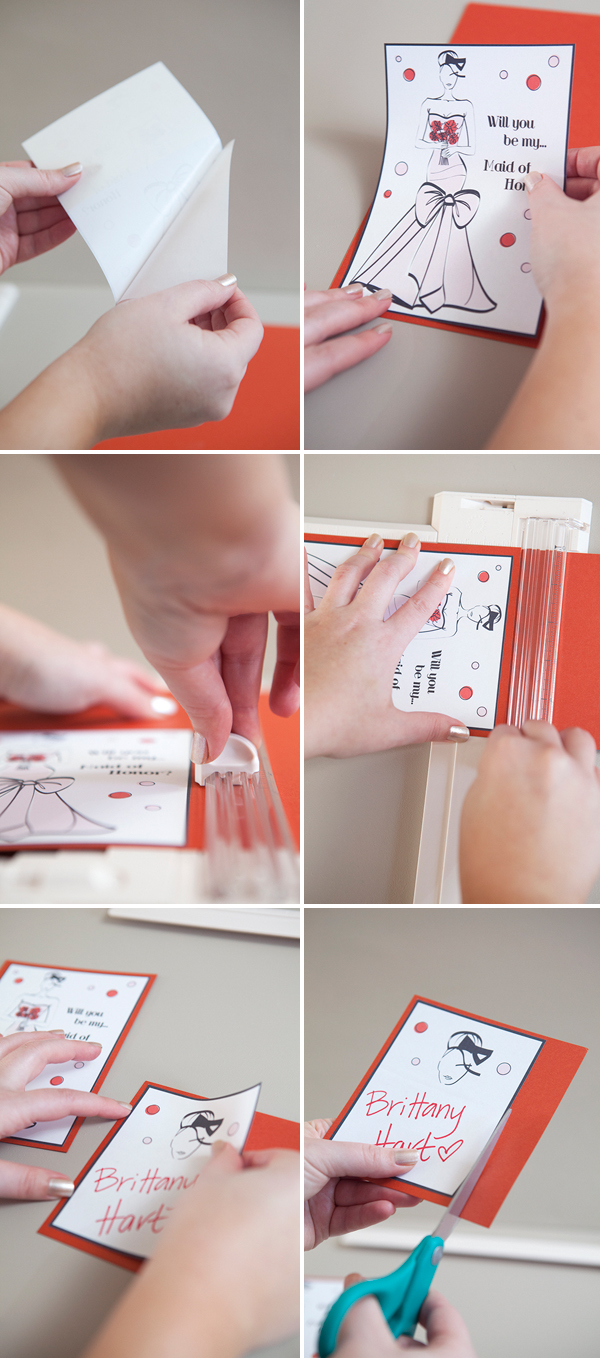
If you used sticker paper, peel the backing away and press onto your cardstock. Then cut leaving about a 1/4″ boarder of the cardstock. Do both the card and the tag… and again you can use scissors or a paper trimmer to cut these out.
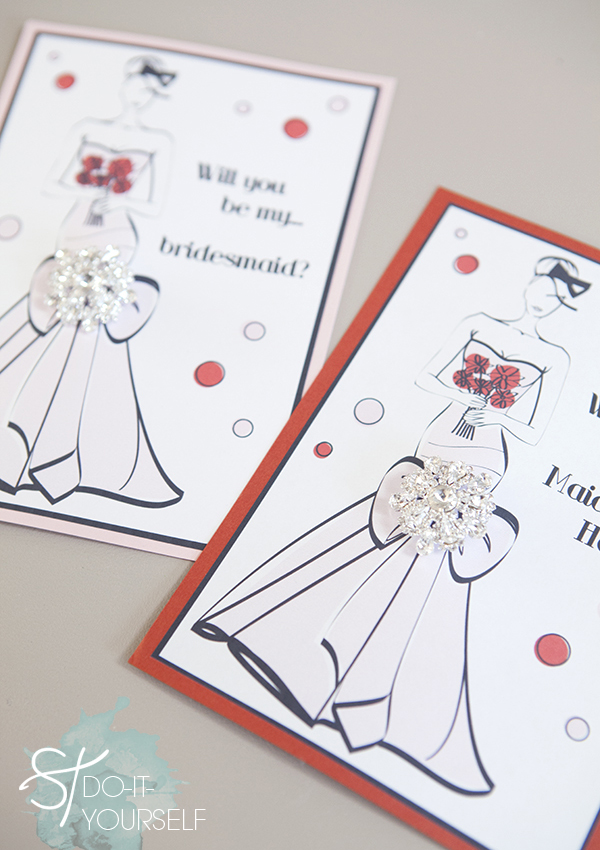
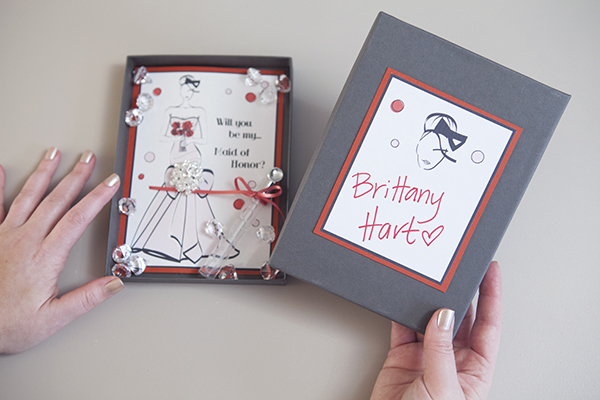
I chose to make the ‘maid of honor’ card a different color than the ‘bridesmaid’ card…
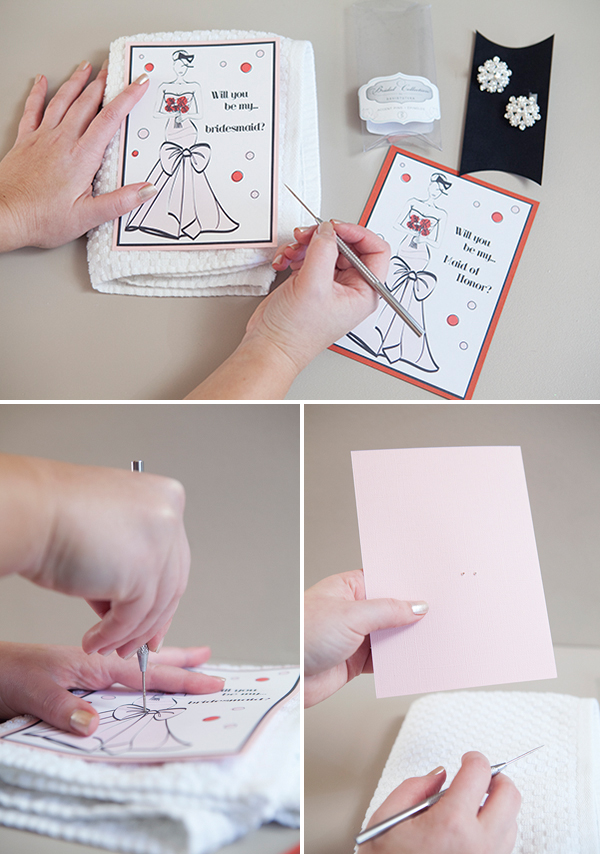
Now we will be attaching a beautiful David Tutera Bridal broach to the card as a little gift to your bridesmaids, which would make great wedding day accessories. They could wear these in their hair, on a clutch, on a belt, or even in their bouquets! With your card sitting on a folded towel, using a piercing tool or a thick needle – pierce two holes in your card about a quarter inch away from each other.
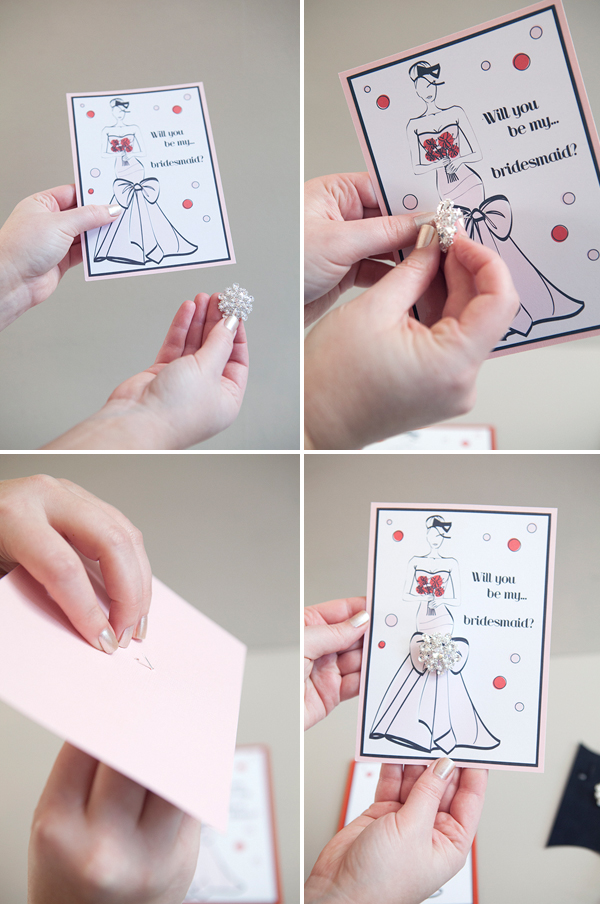
Then thread your broach pin through the card and close the clasp.
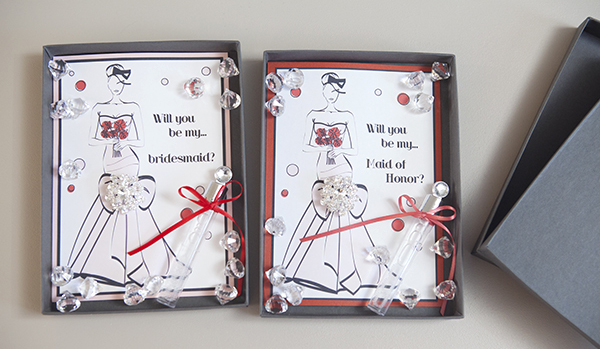
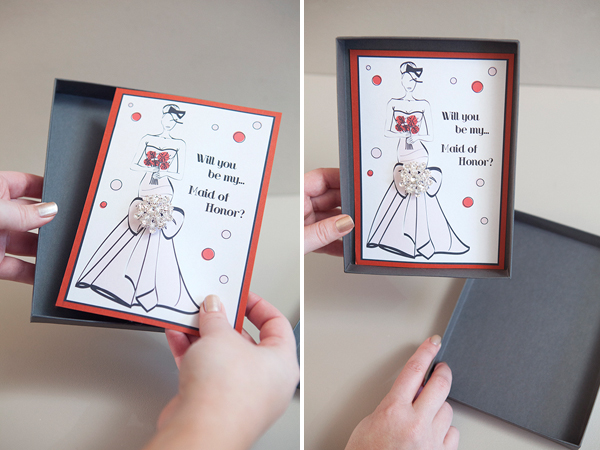
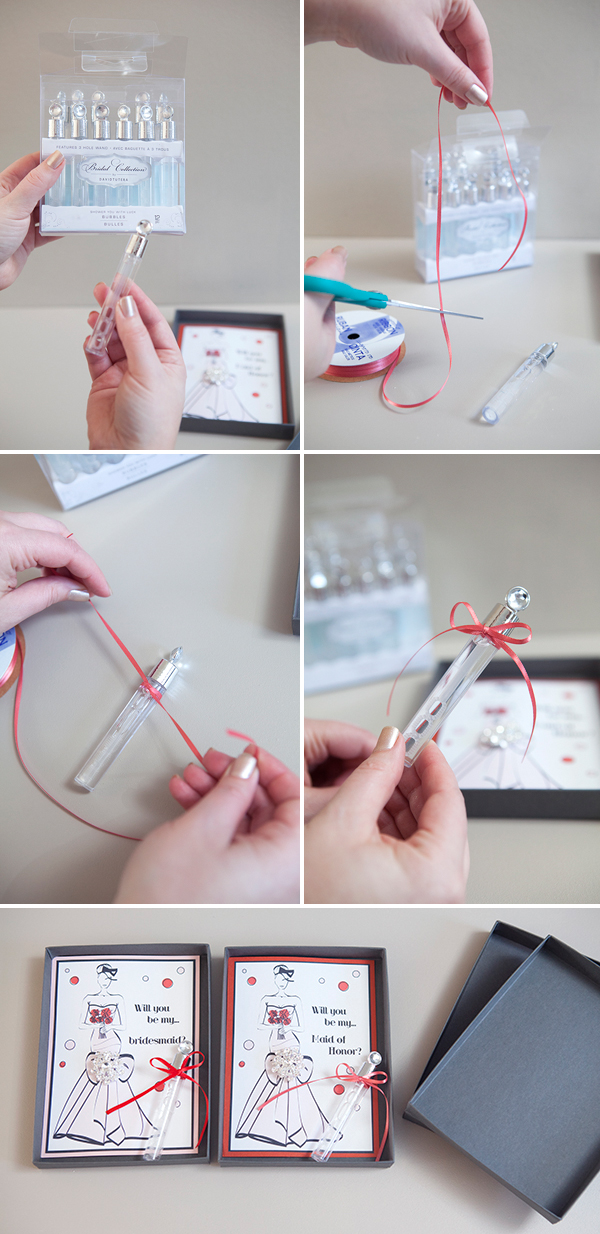
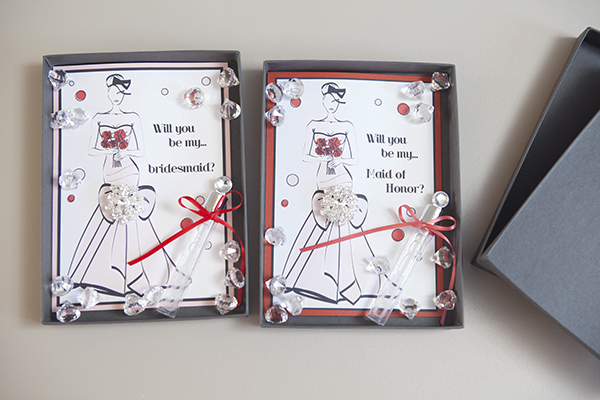
Now place your darling finished card inside your mailer box and add other little gifties!
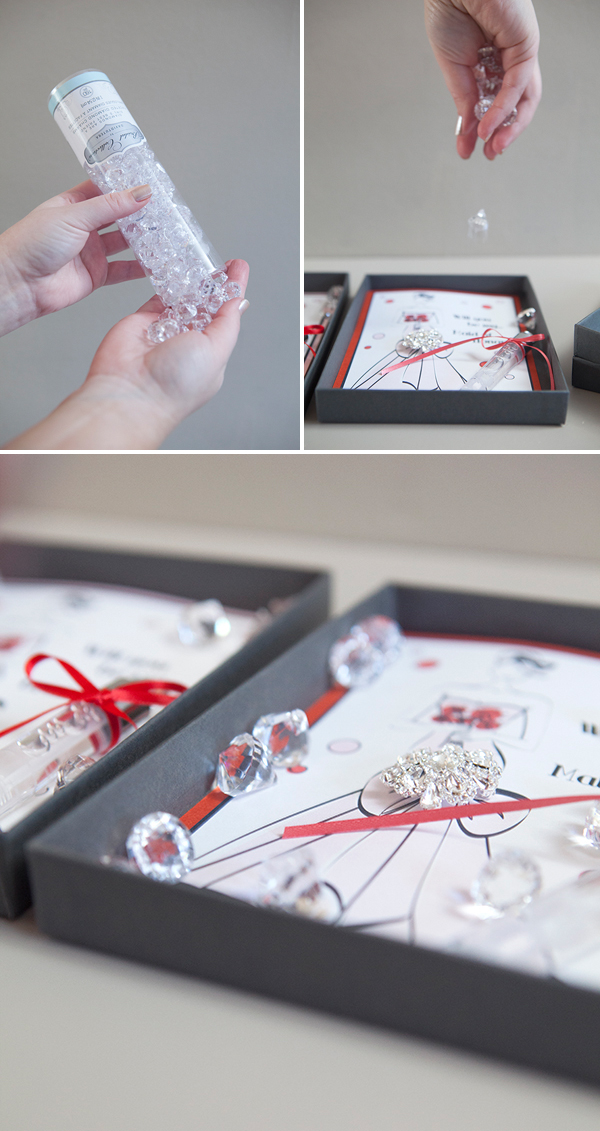
David’s new line has these cute bubble wands that would make a great addition to your box, add a little color coordinated bow and your good to go…
Diamonds are a girls best friend… so add a few diamond charms to the box as well!
Your friends will be forced to say “Yes!” …not that they wouldn’t have…
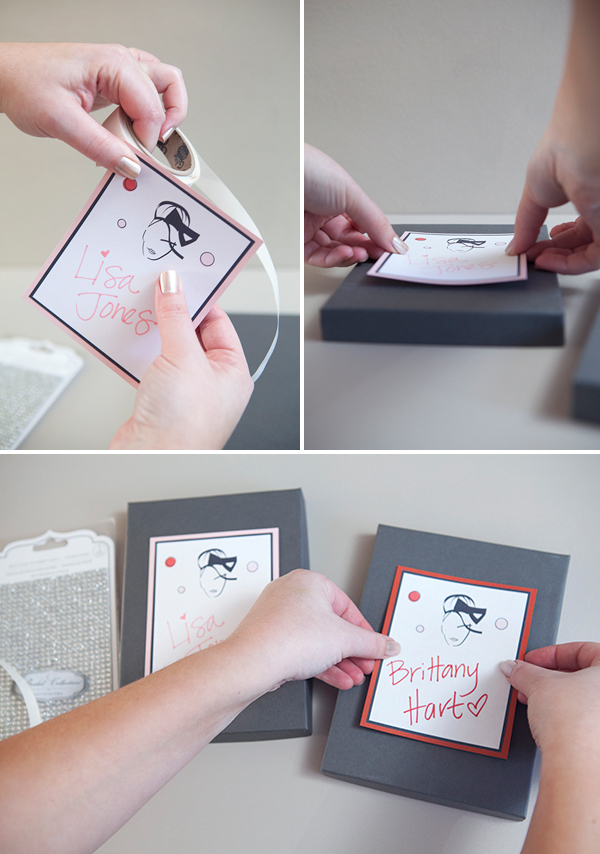
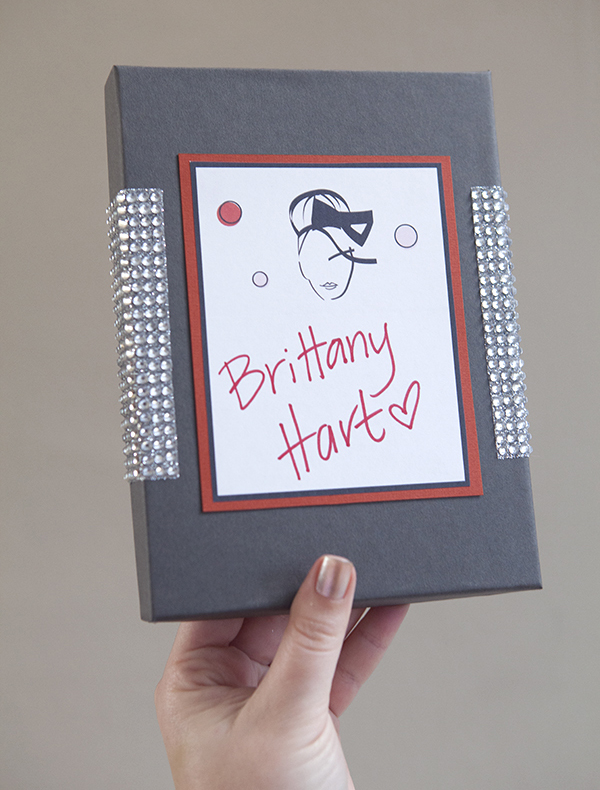
Now for the tag and bling for the front of the box. Apply 5 or 6 glue dots to the back of your tags and adhere them to the front of each mailer box.
Aren’t they just darling little gifts!!??
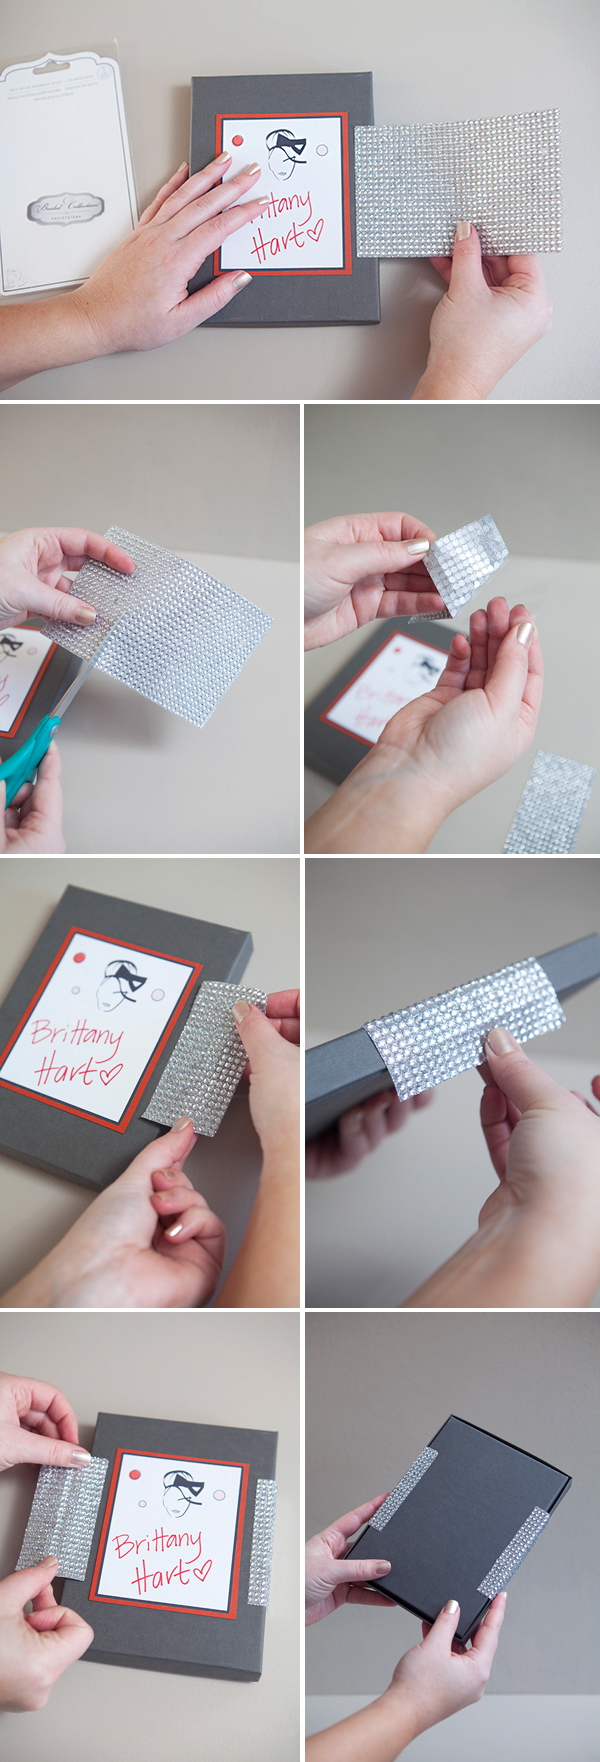
Now the best part, an adhesive shimmer sheet of rhinestones to seal the box! These sheets are very tacky and they hold extremely well. I cut strips of 12 rhinestones long (you can get three strips out of each sheet) to seal each side. Peel away the backing and apply evenly!
I’m in LOVE… and your girls will be too!
Make sure to do something special when asking your besties to be a part of your special day!
Follow the fabulous David Tutera on: TWITTER & PINTEREST
Follow his craft line by Darice: FACEBOOK & TWITTER
As with all our DIY tutorials, if you create one of our projects please send us a picture or a trackback – We Love Seeing Your Creativity! If you use Instagram or Twitter please use the hashtag #SomethingTurquoiseDIY. Happy Crafting!
Photography: Studio 11 Weddings // DIY tutorial + FREE downloads by: Jen | Something Turquoise // self-stick shimmer sheet of rhinestones, bubbles, accent pins, and diamond charms: Bridal Collection by David Tutera available at Michaels and Joann // box mailers in Slate: Paper-Source // Martha Stewart Crafts paper trimmer, Glue Dots, Sharpies, cardstock and ribbon: Michaels // my favorite sticker paper: Staples // nail polish: OPI – Up Front and Personal
I wrote this post as part of a sponsored campaign with Darice and The Blueprint Social. The opinions in this post are my own.



Comments