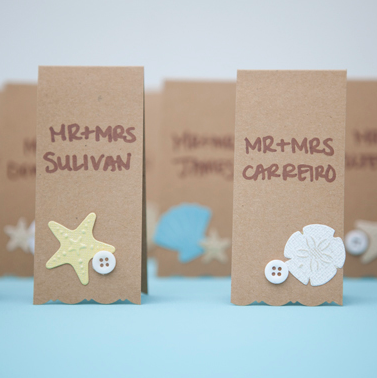
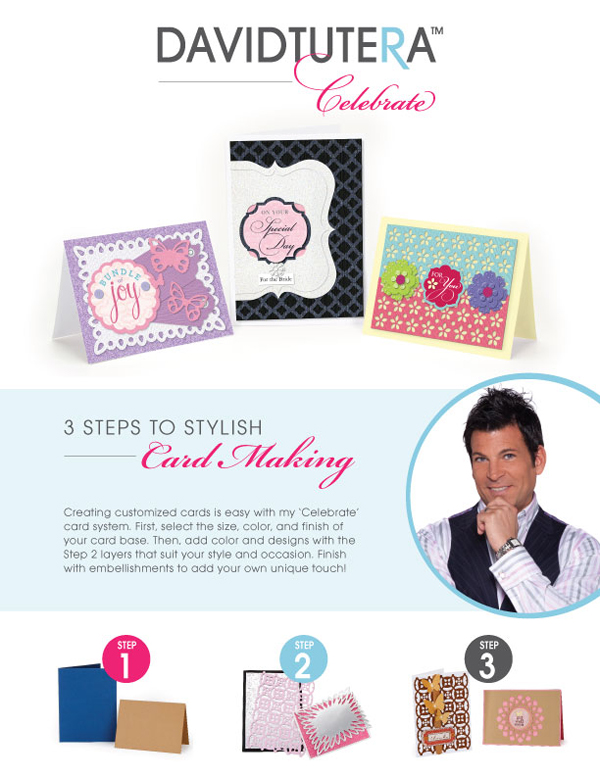
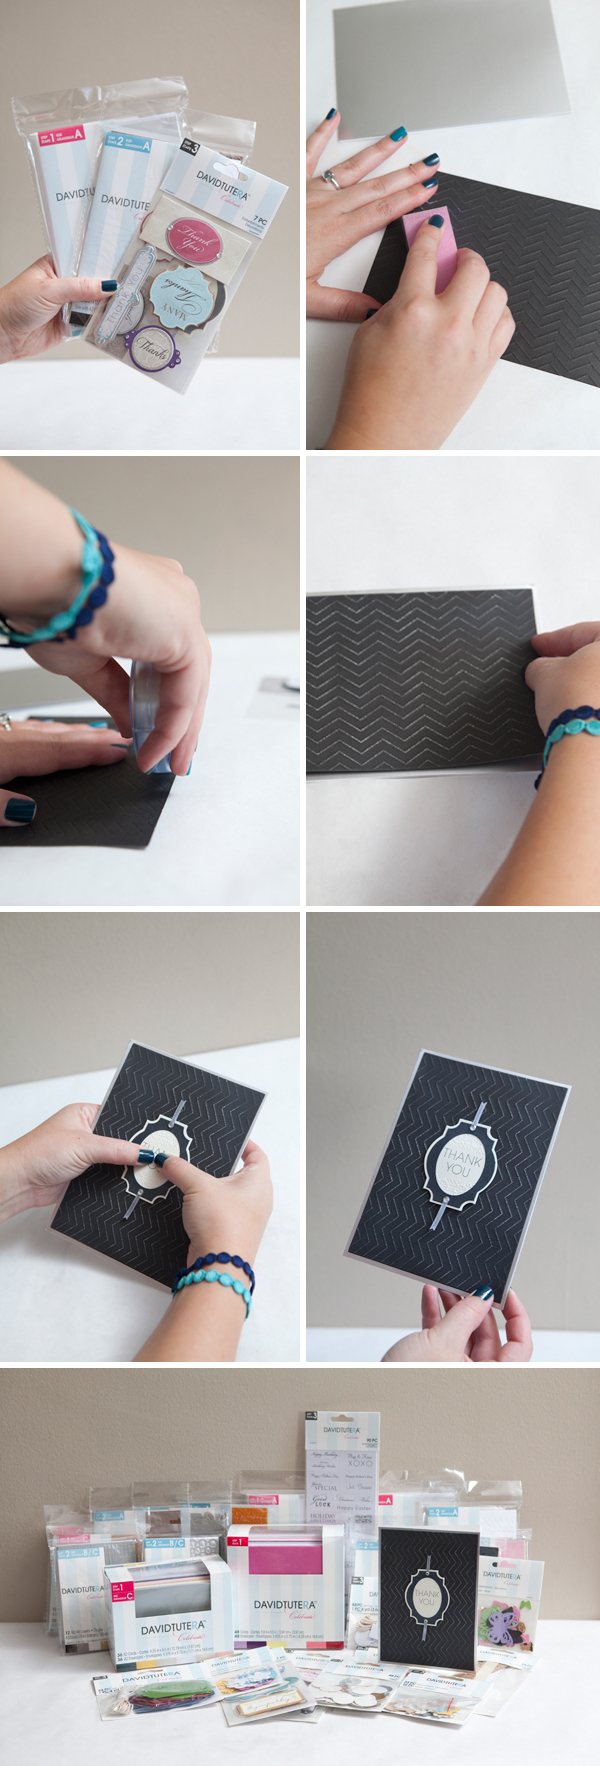
Yeah!!! It’s finally DIY Friday!!! Today I’m bringing you a super fun and super easy escort card tutorial using David Tutera’s (my absolute fav!) new paper crafts line called Celebrate which is available exlusievly at JoAnn Fabric & Craft Stores . His adorable card designs are uniquely coordinated to have only three easy steps… which you can see from the cute card I created in like 2 minutes below. But, I wanted to stretch the boundaries with this fun new line and show you how to easily create amazing escort cards in two very different looks. Not only do I get to share this tutorial with you today but I also get to giveaway a special selection of David’s new paper craft line worth $50!!! Details below…
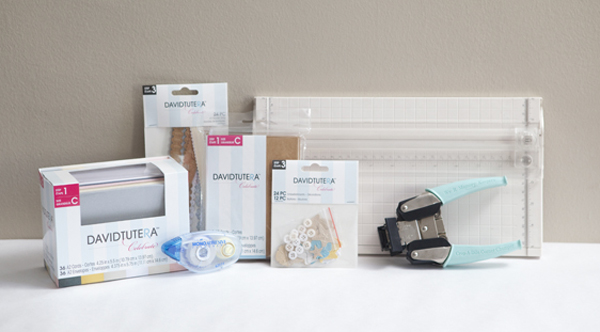
SUPPLIES // ‘C’ size greeting cards and ‘Step 3’ style embellishments from David Tutera Celebrate card line, paper trimmer, Crop-A-dile corner chomper, your choice of adhesive, a decorative pair of scissors, and Sharpie Paint pens.
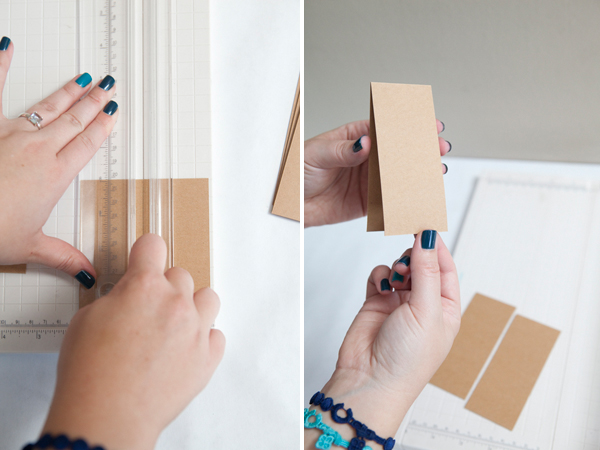
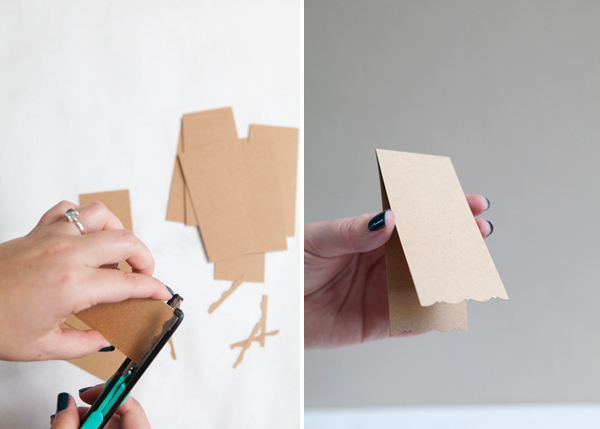
Start by cutting your 4.5″ x 5.5″ greeting cards in thirds, roughly into 1.75″ x 4.5″.
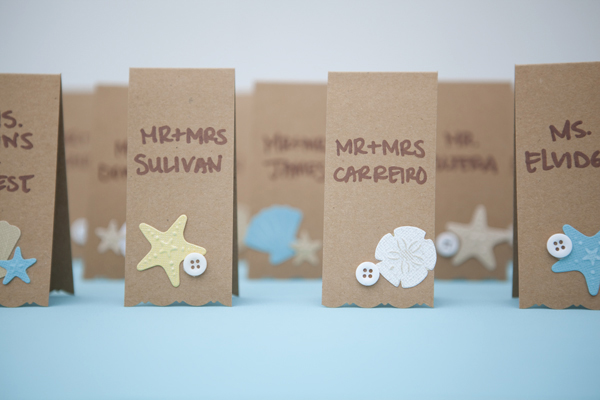
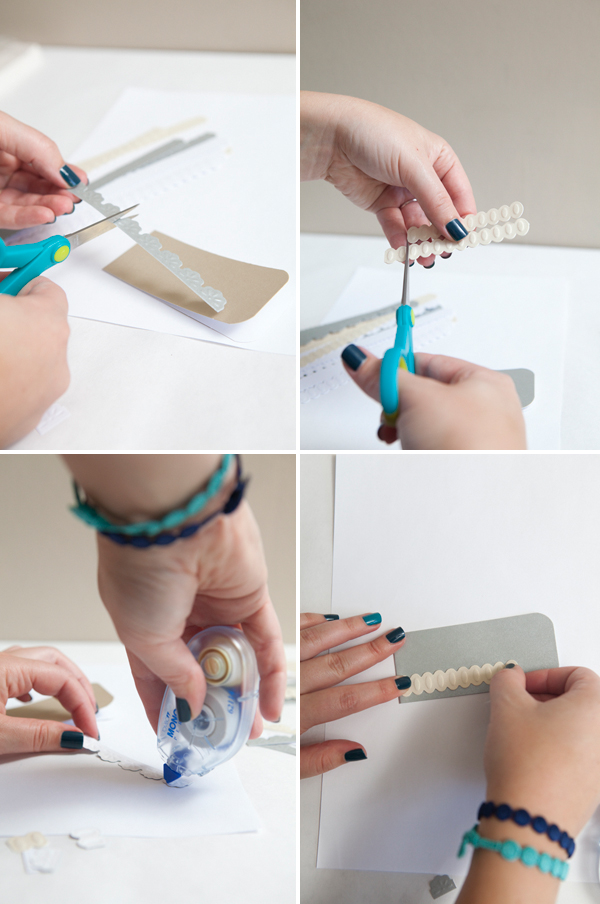
Next, we are going to embellish the ends by cutting them with a decorative scissor.
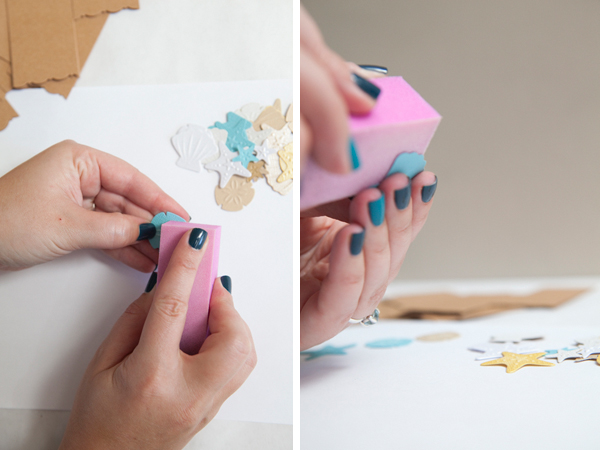
Now we will start embellishing! Some of the embellishments from David Tutera’s new paper crafts line are actually sandable! Meaning you can sand the raised areas to reveal a different color. I used a simple nail buffer to do the job.
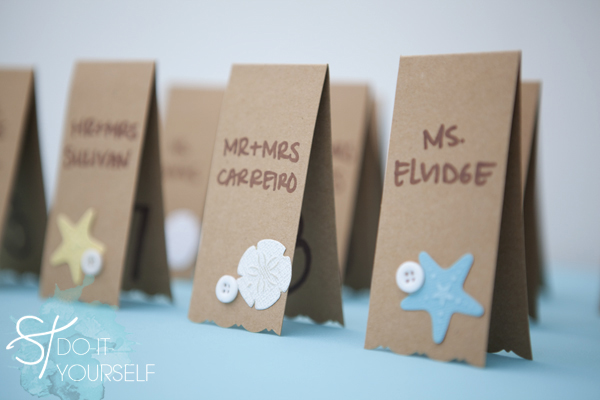
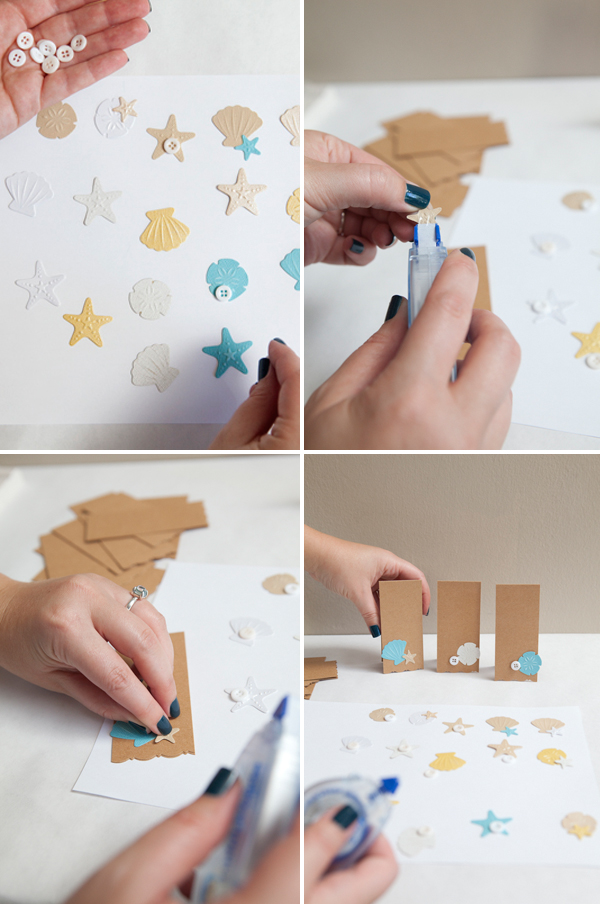
Get your choice of embellishments together and start adding them to each escort card.
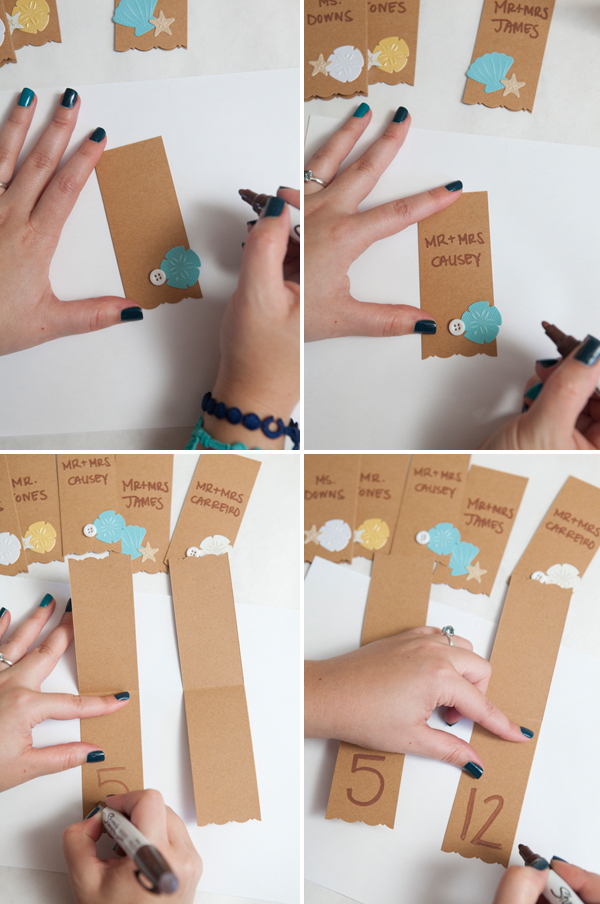
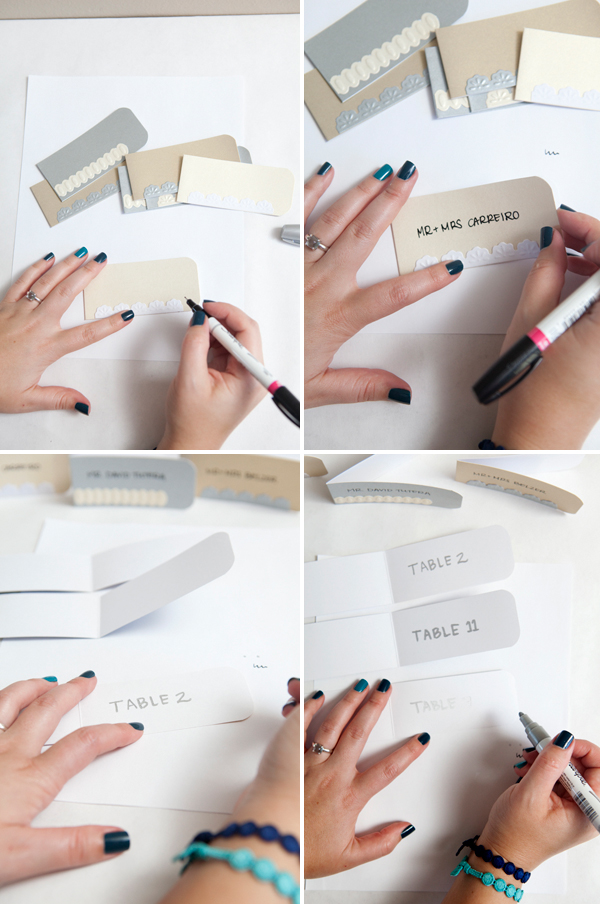
Using the Sharpie paint type pen, write your guests names and their table number!
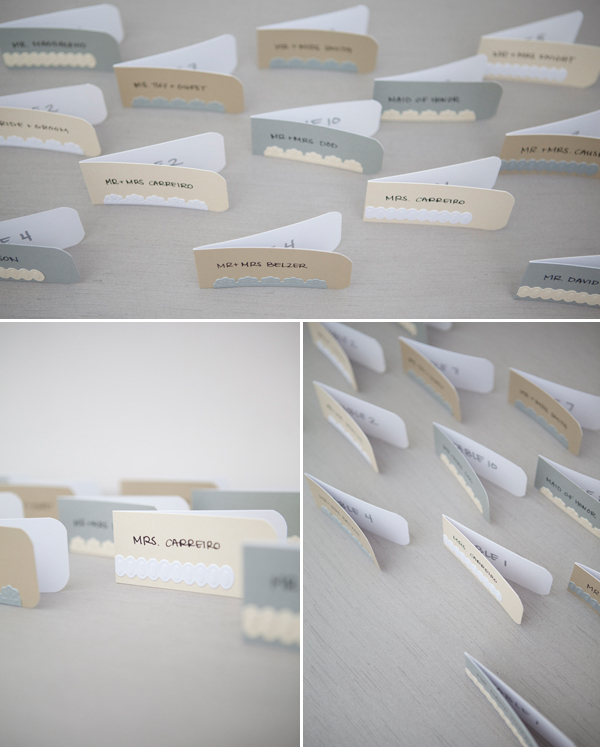
I love how simple and unique these look!!!
Along with ST’s giveaway, there is another giveaway that you can enter! Three lucky winners will receive a $300 grand prize pack of supplies from David Tutera’s Celebrate card making line, a few pieces of jewelry from his new line Embellish by David Tutera and a personally signed book – 20 additional winners will receive a $50 Celebrate prize pack! Sign up {here} for a chance to win or click the image below!
You can also connect with David Tutera Celebrate through Facebook, Twitter, and YouTube.
::: SECOND DESIGN :::
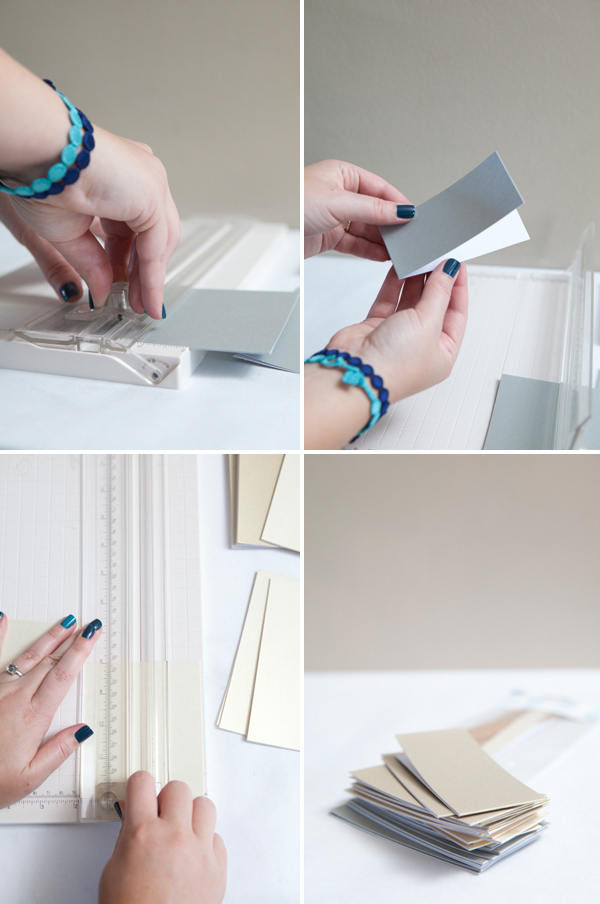
For the second design we will start with the same technique. Using a paper trimmer, cut your 4.5″ x 5.5″ greeting cards in thirds, roughly into 1.75″ x 4.5″. In this example I used three different colors.
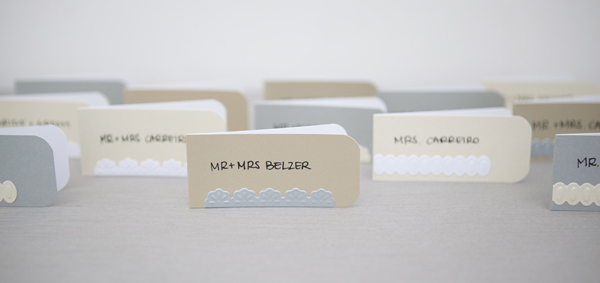
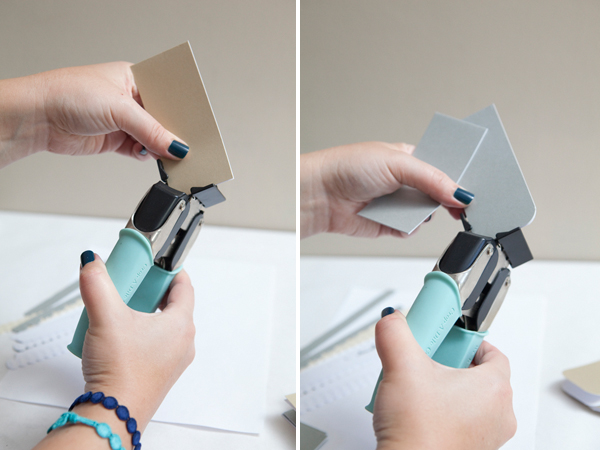
Then using my favorite Corner Chomper, round the edges of the cards.
Next, trim your choice of embellishments to fit the width of the cute cards and apply!
These cards have a bit of a metallic sheen to them so using the Sharpie paint pen is a perfect choice.
So cute, so fun, so easy, and so darn quick!!!
As with all our DIY tutorials, if you create one of our projects please send us a picture or a trackback – We Love Seeing Your Creativity! Happy Crafting!
DIY CREDITS // Photography: Studio 11 // DIY tutorial by: Jen | Something Turquoise // All David Tutera Celebrate Supplies are available exclusively at: JoAnn Fabric & Craft Stores // Martha Stewart Paper Trimmer and Sharpie Paint pens: Michaels // Crop-a-dile Corner Chomper: We R Memory Keepers // Fiskars specialty scissors in Seagull: Amazon // nail polish: OPI Ski Teal We Drop +Fly
I’m thrilled to be able to giveaway $50 worth of David Tutera’s Celebrate just to Something Turquoise readers!
TO ENTER ::: LIKE THEM ON FACEBOOK AND LEAVE A COMMENT BELOW!
WINNER TO BE ANNOUNCED NEXT SATURDAY!
Making these greeting cards is so simple! Step 1, choose a card base. Step 2, choose an embellishment layer. Step 3, add your frill! When you have adorable coordinating pieces, it’s beyond easy to put together a terrific card in no time!
I wrote this post as part of a paid campaign through David Tutera Celebrate Paper Crafts Line and Blueprint Social. However, all opinions and content in this post are 100% mine.




Comments