I am so excited to share today’s do-it-yourself tutorial with you! So fun and so easy… these personalized alphabet crayon names will delight every child (and their parents) that attends your wedding! Melting down crayons and molding them into the names of the special children invited to your wedding couldn’t be cuter!!!
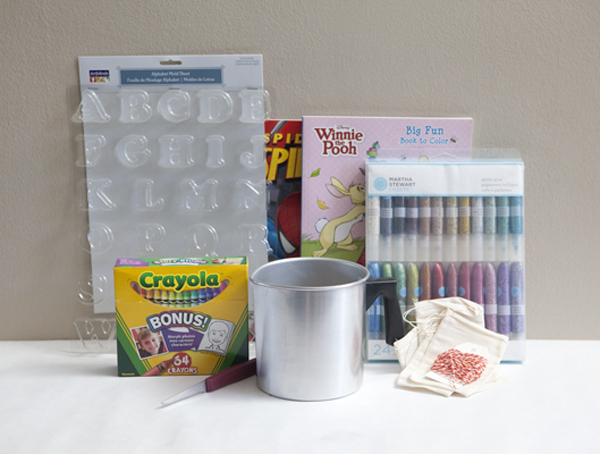
SUPPLIES //
- crayons
- alphabet mold sheet
- aluminum candle making pouring pot
- small knife
- muslin baggies
- twine, glitter glue and coloring books!
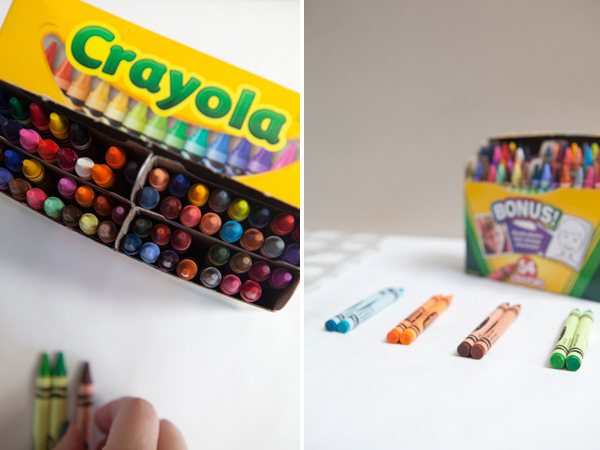
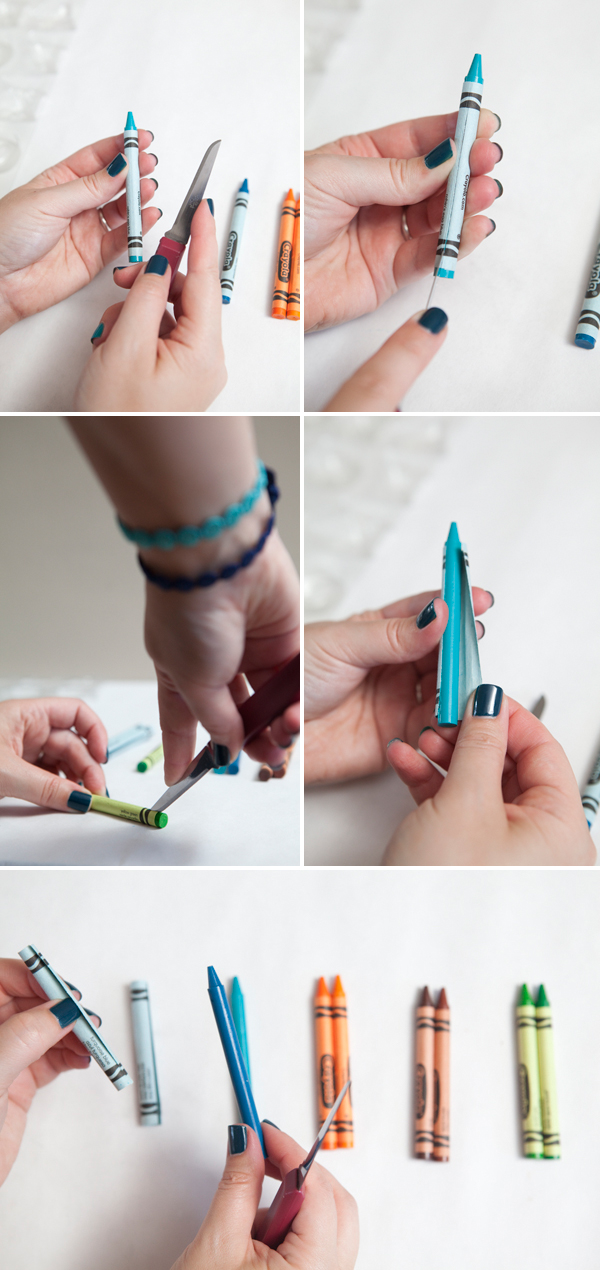
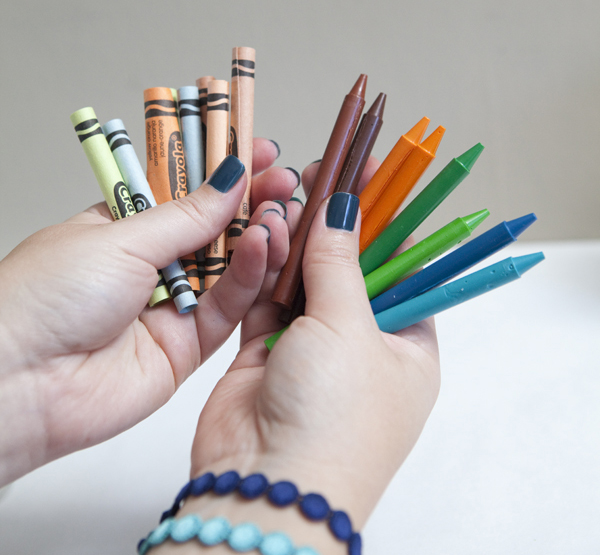
Each letter for this exact soap making mold requires the wax of 2 crayons. So you will need to pick out 2 crayons per letter that are similar in color which will blend well when you melt them down together.
Using a little knife, slide it down the side of the crayon to slice the wrapper open – this makes it very very easy to remove. You can also just pick at it if you don’t like using knives :)
Is it just me or are crayons beautiful?
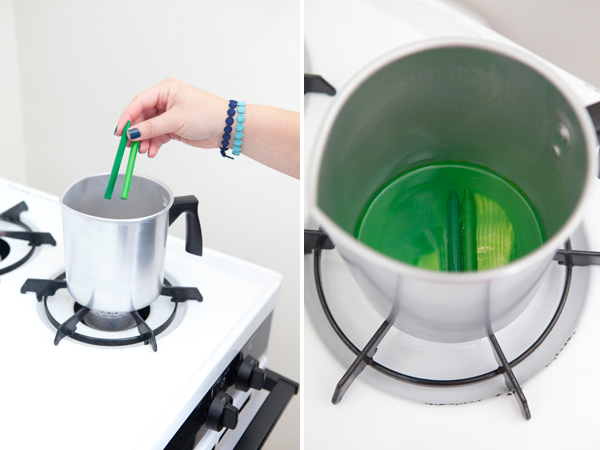
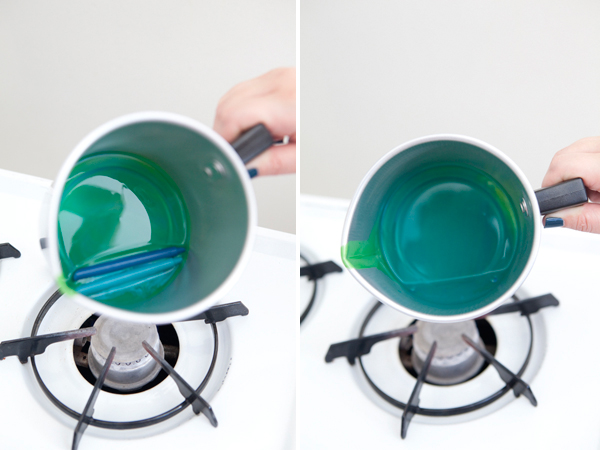
Once you have all your crayon ‘sets’ together you are ready to start melting! Using your candle making pouring pot is the best and easiest container to use to melt down the crayons – it is also the easiest melting type pot to clean up. On VERY VERY LOW heat, melt down your crayons.
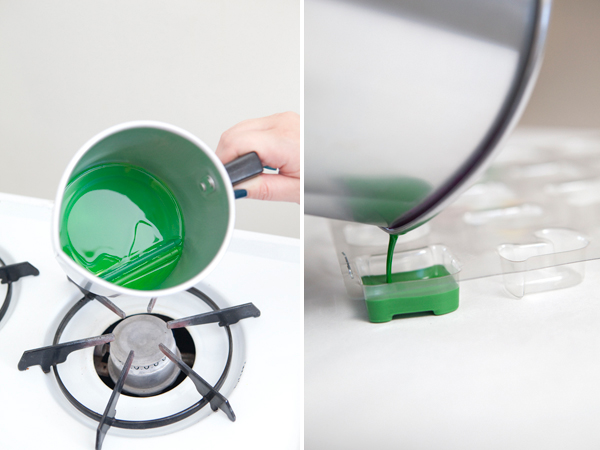
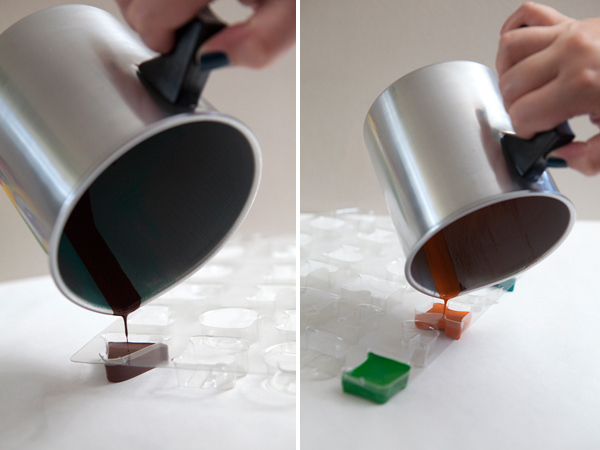
Swirl the pot a bit to completely combine the two colors of crayon, the crayons melt so easily there is no stirring required. Carefully pour into the alphabet mold. Crafter’s Tip: If the crayon wax is too hot – it WILL melt this mold!!!! I know, I did it. This is why it is VERY important to use low heat!!!
Now, keep in mind that cleaning this pot is not fun. So if the colors work out, try to melt them in an order that lends to the mixing of the colors. Like below. Melting the blues after the greens is fine, but I had to clean the pot after the blues because I melted orange next. Remember to swirl your pot a bit to mix all the colors together.
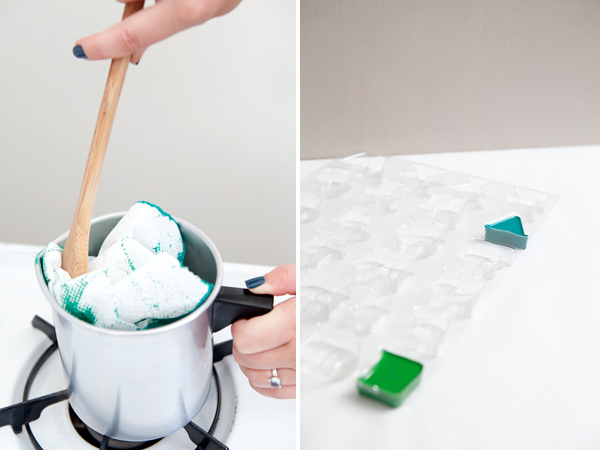
Using an old wooden spoon and a paper towel while the pot is still a little warm is the easiest way to clean up the crayon wax. Using the spoon to move the paper towel around is best because the pot should still be a little warm, which means the wax will wipe off easily.
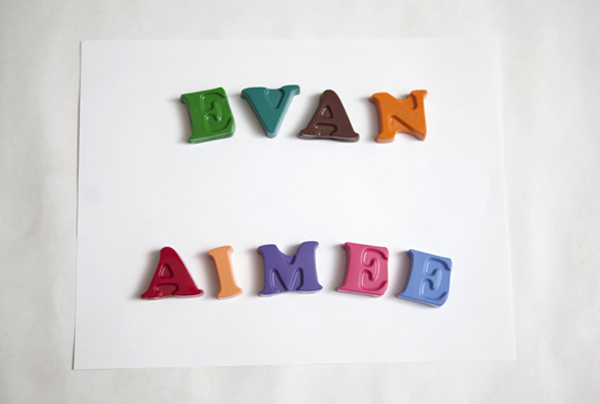
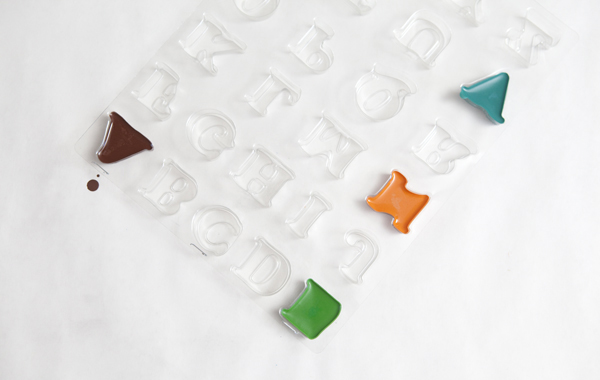
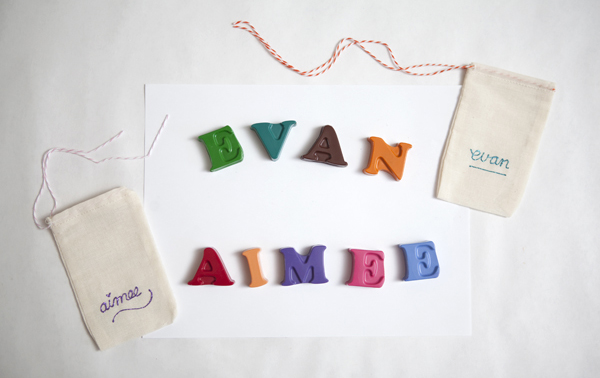
Melt and pour all the letters for each child’s name…
I love these colors together.
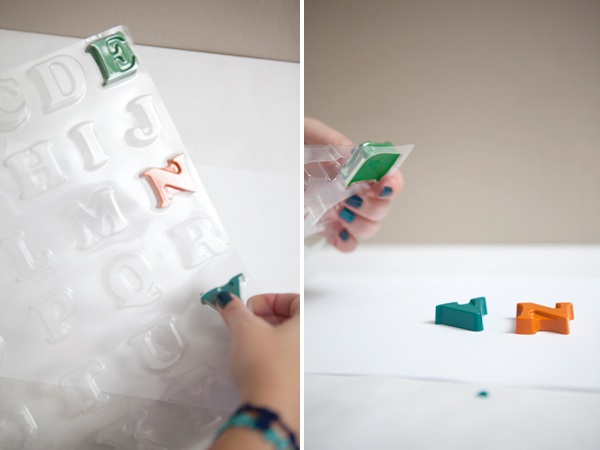
For this project, no mold release is required. These crayons pop right out of the mold!
SO darn cute!
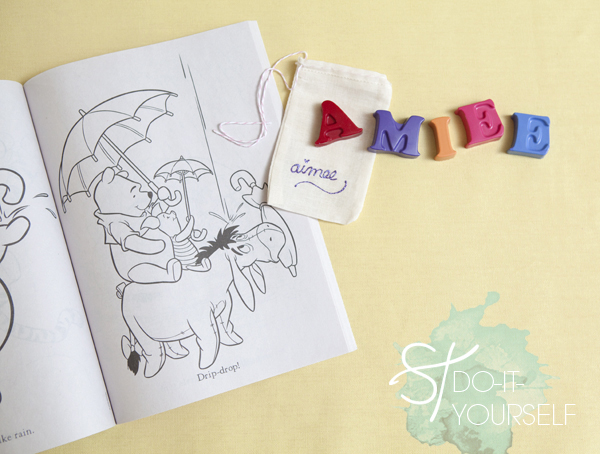
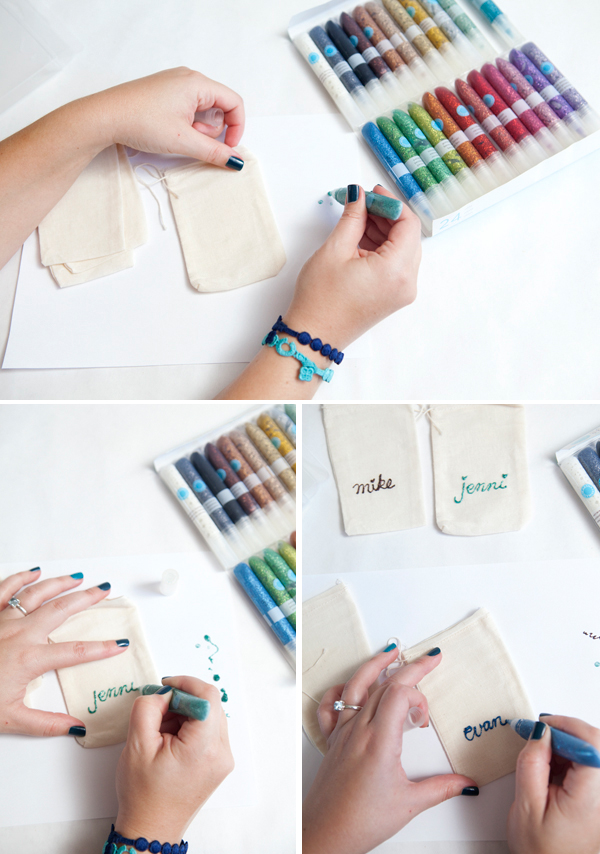
Optional: making cute muslin baggies to store the special crayons! Using Martha Stewarts amazing glitter glue, write each kids name on the front of a muslin baggie. Adorn the baggies with cute twine; instructions here.
Aren’t these just adorable!!??
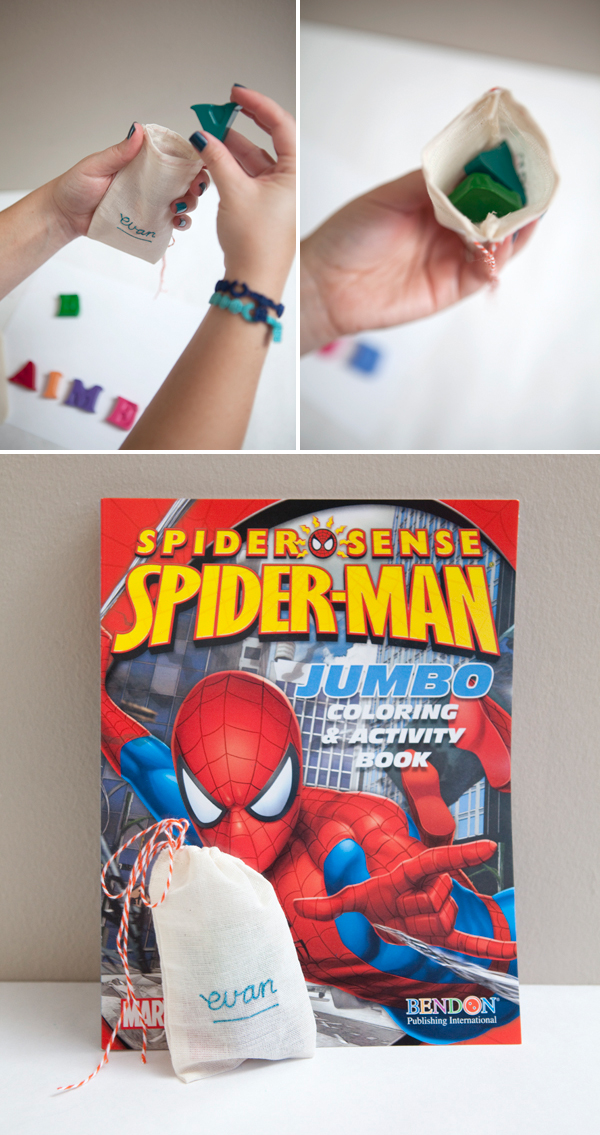
Fill the baggies with each child’s special personalized crayon letters and match with a fun coloring book. Give as the favor to each child invited to your wedding and it will surely keep them busy for at least a half hour!
As with all our DIY tutorials, if you create one of our projects please send us a picture or a trackback – We Love Seeing Your Creativity! Happy Crafting!
DIY CREDITS // Photography: Studio 11 // DIY tutorial by: Jen | Something Turquoise // Crayola Crayons, ArtMinds Alphabet Mold Sheet for Soap Making (I have searched the internet far and wide to find any for sale listing for this mold and I didn’t find anything, asking Michaels – will update!), Martha Stewart Glitter Glue, and Coloring Books: Michaels // candle making pouring pot from Ebay and this tutorial but you can find them: here // cute twine: Cupcake Social via Etsy // muslin bags: MuslinBags.com // nail polish: OPI Ski Teal We Drop + Fly


Comments