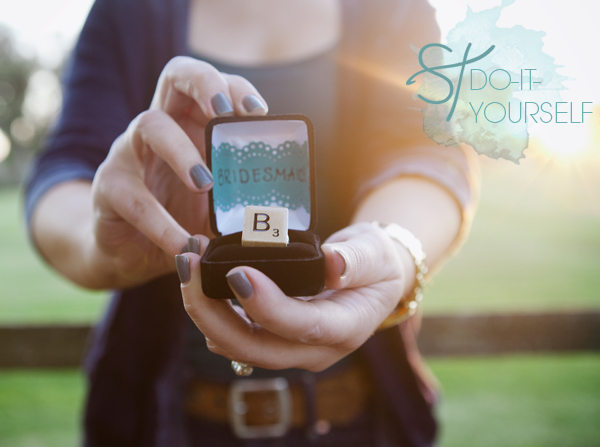
I am a huge fan of brides dreaming up special ways to ask their besties to be a part of their wedding… after all, who deserves a personalized gift more than your favorite friends? Here is my third tutorial for a ‘Will You Be My Bridesmaid’ gift idea! Click here for the first one and here for the second!
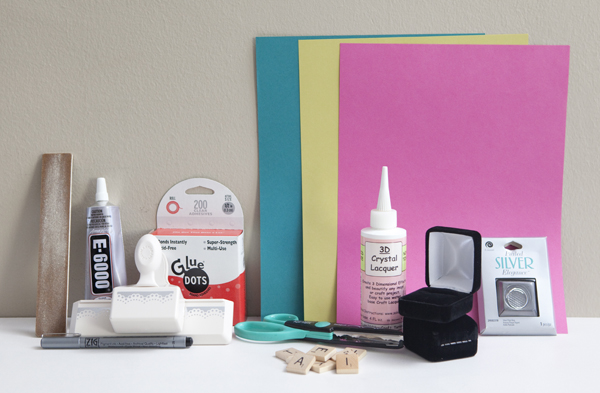
SUPPLIES // ring box, scrabble tile (in either your bridesmaids initial or just ‘b’ for bridesmaid and ‘m’ for maid of honor), silver or gold ring base that has a flat top for gluing stones to, 3D Crystal Lacquer, paper in your choice of color, E-6000 glue, nail file that you should devote to crafting, pen (or computer printer), Glue Dots, paper trimmer, and lastly either a fancy edge punch or a fancy pair of scissors.
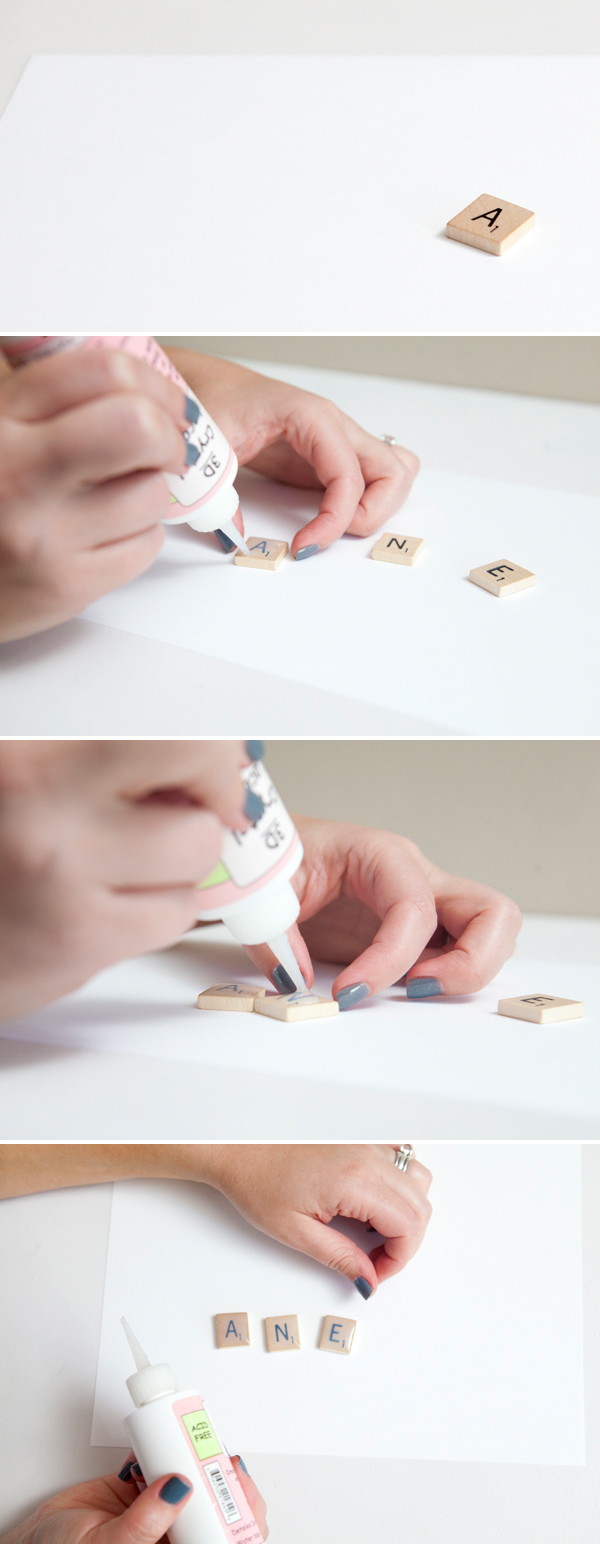
We are going to start by creating our cute scrabble tile ring. Like I said, the letter choice is completely up to you, I recommend your bridesmaids first name initial. You can get scrabble tiles in the obvious place, the game box – or you can buy them on Ebay or Etsy. Many sellers even sell specific letters, like J’s… they are hard to come by – only 2 come in one game box! Ok, take your 3D Crystal Lacquer and gently squeeze a large amount onto the top of each scrabble tile to create a mound of lacquer, filling the tile edge to edge. Which will create a beautiful raised glass like glaze on the top of your tile, making the ring look fancy! If there are bubbles drag them off your tile with the tip of the bottle or toothpick if necessary – they will stay there if you let them!!! These need to dry at least 24 hours, but every lacquer is different – there are many, many kinds to choose from!!!
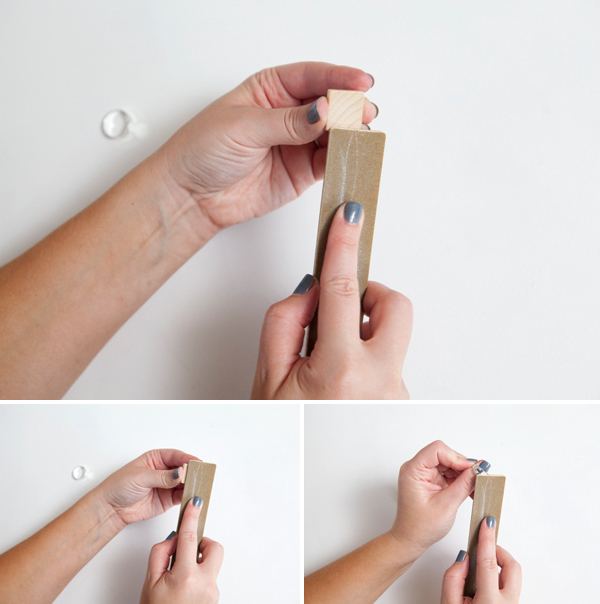
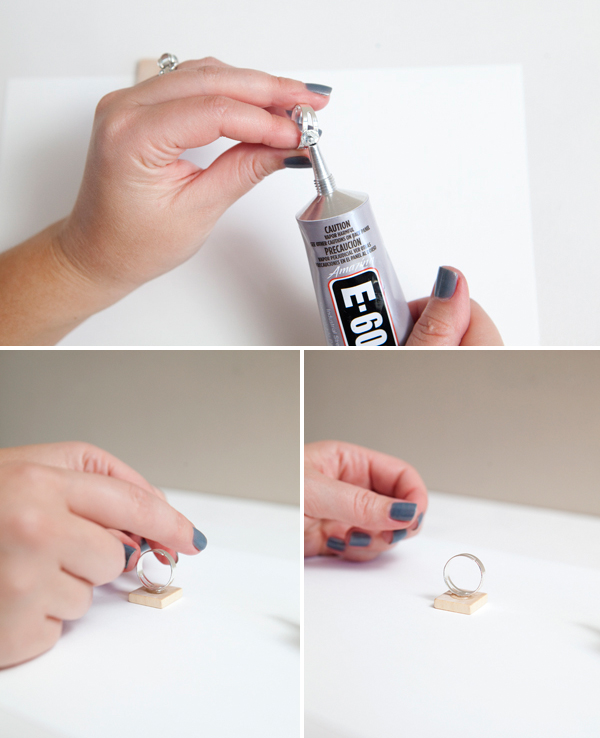
Once completely dry, (and I mean like 2 days or more, so that you don’t ruin the pretty crystal glaze) sand the back of the scrabble tile quite a bit. Scrabble tiles have a very thin coat of varnish that we want to scuff up so that the glue will actually stick to the tile. To be safe, do the same to your ring base. The ring bases I got from Michael’s are self adjusting so you don’t have to worry about ring sizes.
Using E600 only, put a dab of glue on the ring base and place it onto the back of the scrabble tile. This now needs to dry for 24 hours as well. Try not to move the tile and ring base too much after the glue is on, do this step where you can leave it to dry for the whole time.
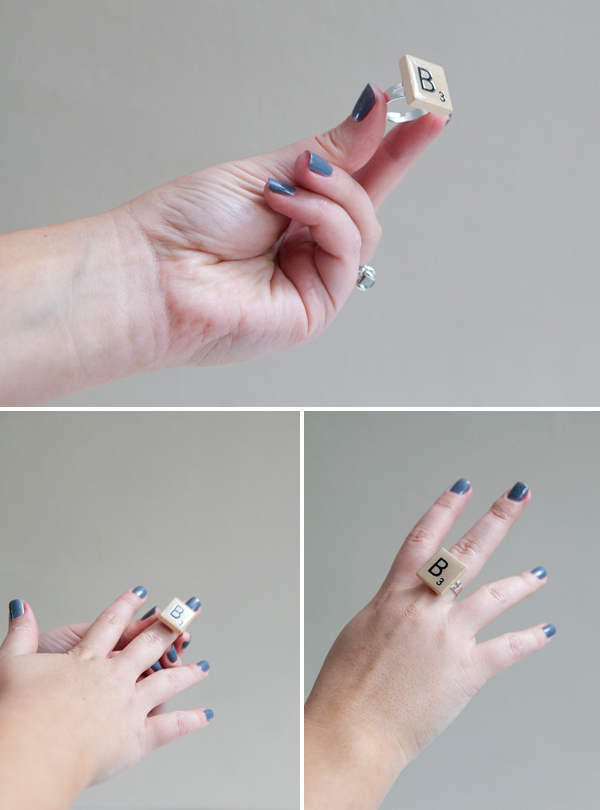
Finished!!! Now you have a beautiful and fun, personalized ring!!!
Now the fun part! We will be creating two things, a piece of paper for the outside of the ring boxes and for the inside. This part has many options, what color paper, what to write, and how to make the edge! Below are three different versions of this project.
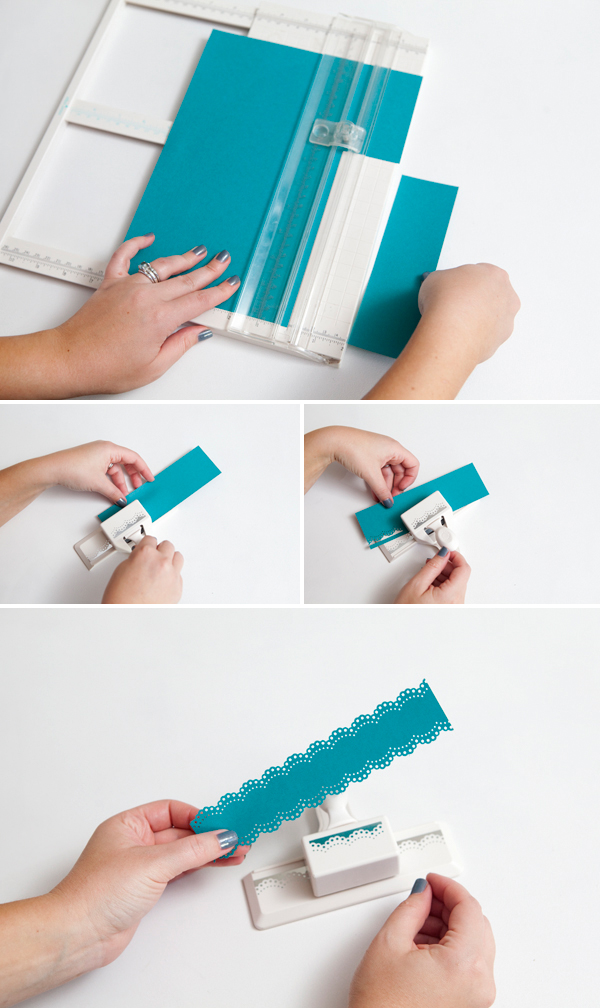
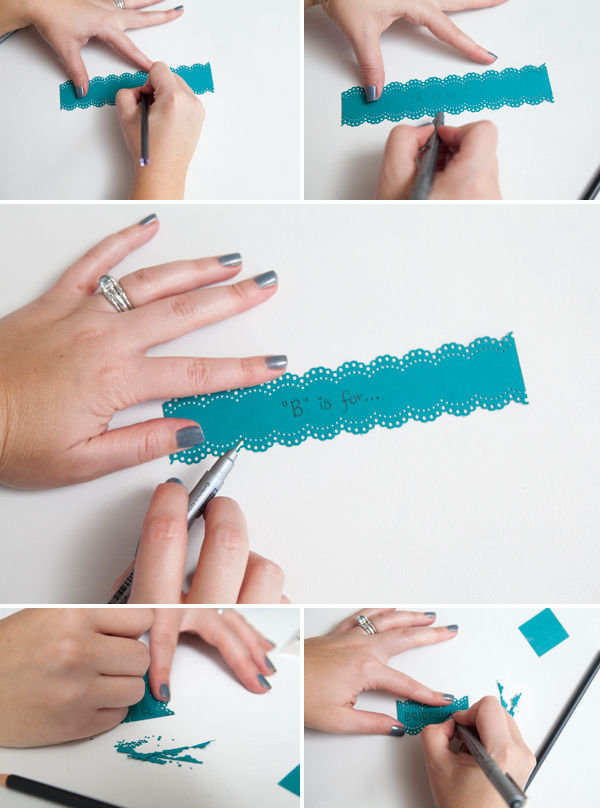
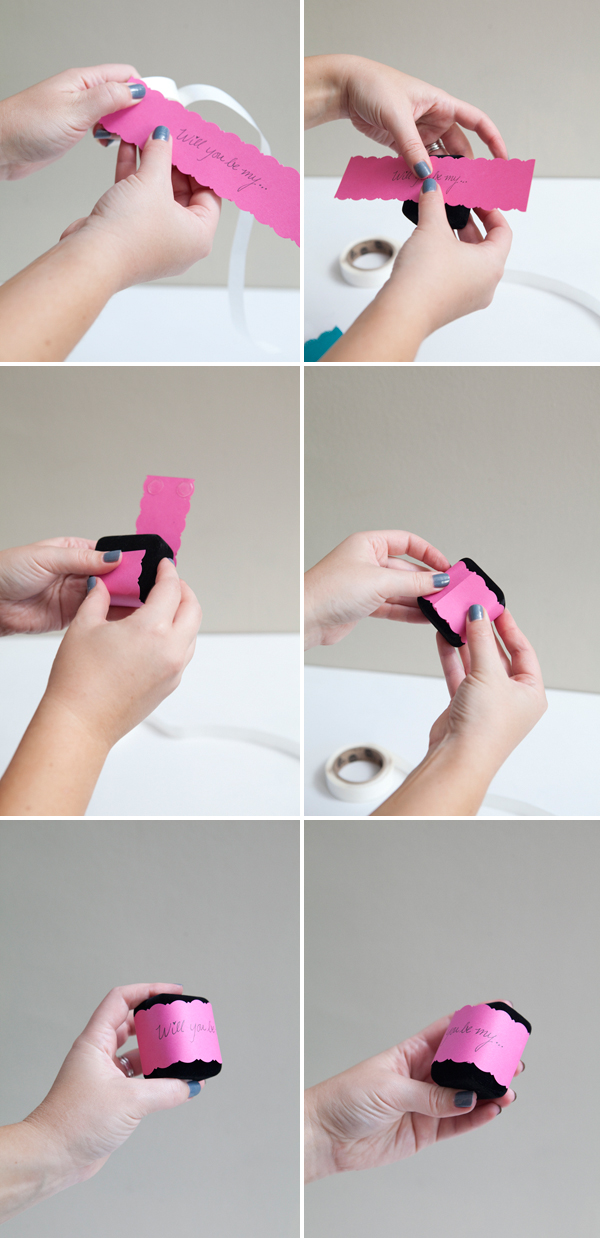
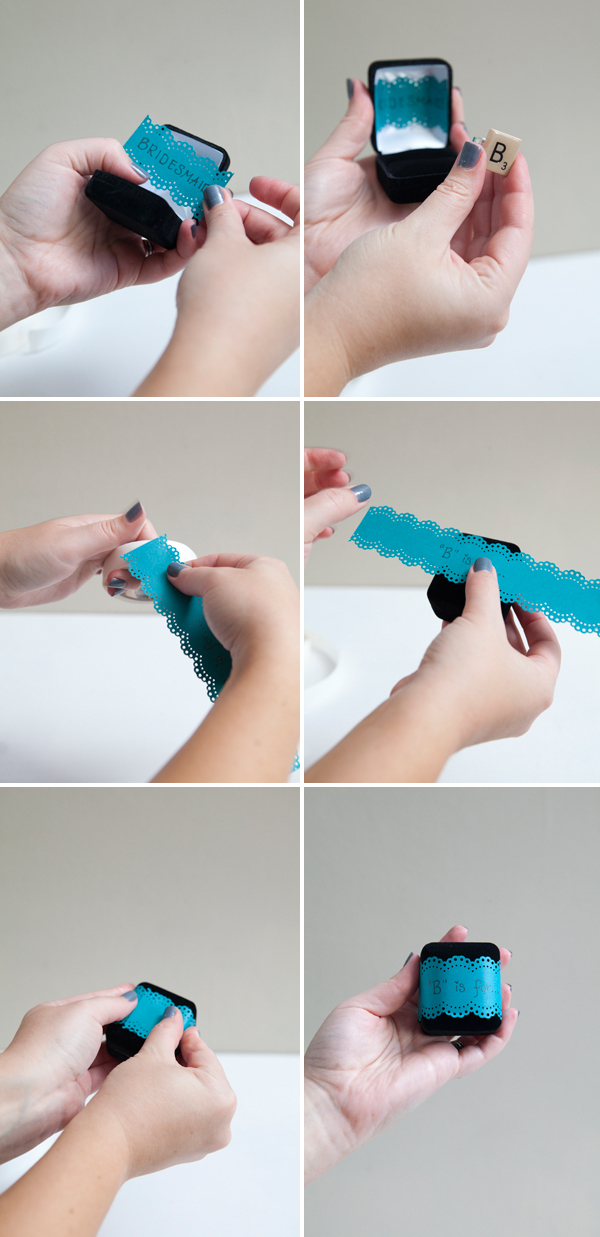
Start by measuring the outside of your ring box, this first paper needs to wrap all the way around. Everyones ring box will be different, so I won’t give you measurements. Then enhance the edge of your paper! For this first version I used my favorite Martha Stewart Edge Punch, in doily lace scallop.
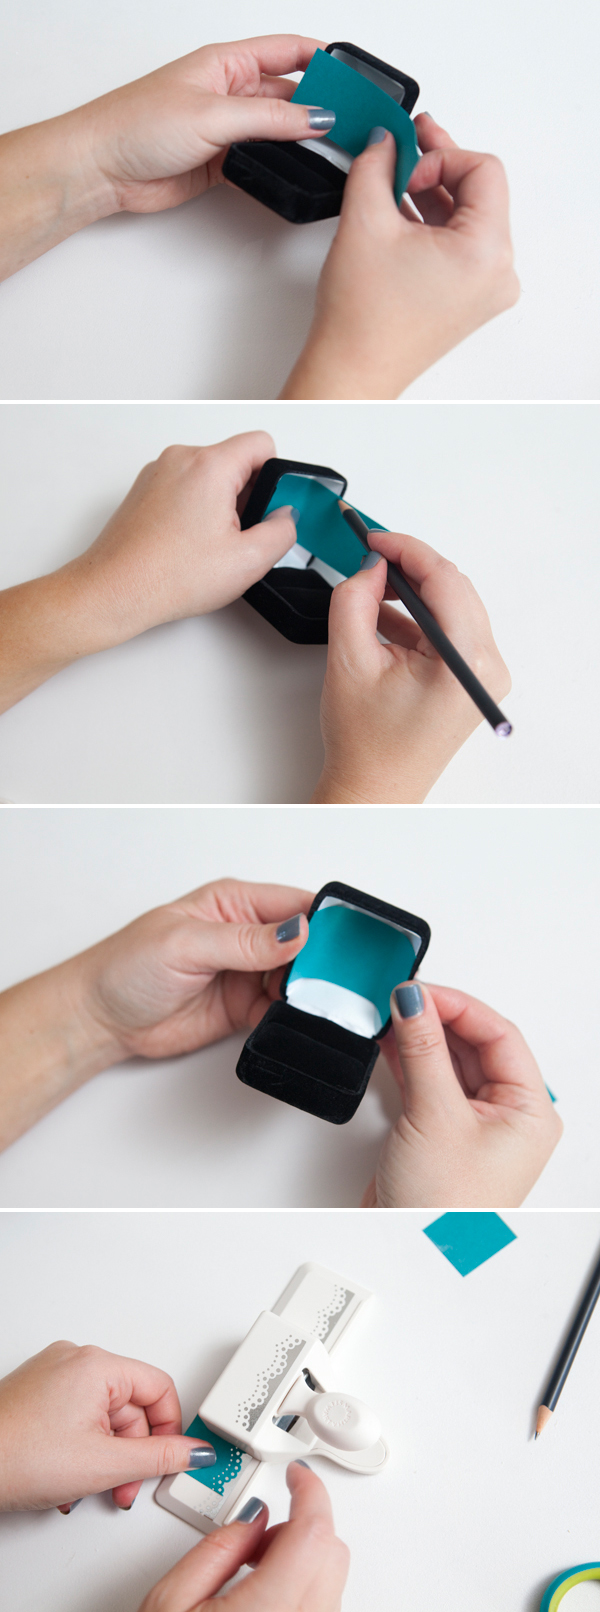
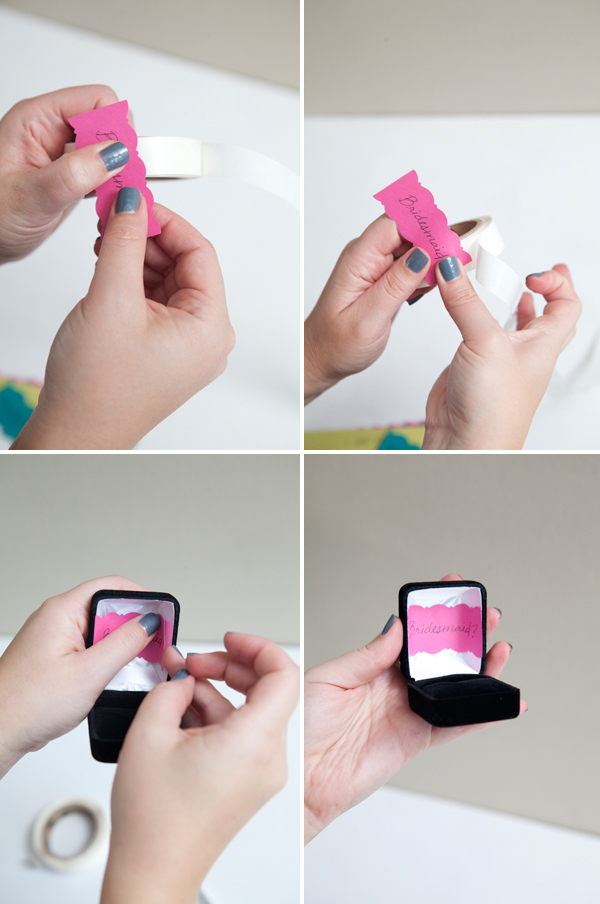
Next measure the inside of your ring box by cutting a small strip of your paper, pushing it inside and marking where it needs to be cut – no fooling with a ruler here! Then perform the same edge detail as the first paper.
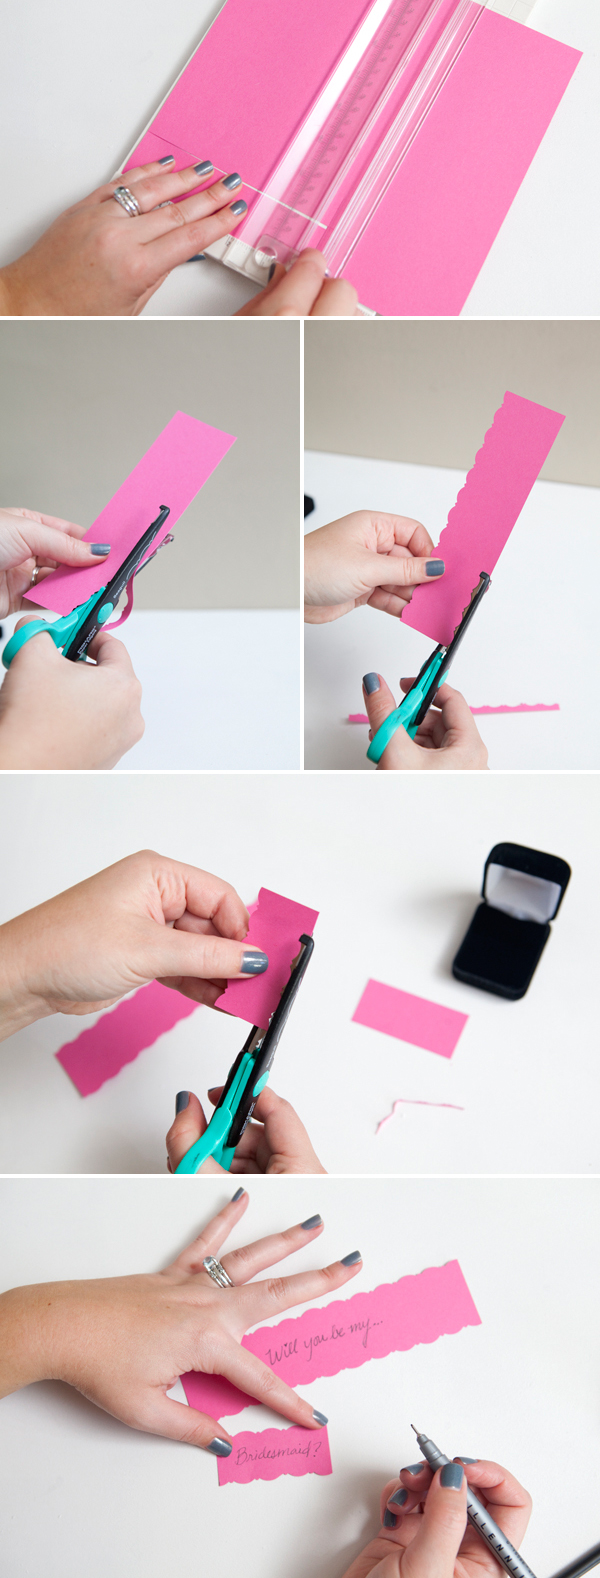
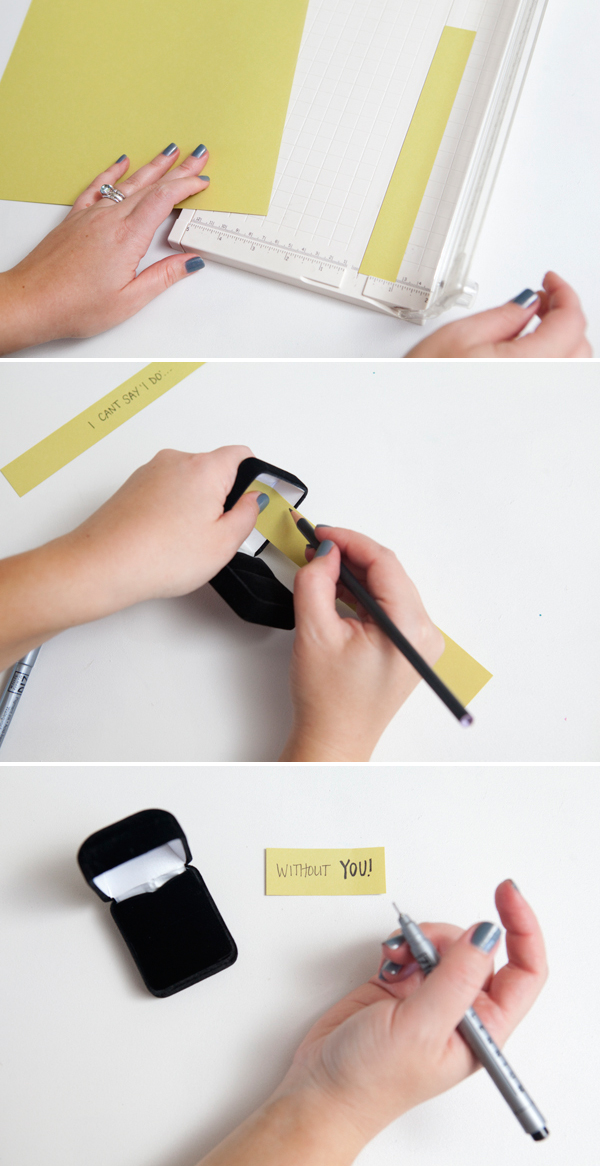
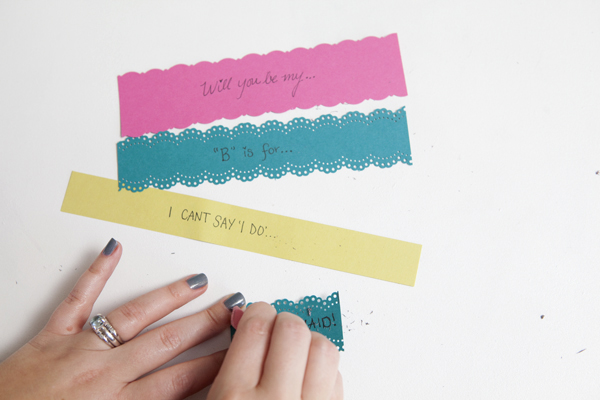
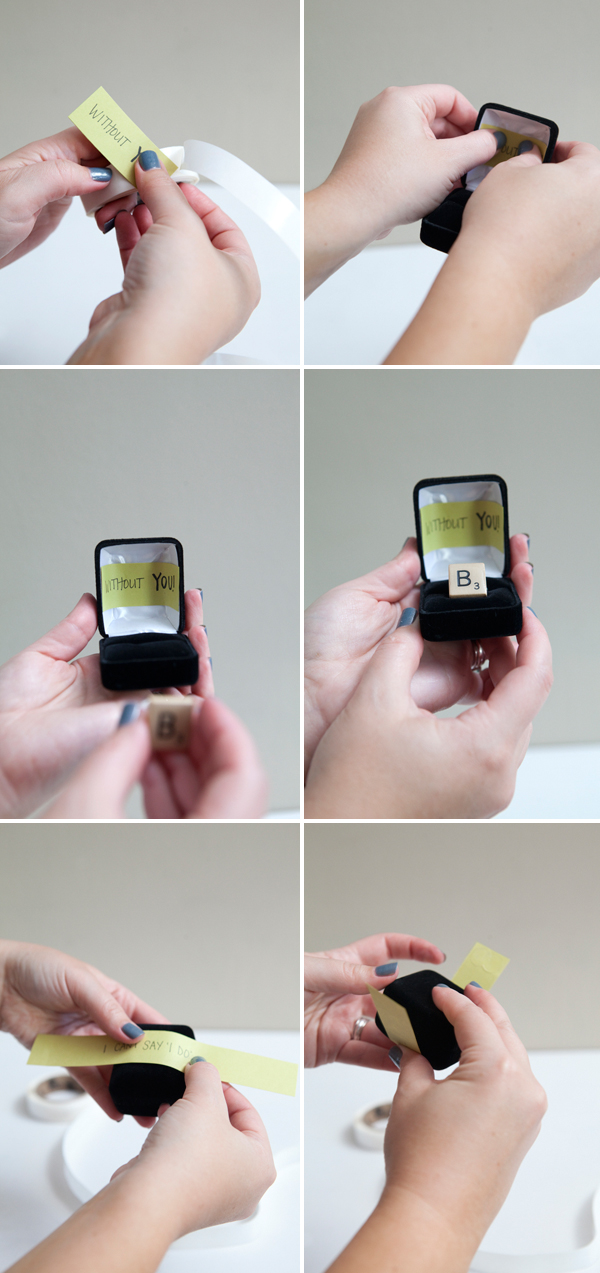
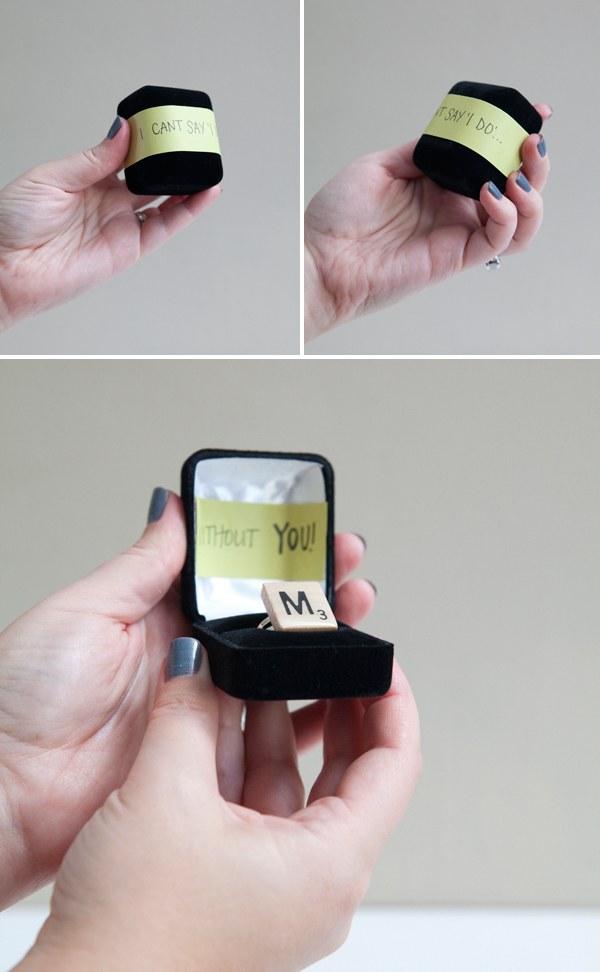
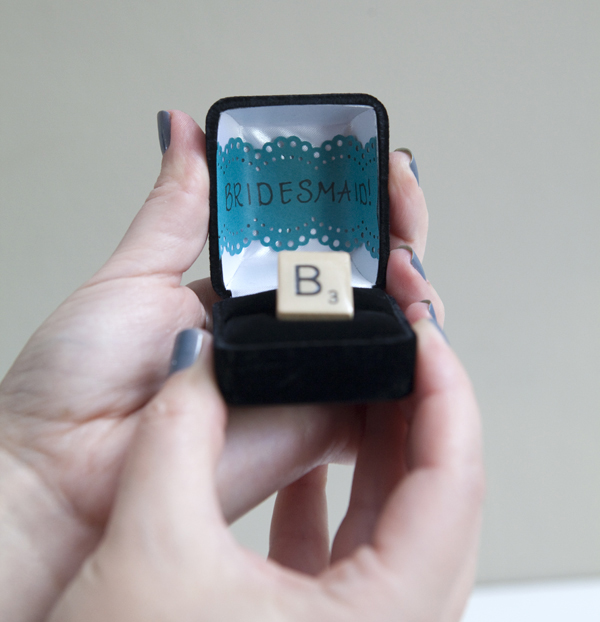
Now choose your saying!!!! Today we have, “B is for… bridesmaid”, “Will you be my Bridesmaid”, and “I can’t say I do… without You!”. I practiced my writing in pencil first… then wrote it in pen.
Measure, cut, measure, cut, write!!! In this version I chose to embellish the edge with my favorite fancy scissor, which is very easy to do. This one is Fiskars Paper Edgers in Seagull.
Measure, cut, measure, cut, write! For this version I chose to leave the edge simple and clean. I chose to write the sayings but you can easily type/print them from a computer as well.
If you practiced with a pencil first like me, make sure to erase the pencil marks.
Now put Glue Dots on the back of the small paper and carefully push inside your ring box!
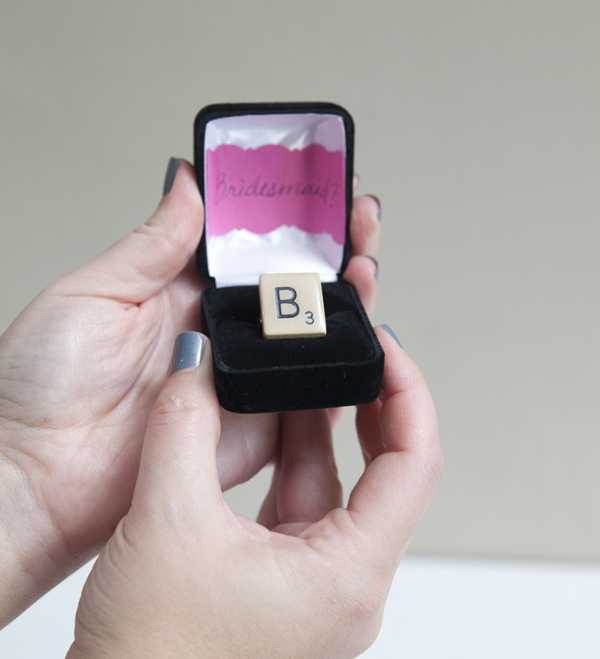
Next, add Glue Dots to one edge of the large paper, wrap around and secure the paper in the back. But don’t forget to add your special personalized ring first!!!
Adorable!!! Who could say no???
Same thing, use Glue Dots to apply the inner word. More glue dots on the edge of the large paper and wrap it around the ring box to secure in the back.
SO CUTE!!! This version is so simple, but I love it!
And for my favorite… do the same steps as above.
IN LOVE! I hope you all enjoy this fun project, I know your bridesmaids will!
As with all my DIY tutorials, if you create one of my projects please send me a picture or a trackback!
DIY CREDITS // Photography: Studio 11 // DIY tutorial by: Jen | Something Turquoise // ring boxes, silver ring base, E600, Martha Stewart Edge Punch, Martha Stewart Paper Trimmer, Fiskars Paper Edgers, Glue Dots, and ZiG pen – all from: Michaels // 3D Crystal Lacquer: Annie Howes via Etsy // paper in Peacock, Fuchsia, and Chartreuse: Paper-Source // scrabble tiles: a game box, on sale from Target! // nail polish: I have a herring problem OPI


Comments