Happy DIY Friday!!! You might have seen the new trend of house address numbers being turned into wedding table numbers… but I just found self-adhesive house numbers at Lowe’s and was totally inspired! Using simple acrylic frames… cut and insert your favorite scrapbook paper (or maybe even an engagement photo!), add the house number and your done! This project can be personalized in SO many ways… all inexpensive and adorable!
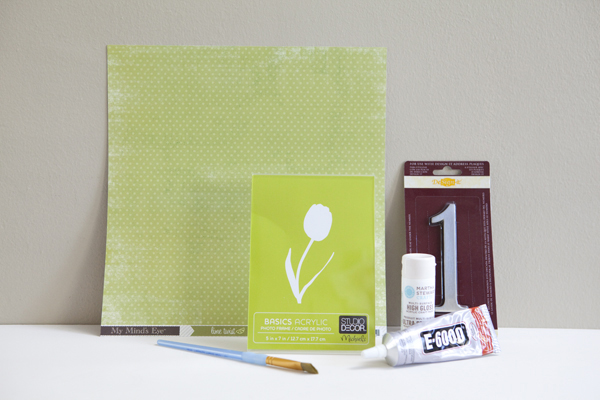
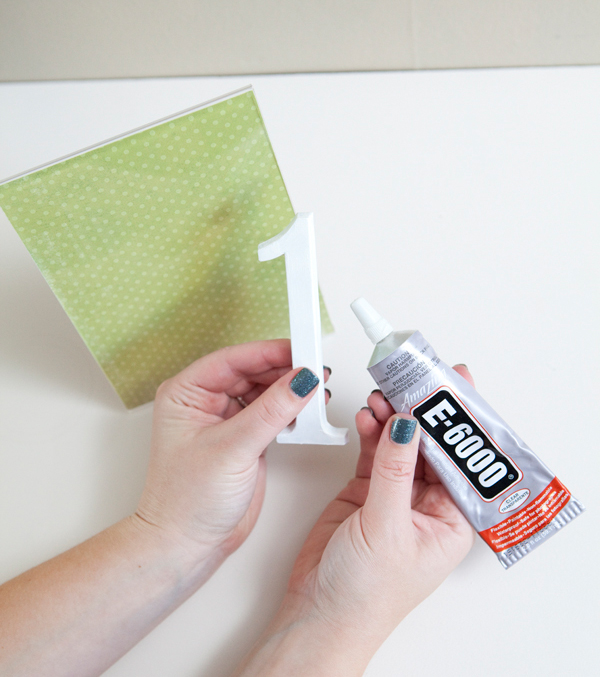
Supplies: scrapbook paper that matches your theme, one 5″ x 7″ basic acrylic frame for each table you have, the corresponding ‘house address numbers’ to go with each table – preferably the self adhesive kind like these, and a paper trimmer. Optional: Martha Stewart Multi-surface craft paint and if your numbers aren’t self adhesive you will need some E600 glue.
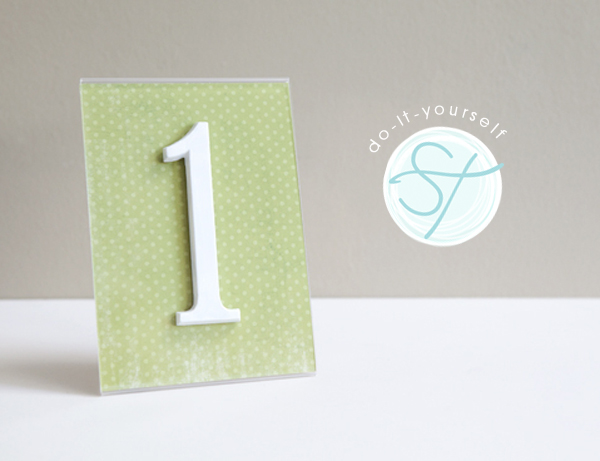
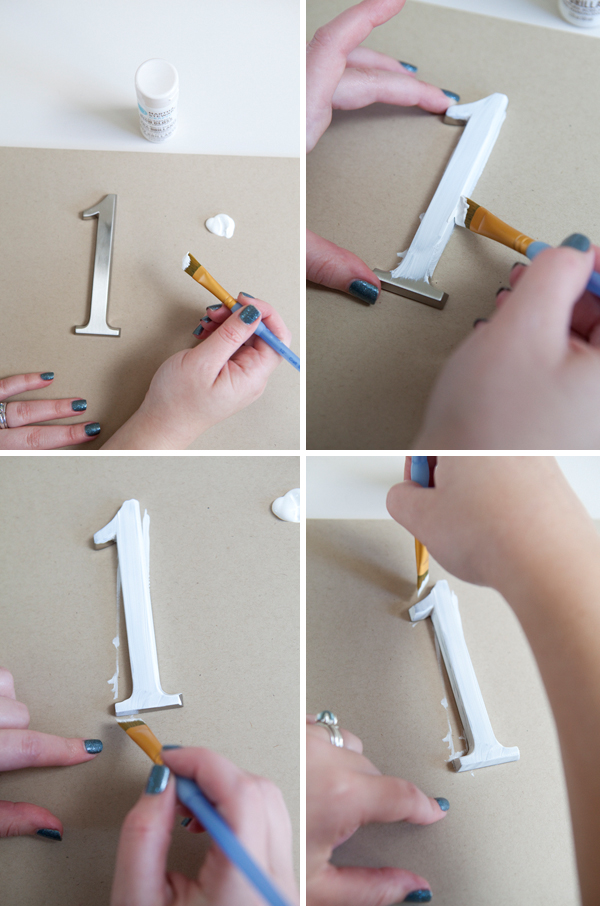
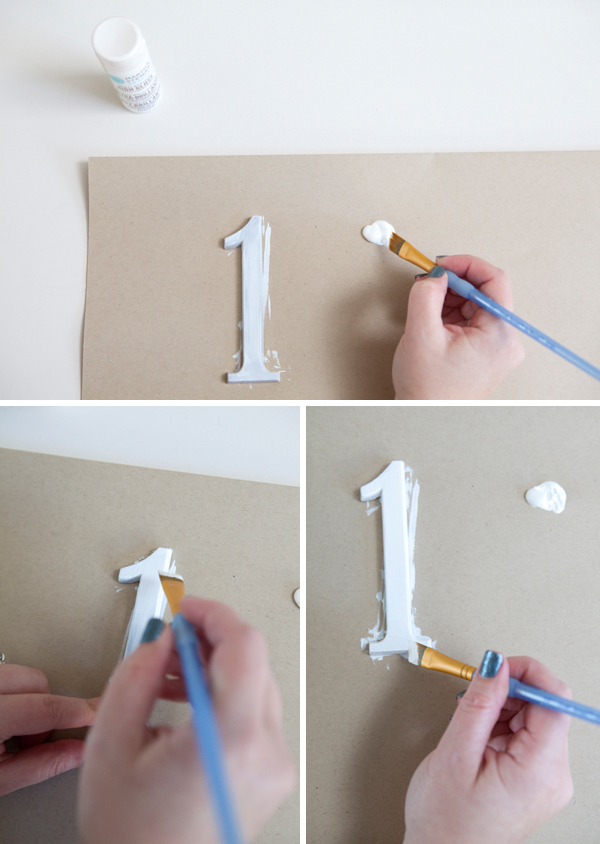
Version One: painting your numbers. For this one I chose to paint the numbers white with Martha Stewart Multi-surface craft paint in: Wedding Cake.
To cover the bold silver, it definitely took two coats – with one hour of drying time in between.
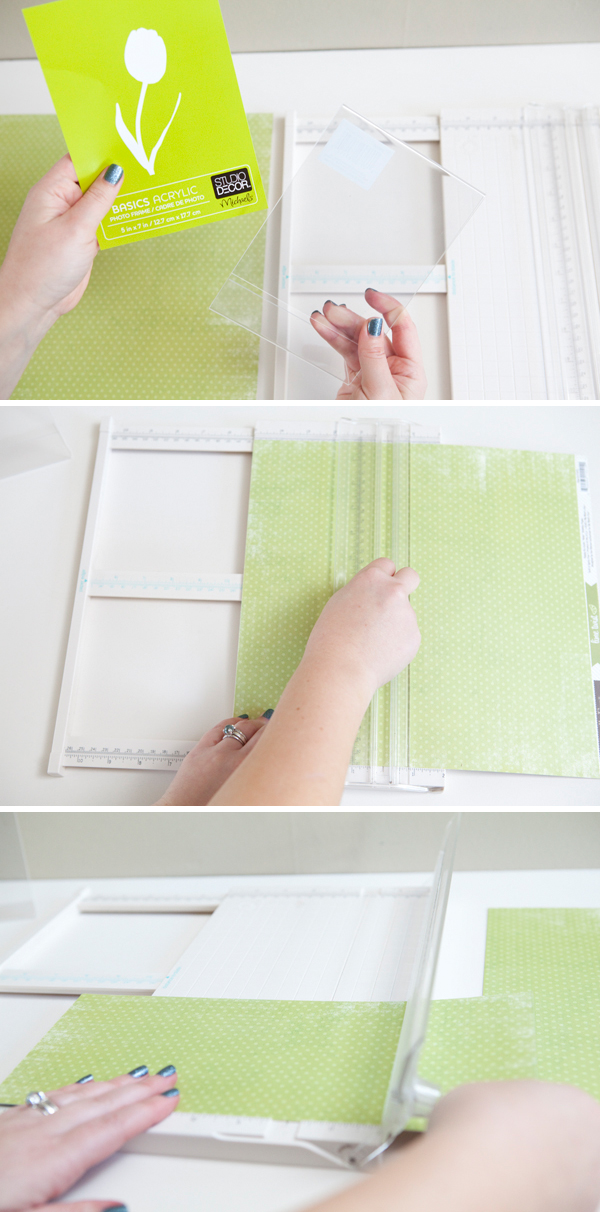
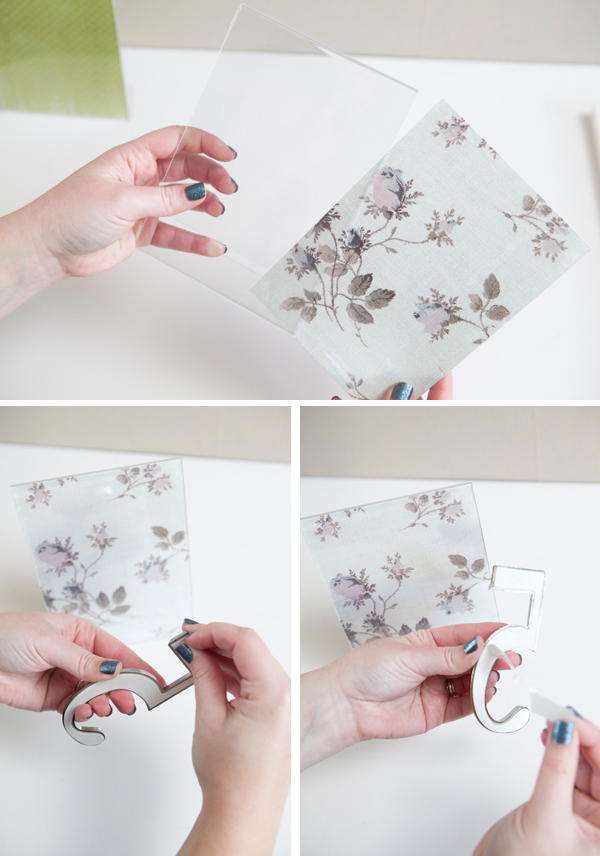
While your paint is drying start cutting your paper. My frames are 5″ x 7″… so I cut squares that size.
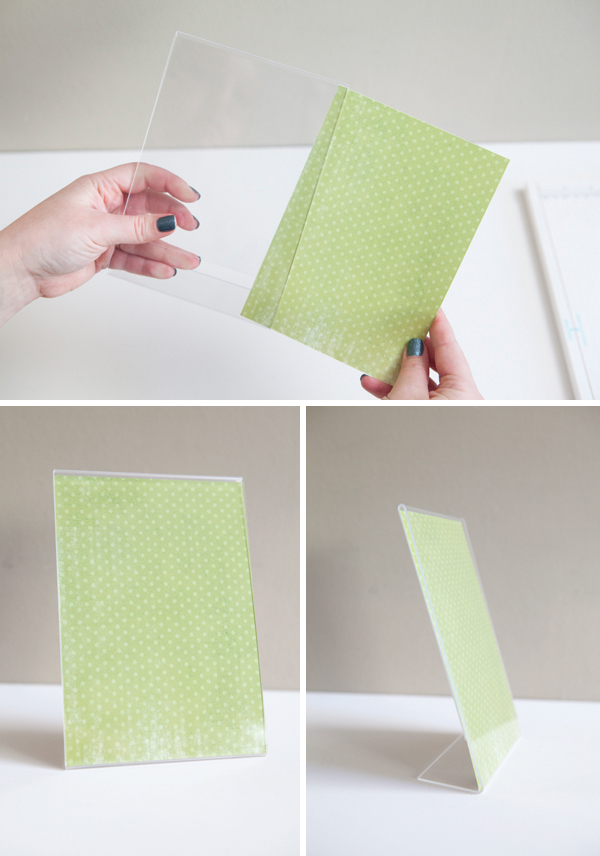
Next, insert the cut paper into the frame.
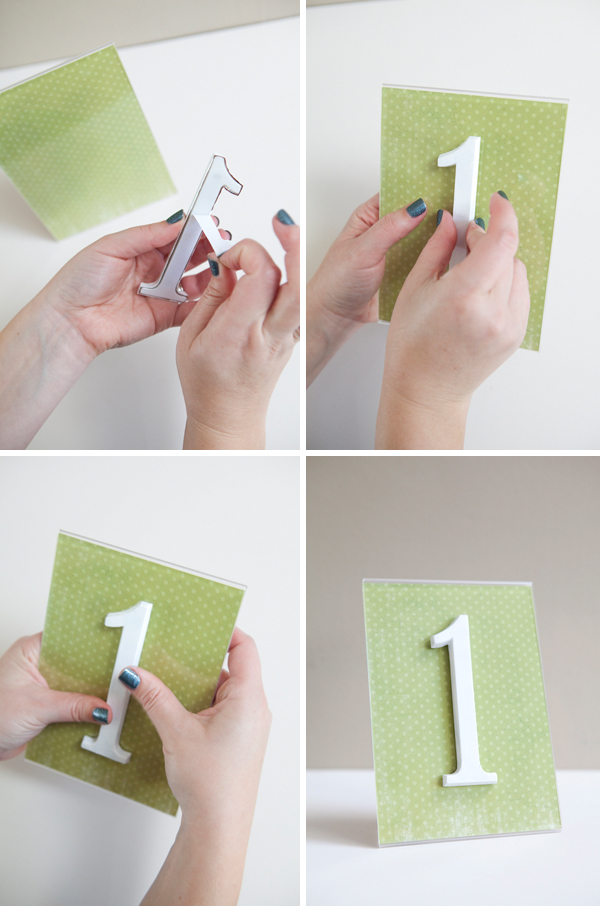
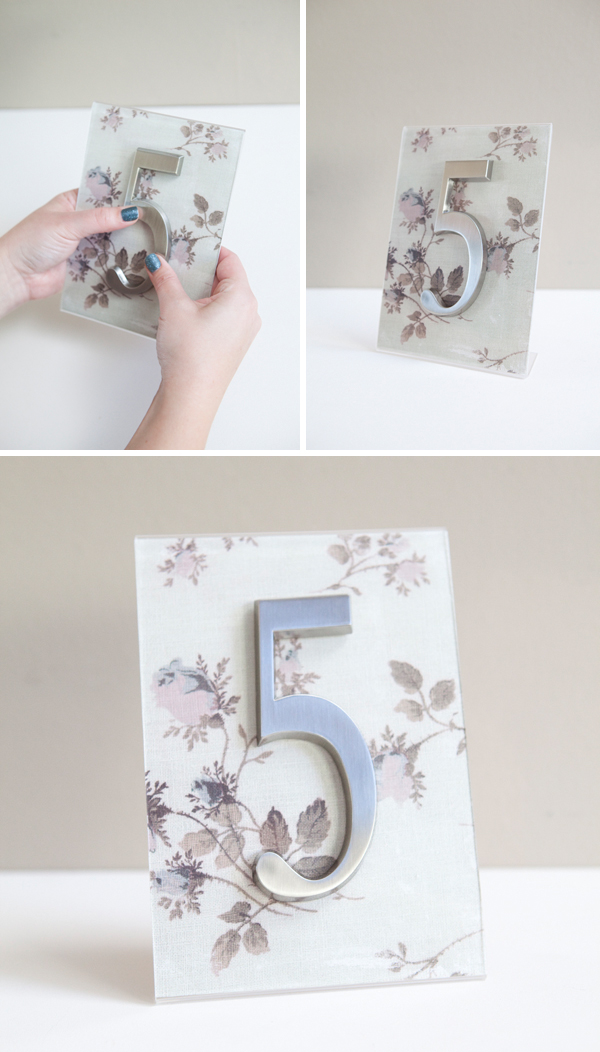
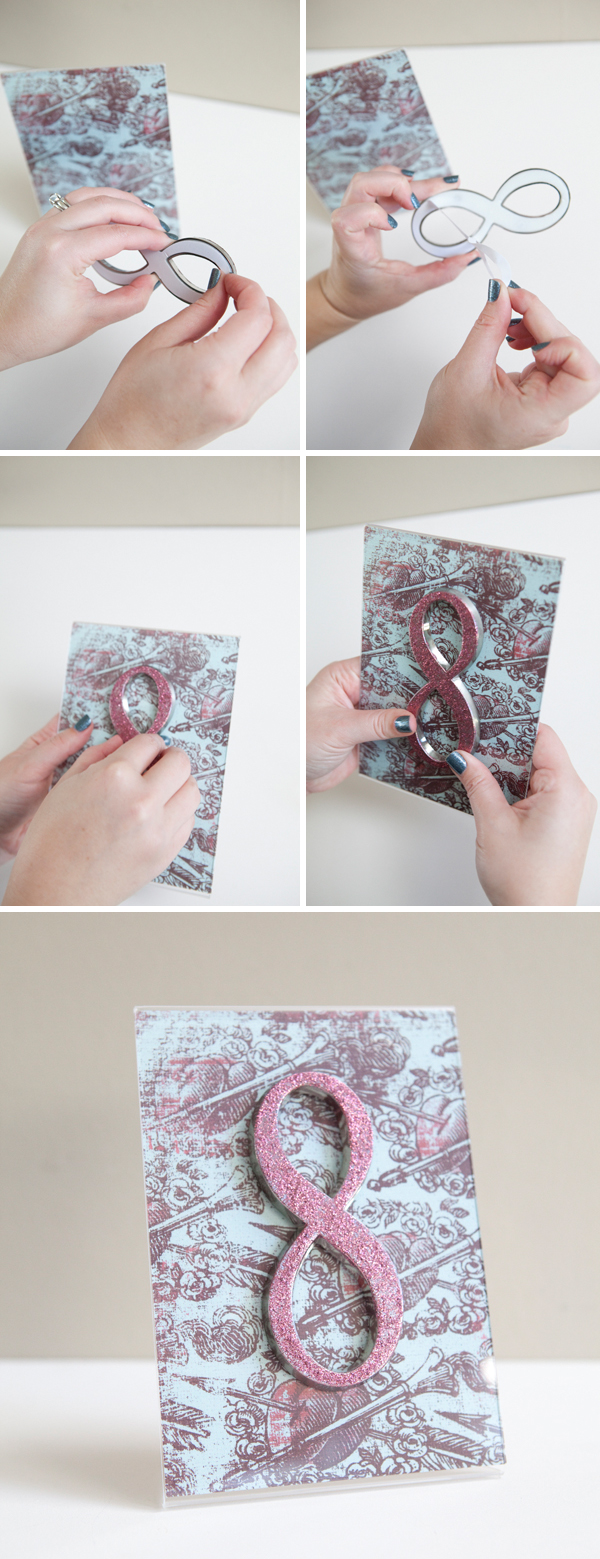
Now, the simple part. Remove the self-adhesive backing to your numbers and stick onto the frame!!!
REMINDER! If you do not buy the self-adhesive house address number, you will need to glue the numbers onto the acrylic frame using a strong glue like E600.
Version Two: beautiful paper + unpainted number = simple, yet elegant table number. This version looks like it’s ready for a tea party!
You can find interesting scrapbook paper all over, from Michael’s to your local scrapbooking store. You will be sure to find some type of special paper that will match your wedding theme and colors.
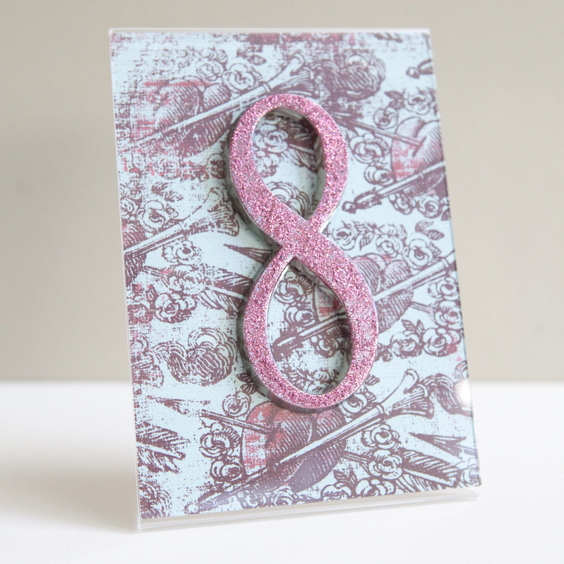
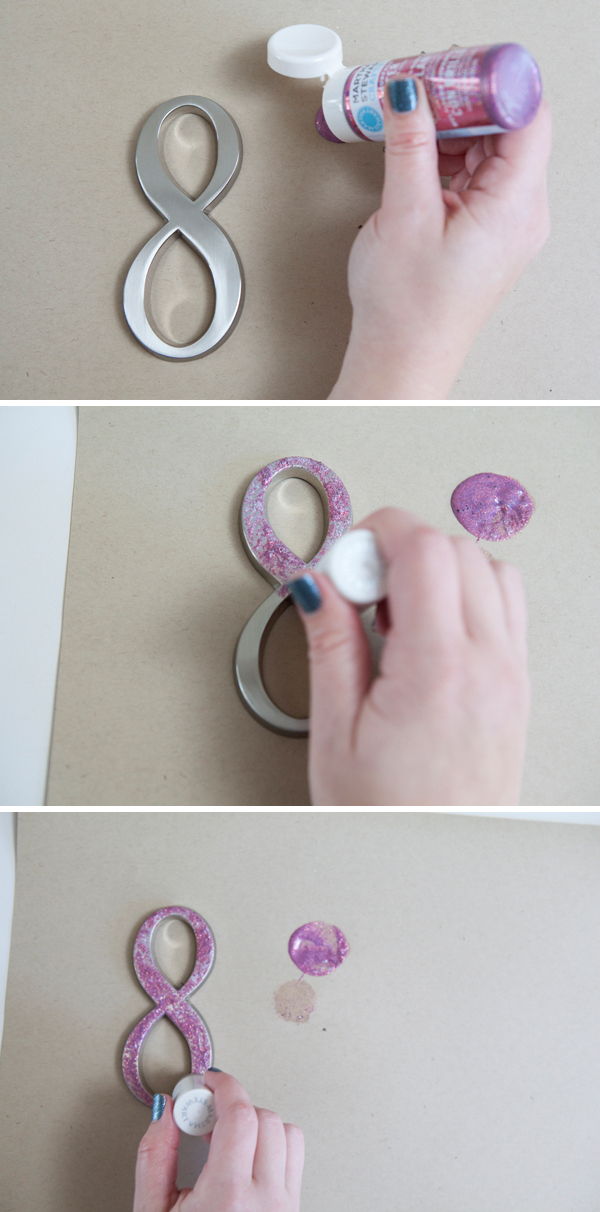
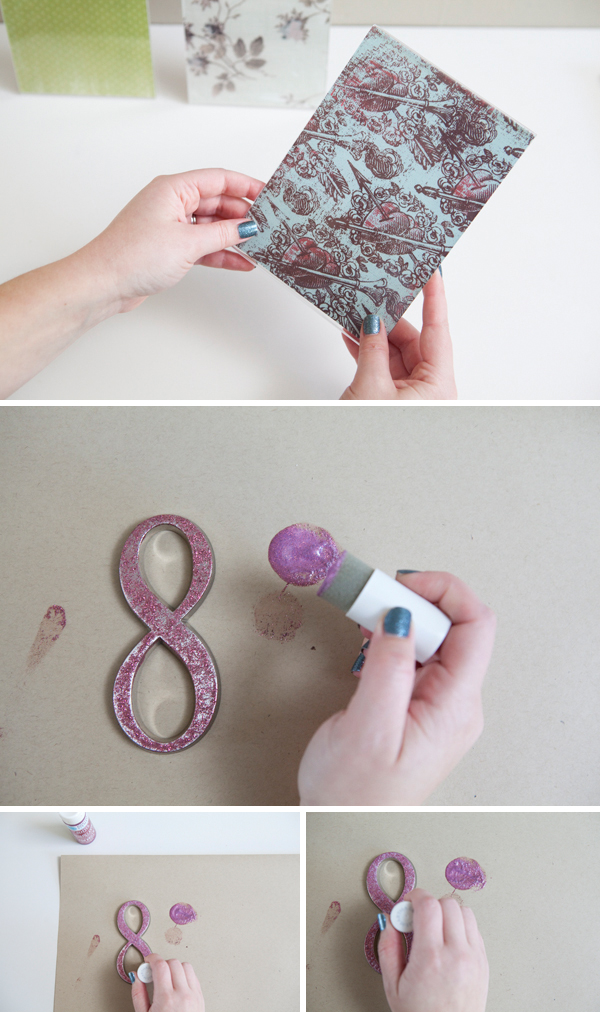
Version Three: GLITTER PAINT! Using the same pouncing technique I explained in the Glitter Champagne Glass tutorial… carefully pounce the glitter paint onto the silver number. This paint is a clear paint with tons of glitter in it – which means you have to move the pouncer around and dab and go back over it to evenly spread out the glitter. When you start pouncing it will make bubbles in the clear paint – don’t worry, when the paint dries the bubbles disappear. I used Martha Stewart’s glitter paint in: Tourmaline along with her sponge pouncer – but any type of sponge will do.
Two coats of paint is a must, possibly three for a completely even glitter coat. I just love this paper below!
After the glitter paint is dry… stick on your table number! L O V E
As with all our DIY tutorials, if you create one of our projects please send us a picture or a trackback – We Love Seeing Your Creativity! If you use Instagram or Twitter please use the hashtag #SomethingTurquoiseDIY. Happy Crafting!
photography: Studio 11 // DIY: Jen | Something Turquoise // self adhesive, 5″ house address numbers by DeSign-It, available at: Lowes in the store and online! // all three scrapbook papers by: My Mind’s Eye // scrapbooking paper, Martha Stewart Craft paint and paper trimmer, E600 (if needed), and basic plastic frames: Michaels // nail polish: Sally Hasen Salon Effects Polish Strips in Blue Ice


Comments