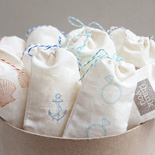
Inspired by the rustic look of nautical home decor, I imagine these adorable favor bags on display at any beautiful beach front wedding… I originally created this tutorial for DIY Weddings Magazine!
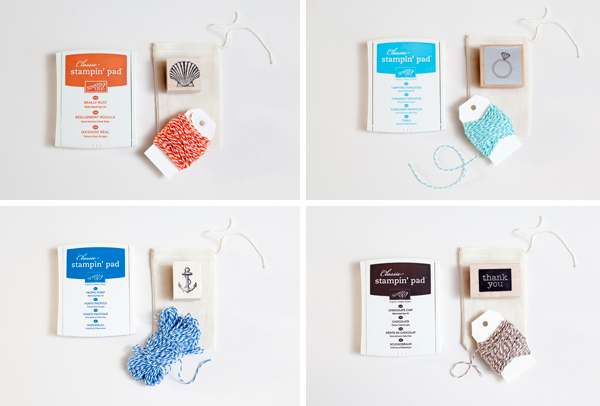
Supplies: Rubber stamps, stamp pads and twine, of your choice colors. Muslin bags which come in all sizes, in this example they are 3” x 5”. You will also need scissors and scrap paper for rubber stamp testing.
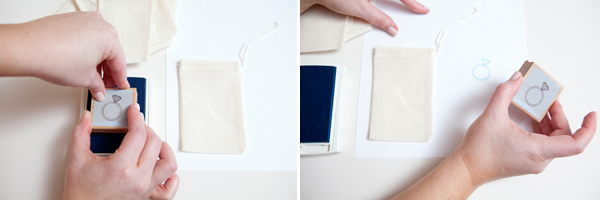
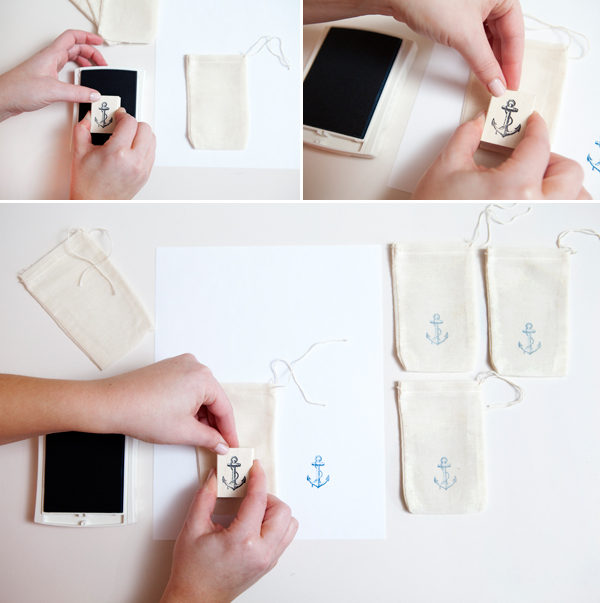
First we will stamp onto the muslin bags. Be aware that stamp pad colors show up differently on the fabric bags than they do on paper. I always like to test my first stamp on a piece of scrap paper.
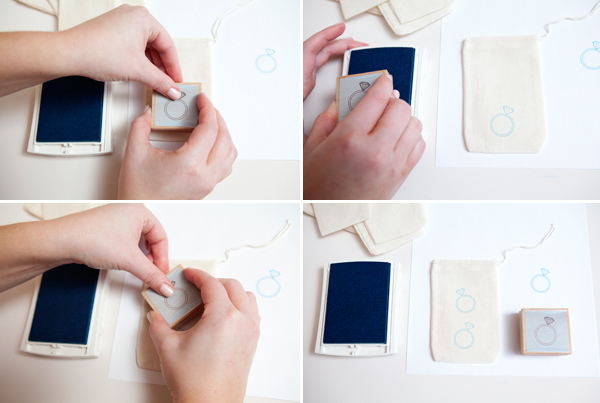
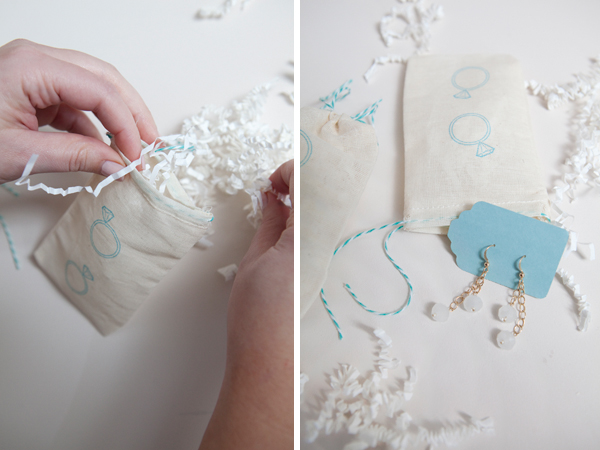
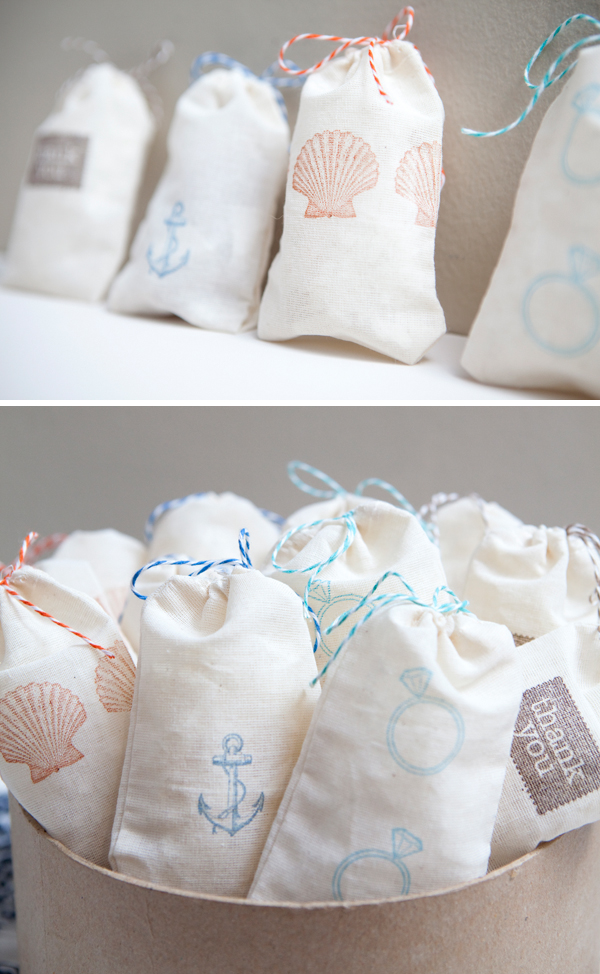
After testing your stamp, reload it with ink and stamp on your muslin bag. For the engagement ring bag I did two stamps with the diamonds facing the opposite directions. The engagement ring stamp is from Michaels and the stamp pad color is called Tempting Turquoise from Stampin’ Up.
For the anchor bag I just stamped one anchor in the middle of the bag. The stamp is from Paper-Source and the stamp pad color is Pacific Point from Stampin’ Up!
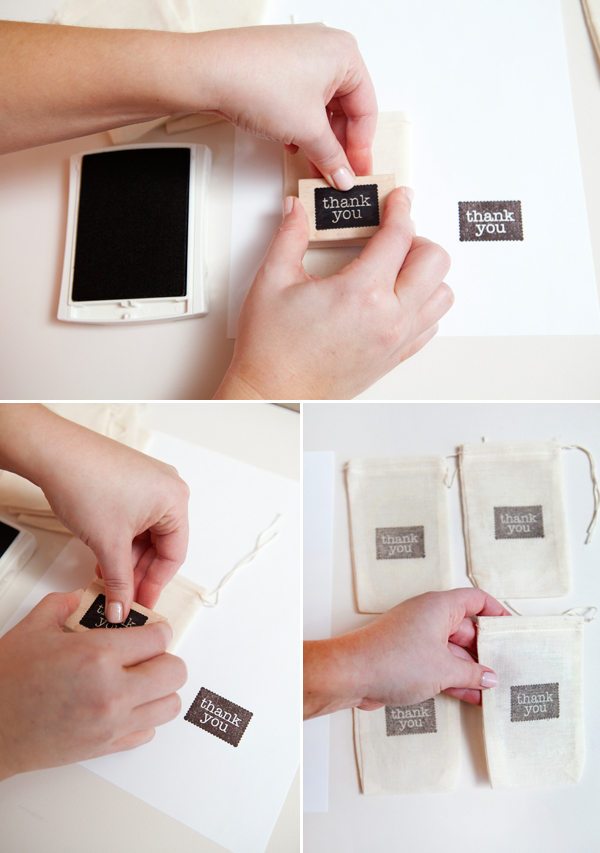
The ‘thank you’ bag is the same as the anchor, one simple stamp in the middle. The stamp is from Paper-Source and the stamp pad color is Chocolate Chip from Stampin’ Up!
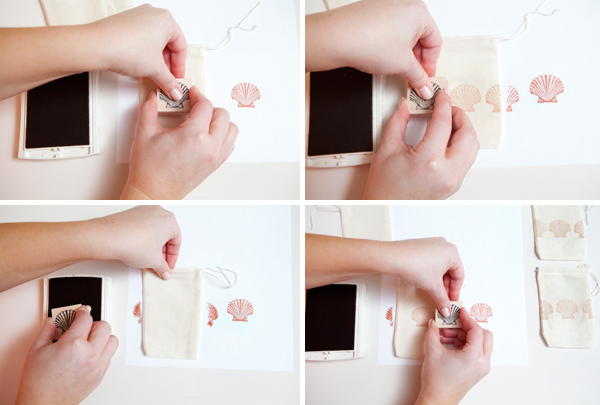
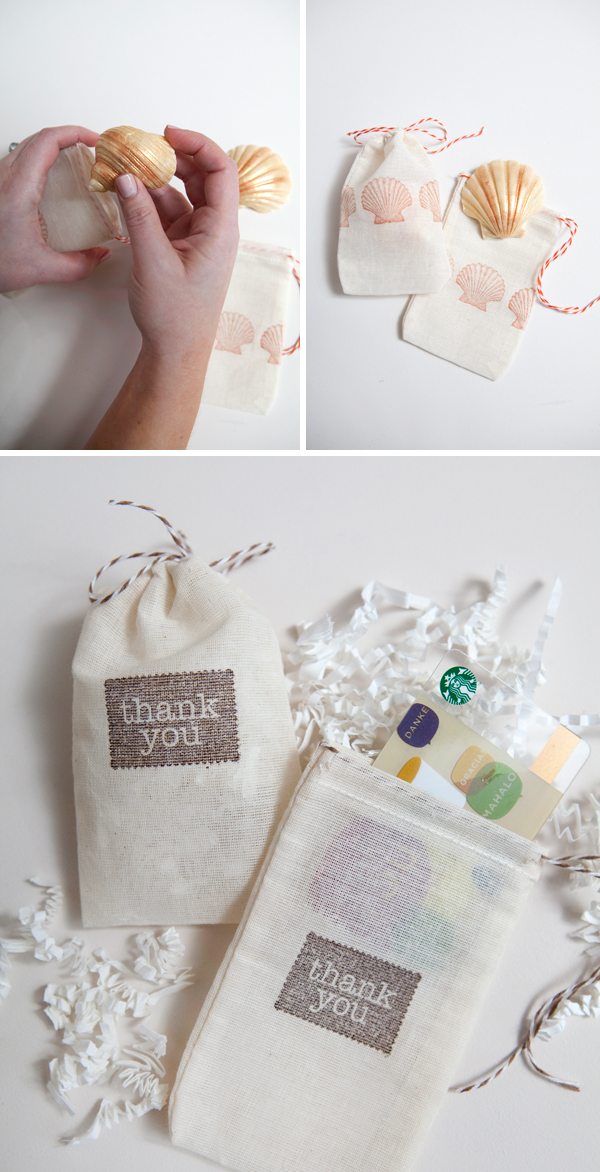
I chose to stamp the seashell design in a line of three. The seashell stamps on each side hang a bit of the edges of the bag, but that’s why it’s cute. The stamp is from Paper-Source and the stamp pad color is Really Rust from Stampin’ Up.
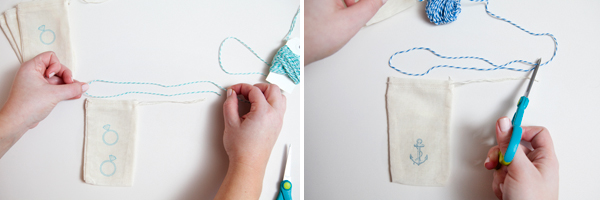
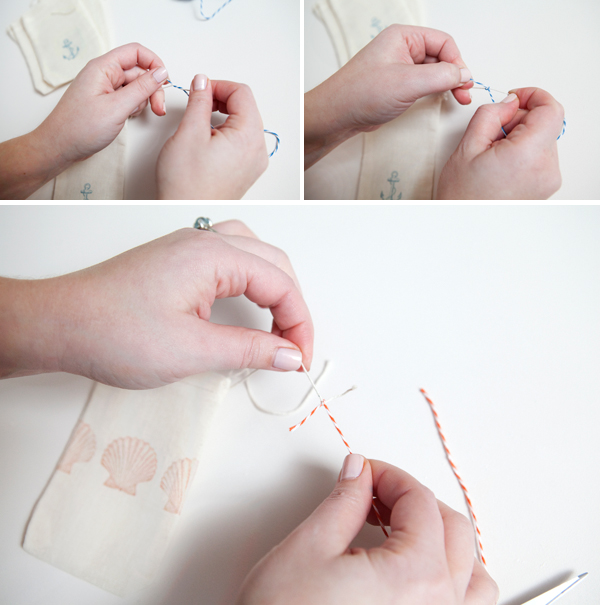
Next comes the fun part! Replacing the muslin bags boring string with cute twine! The easiest way to measure is to lay the twine out next to the length of the string so you will know how much is needed, cut that length. The twine is from Cupcake Social via Etsy.
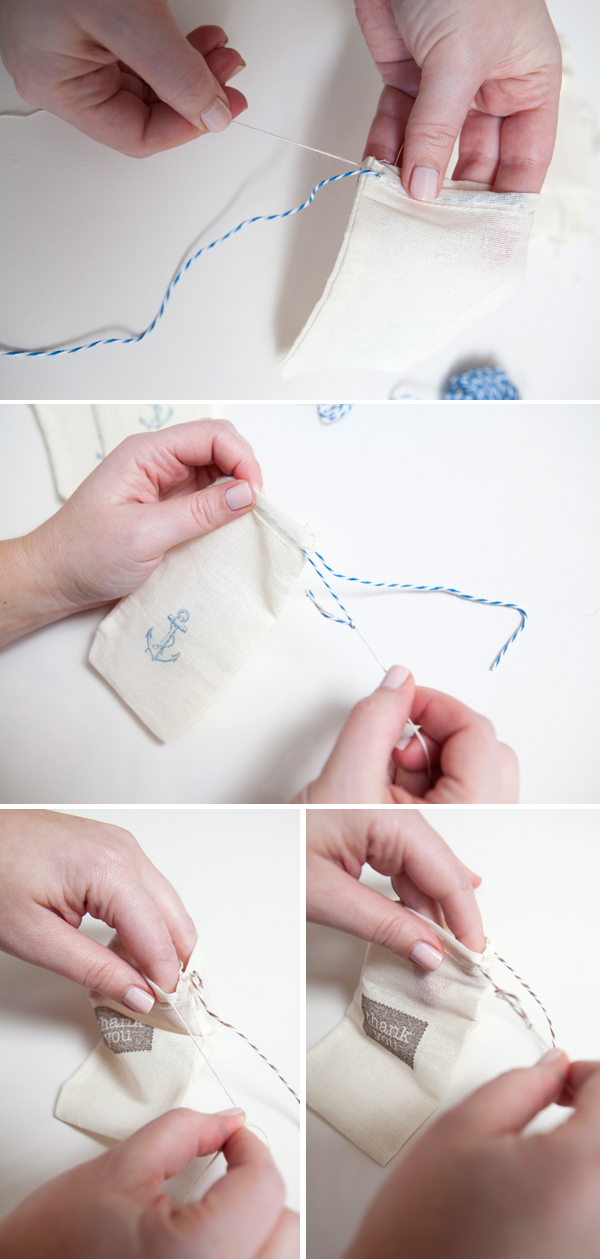
Now tie a knot with the boring string and the new cute twine, you will be using the string to pull the twine through the bag… so that voila, you have a re-threaded draw string favor bag!
Now carefully pull the string out of the muslin bag, which simultaneously re-threads your bag with the cute twine.
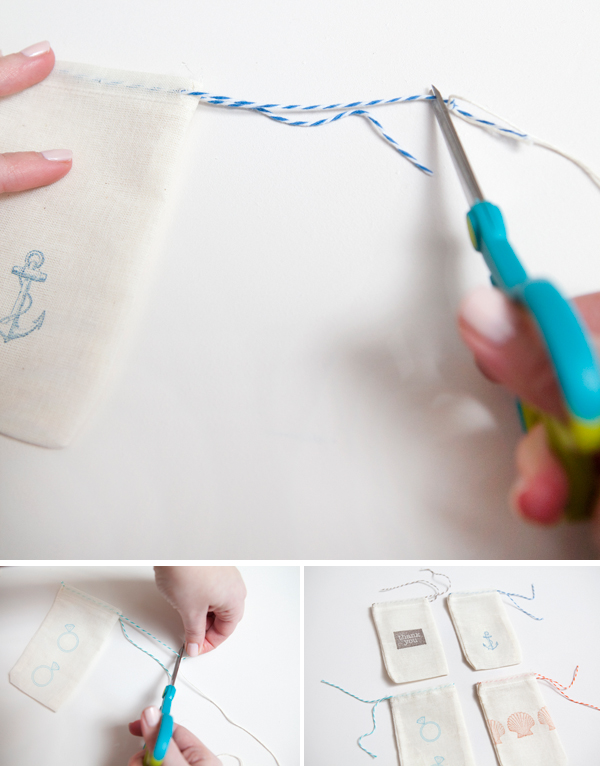
Then cut the knot tied with the old string off your twine.
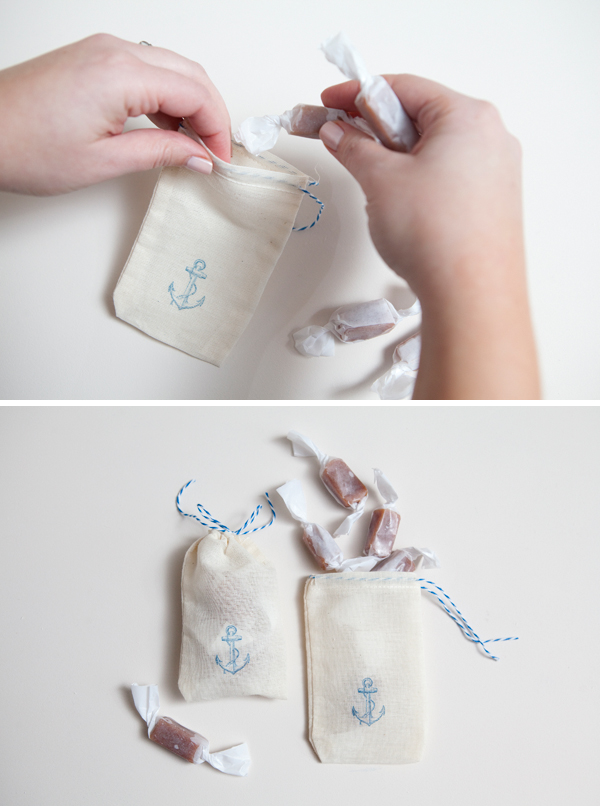
That’s it! Fill with literally anything you want and you are done! So cute and so very personal!
Sea salted caramels, bridesmaids jewelry…
…handmade soap, or gift cards – the cute bags can hold it all!
What will you put in yours???
As with all our DIY tutorials, if you create one of our projects please send us a picture or a trackback – We Love Seeing Your Creativity! If you use Instagram or Twitter please use the hashtag #SomethingTurquoiseDIY. Happy Crafting!
Photography: Studio 11 // DIY: Jen | Something Turquoise // Jen originally created this tutorial for: DIY Weddings Magazine, Spring 2012 Issue // muslin bags: MuslinBag.com // stamp pads (in: Tempting Turquoise, Chocolate Chip, Pacific Point, and Really Rust): Stampin’ Up! // anchor, seashell, thank you rubber stamps: Paper-Source.com // ring rubber stamp, crinkle shred, rustic box, and scissors: Michaels // twine: Cupcake Social via Etsy // sea salted caramels: Little Flower Candy Co. // handmade seashell soaps: Esscents Scents, Soaps & More via Etsy // gift card: Starbucks // nail polish: Mimosa’s for Mr & Mrs by Opi



Comments