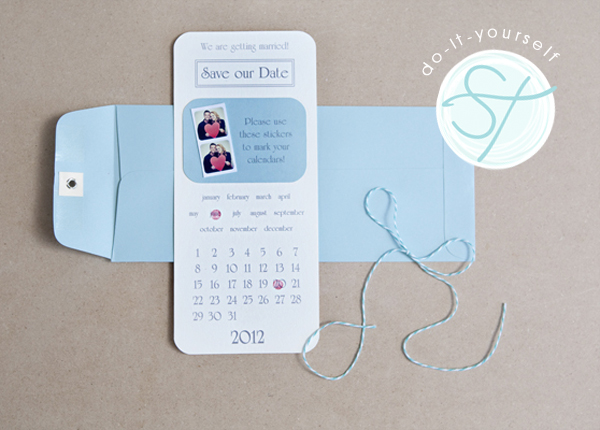
I love when Save-the-Date invitations include stickers for my calendar, so I can actually save the date! How about creating your own adorable stickers using the app Instagram, to send out with your save the dates! So cute… and so easy! FREE DOWNLOADS BELOW!
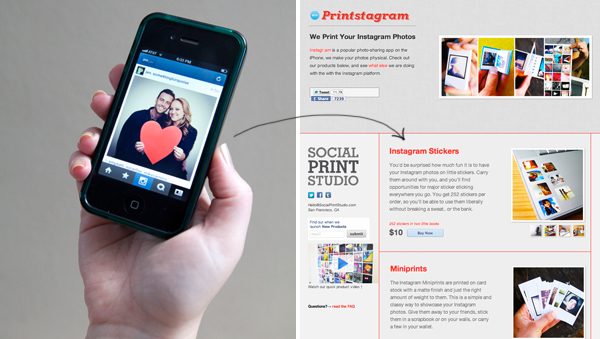
Order Your Stickers
**Project Update: when I first published this post, the only way to order these adorable mini-stickers from Social Print Studio was by using a photo on your Instagram… well times have changed! You can easily upload from your Instagram account or simply a file from your computer. ***in 2012 they were also only $10 as the image shows below, but the price has gone up.
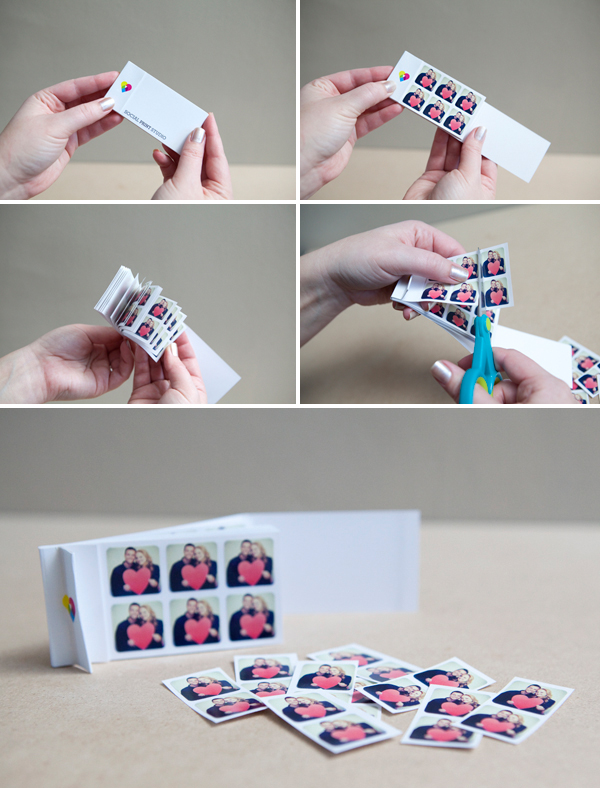
Yeah!!!! Super cute stickers!!! You can use these for all kinds of wedding fun! Cut the little stickers into strips of two, I think two is better than one because your friends might have multiple calendars!
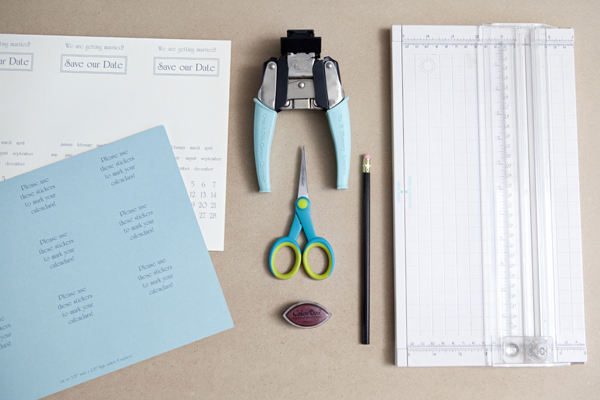
SUPPLIES:
- download and print our free invitation designs below
- cover weight 8.5″ x 11″ (cardstock) paper from Paper-Source for the invitation itself
- text weight paper from Paper-Source for the sticker cards (cardstock is also fine)
- #10 size envelopes (#10 is the normal business mailing envelope size)
- scissors
- paper trimer
- corner rounder
- glue dots
- pencil with a fresh eraser
- stamp pad
- and of course the darling stickers above
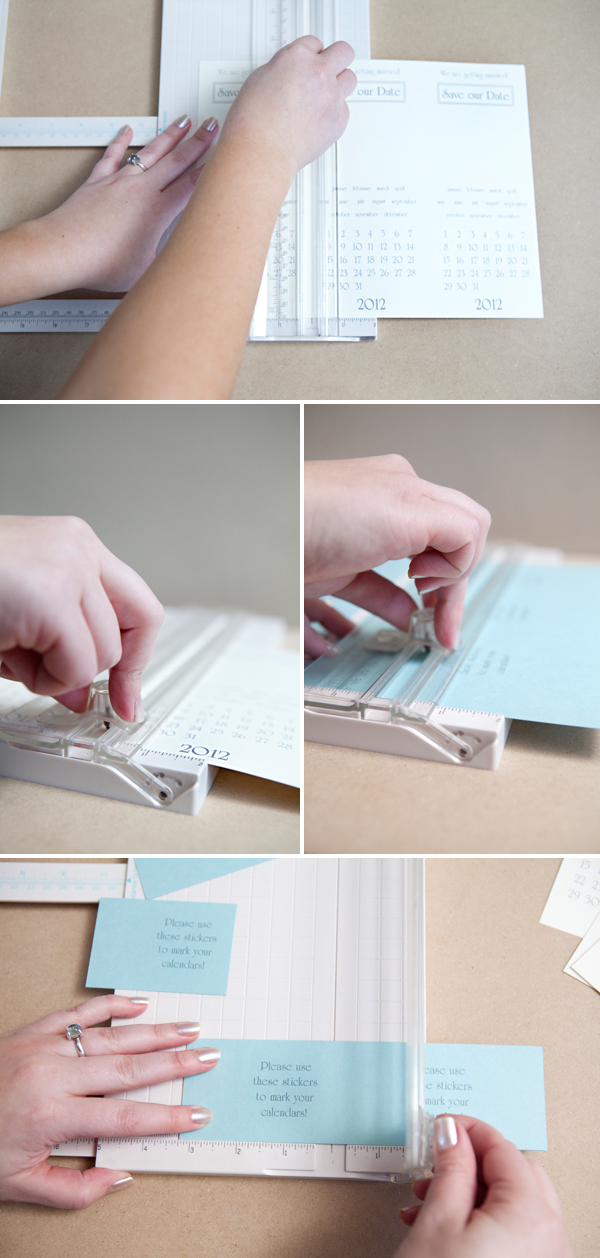
Download and print the two pieces of the invitation design. You can print them at home or take them to your local print shop. Since we are cutting this 8.5″ x 11″ cardstock in thirds, each individual invite should be about 3 5/8 of an inch wide. When cutting in thirds you can’t always make each card perfect, some will be larger or smaller by a millimeter or two – but your guests will never know!
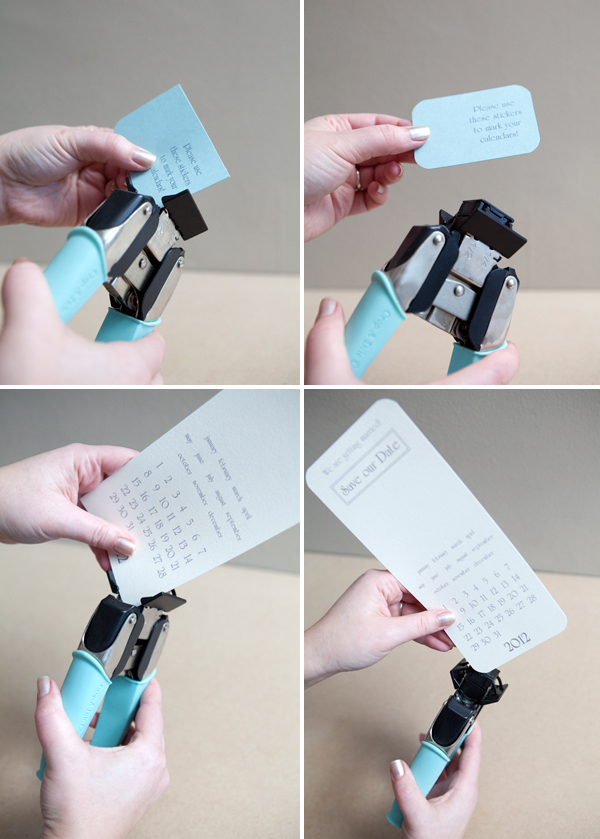
OPTIONAL: Use your favorite corner rounder to round off the edges of each of the cards.
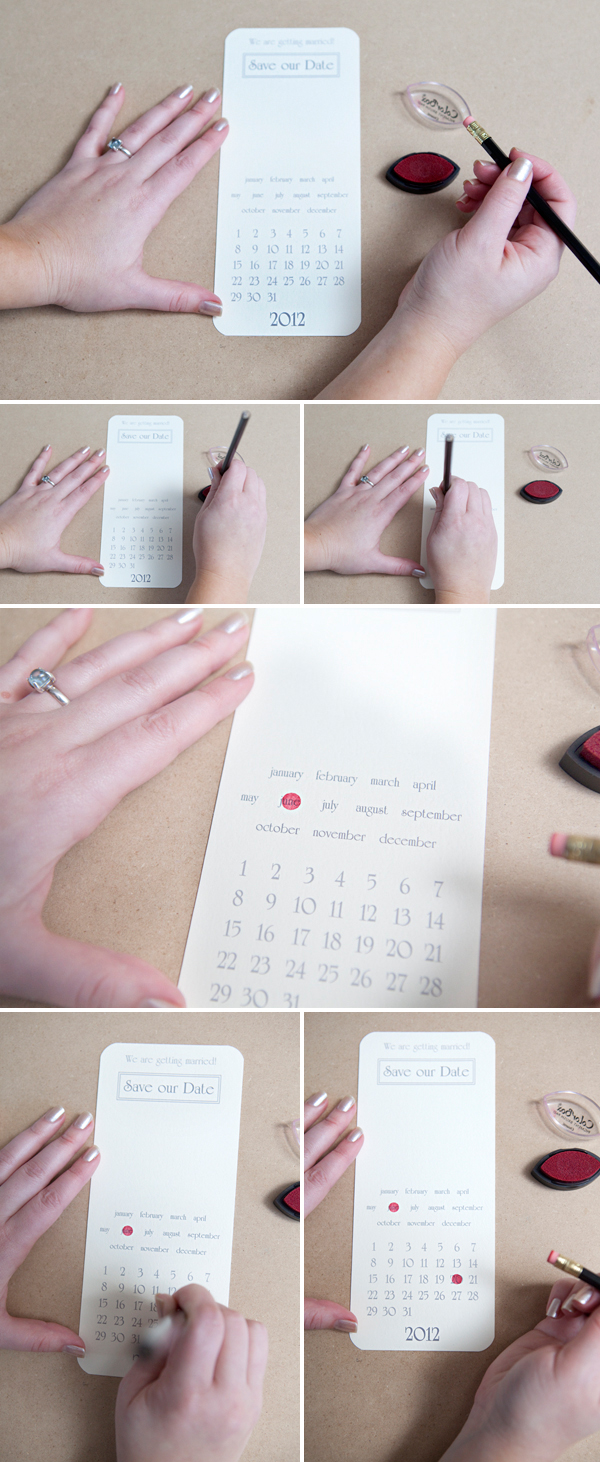
Now for the fun part! Using your pencil eraser as a stamp, dab it into the ink pad and stamp onto your appropriate month and date.
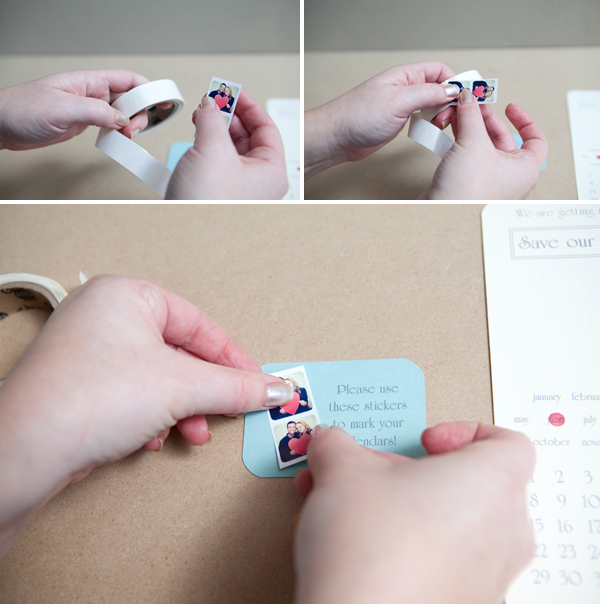
Next, using glue dots {or any other double sided type craft tape} stick your little sticker strips to the printed card… at an angle if you choose!
Using the glue dots, adhere the little card to your invitation – center as best you can. Voila!
Now your guests can mark their calendars with these darling stickers and Save Your Date!
Grab The Downloads:
Click To See Our Past Designs:
DIY Tutorial Credits
Photography + DIY Tutorial: Jen Causey of Something Turquoise // Mini-stickers: Social Print Studio // Large wall calendar, 8.5 x 11 paper and #10 envelopes: Paper-Source in Pool (text weight) and Superfine Soft White (cover weight) // Corner Chomper: Amazon // Martha Stewart Paper Trimmer: Amazon // Font used: UnivrstyRoman Bd BT // nail polish: OPI Happy Anniversary
Shop The Supplies:
Find the supplies you’ll need for this project from our affiliate links below:



Comments