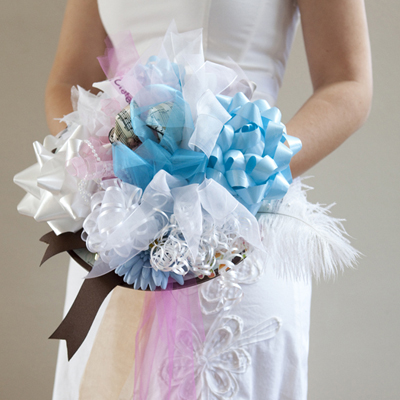
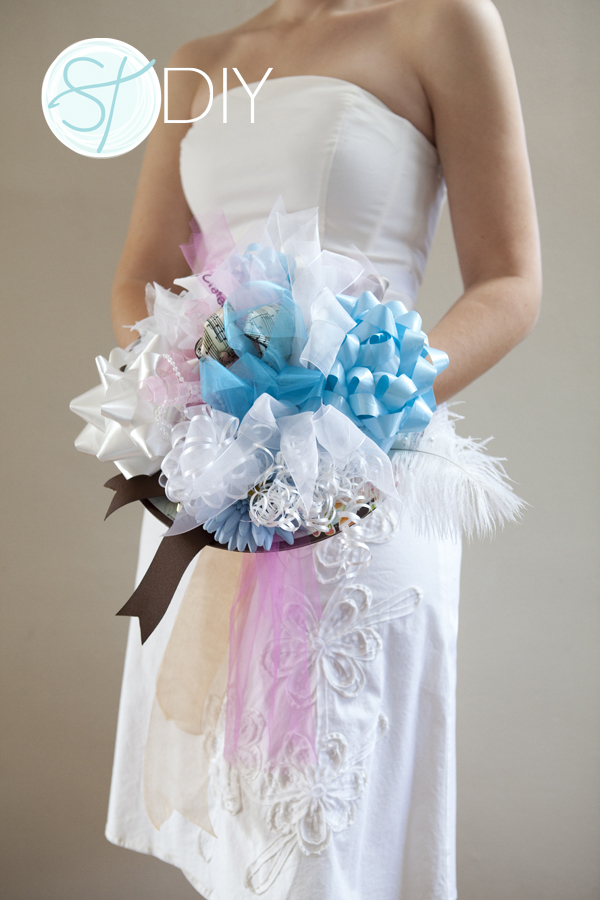
It has long been a wedding tradition to create a ‘rehearsal bouquet’ for the bride, at her bridal shower – out of all the ribbons and bows from her gifts. When rehearsing for your wedding, it is truly important to rehearse everything – like what you are to do with your bouquet during the actual ceremony. Ask a bridesmaid or a crafty friend to create this adorable ‘bow-quet’ for you as you are opening your bridal shower gifts… and use it during your wedding rehearsal.
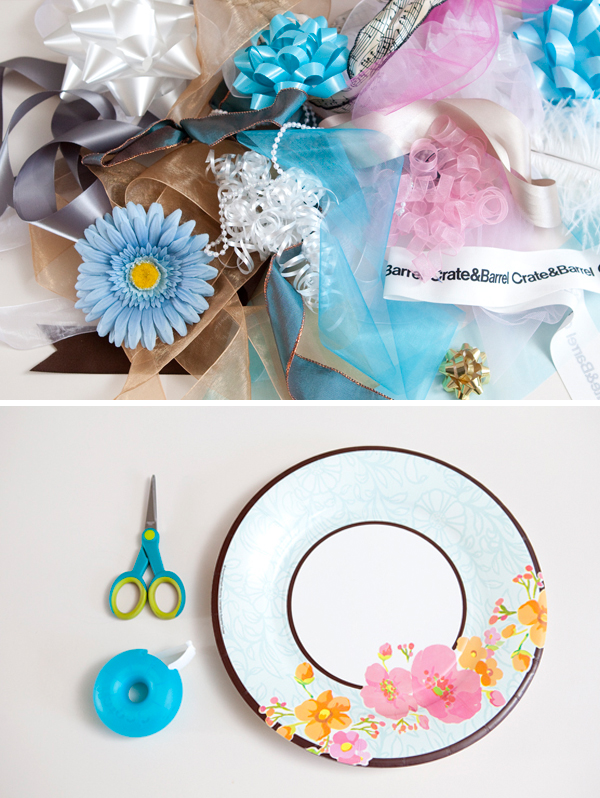
SUPPLIES:
– bows, ribbons, and fun extras from your bridal shower gifts
– tape
– scissors
– paper plate, 2 if you have a lot of ribbons!
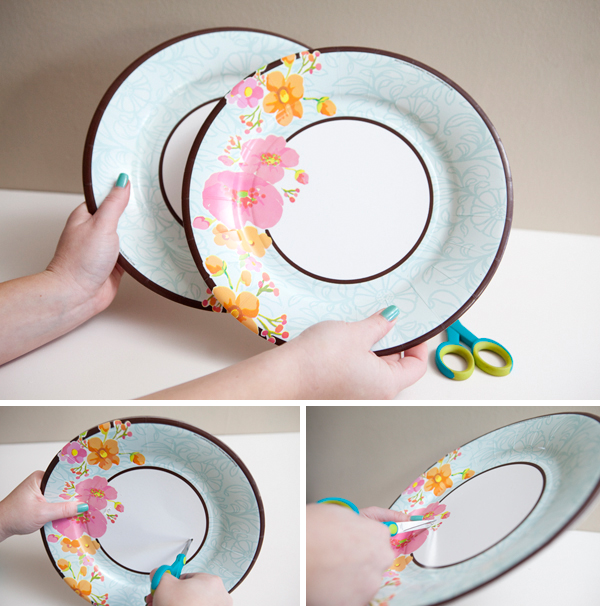
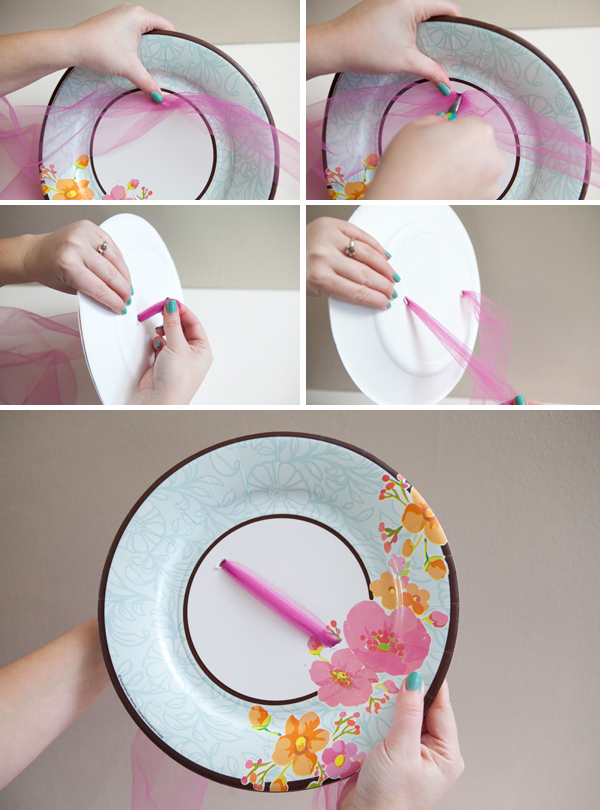
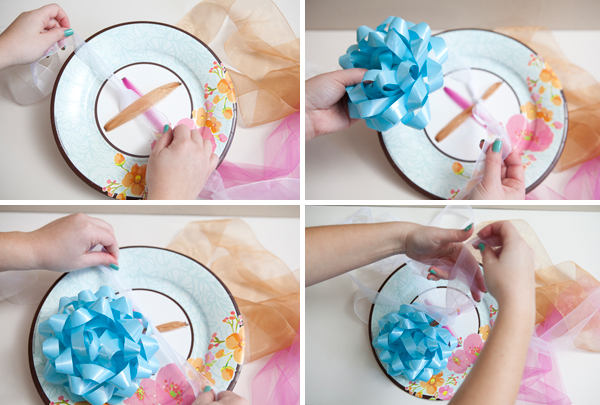
We are going to start by making the ribbon base to tie all your bows onto… get your plate {I used two on top of each other for strength – I had a lot of bows!} and start by stabbing scissors or a knife through your plates at two points across from each other.
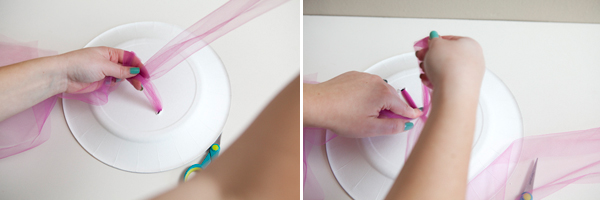
Then insert your ribbon, I used my scissors to help gently push the ribbon through the plate.
Tie a knot on the backside.
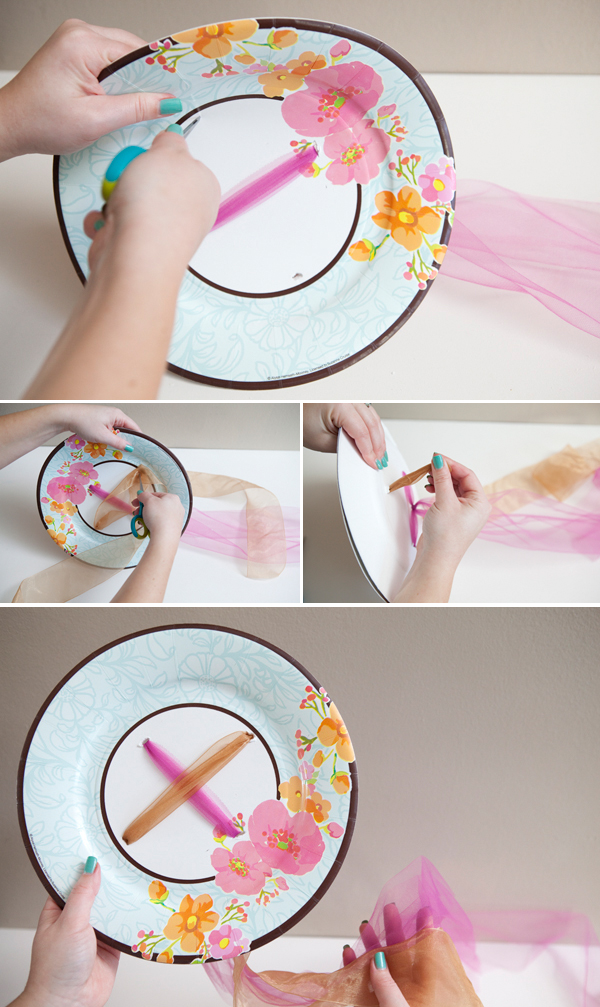
Now we are going to do it again. Stab with your scissors and insert a second piece of ribbon to make an x. This creates and extremely steady and large base to tie all your ribbons and bows onto.
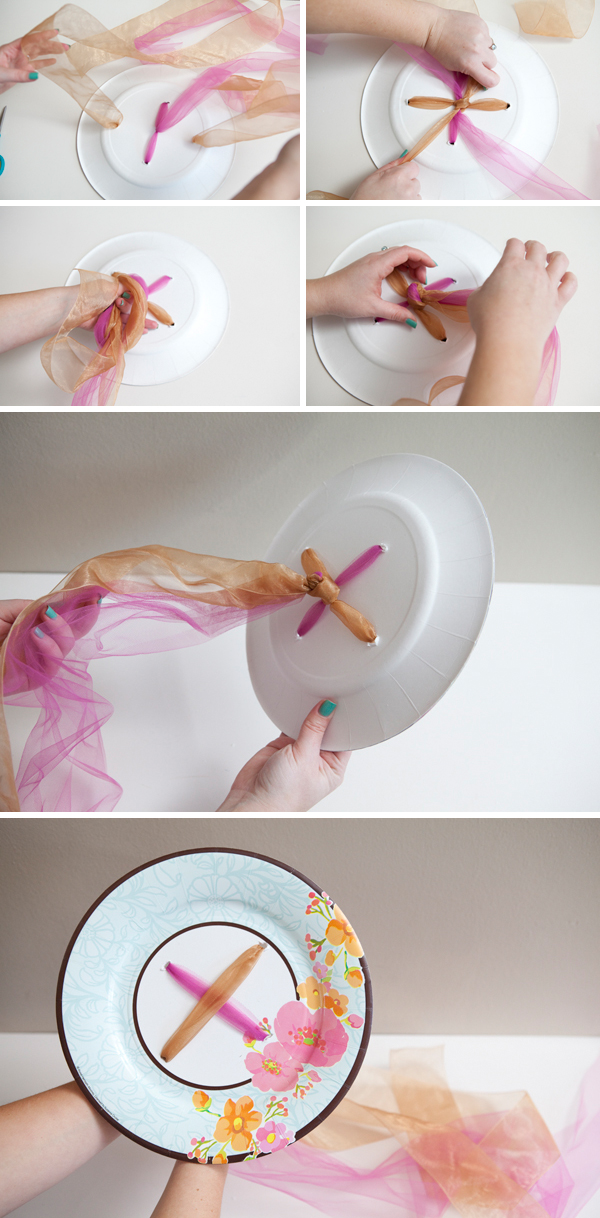
Tie a knot with the second ribbon, then tie a large knot with all the ribbons. This is the base of your bouquet and what the bride will hold onto.
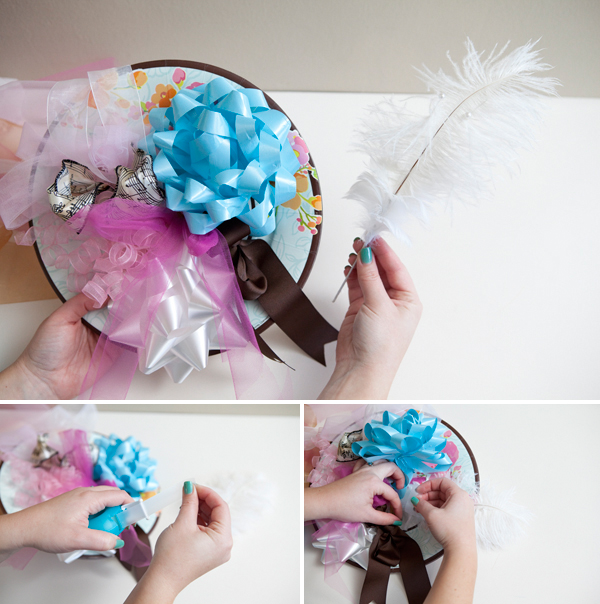
Now the process of adding ribbons and bows! Since this can be done at the shower (my fav!) or at home… just go with what you get… keep tying and building!
Think about form and spacing… add a little here and a little there…
You will get all kinds of gift extras or package tie ons… put those on too! Like this cute feather, tape it on!
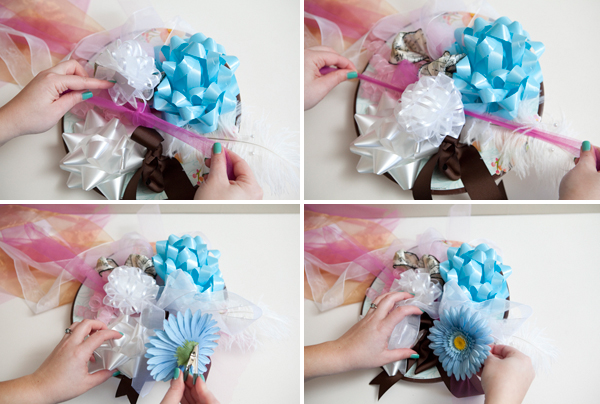
Keep tying and taping, it’s becoming so cute!
Most bows will not stick to your plate with the original sticky back, so just tape them on.
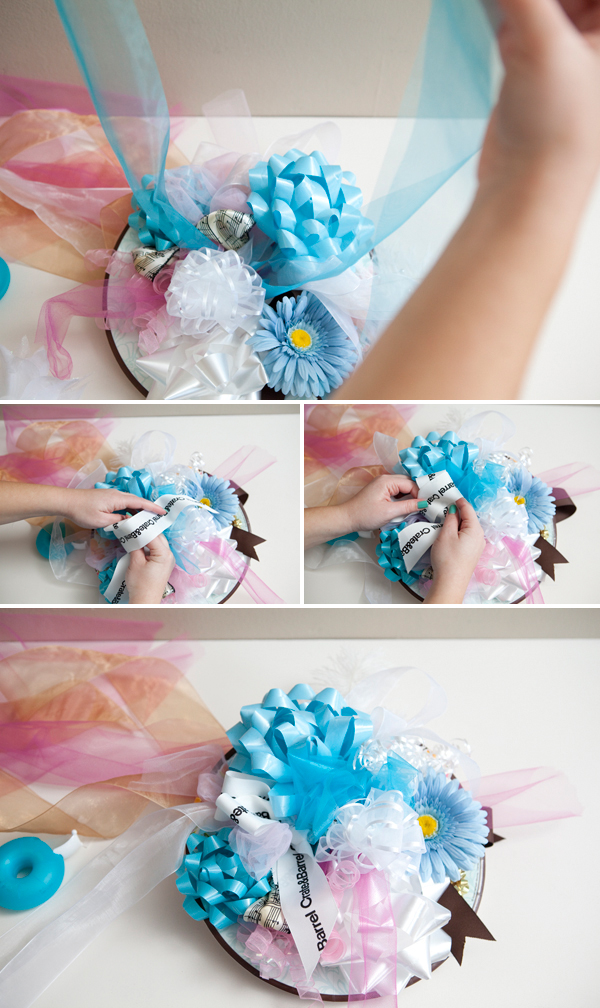
Keep packing it in… it’s my favorite to watch the bouquet grow at the bridal shower!
Cut extra pieces that are too long, fluff your bows and ribbons… to finish the ‘bow-quet’!
As with all our DIY tutorials, if you create one of our projects please send us a picture – We Love Seeing Your Creativity! If you use Instagram or Twitter please use the hashtag #SomethingTurquoiseDIY and it will show up on our Get Social page. Happy Crafting!
DIY Tutorial Credits
Photography: Something Turquoise Photography // DIY tutorial: Jen | Something Turquoise // Plates: Alin Party Supply // Ribbons and Bows: honestly it was my birthday two weeks ago and I saved the ones I got… I bought a few… and made the rest :) // blue flower, white feather, and tape ring: Michaels // dress: Express like 7 years ago! // nail polish: Essie – Turquoise & Caicos





Comments