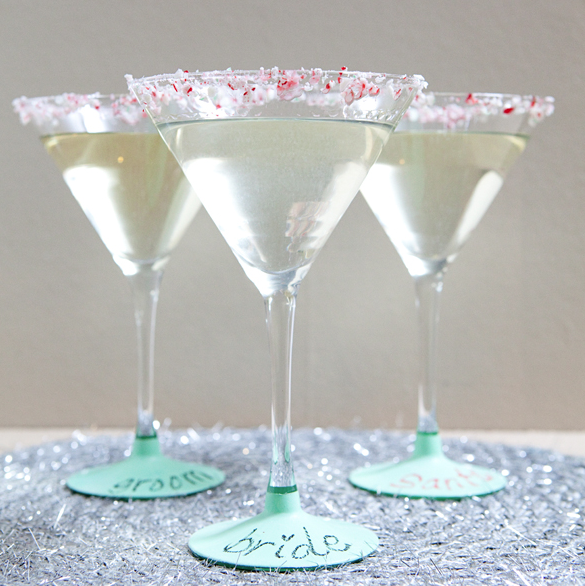
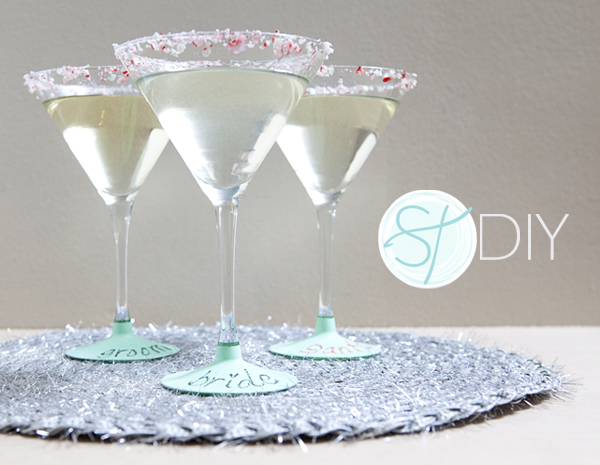
I’m so excited to share today’s yummy DIY with you!!! Chalkboard martini glasses! I love a great drink, especially at christmas time! “Who’s glass is this?? Did you have ‘santa’ or did you have the ‘ornament’??” Does your family use wine glass charms like my family?? Even when you have a glass charm my biggest pet peeve is the charm falling back down to the base of the glass after I’ve taken a big sip. “CLINK!” No longer is any of this an issue – pick out a color of chalk and write your name on your glass!
Using Martha Stewarts fantastic new line of craft paint, I created these special glasses that can be completely personalized and used over and over again!
Supplies: Martini Glasses (or wine, or champagne… etc.) – mine are from Pier One, Martha Stewart Chalkboard Craft Paint – available in four colors, chalk, cardboard, rubbing alcohol, paint brush, Exact0 knife, Martha Stewart stencil tape, thumb tacks, a dish for paint, and a pencil.
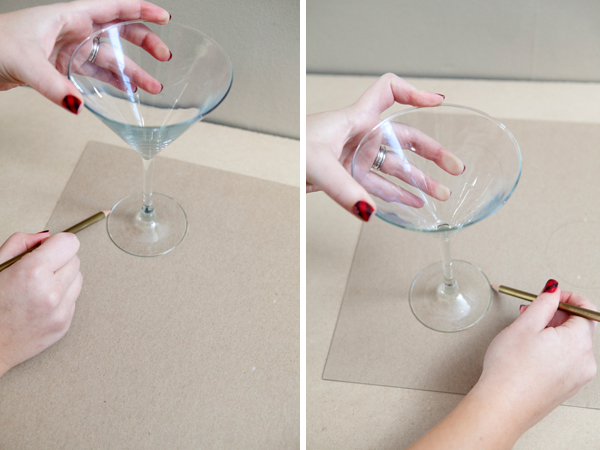
First, we will start by creating a ‘drying’ base for your glasses. Draw the shape of the base of your glass onto your piece of cardboard, always keep scrap cardboard!
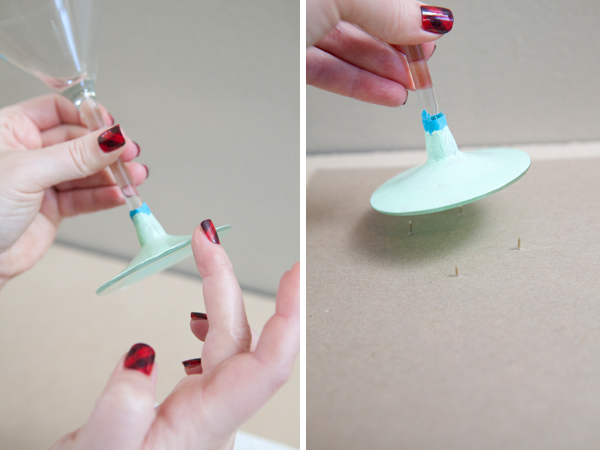
Then insert four to five thumb tacks through the drawn circle shapes. This creates an elevated space where your glasses can dry safely.
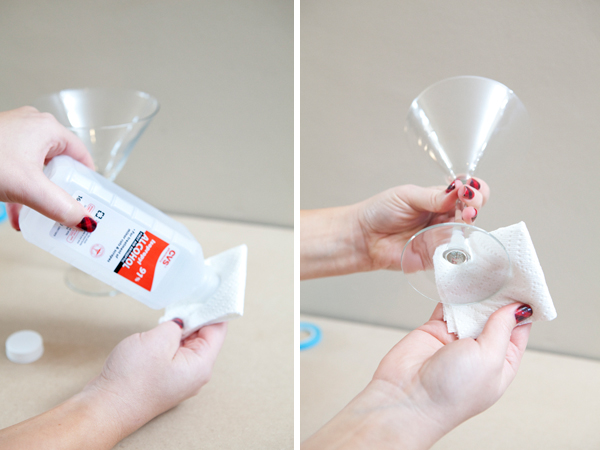
Now, the painting of the glasses. Start by cleaning the area that you will be painting with rubbing alcohol. Make sure that before you start taping or painting that the alcohol is completely dry.
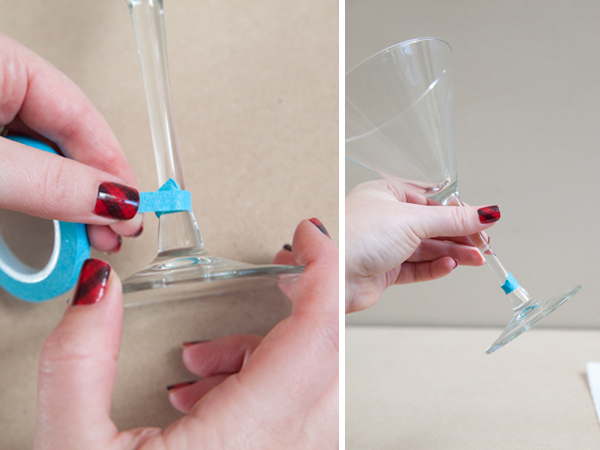
Now, tape off the base of your glass… wherever you want the paint to end.
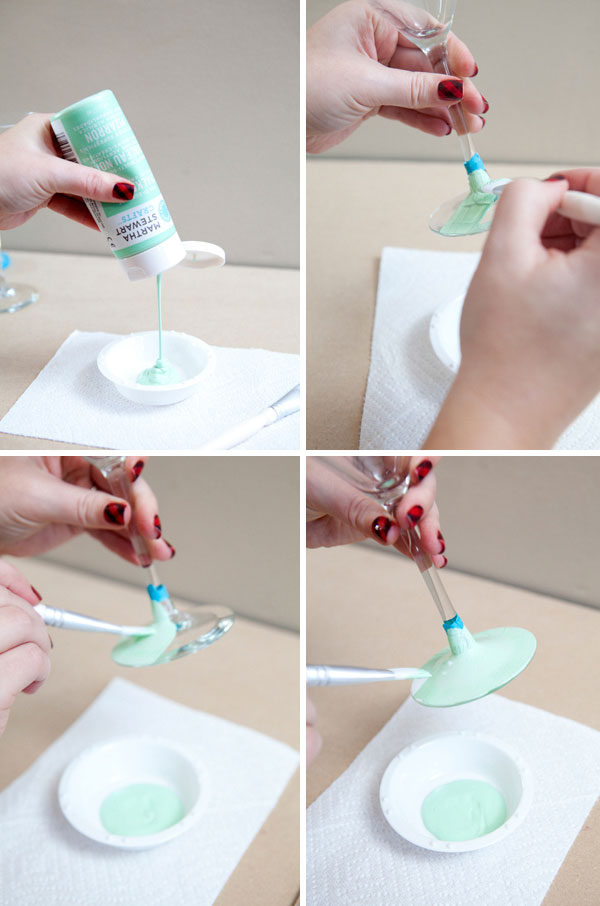
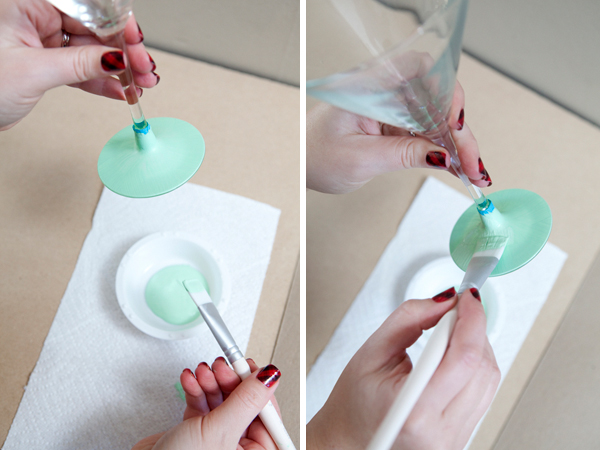
Start painting! Thin, even coats of paint works best for this project. You want to create a smooth area for writing. For this example, with the green chalkboard paint – I ended up being the happiest with four coats of paint. Different color paints might need more or less coats of paint.
I wanted no paint on the rim of my glass, so I carefully wiped off any excess – after every single coat.
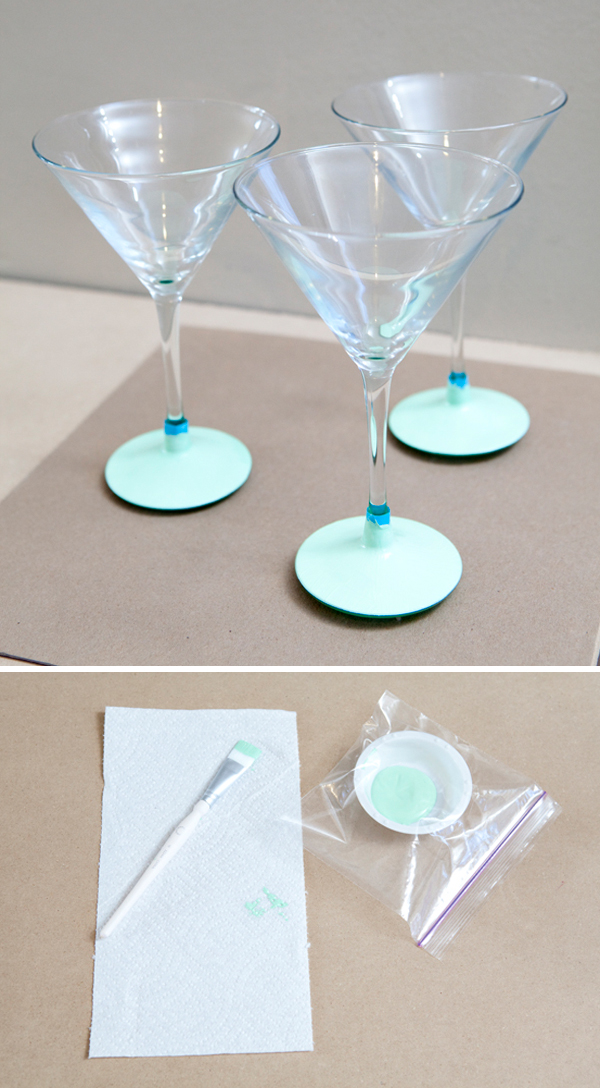
Then set my glasses onto my drying base and let dry at least one hour in between each coat of paint. While not using your paint, store it inside a ziplock style bag so that it doesn’t dry out. Also make sure to clean your brush in between each coat of paint.
Coat number two! Three… and four!
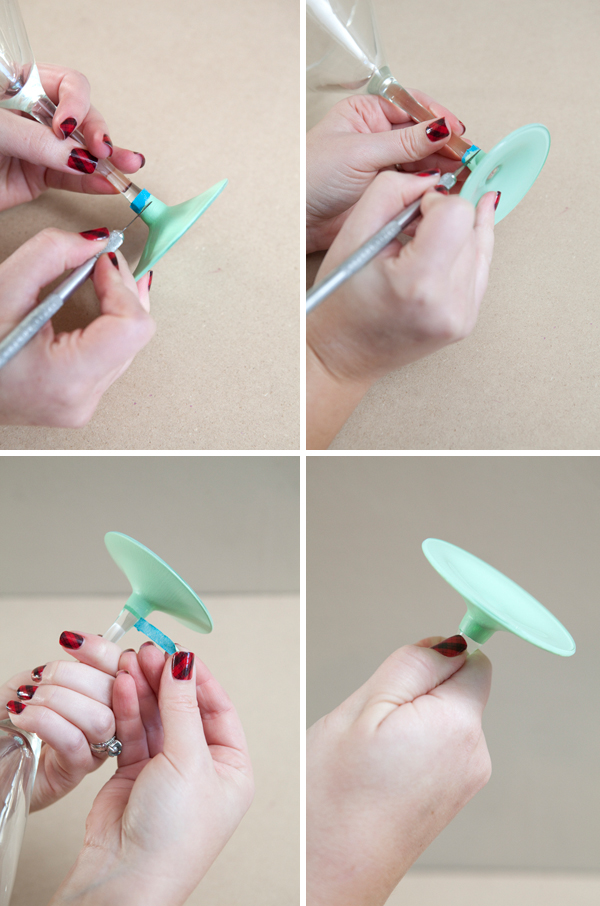
When all coats are finished and you are happy with the coverage of paint, carefully remove the tape. I found it easy to run an Exacto knife along the tape line to loosen the paint from the tape. Some people prefer to remove the tape when the paint is still wet, but because this project required multiple coats – that wasn’t possible. If any paint bits are sticking up or leaked under the tape, gently scrape it off with your fingernail.
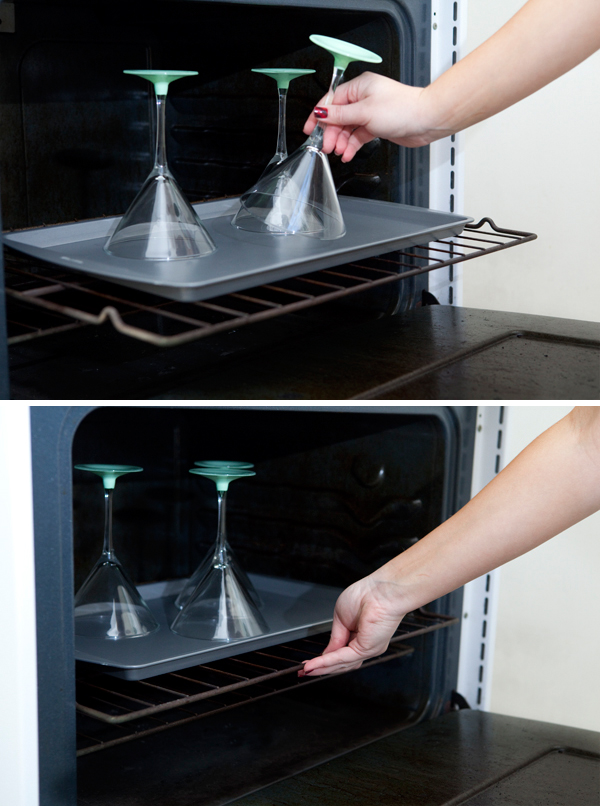
Oven Cure your glasses! Very important! Place your glasses in the oven while it is cold and close the door. Turn the oven on, set it to 350* and set your timer for 30 minutes. At 30 minutes turn the oven off and let the oven and the glasses cool down completely. Don’t use or wash for 72 hours. After that, this project is top-shelf dishwasher safe! The other curing method is to let your project air dry for 21 days, I don’t recommend the air-cure method for glassware projects – especially this one!
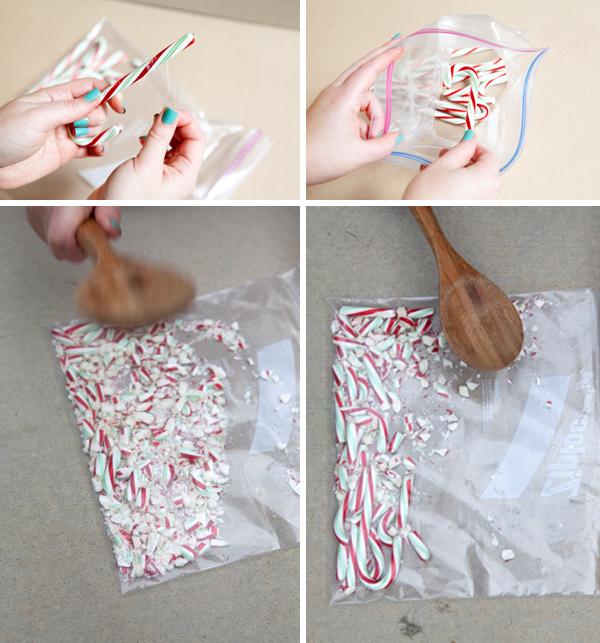
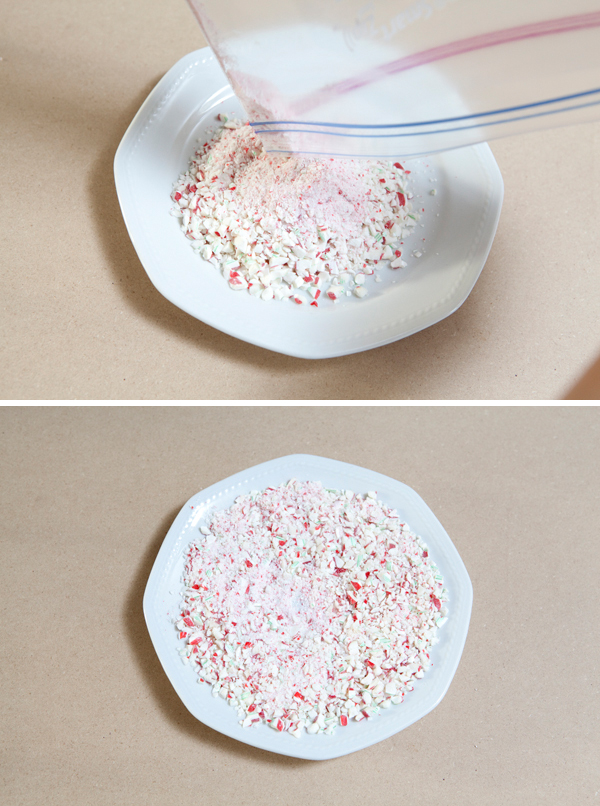
While your glasses are curing, you can make a candy cane garnish for your martini! Put 8 – 10 candy canes in a Ziplock freezer bag, take them outside and crush them up by hitting them repeatedly with a wooden spoon on concrete. I am sure there are plenty of other ways to crush candy canes, putting them in the food processor probably works great… but I didn’t want to clean up that mess. Crush your canes how ever you would like…
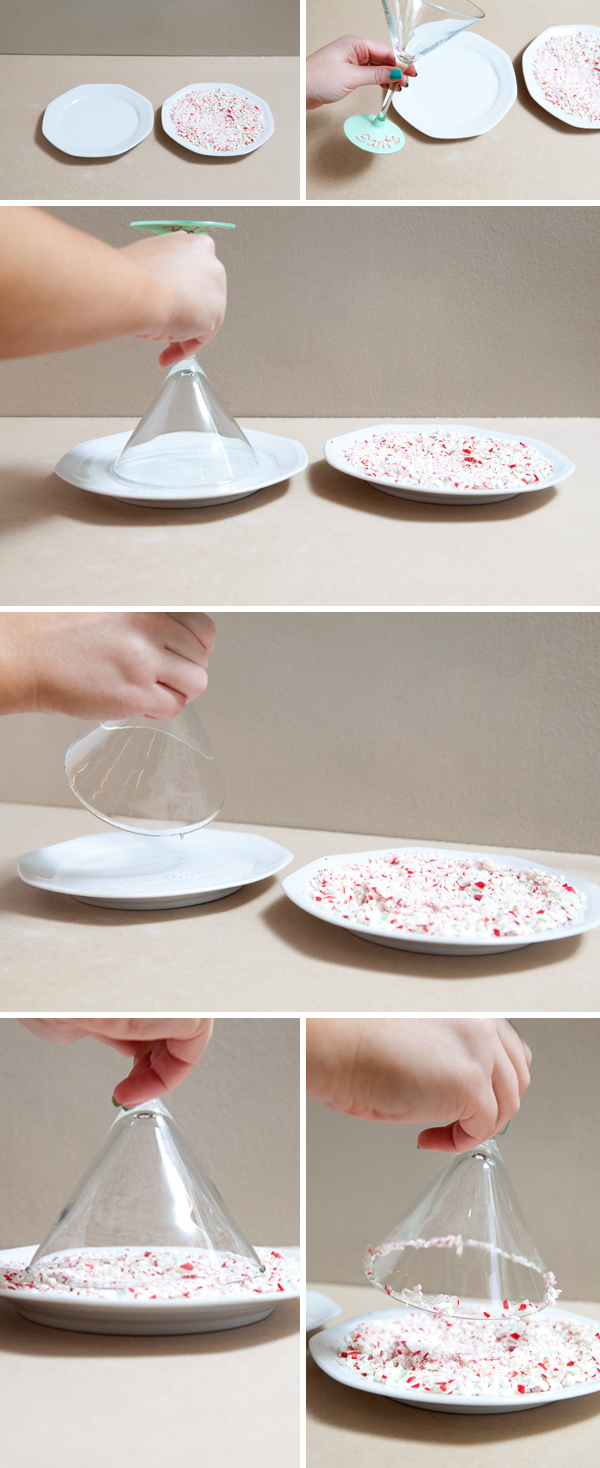
Pour them onto a small plate, or if you are fancy – into a special dish like this.
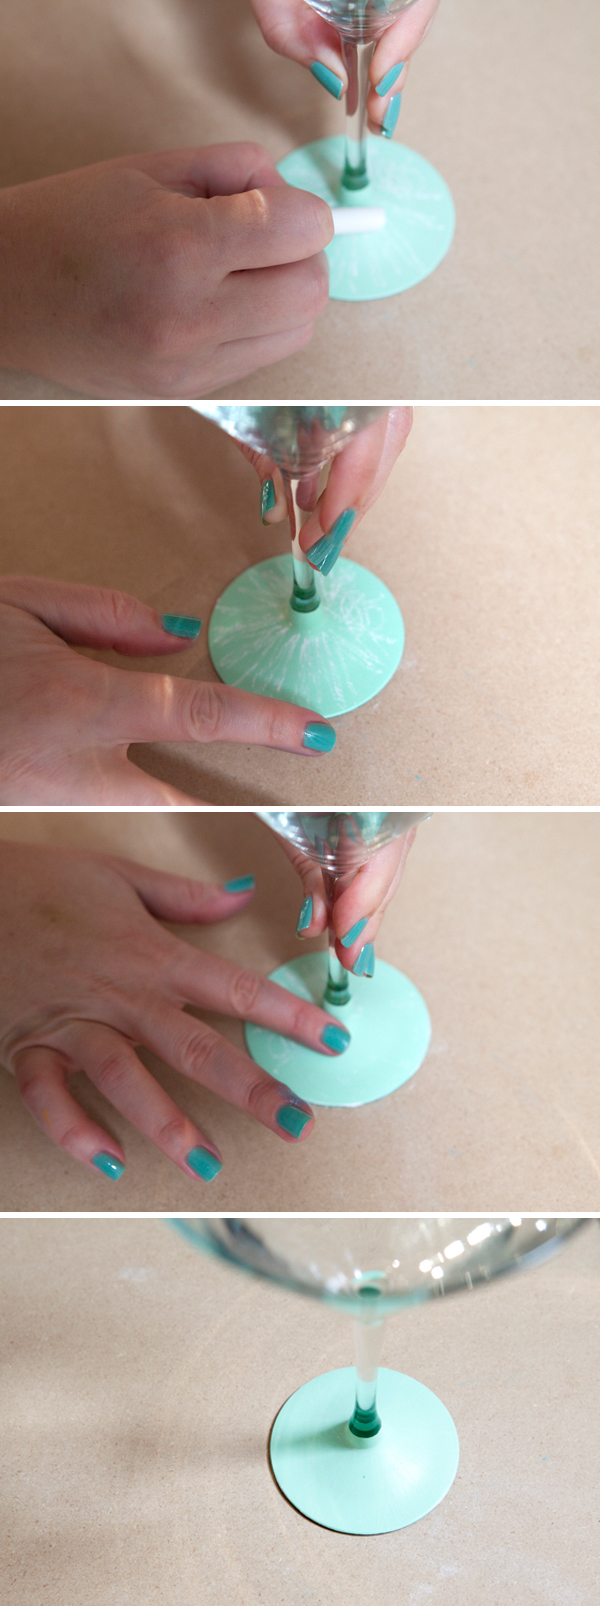
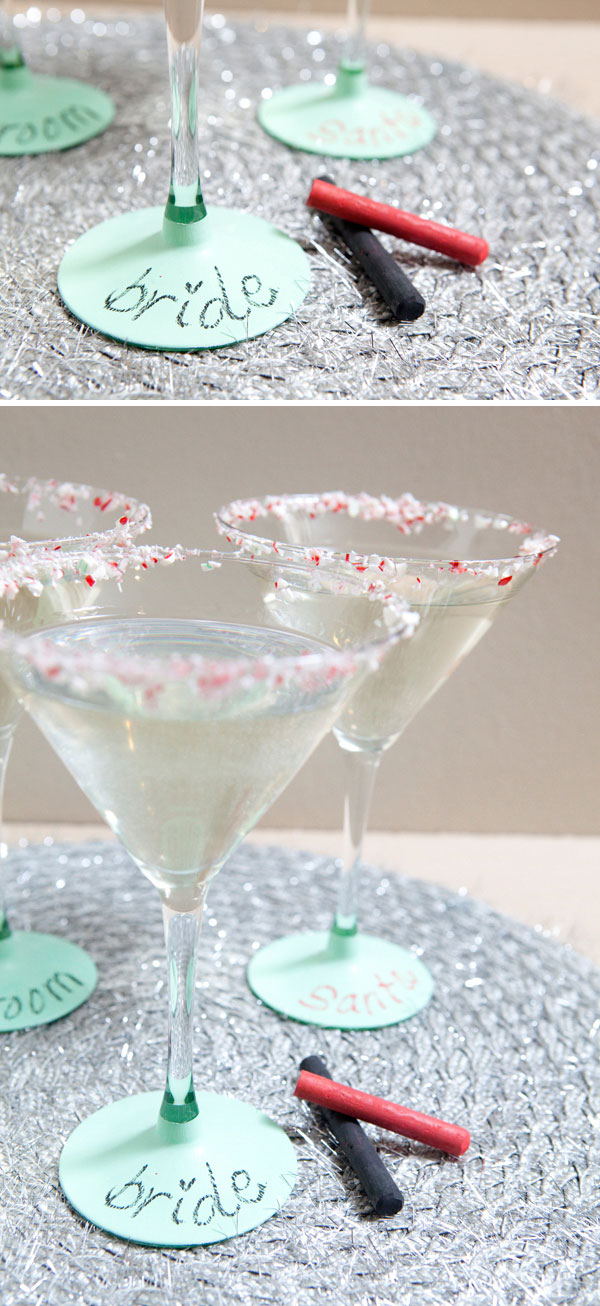
Once your glasses are cured you will need to prime your chalkboard base by drawing all over it with white chalk, then rubbing it around, and wiping it off. This deposits a much needed ‘dust’ to the chalkboard – the special grit that you need to be able to write properly.
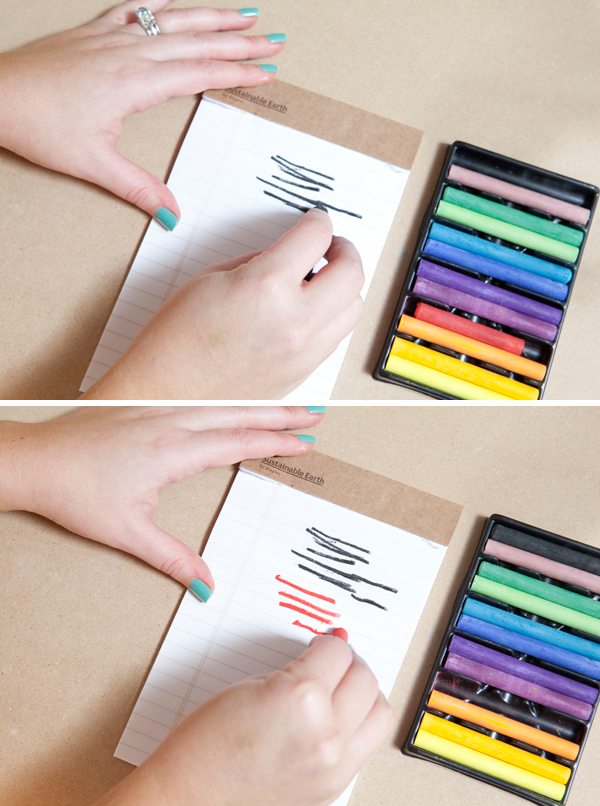
I found that colored chalk writes best if the edges are worn down a bit, so prime your desired colors of chalk by rubbing the entire edge across paper.
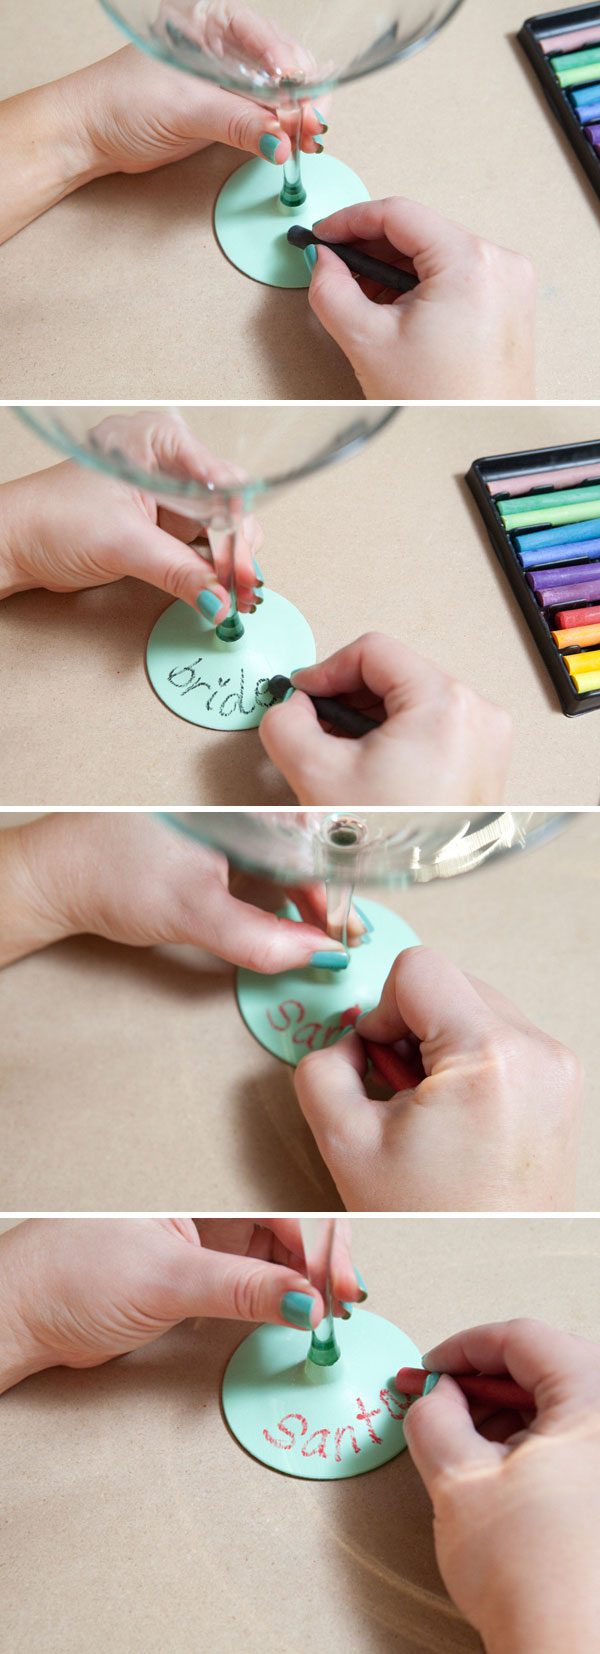
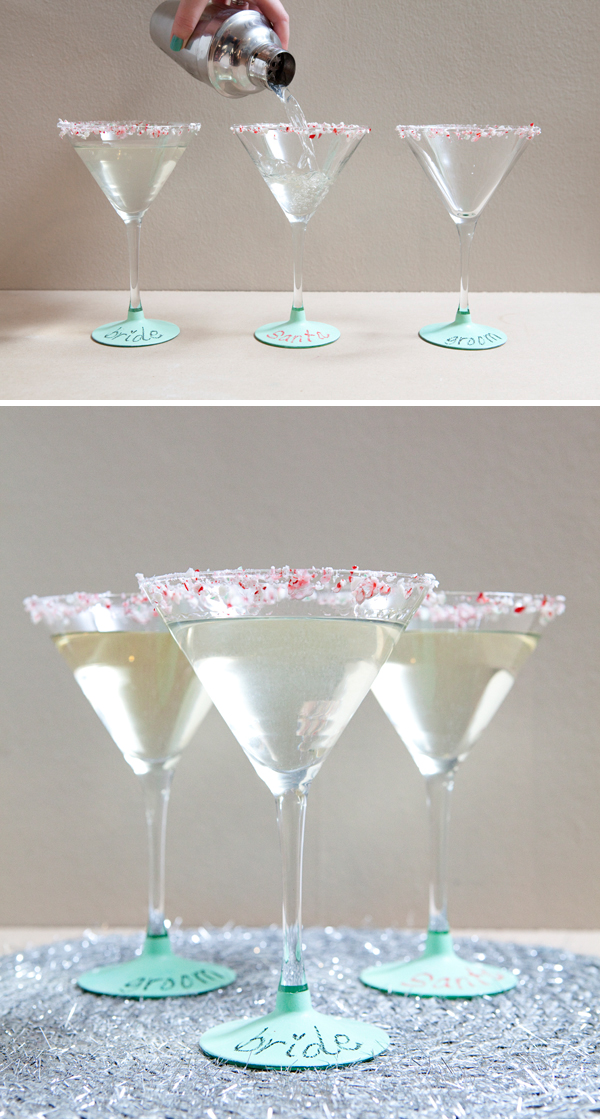
Now your ready to write – grab your favorite color and draw! Certain colors of chalk wipe off easier than others, more difficult colors require a little soap and water to remove.
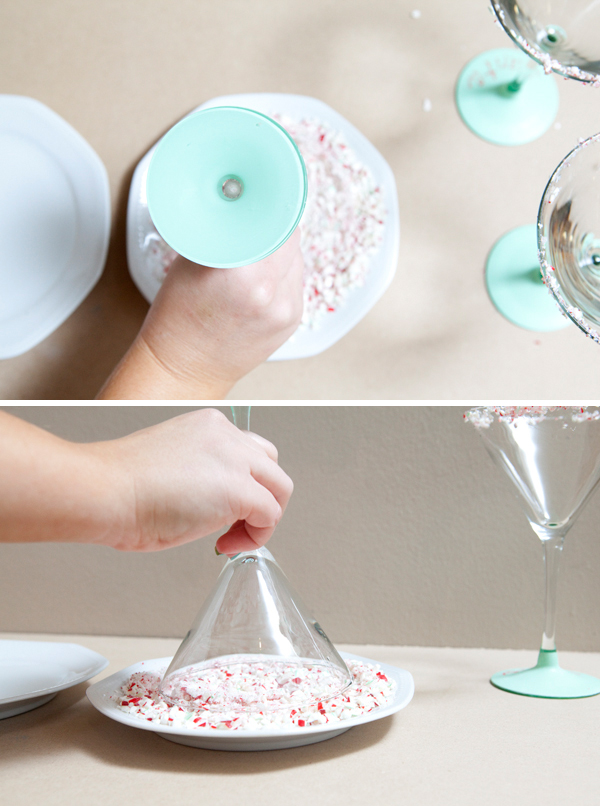
There are many ways to wet the rim of a glass… in water like this, with a sponge, or by wiping the edge with a slice of fruit. Here I dip my glass in the water, let it run off and then dip in my candy cane garnish.
Fill with your favorite holiday martini and enjoy!
As with all our DIY tutorials, if you create one of our projects please send us a picture or a trackback – We Love Seeing Your Creativity! If you use Instagram or Twitter please use the hashtag #SomethingTurquoiseDIY. Happy Crafting!
photography: Studio 11 / diy: Jen | Something Turquoise / Martini Glasses and silver place mat: Pier One / Martha Stewart Chalkboard Paint, paint brush, stencil tape: Michaels / Nails: Sally Hansen Salon Effects stickers and Turquoise and Caicos by Essie (yes – I had to shoot this two different days – thats why I have two different nail polish colors!)




Comments