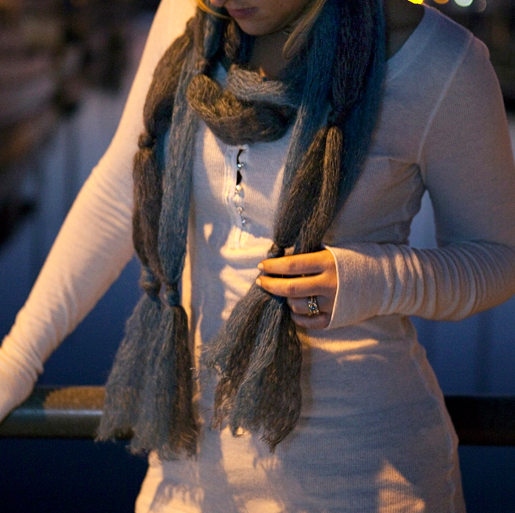
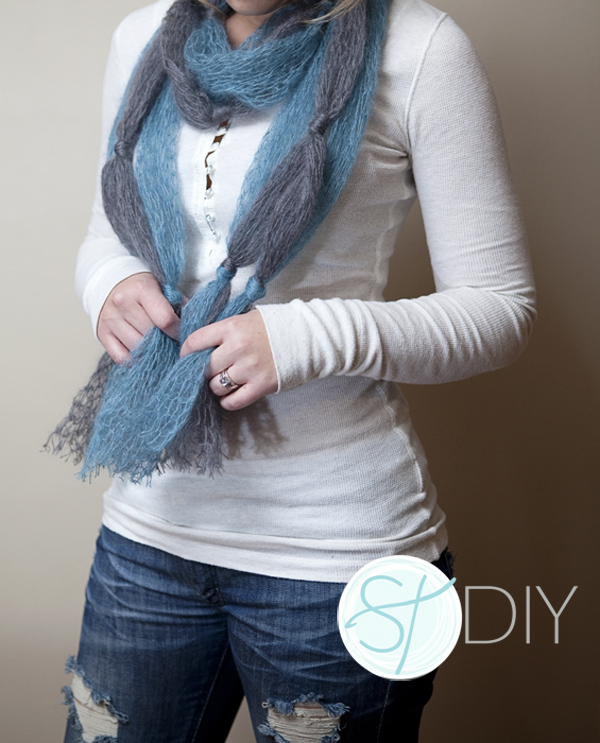
HAPPY BLACK FRIDAY! While you are out shopping, pick up some super thick yarn and knot-yourself this adorable and easy scarf!
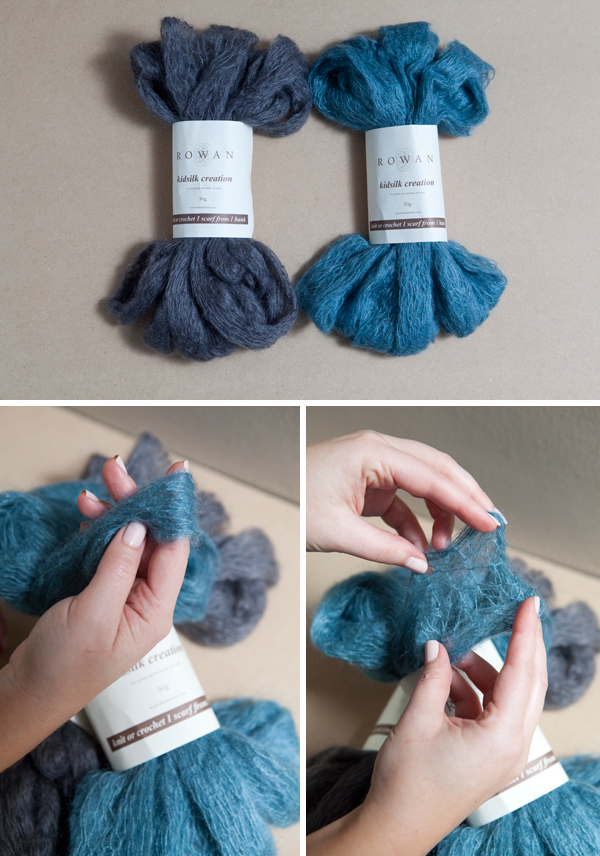
Supplies: the yarn I used has no real descriptive name, the fantastic ladies at Alamitos Bay Yarn Company (where I purchased my yarn) told me I can call it webbed or weaved. When stretched and pulled apart, this special type of yarn expands into a beautifully delicate weave. Each bundle of yarn comes in different lengths. For this project you will need a total of 480″ of yarn (or 48 feet), 4 strands of 120″. Make sure that whatever yarn you buy, you do the math in the store to make sure you have enough!
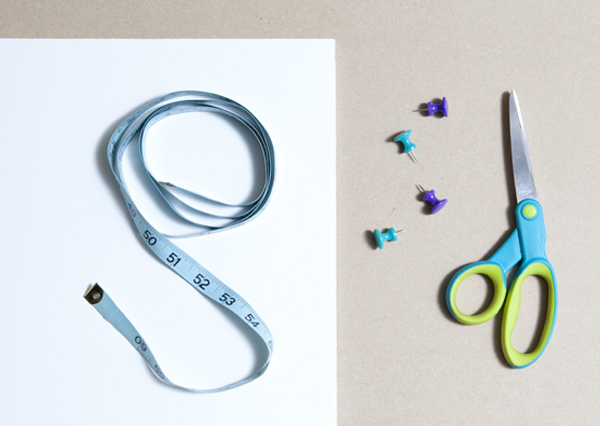
You will also need a poster board, measuring tape, scissors and a few thumb tacks.
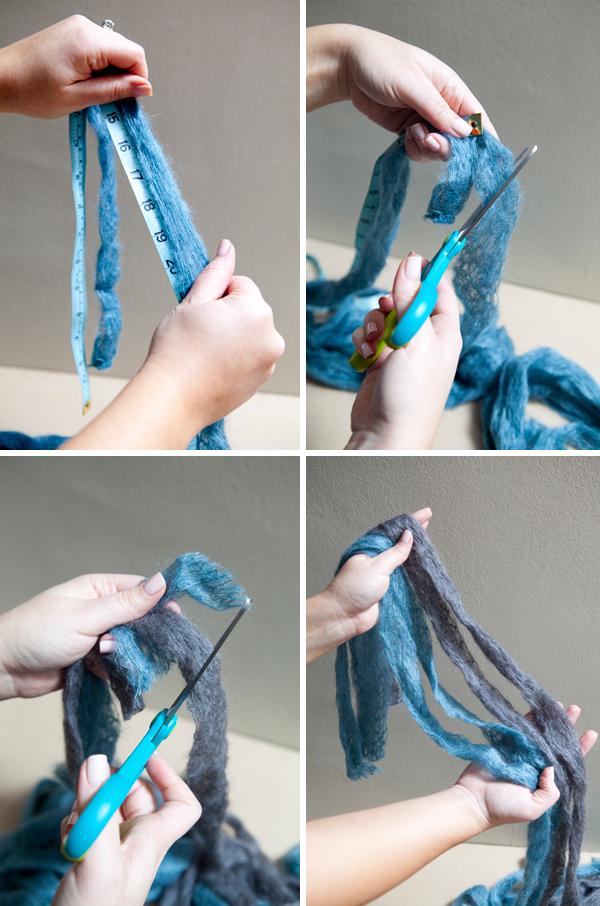
Cut four pieces of yarn all 120″ long (or ten feet each). You don’t have to use two different colors of yarn… you can use just one, two or maybe even four!
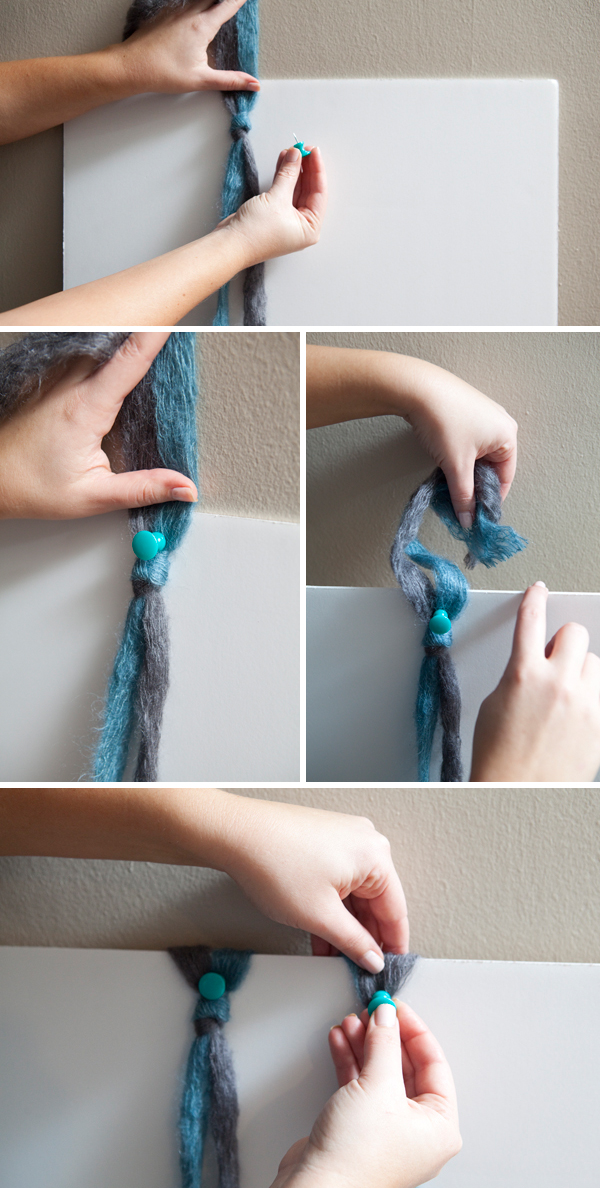
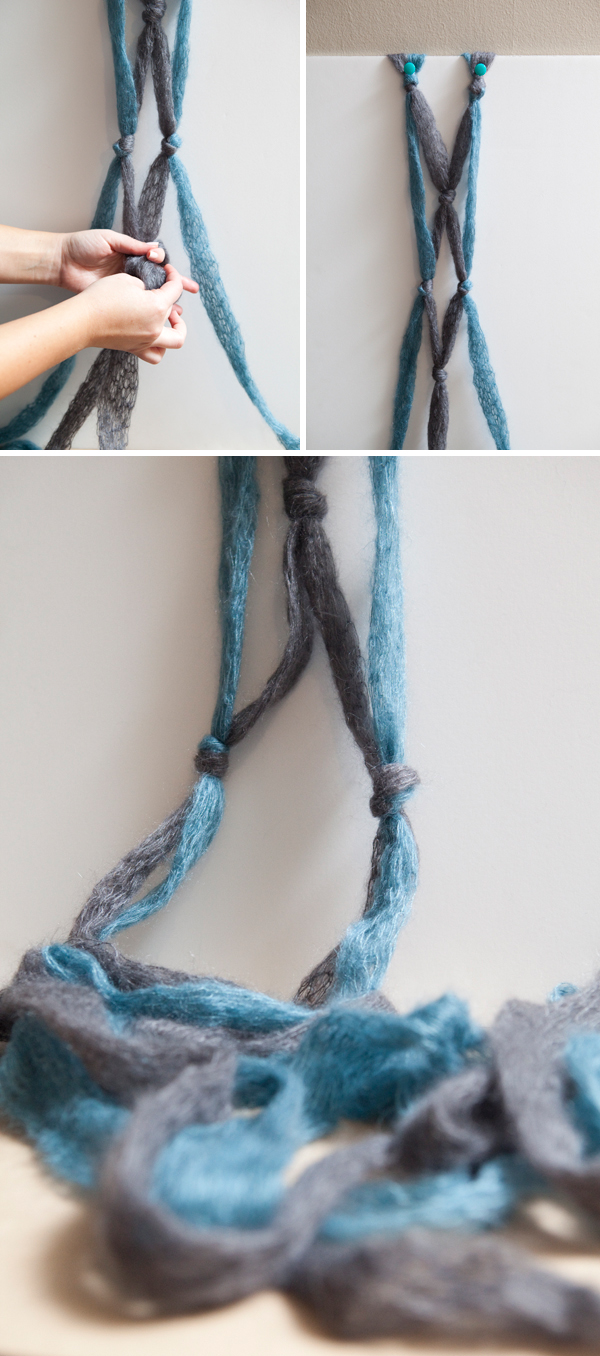
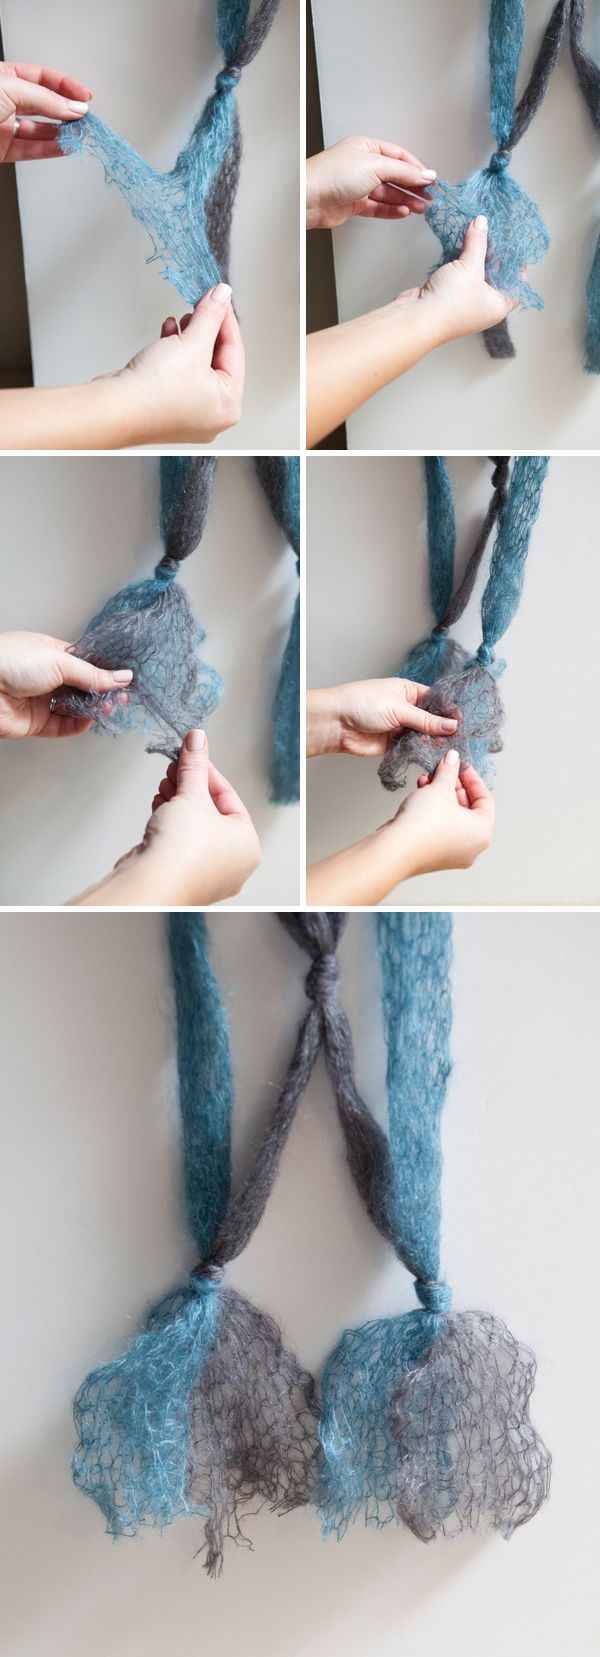
I wanted the grey yarn to be in the middle of my scarf and the turquoise yarn to be on the outside, so I laid them out accordingly. Lay out your yarn on a table or on the floor to start your knotting. Tie your first knot with an outer piece of yarn and an inner piece.
There is your first knot! Now do it again on the other side…
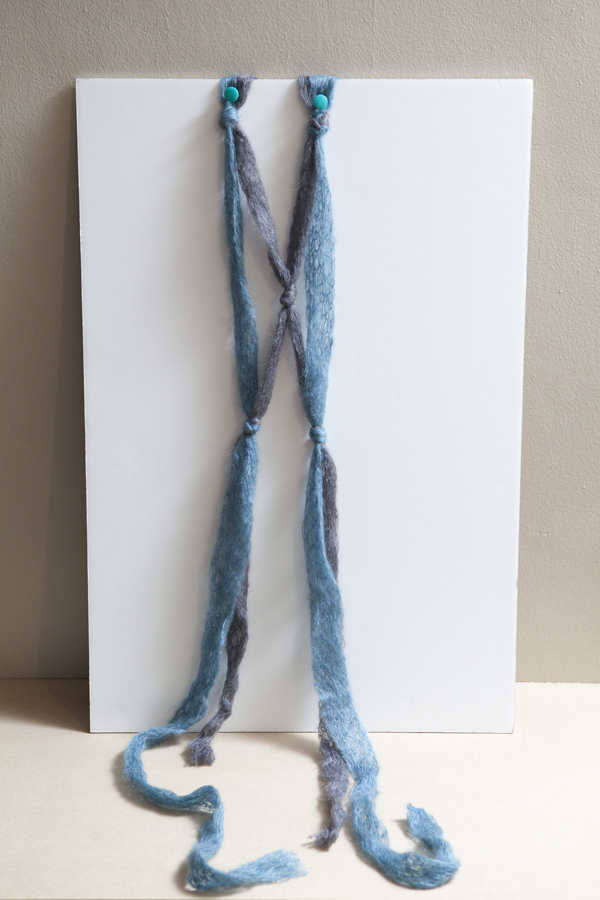
When your first two knots are done, pin them to the top of your poster board – this will get you organized for the rest of your knots. You can tuck the ends behind the poster board if you’d like. Either post up at your table or on the floor…
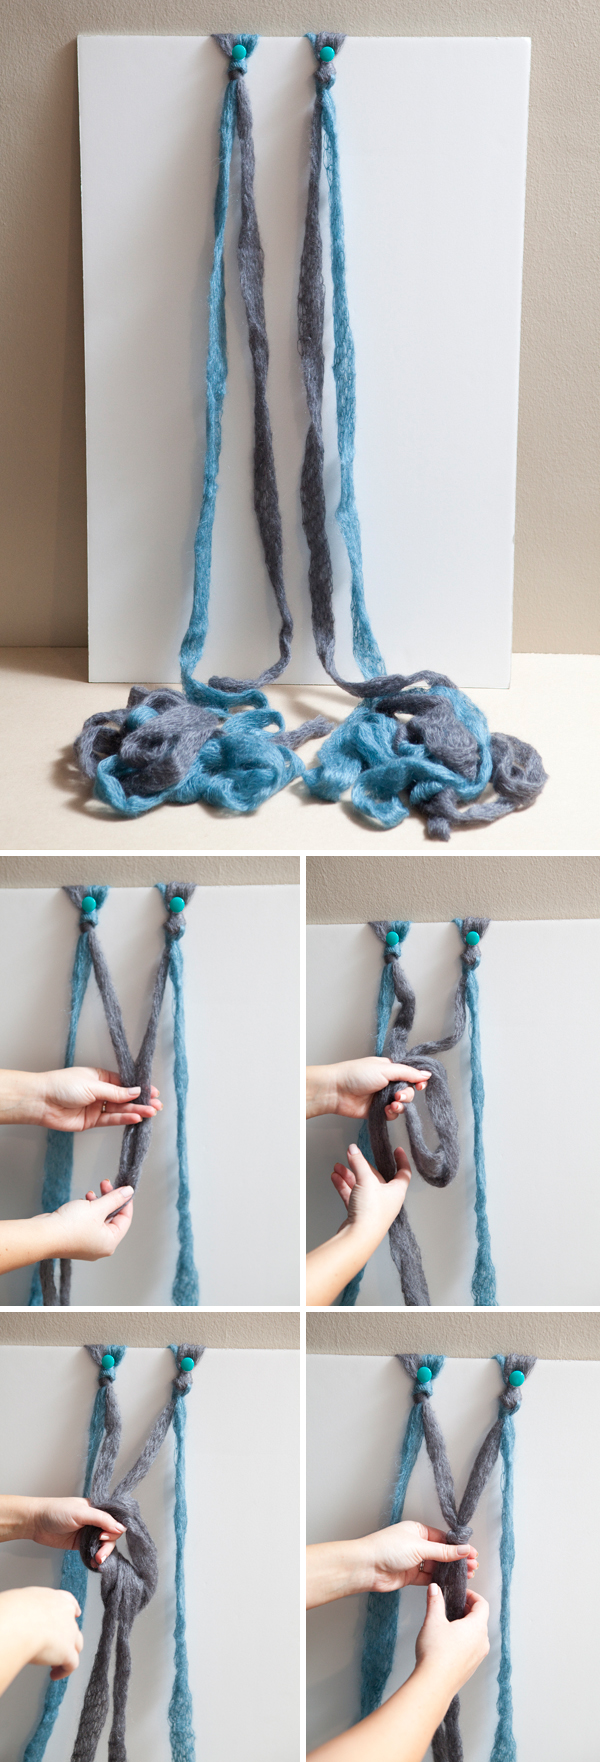
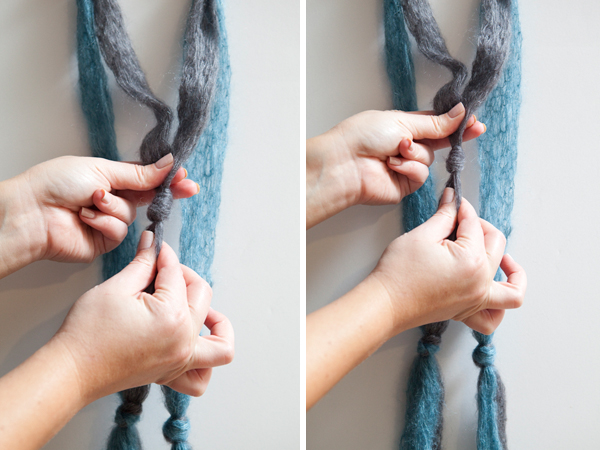
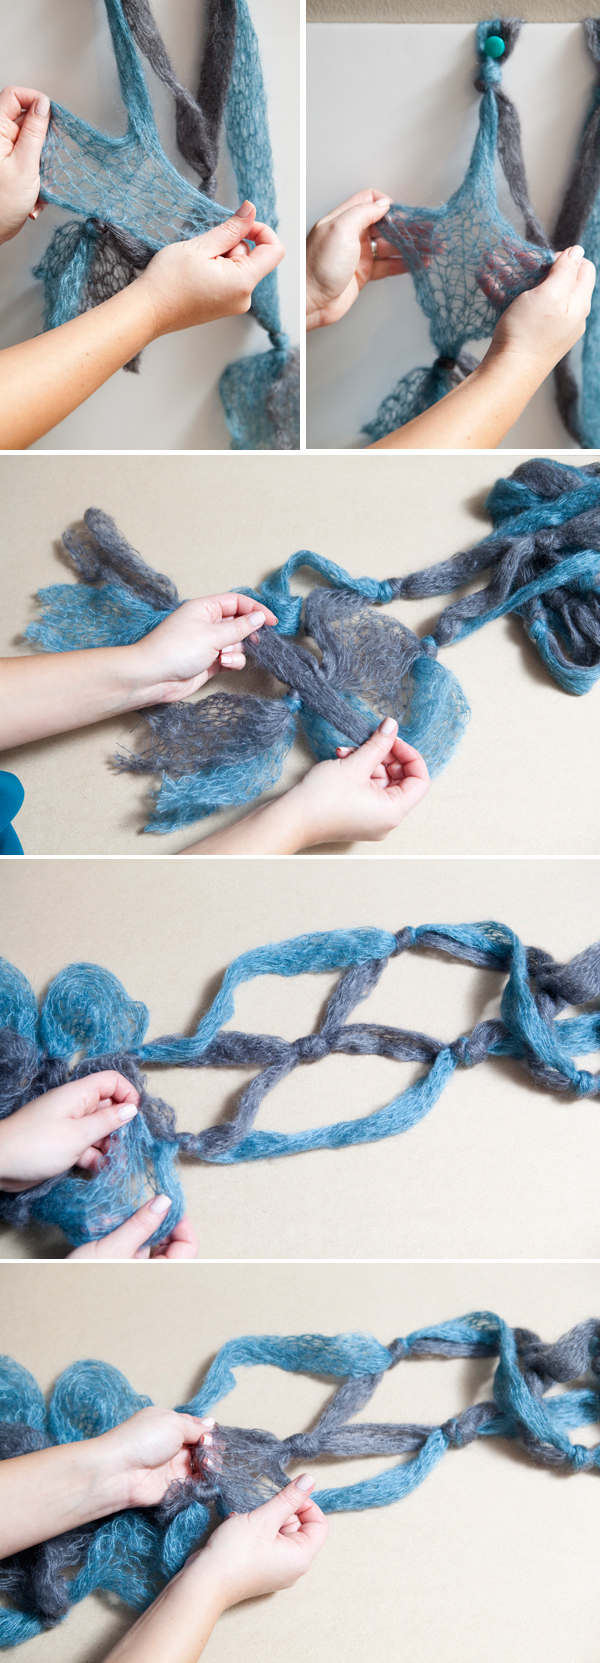
Now we will begin the rest of the knots… knot the two middle pieces together.
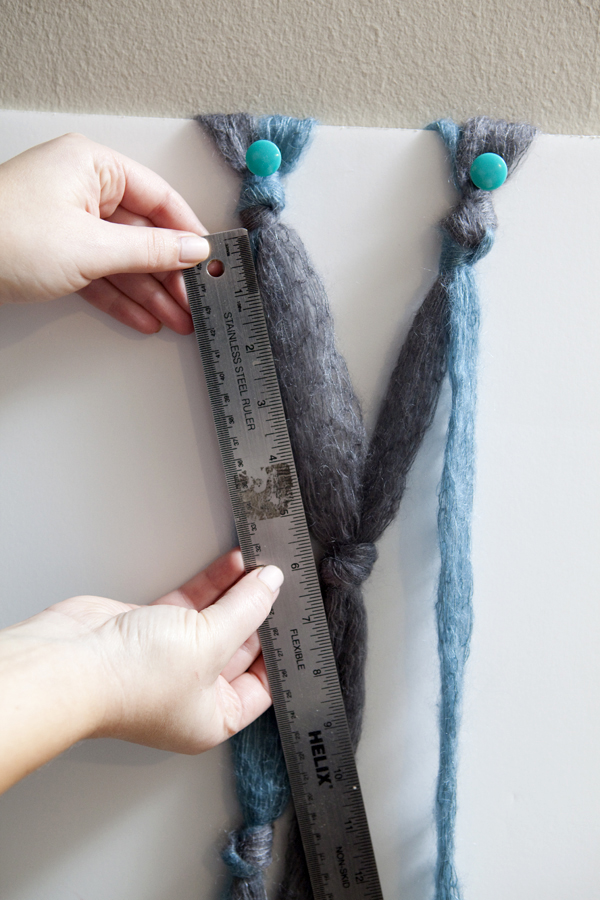
Spacing about 6″ apart.
Now continue to knot each side and then back to the middle, each side and then back to the middle.
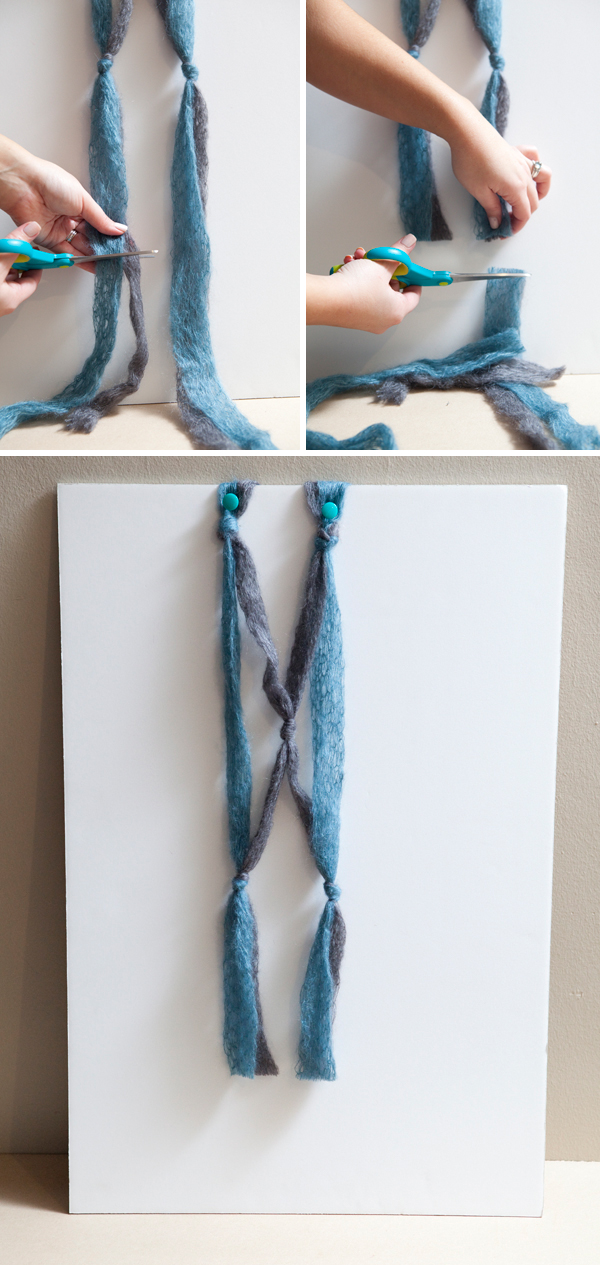
Once you keep going, you can move your scarf up the board… repining the knots.
Keep going until the end of your yarn…
Go across your scarf and tighten each knot…
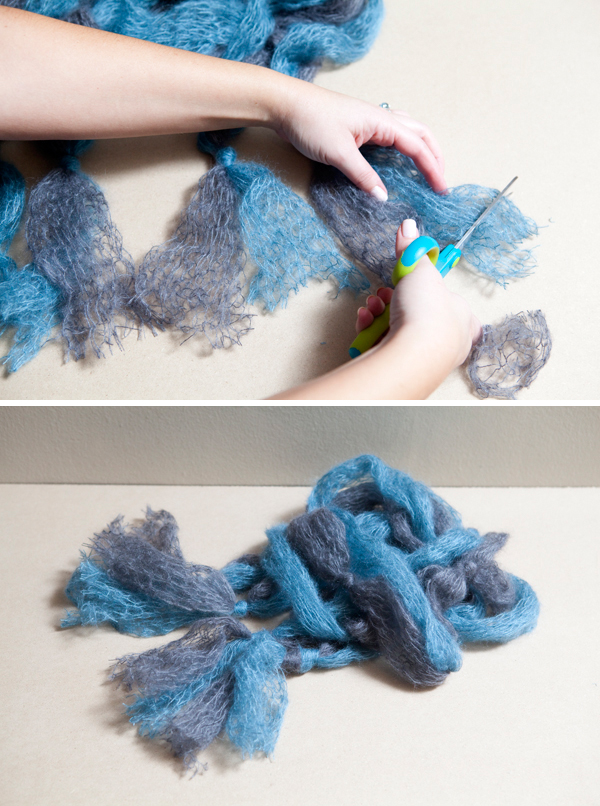
Cut the ends of your scarf 8″-10″ from your last knots…
Now the fun part! Start puffing up your scarf by pulling the weave of your yarn apart, section by section.
Keep on pulling and stretching until your scarf is completely fluffed up!
Trim each of the ends after you fluff.
That’s it! Super easy… and you can use this same type of pattern with any extra large yarn!
As with all our DIY tutorials, if you create one of our projects please send us a picture or a trackback – We Love Seeing Your Creativity! If you use Instagram or Twitter please use the hashtag #SomethingTurquoiseDIY. Happy Crafting!
Photography: Studio 11 // DIY: Jen | Something Turquoise // Yarn: Alamitos Bay Yarn Company // Nail Polish: OPI – Mimosas for Mr & Mrs






Comments