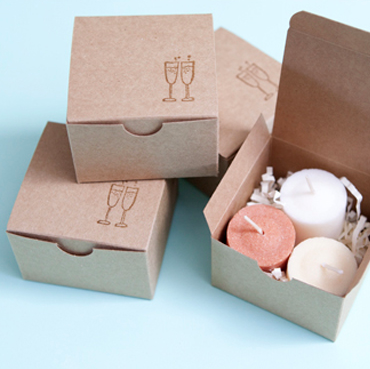
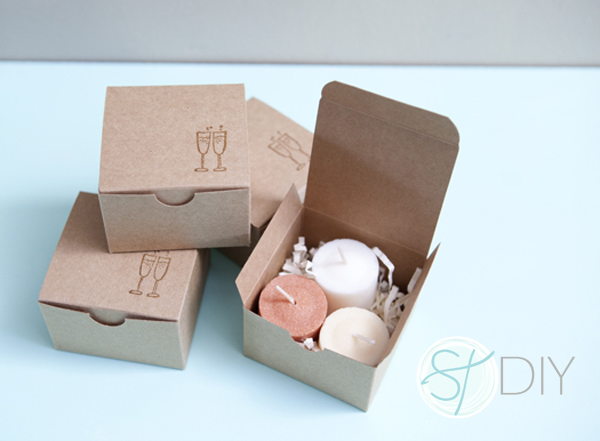
Everyone is crazy for the ombré style right now… and I’m crazy for it too! Here is an easy and quick project for cute fall wedding favors – change the colors and it can be for any style of wedding. I believe that wedding favors should be something that your guests will truly enjoy… these candles are perfect, and inexpensive too!
ombré |ˈämˌbrā| adjective. (of a fabric) Having a dyed, printed, or woven design in which the color is graduated from light to dark. ORIGIN French, past participle of ombrer ‘to shade.’
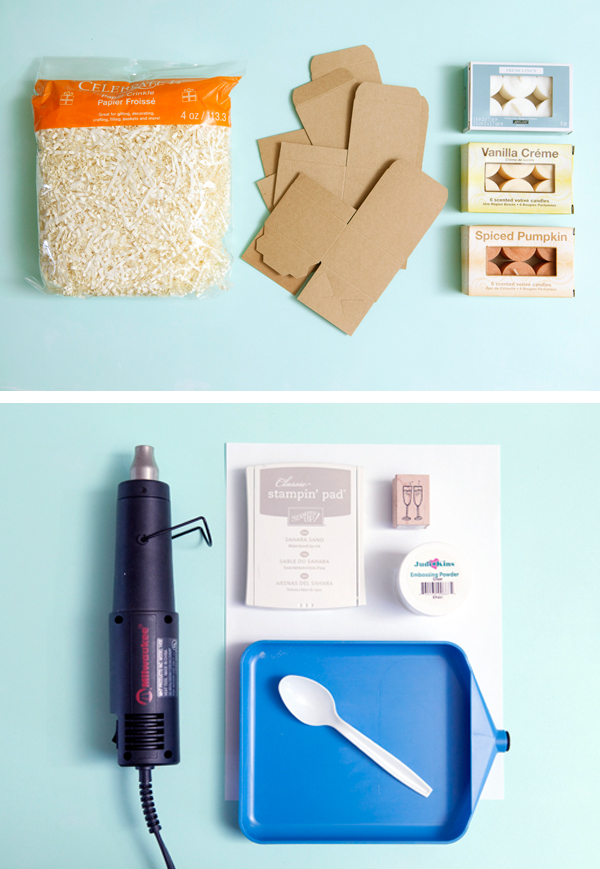
Supplies: paper crinkle, mini cardboard boxes, three shades of votive style candles (all three from Michaels), embossing gun, embossing powder, stamp (last three from Paper-Source), stamp pad (Stampin’ Up!), art tray (Michaels) and plastic spoon.
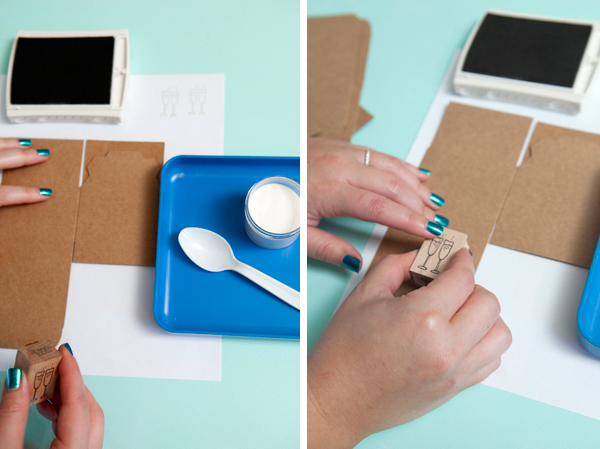
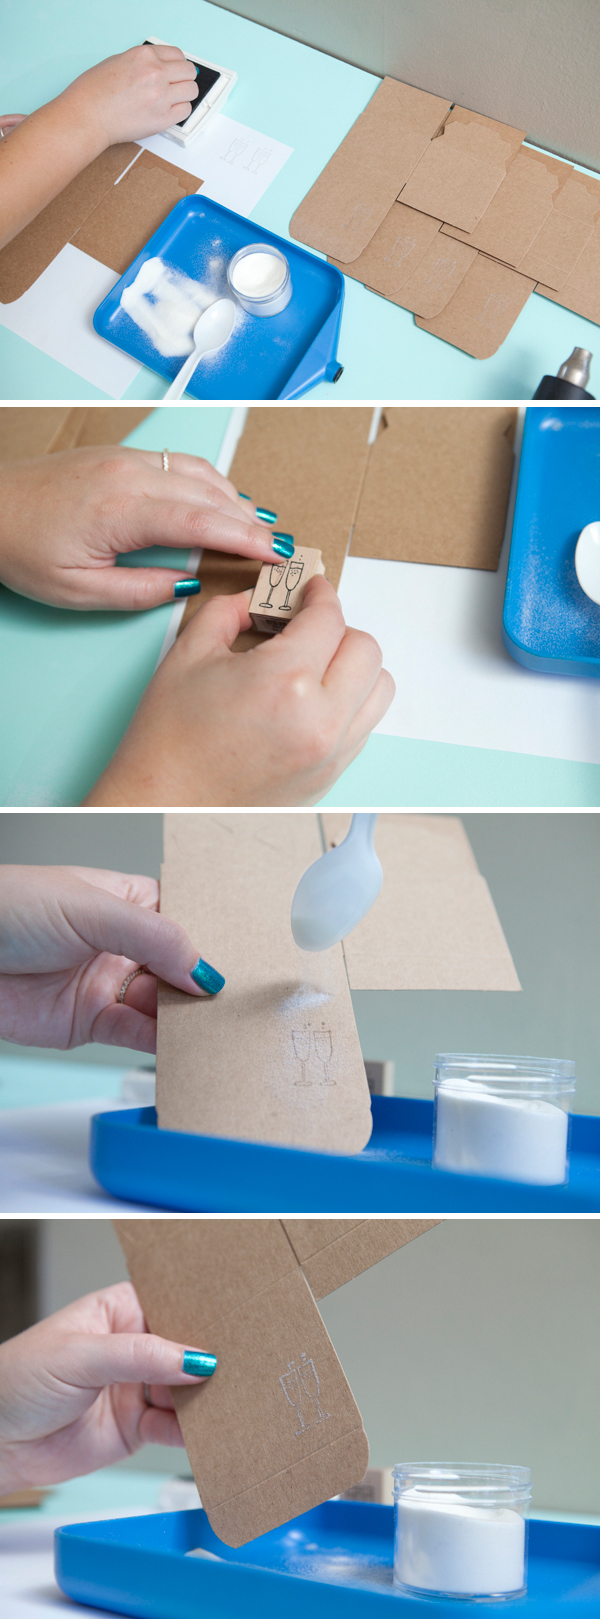
Today’s craft calls for heat embossing! If you have never tried it… not to worry – it is beyond easy. Embossing is basically turning any stamp into a raised, glossy, glass-like embellishment using high heat. Paper-Source does free embossing demonstrations, in case you are still curious. 1. Begin by stamping your box with your choice of stamp. I always do a few test stamps before I stamp on my actual project. Make sure there is plenty of ink, and that it is an ink pad, not a ‘chalk’ type pad… embossing requires an ink pad.
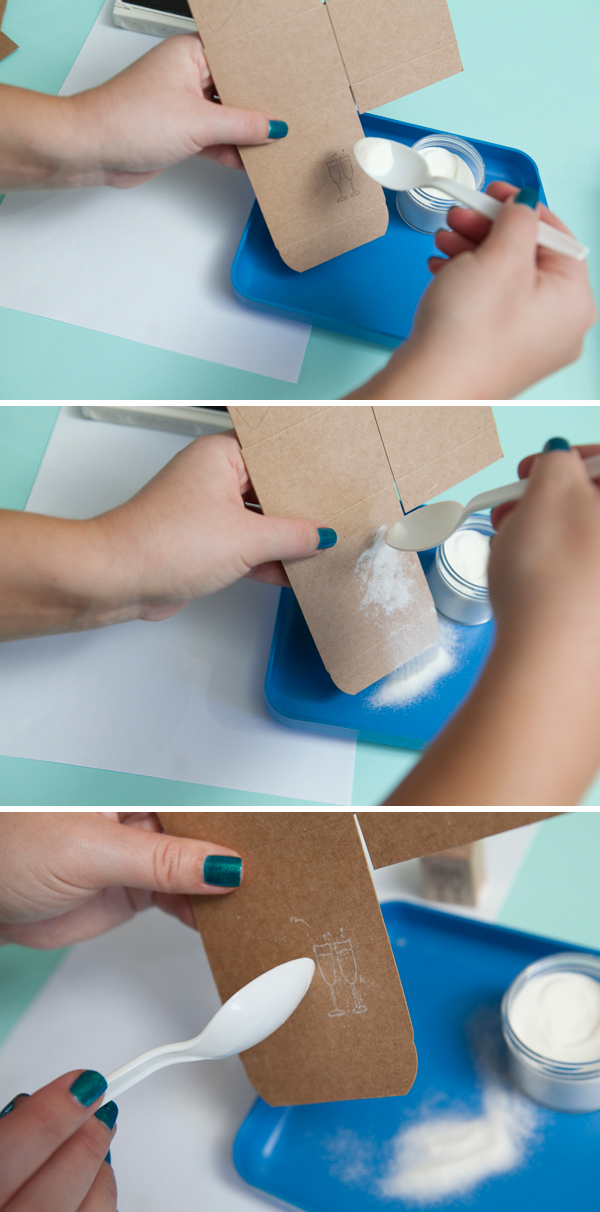
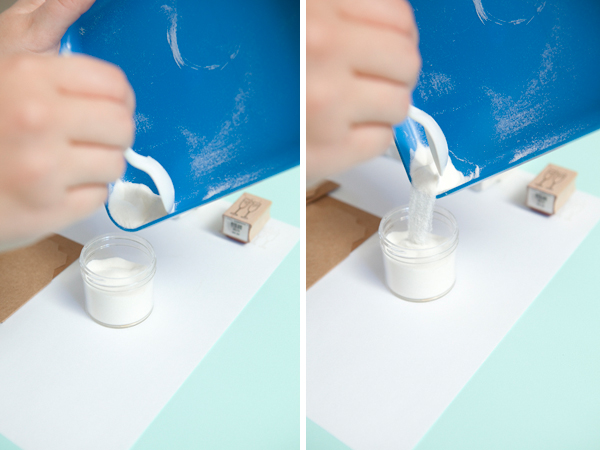
2. Using your spoon, dust the embossing powder over your freshly stamped image. Stamp dust, stamp dust, stamp dust. The embossing powder sticks to wet ink, if you wait too long to dust your stamp – the powder will not adhere to your stamped image. If you are having problems with the powder sticking to your image, you might be letting your ink dry too much, you might need a fresh ink pad (some ink pads dry out leaving the ink not as wet), or you might be using a chalk type ink. Do yourself a favor and dust right after each and every stamp. 3. Tap your project to removed excess powder. Then gently wipe away any excess powder from non-stamped areas. Sometimes the powder will randomly stick to parts of your paper, possibly from grain or texture… brush it away.
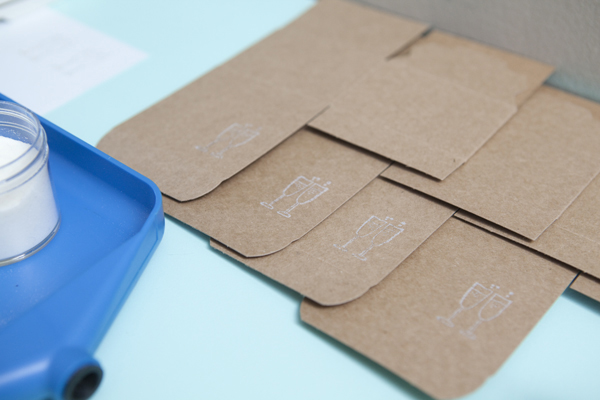
4. Continue to stamp and dust until you have five to six pieces completed. Make sure that nothing touches the powdered design until after you heat it, otherwise it will brush off and you’ll have to stamp it again.
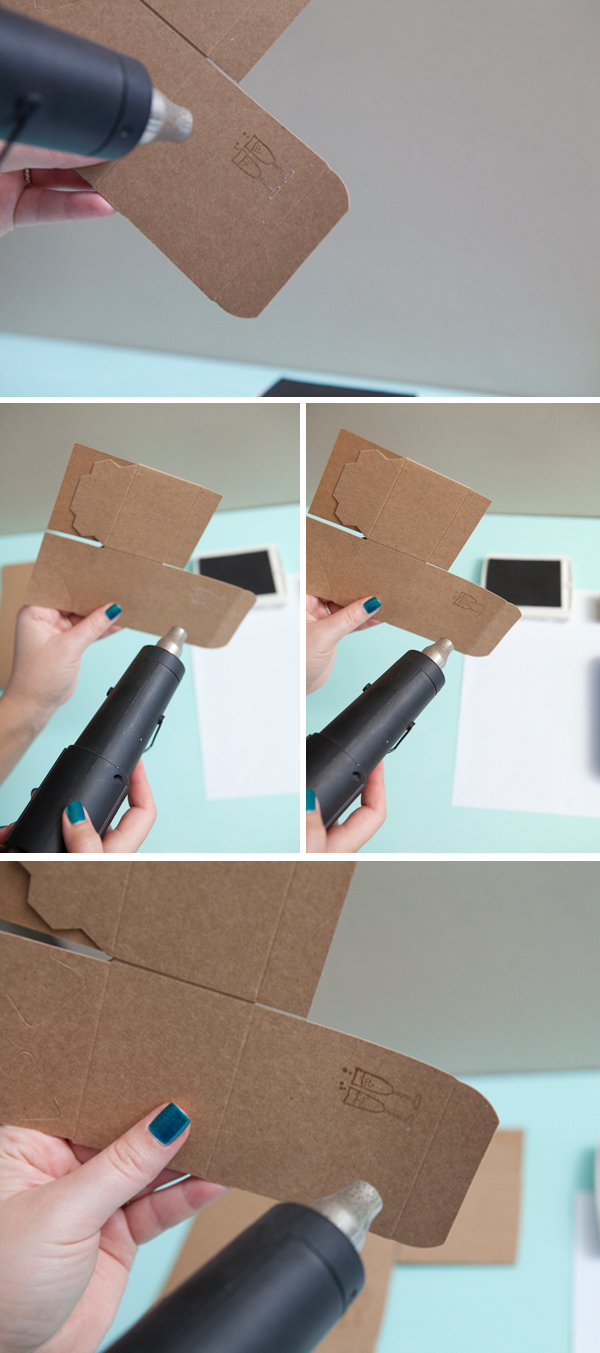
5. Heat your project! Turn on your embossing gun and working 3 to 4 inches away from your project, wave the heat gun across your design until it slowly starts to turn glassy. Make sure your entire stamp is fully heated and completely glossy.
That’s it! As soon as it’s cool, your design is permanent. Isn’t this technique a piece of cake!!?? Here I used a brown stamp pad with clear embossing powder. The clear powder will lend itself to any color stamp pad you use. You can also buy clear stamp pads and colored powder. The options for heat embossing are limitless, they even have glitter powder! Make sure to save your excess embossing powder.
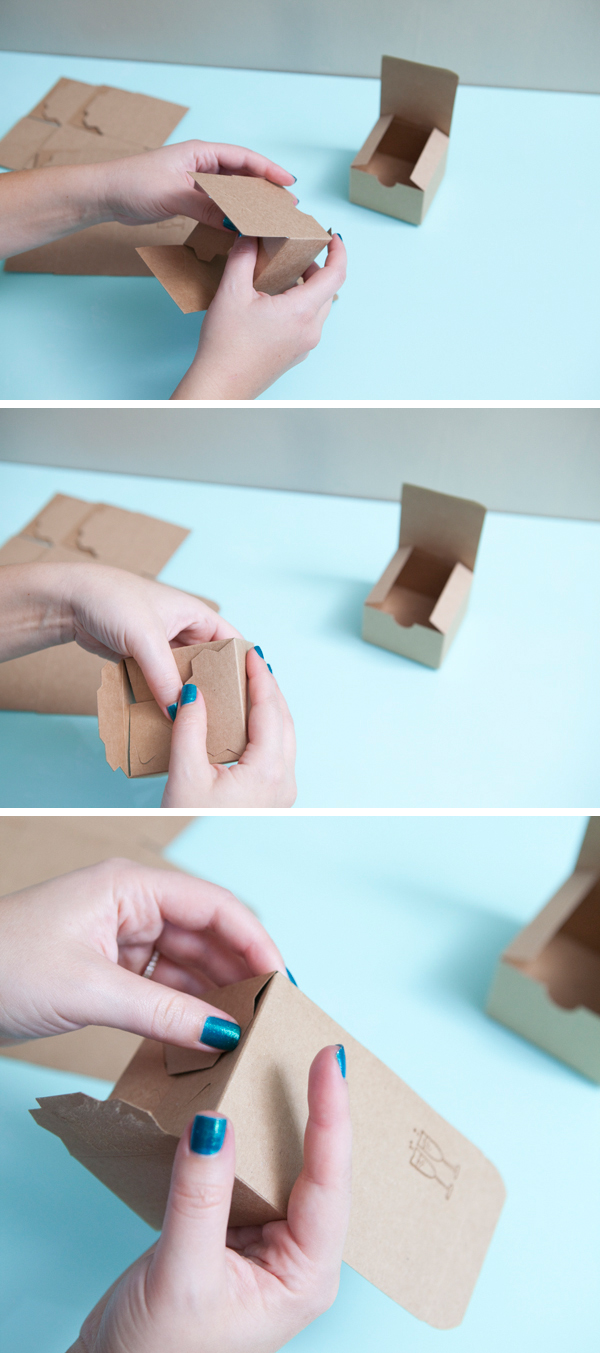
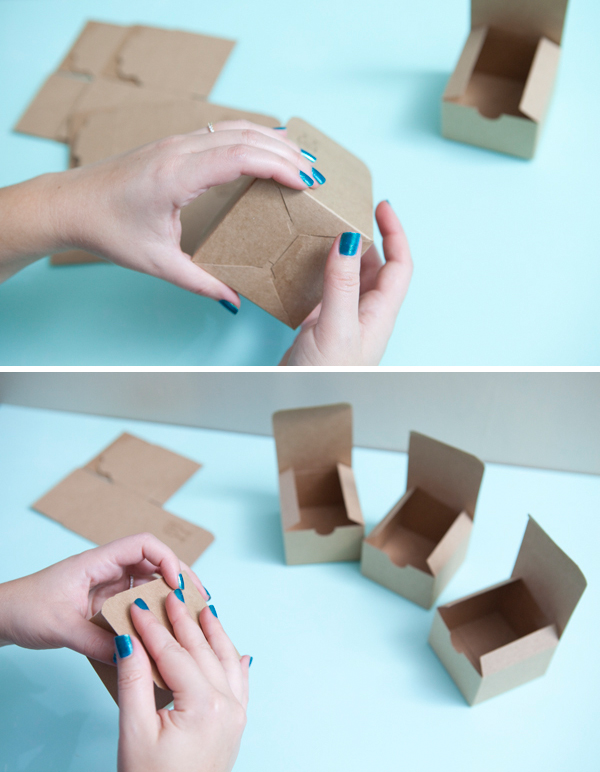
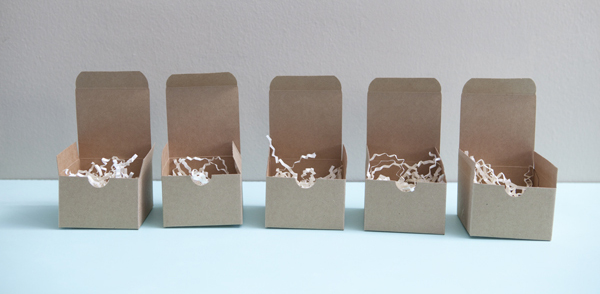
Next put together your mini-boxes.
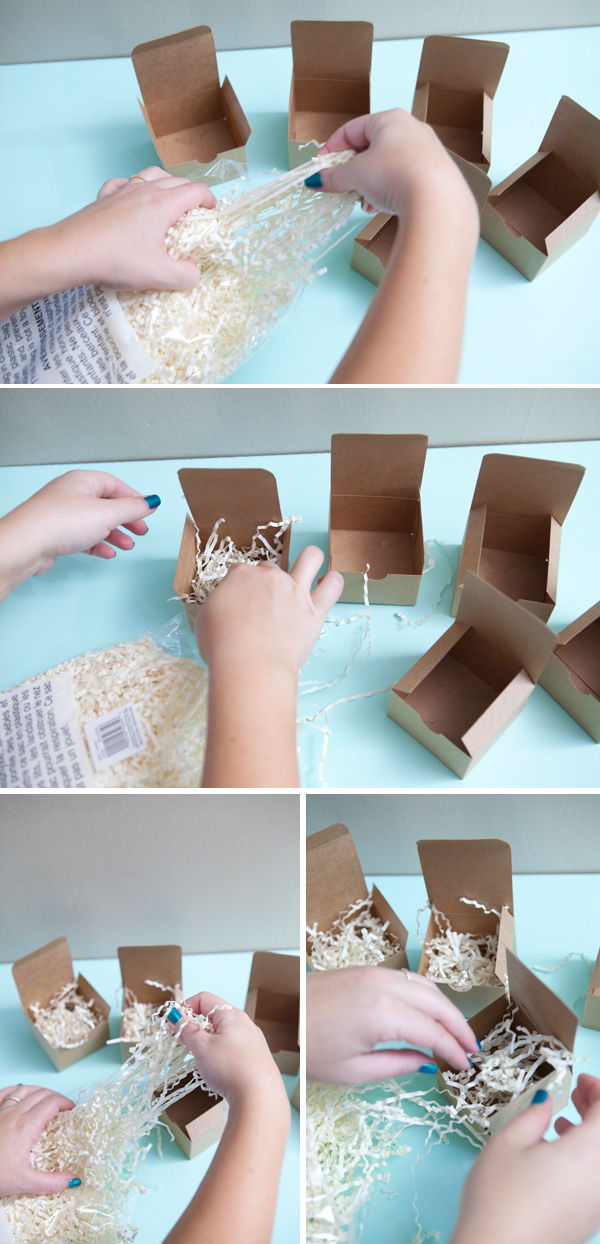
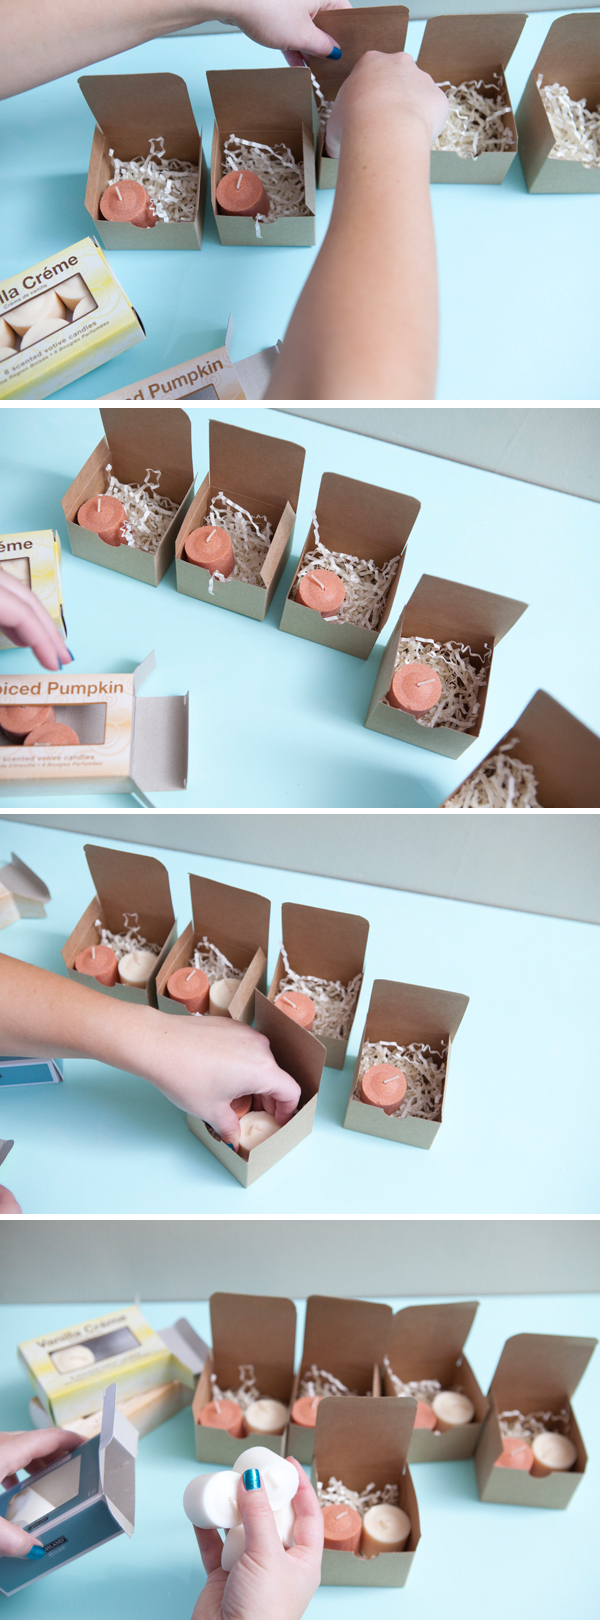
Fill your mini-boxes with the paper crinkle.
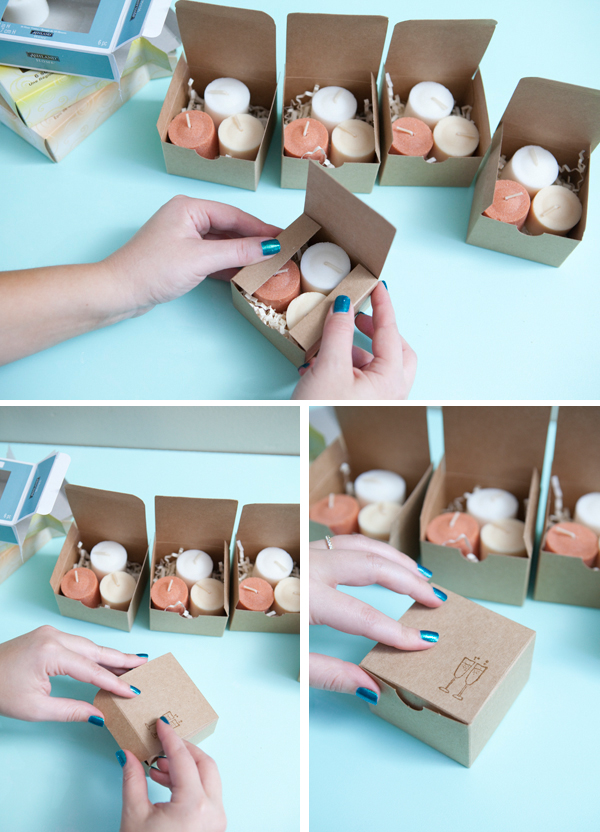
Add each of your candles.
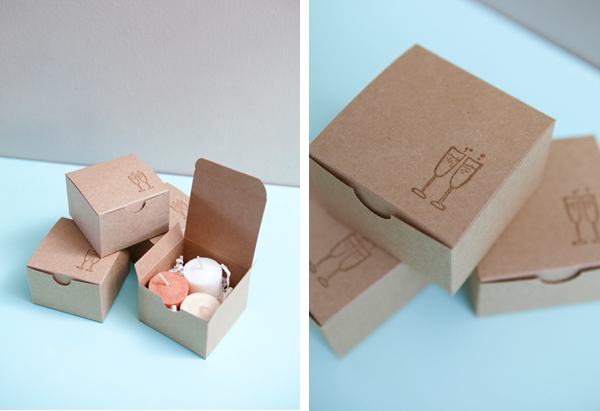
And close the box! That’s it! So cute and so personal!
As with all our DIY tutorials, if you create one of our projects please send us a picture or a trackback – We Love Seeing Your Creativity! If you use Instagram or Twitter please use the hashtag #SomethingTurquoiseDIY. Happy Crafting!
Photography: Studio 11 / DIY: Jen | Something Turquoise / Mini-cardboard boxes, paper crinkle, candles and art tray: Michaels / Embossing gun, embossing powder and champagne rubber stamp: Paper-Source / stamp pad: Stampin’ Up!


Comments