This is a sponsored post written by me on behalf of Canon. All opinions are 100% mine.
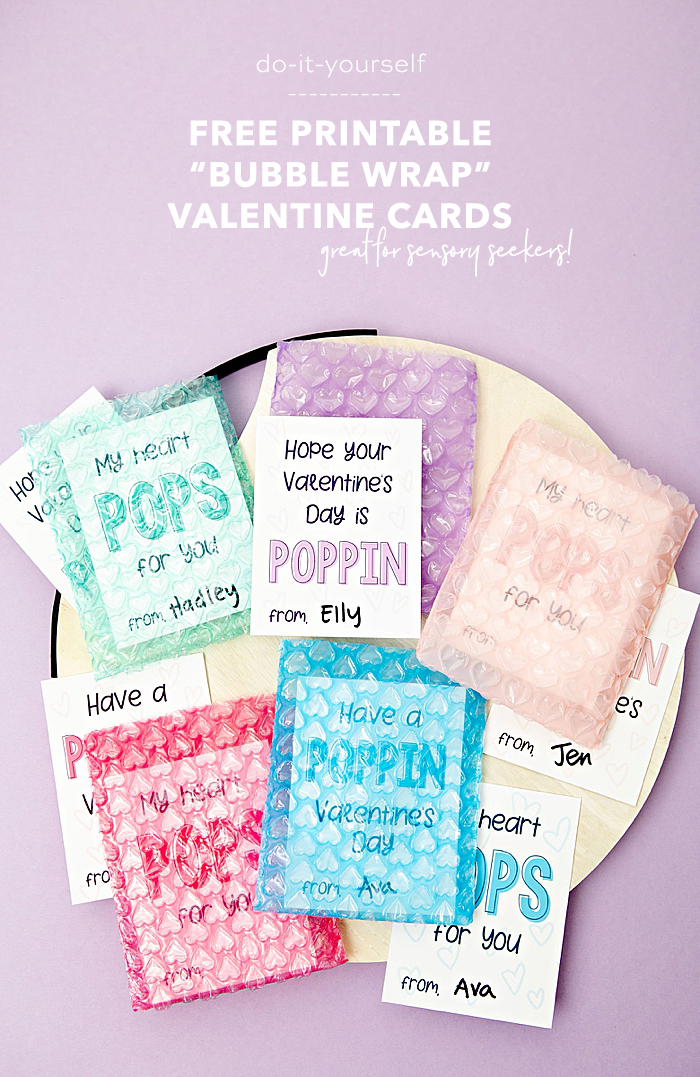
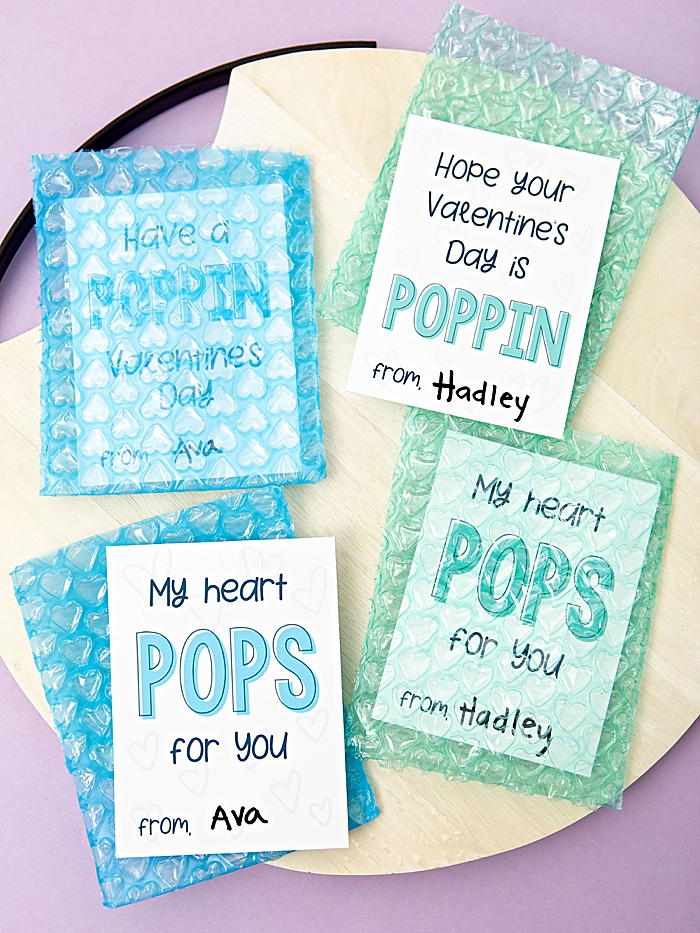
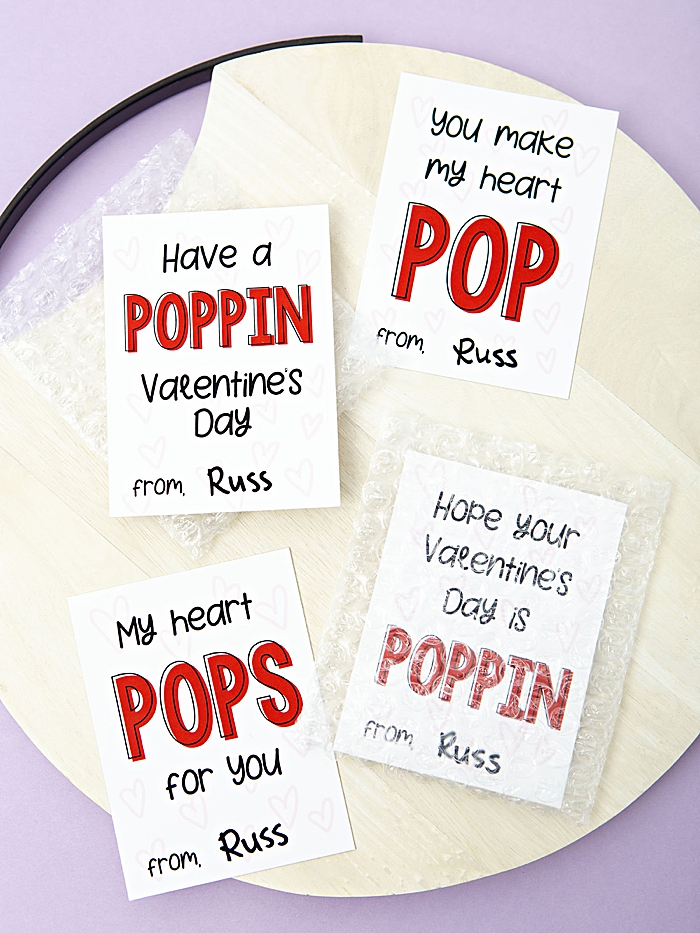
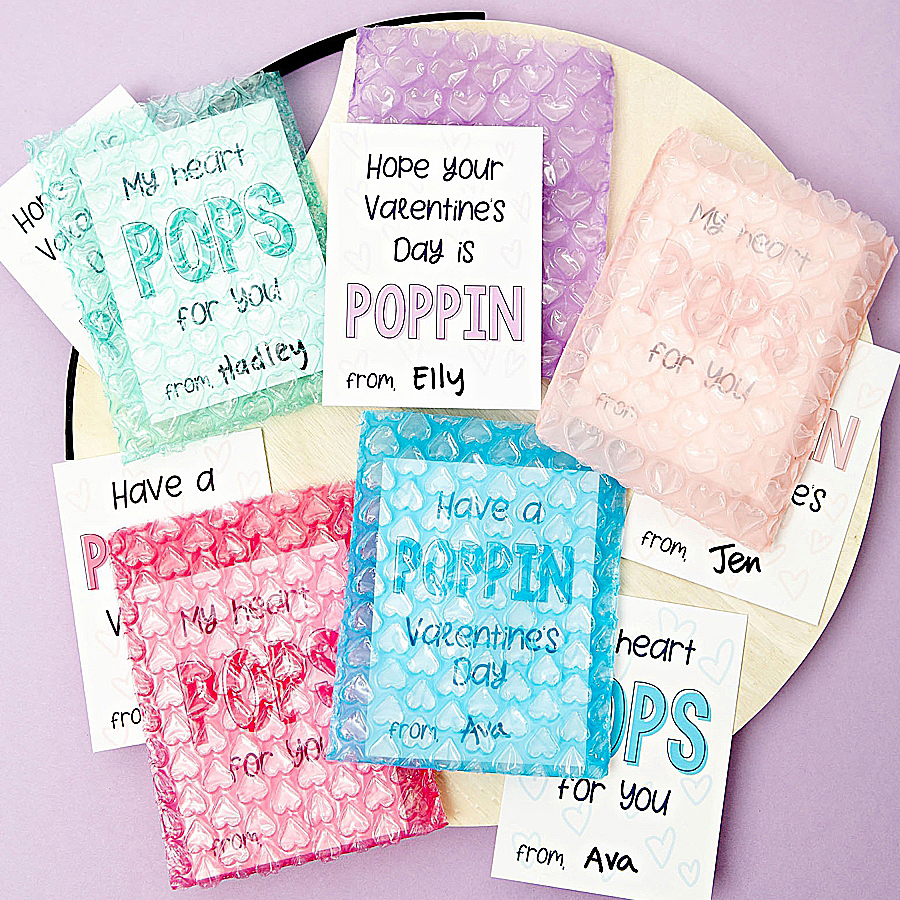
Now that my oldest is finally in real school, I couldn’t be more excited about helping her make her classroom Valentines! We talked about a lot of ideas and honestly, slime and sugar were her main interests, but I wanted to think beyond those things as I’m certain she’ll get plenty of both. While opening a package, as all three of the ones that can walk were competing to ask me for the bubble wrap, it hit me bubble wrap Valentines! So off searching I went, “pink bubble wrap”, “purple bubble wrap”, “red bubble wrap”… then just for fun I typed in “valentine bubble wrap” and THESE HEARTS CAME UP. WHAT?! It literally couldn’t get any better. I have never seen heart bubble wrap before and it comes in such fun colors! So I created six different colored printable Valentine cards to match the bubble wrap colors, each having four different sayings that go along with “popping” bubble wrap. But the best part is that I’m using a flat iron to melt the bubble wrap to make pouches for the cards! She’s still asking to include candy so I’m thinking a packet of Fun-Dip might slip into the pouch perfectly. If you have sensory-seekers as I do, making these bubble wrap Valentines is a terrific, non-treat idea that will be super exciting for your kiddos and their friends.
Canon Love
You might already know that I’m obsessed with my Canon printers and that I heavily rely on them for crafting. I love that I can create something in my home office, share it with you, and through the magic of the internet (and good paper) you can literally produce the same exact thing, miles away.
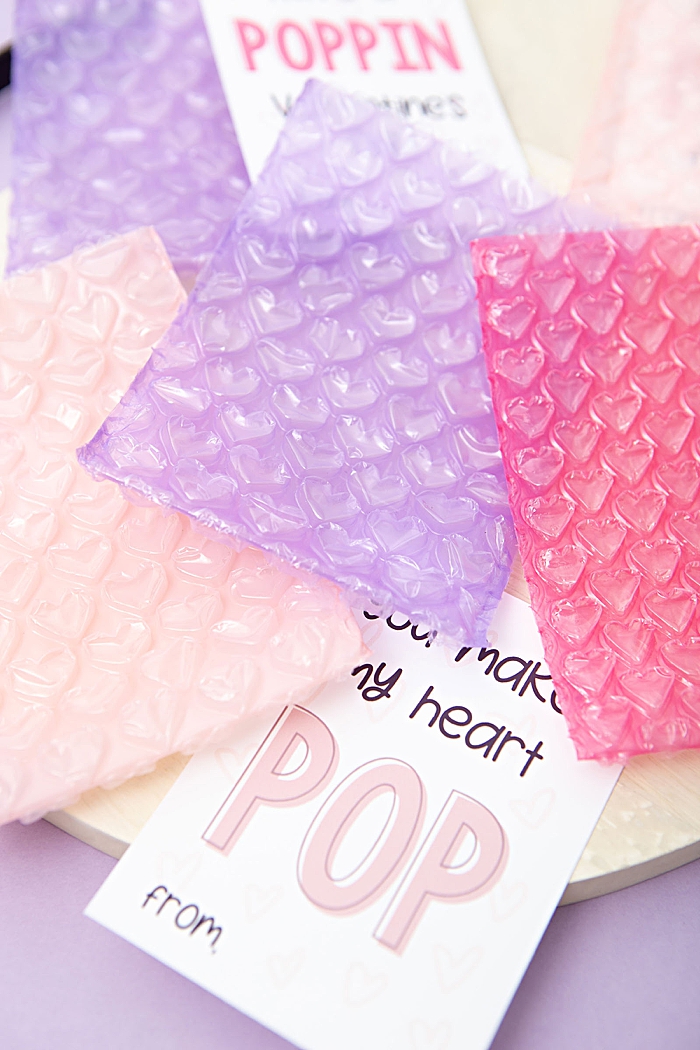
I mean… how cute are these hearts!?!
Regular Bubble Wrap
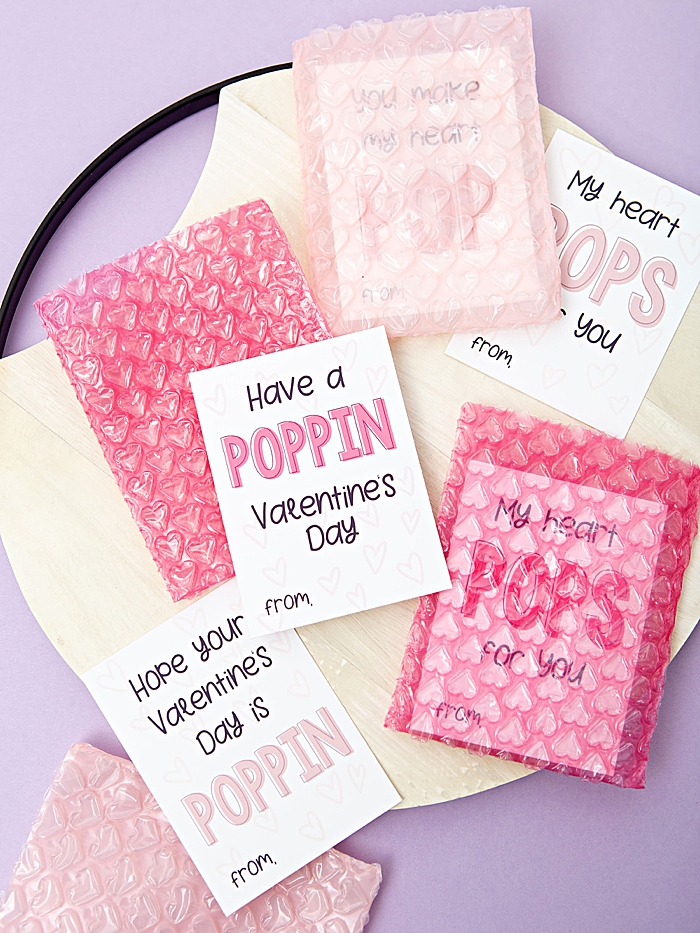
The hearts are mega cute but you don’t have to use them, regular ol’ bubble wrap works too and looks totally cute! Some stores also carry a pink bubble wrap that is like an anti-slip, I don’t know about it but that might work too.
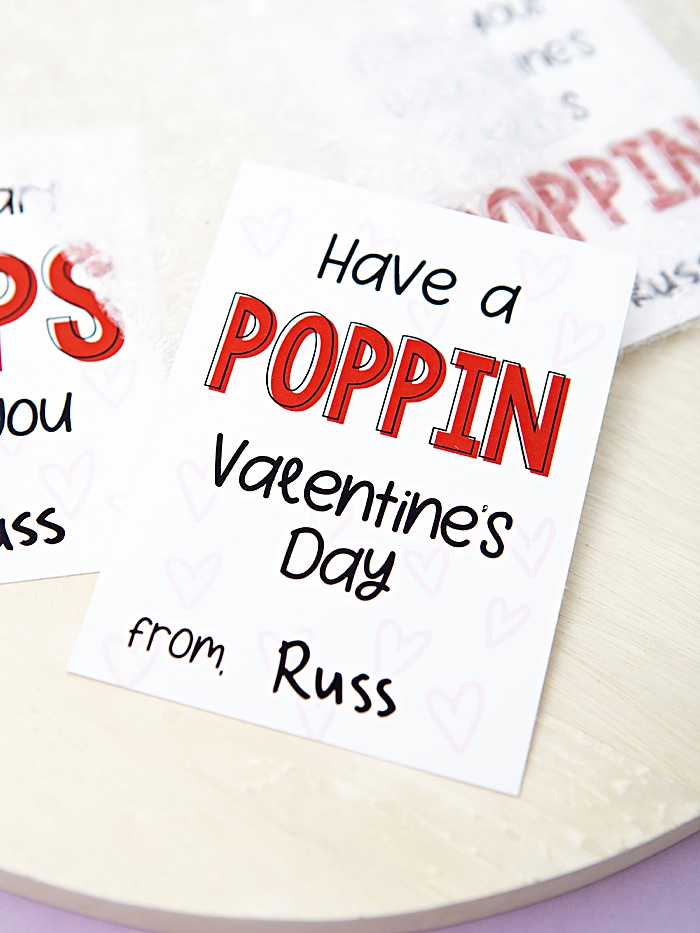
SUPPLIES:
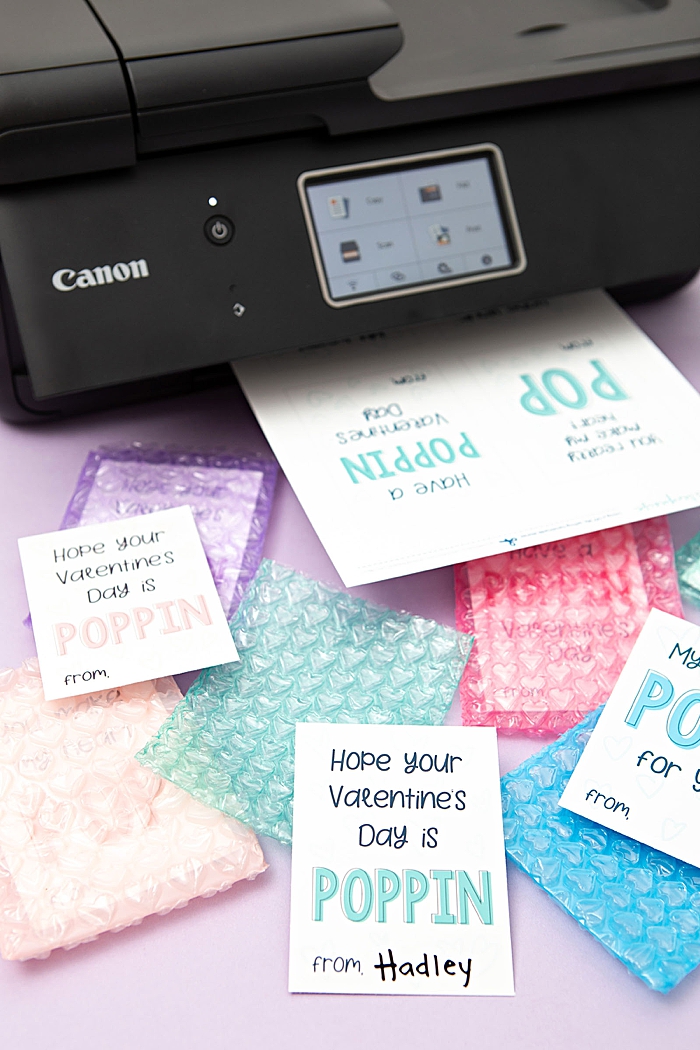
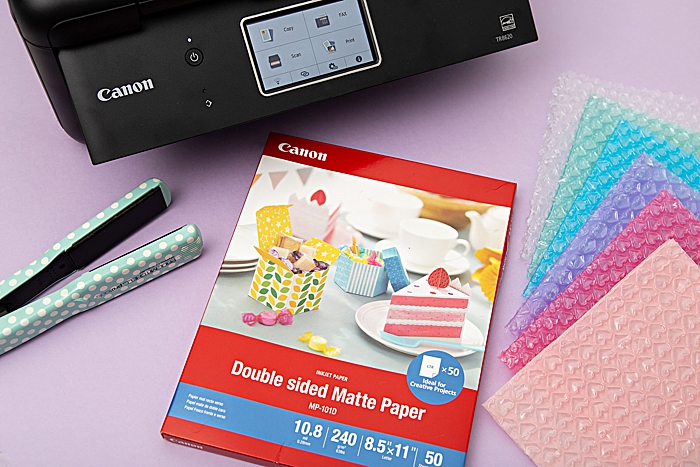
- Canon PIXMA TR8620 All-in-One Inkjet Printer
- Canon 8.5″ x 11″ Double Sided Matte Photo Paper
- Heart Bubble Wrap (available on both Amazon and Etsy), or regular bubble wrap!
- Flat Iron
- Paper trimmer or scissors
Download + Print
Visit the end of this blog post and find the clickable graphic that says free printable files. When you click on it your download will start instantly. Many smartphones now allow you to save files to your phone, which you can print from there, or of course you can do it from your computer.
Canon Matte Photo Paper
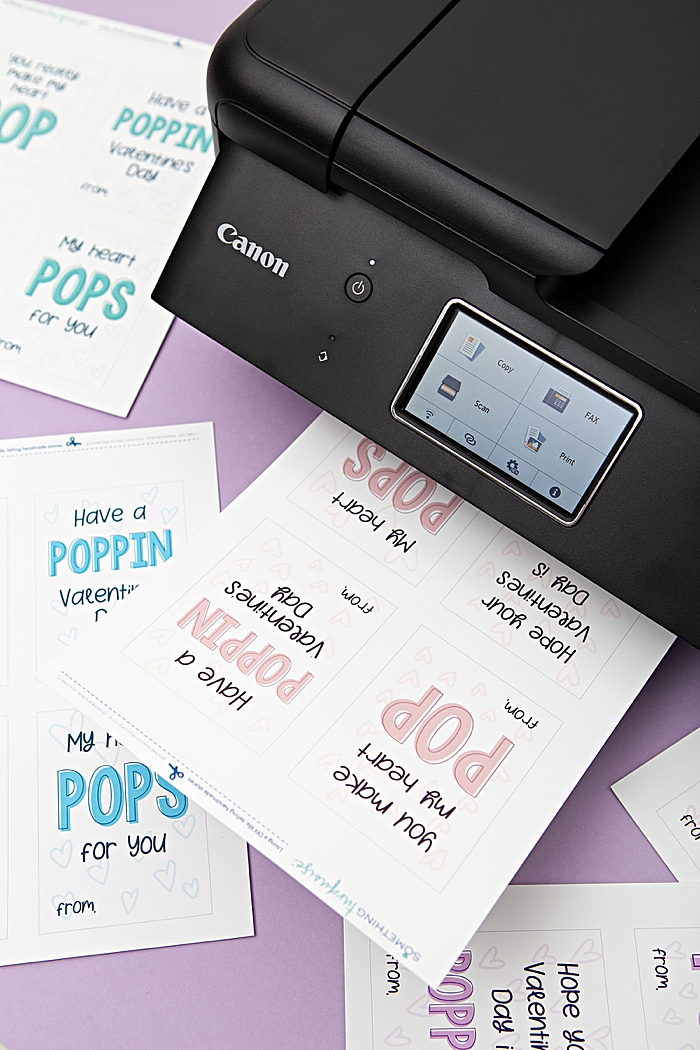
I feel like I say this all the time but this Canon Matte Photo Paper is the BEST. The print quality is absolutely stunning compared to regular cardstock, which I think I should share with you live on IG because it’s so remarkable. The print of these Valentine cards is so crisp it almost looks laser printed. The printer settings are where the magic happens, I used:
- Rear Feed
- Matte Photo Paper
- Best Quality
Cut Down To Size
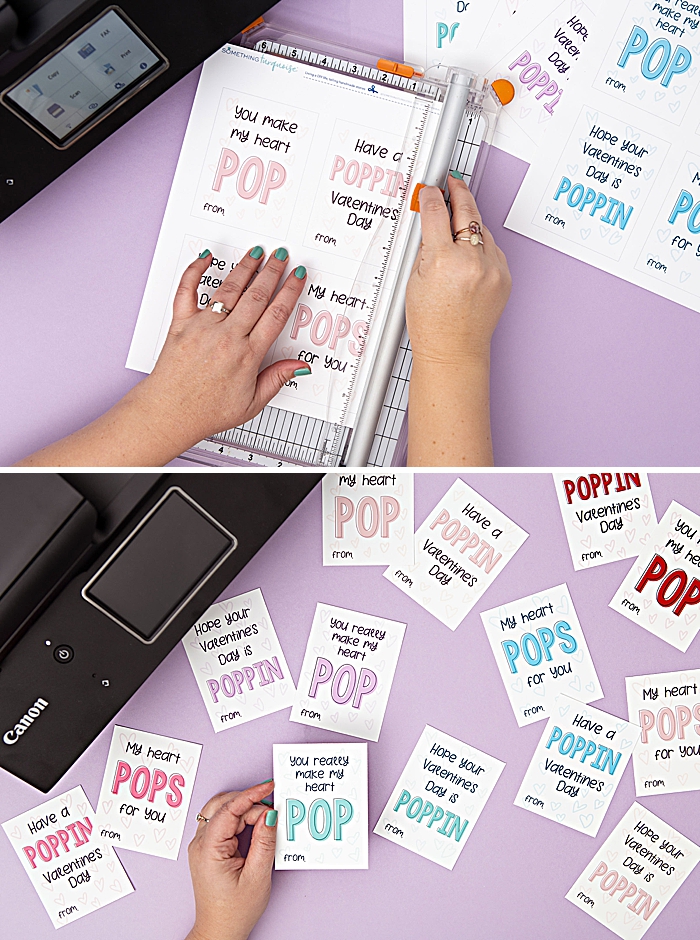
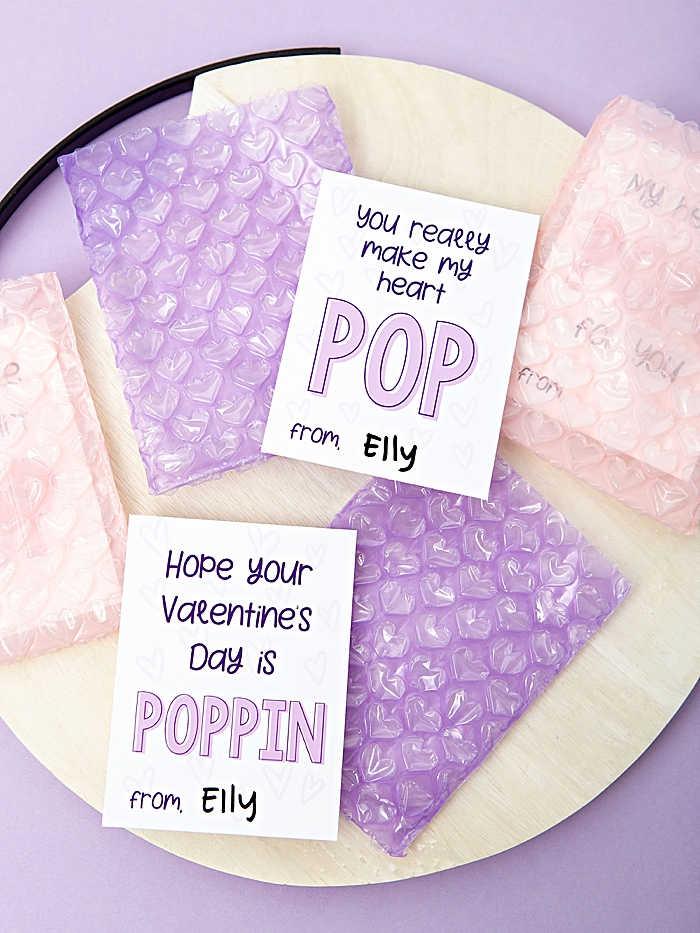
There are four Valentine cards on each 8.5″ x 11″ page and they are sized at 3″ x 4″ each. Cut each one out using a paper trimmer or scissors.
I’ve provided six colors: pale pink, hot pink, lavender, mint, blue, and red.
Bubble Wrap
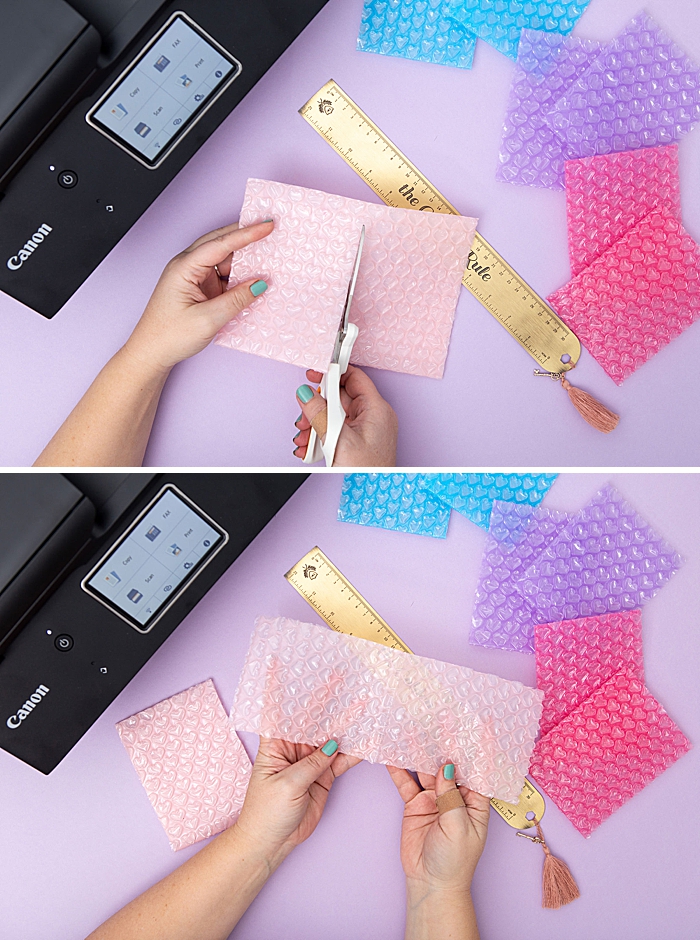
Cut your heart bubble wrap down to size. I did 4″ x 5″ folded in half, or 4″ x 10″.
Bubble Wrap Pouch
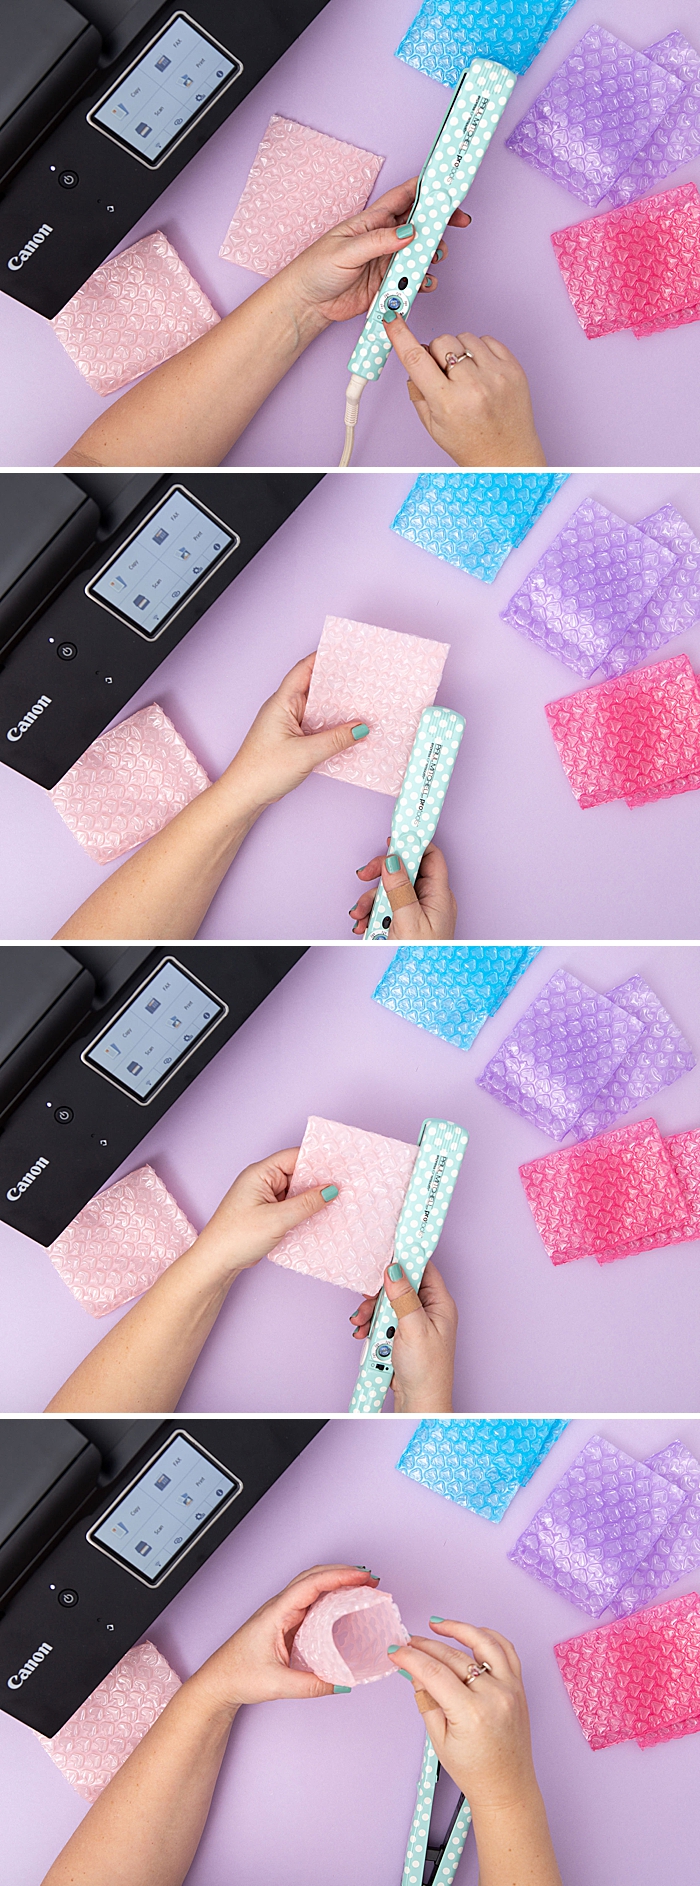
This is SO fun!!! Turn your flat iron onto the lowest setting, for mine this was 240º f. Then use it like a crimping tool and melt the edges of the bubble wrap together to create a pouch for the Valentine card!
This works so easily and effortlessly that you must see it live, no mess or melting, it’s fantastic. Check out our Instagram REELS for a live view!
Add Cards To Their Pouches
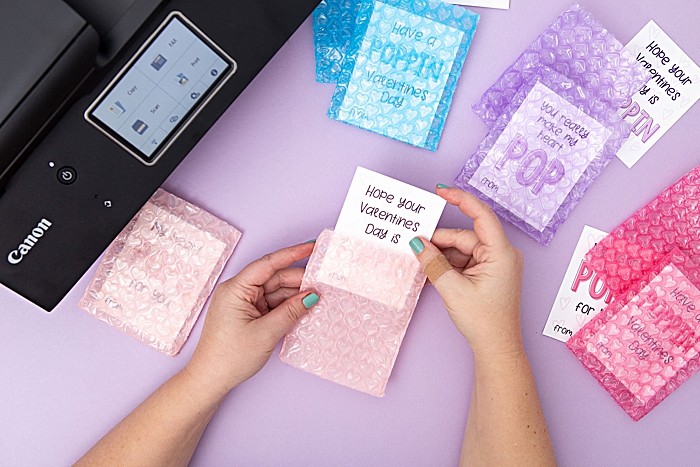
Have your kiddos write their name and possibly notes on the back to their friends. Then slip the Valentine card into the bubble wrap pouch. There’s even room for a little candy or two!
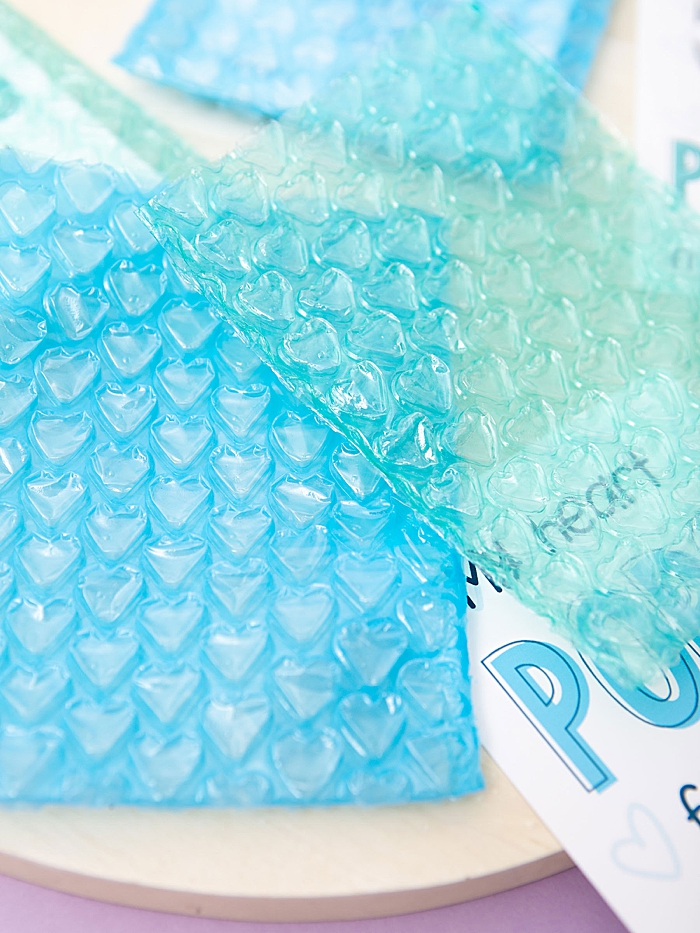
Heart Bubble Wrap
I had no idea that this existed and now I’m obsessed, how could you not be!? My girls were super into it too, the oldest wasn’t even sure she wanted to pop them because they’re so cute!
DIY TUTORIAL SPONSORED BY:

Canon U.S.A., Inc. prides itself on allowing consumers to create and preserve beautiful imagery, from capture to print. With wireless technology and seamless printing capabilities, you can print your photos and printables with precision and ease.
If you create one of our projects, please share a picture with us on Instagram or Twitter using the hashtag #somethingturquoisediy, we regularly reshare our favorites! Your profile will need to be public for us to see it otherwise, you can always DM us!
DIY Tutorial Credits
Photography + DIY Tutorial: Jen Causey-Kidder of Something Turquoise // Canon TR8620 All-in-One Printer and Canon Double-Sided Matte Photo Paper: courtesy of Canon // Heart Bubble Wrap: available on Amazon and Etsy // Flat Iron: Paul Mitchell // Paper Trimmer: Fiskars



Comments