This is a sponsored post written by me on behalf of Canon. All opinions are 100% mine.
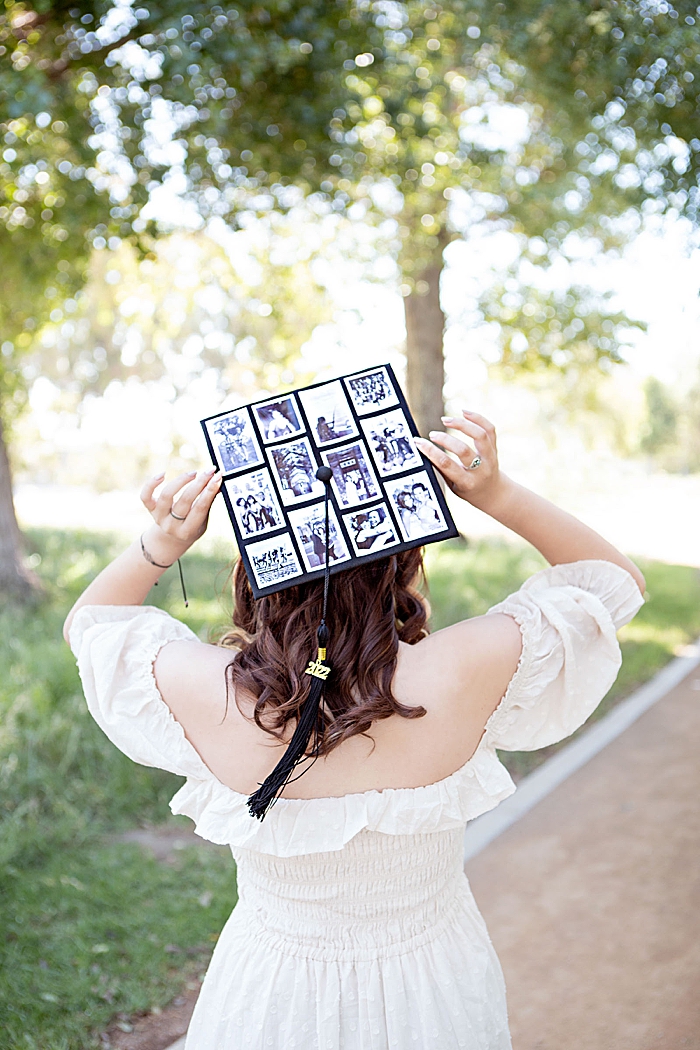
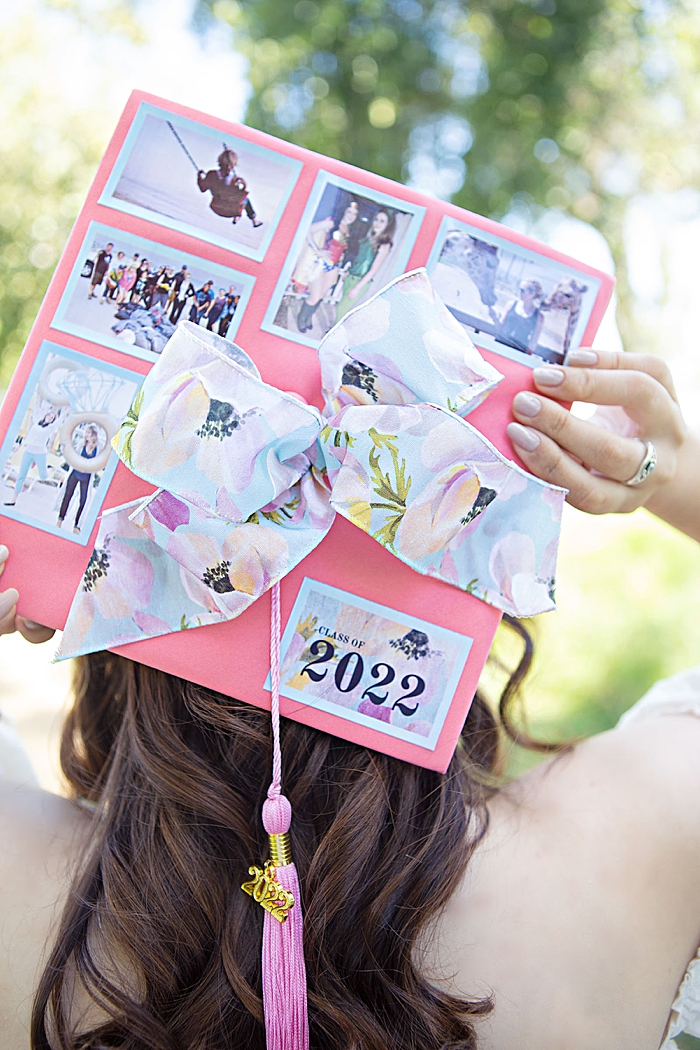
Graduation season is upon us and I’m in love with what all the youngsters are doing to decorate their graduation caps! So I thought I’d throw my own idea into the crafty ring; adding photo stickers to your graduation caps the easy way with Canon IVY Mini Photo Printers! All Canon IVY’s only print photo stickers and have the best in-app photo editing features, making this project beyond easy. No matter your skill level, even if you are a non-crafter, you CAN totally embellish your graduation cap with these photo stickers. You can make a grid, add some faux flowers, maybe even a pretty bow, and so much more. If you want to see me make one of the caps in real-time, check out our Instagram REELS!

Canon Mini Print App
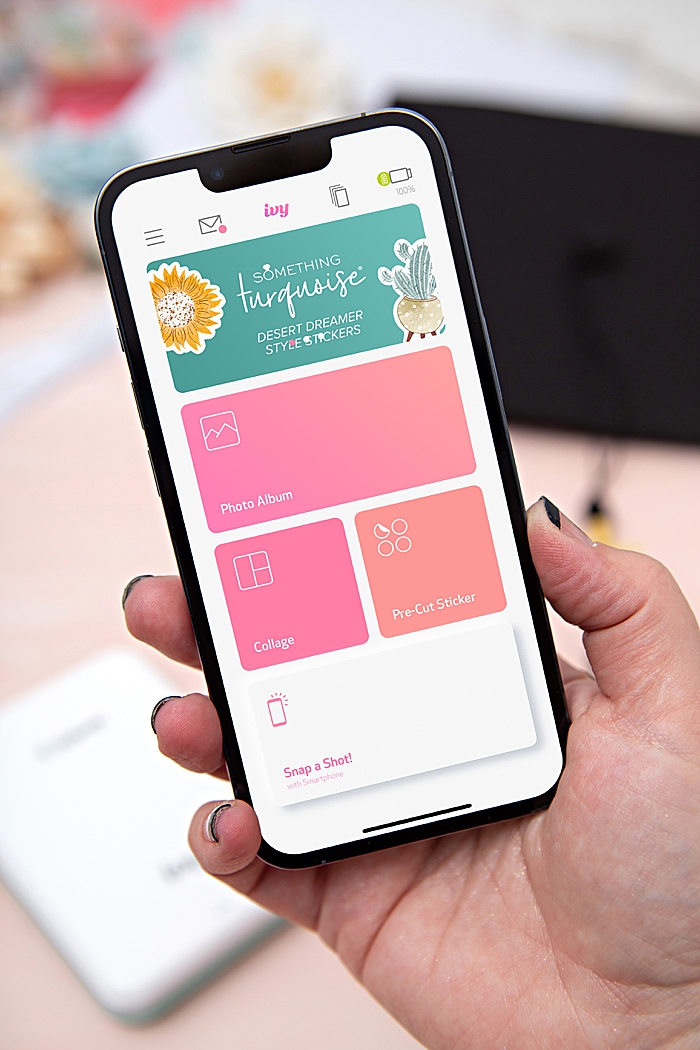
First things first, using your smartphone or tablet, open (or download) the Canon Mini Print App; available for Apple and Android.
This will allow you to print photos from your phone, Facebook, Instagram, Google and you can even take a photo within the app. It also has some fantastic editing, text, and sticker options inside the app which we are going to dive into below…
Yes! We have our very own collection of stickers you can use, right inside the Canon Mini Print App!
ZINK Paper
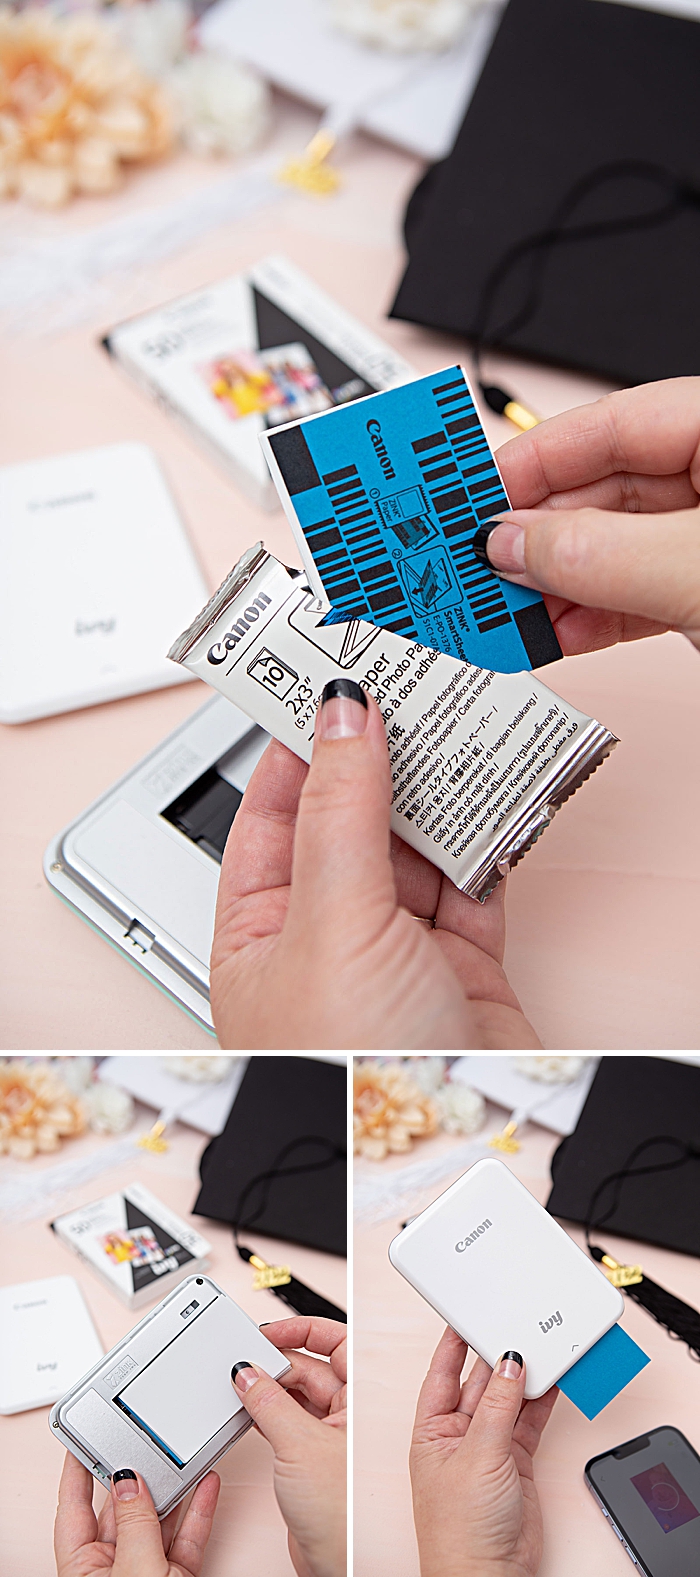
Canon IVY photo printers only use a special paper called ZINK which stands for “ZERO INK”. Instead of ink, it uses colorful dye-based crystals embedded inside the paper. Before printing, the embedded dye crystals are clear so ZINK paper looks like regular, white photo paper and it uses heat to activate and colorize the crystals. So you never have to worry about running out of ink!
Make sure to always put the blue SmartSheet in first and face down, this sheet properly calibrates the Canon IVY to the paper it’s about to print on. Don’t miss this step!
Using Filters + Adding A Frame
There are two app-features I used to make the photos for each graduation cap look cohesive; filters and frames.
Open a photo in the Canon Mini Print app…

And choose a filter to use for all of the photos you will put on your cap. I love the soft lens filter. It’s easy to apply, just click the buttons to add it and then use the slider to reduce the look if you’d like.

Next up, the frames. Click into the Frames tab and then pick a fun frame or a colored border like I did. Pick a color and use the sliders to refine your color, I chose a very light blue.
To make the caps look cohesive, choose the same color of frame for each print!
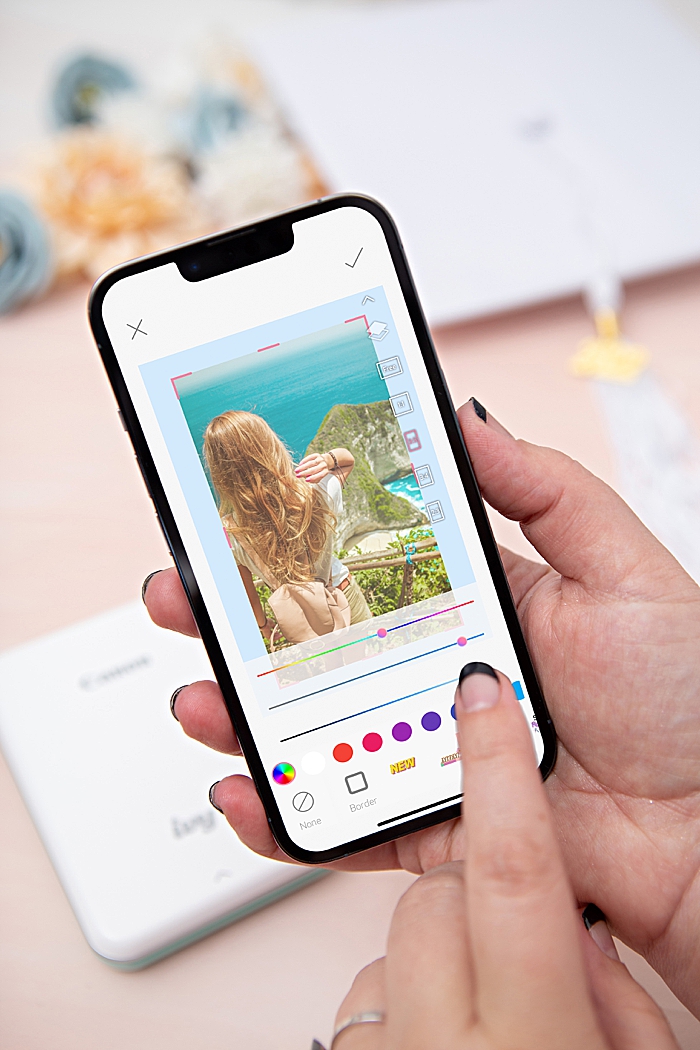
Then print!

Save Your Creation
After your photo prints the app will allow you to save your creation, meaning the filter and border effects, so you can print again or share on social.
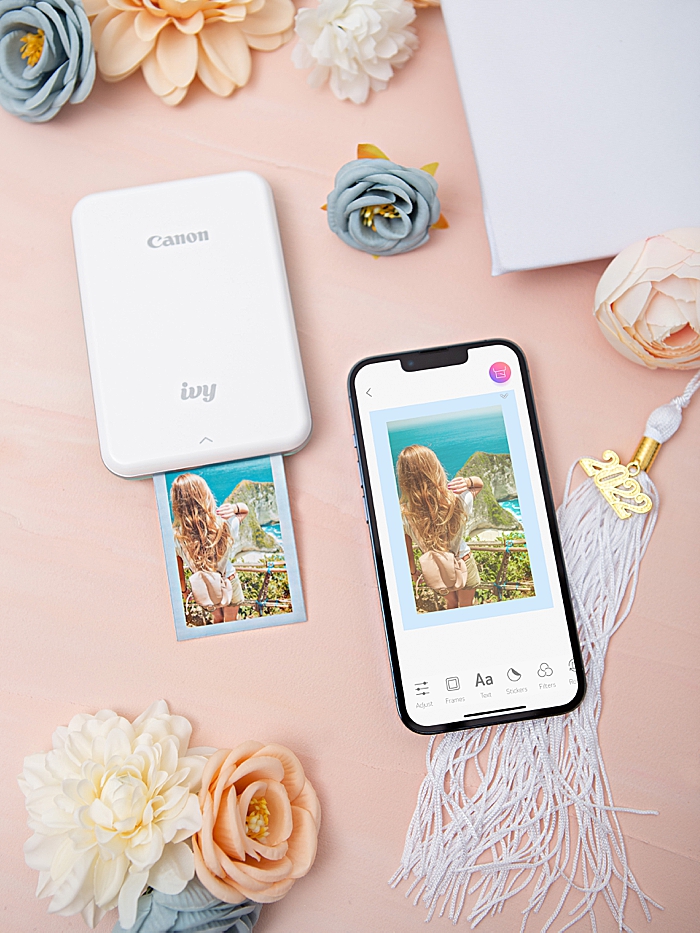
Peel + Stick
Seriously, the best thing about the ZINK prints is that they are super sticky stickers! Peel and add your stickers to your graduation cap!

Faux Flowers
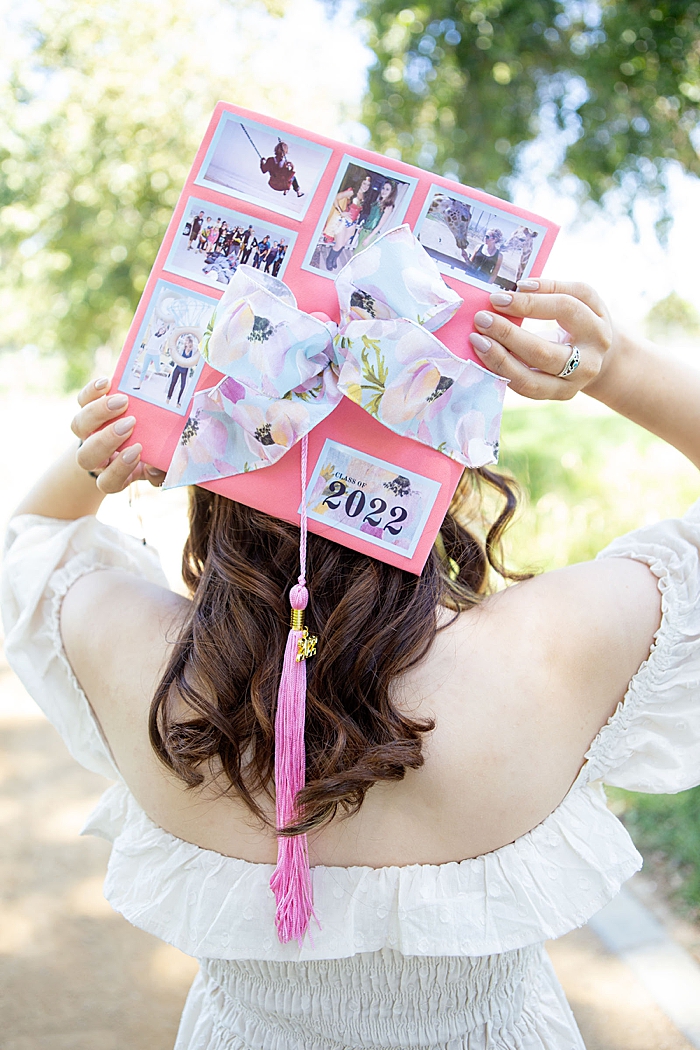
For the white graduation cap I added some faux flowers with hot glue and the photos along the top and bottom edge. This one might be my favorite!
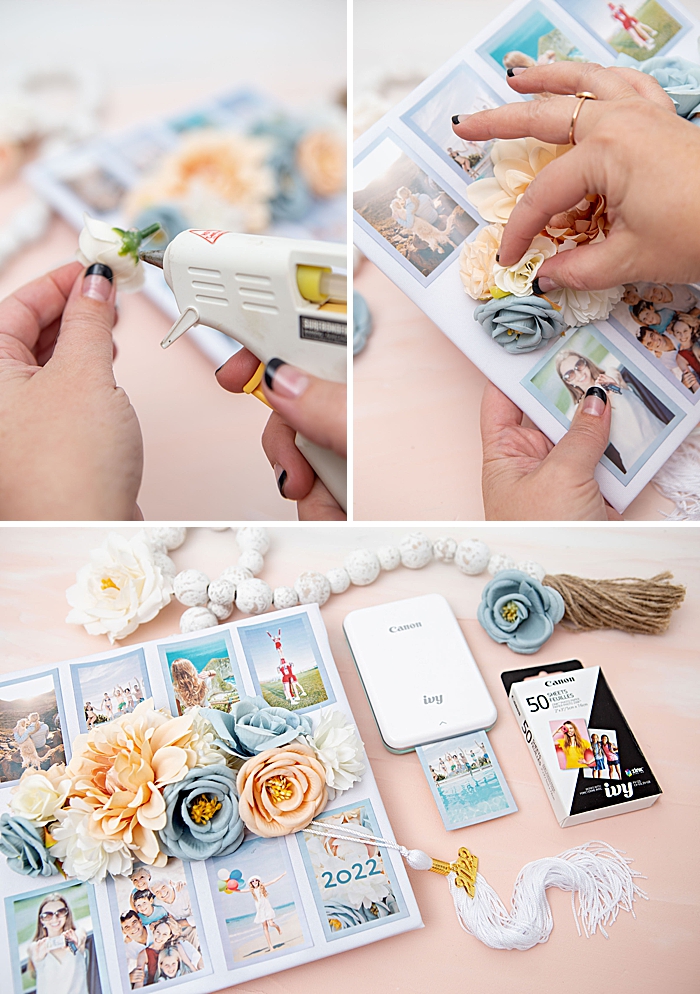
Custom Year Print
I couldn’t find the perfect photo to add the graduation year to for this cap, so I took a picture in the app, super close up of the ribbon I was using to decorate the cap!
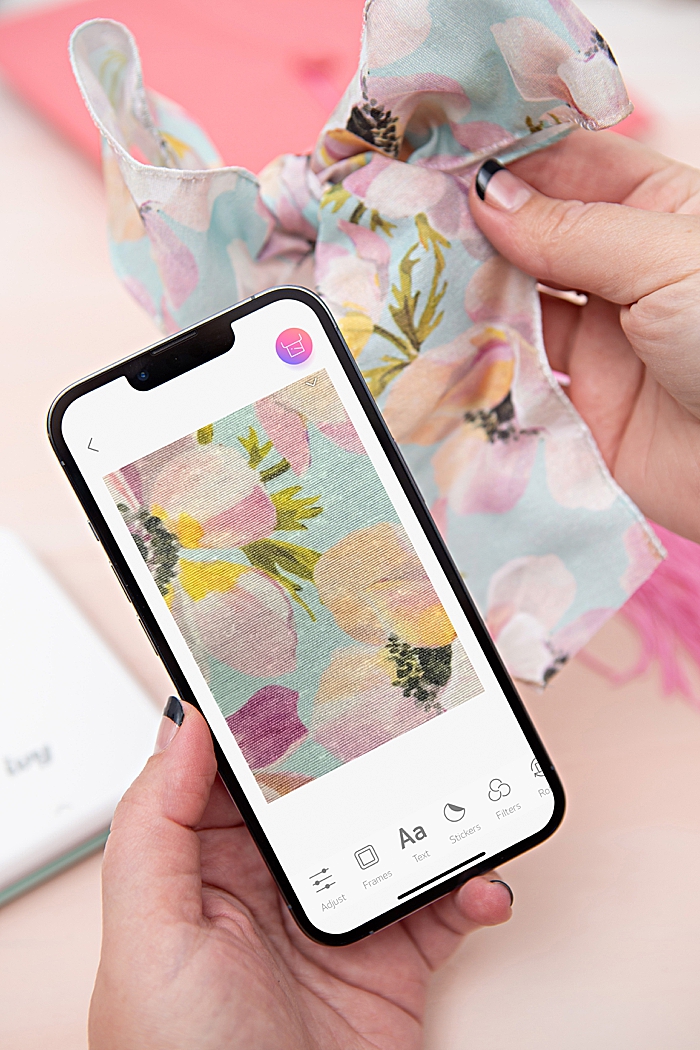
Then I added the same filter and border as the rest of the cap photos and added text, really big that said “Class of 2022″… all within the Canon Mini Print App!

I am so in love with how this photo with text turned out I made one for the white cap using the flowers!
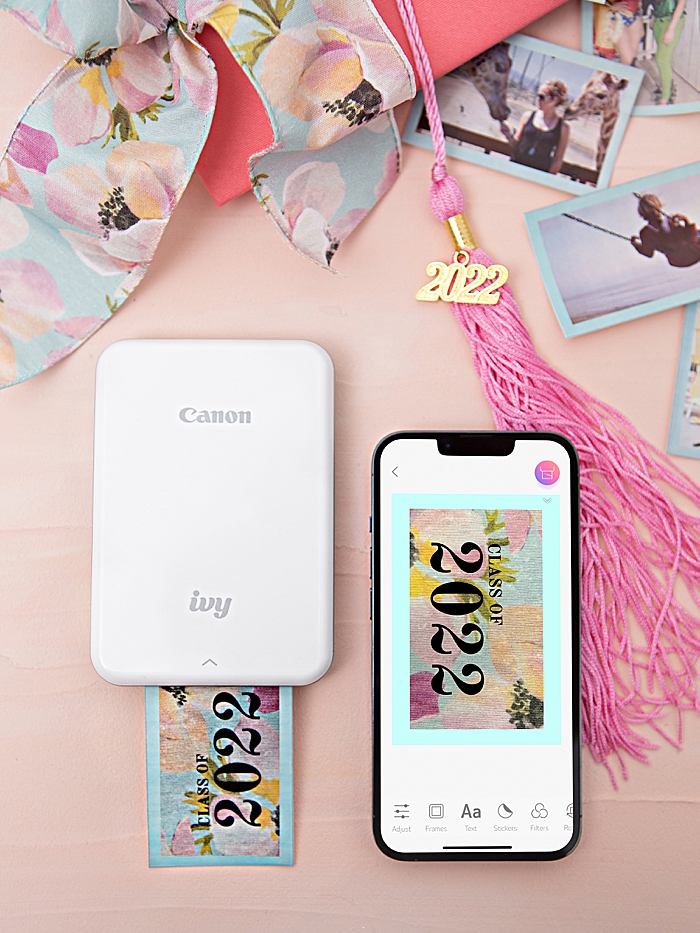
Peel + Stick
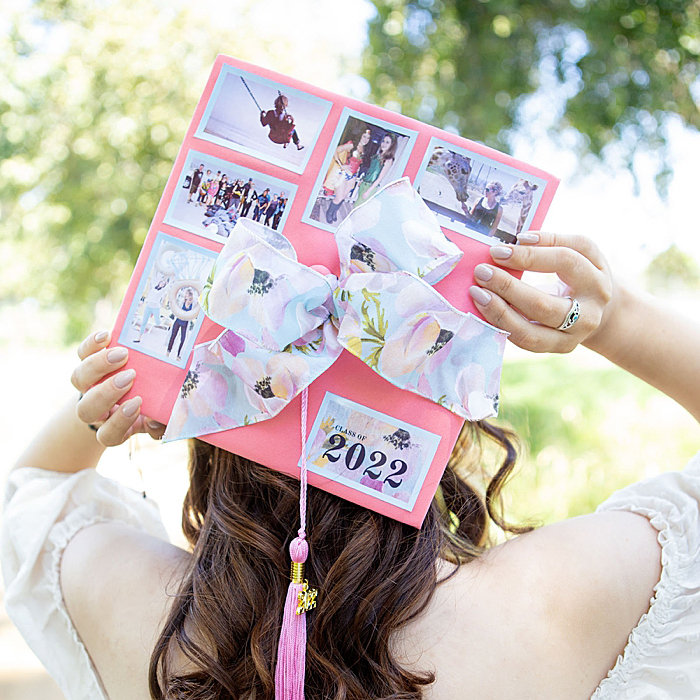
Same thing, peel and stick! I also added the big bow using hot glue.

So Fun!
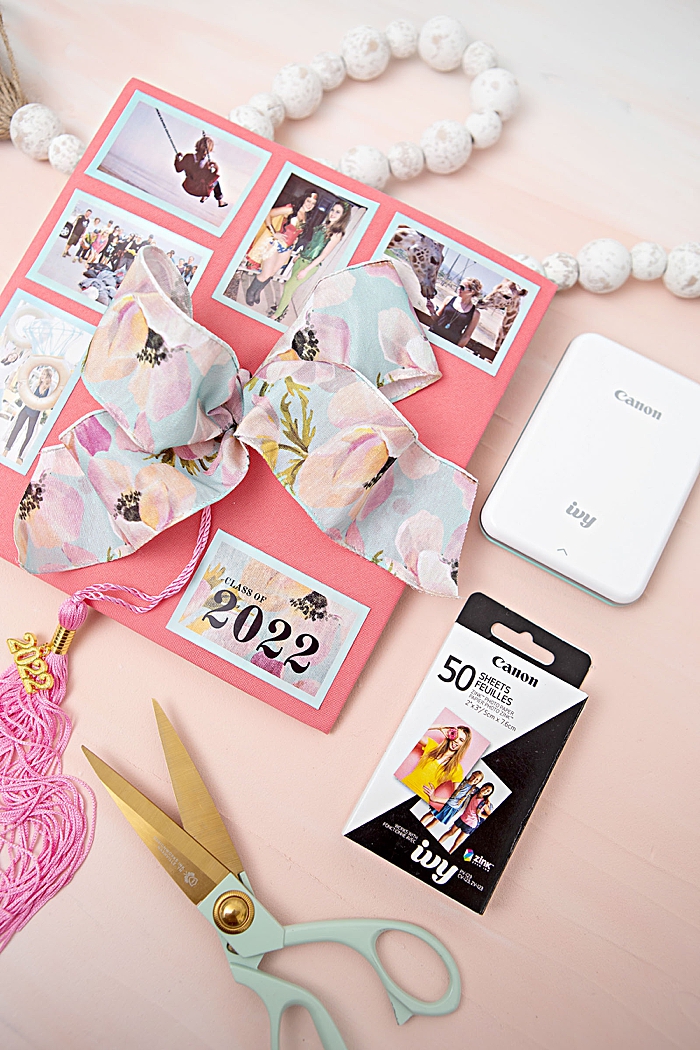
Photo Grid How-To:
If you want to make a photo grid, you’ll also need to print some square photos. Here’s how you use the Canon Mini App to do it perfectly.
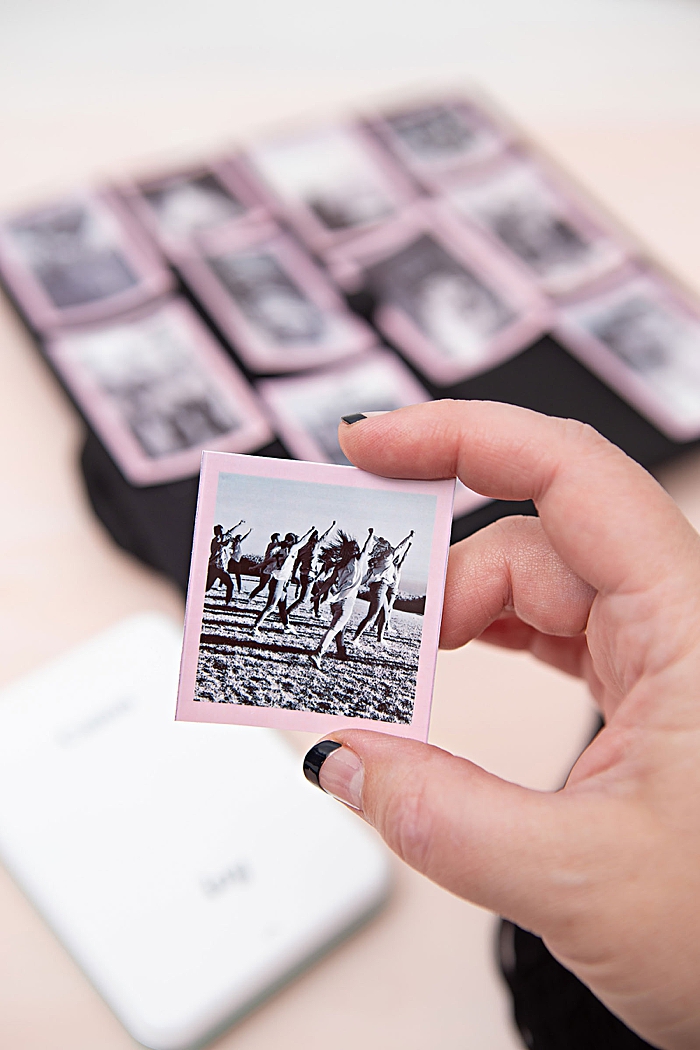
Choose Collage
Within the app, you’ll click to choose collage…

Then click to choose two photos (the one you want square and any other picture) and scroll to the right to view all of the collage options.

Then click frames and add a border, from that screen you’ll be able to make the border thickness 90, which is the perfect size to match the rectangular border and change the background to match the same color of border you’ve been using.
Remember to add your filter! For the black hat I did “black and white” for all of the images.

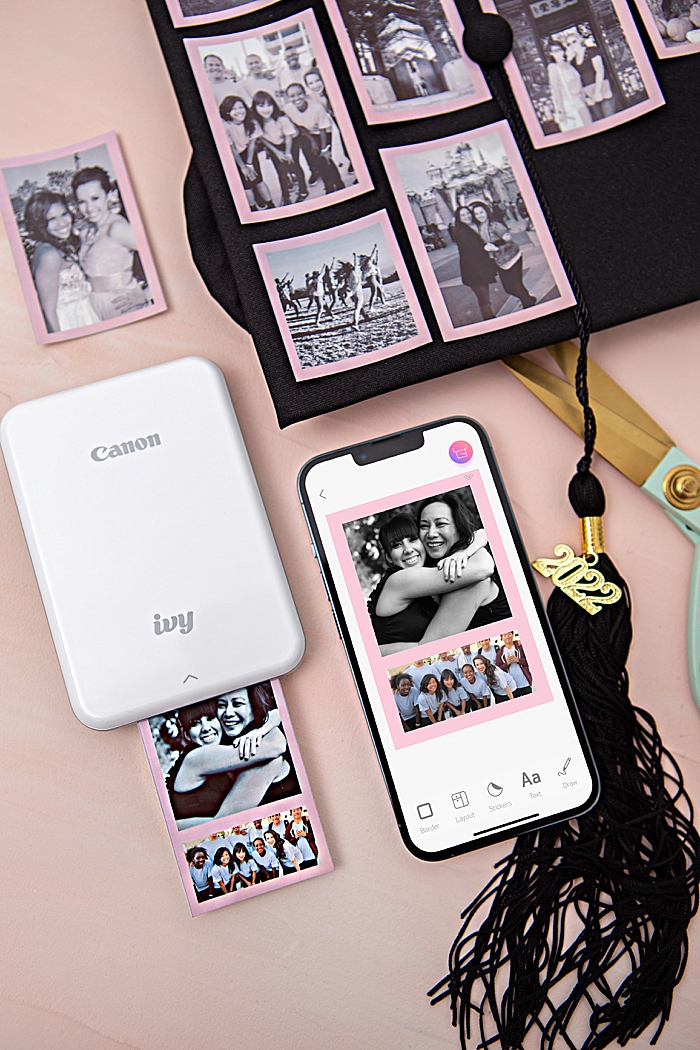
And cut off the second photo to make the perfect square for your grid.
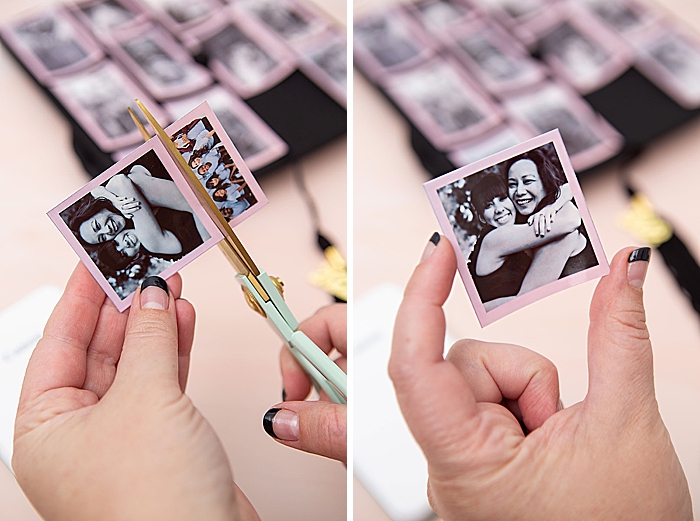
Peel + Stick Grid
Then peel and stick all of your ZINK photo prints onto the graduation cap in an awesome grid!

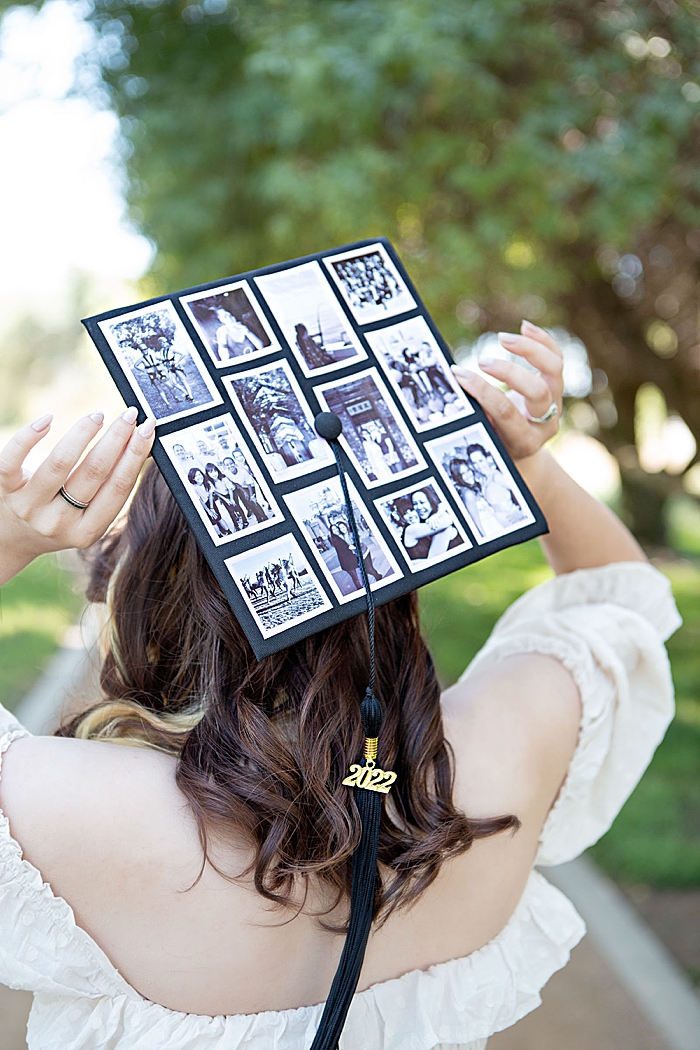
Huge thanks to our family friend Kaitlyn for being my model for this project, now she’s obsessed and wants an IVY too!
DIY TUTORIAL SPONSORED BY:

Canon U.S.A., Inc. prides itself on allowing consumers to create and preserve beautiful imagery, from capture to print. With wireless technology and seamless printing capabilities, you can print your photos and printables with precision and ease.

If you create one of our projects, please share a picture with us on Instagram or Twitter using the hashtag #somethingturquoisediy, we regularly reshare our favorites! Your profile will need to be public for us to see it otherwise, you can always DM us!
DIY Tutorial Credits
Photography + DIY Tutorial: Jen Causey-Kidder of Something Turquoise // Canon IVY Mini Photo Printer and ZINK Paper: courtesy of Canon // Graduation Caps: Amazon // Faux Flowers: Amazon // Ribbon: Joann
Shop The Supplies:
Find the supplies you’ll need for this project from our affiliate links below:






Comments