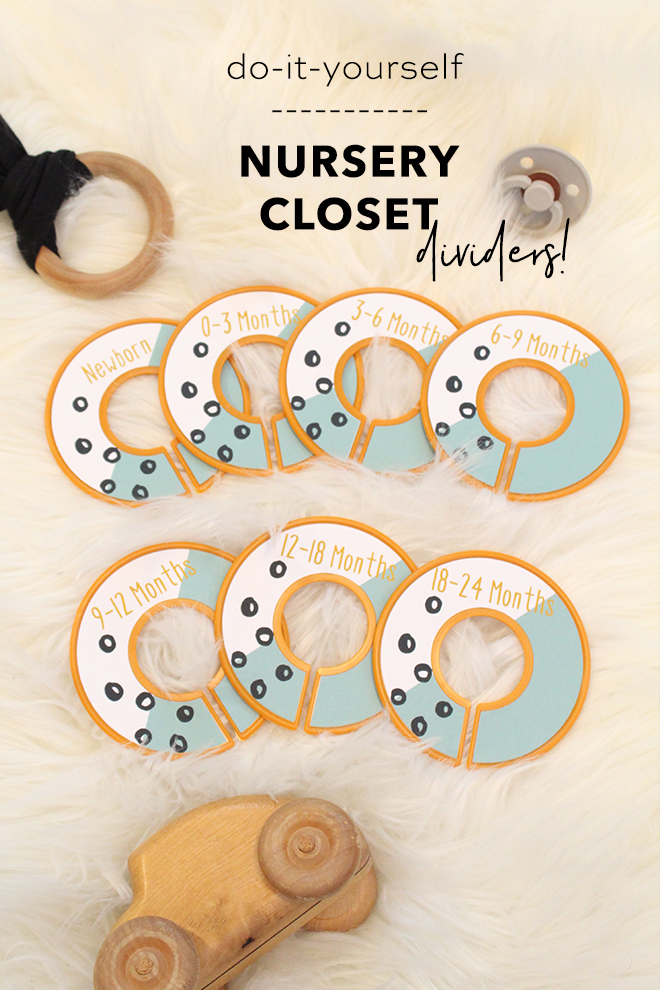
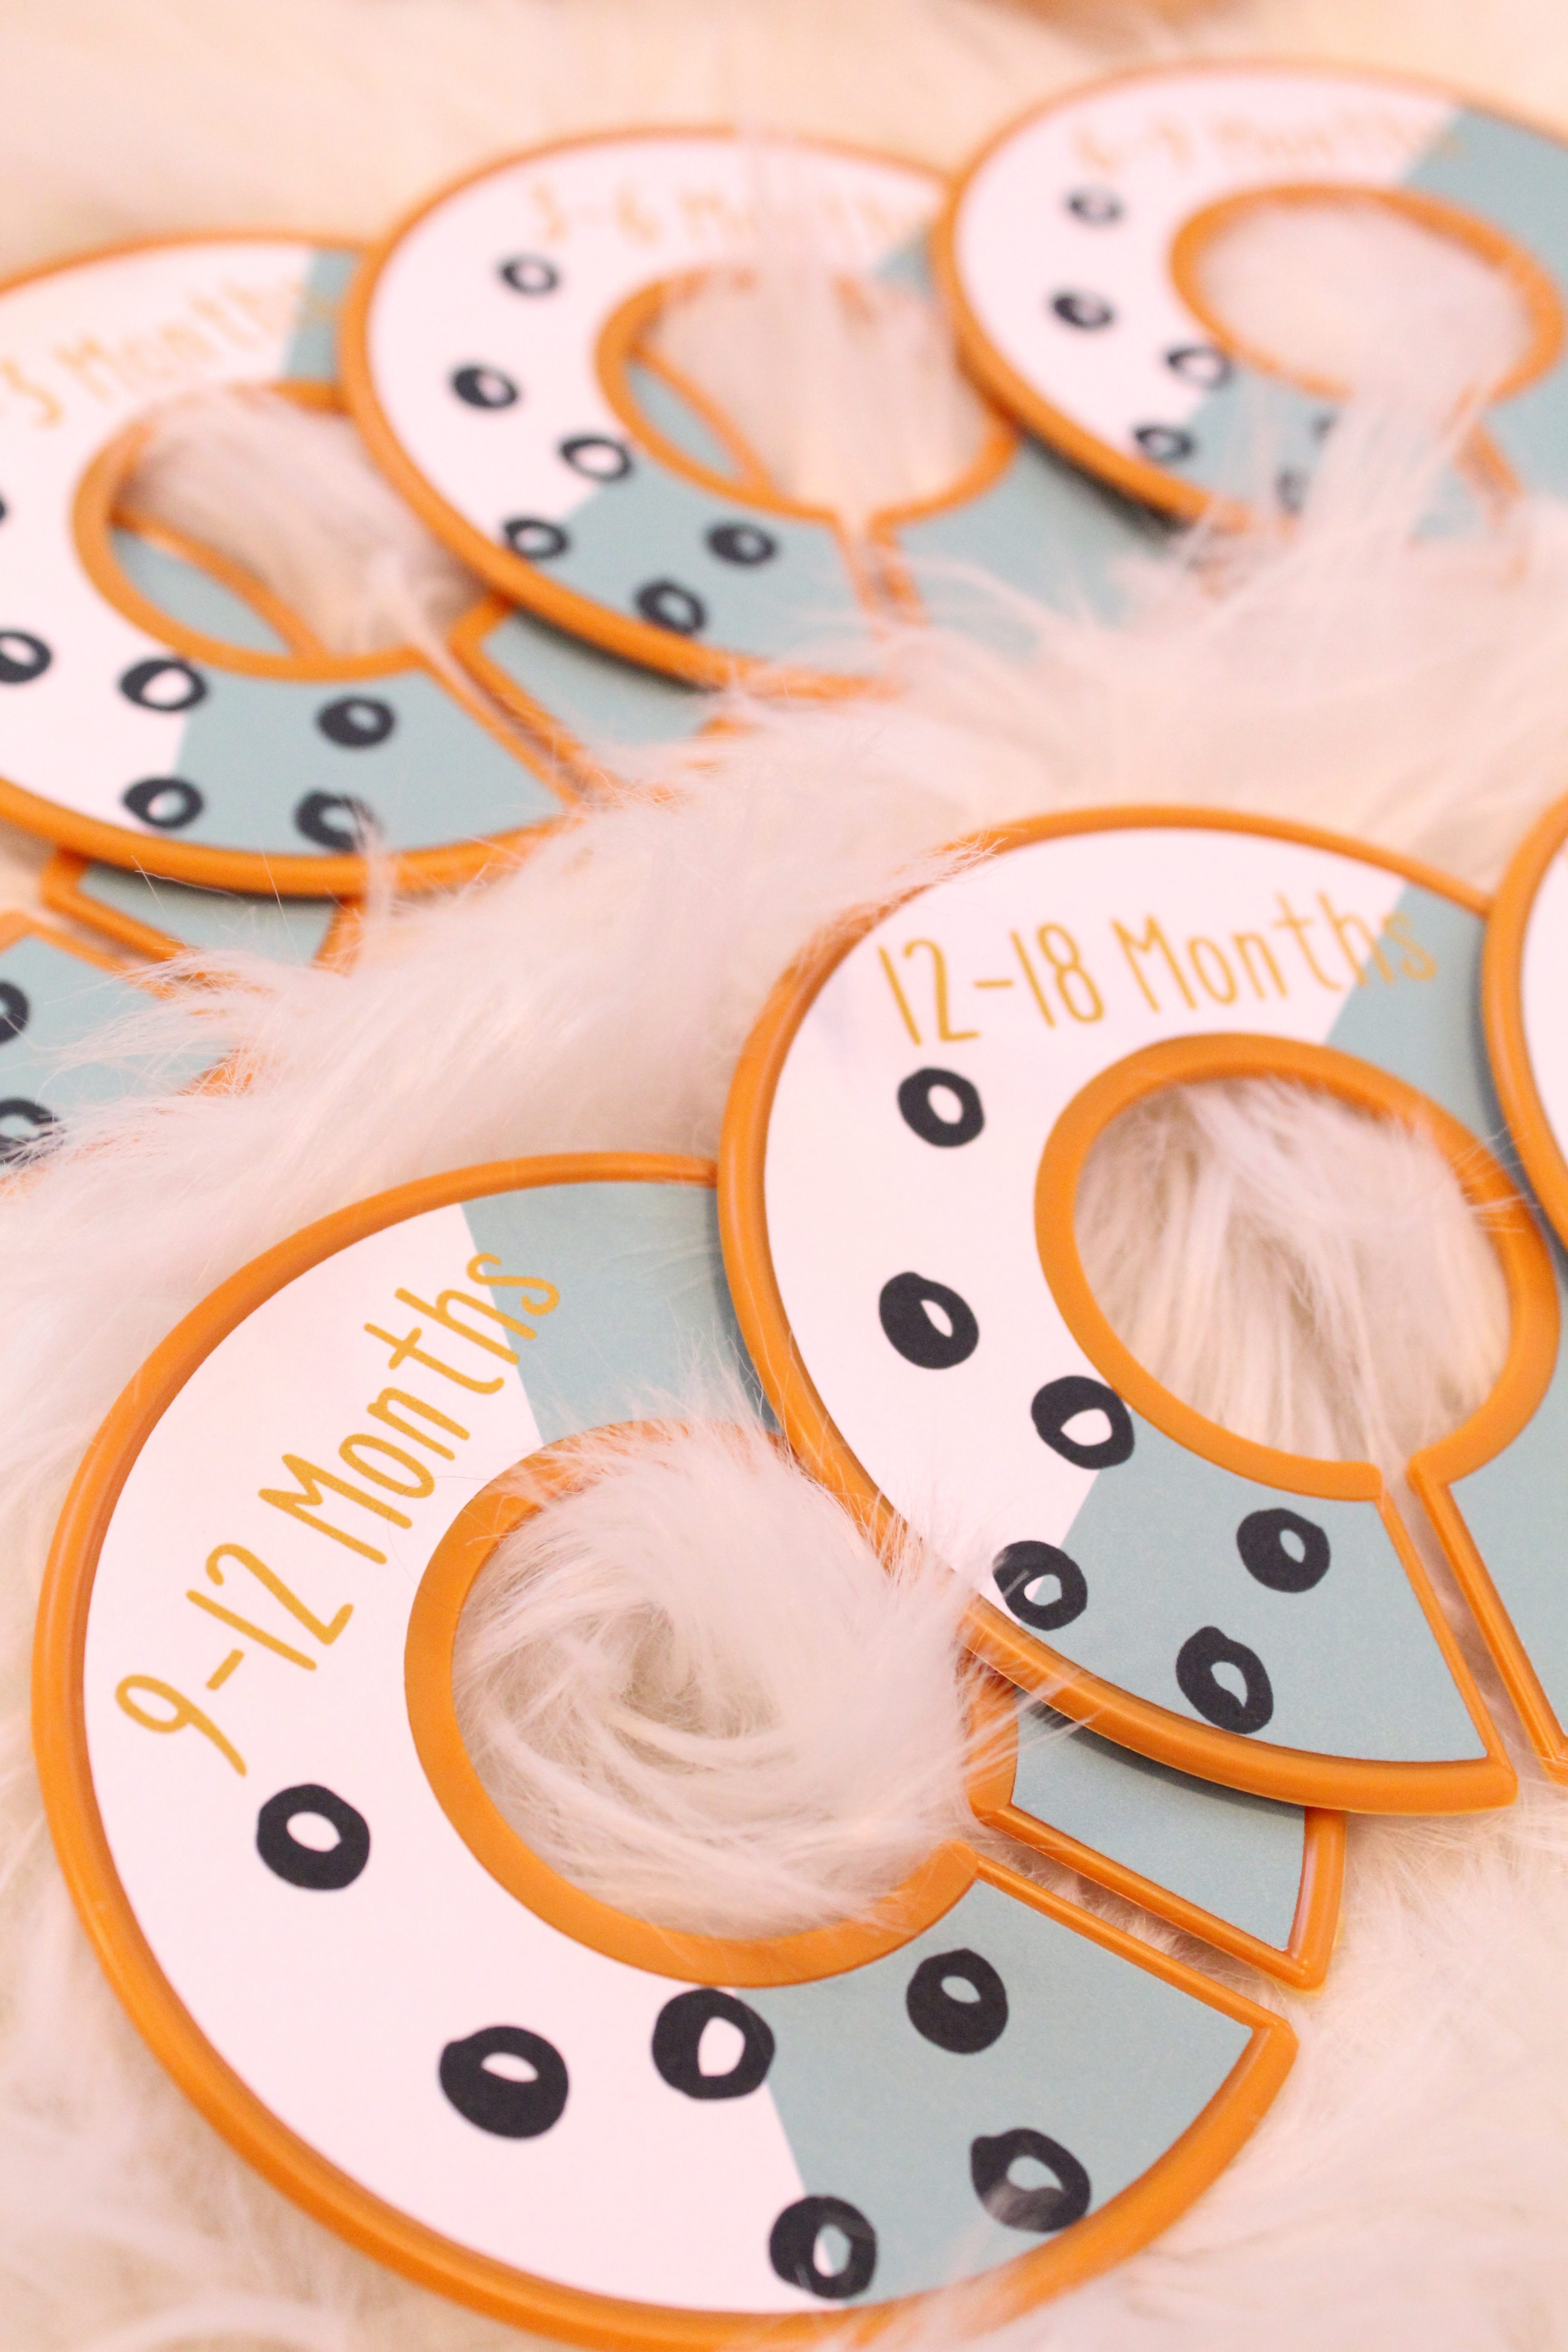
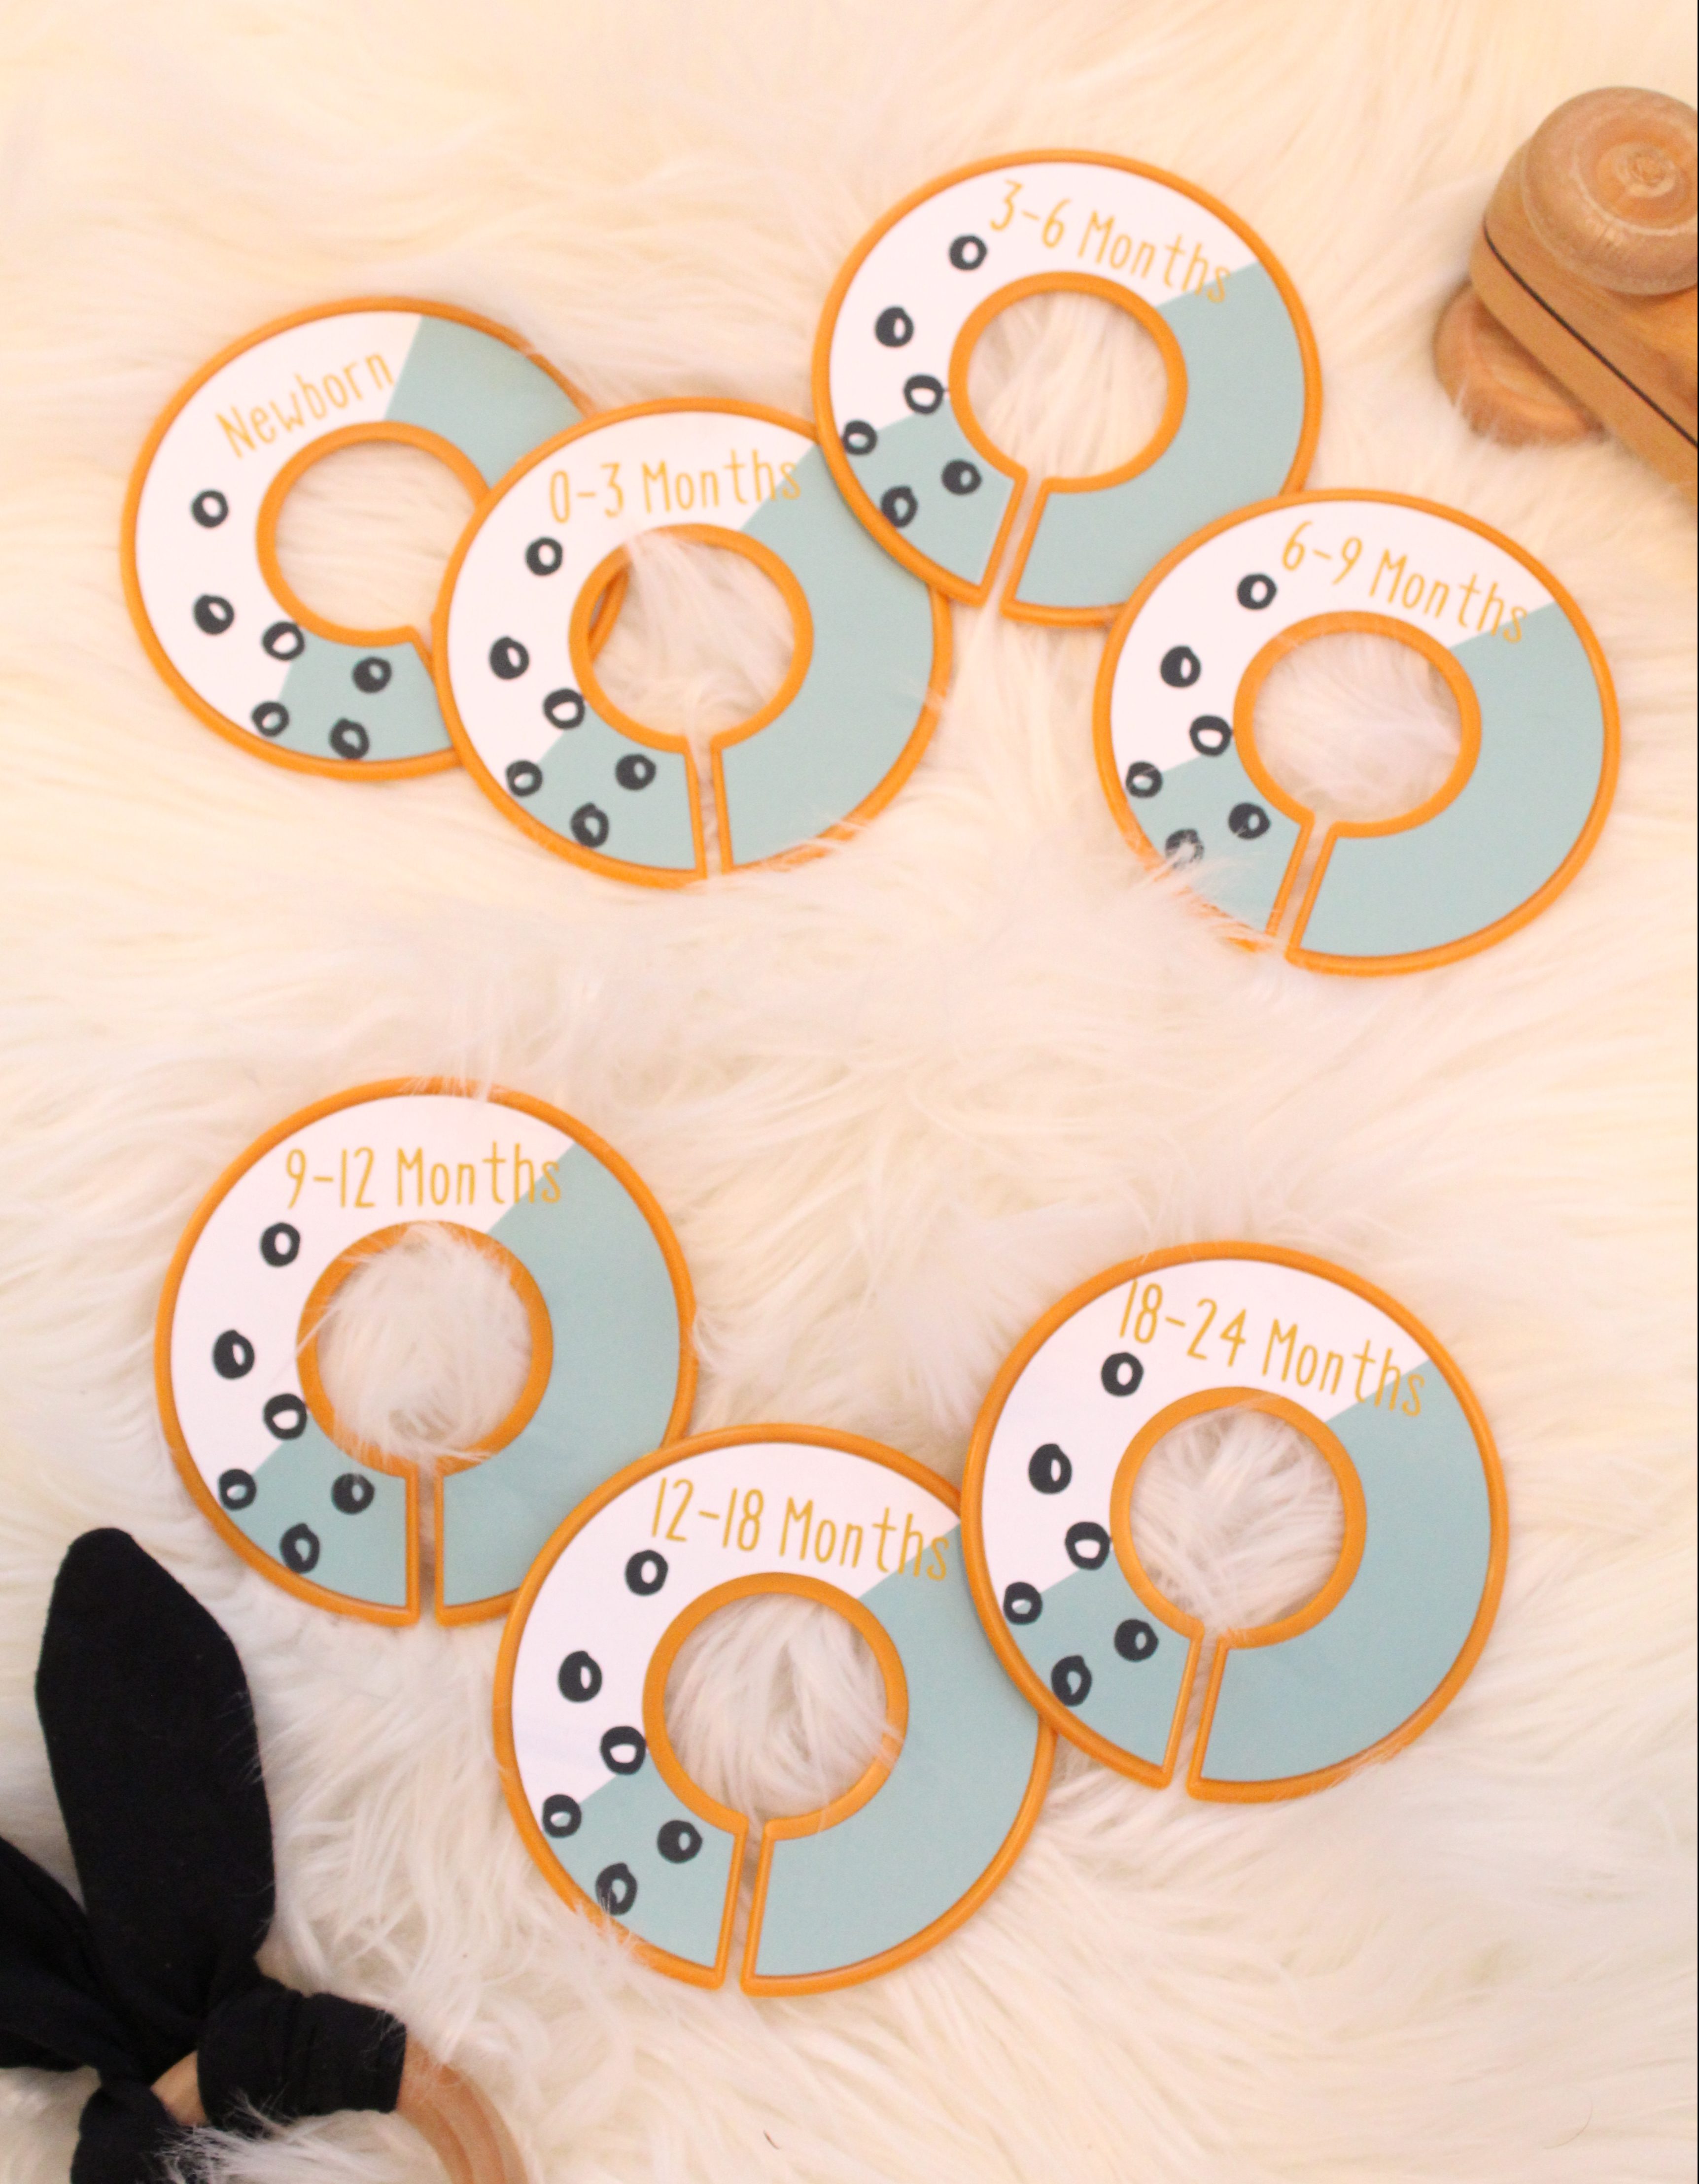
Hi friends! Shea back with another fun DIY for your little one. This is a DIY that I’ve been meaning to make for well over a year for my own little. Somewhere between when you find out you’re expecting, to when you bring your little bundle home you accumulate a lot of clothes, like a LOT of clothes. All in various sizes, it’s hard to keep it all straight. I wanted to buy some of those closet dividers but I’m not a big fan of woodland animals or buffalo plaid so I really couldn’t find anything I liked. What’s a girl to do? Make some herself, obviously!
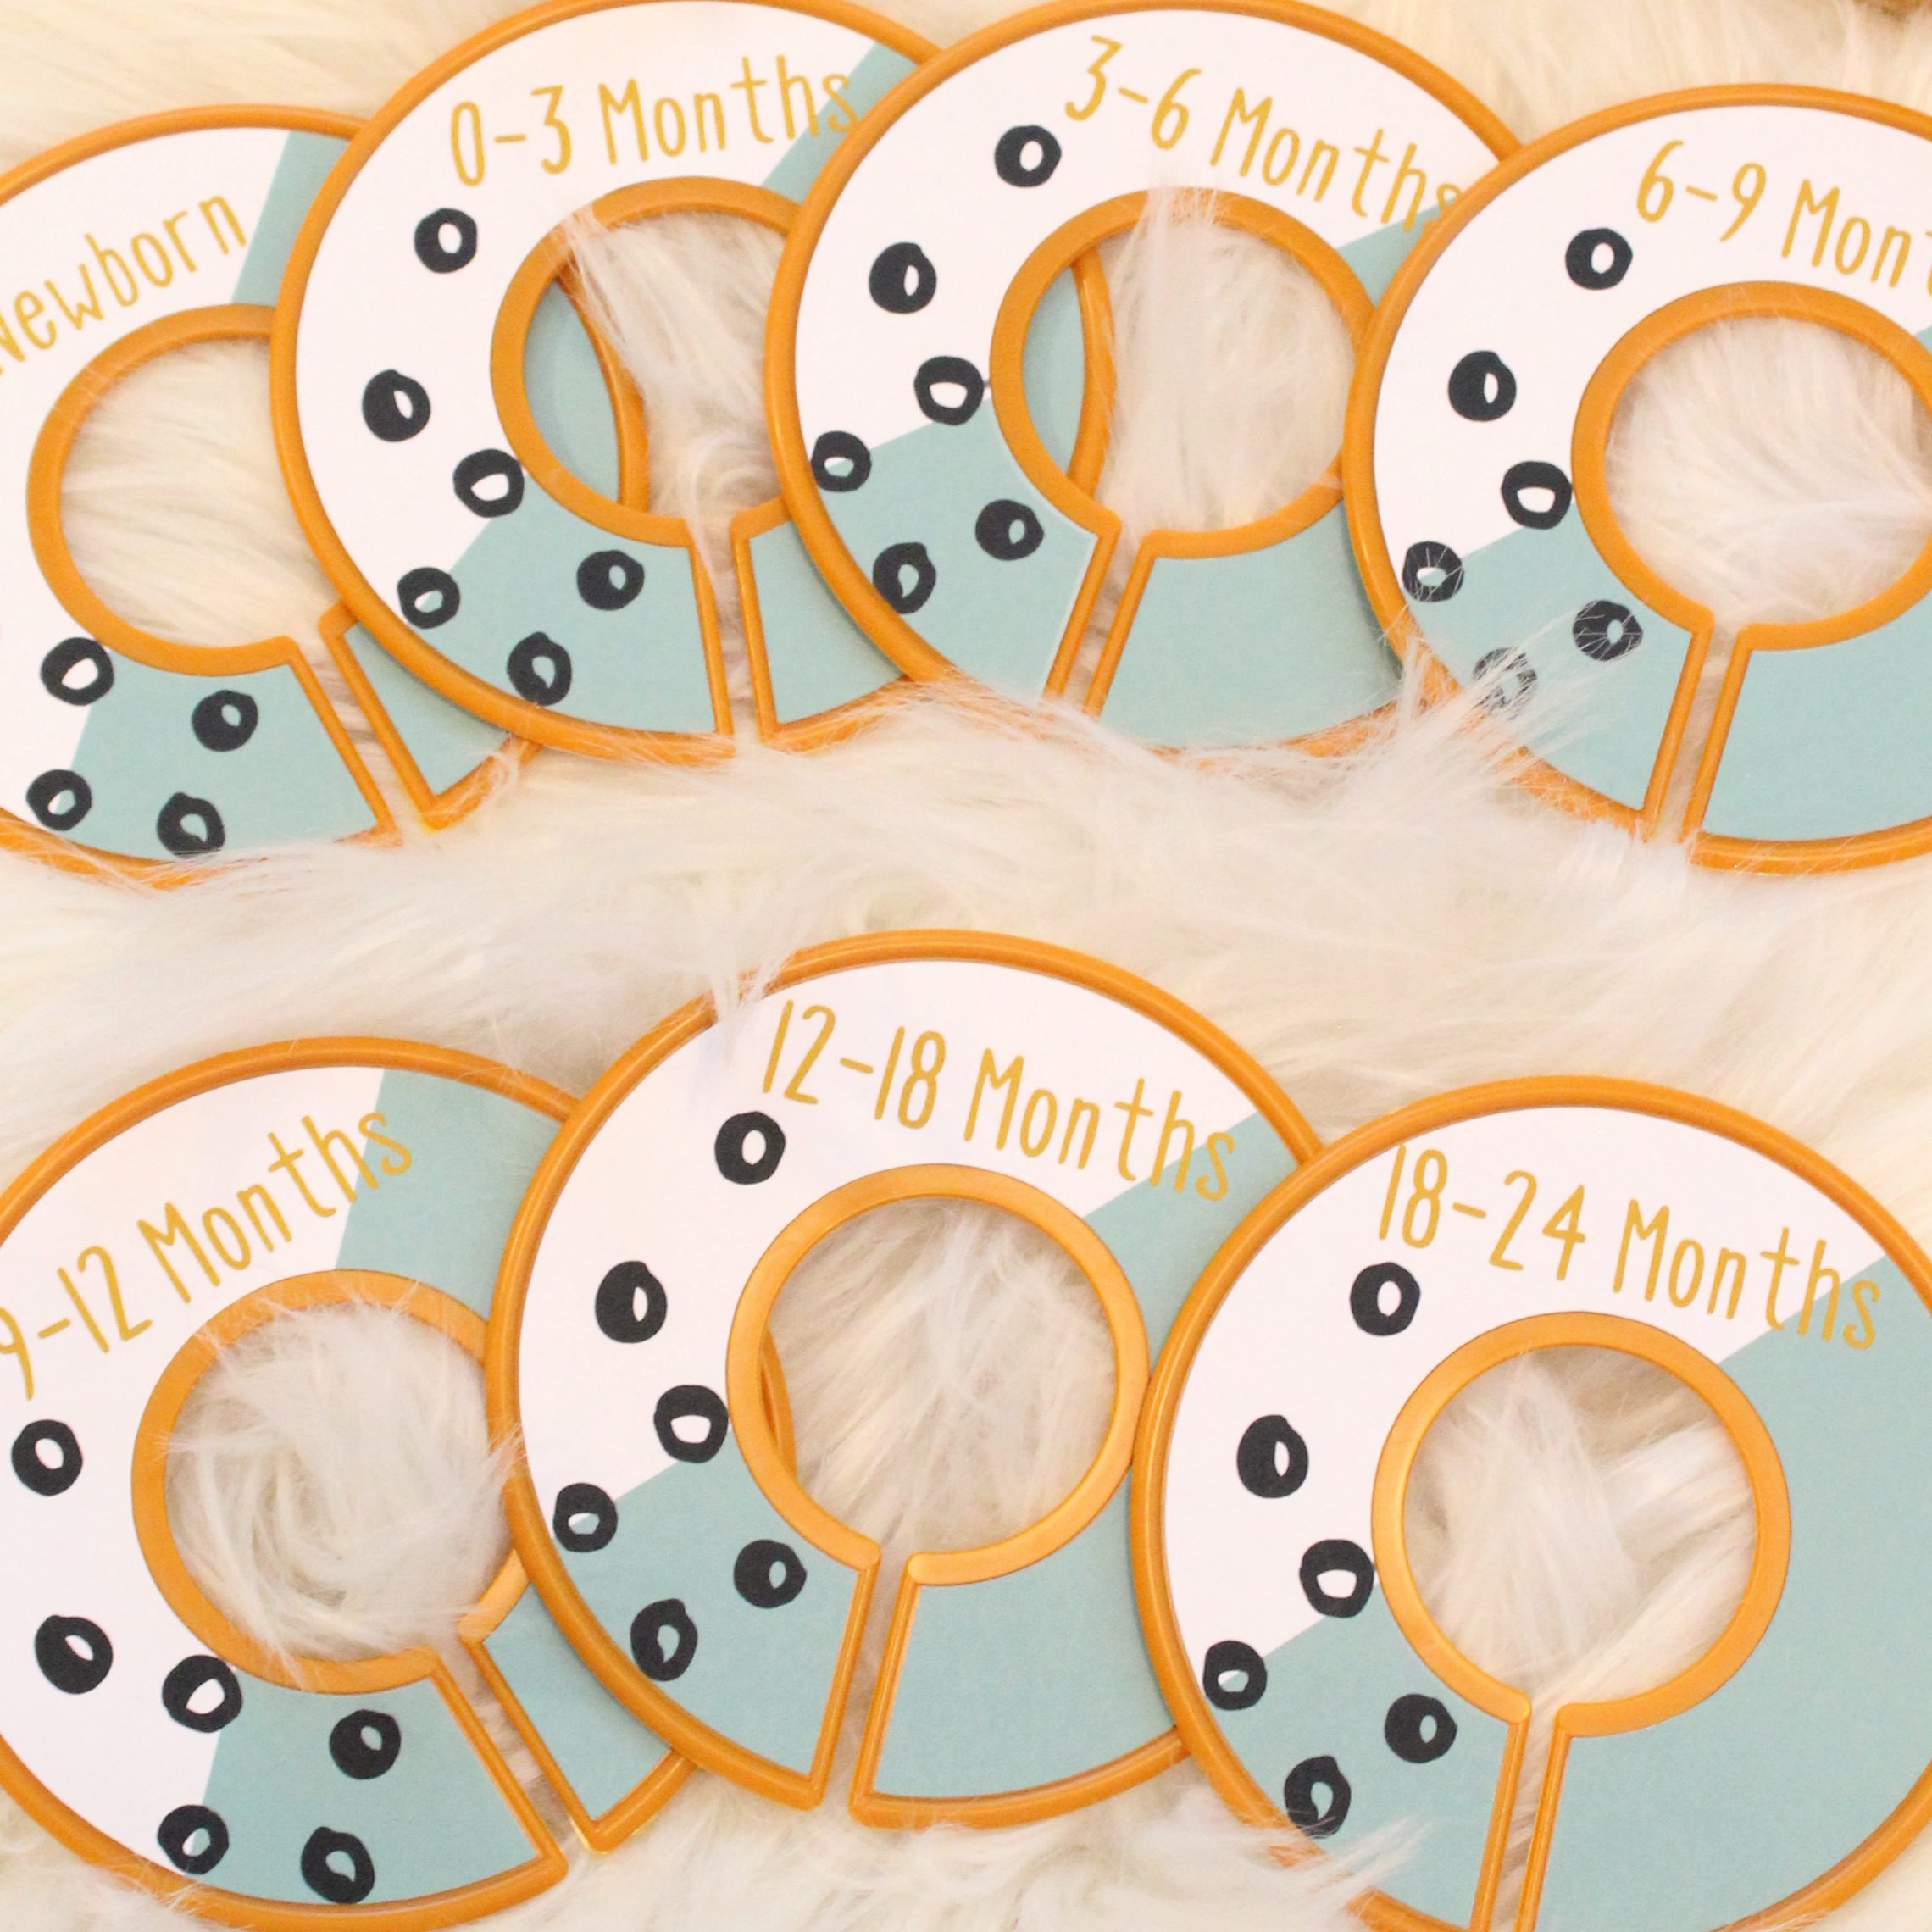
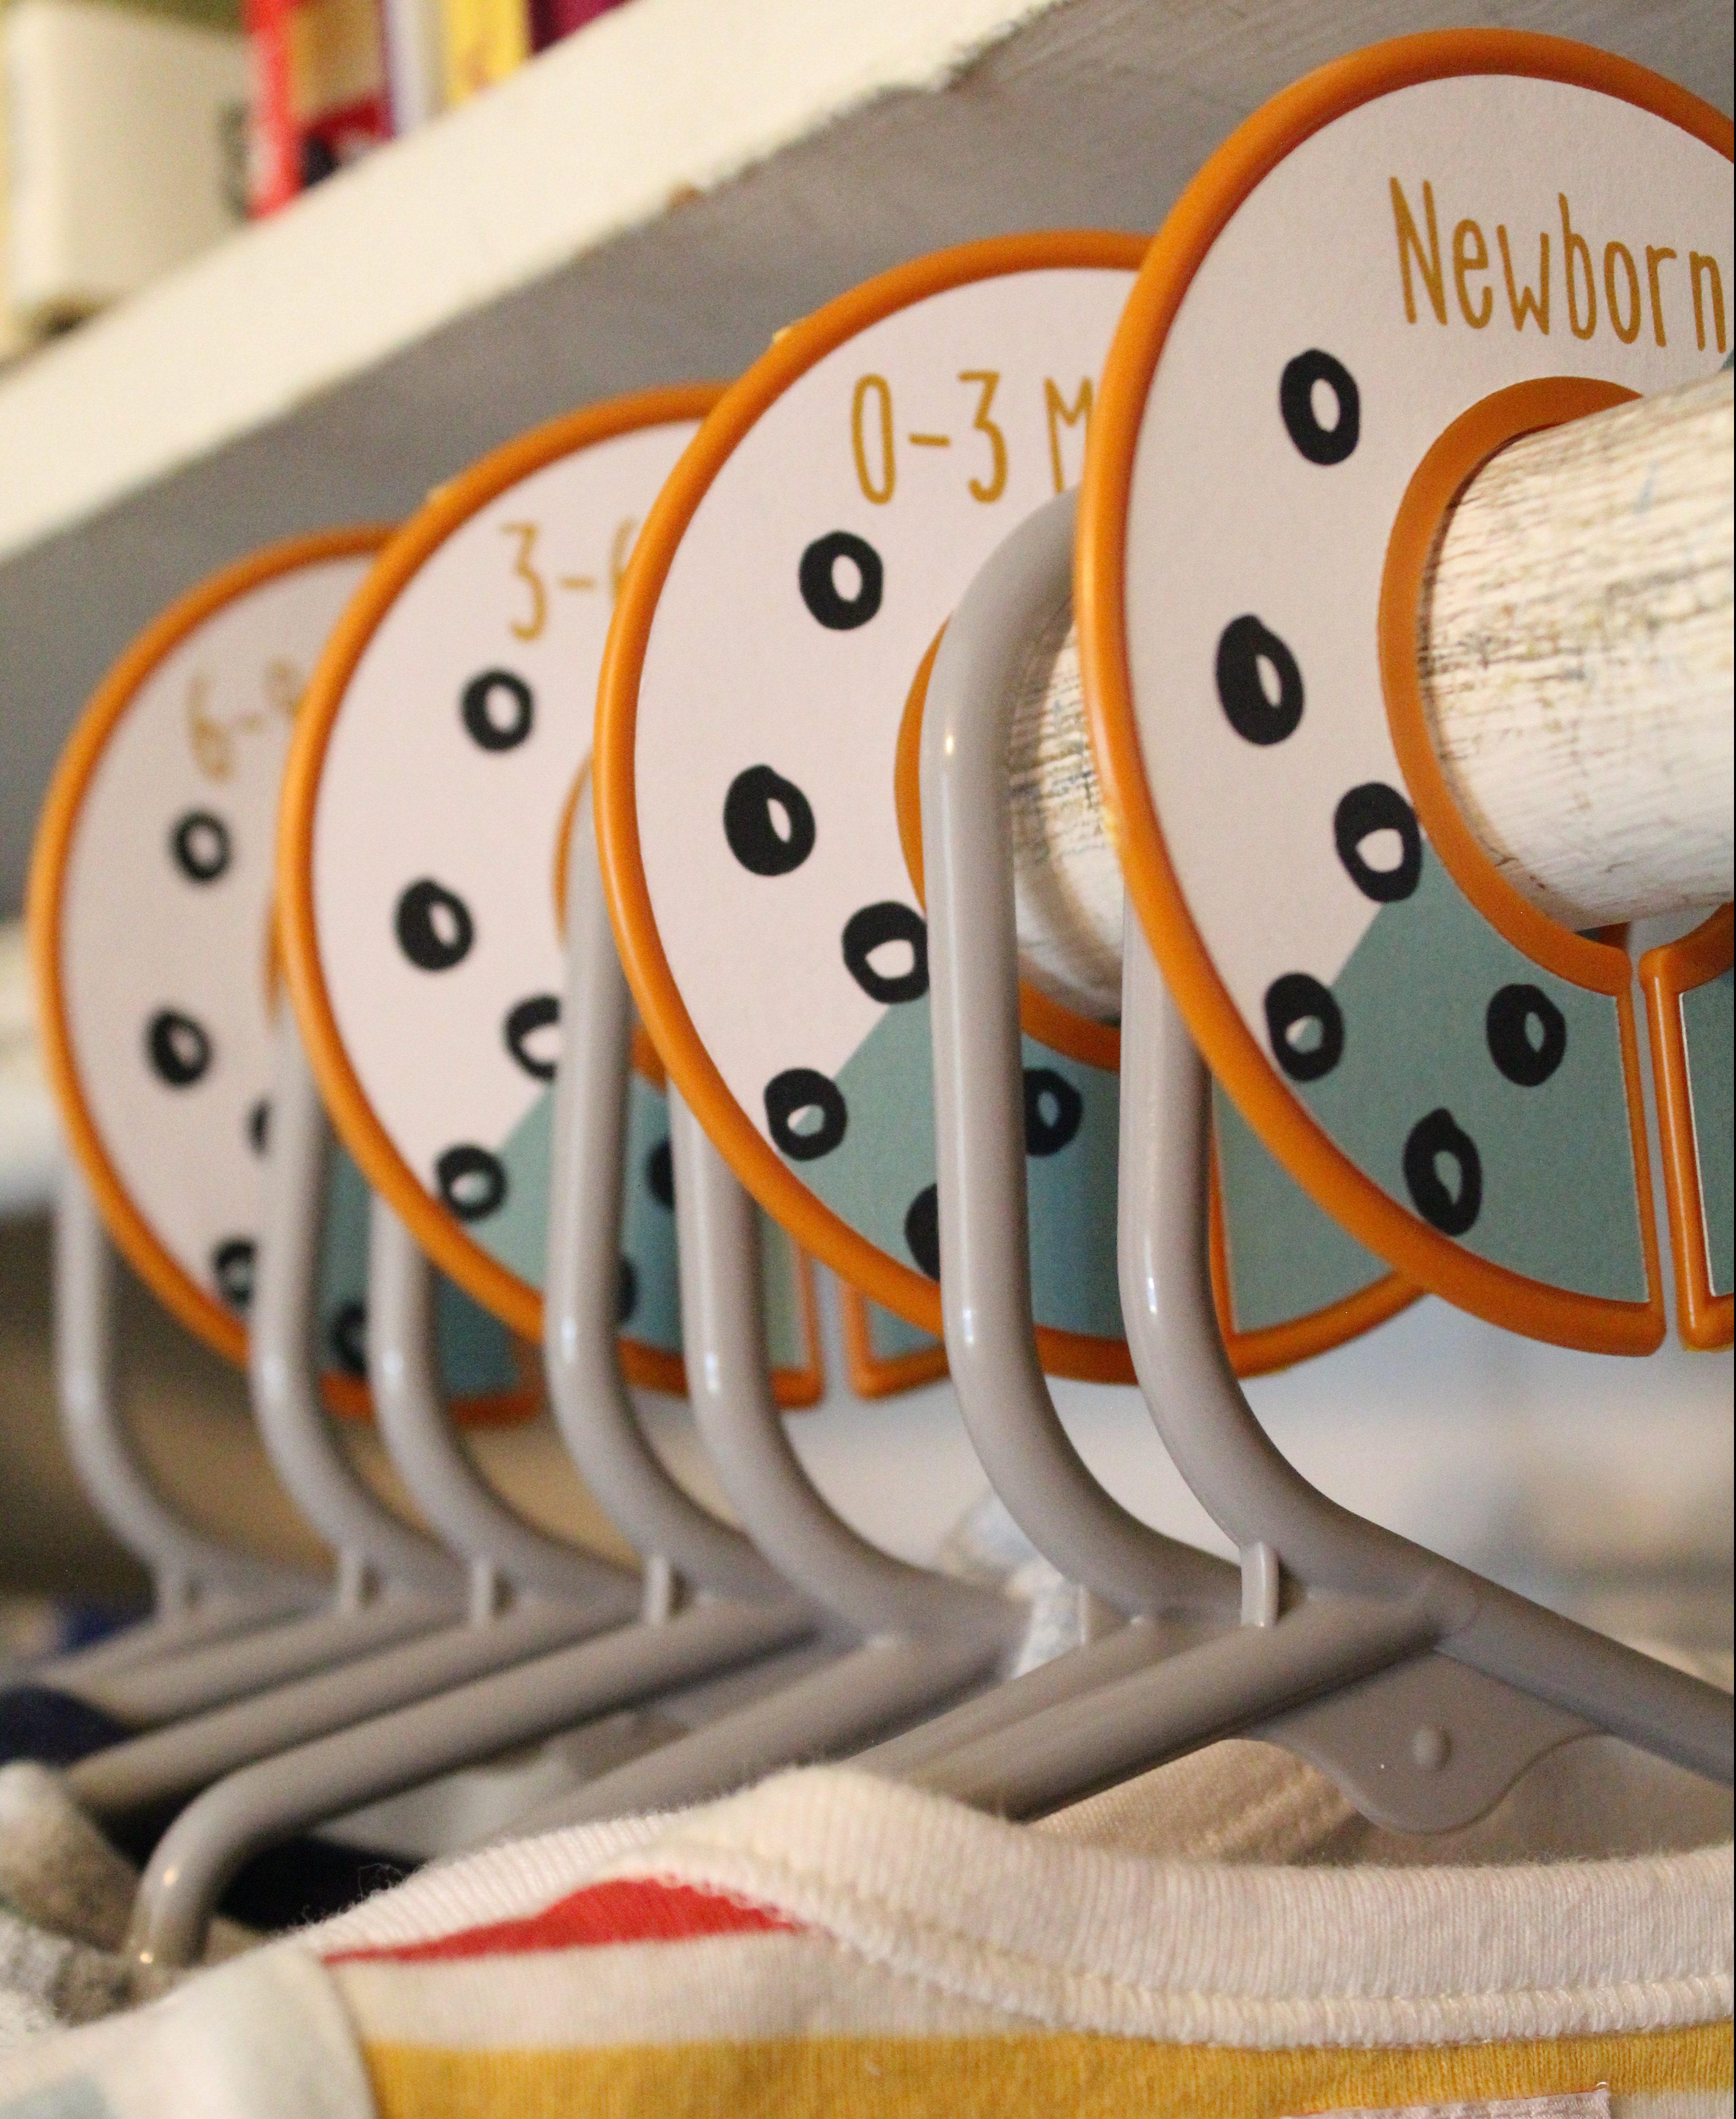
I hope you enjoy these fun modern nursery closet dividers, and the best part, you can customize them to be whatever color you’d like so they will perfectly match your little ones decor! Let’s jump right in!
Supplies:
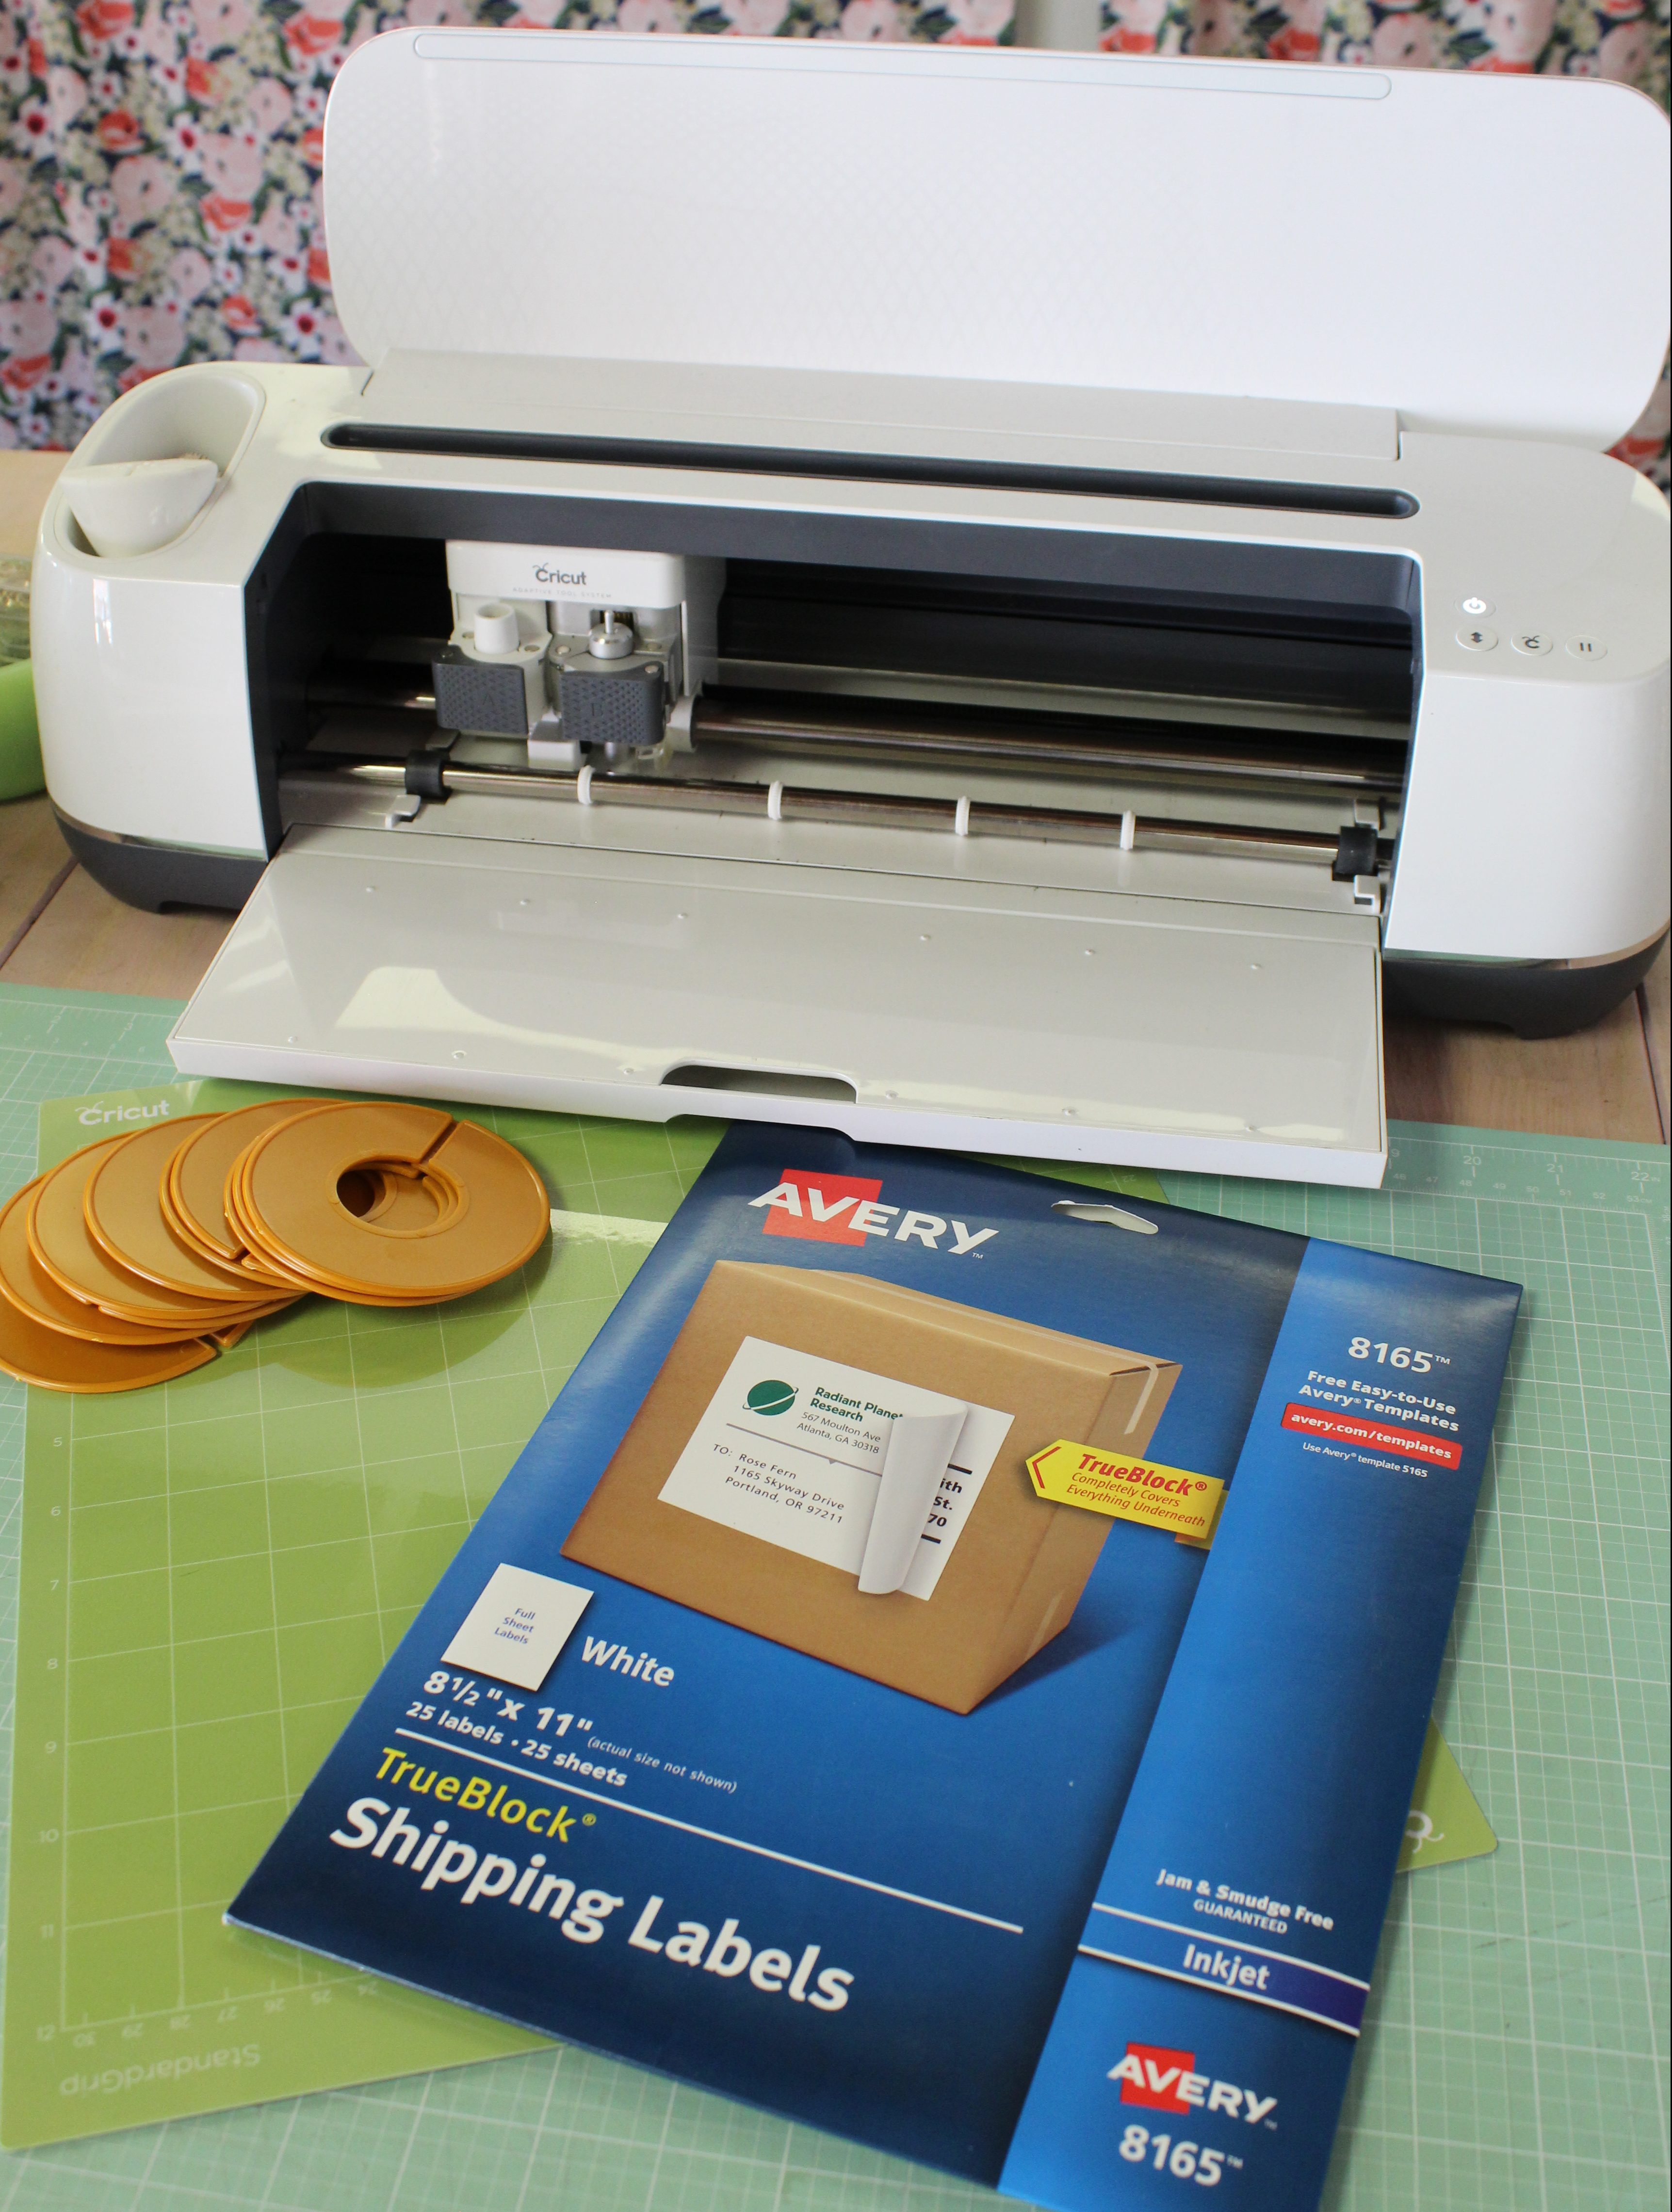
- Cricut Maker (or Explore machine)
- Cricut Standard Grip Mat
- Printable Sticker Paper
- Clothes Size Dividers
- Printer
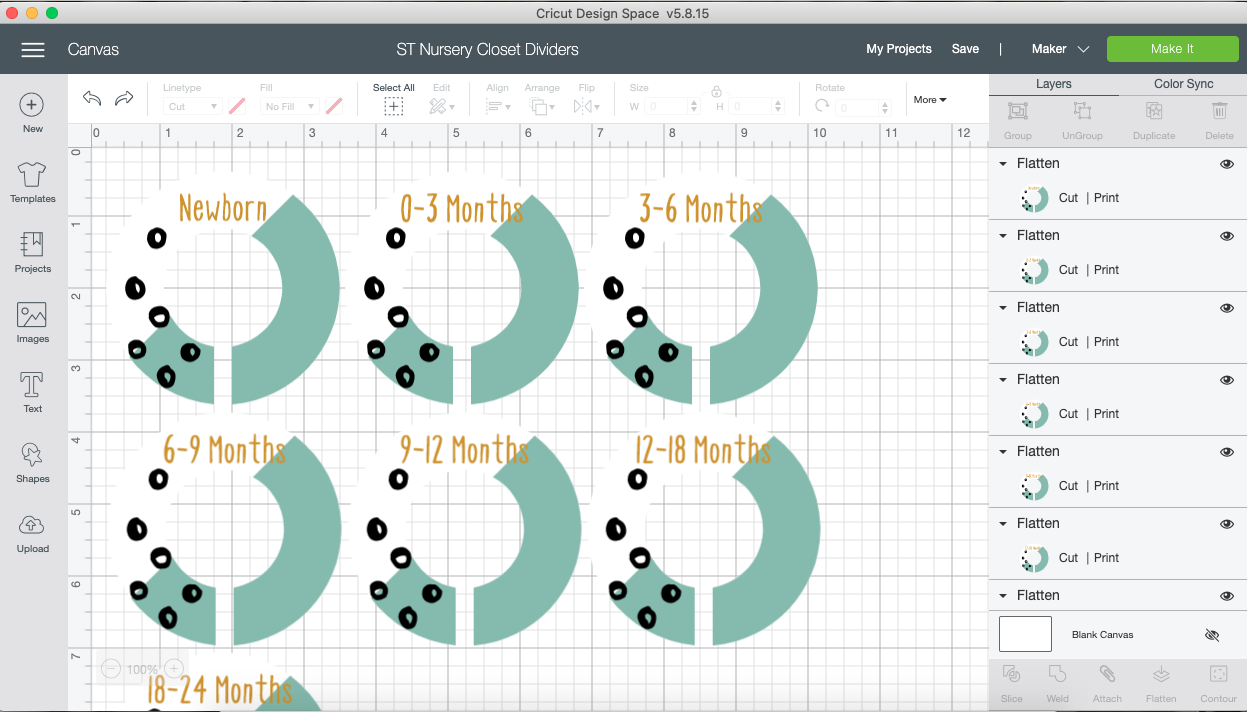
Open Design Space
The best part of this project is how easy it is! I already did all the work for you! You can make it as is, in the colors I have chosen (the ones that match my little ones nursery of course) or you can customize it however you’d like, it’s totally up to you! Click HERE to open the project.
In this video I walk you through how to customize them to be totally your own!
Once you have it how you’d like it, click “Make It” in the top right corner.
Print Your Design
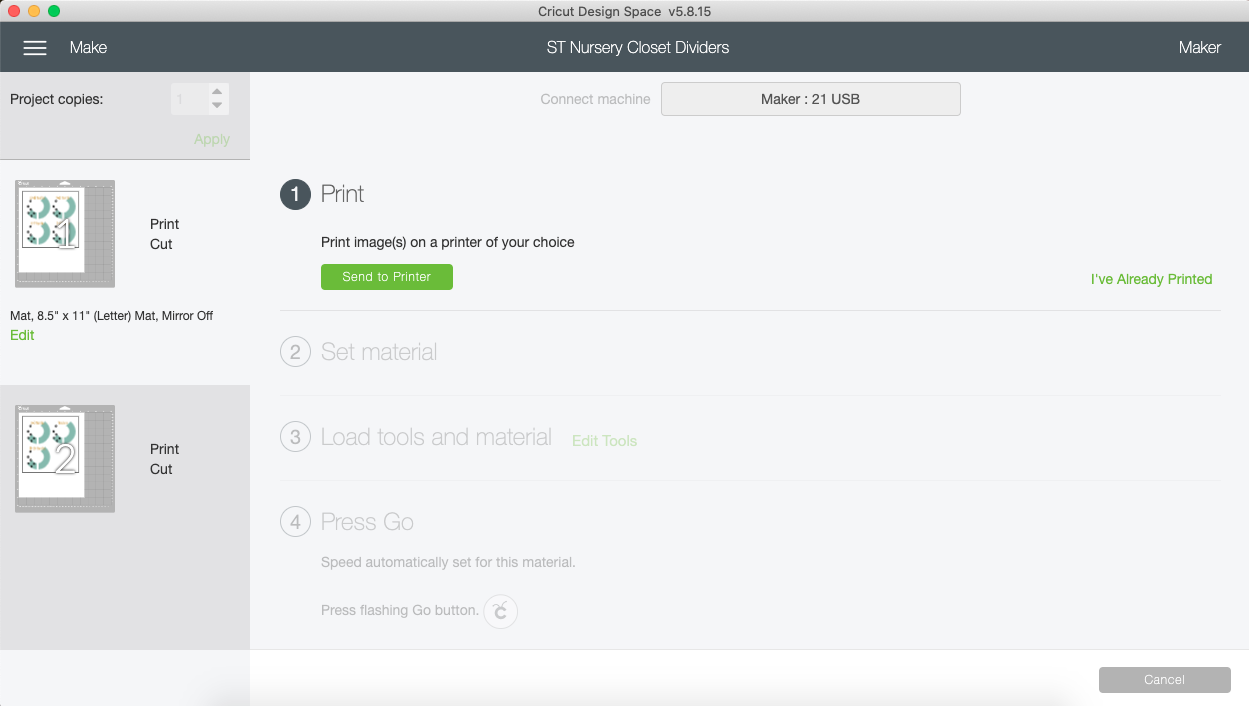
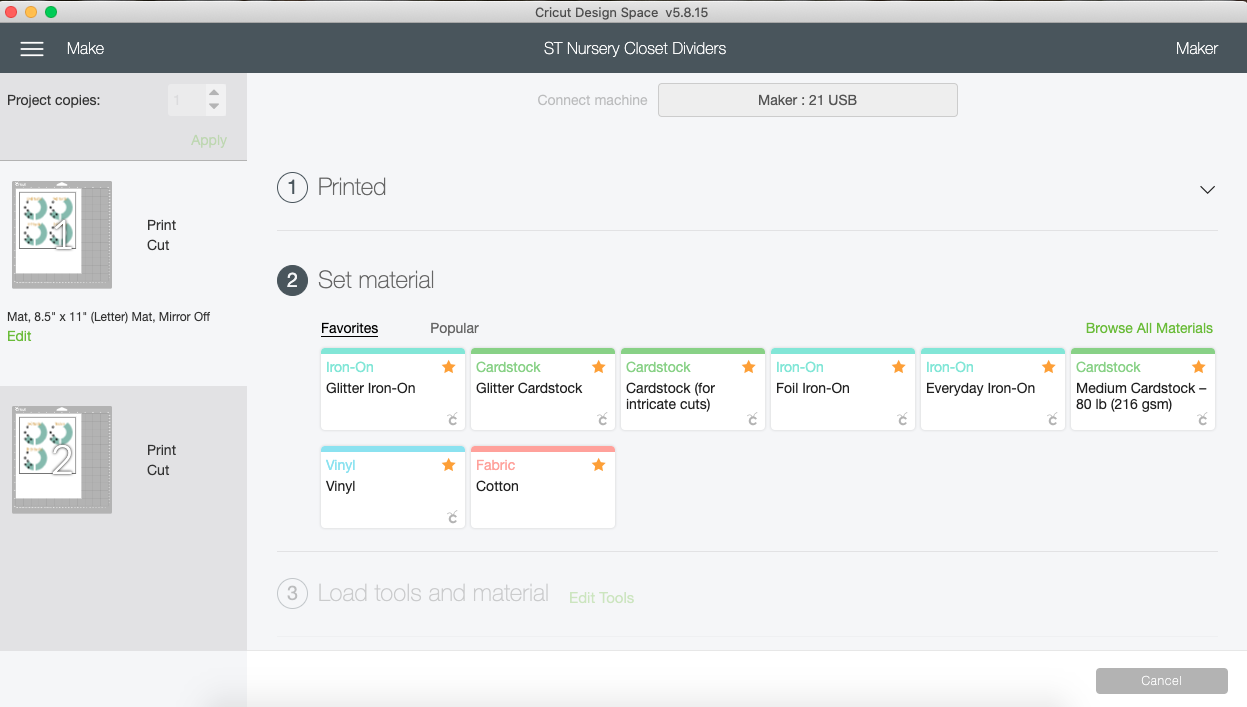
After clicking “Make It”, you will then see this screen:
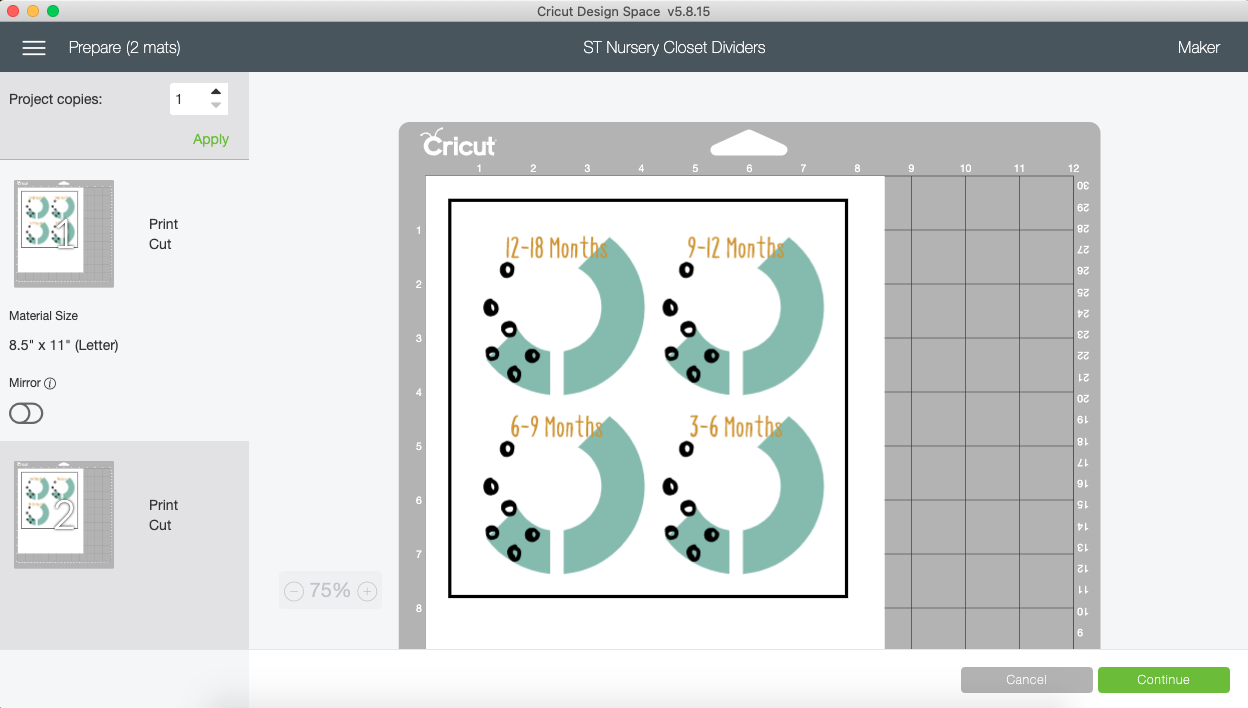
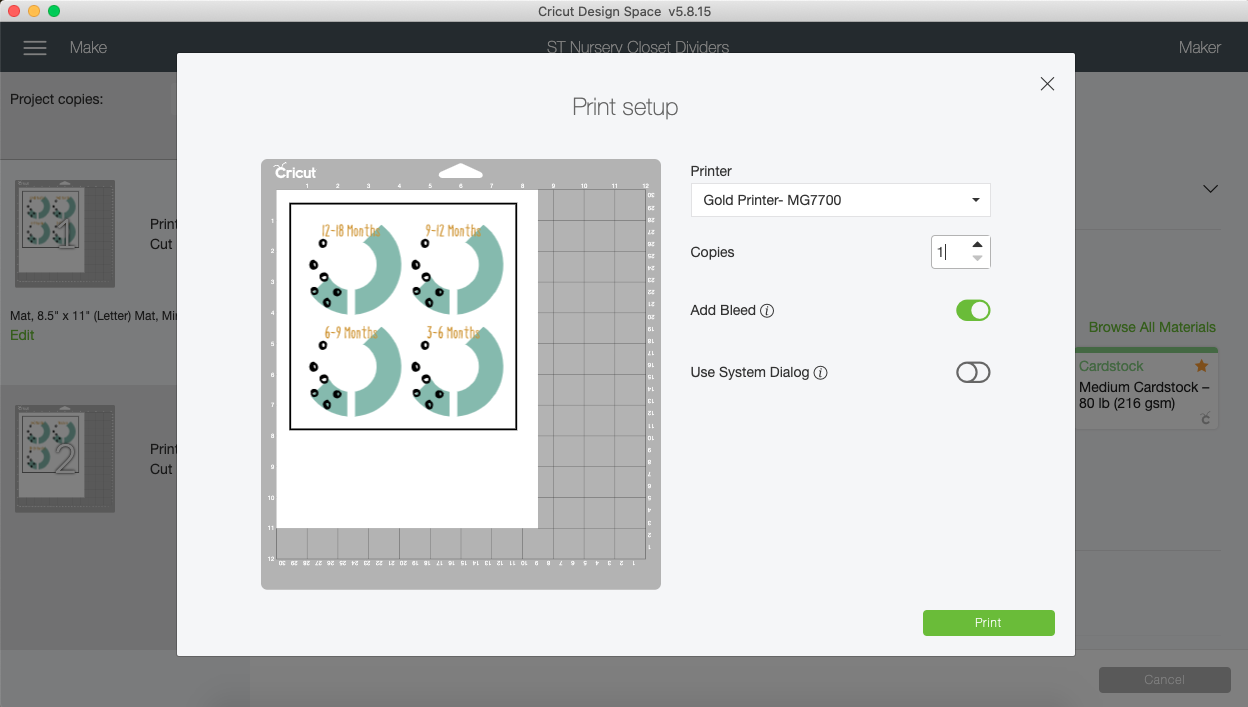
Click “Send to Printer” where you will then see this screen:
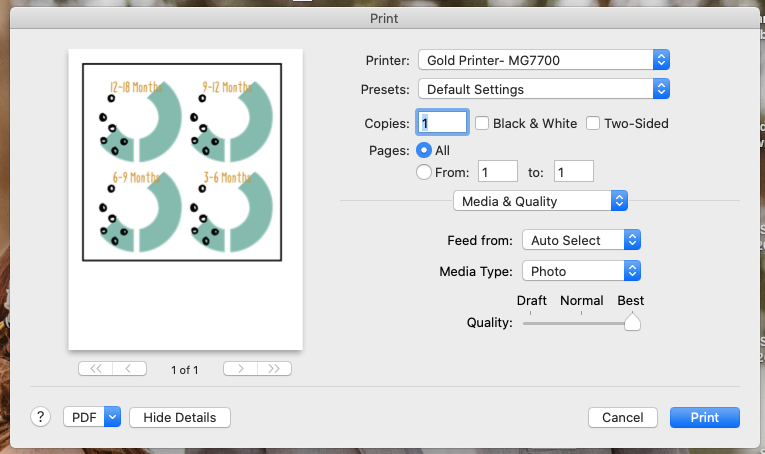
I always click the toggle for “Use System Dialog”. This allows you to set your printer preferences yourself. Note: your dialog box may appear behind your Design Space window, so if nothing pops up, minimize Design Space to see if it’s there.
I find it best to change the Media Type to “Photo” and the Quality to “Best” to ensure the best results. And then you’re ready to click print!
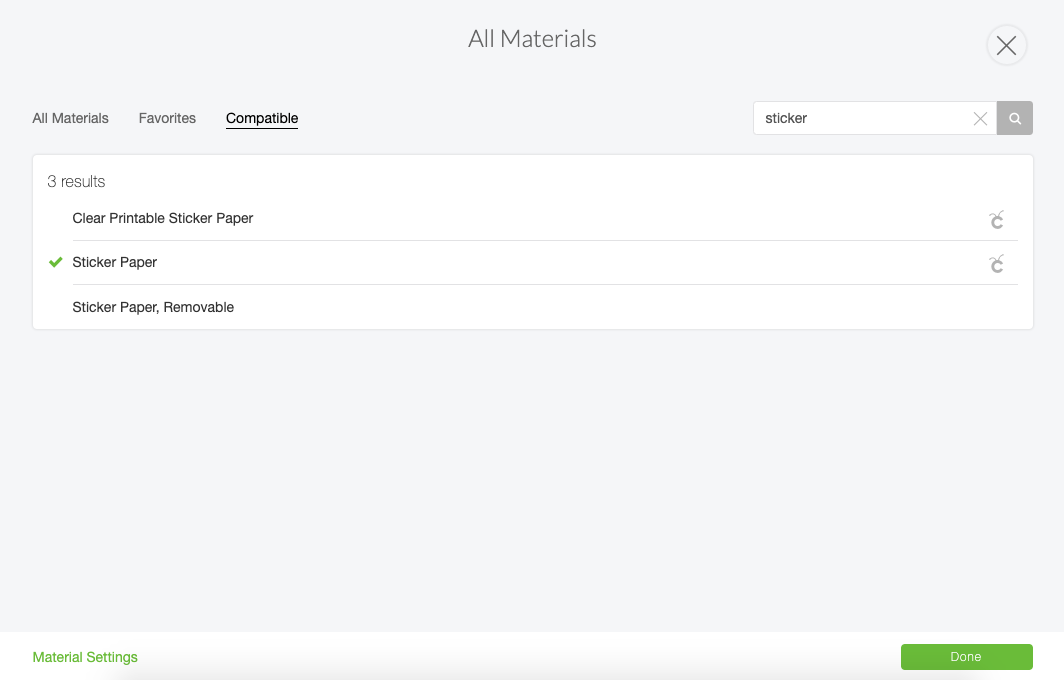
Here is where you will let your Cricut know what you’ll be cutting by choosing your material. You may need to click “Browse All Materials” if you haven’t favorited printable sticker paper. I typed “sticker” into the search bar to find it.
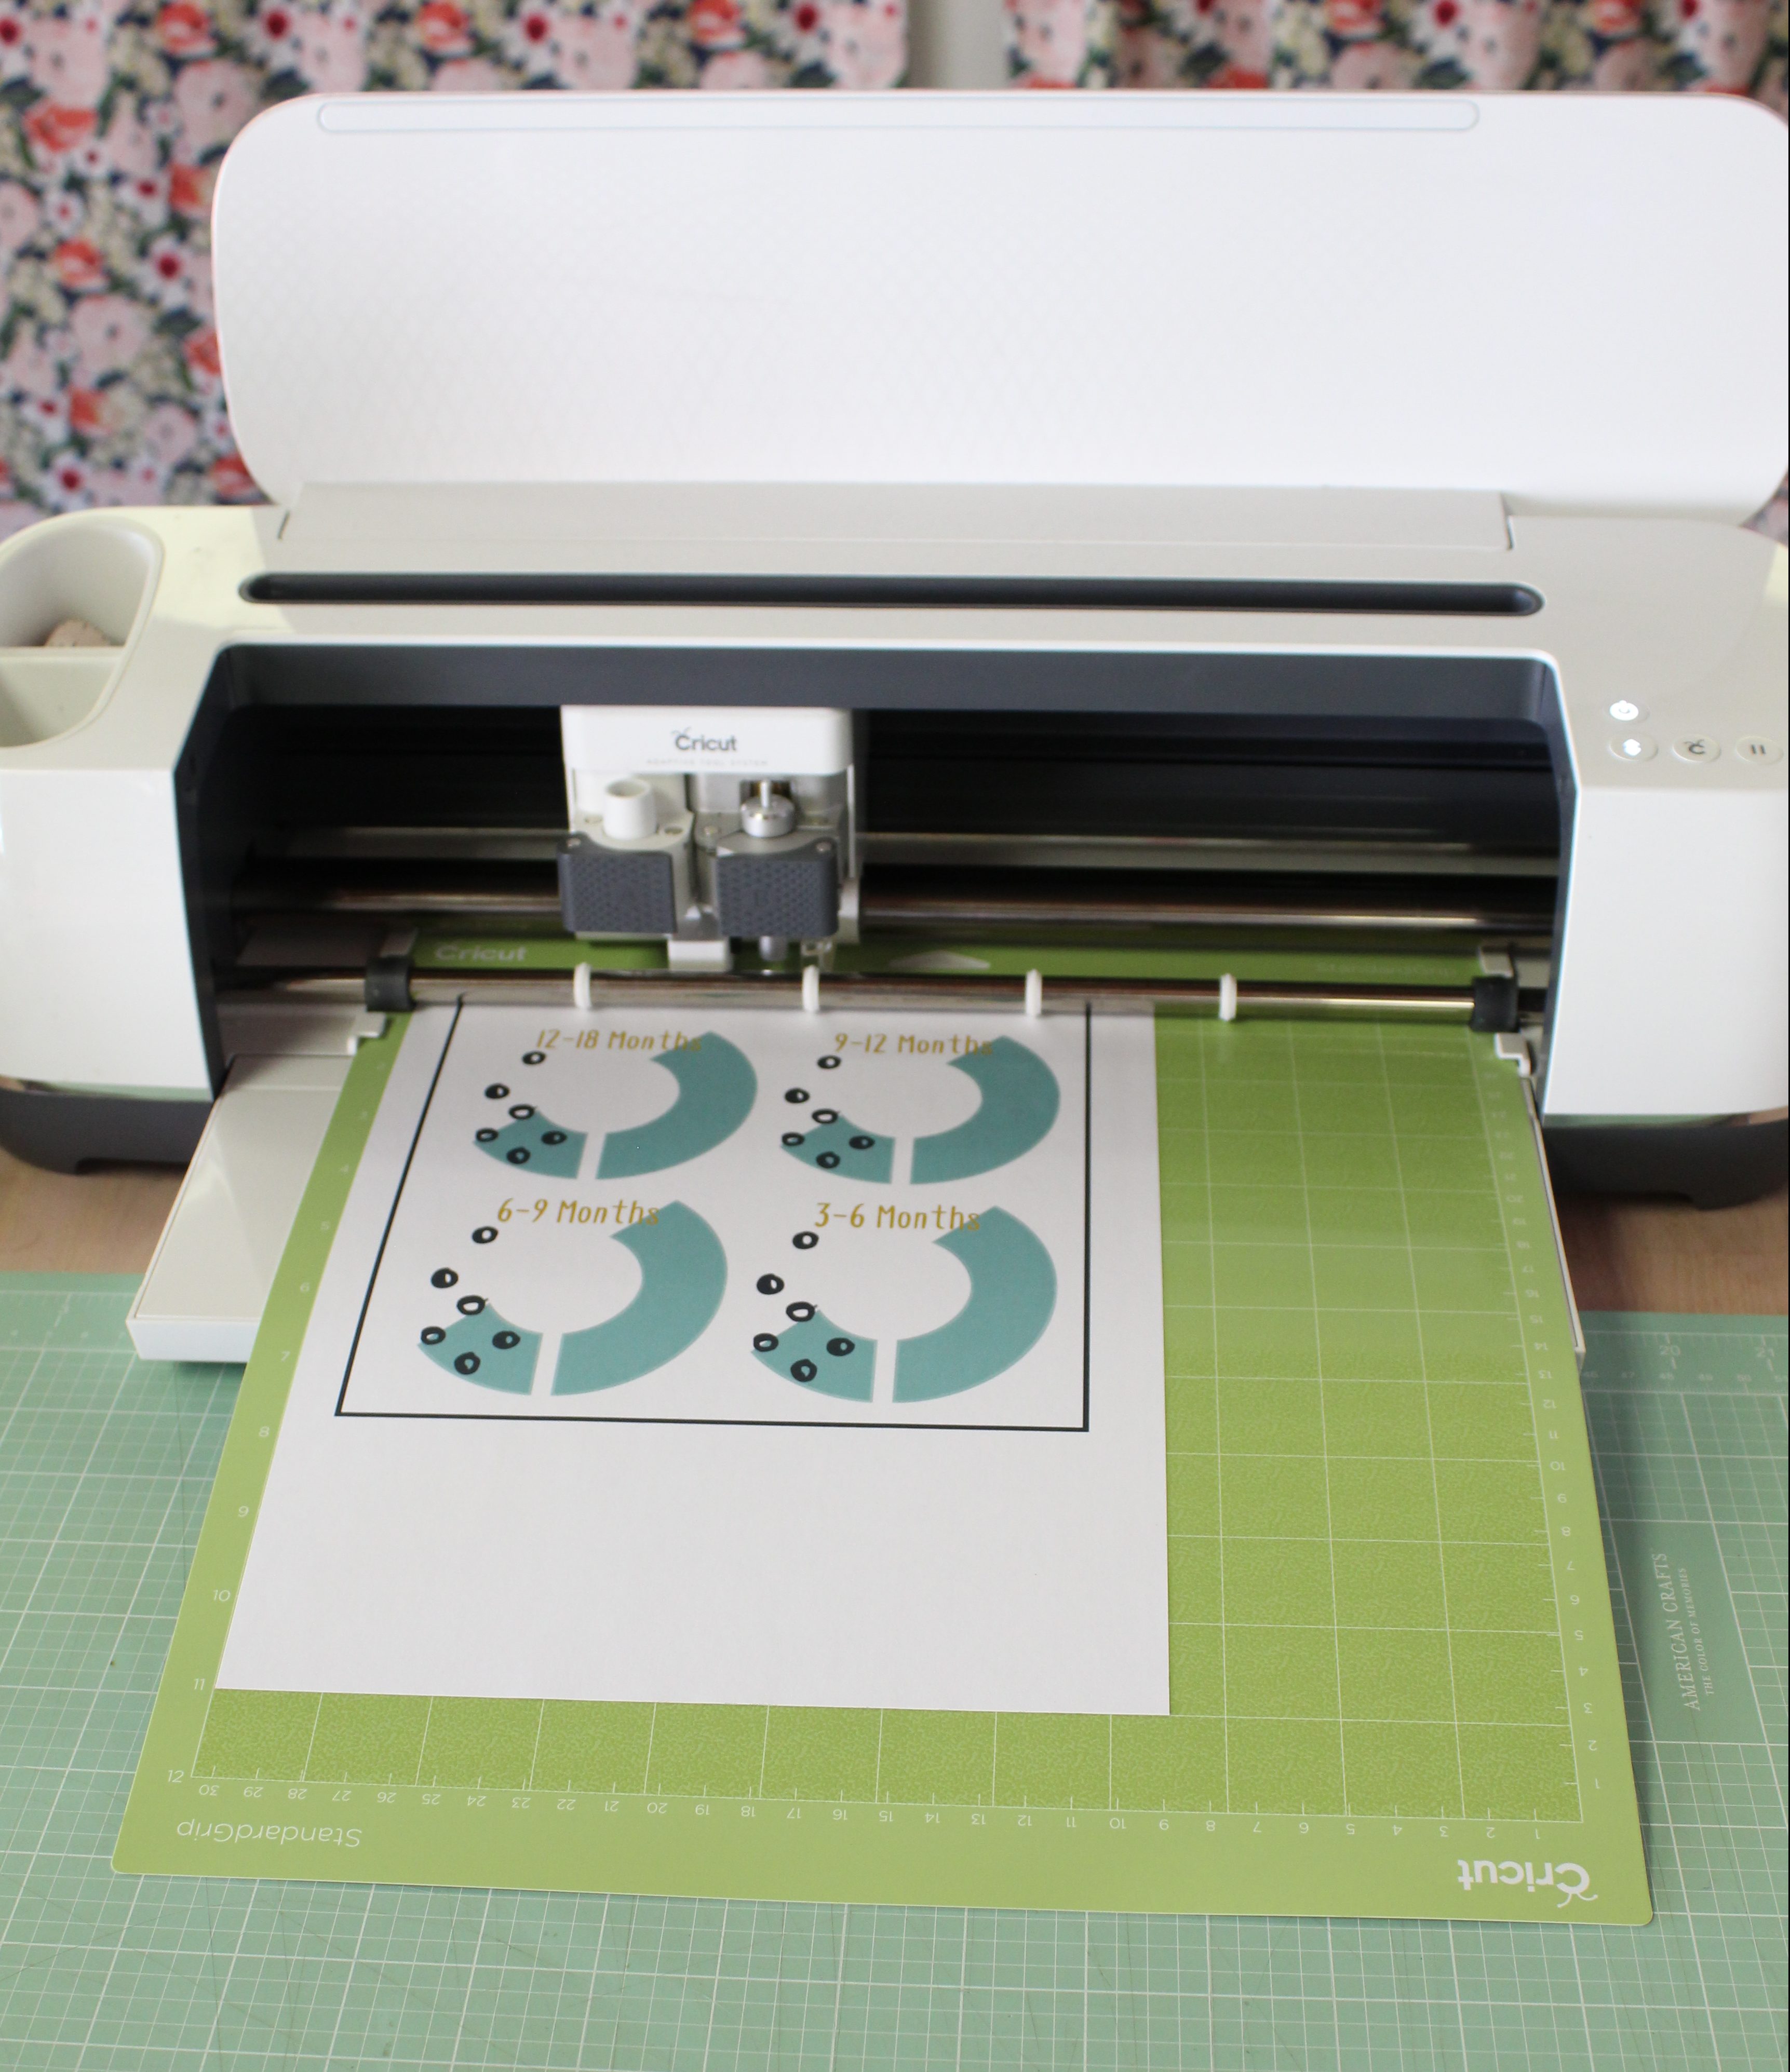
Then you simply load it onto your cutting mat and click the flashing Cricut button!
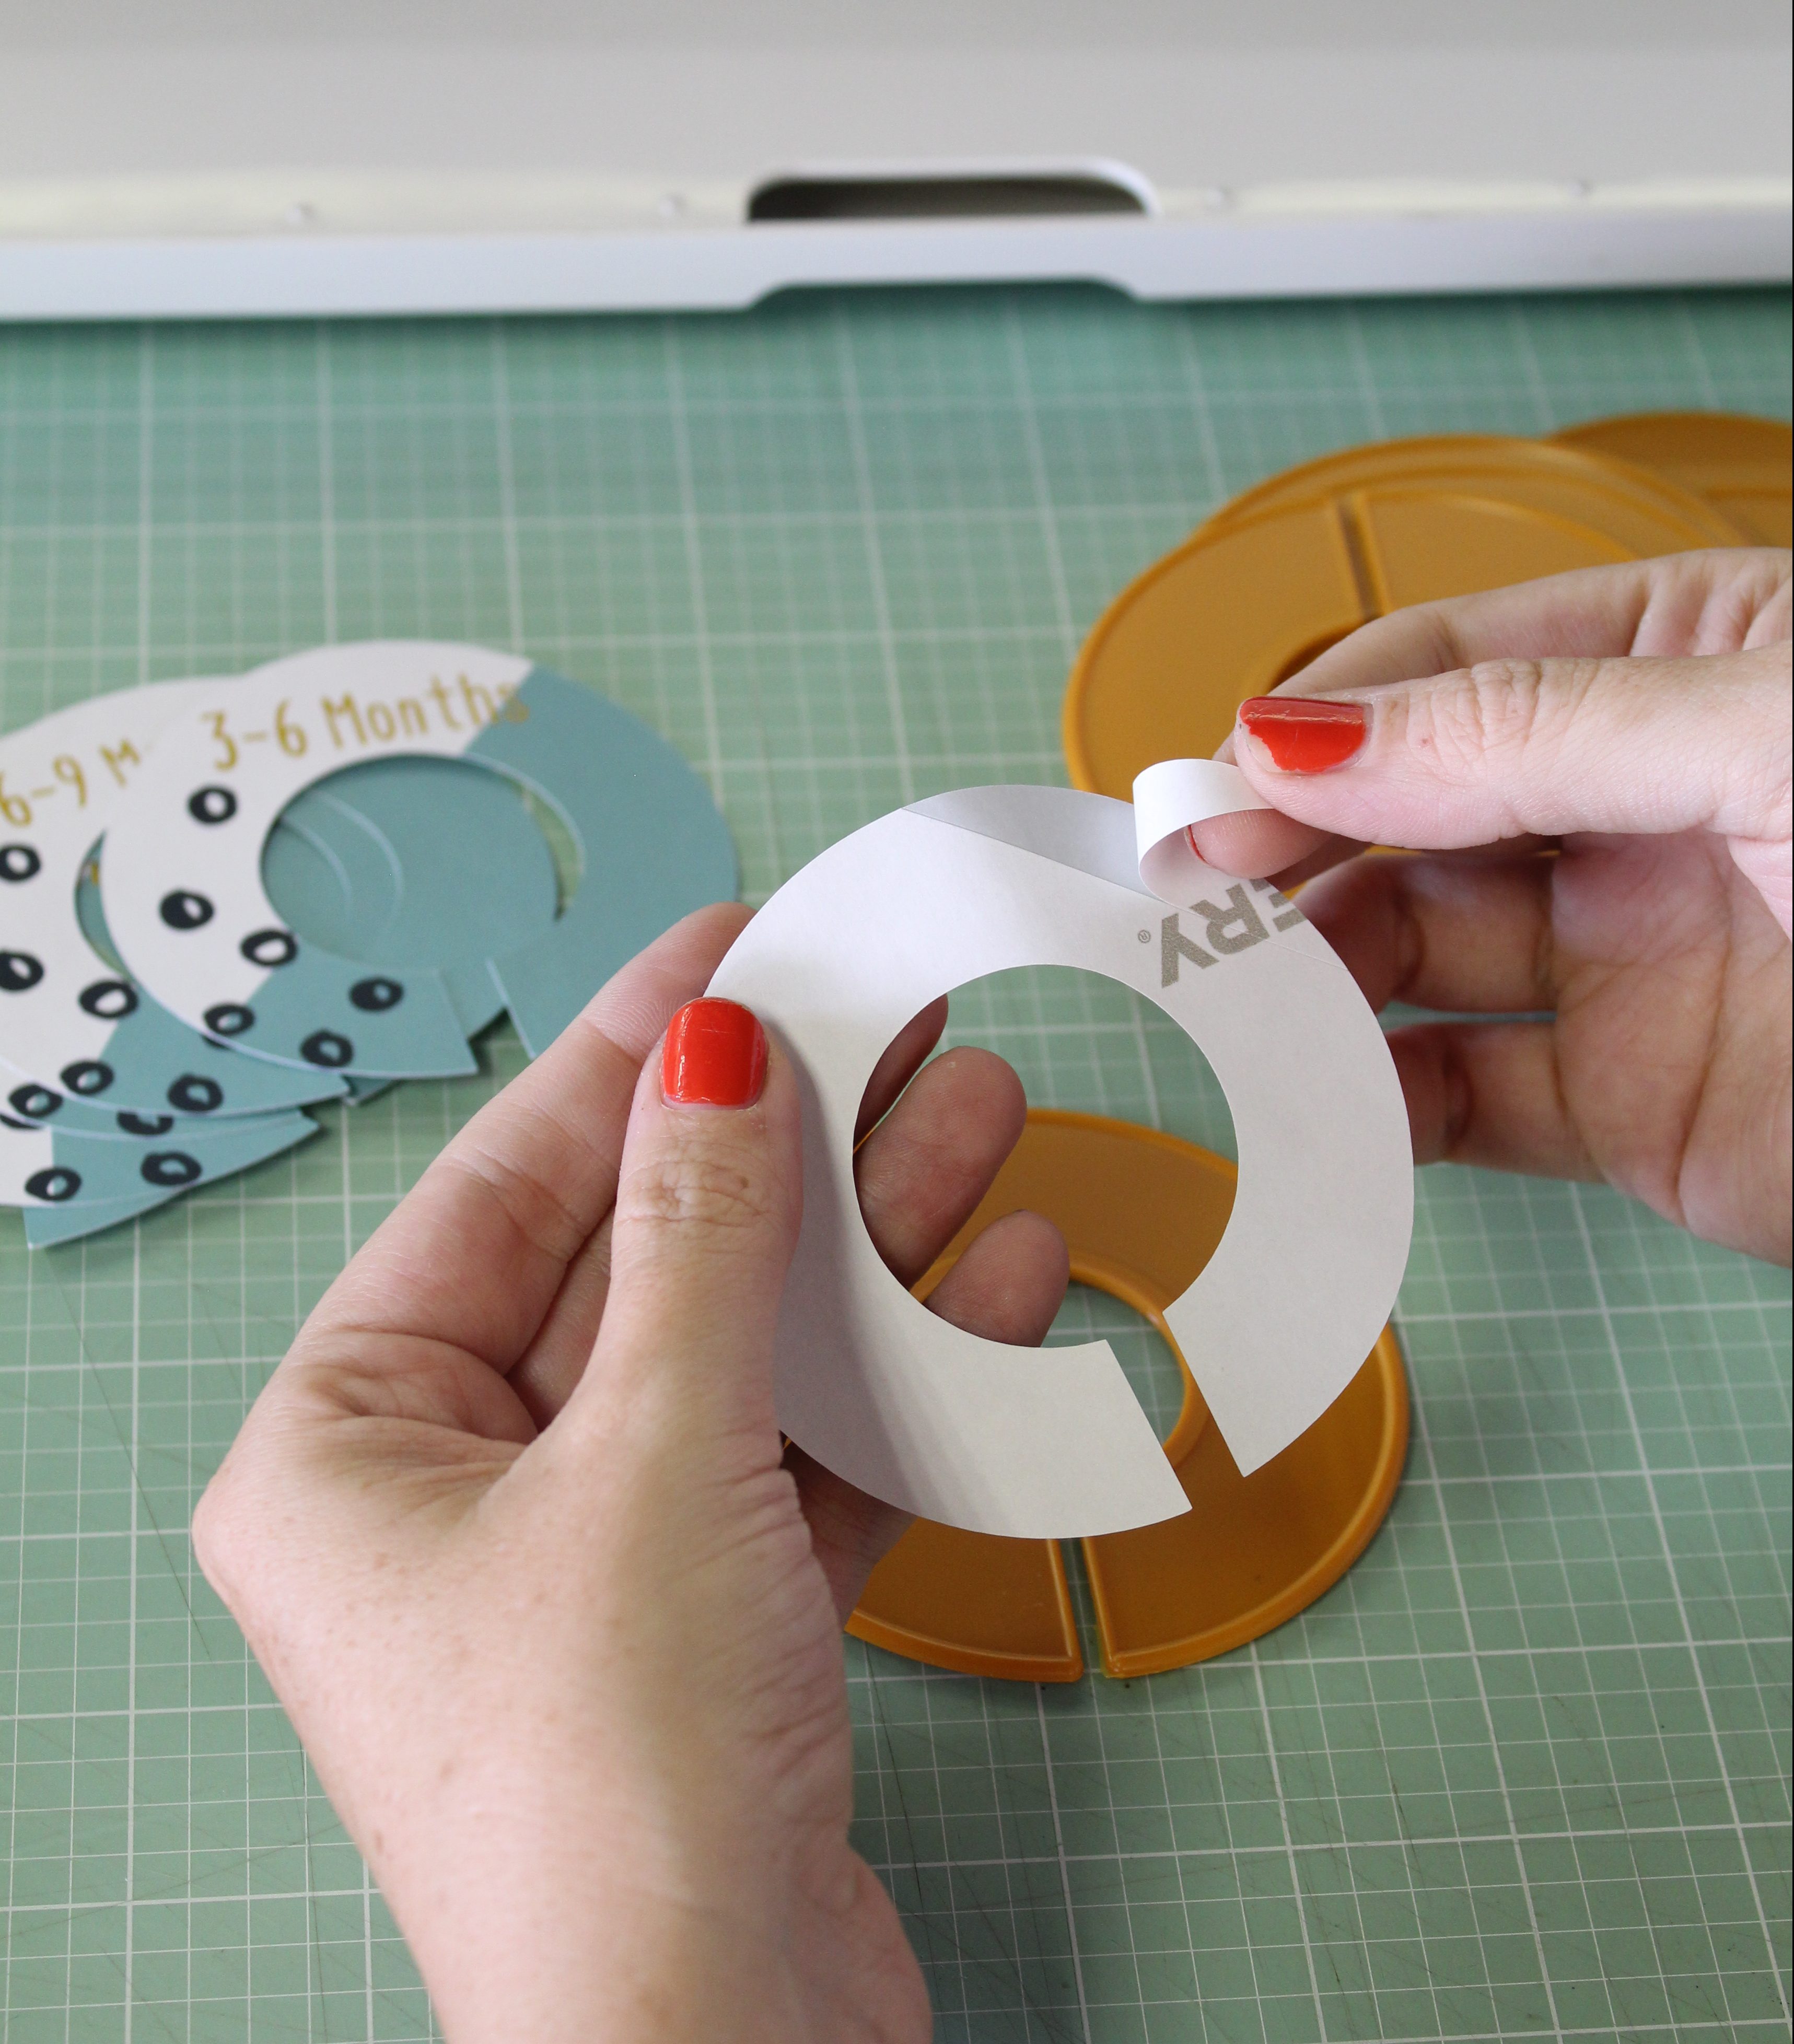
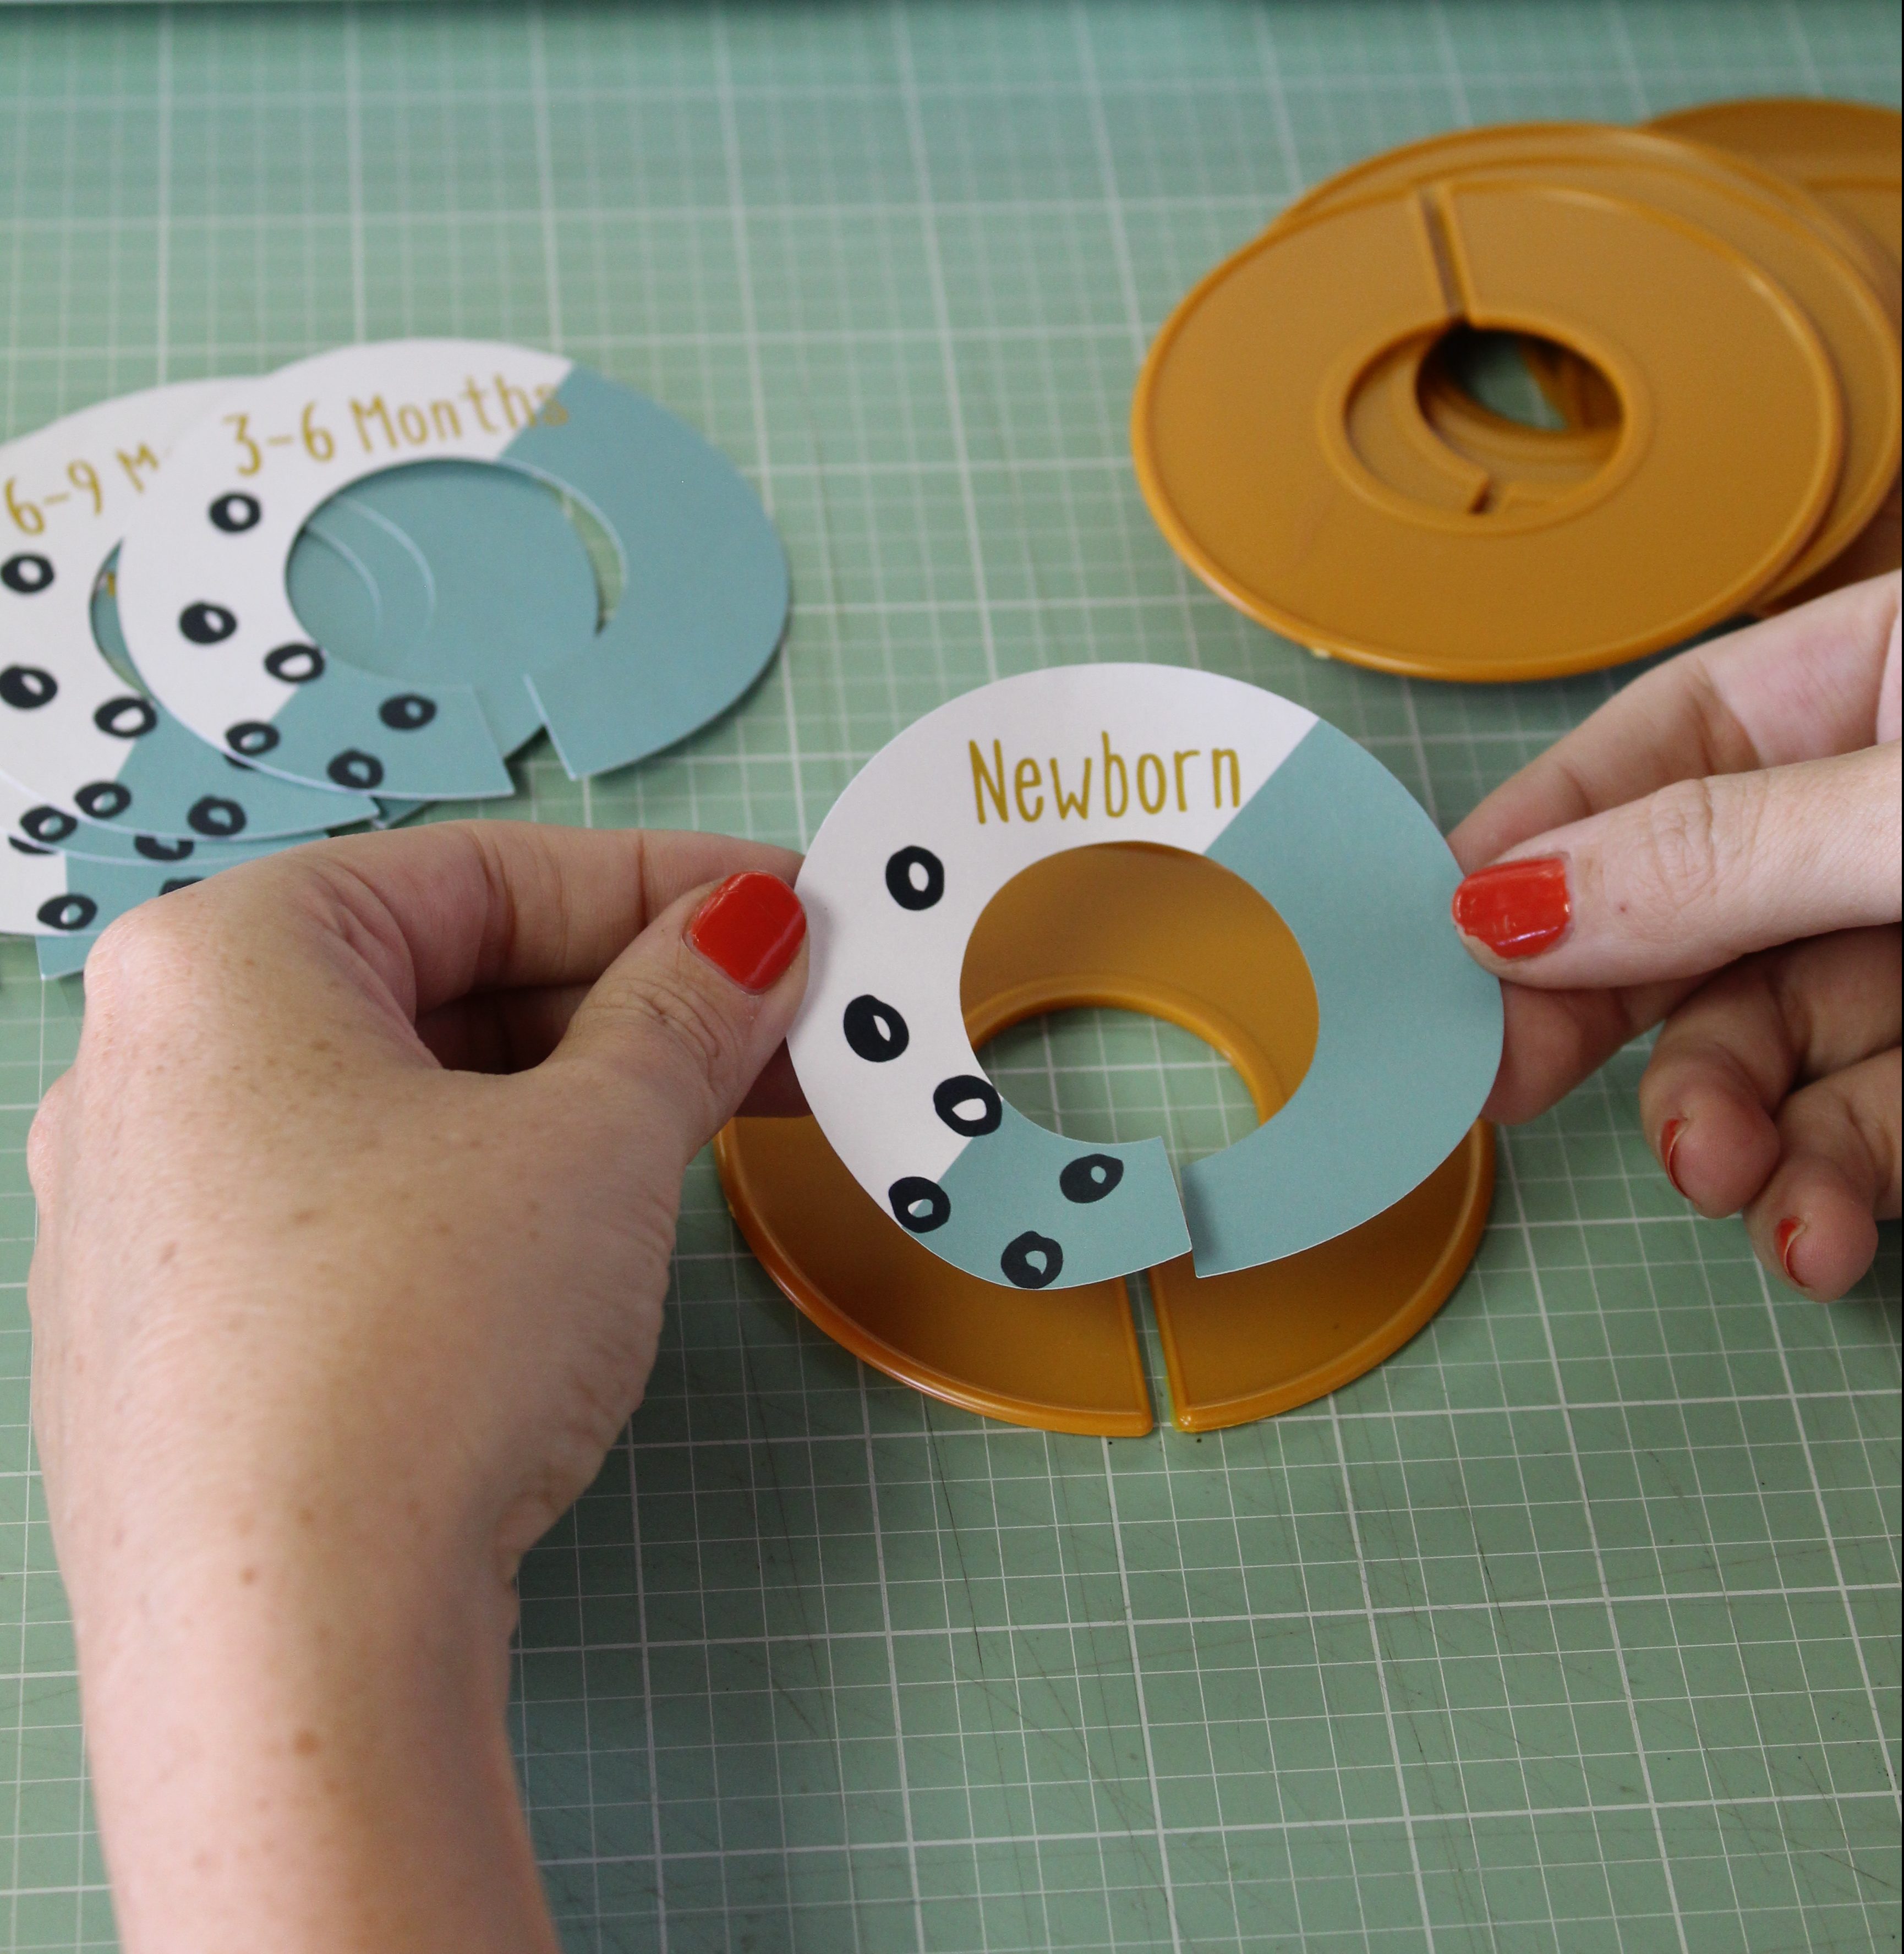
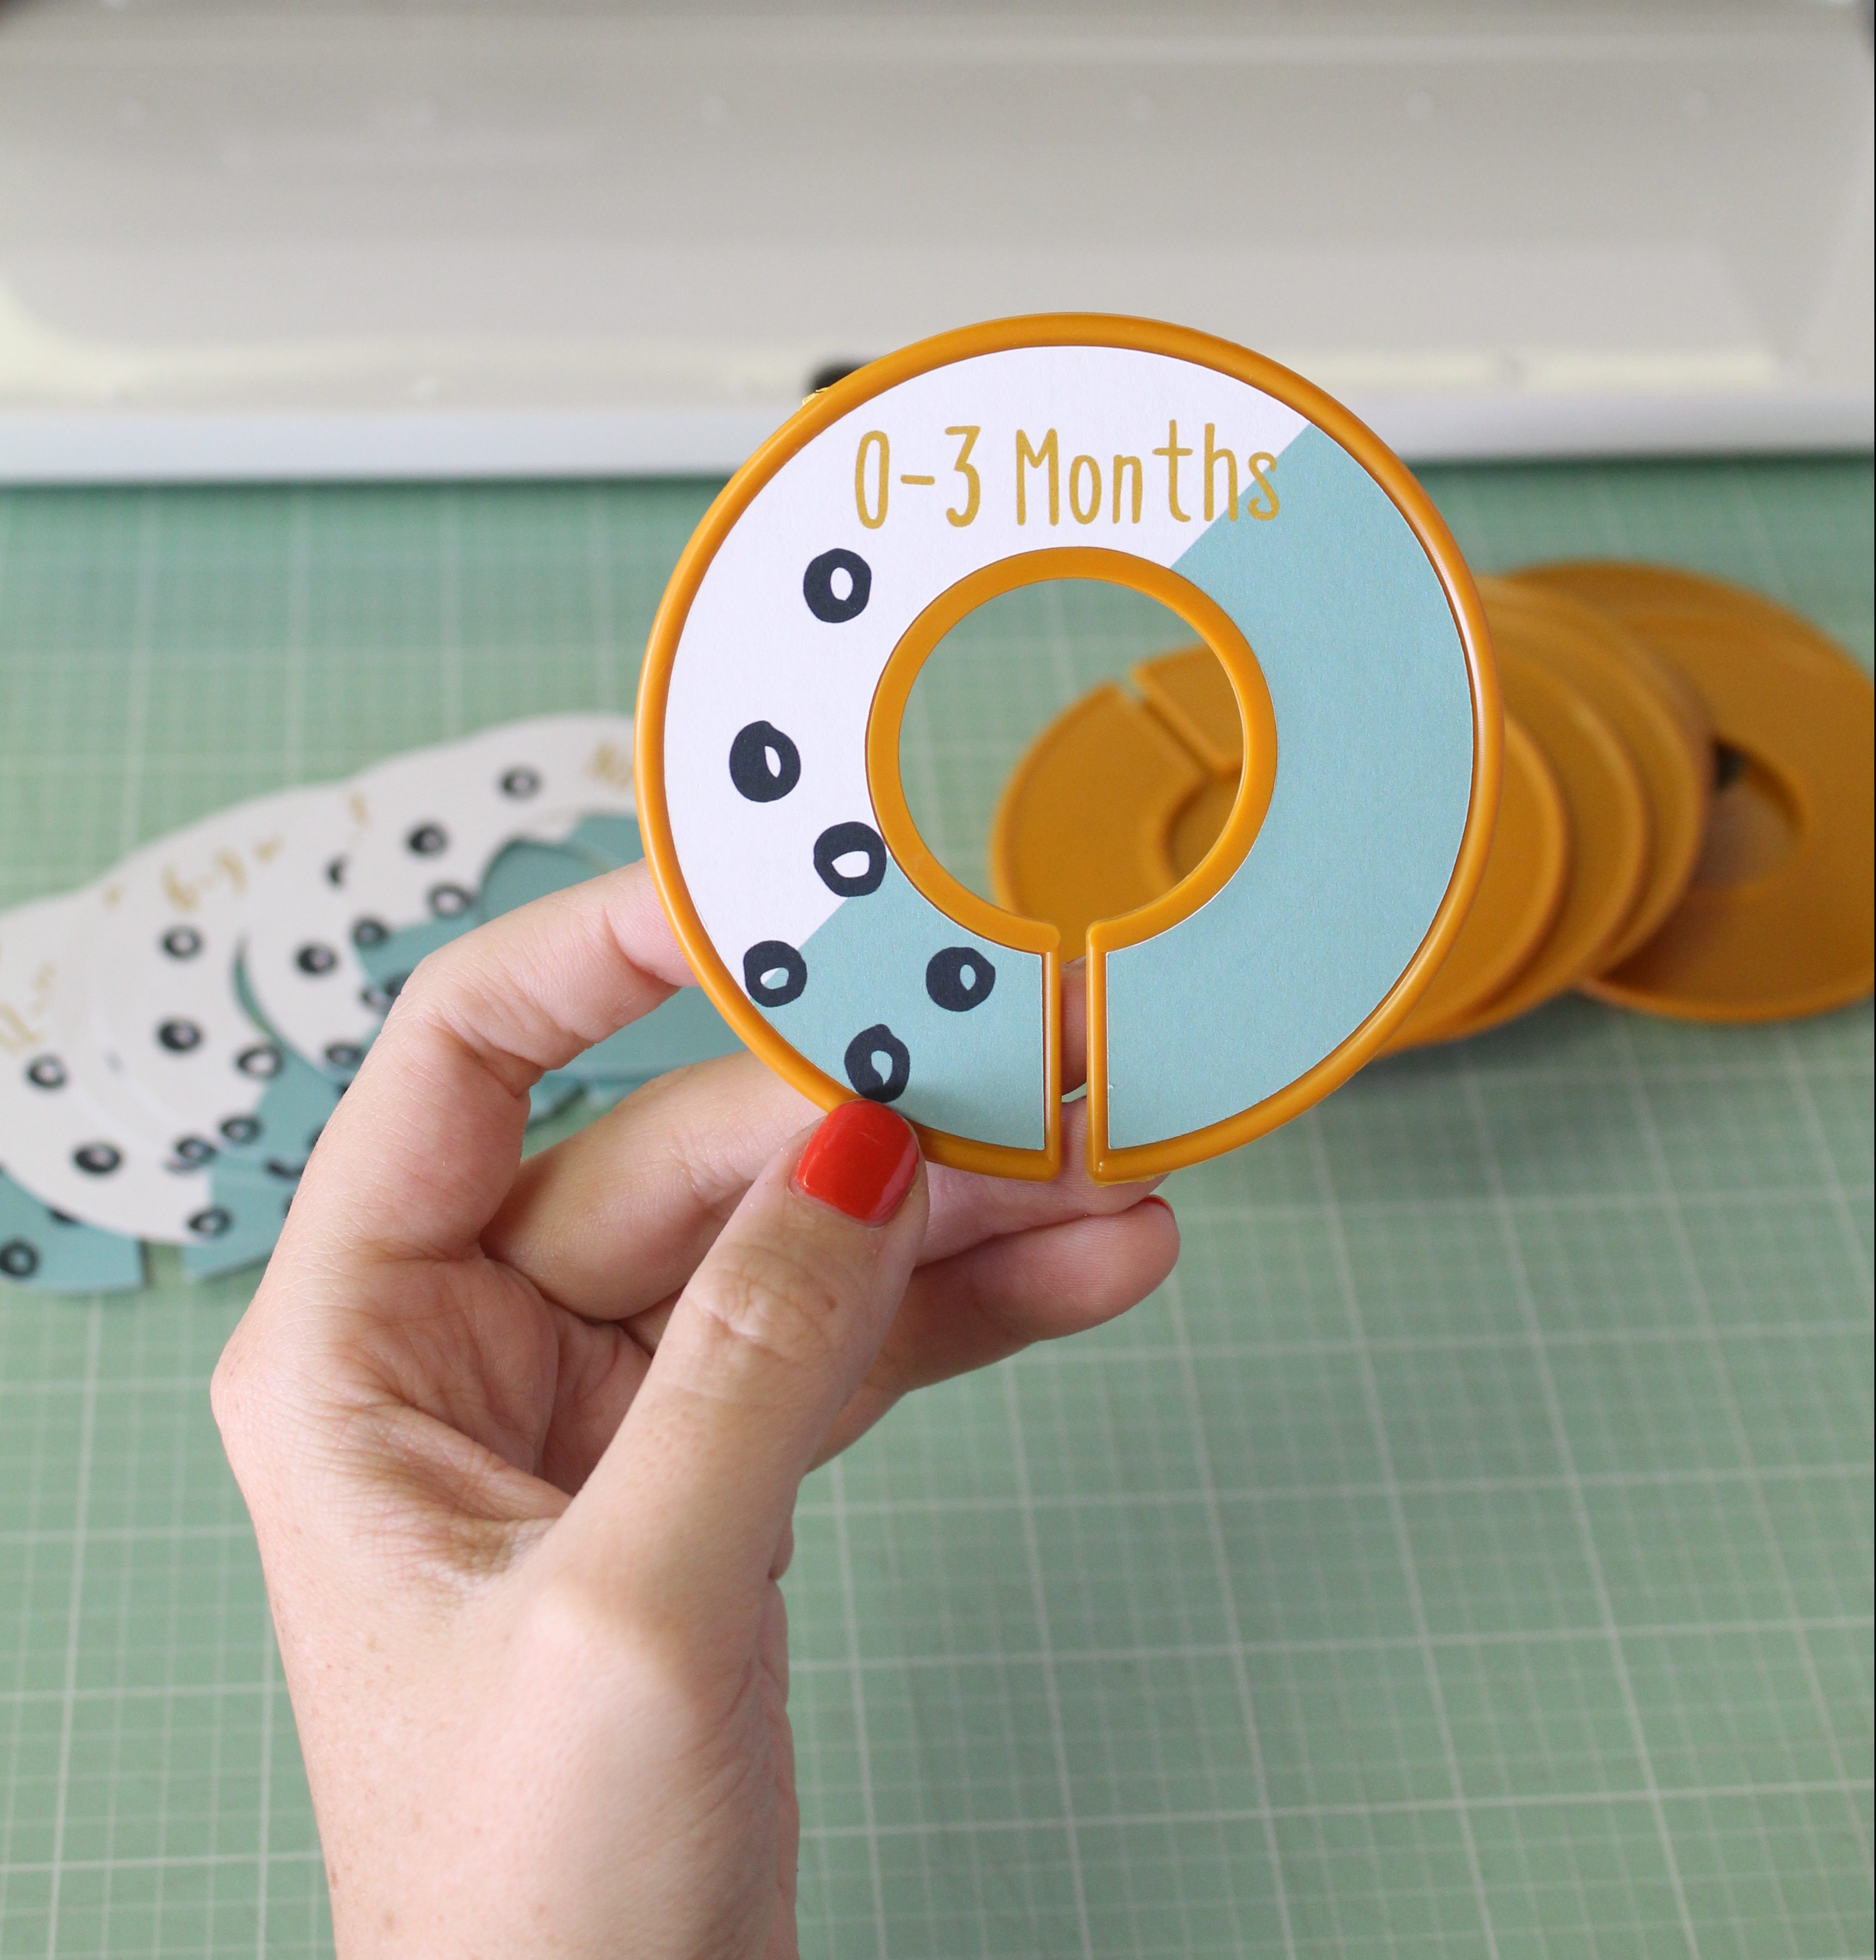
Then, it’s as easy as peel and stick!
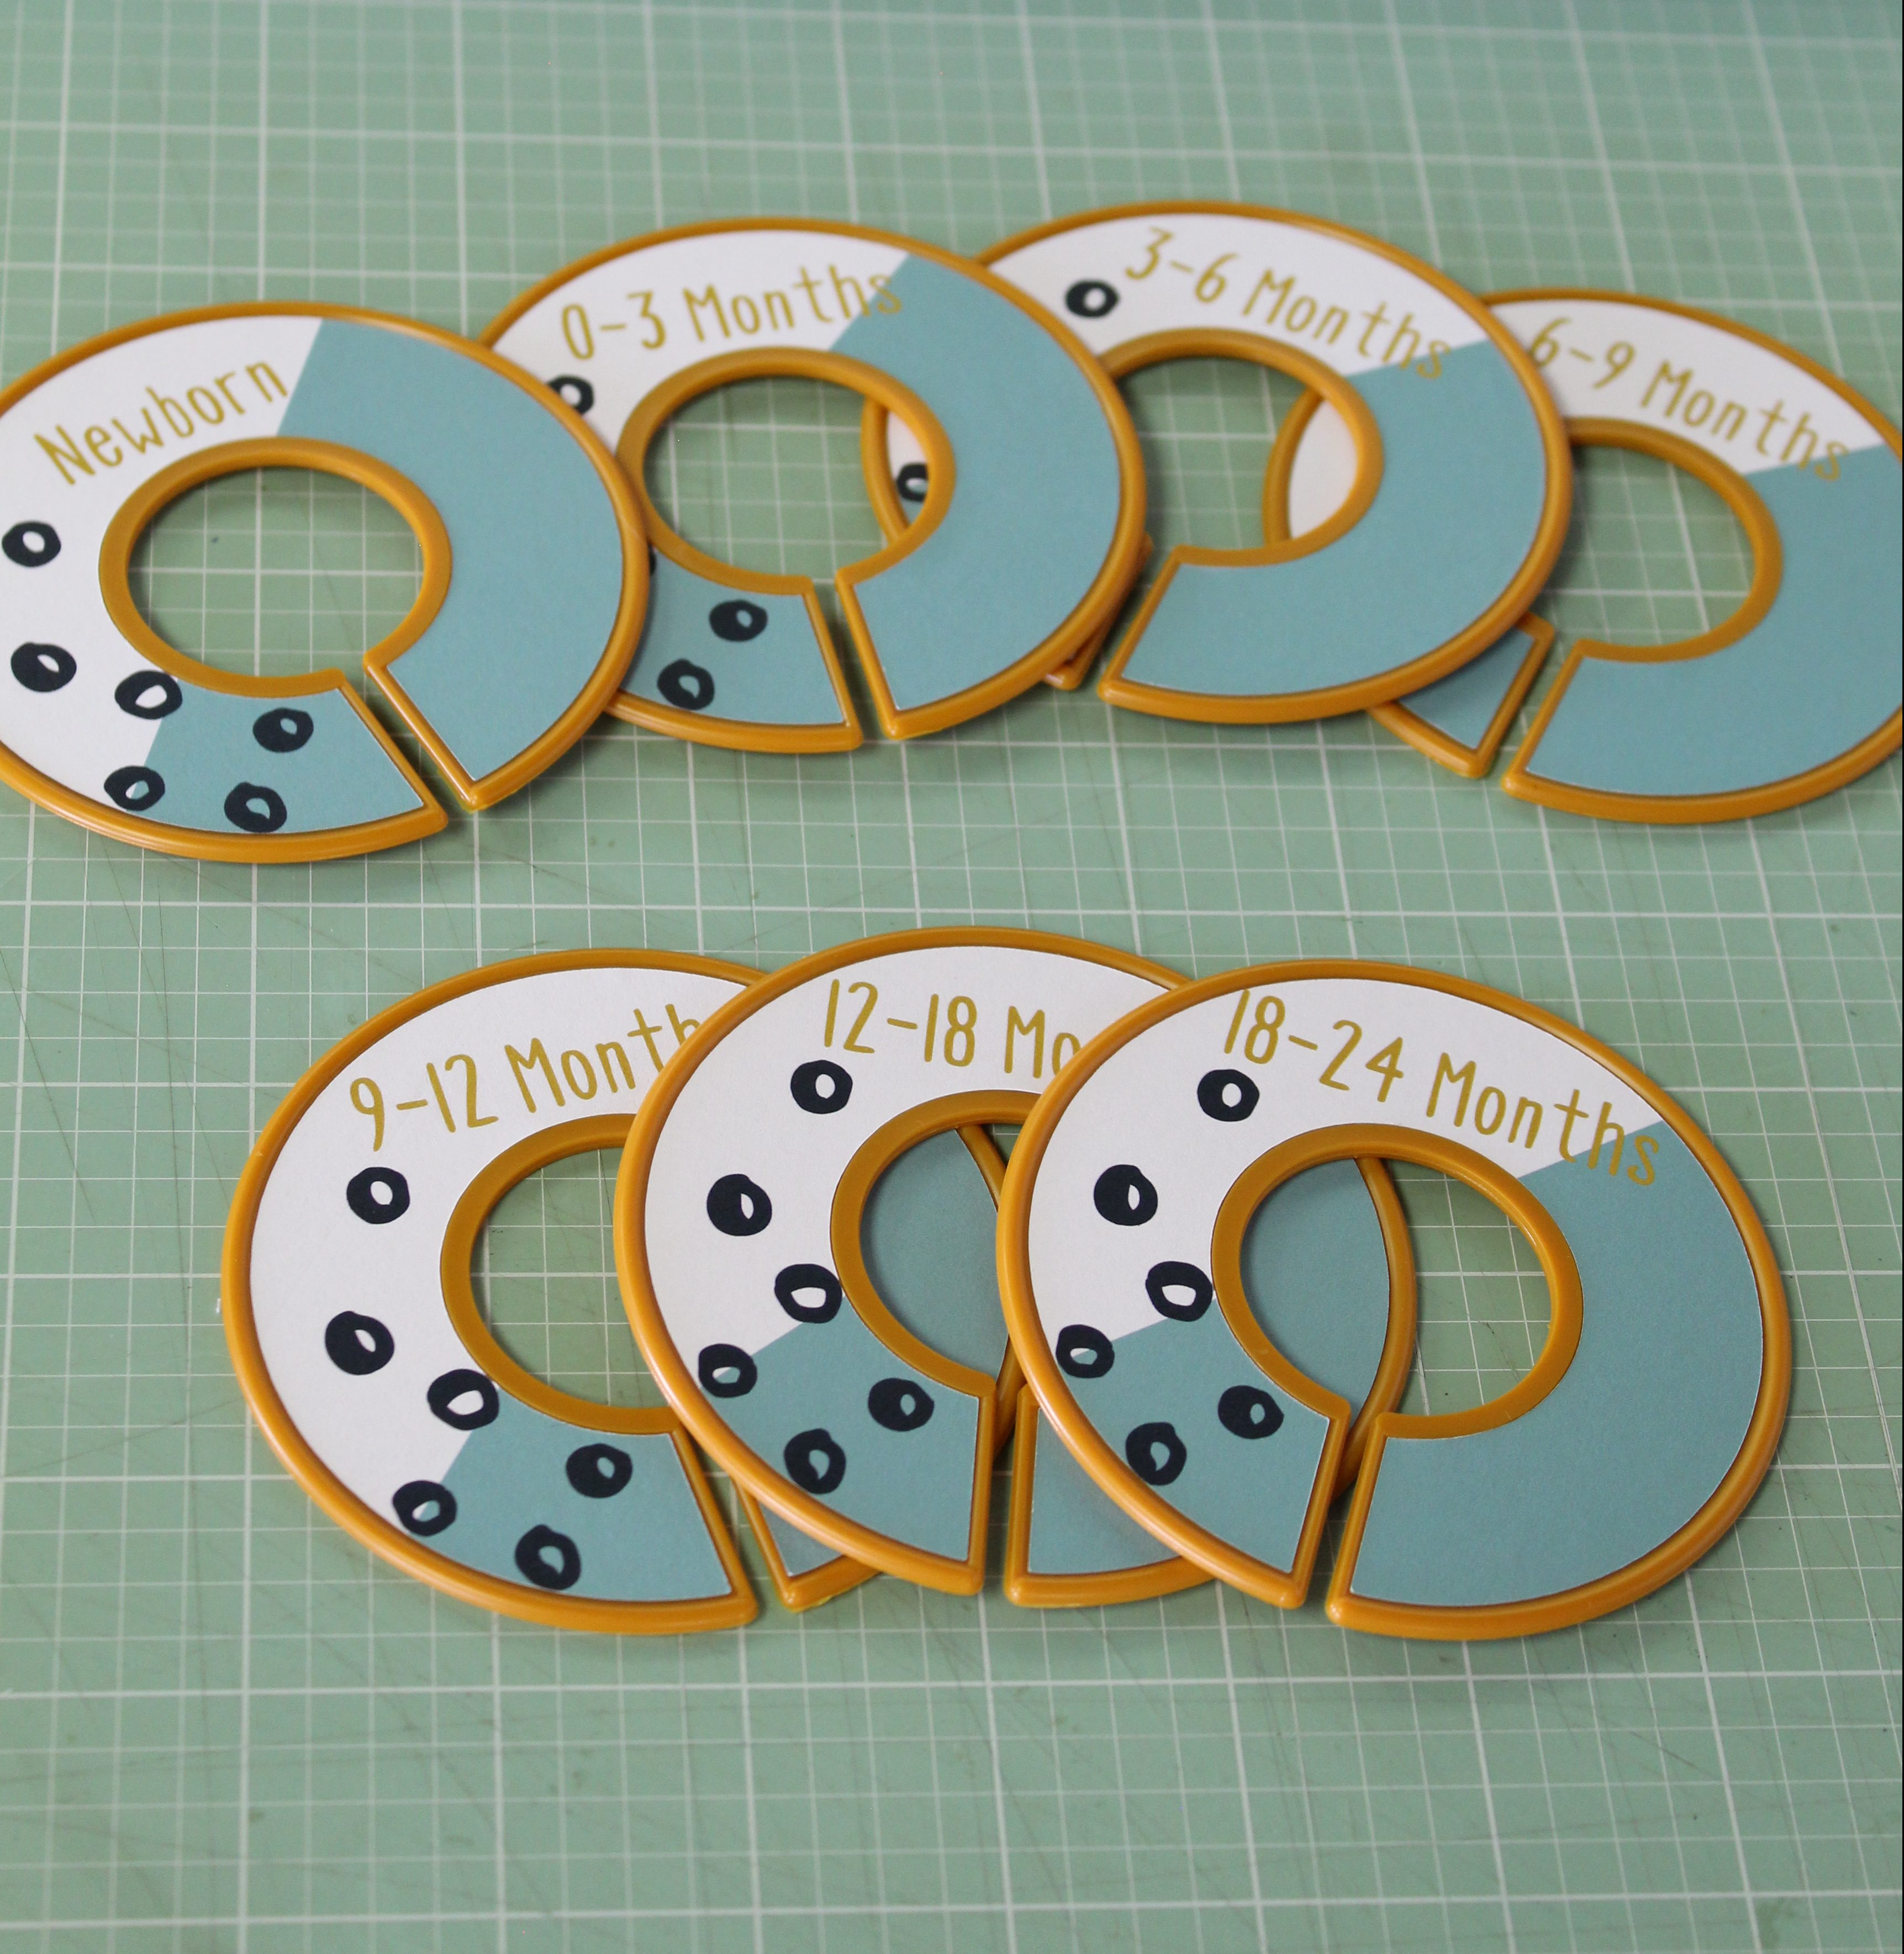
And that’s it! Its that simple! The great thing is, not only can you change the printable to be any color you like, the plastic rings come in dozens of colors as well! There are literally hundreds of different options for this project! I can’t wait to see what you create!
If you create one of our projects, please share a picture with us on Instagram or Twitter using the hashtag #somethingturquoisediy, we regularly reshare our favorites! Your profile will need to be public for us to see it otherwise, you can always DM us!
DIY Tutorial Credits
Photography + DIY Tutorial: Shea O’Quinn of Not So Cli-Shea // Cricut Maker and cutting mat courtesy of Cricut // Printable Sticker Paper:Amazon // Clothes Size Dividers: Amazon // Printer: Courtesy of Canon
Shop The Supplies:
Find the supplies you’ll need for this project from our affiliate links below:





Comments