– Partnered Post –
I’ve always loved a good DIY project; much of my wedding was DIY’d (see it here) and I’ve made everything from scarves to air fresheners. But ever since my baby was born, I just don’t have the time or the patience for the types of DIYs that I used to do. I know this will eventually change, but until then, may I present the easiest DIY that you’ll ever do? No, really; I’m not even sure I can call it a DIY….but I’m still going to.
The Easiest DIY Oversized Mat Picture Frame
You’ve probably seen them all over Pinterest and Instagram; oversized mat gallery wall frames are everywhere right now, but they aren’t cheap. So what do you do when you have champagne taste, but a beer budget? Do it yourself, of course.
To keep my cost down, I purchased seven Ribba picture frames from IKEA in 24×35¾ inches. At just $25 each, they are a total steal for a frame this size. Then I ordered customized matting from Custom Mat to recreate the oversized matting look that I was lusting over.
Note that IKEA’s matting measurements of 24×35¾ are slightly off. I learned this the hard way by ordering the size advertised on the frame, and they were too small. To avoid this issue, I highly recommend measuring the matting of the frames that you buy; I’ve heard there are a few versions floating around that are slightly different measurements.
Below is what I ended up ordering once I measured the matting myself (and they fit perfectly):
Frame: IKEA Ribba, 24×35¾ inches.
Matting Colour: Smooth White.
Matting Sizes:
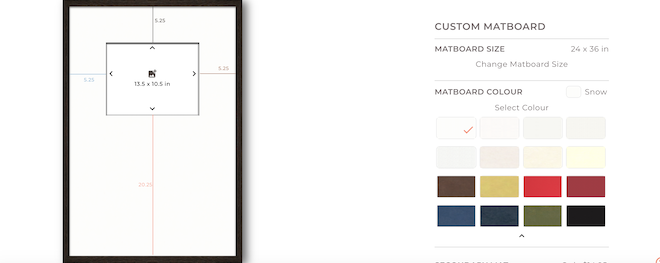
Overall size: 24×36 inches.
Opening size: 13.5×10.5 inches.
Margins: 5.25 inches wide (both sides and top) with 20.25 inches on the bottom.
*Designed to fit an 11×14 photo.
If you’re tackling a gallery wall like me, you can get a bundle discount (no code necessary) and get up to 40% off along with free shipping over $49. Custom Mat’s online portal was incredibly easy to use and provides you with an instantly scaled diagram of what you’re ordering. Here’s mine:
The mats arrived in one large package and then it’s as simple as removing the standard IKEA mats and inserting the new Custom Mats and photos. Bonus: the new mats are a much better quality than the IKEA ones and more substantial overall.
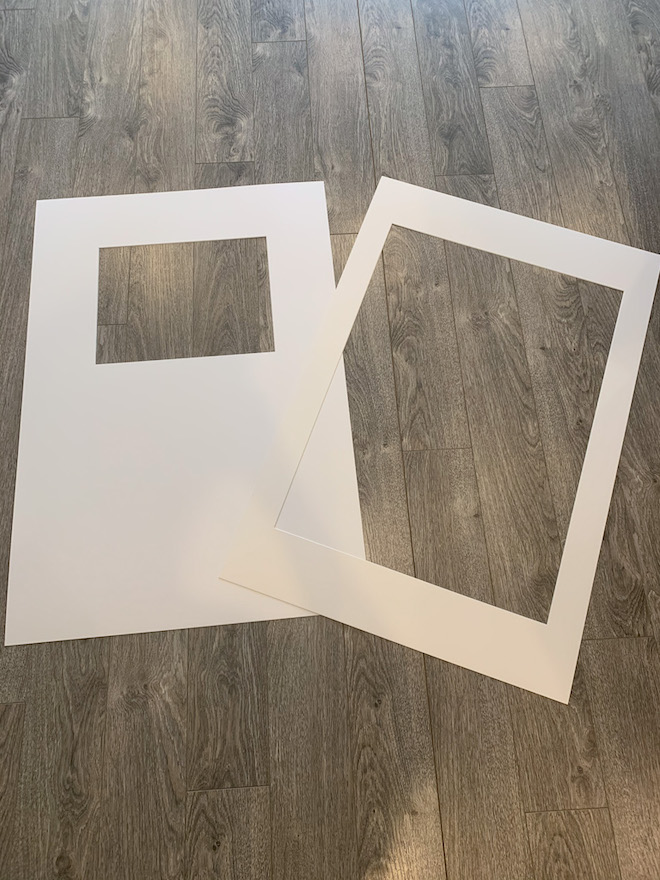
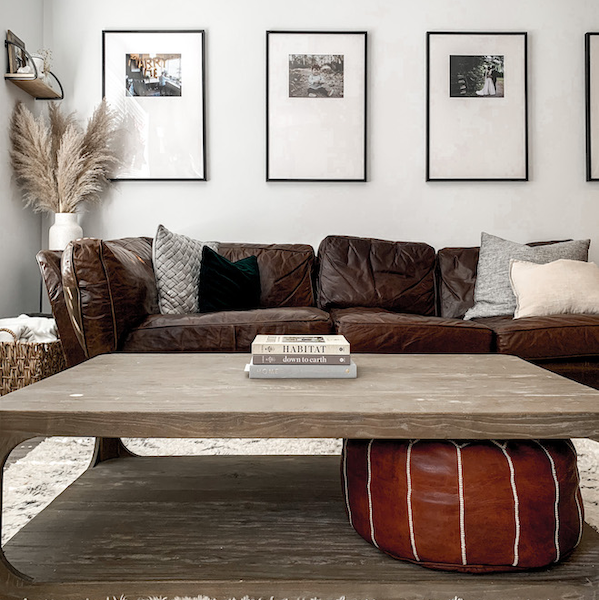
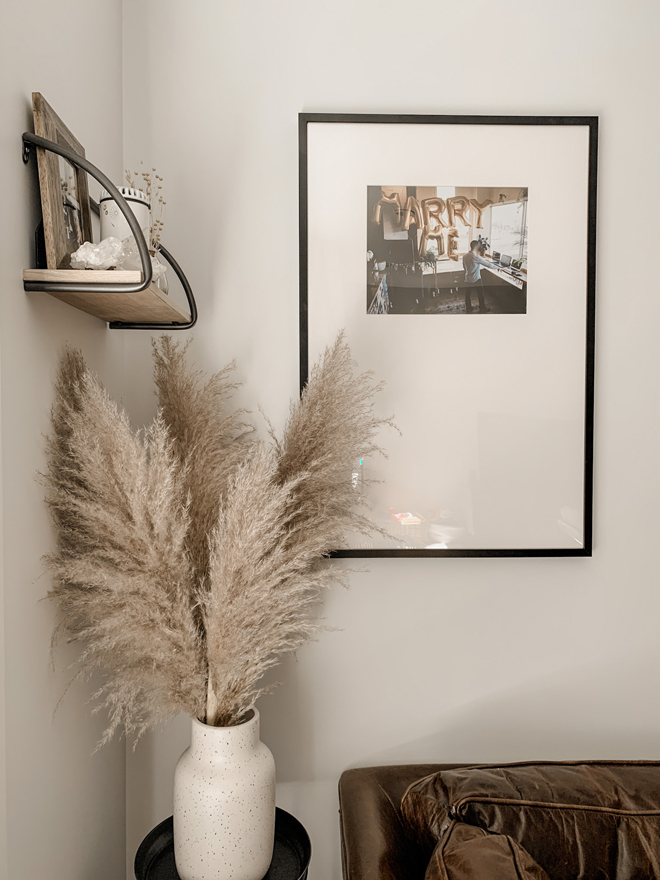
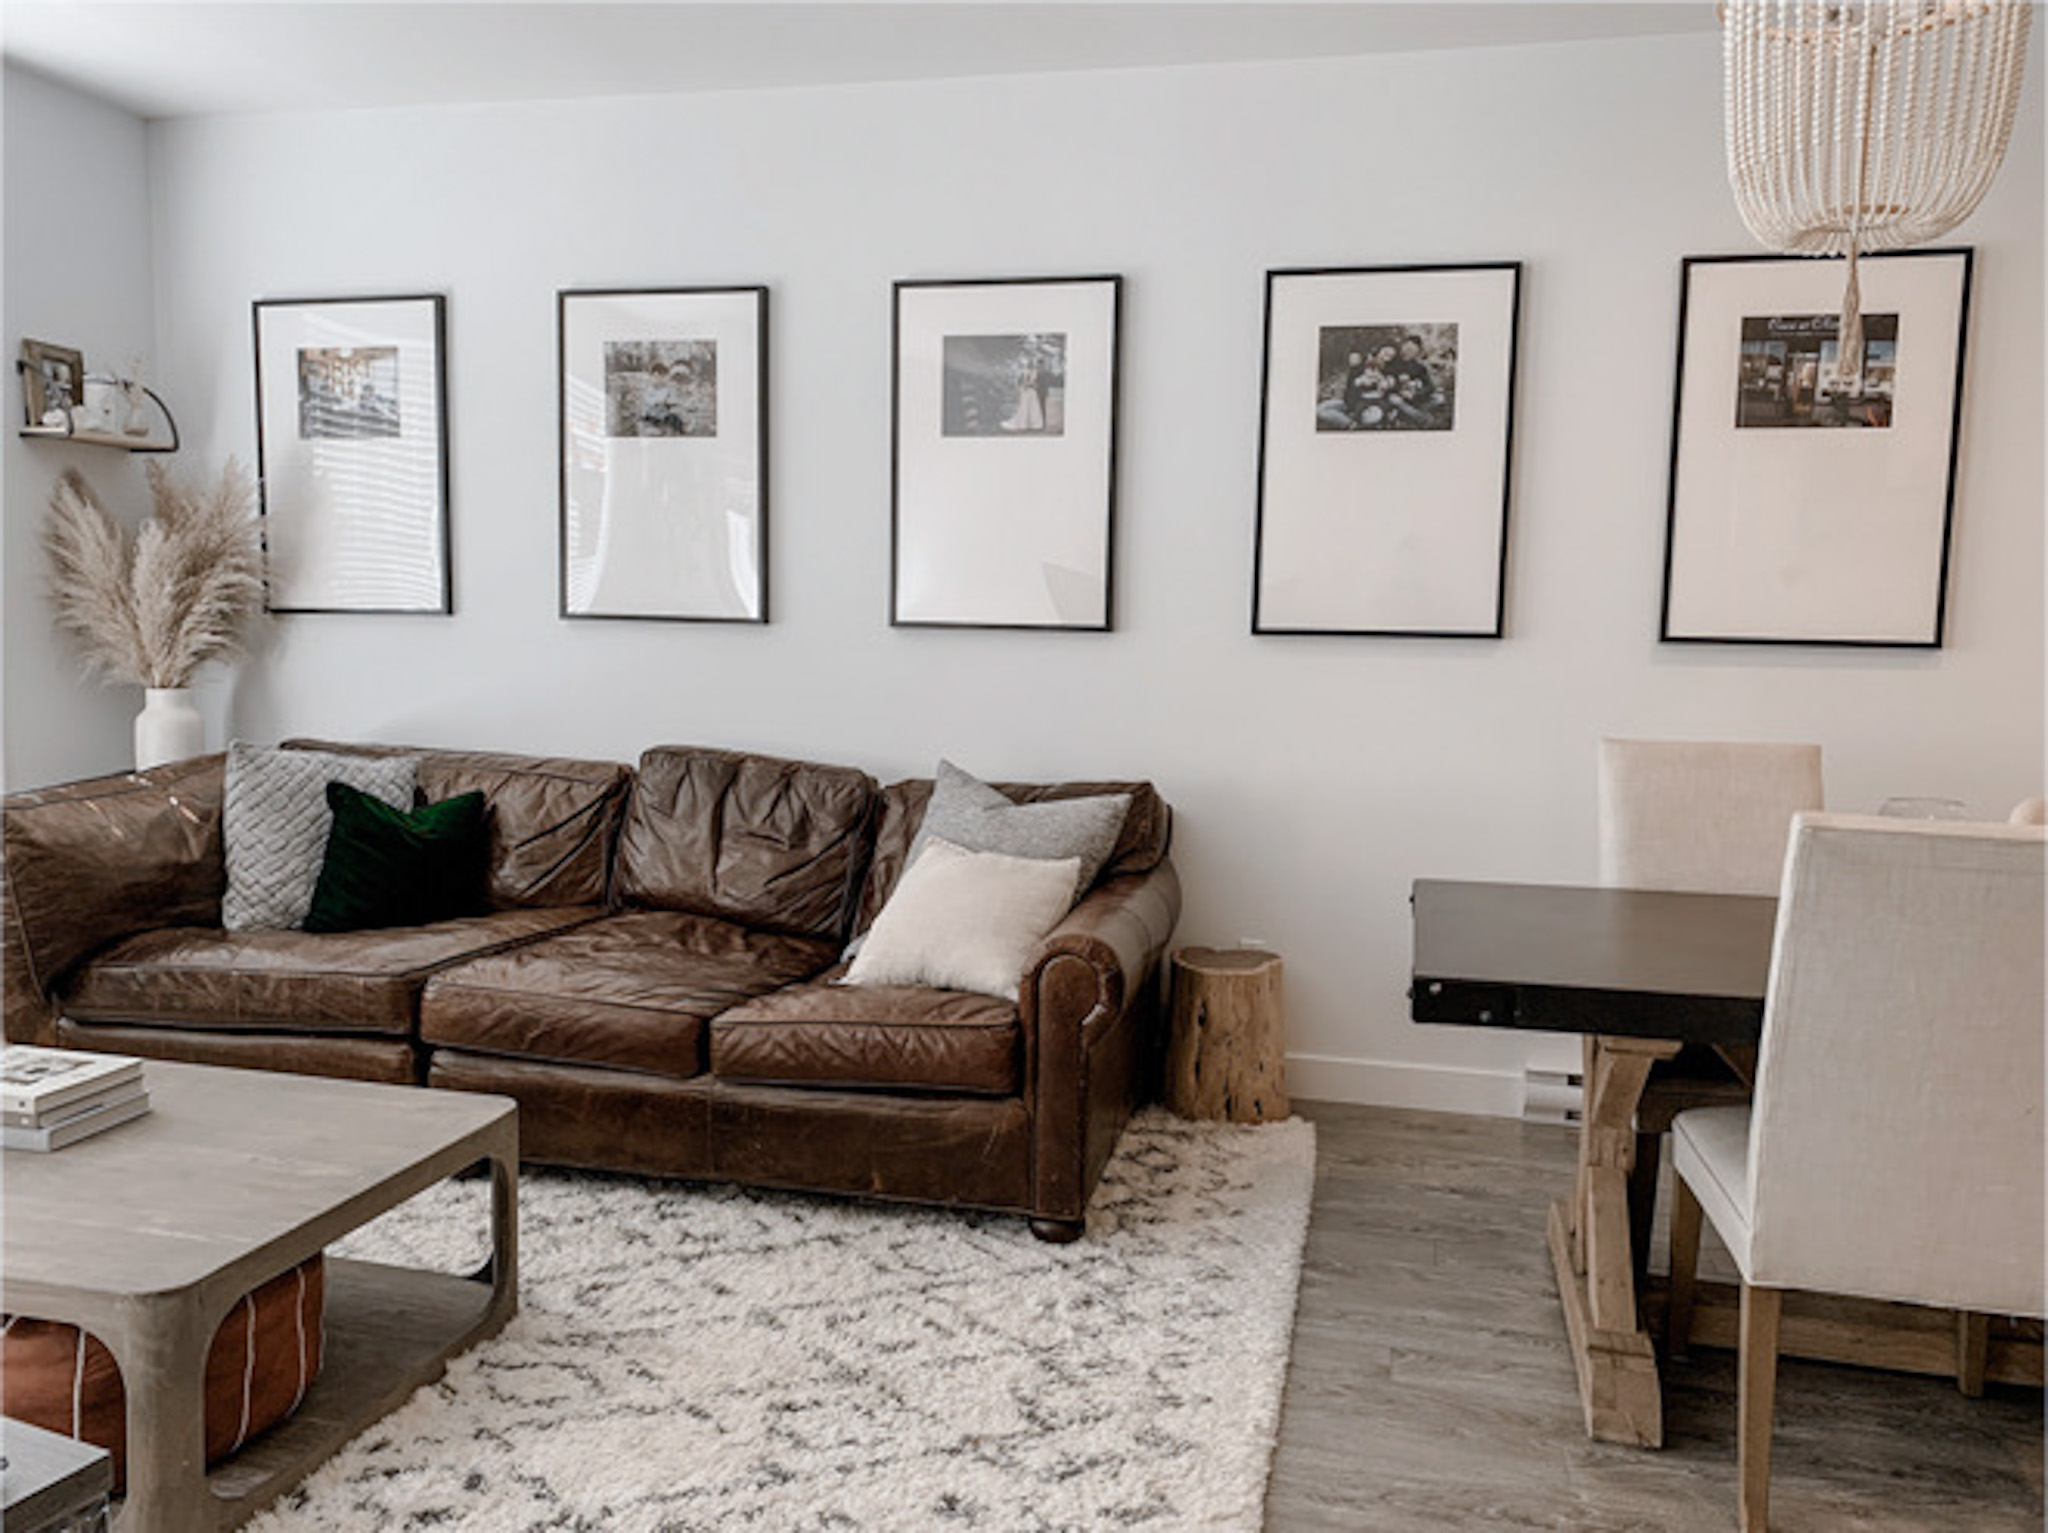
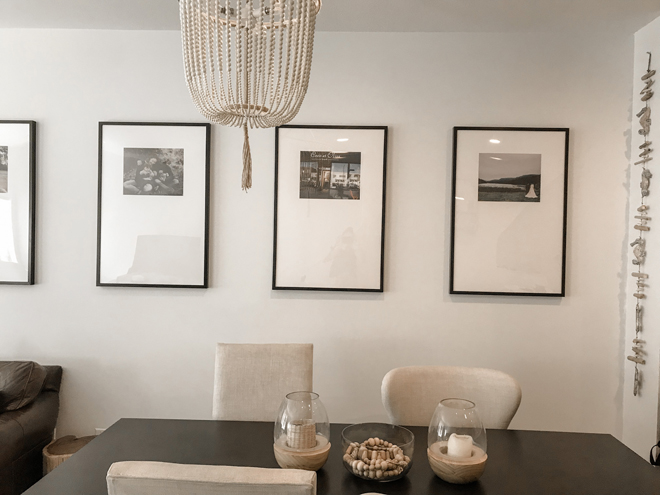
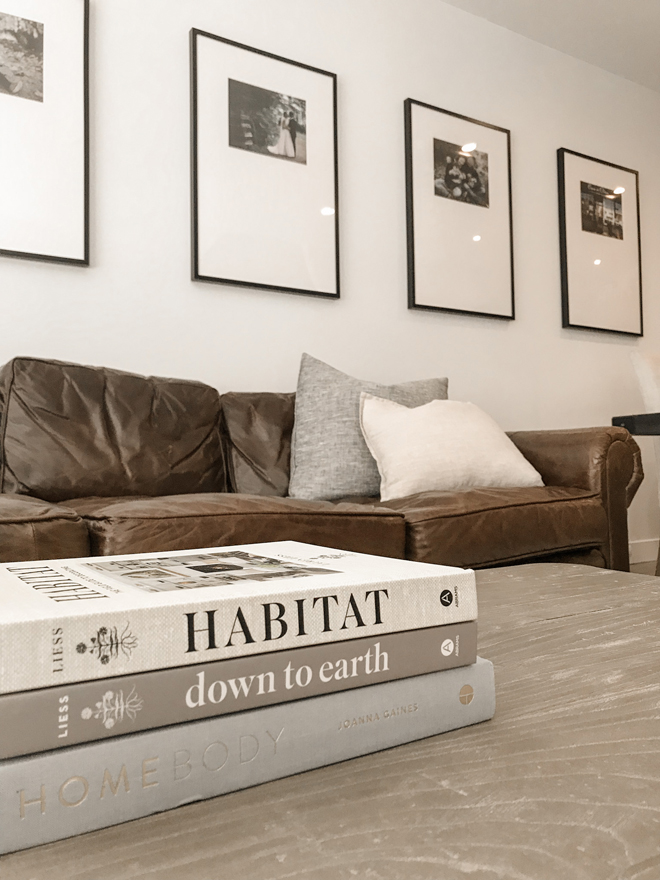
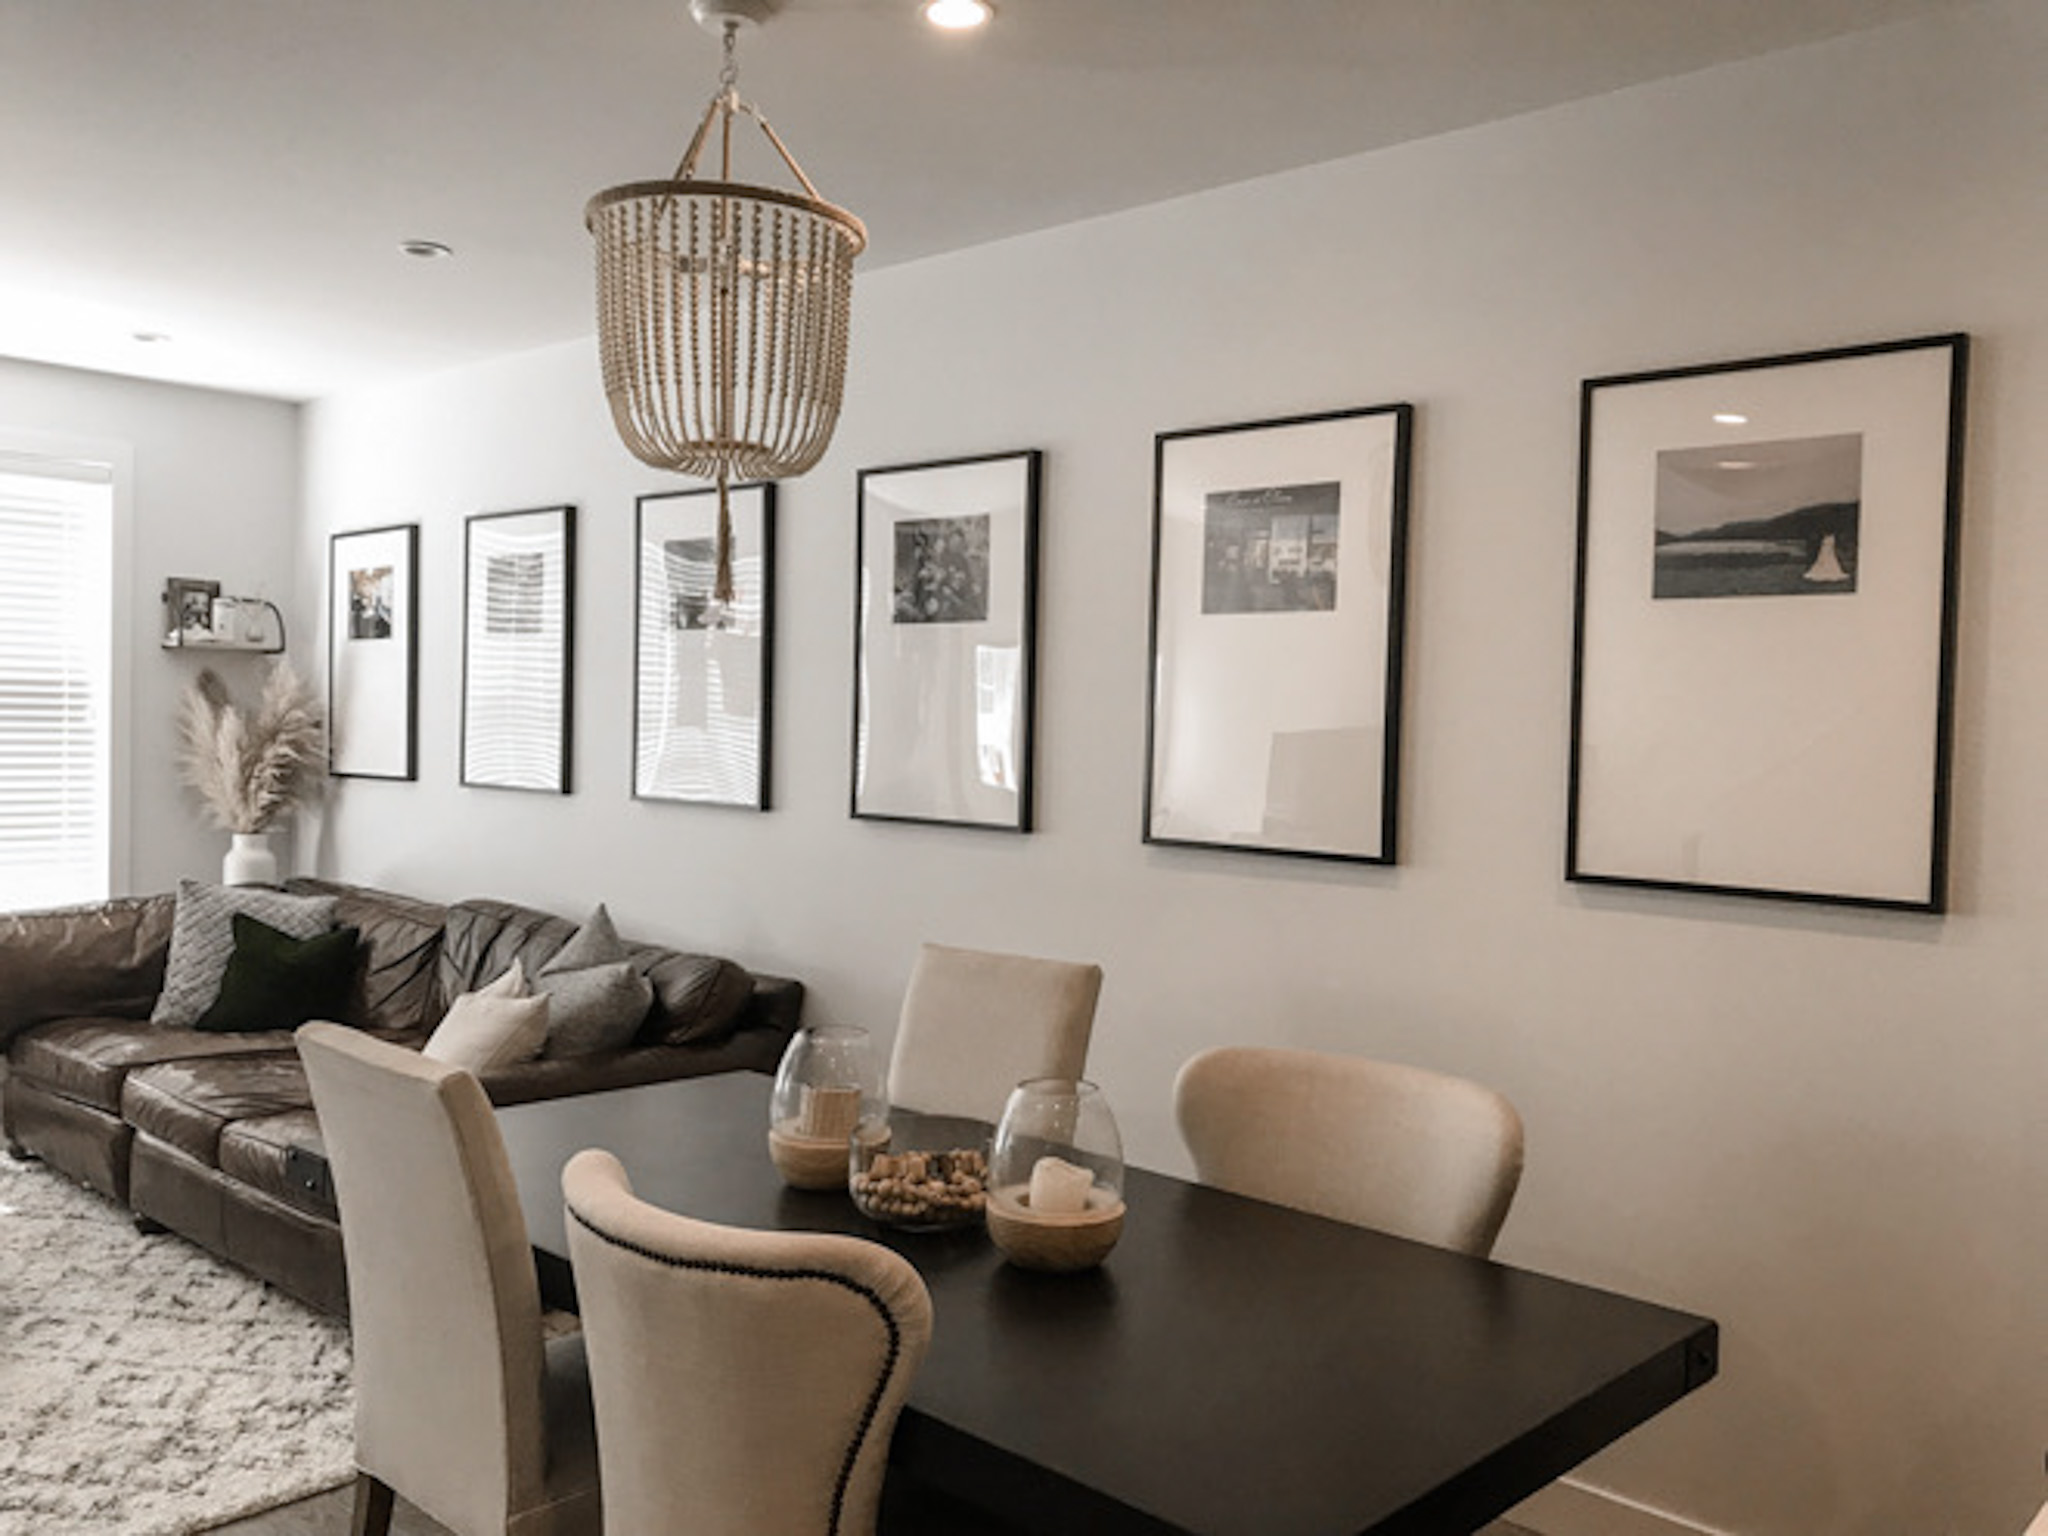
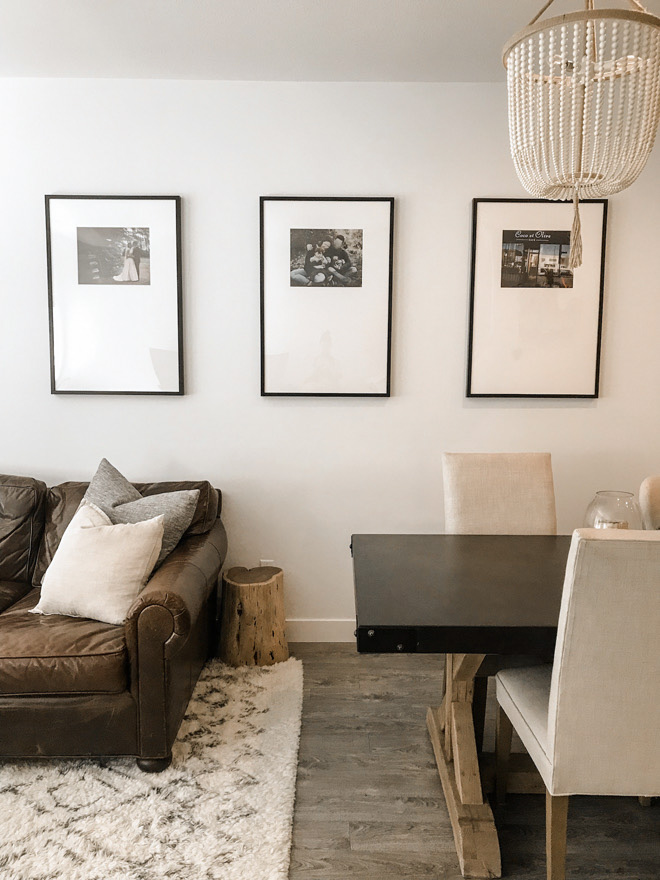
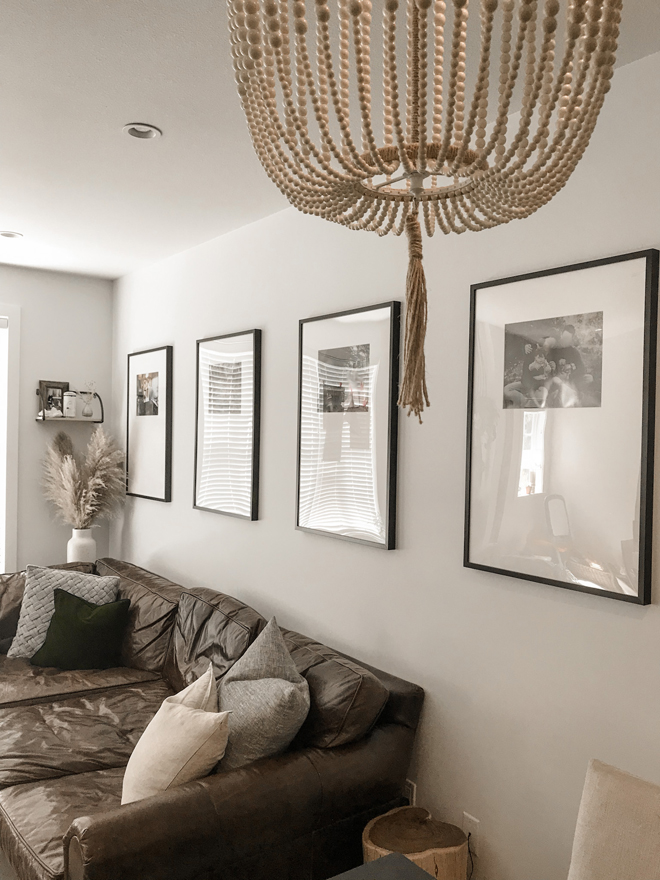
I filled mine with some family photos, but I think I’ll swap them out periodically to include places we’ve traveled, baby photos, and photos of our pup. I can’t believe what a major impact some simple matting makes; the frames have a much more elevated feel to them and so does our living room.
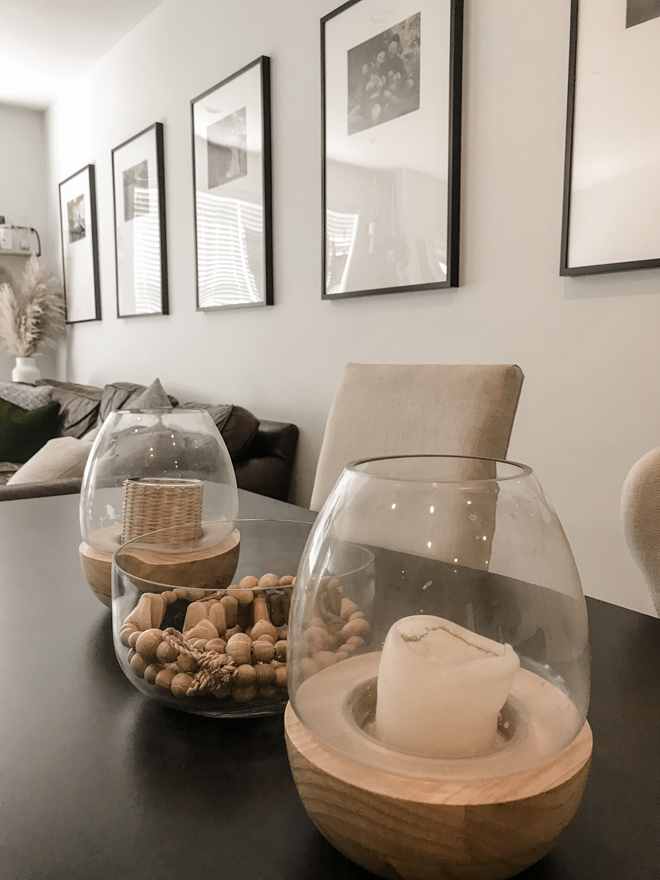
We chose to hang them on one wall that spans our entire living room and dining area, but this technique would also be great for a gallery wall. Since each mat is custom cut, you can use any size frame you want (even ones you already have!). If you’re unsure about your measurements, you can always reach out to Custom Mat; they have solid customer service and responded to each one of my questions within hours.
Easiest project ever, right?! My husband spent more time hanging the frames than I did sourcing and ordering the materials. Now that’s my kind of DIY!
Project Supplies:
Matting: c/o Custom Mat / Frames: IKEA Hemnes / Chandelier: Wayfair Empire Chandelier / Rug: Safavieh Handmade Casablanca Shag Kathlyn Tribal Wool Rug / Tan Linen Pillow: NORDECO / Other Pillows: HomeSense / Pampas Grass: Eucalyptus Pop Up / Dining Chairs: Restoration Hardware – similar here / Couch, Dining Table, and Coffee Table: Restoration Hardware / Moroccan Pouff: Wayfair.




Comments