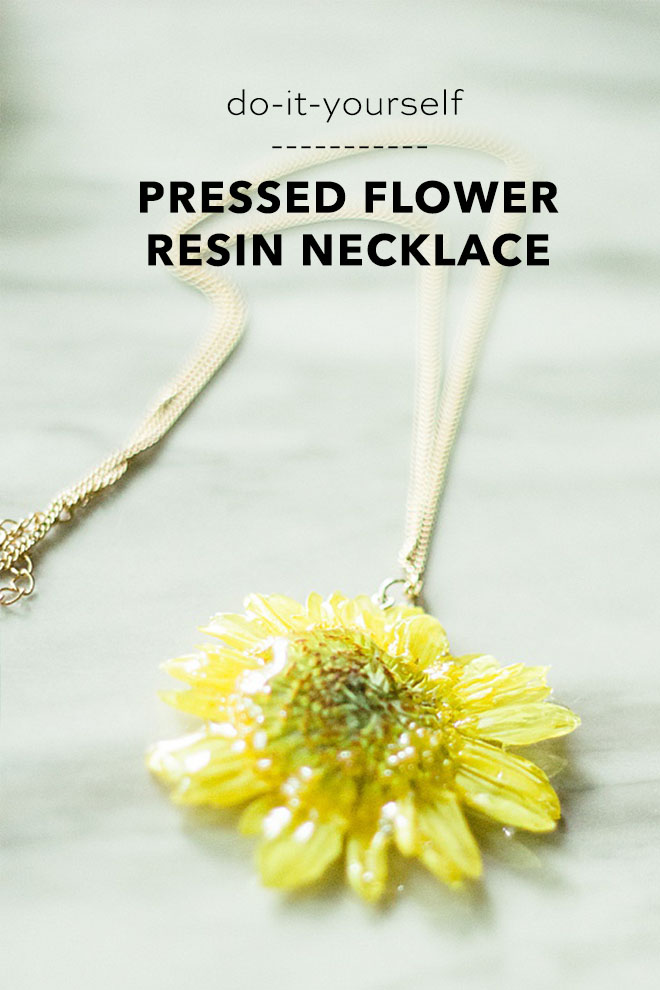
I am Carli Hein from Hein & Dandy, a DIY blog with a touch of lifestyle! In a past post I gave you lots of ideas on how to preserve your wedding flowers and now I have the chance to walk you through one of my favorite ways to preserve, with resin! This is one of my all-time favorite type of DIY project with resin. Mixing resin can be challenging though so when I found out there is UV resin that cures instantly with no mixing, I was sold! It is a beautiful way to preserve projects and create new shapes and forms. When you fall in love with your flowers even before your wedding day, you want to remember them. Now the hardest part of this DIY might be choosing which flower out of your entire bouquet to make into a necklace! Let’s get started!
SUPPLIES:
- UV Resin
- UV Light
- Flowers
- Heavy Books
- Parchment Paper
- Pliers
- Jewelry Jump Rings
- Necklace
- Eyepin
- Tweezers
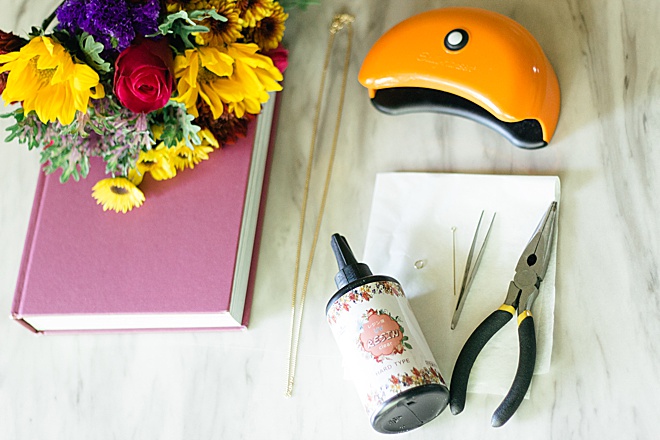
Your Wedding Flowers
This is where you start the DIY process! You spend so much time deciding on wedding flowers for one day and now you can cherish them forever! The best flowers to preserve are going to be the smaller buds, individual petals, or some greenery. My favorite flowers to press and preserve are daisies!
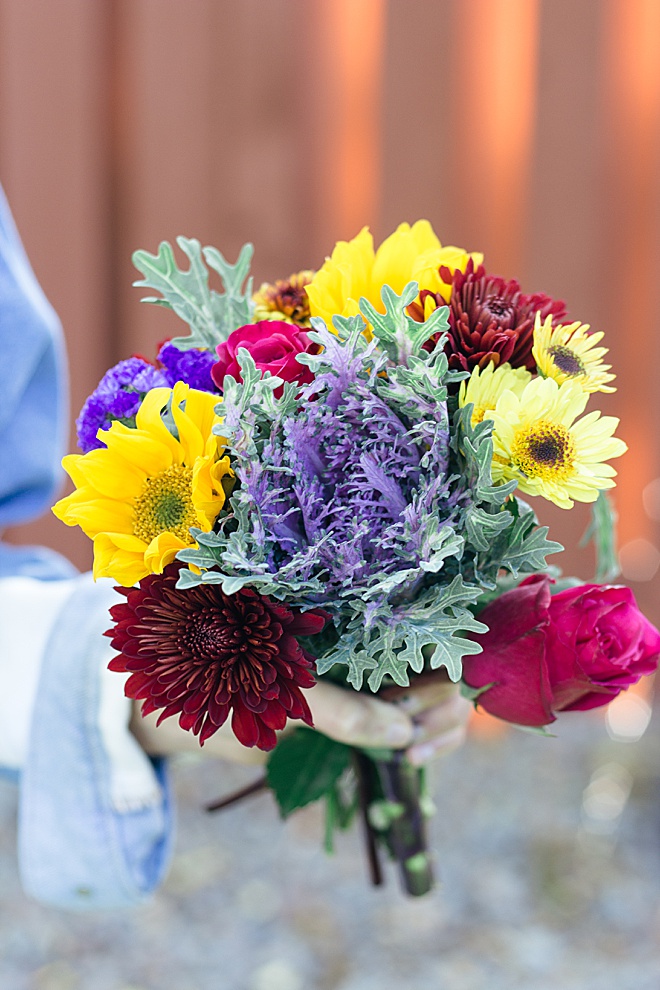
Pick The Flowers
Decide on which flowers you want to press from your bouquet and set them aside. Take each stem off the flower as close to the base of the flower as possible.

Place and Press
In the middle of your large book place the parchment paper in between the pages. Lay the flowers in the position that you want them to be flattened. Lay the parchment paper over the top and close the book. Place heavy objects or every book you own on top to press the flowers. Leave for as little as one day or a week. The longer you let pressed, the flatter they become.


Resin
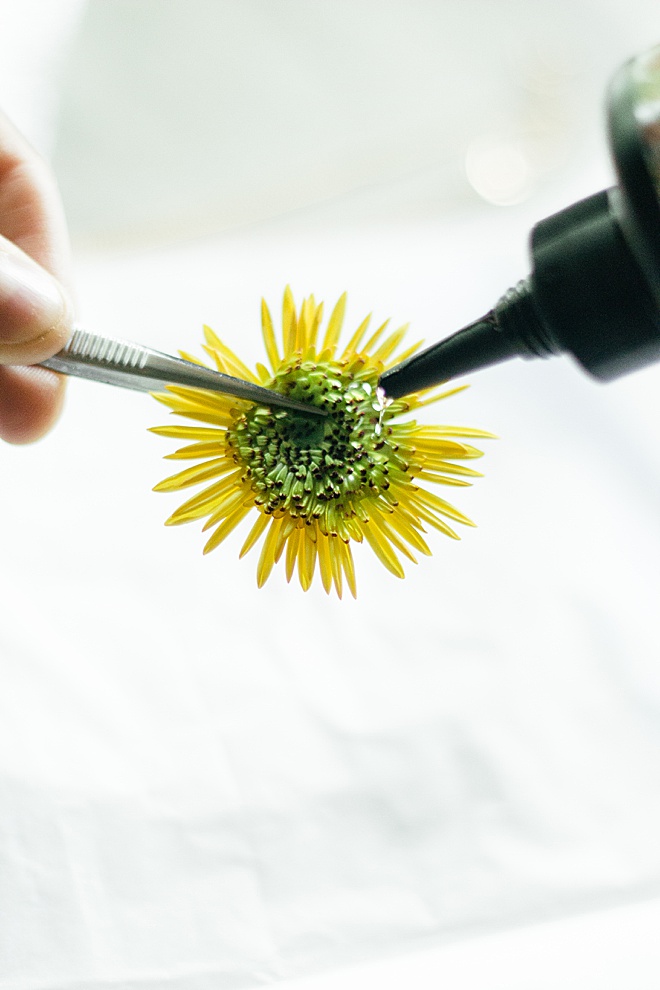
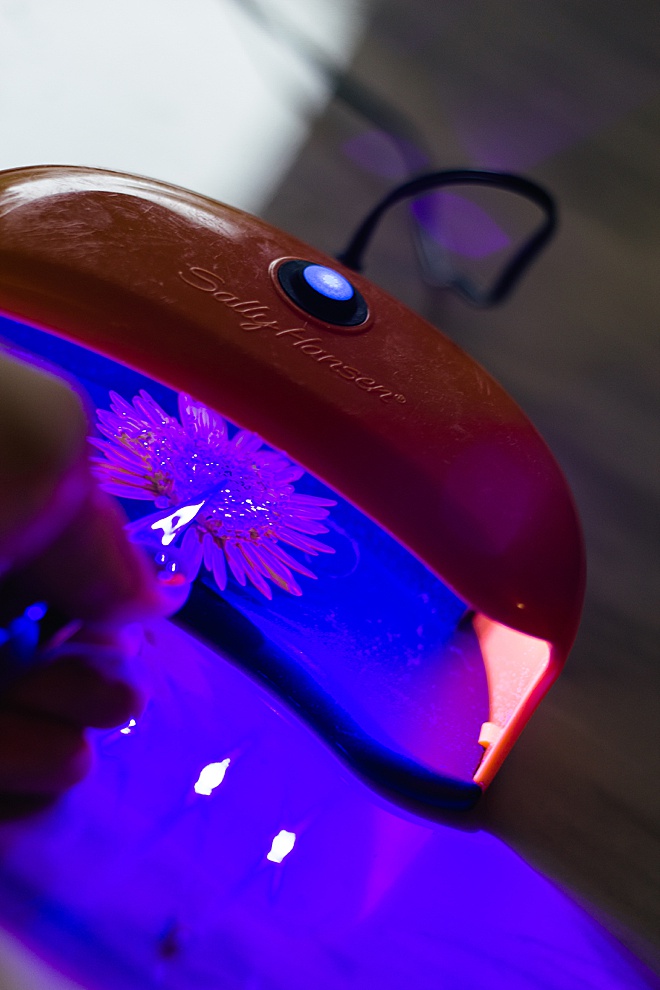
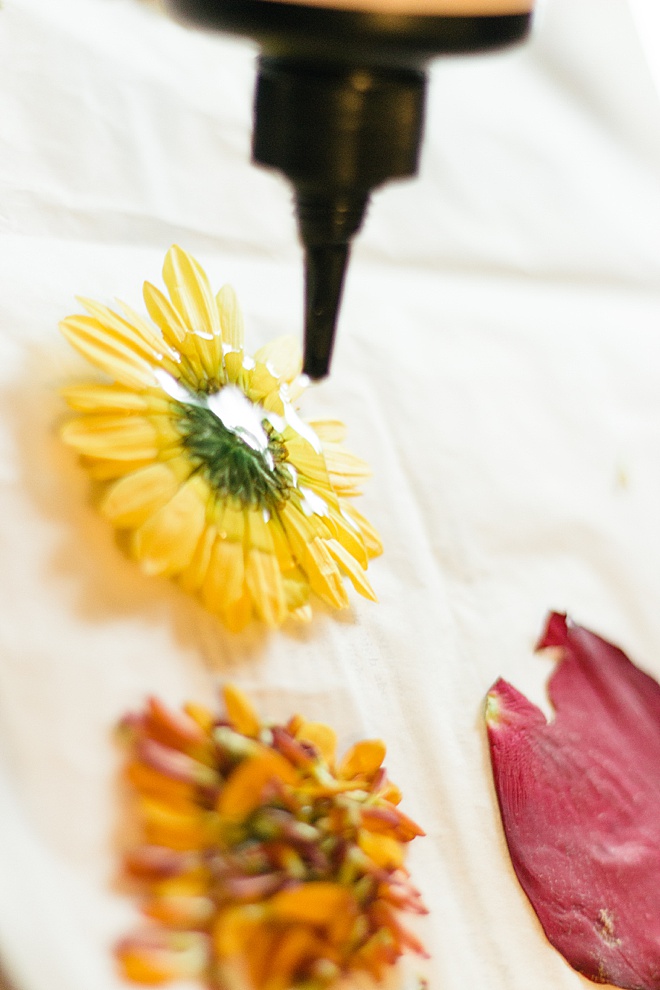
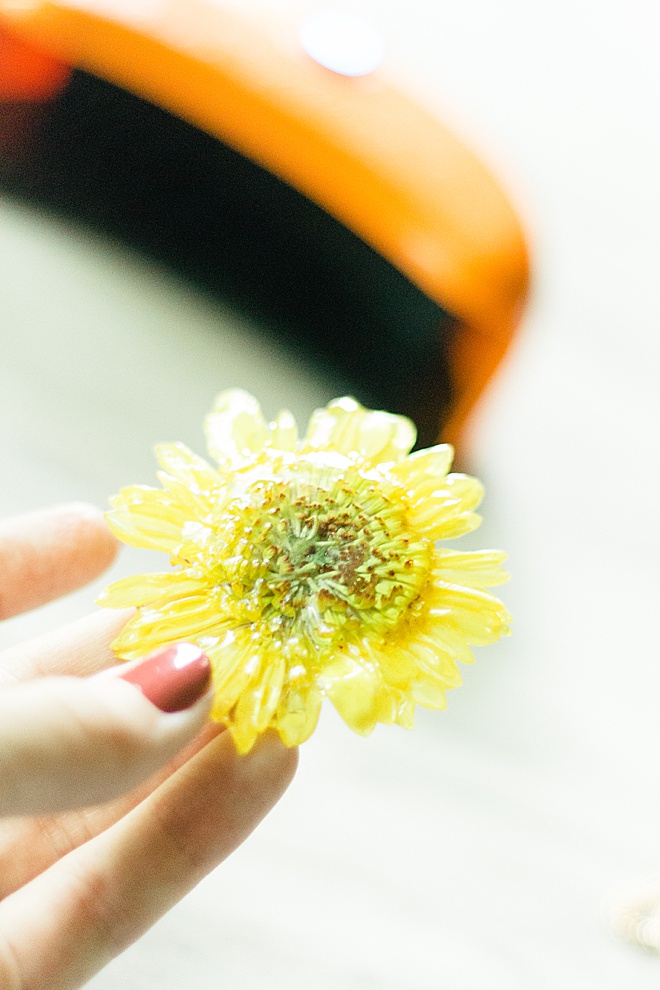
Very carefully remove the flower from the book with the tweezers. The petals are very fragile. Start applying the UV Resin to the middle of the flower and work your way to the edges of the petals. After covering the flower in resin, place under the UV light for 1-3 minutes. Flip over and apply the same way to the back of the flower. The resin cures very quickly so make sure that before you put it under the UV light that any excess drips are wiped away or else you will have hard drips over your beautiful flower.
Eyepin
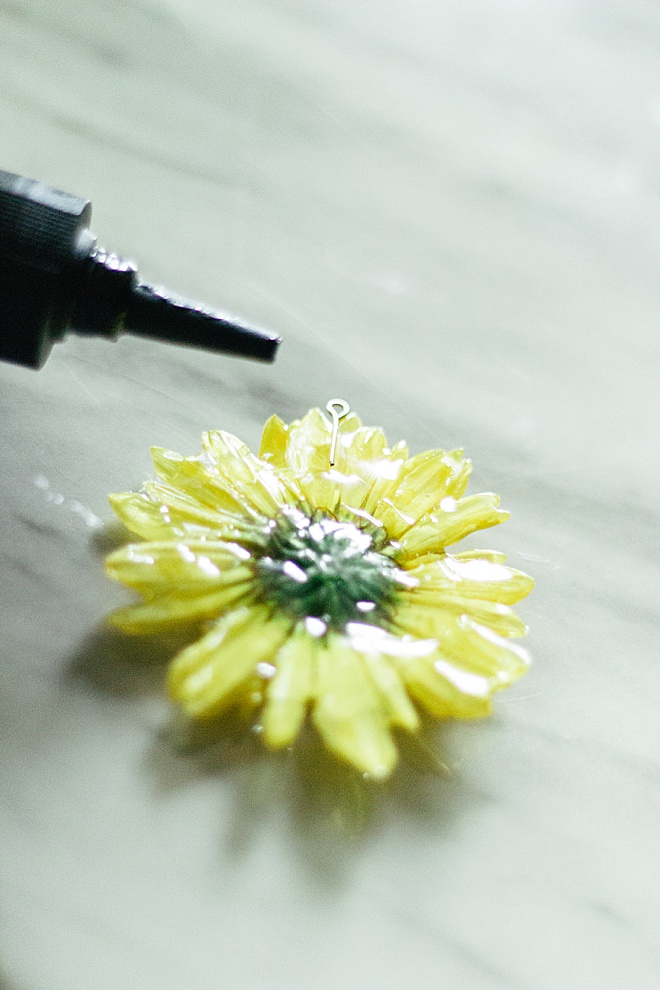
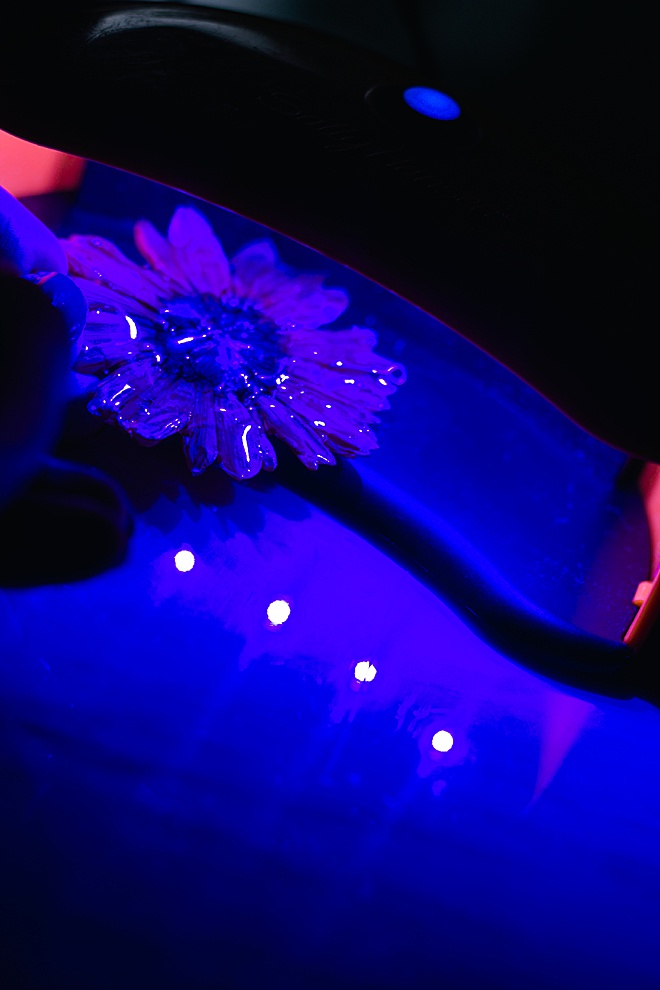
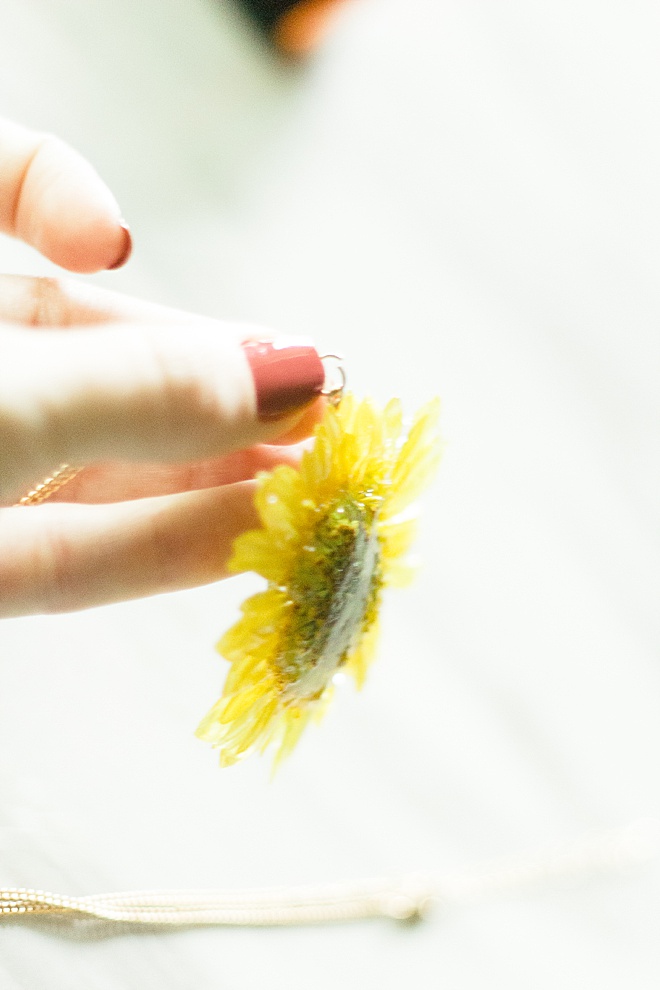
Use the pliers to shorten the eyepin as much as needed. Place on the back of the resin cured flower where you want to hang the necklace. Add a drop of resin onto the bottom of the eyepin and cure under the UV light.
Jump Ring
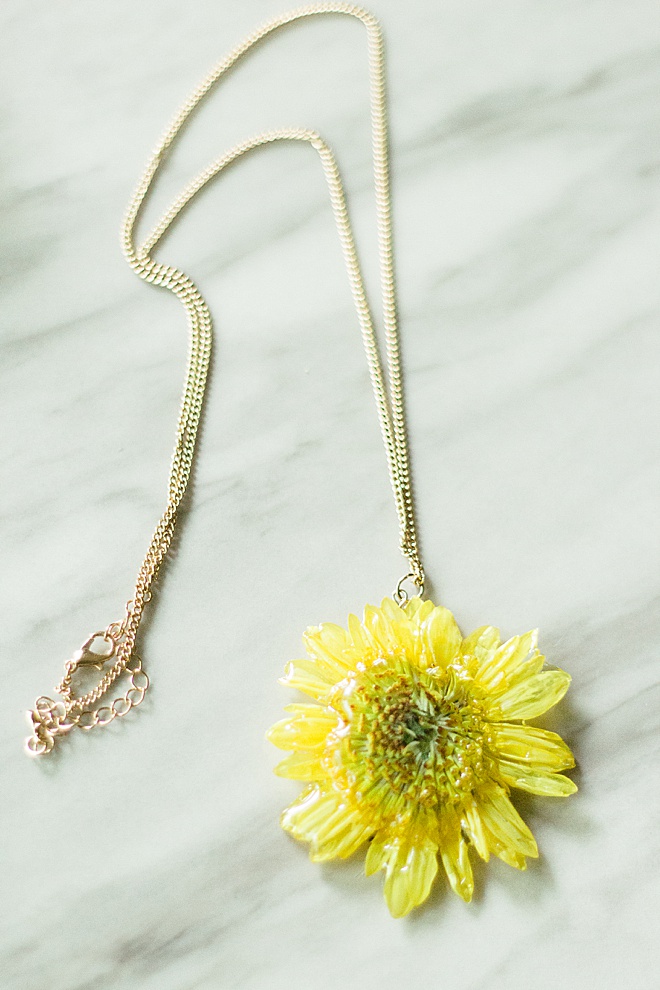
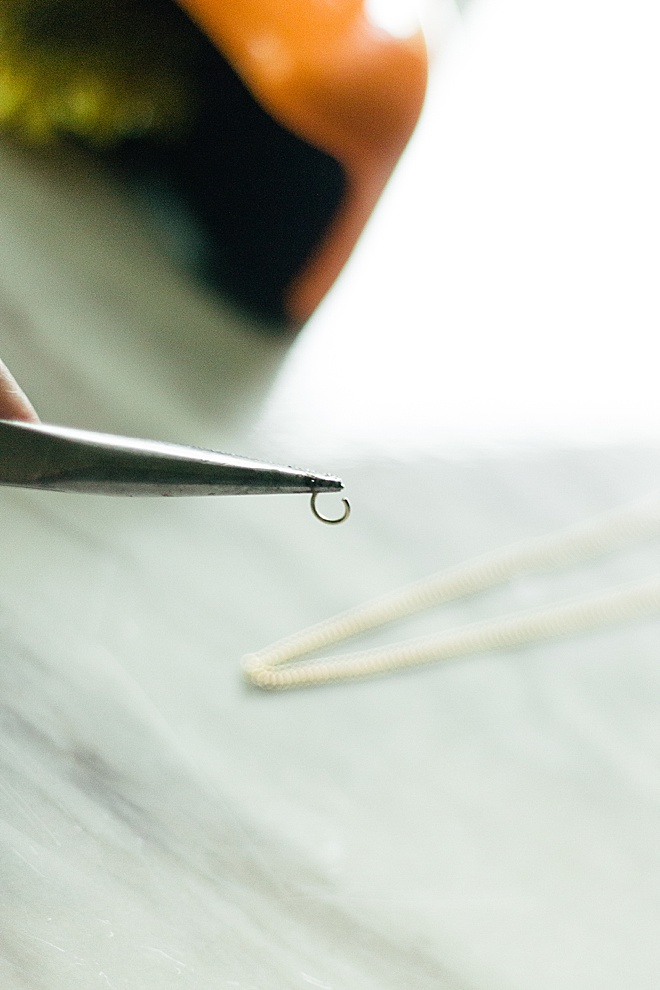
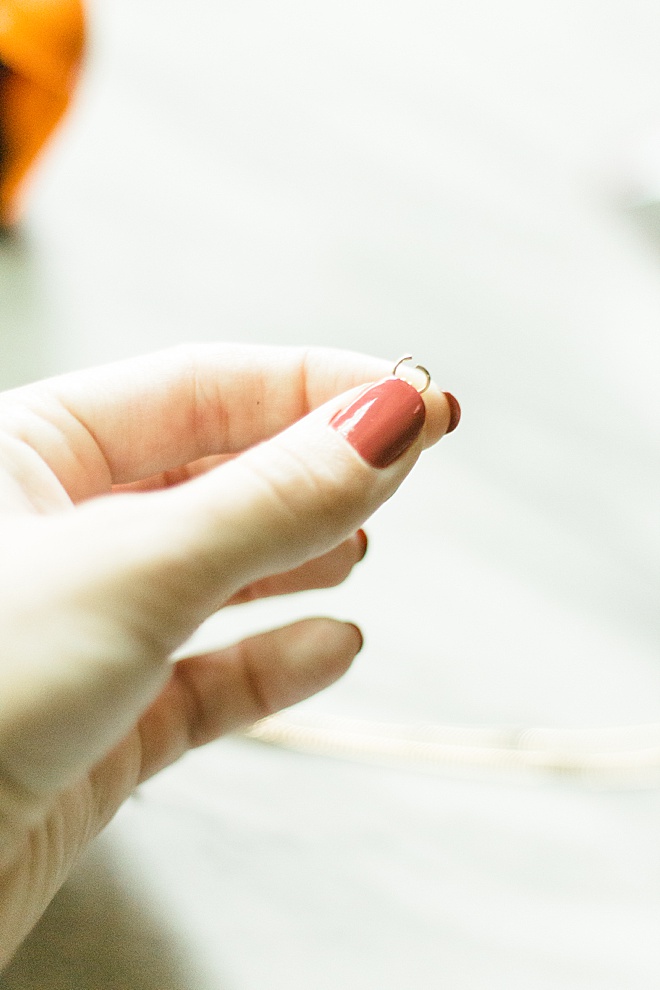
Using a pliers open the jump ring and place it around the necklace strand. Then put the open jump ring through the eyepin that is attached to the resin covered flower and close with the pliers firmly.
Wear
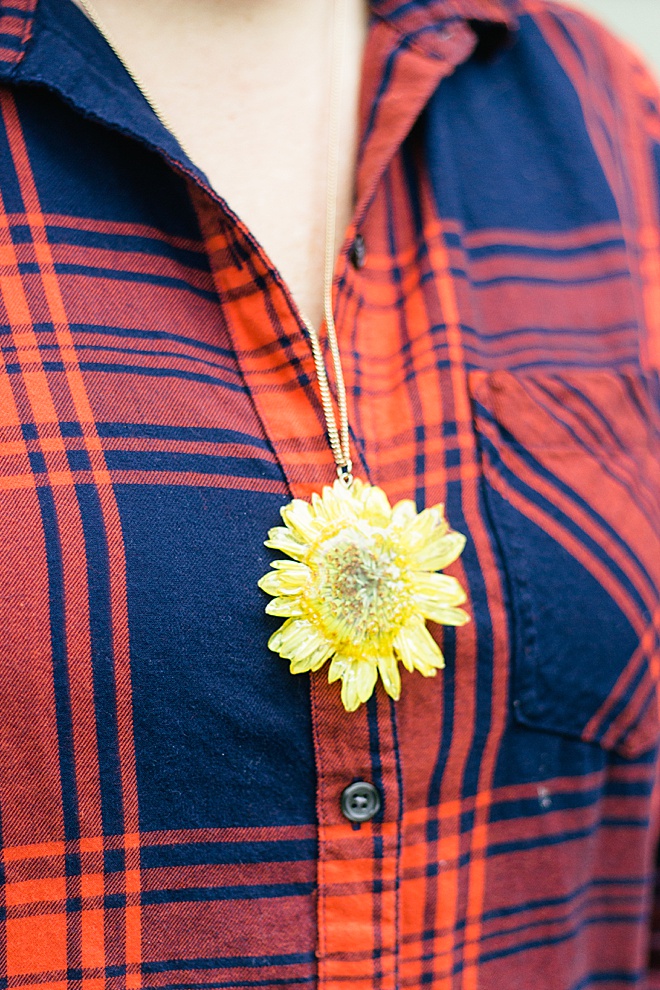
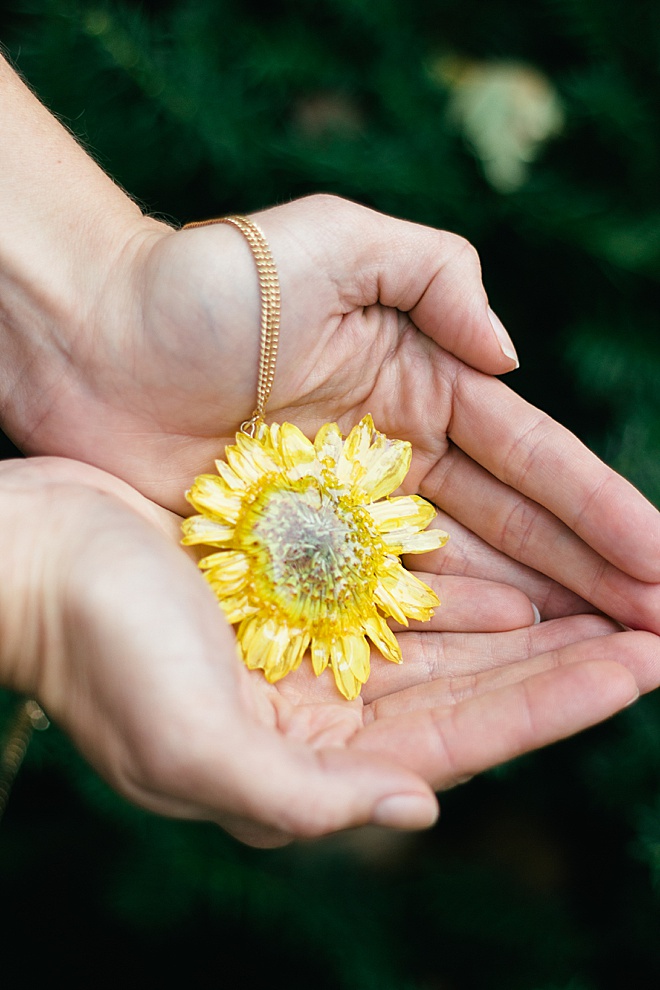
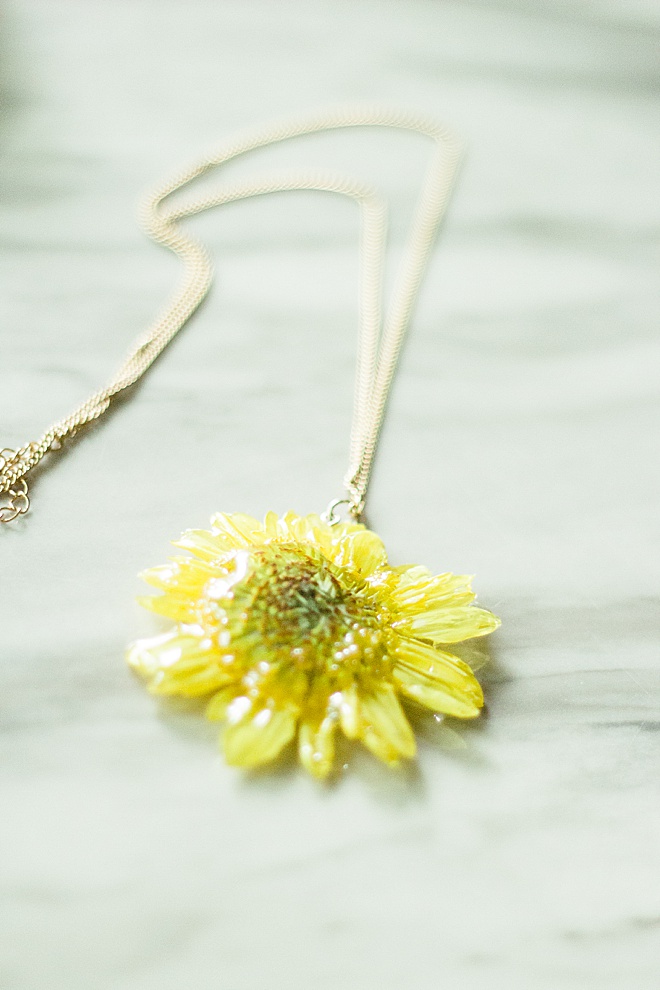
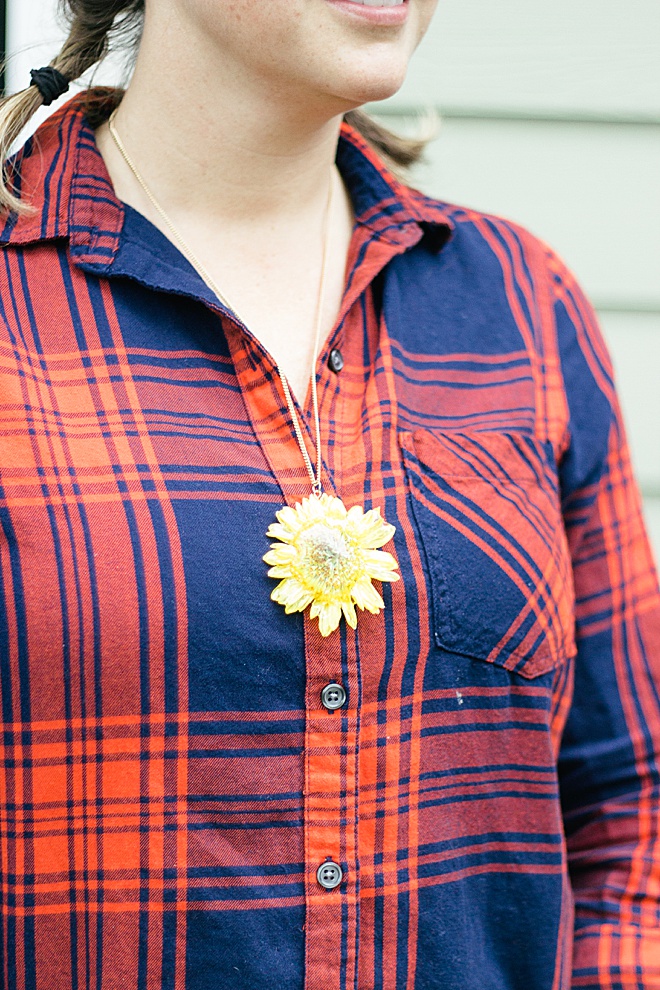
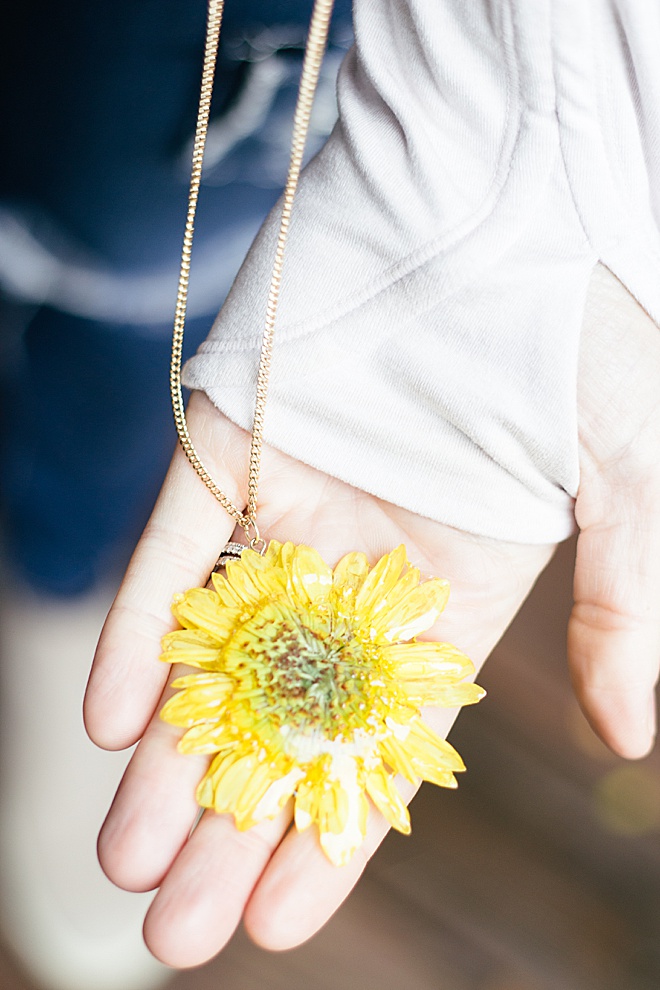
Now you have a beautifully presserved wedding flower that you can wear around your neck! You can also do this tutorial with earrings and rings!
Hein & Dandy is a blog founded on crafts and creative writing, inspired by adventure and wellness. Make sure to check out our website for new projects and inspiration!
As with all our DIY tutorials, if you create one of our projects please send us a picture – We Love Seeing Your Creativity! If you use Instagram or Twitter please use the hashtag #SomethingTurquoiseDIY and it will show up on our Get Social page. Happy Crafting!
DIY Tutorial Credits
Photography + DIY Tutorial: Carli Hein of Hein & Dandy // Parchment Paper:Amazon// Pliers: Amazon// Jewelry Jump Rings: Amazon // UV Resin:Amazon // UV Light:Amazon // Necklace:Amazon // Eyepin:Amazon // Tweezers:Amazon
Shop The Supplies:
Find the supplies you’ll need for this project from our affiliate links below:


Comments