-Sponsored Post-
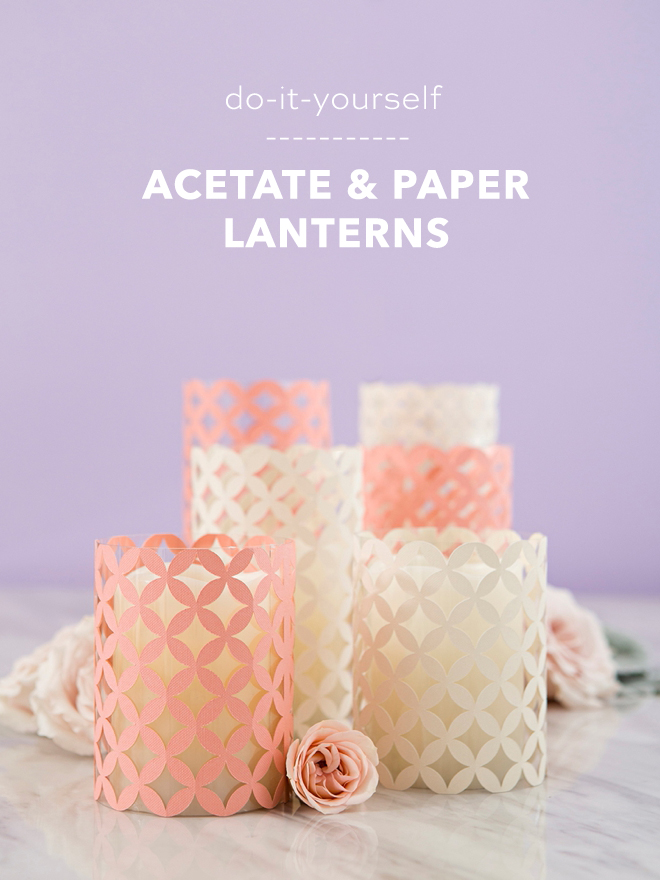
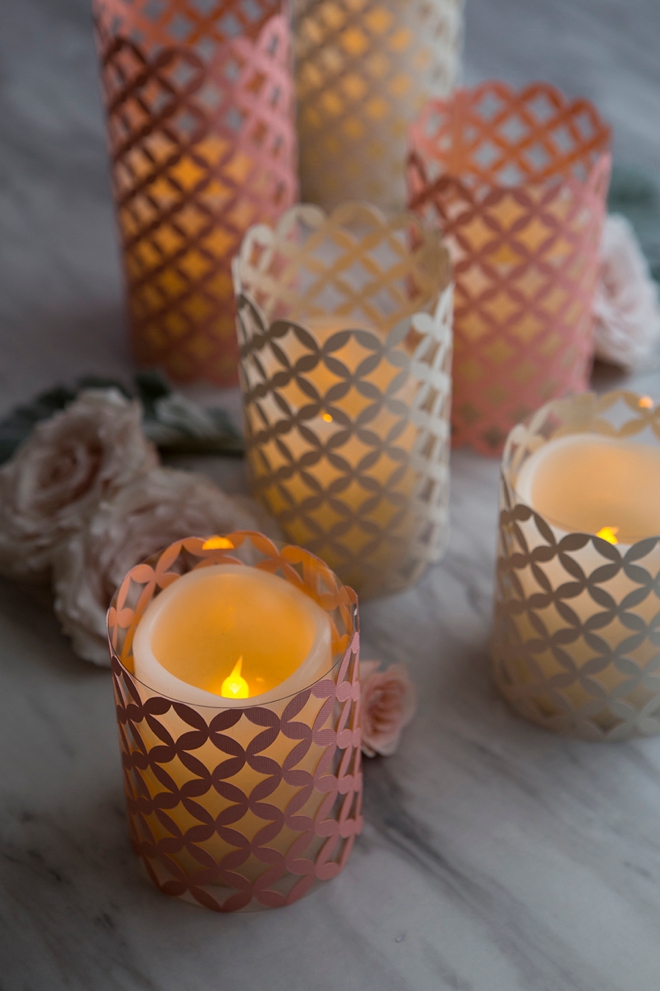
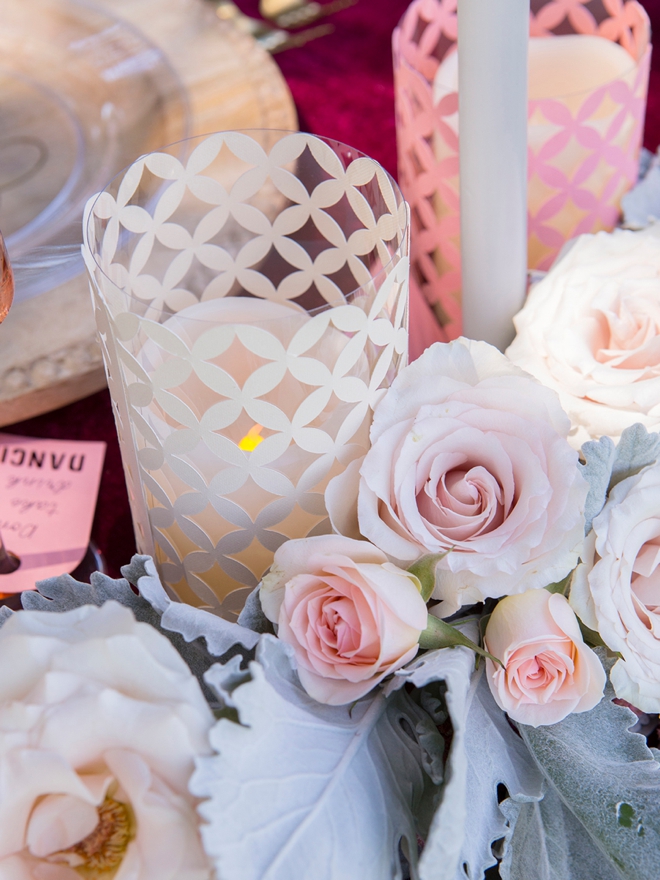
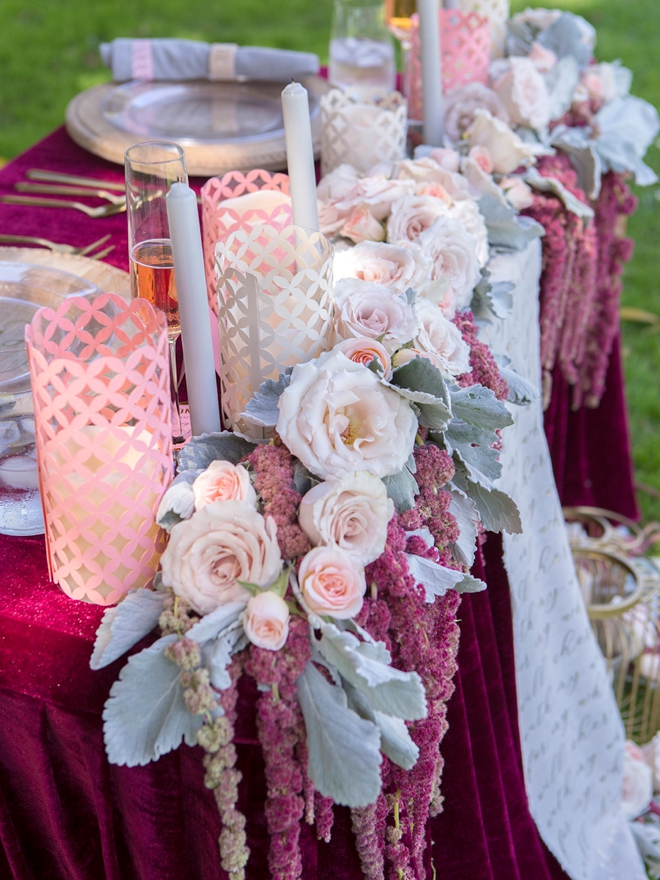
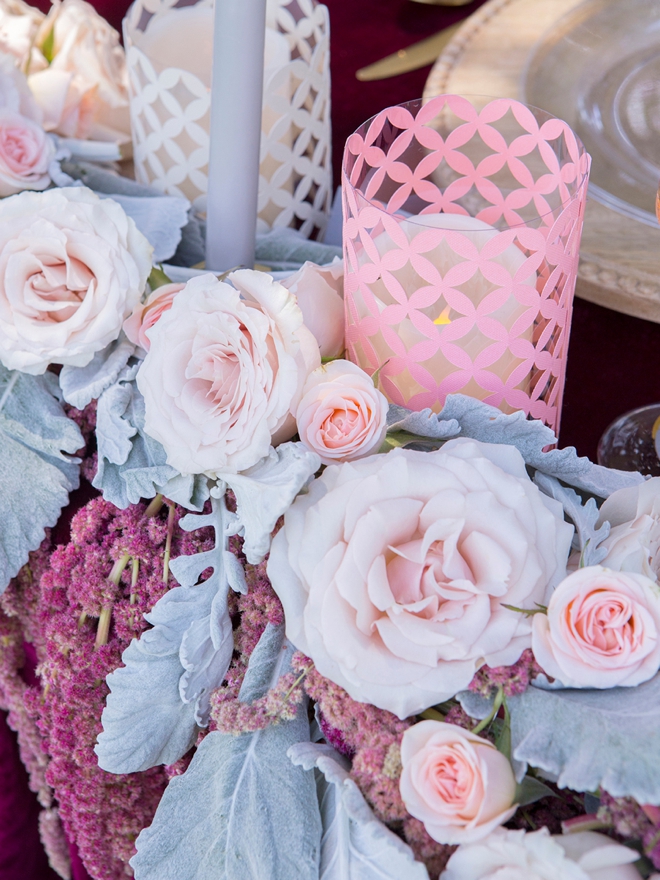
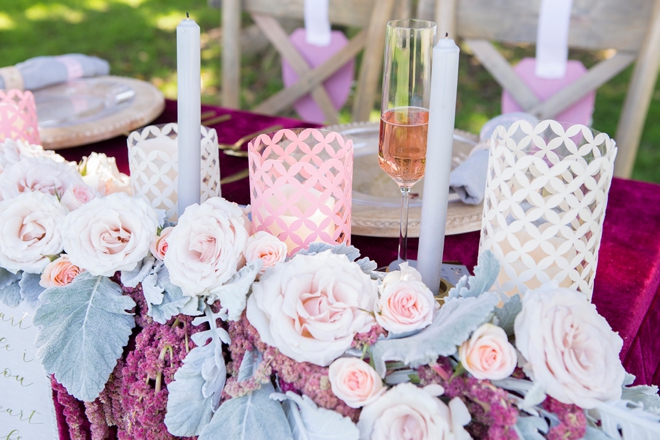
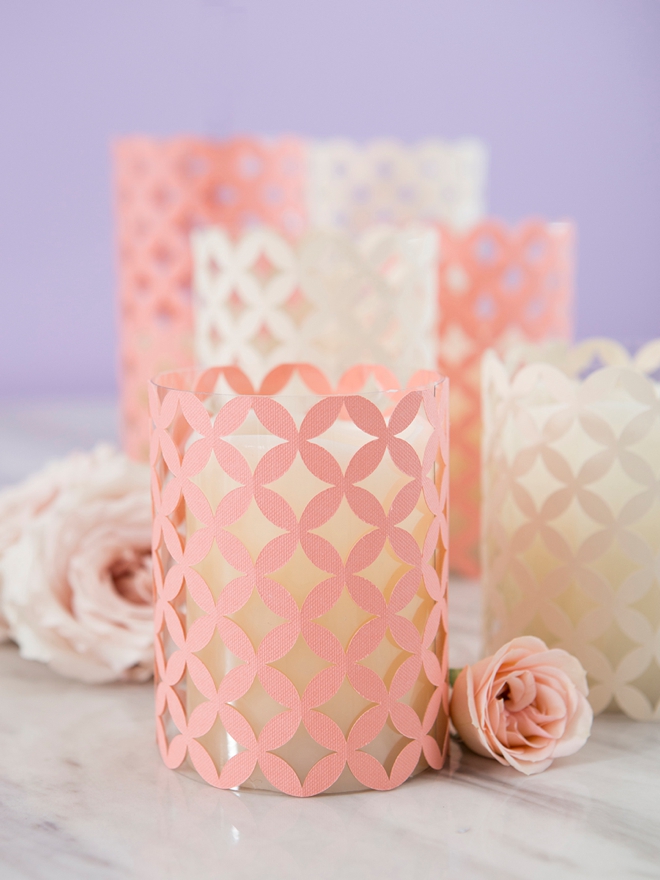
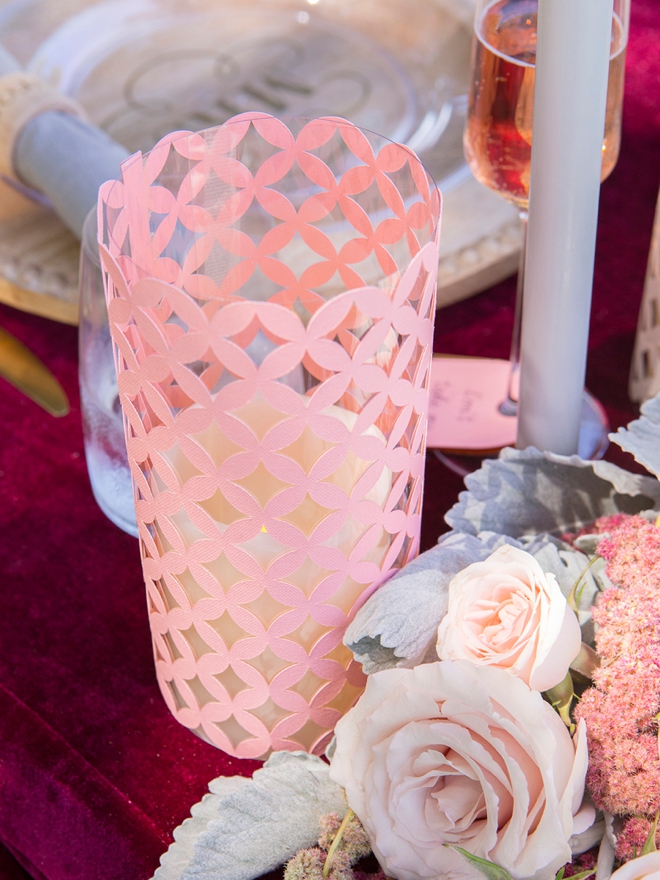
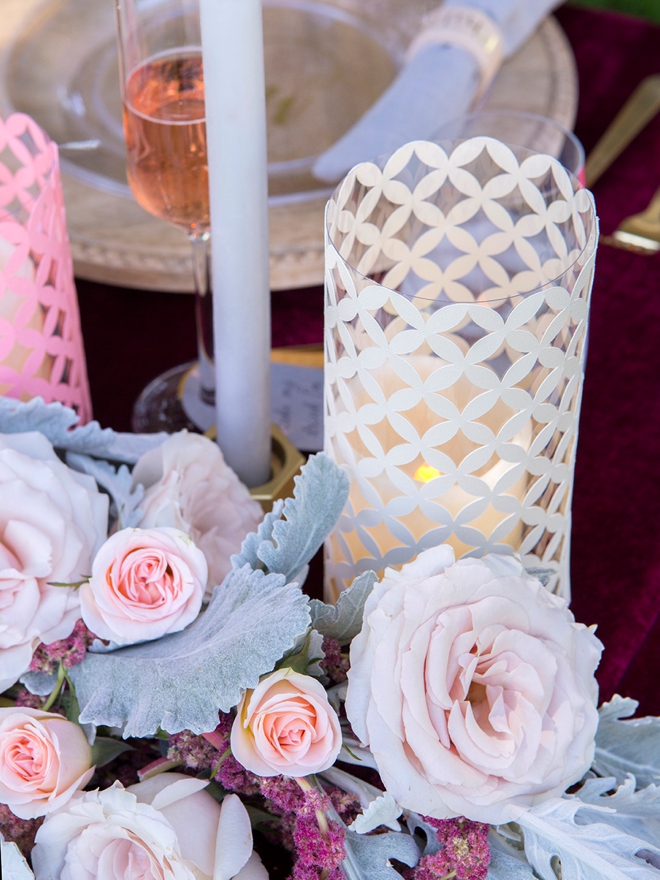
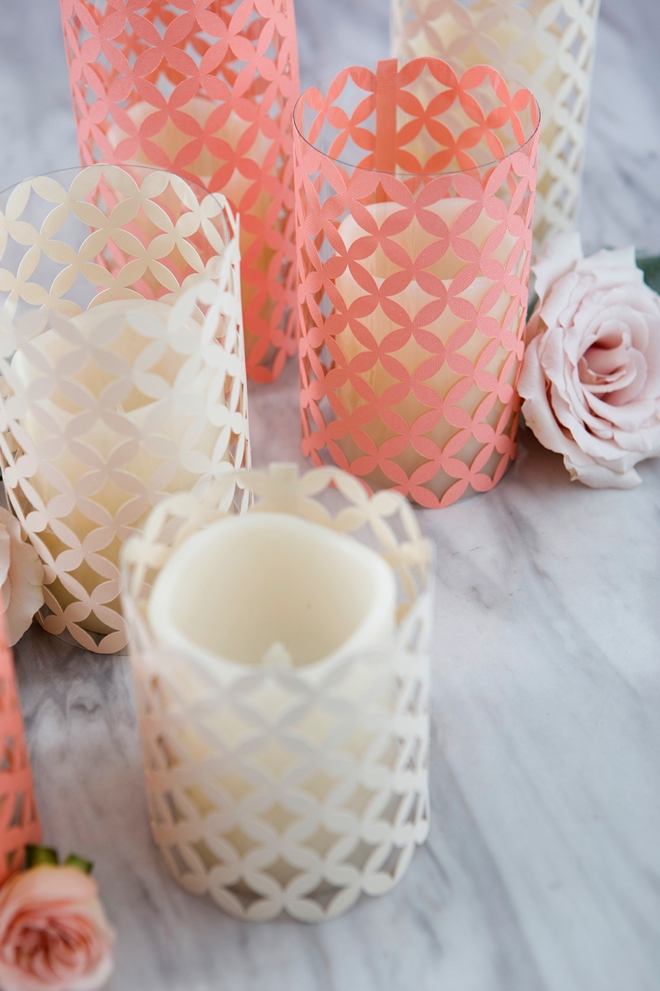
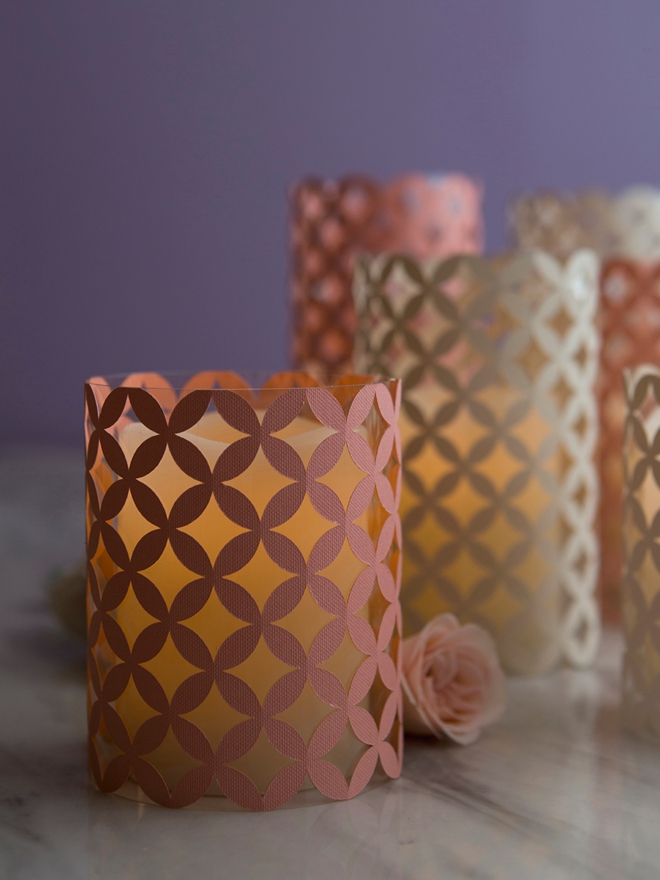
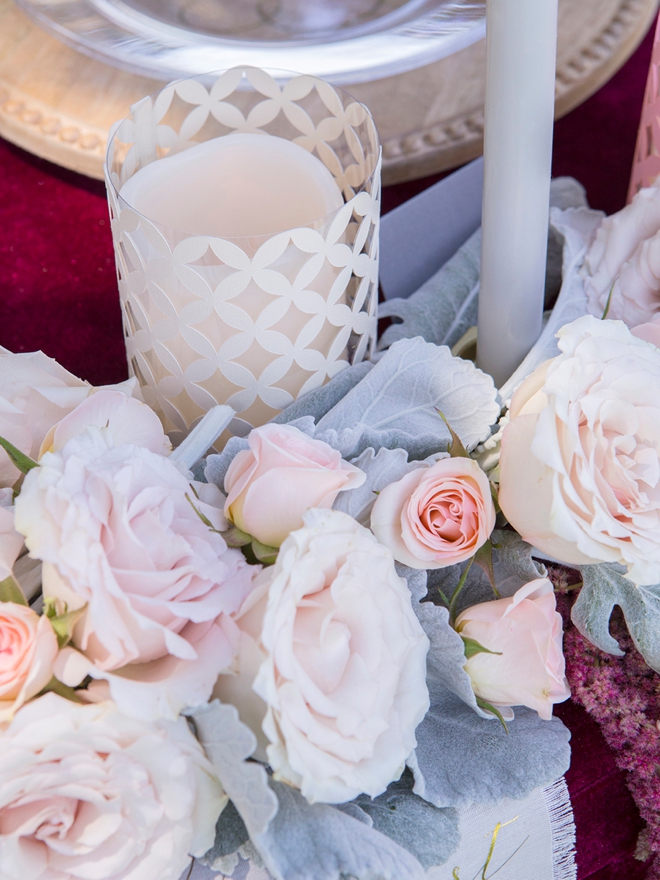
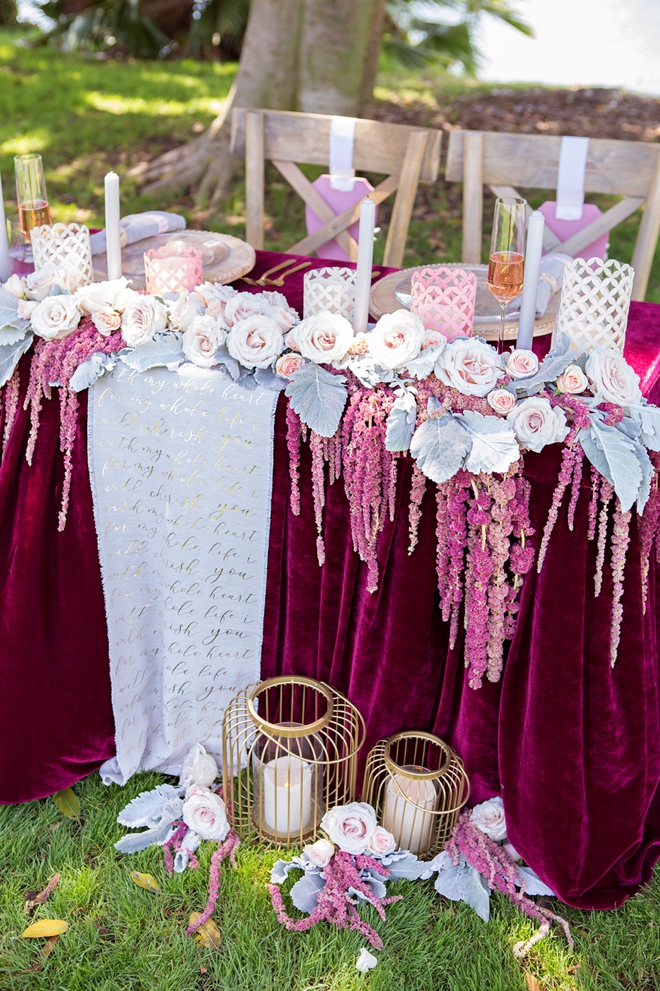
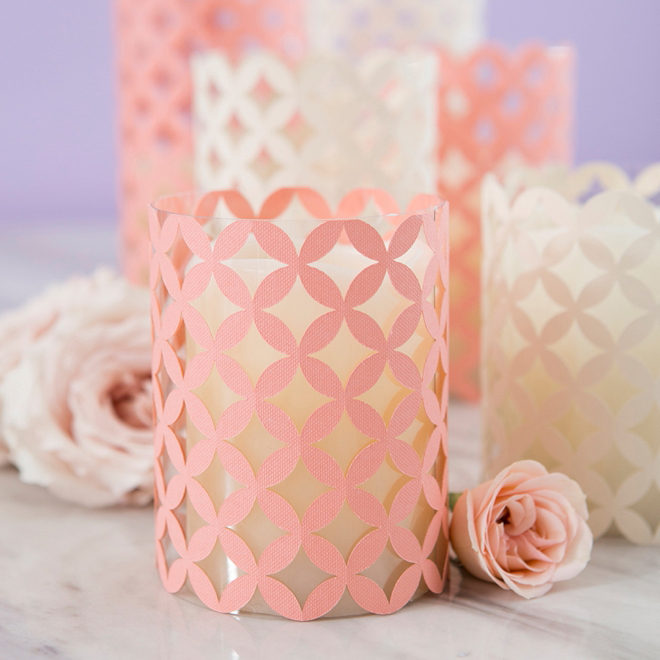
For our fifth DIY wedding project featuring Martha Stewart’s brand new Cricut line available exclusively at Michaels, we’re making acetate and cardstock lanterns for your table decor! This project is ultra-easy, your Cricut® Explore Air™ 2 Special Edition, Martha Stewart Machine does all the hard work for you and her new mixed media paper packs come with everything you need. The acetate gives these hurricane lanterns a bit of strength and beauty in their glass-like shine. Create a few for your head table as I did here, or make some for all the tables at your special event!
Martha Stewart & Cricut Wedding Collection
It’s not everyday that I can get this jazzed about new craft products! I’m honored to share that Martha Stewart has just released a brand new line of wedding-specific Cricut materials at Michaels!!! Yaaassss! One of the most exciting elements is that the packages, be it iron-on, vinyl, or cardstock – are all mixed materials! Which is exactly what we need for weddings! A little of this and a little of that making creating all your wedding projects super easy… and it wouldn’t be Martha without gorgeous color schemes!
SUPPLIES:
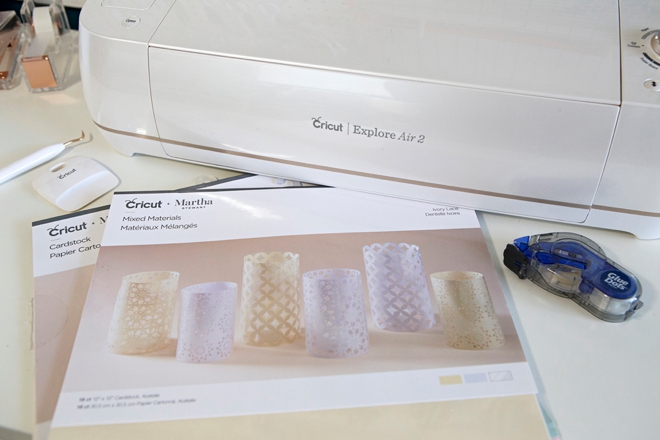
- Cricut® Explore Air™ 2 Special Edition, Martha Stewart Machine Bundle
- Cricut® Martha Stewart Ivory Lace Mixed Materials
- GlueDots Glue Tape Runner
- Flameless Candles
Create In Design Space
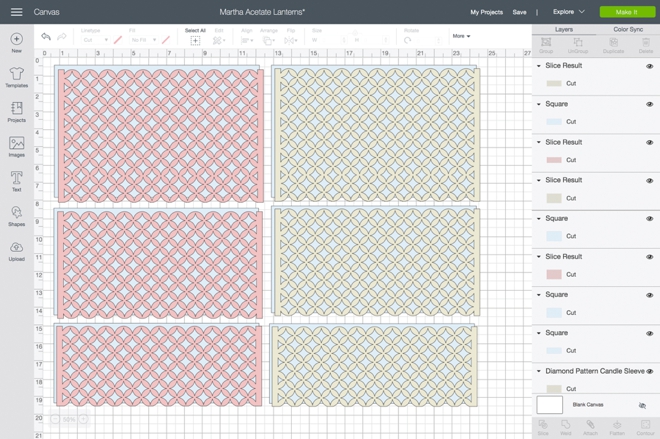
The first step is to login to Design Space and start designing your acetate and paper lanterns! Click on this link to visit my canvas in Design Space to use the exact Martha Stewart designs that I customized. This is the original Martha Stewart project. The files I used come free with the Martha Stewart Machine Bundle or will cost a few dollars. I edited her lantern files to create three different heights that are all the same circumference to fit the flameless candles I had. Prepare your mats and get ready to cut!
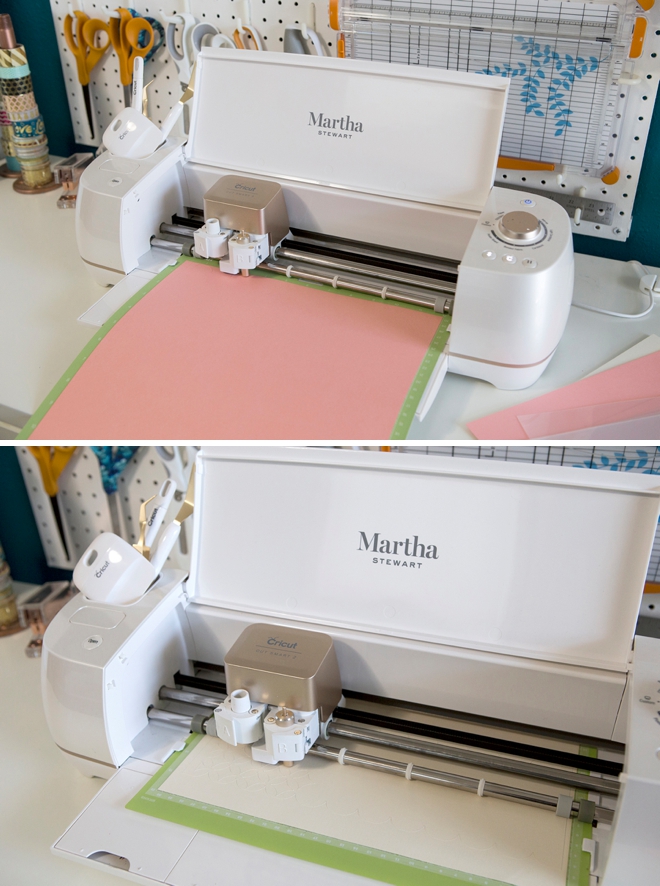
Let Your Cricut Work It’s Magic
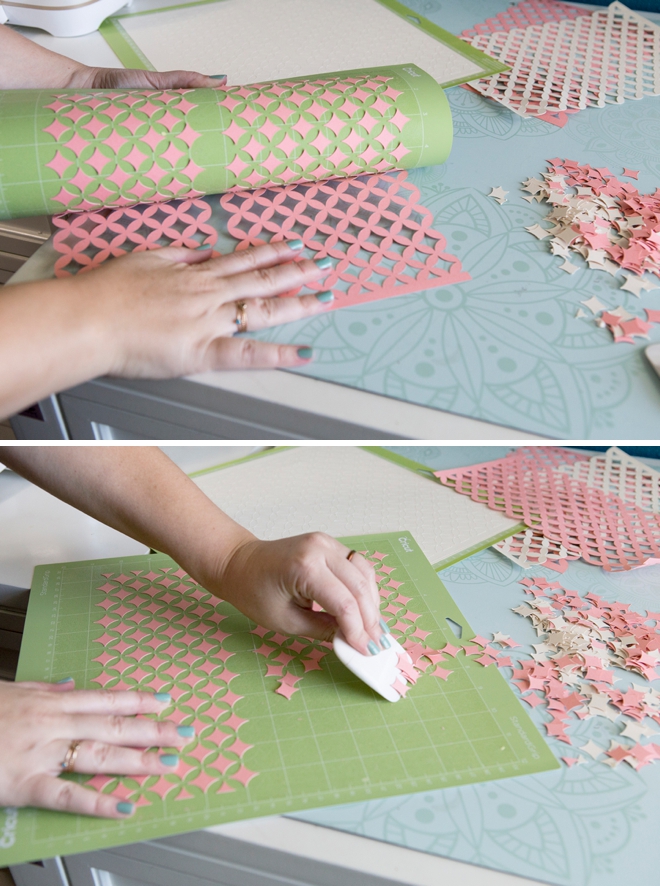
Remove From The Cutting Mat
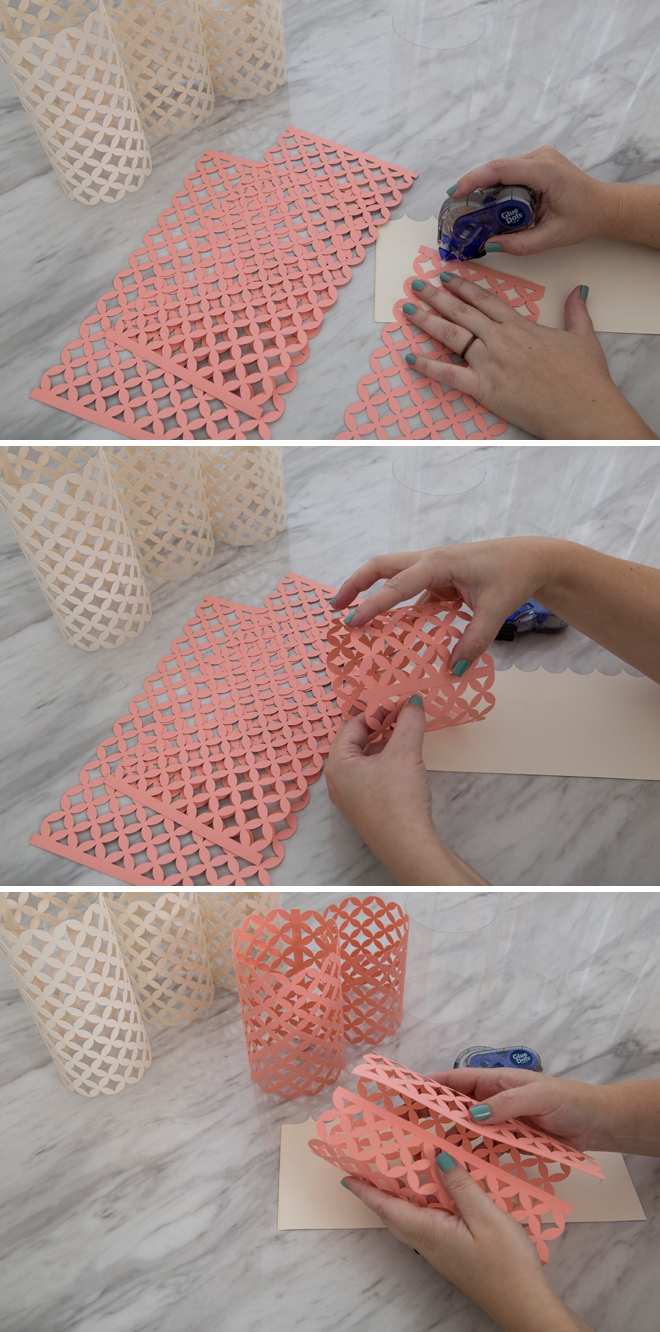
Carefully peel the cardstock lanterns from the cutting mat, I’ve found it’s easiest to do this upside down, as if pulling the mat from the paper. Use the scraping tool to remove all the unneeded detail cuts. Save if you need confetti!
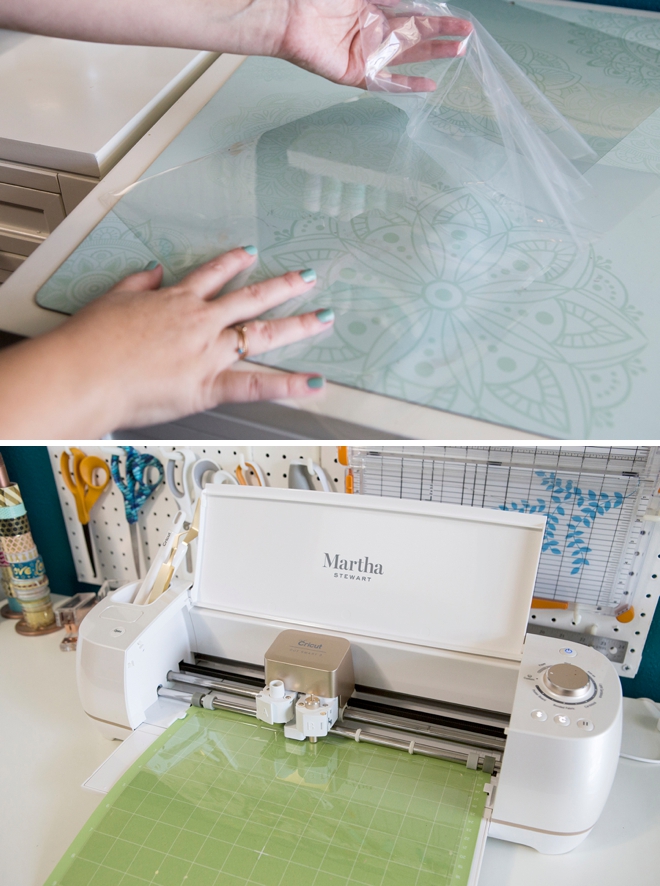
Cut The Acetate
The acetate comes with a protective film on both sides of it, remove before cutting!
Secure The Acetate
Apply a line of your favorite scrapbooking adhesive like a tape runner to the edge of the acetate. Then curve into a cylinder shape and secure.
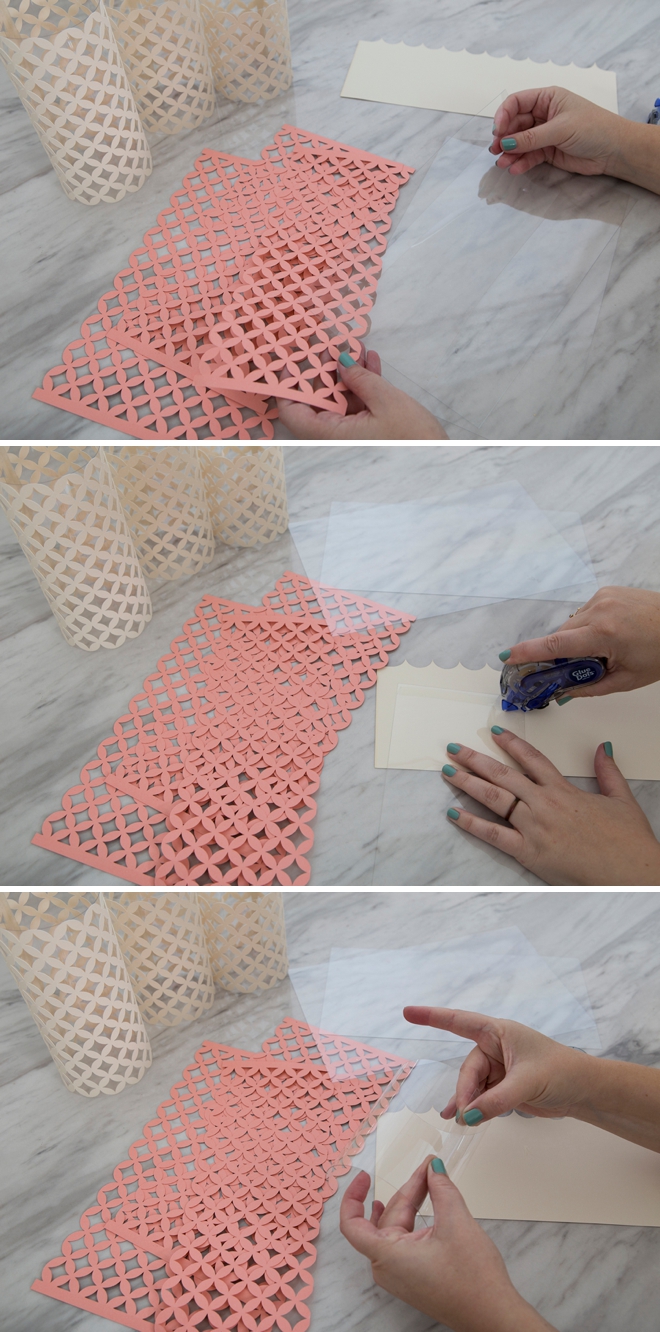
Secure The Cardstock
Just like the acetate, add a line of adhesive down the side of the cardstock. Then curve into a cylinder shape and secure.
Combine
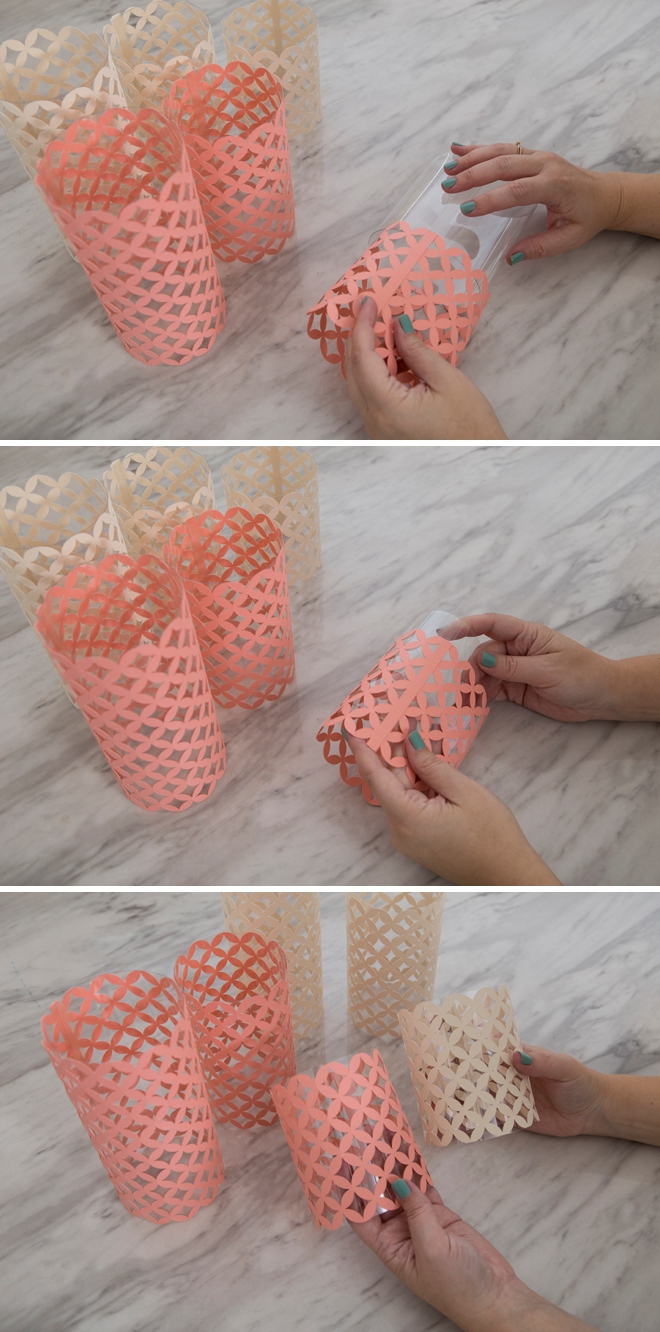
I found it easiest to push the acetate inside the cardstock by gently pressing both down on my tabletop and scooting them together. That’s all there is to it… your Cricut really does all the heavy lifting for this project!
Endless Personalization Options
If you’ve been on the fence about getting a Cricut, or you need a gentle nudge to finally pull the trigger – our projects are it! Seriously, the sky is the limit when it comes to what you can make for your wedding with the Cricut Explore or the Cricut Maker. From amazing acetate and paper lanterns like these to an entire wedding bouquet made from felt and everything in between. It will be your number one wedding crafting tool and after your wedding, you will find loads of ways to personalize your new home, make fabulous gifts and so much more!
Looking For More?
Love this project… and want to see the rest that accompany this gorgeous head table? Simply follow this link and you’ll find them all. Special thanks to Fifty Flowers for all the beautiful florals. Happy crafting!
DIY Tutorial Sponsored By:

Cricut is a world-class leader in personal electronic cutting machines that has enabled people to achieve their creative best for over 50 years. Today, millions of people use Cricut products to create unique projects, and they focus on enhancing lives with this power of creativity. Let Cricut help you take your wedding personalization and project creativity to the next level!
As with all our DIY tutorials, if you create one of our projects please send us a picture – We Love Seeing Your Creativity! If you use Instagram or Twitter please use the hashtag #SomethingTurquoiseDIY and it will show up on our Get Social page. Happy Crafting!
DIY Tutorial Credits
Photography + DIY Tutorial: Jen Causey of Something Turquoise // Cricut® Explore Air™ 2 Special Edition, Martha Stewart Machine Bundle and Ivory Lace Mixed Materials courtesy of: Cricut // Wholesale Wedding Flowers courtesy of: FiftyFlowers.com // GlueDots Glue Tape Runner: Amazon // Flameless Candles: Amazon // Nail Polish: OPI – Withstands the Test of Thyme
Shop The Supplies:
Find the supplies you’ll need for this project from our affiliate links below:





Comments