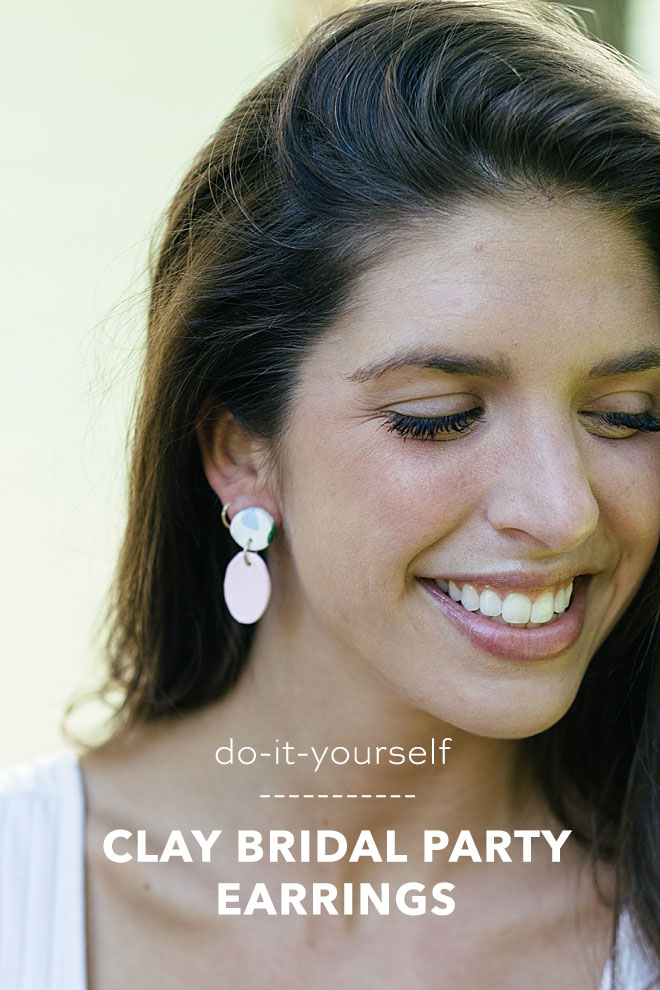
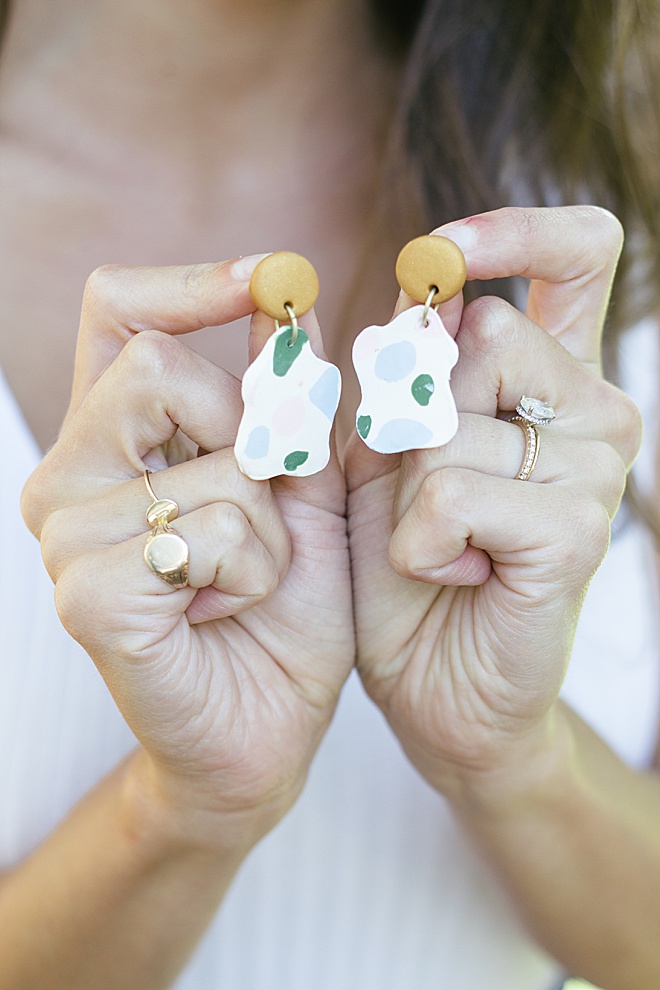
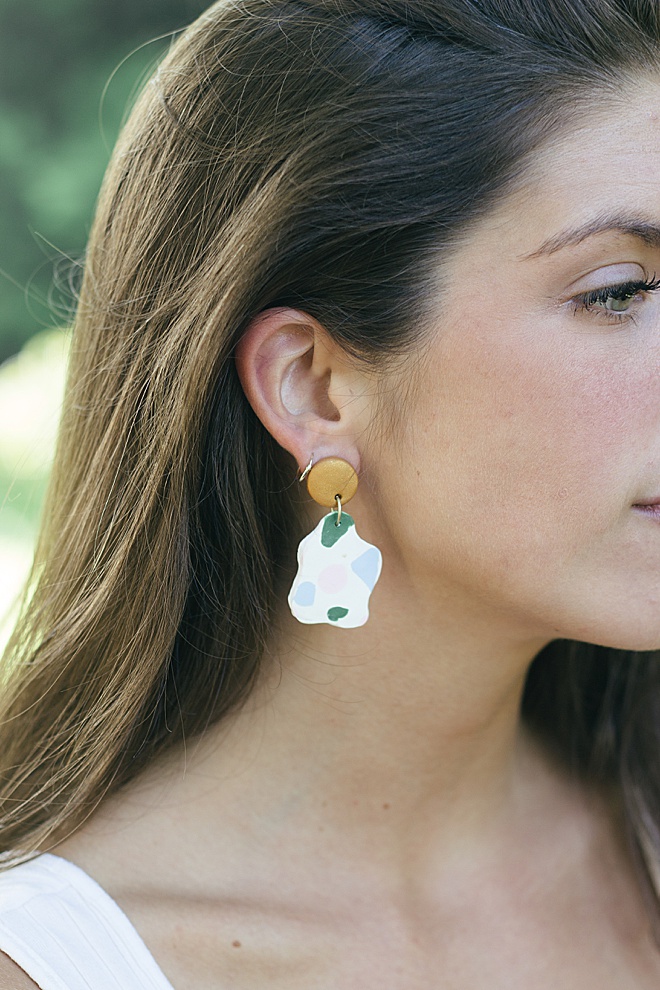
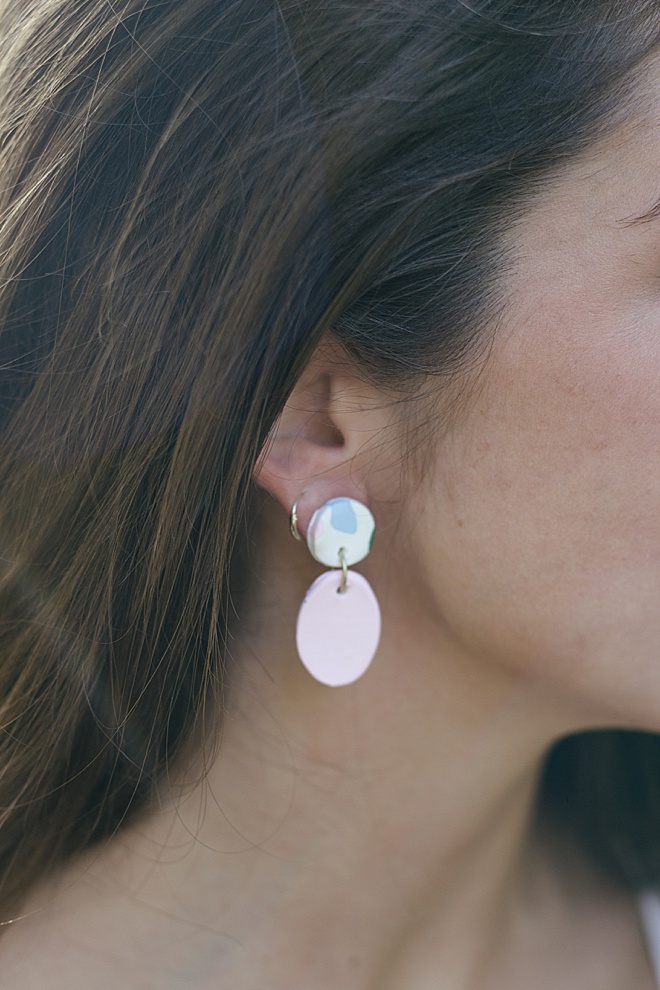
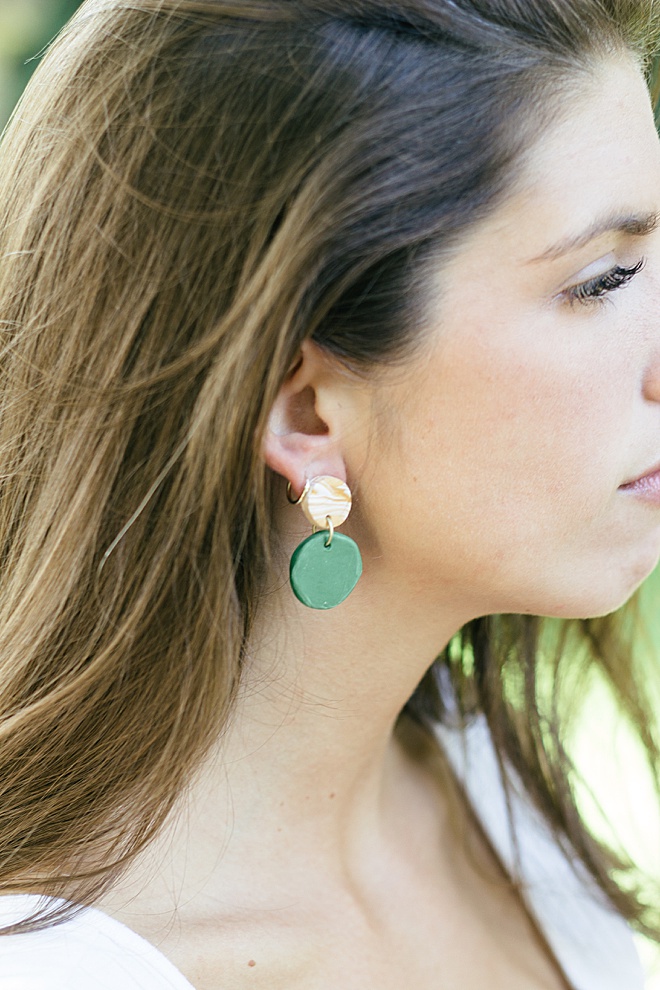
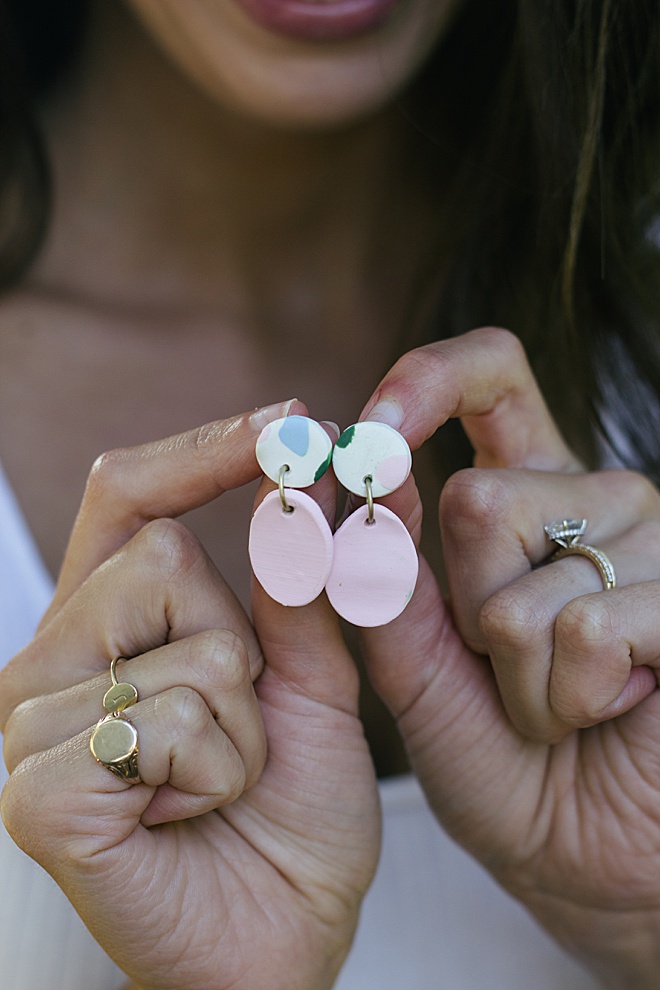
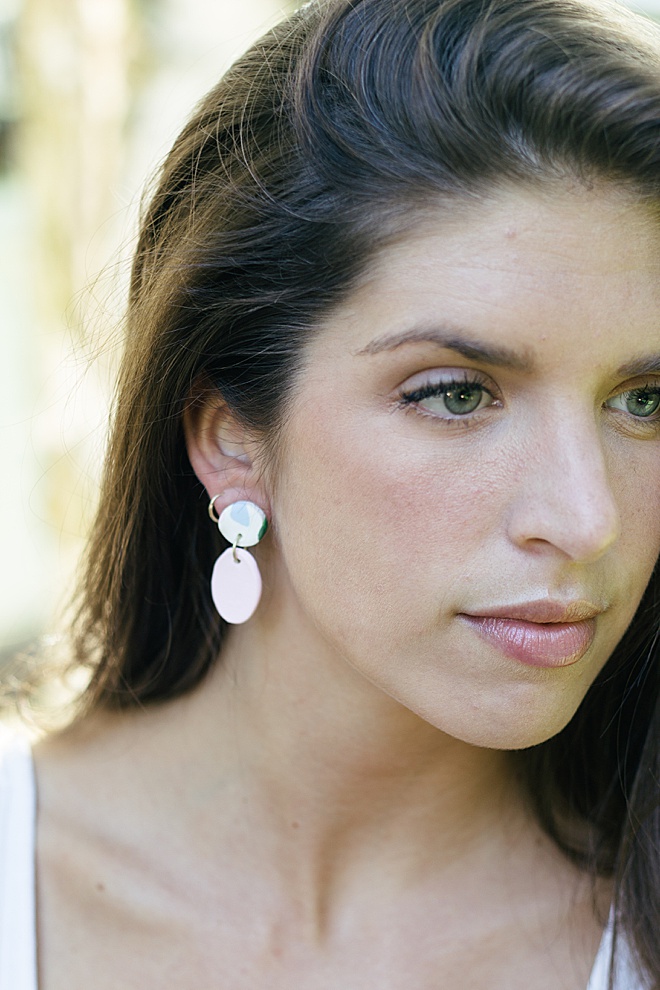
I am Carli Hein from Hein & Dandy, a DIY blog with a craft for every occasion! There is something so fun about giving your bridesmaids gifts, especially when they are handmade. These clay earrings I’m showing you how to make today are modern and easy to make. You’ll even want to make a pair for yourself along with all your best girls that will stand by your side! We created three different styles for you to recreate with your own added flare! Use this post as a guide or copy the exact shapes and colors, the choice is yours! Let’s get started!

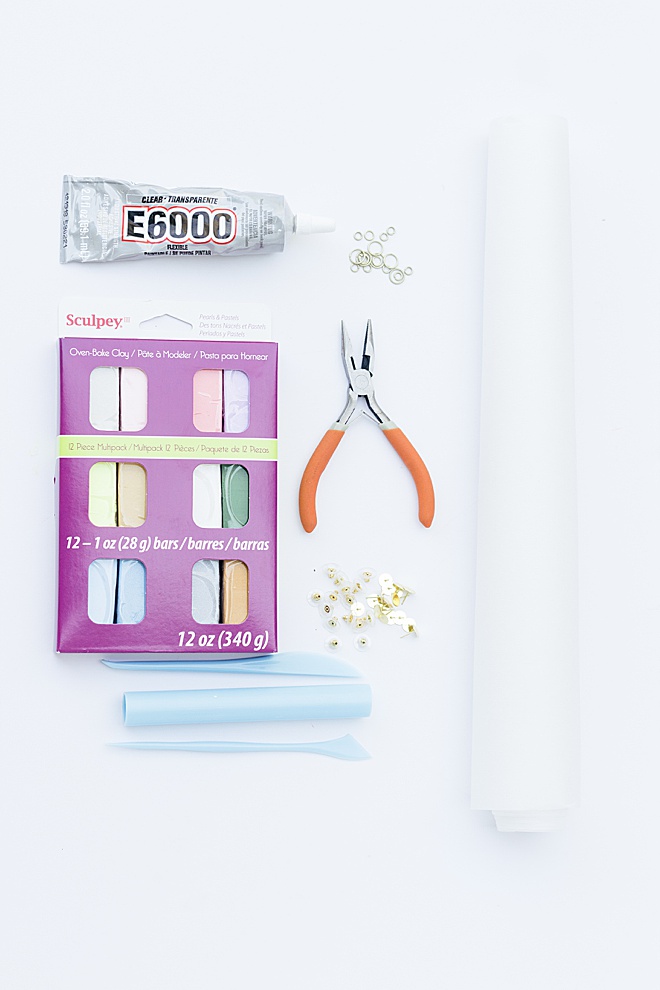
SUPPLIES:
- Clay
- Baking Sheet
- Parchment Paper
- Rolling Pin
- Knife or Clay Cutter
- Pliers
- Earring posts and backs
- Jewelry Jump Rings
- Glue
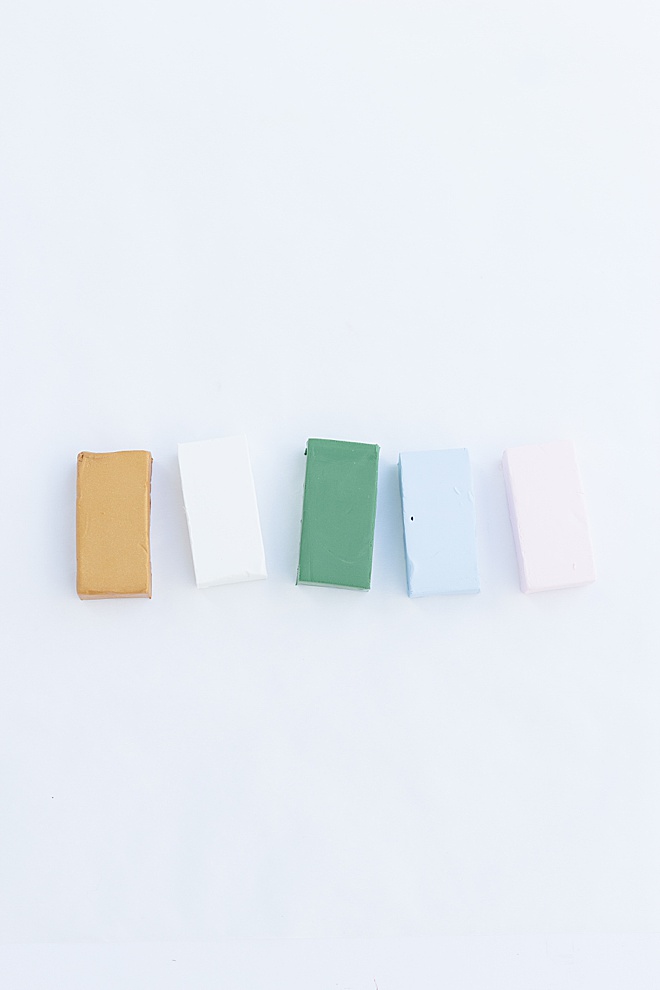
Color Palate
First pick the clay colors that you want for your earrings. I will show you three different styles to make during this tutorial and these are the earthy tones that I chose. Try to pick one neutral color and a gold then pick what ever other colors you want.
Create Shapes
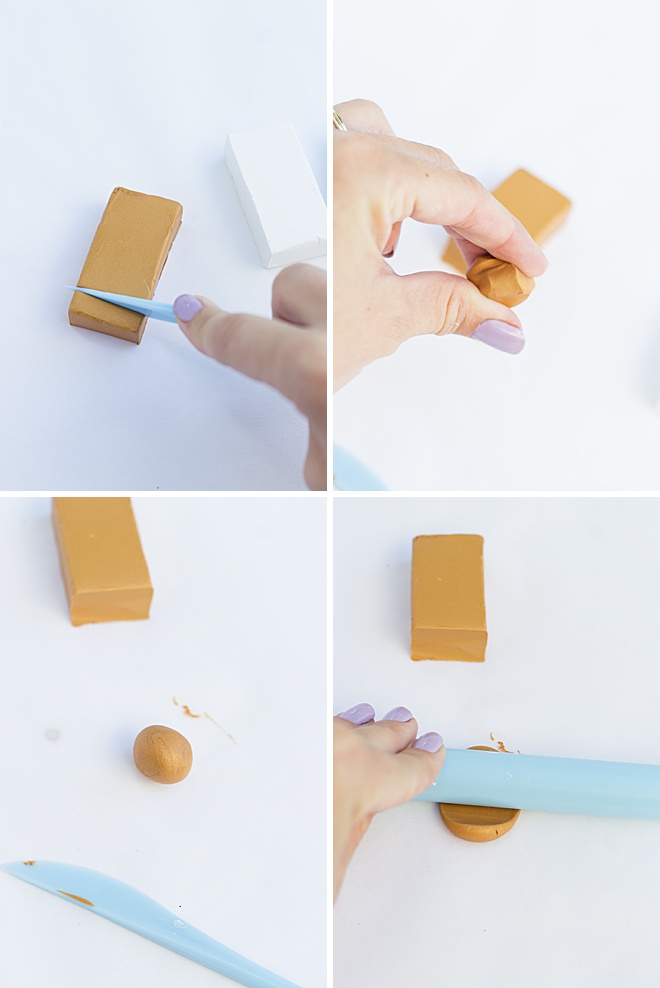
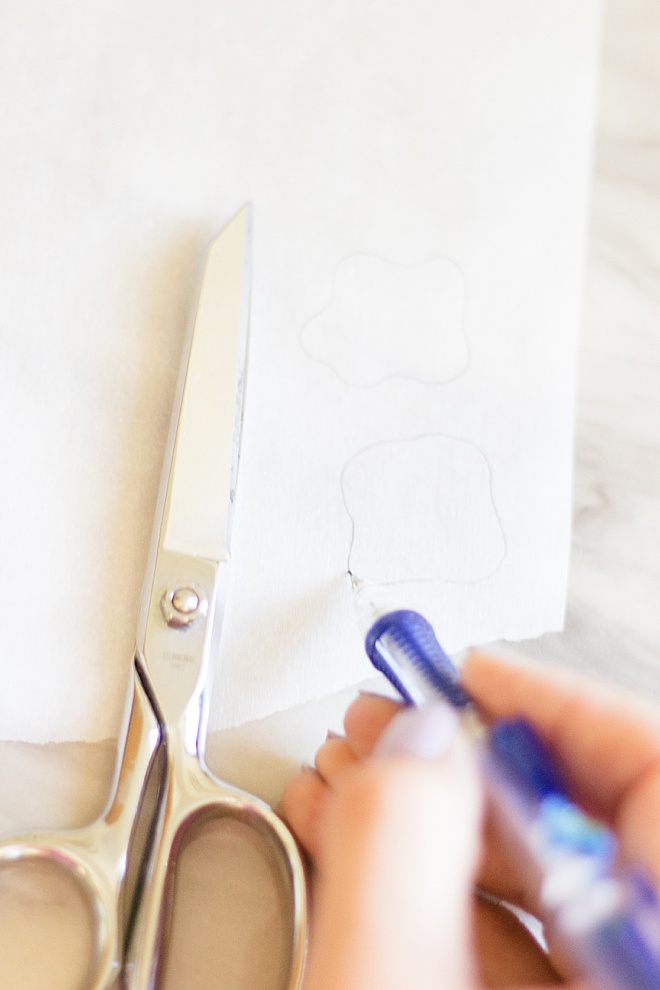
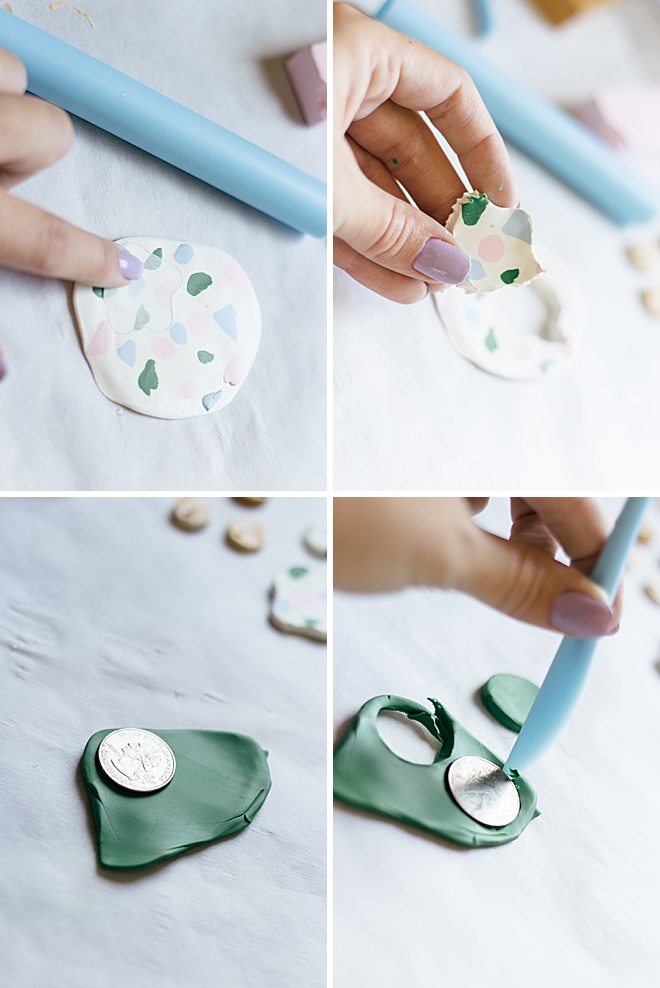
Roll out the clay until it is about 1/16 inches to 1/8 inches thick. For the small circles, I used the end of the clay rolling pin as a shape cutter. You can also create an outline with the parchment paper to cut out with a knife. You can also use every day objects around your house to trace, like a quarter!

Create a hole in the top of the shape to connect each earring piece together. Dip your fingertip in water to round out any uneven edges to create a smooth surface.

Marbling
Start with two colors, I used white and gold as my base.
First create a small ball then roll the individual colors out into snakes. Twist the two colors together then start stretching and folding until you reach a marbling pattern you like. Make sure you don’t mix too much because then it will just turn into one solid color.

Terrazzo
The terrazo pattern has become one of my favorites. Start with a solid rolled out color, like white. Using a knife, cut off small pieces of other colors and place on top of the white like a party pizza. Once you have the pattern and colors you like, using the rolling pin to flatten out all the specks. Once flat you can cut out the shapes using one of the techniques from the beginning of the post.


Oven
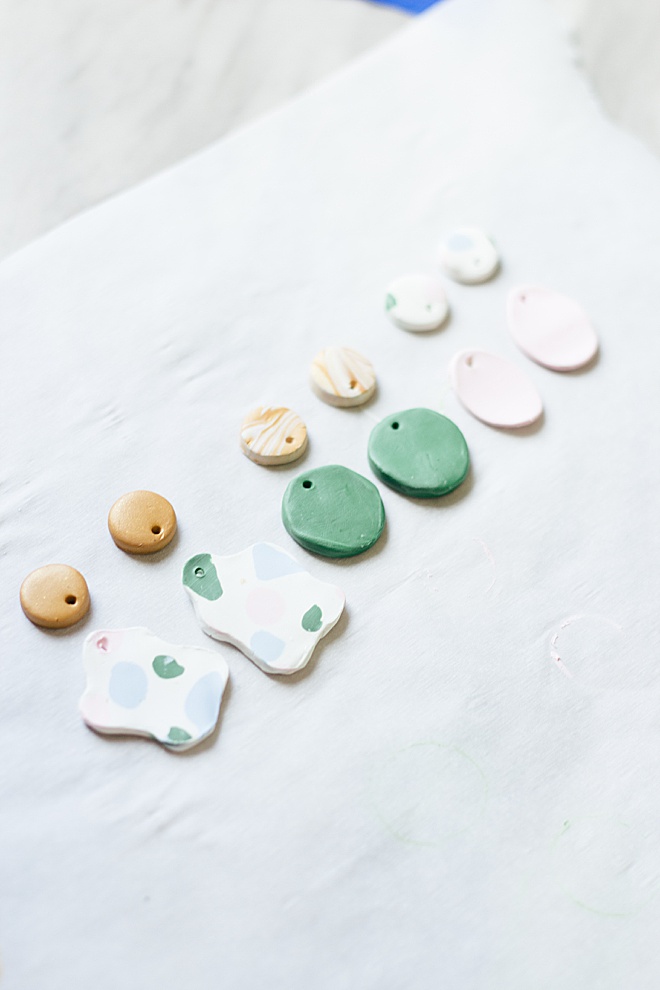
Heat your oven to 250º and line a baking sheet with parchment paper. Place all your pieces on a baking sheet and bake for about 10-12 minutes, depending on the thickness of your pieces. Make sure the clay is completely flat, otherwise you’ll run into problems when you add your earring posts.
Remove the earrings from the oven and let them cool before picking them up.
Posts
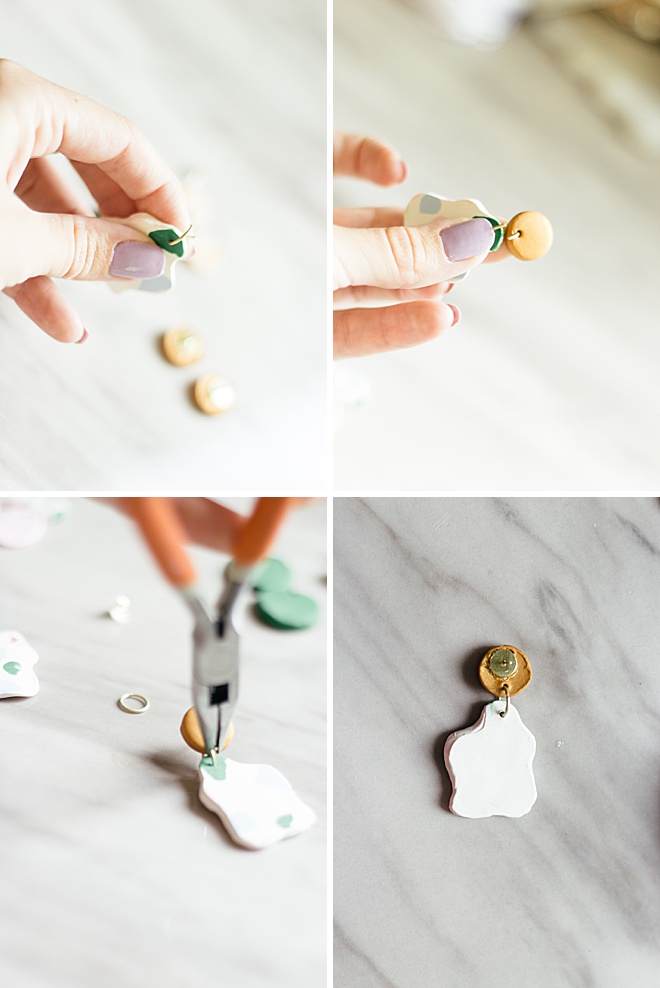
Put a dab of glue on the back of the post and add it to your small circle earring piece, avoiding the whole you put through.

Connecting
Open the jump rings with either your fingers or a pliers. Put the jump ring through the small circle piece and attach each correlating piece to it’s color. To close the jump ring, use the pliers to make sure there is no gap.
Gift
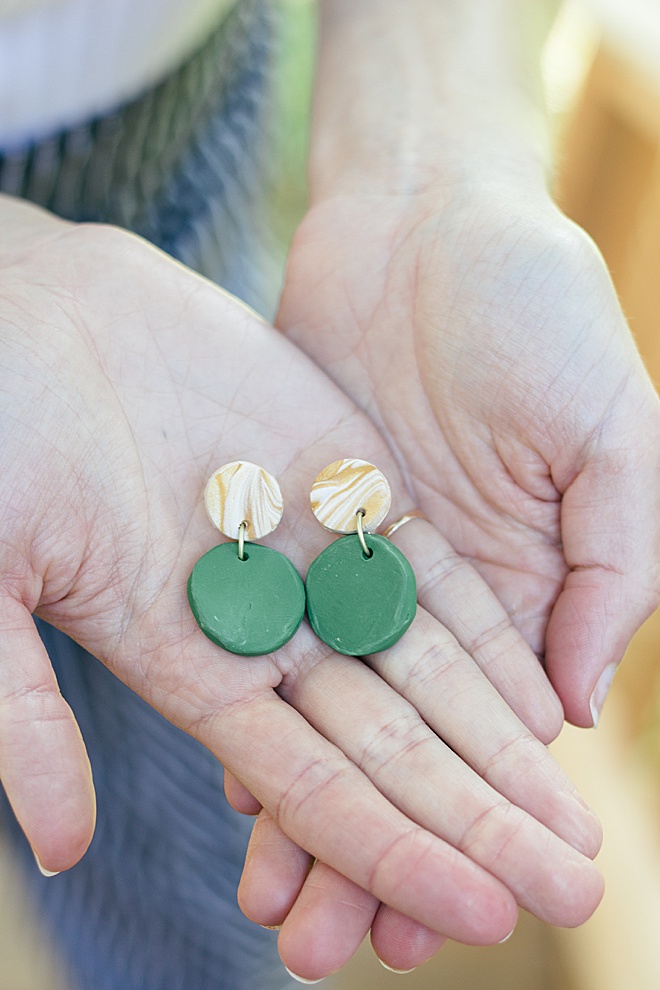
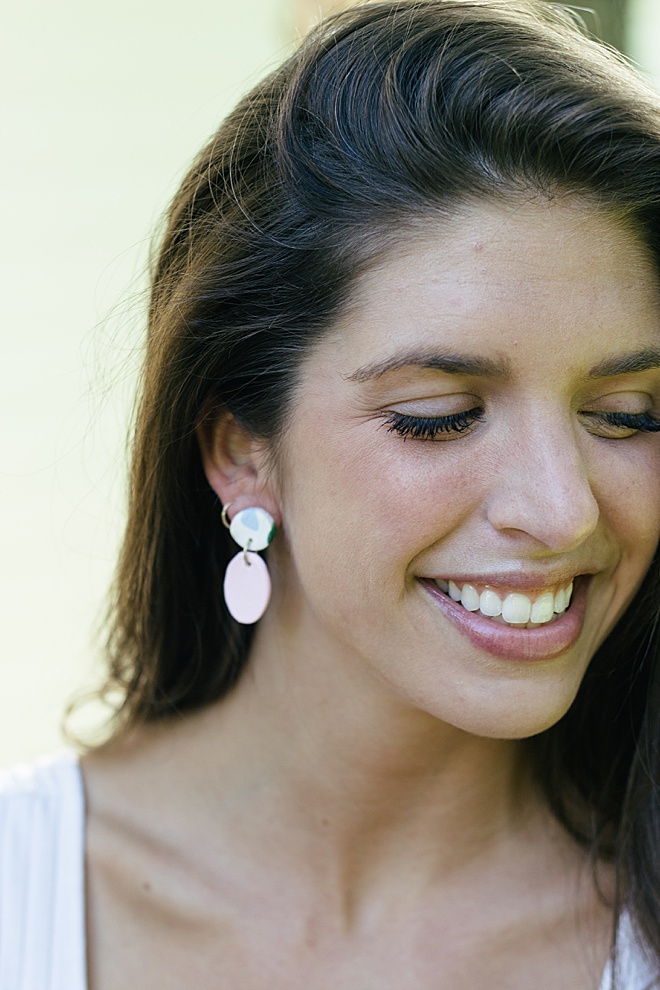
These make the perfect bridesmaid gift. You can put them in a little box to give to your bride tribe or simply hold out a hand and say, “Will you be my bridesmaid?”
Hein & Dandy is a blog founded on crafts and creative writing, inspired by adventure and wellness. Make sure to check out our website for new projects and inspiration!
As with all our DIY tutorials, if you create one of our projects please send us a picture – We Love Seeing Your Creativity! If you use Instagram or Twitter please use the hashtag #SomethingTurquoiseDIY and it will show up on our Get Social page. Happy Crafting!
DIY Tutorial Credits
Photography + DIY Tutorial: Carli Hein of Hein & Dandy // Clay: Amazon // Baking Sheet: Amazon // Parchment Paper: Amazon// Rolling Pin: Amazon // Pliers: Amazon// Earring posts and backs: Amazon // Jewelry Jump Rings: Amazon // Glue: Amazon
Shop The Supplies:
Find the supplies you’ll need for this project from our affiliate links below:



Comments