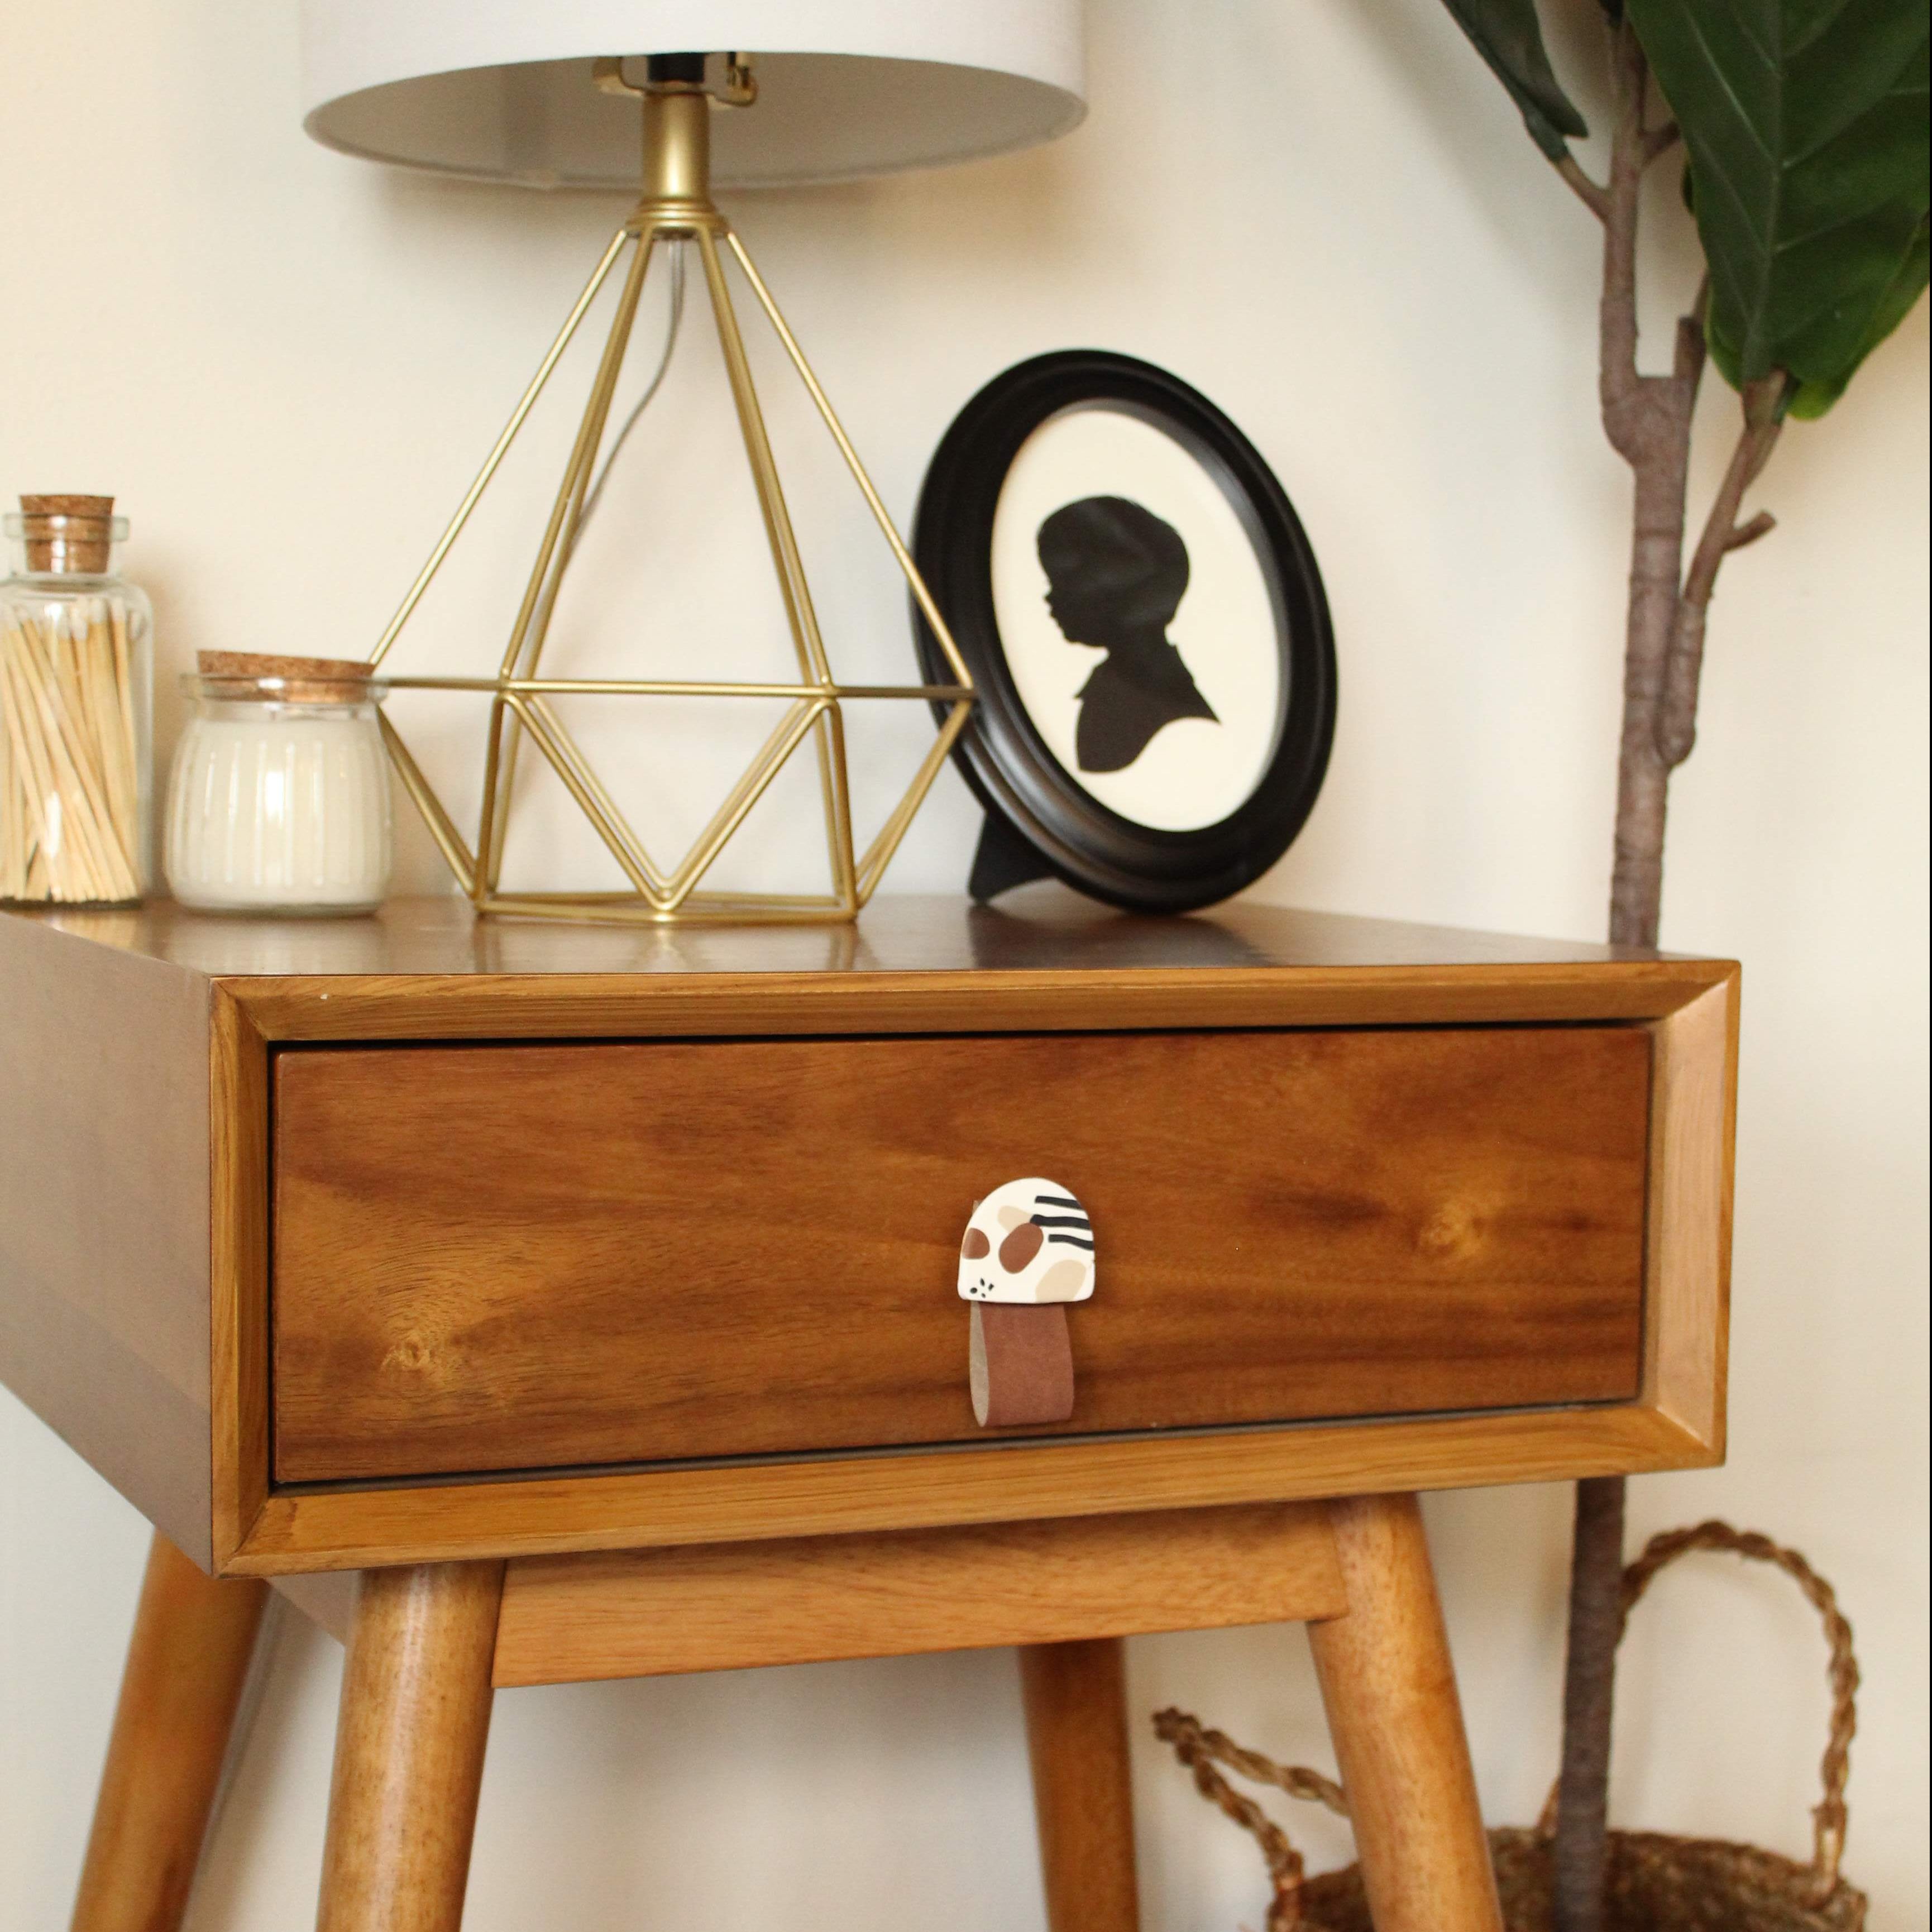
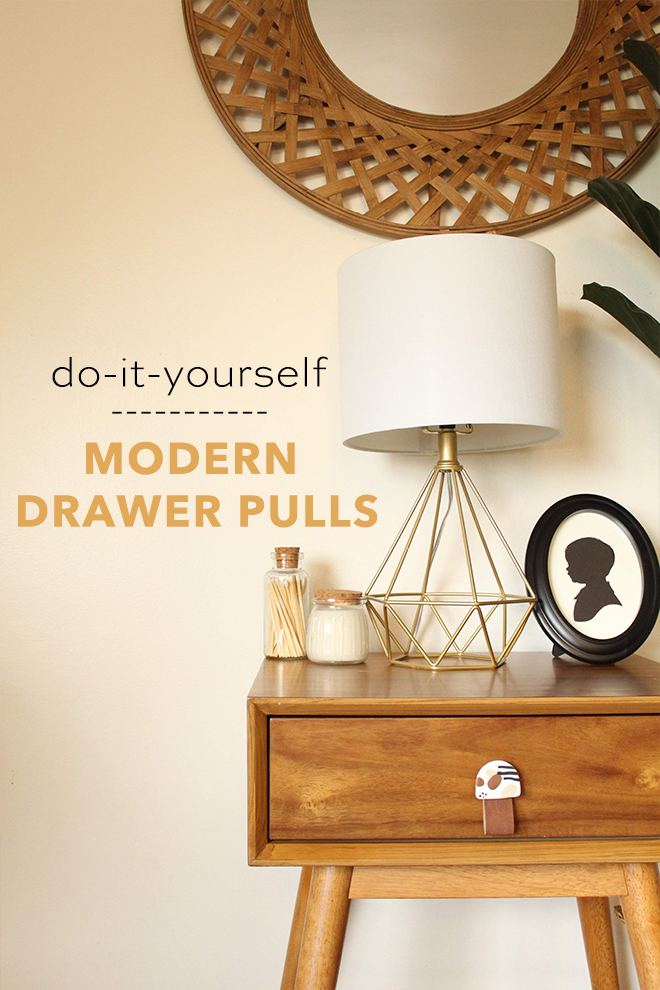
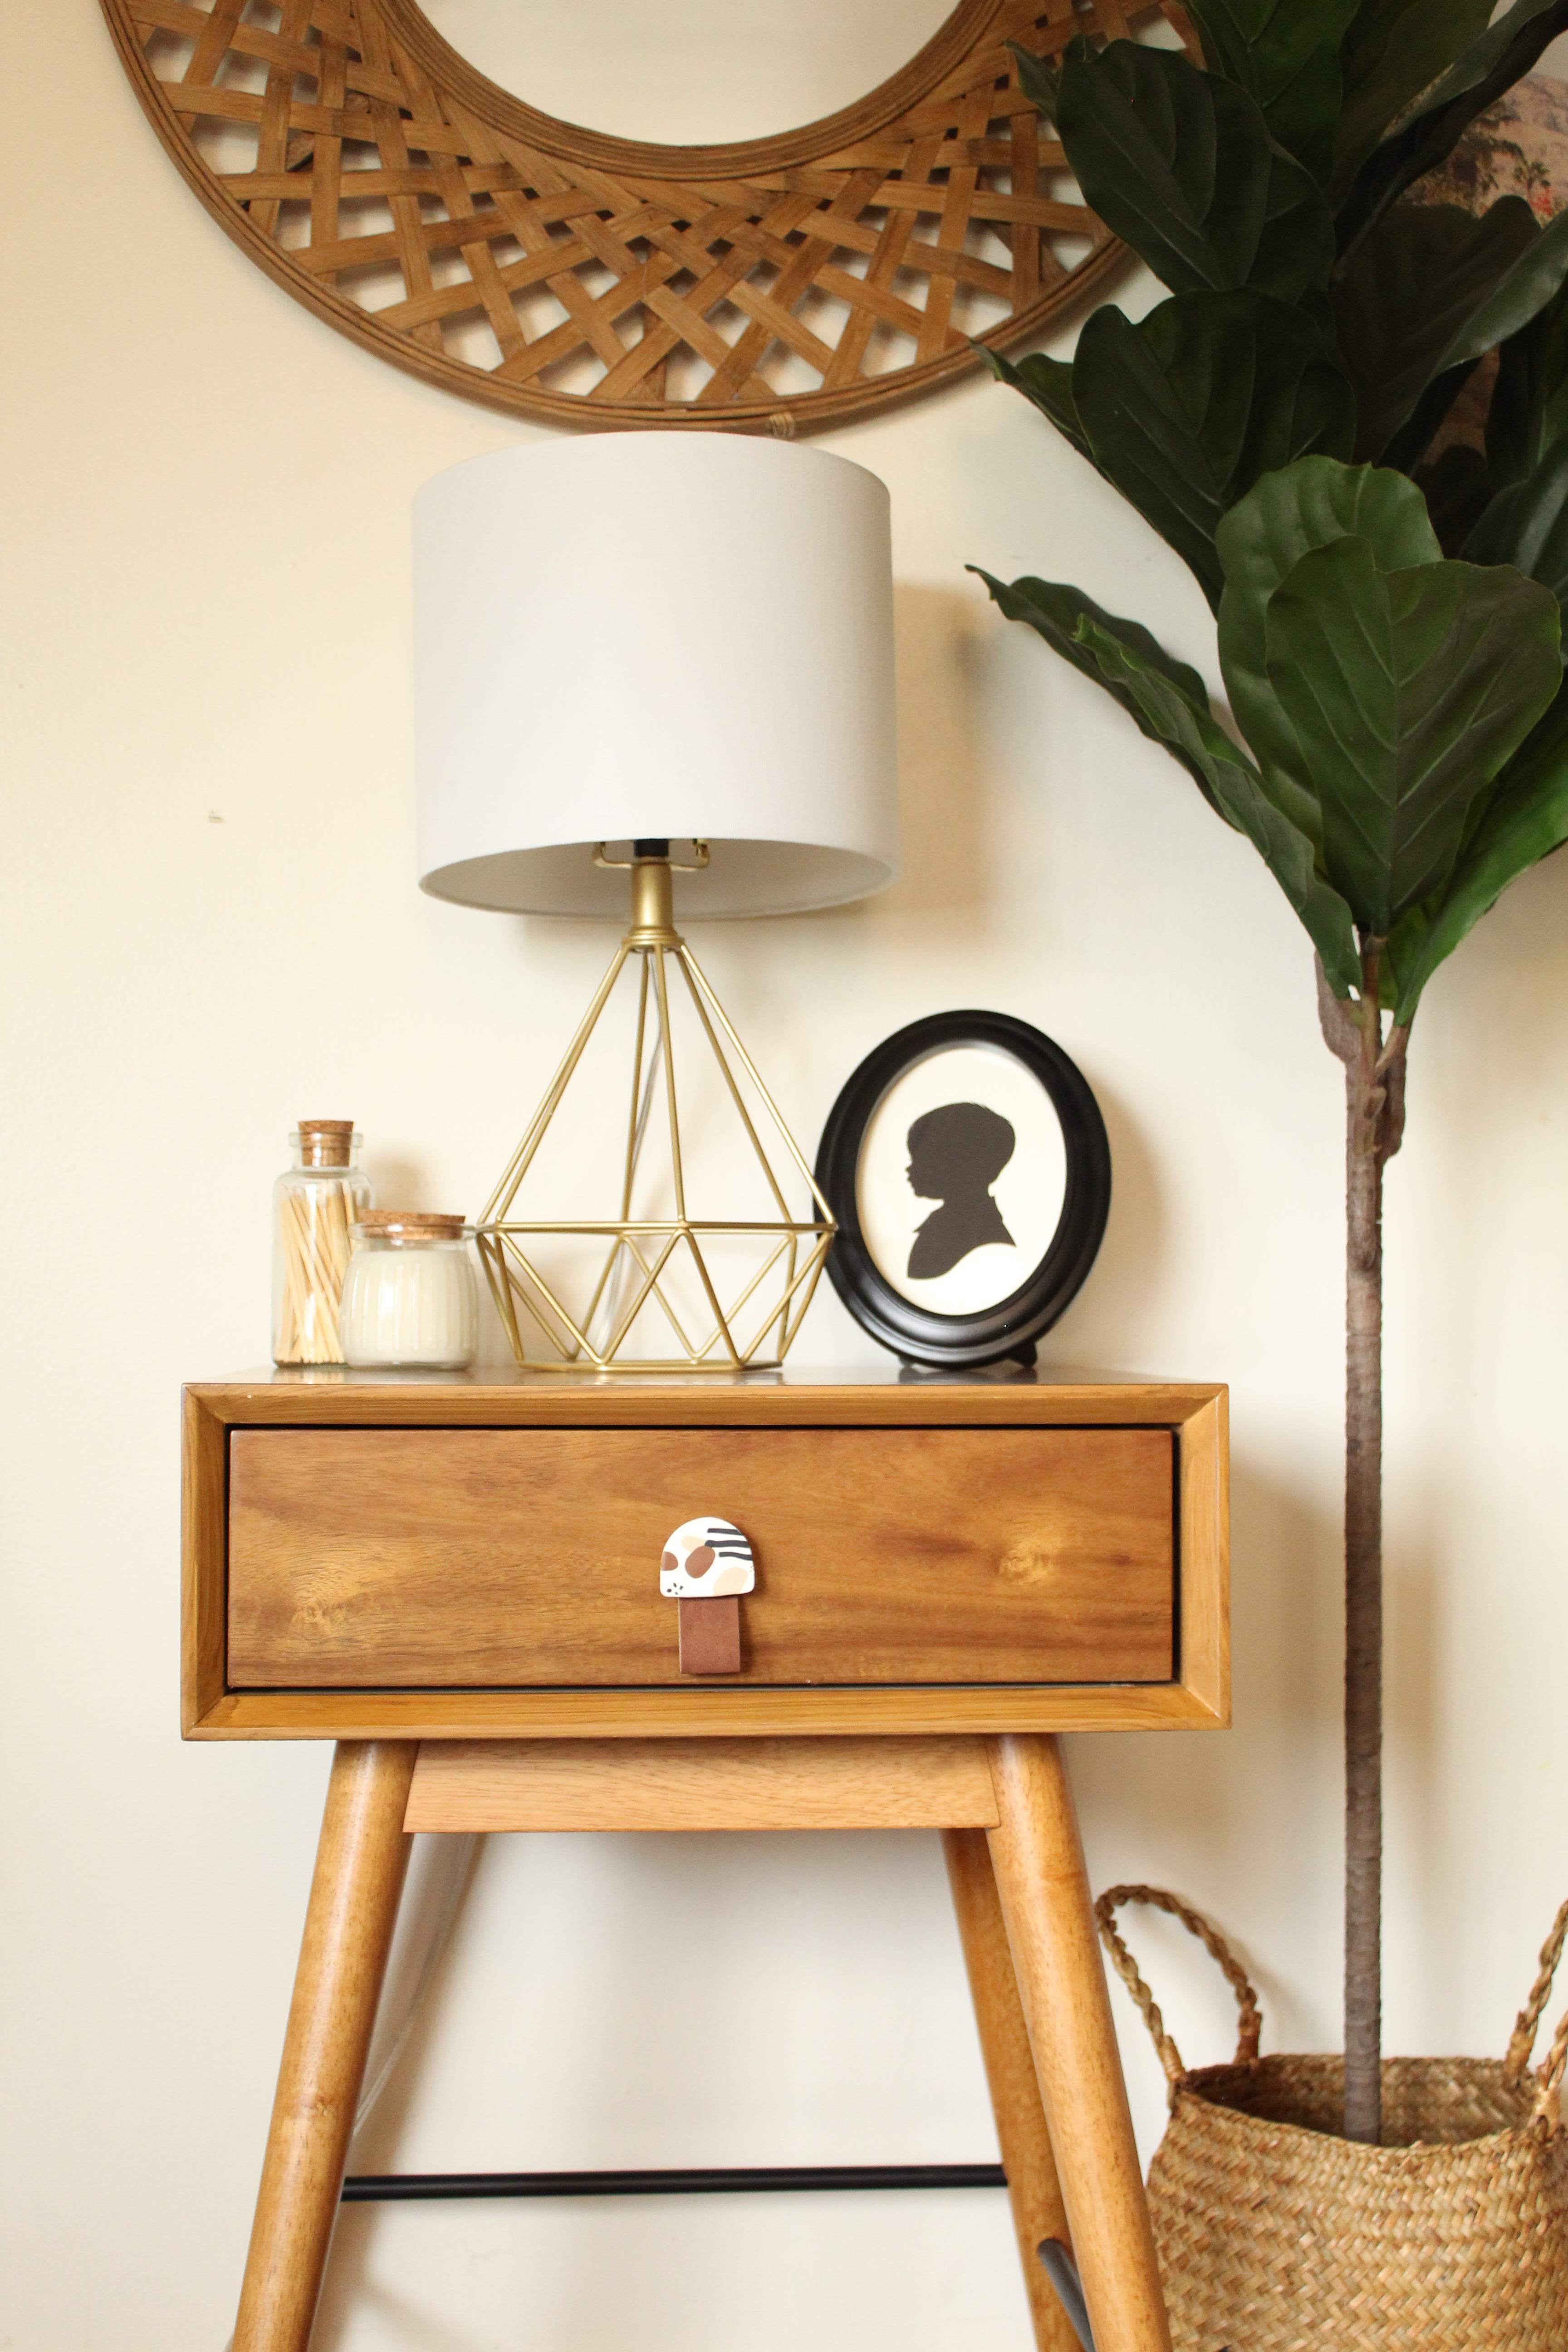
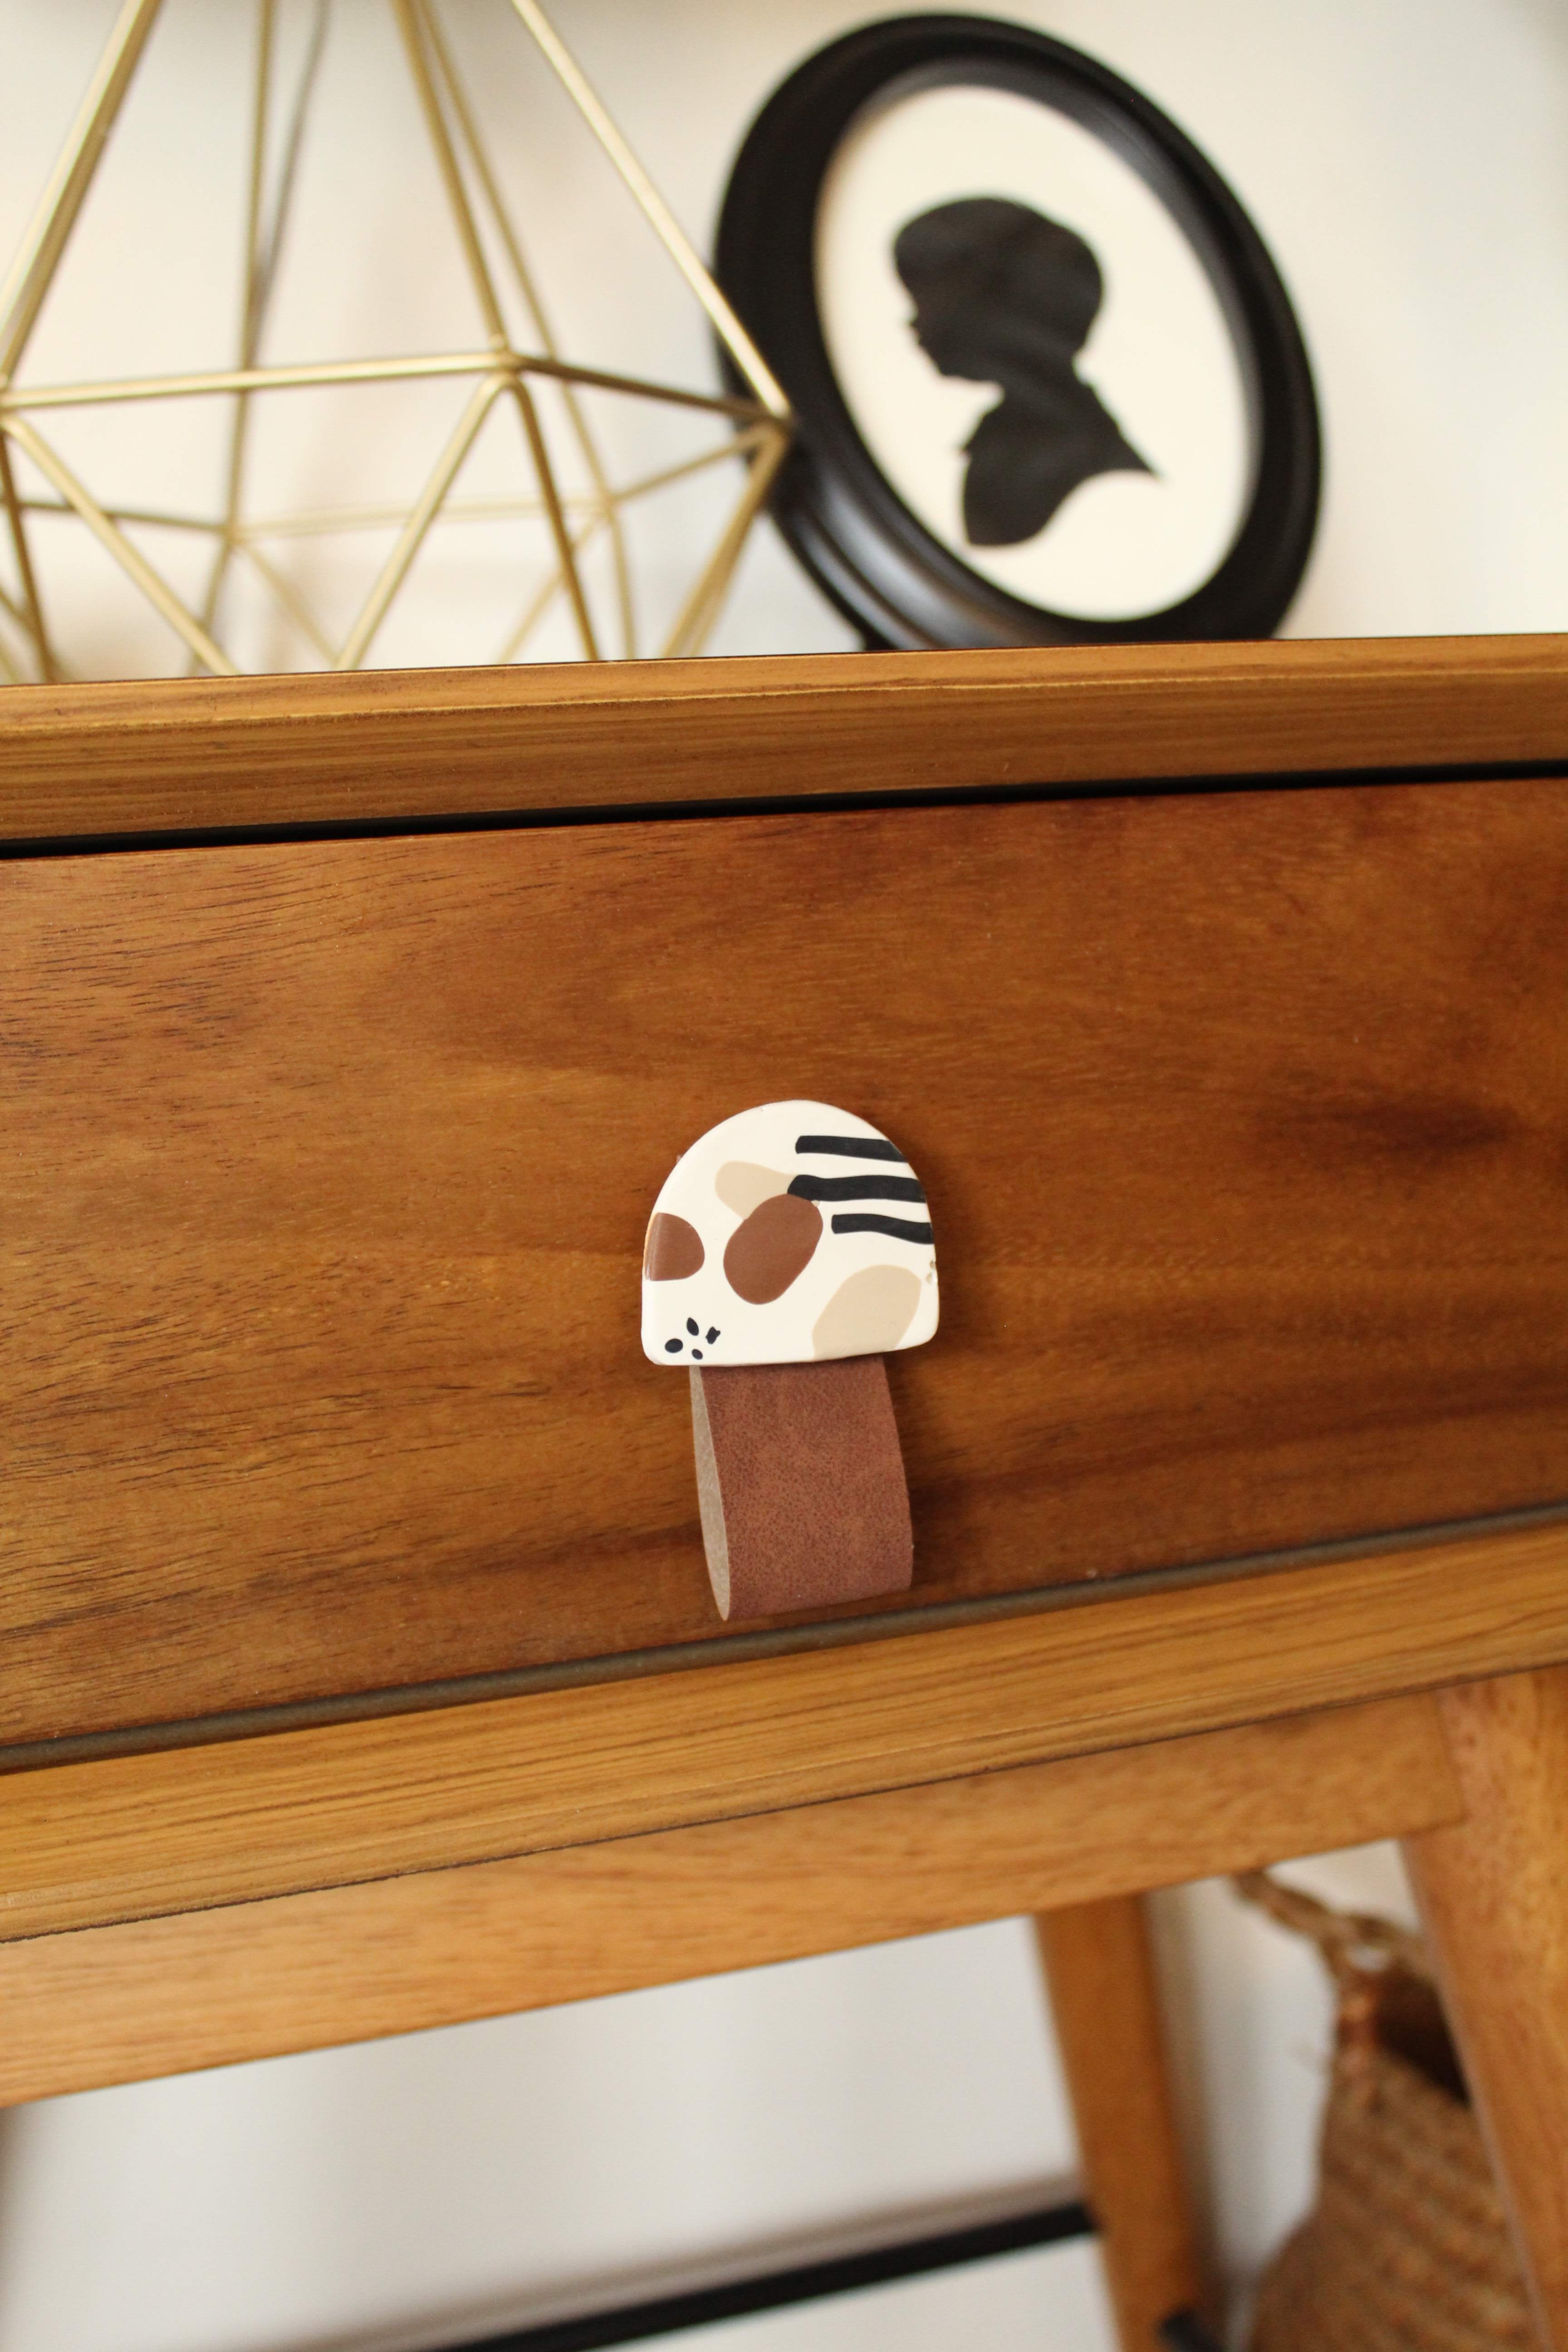
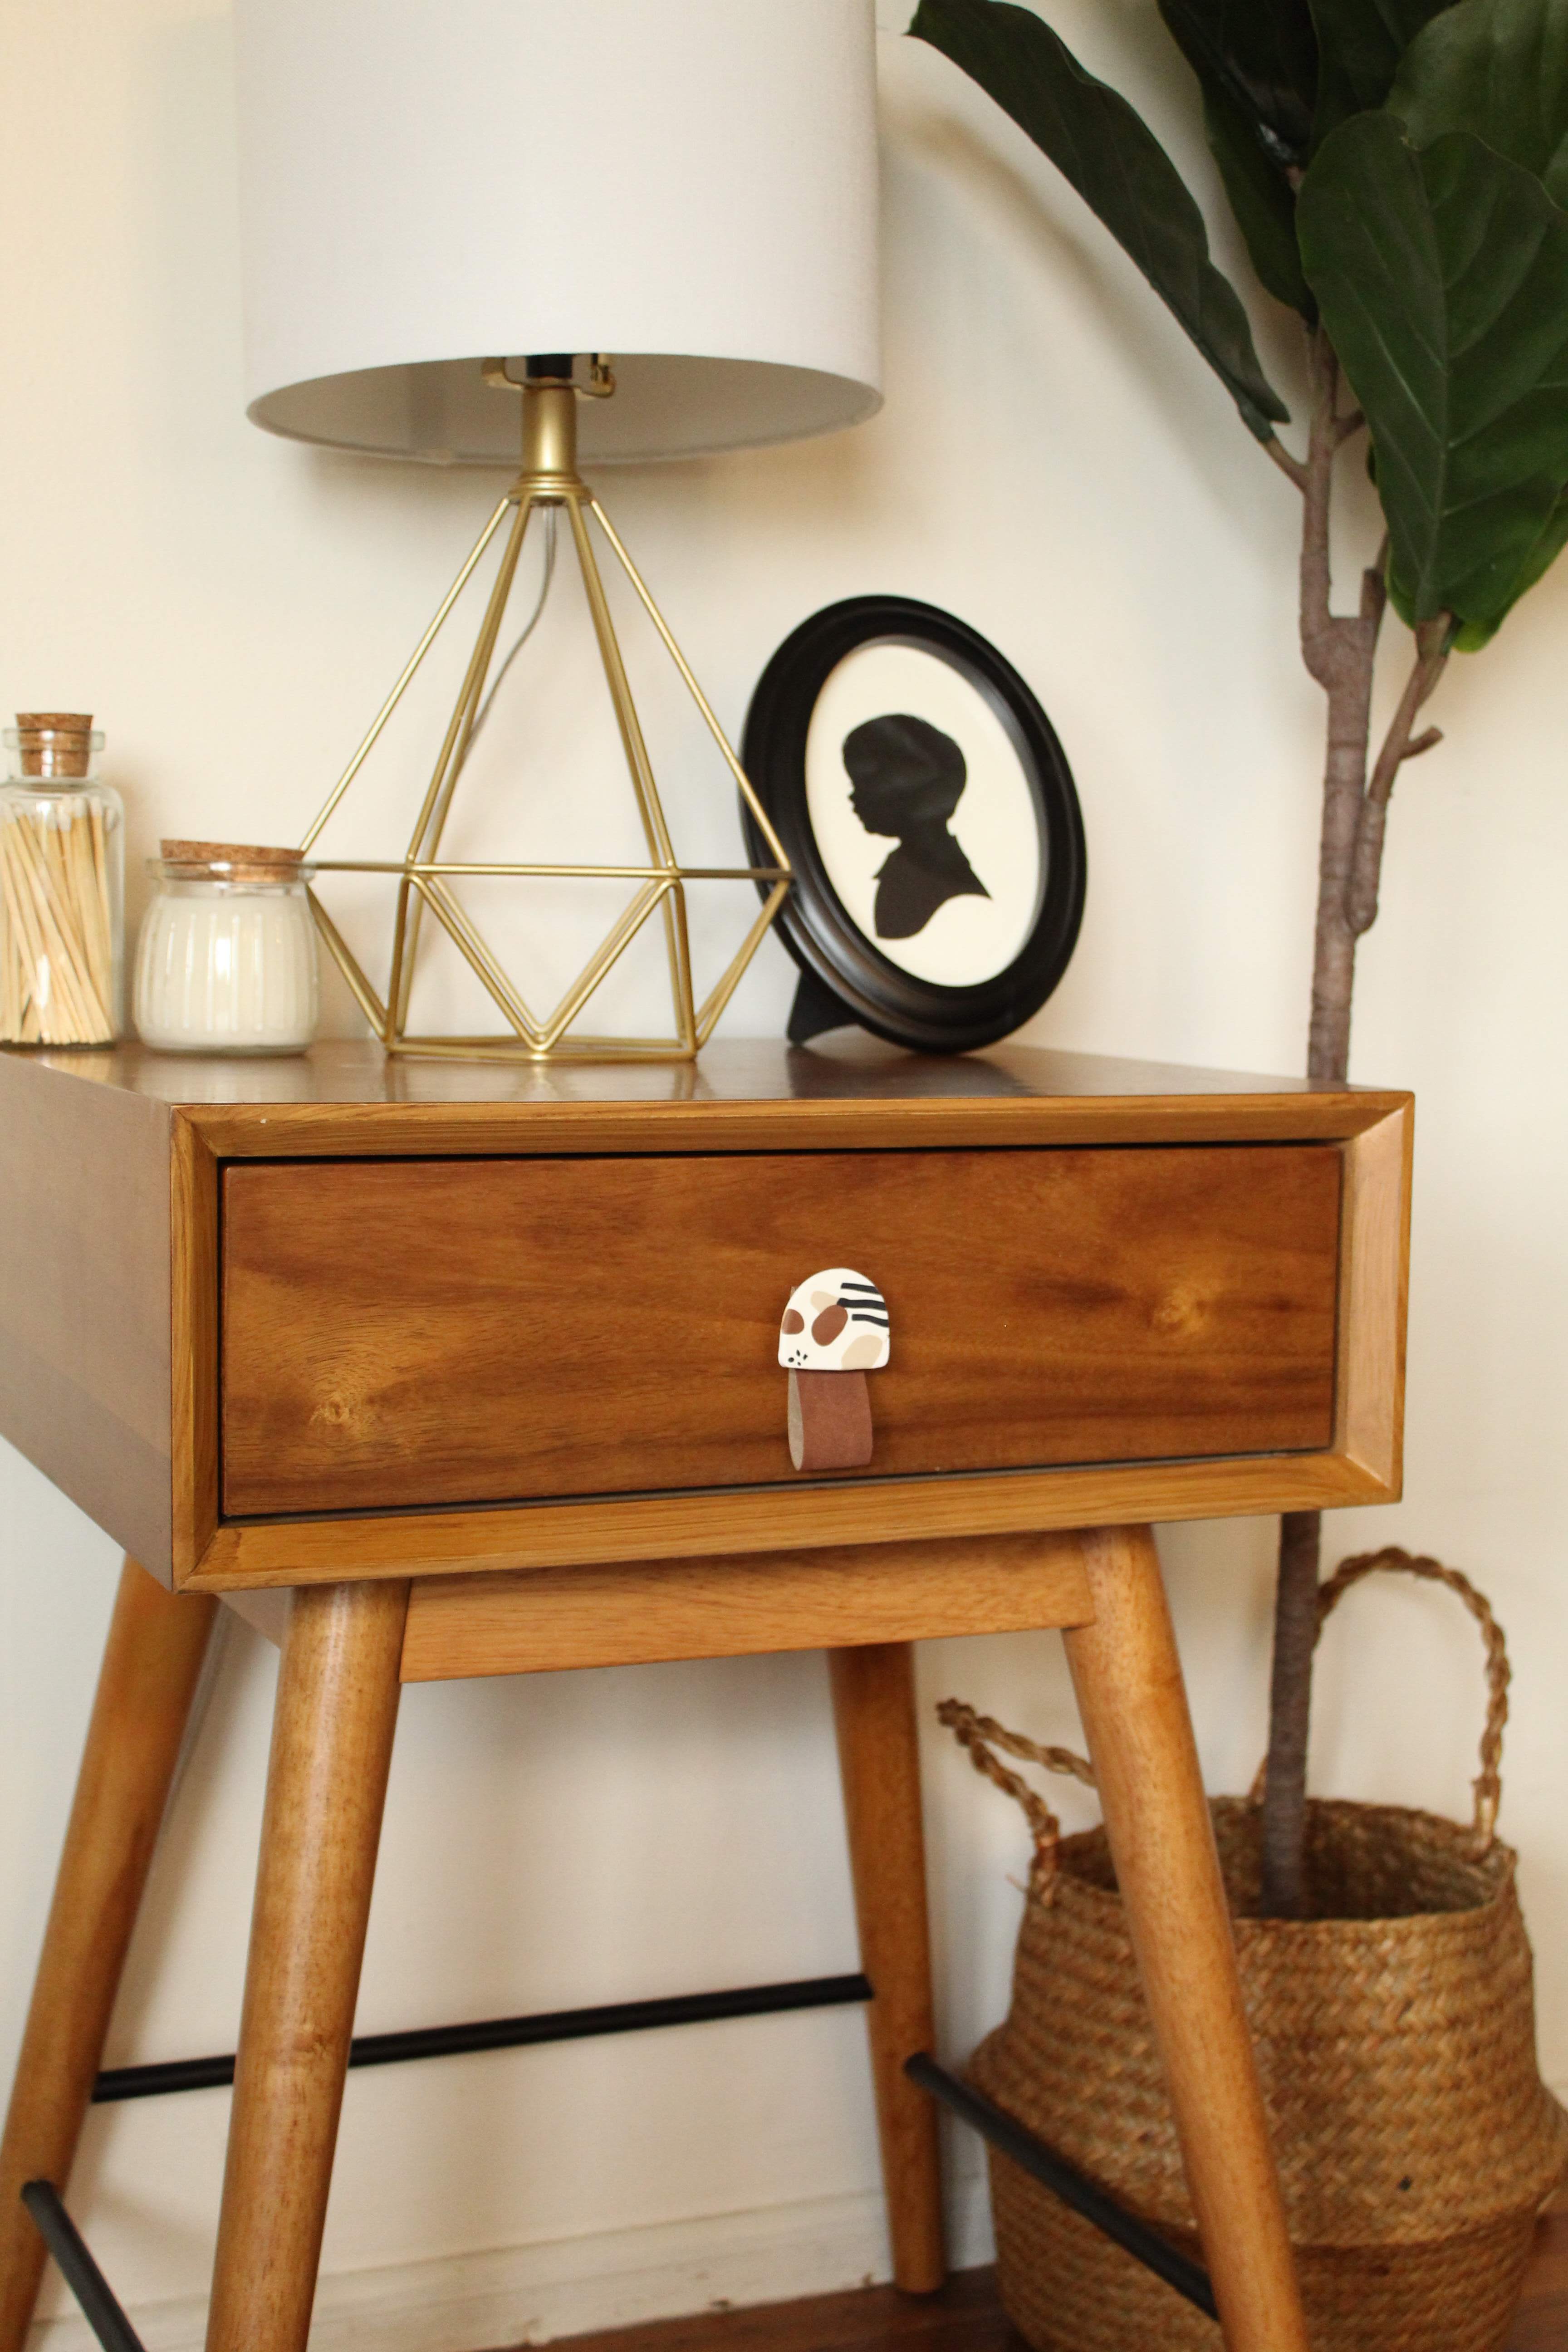
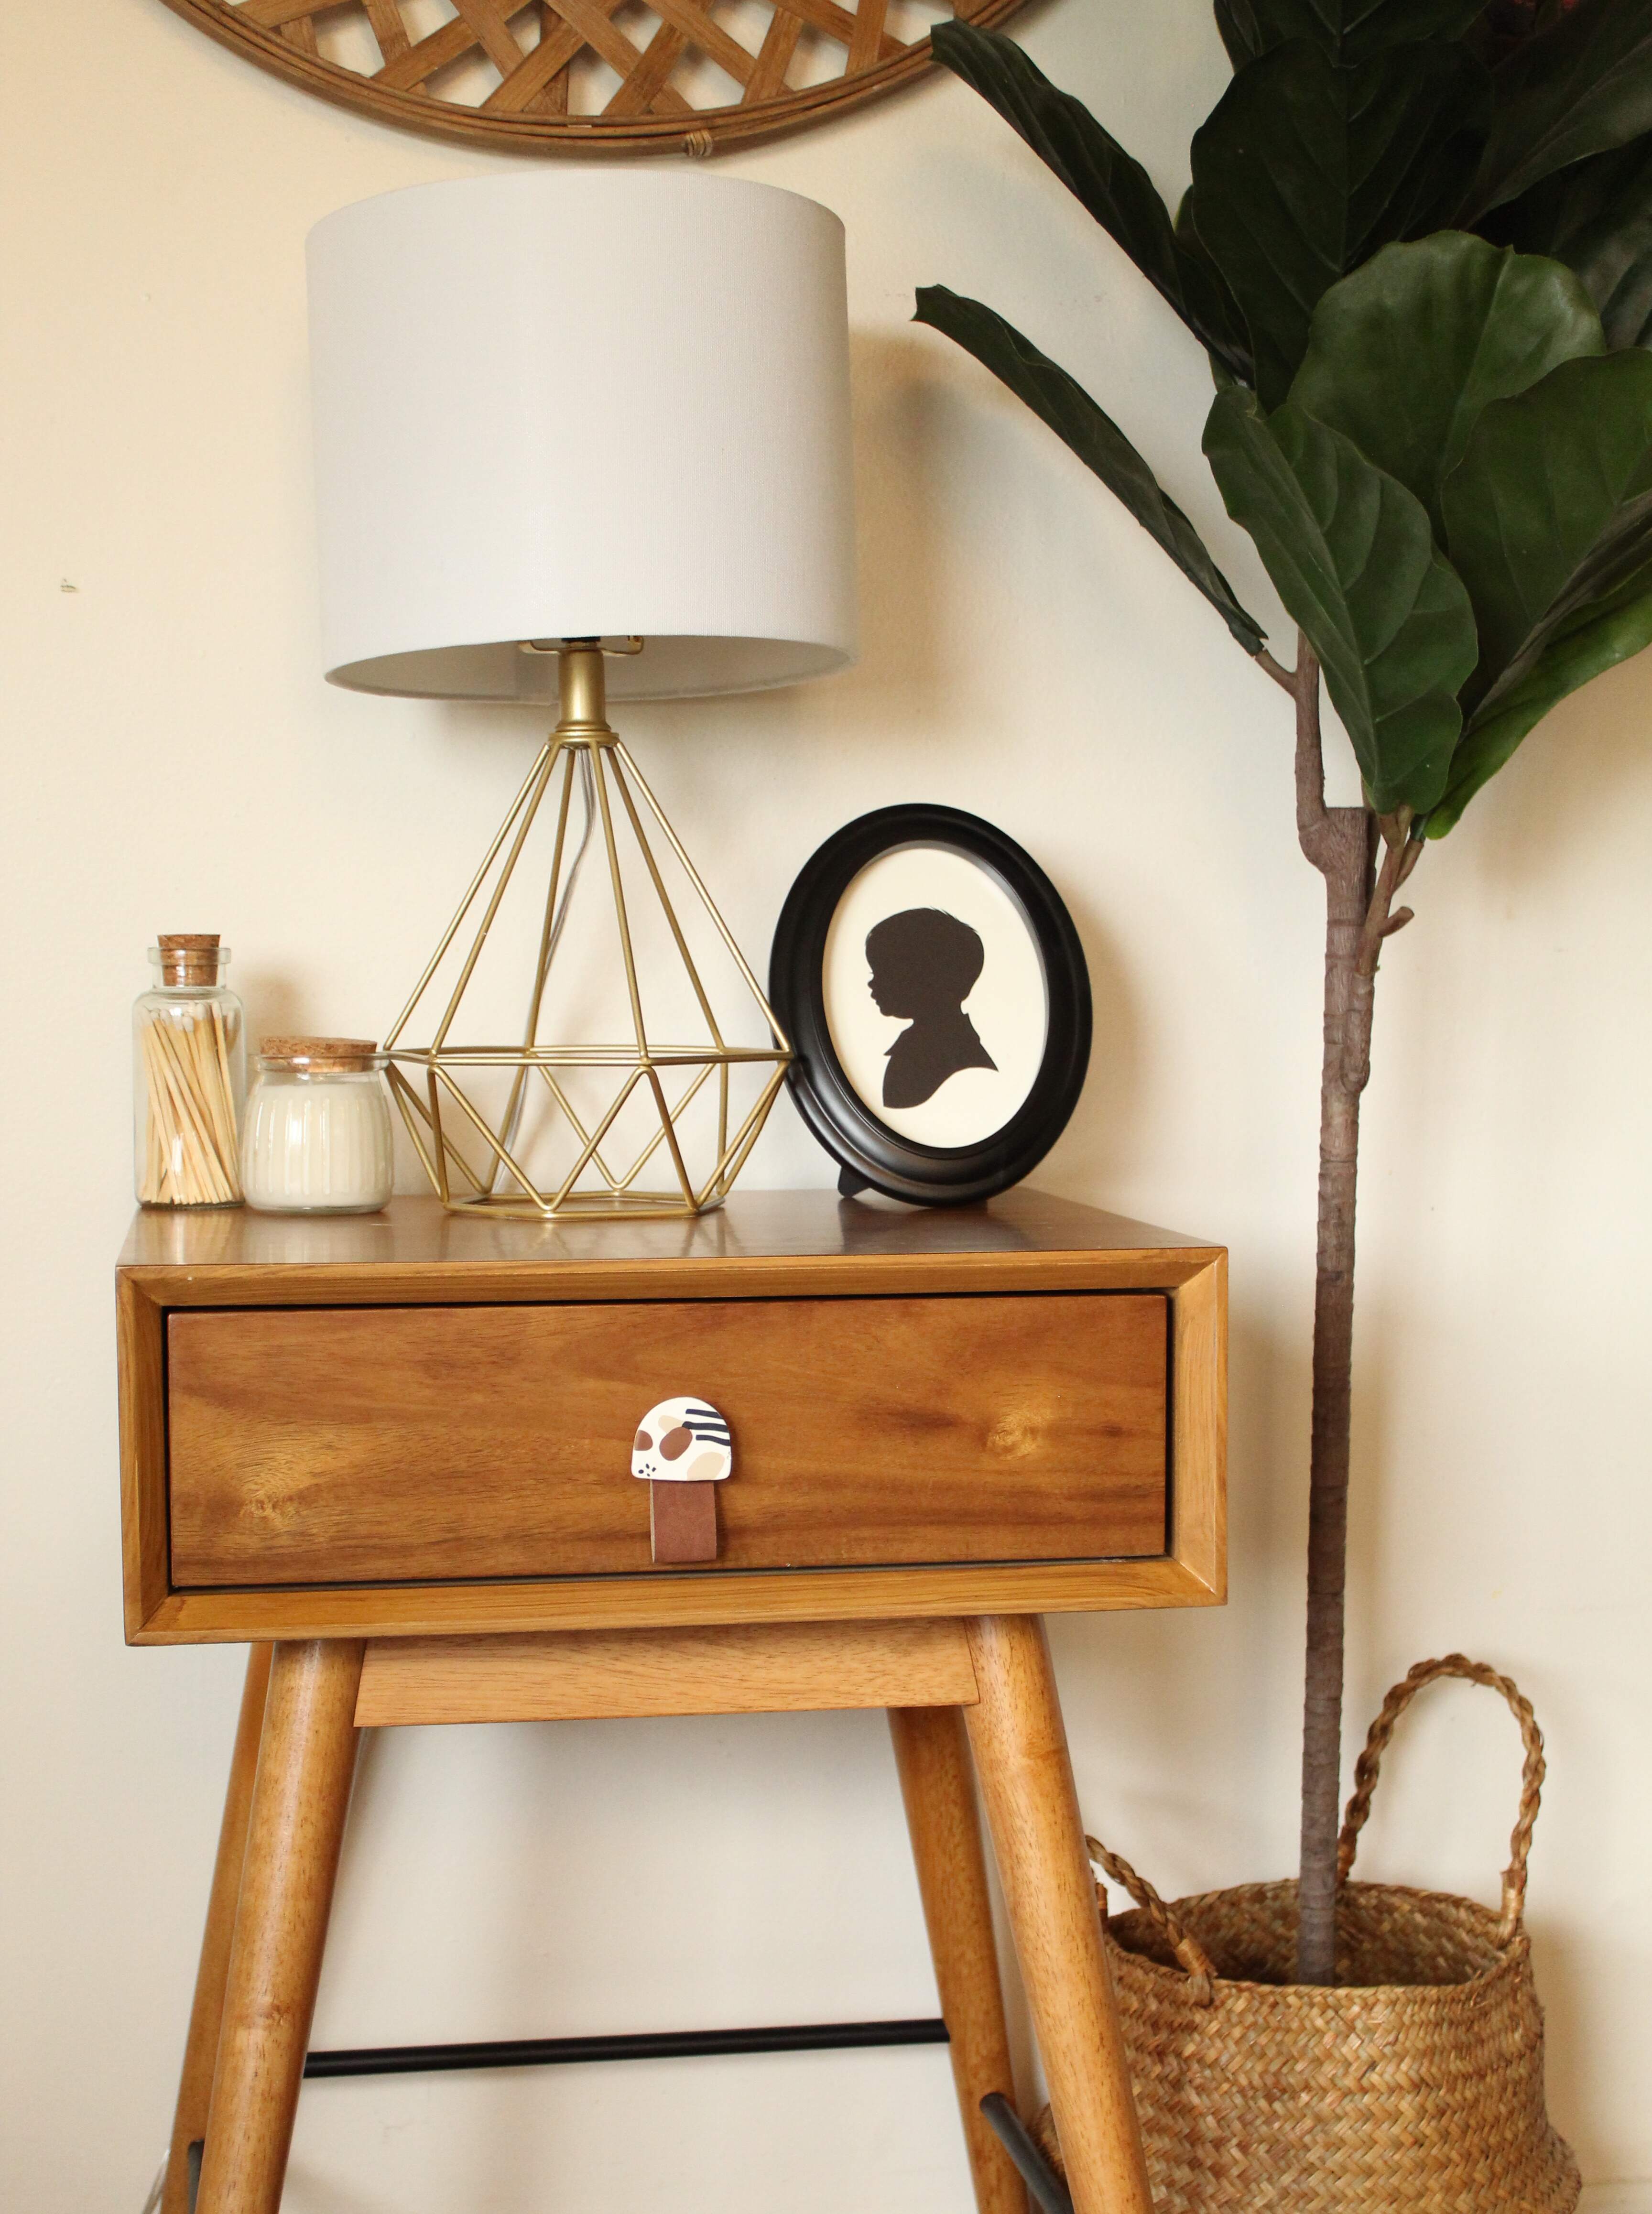
Hi friends! Shea back with another DIY that I’m so excited to share! For years, my master bedroom has been the most neglected room in the house. After years of complaining about it, we’ve finally been taking some simple steps to update it and make it feel a little more “us”. I recently replaced our vintage thrifted nightstands with something a little more modern. And while I love the new look, the basic knobs that came on them had to go. That’s where I got the idea for today’s DIY!
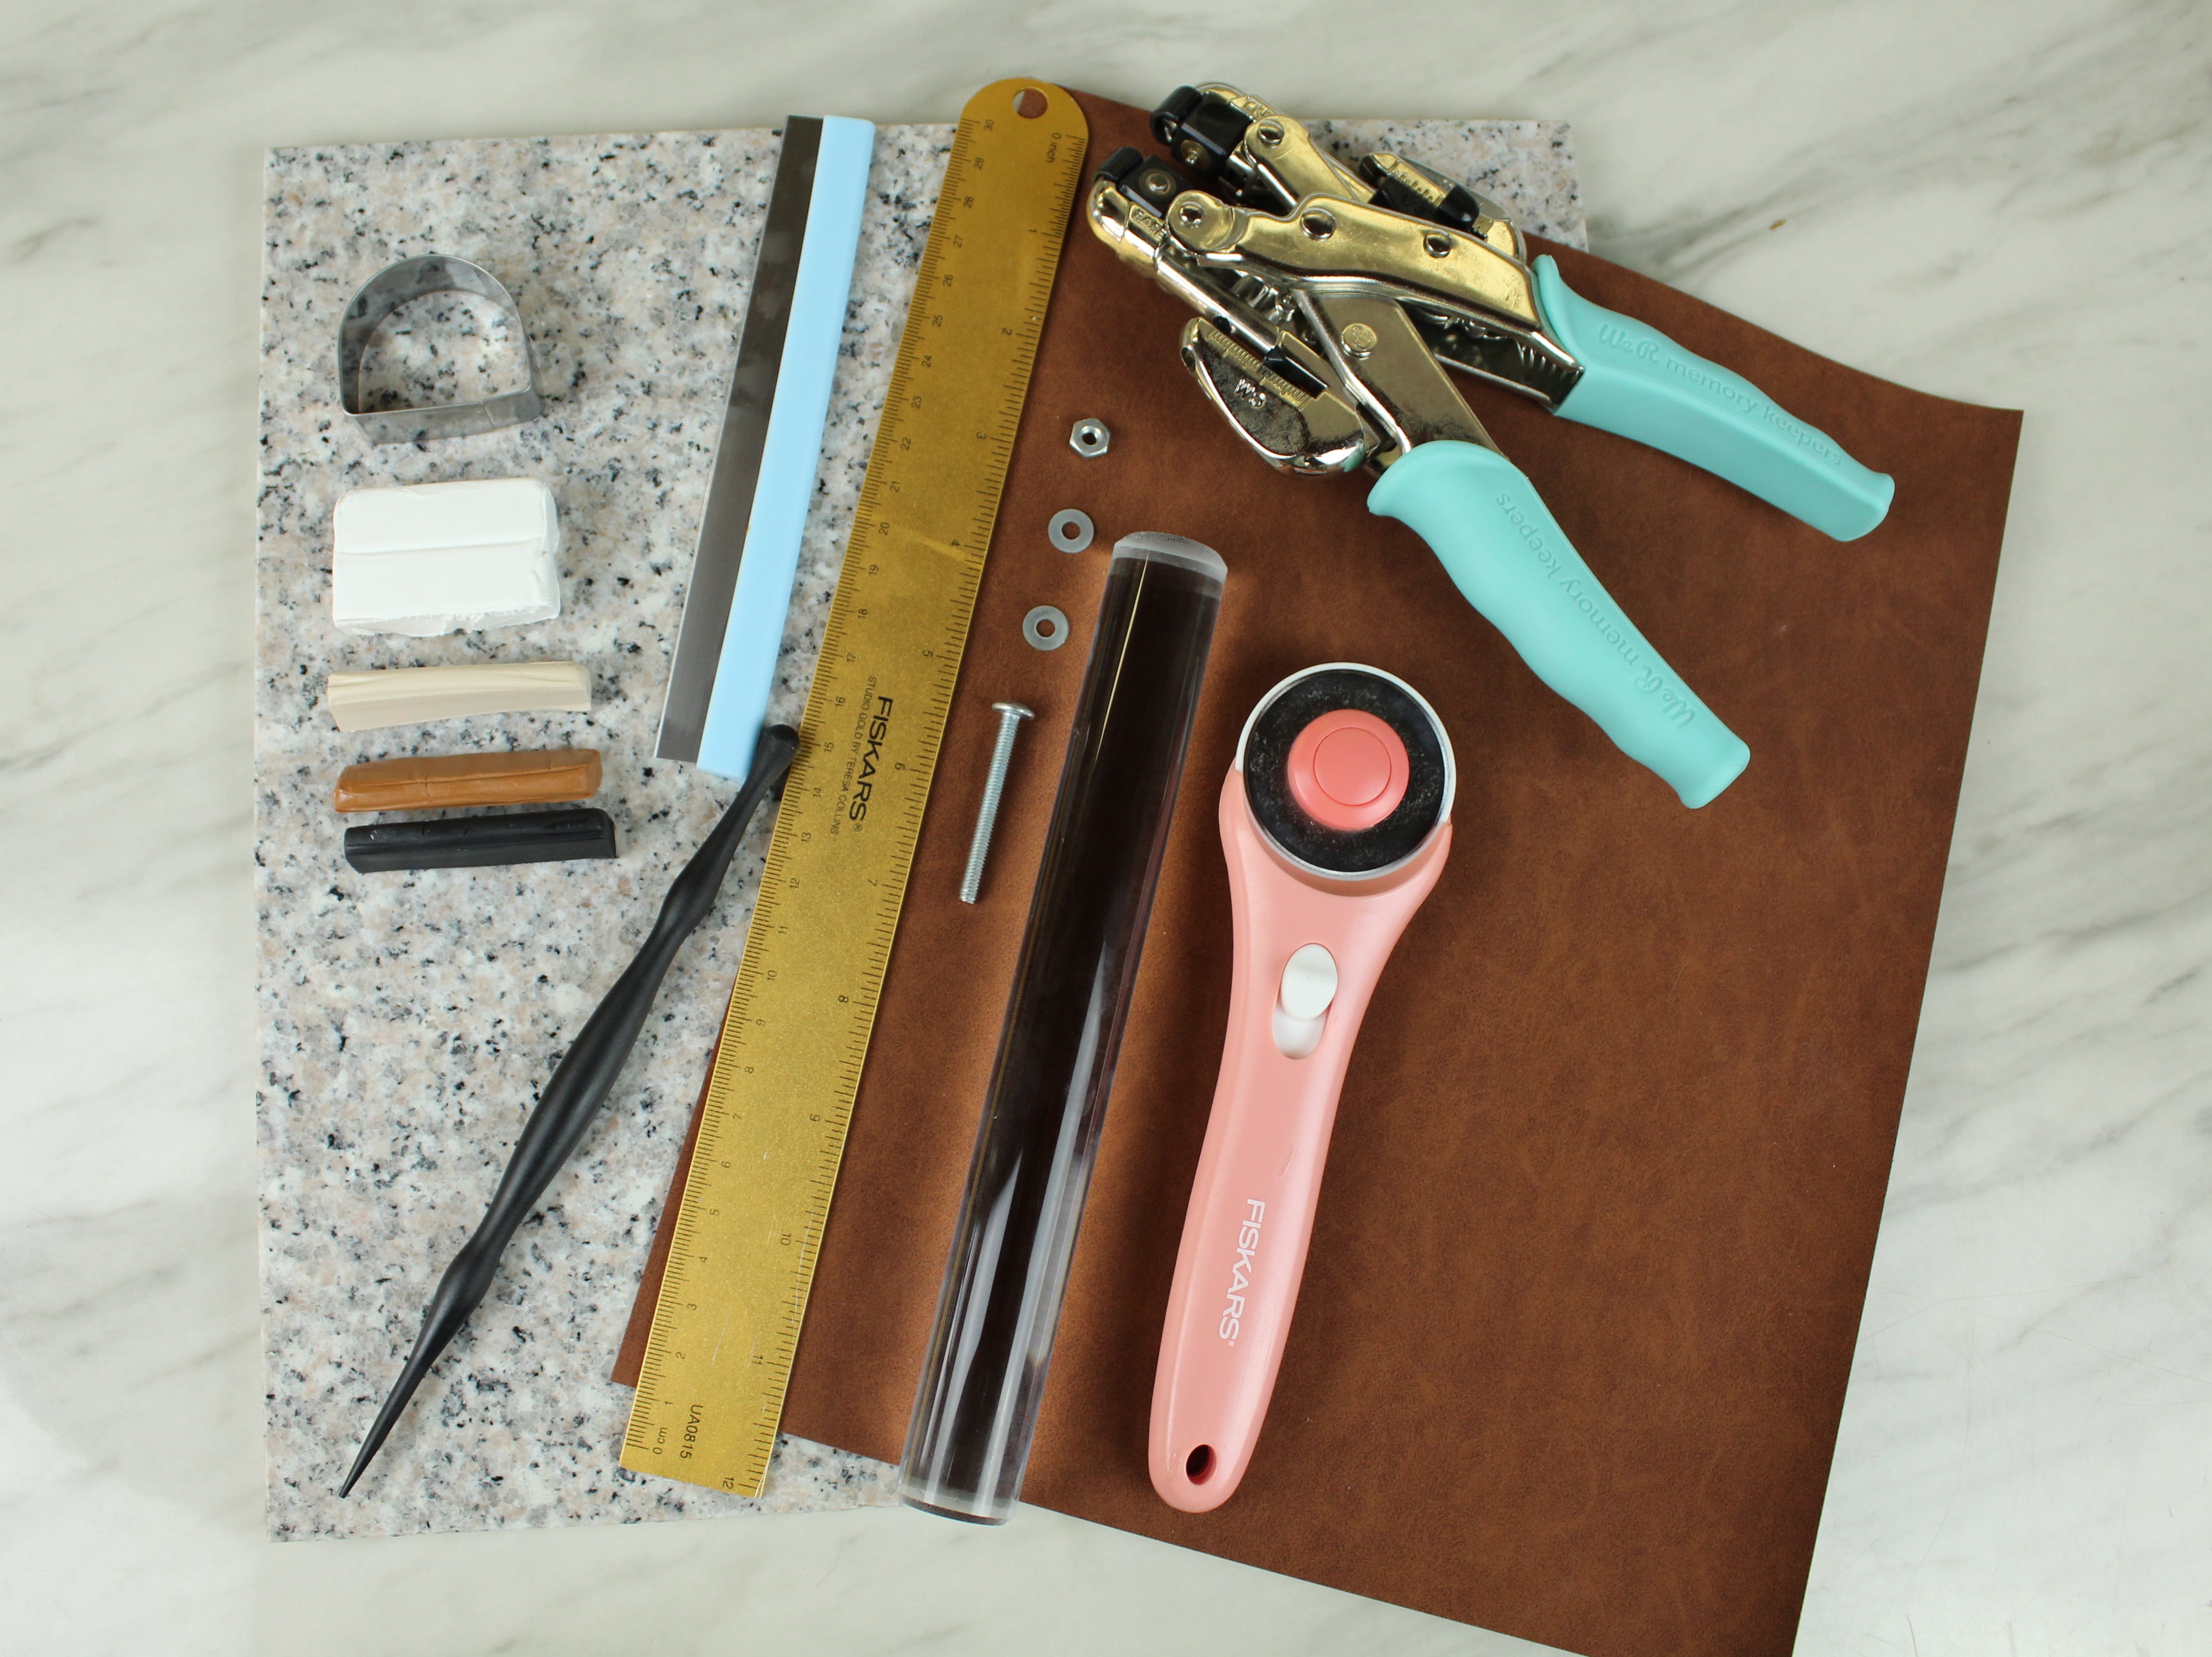
Supplies:
- Polymer clay in your choice of colors
- Semicircle Jewelry Cutter
- Clay tools: acrylic roller, slicer, poking tool
- Piece of Tile or Glass cutting board
- Faux Suede
- Ruler
- Rotary Cutter (or scissors)
- Crop-a-dile
- Screw, two washers and one nut per existing drawer pull
- Baking Sheet (not pictured)
- Parchment Paper (not pictured)
- Heavy Duty Glue (not pictured)
Figuring Out What You Need
Unless you are planning to do this on the exact same nightstand that I have, you will likely need different supplies than me when it comes to your screws and such. The easiest way to figure out what you need is to take off the existing knobs and take them to your local hardware store. Using the existing screw as your guide, find another one the same size but longer, and get washers and a nut that fit.
Cut your Faux Suede
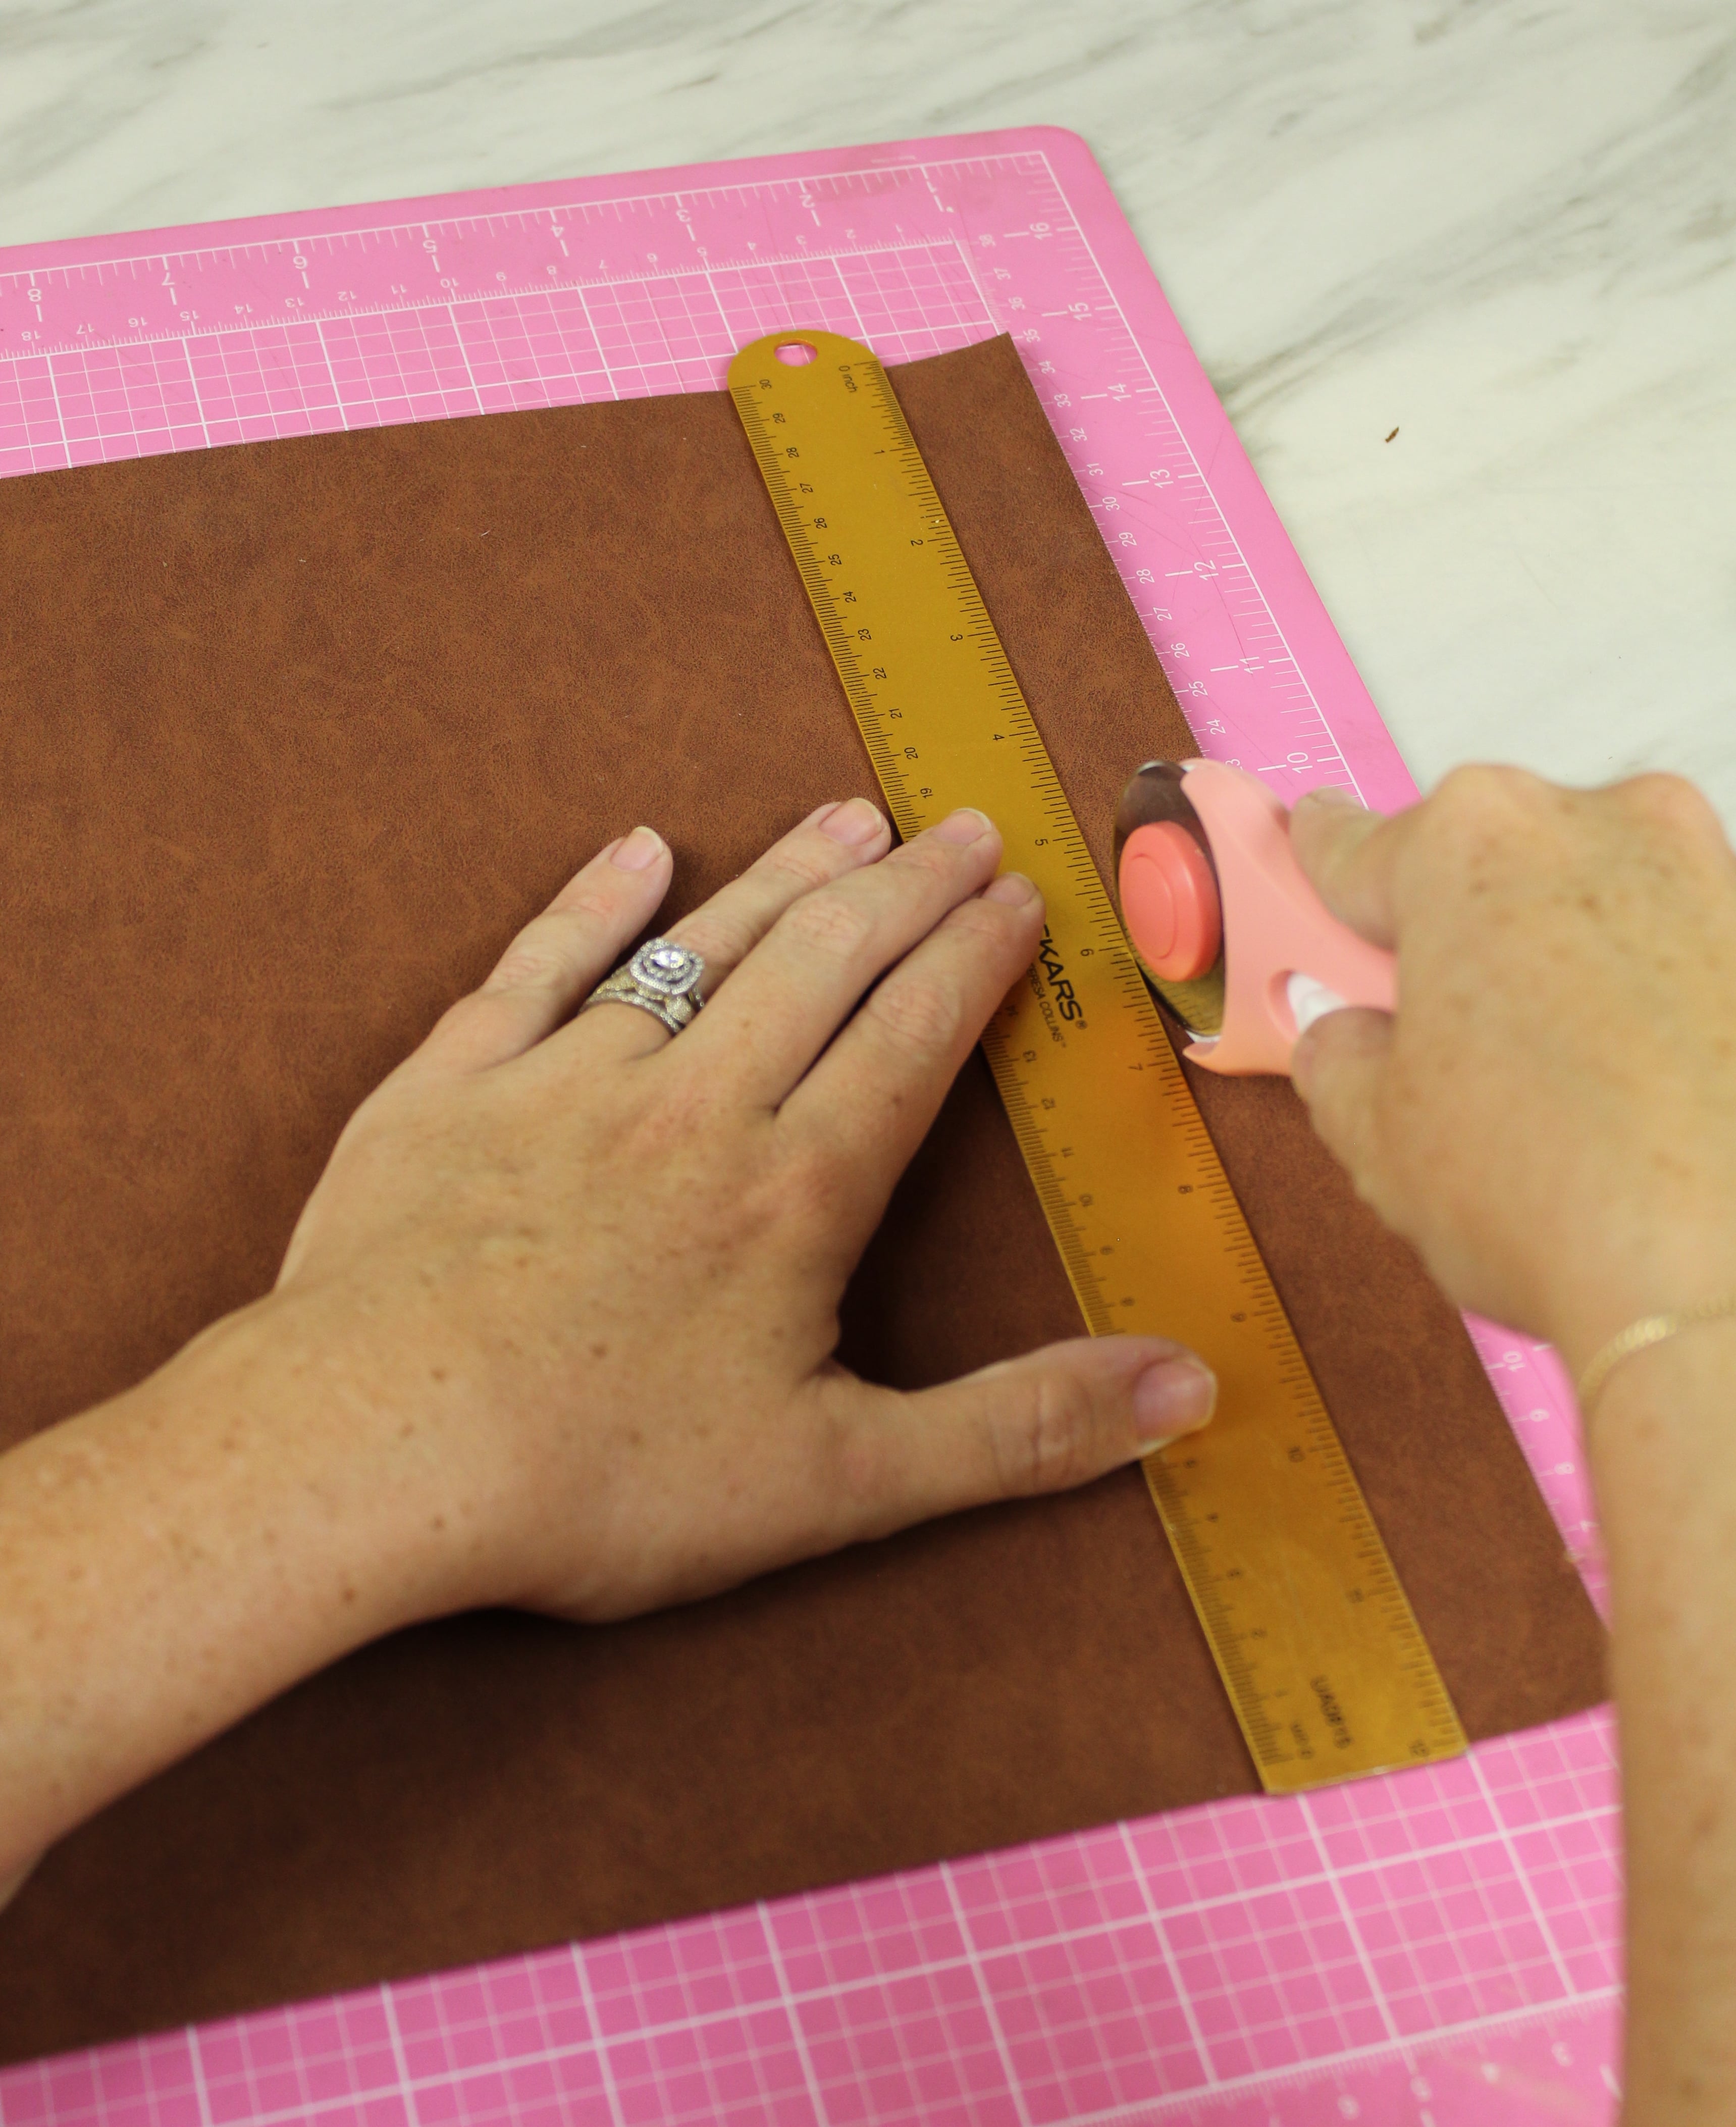
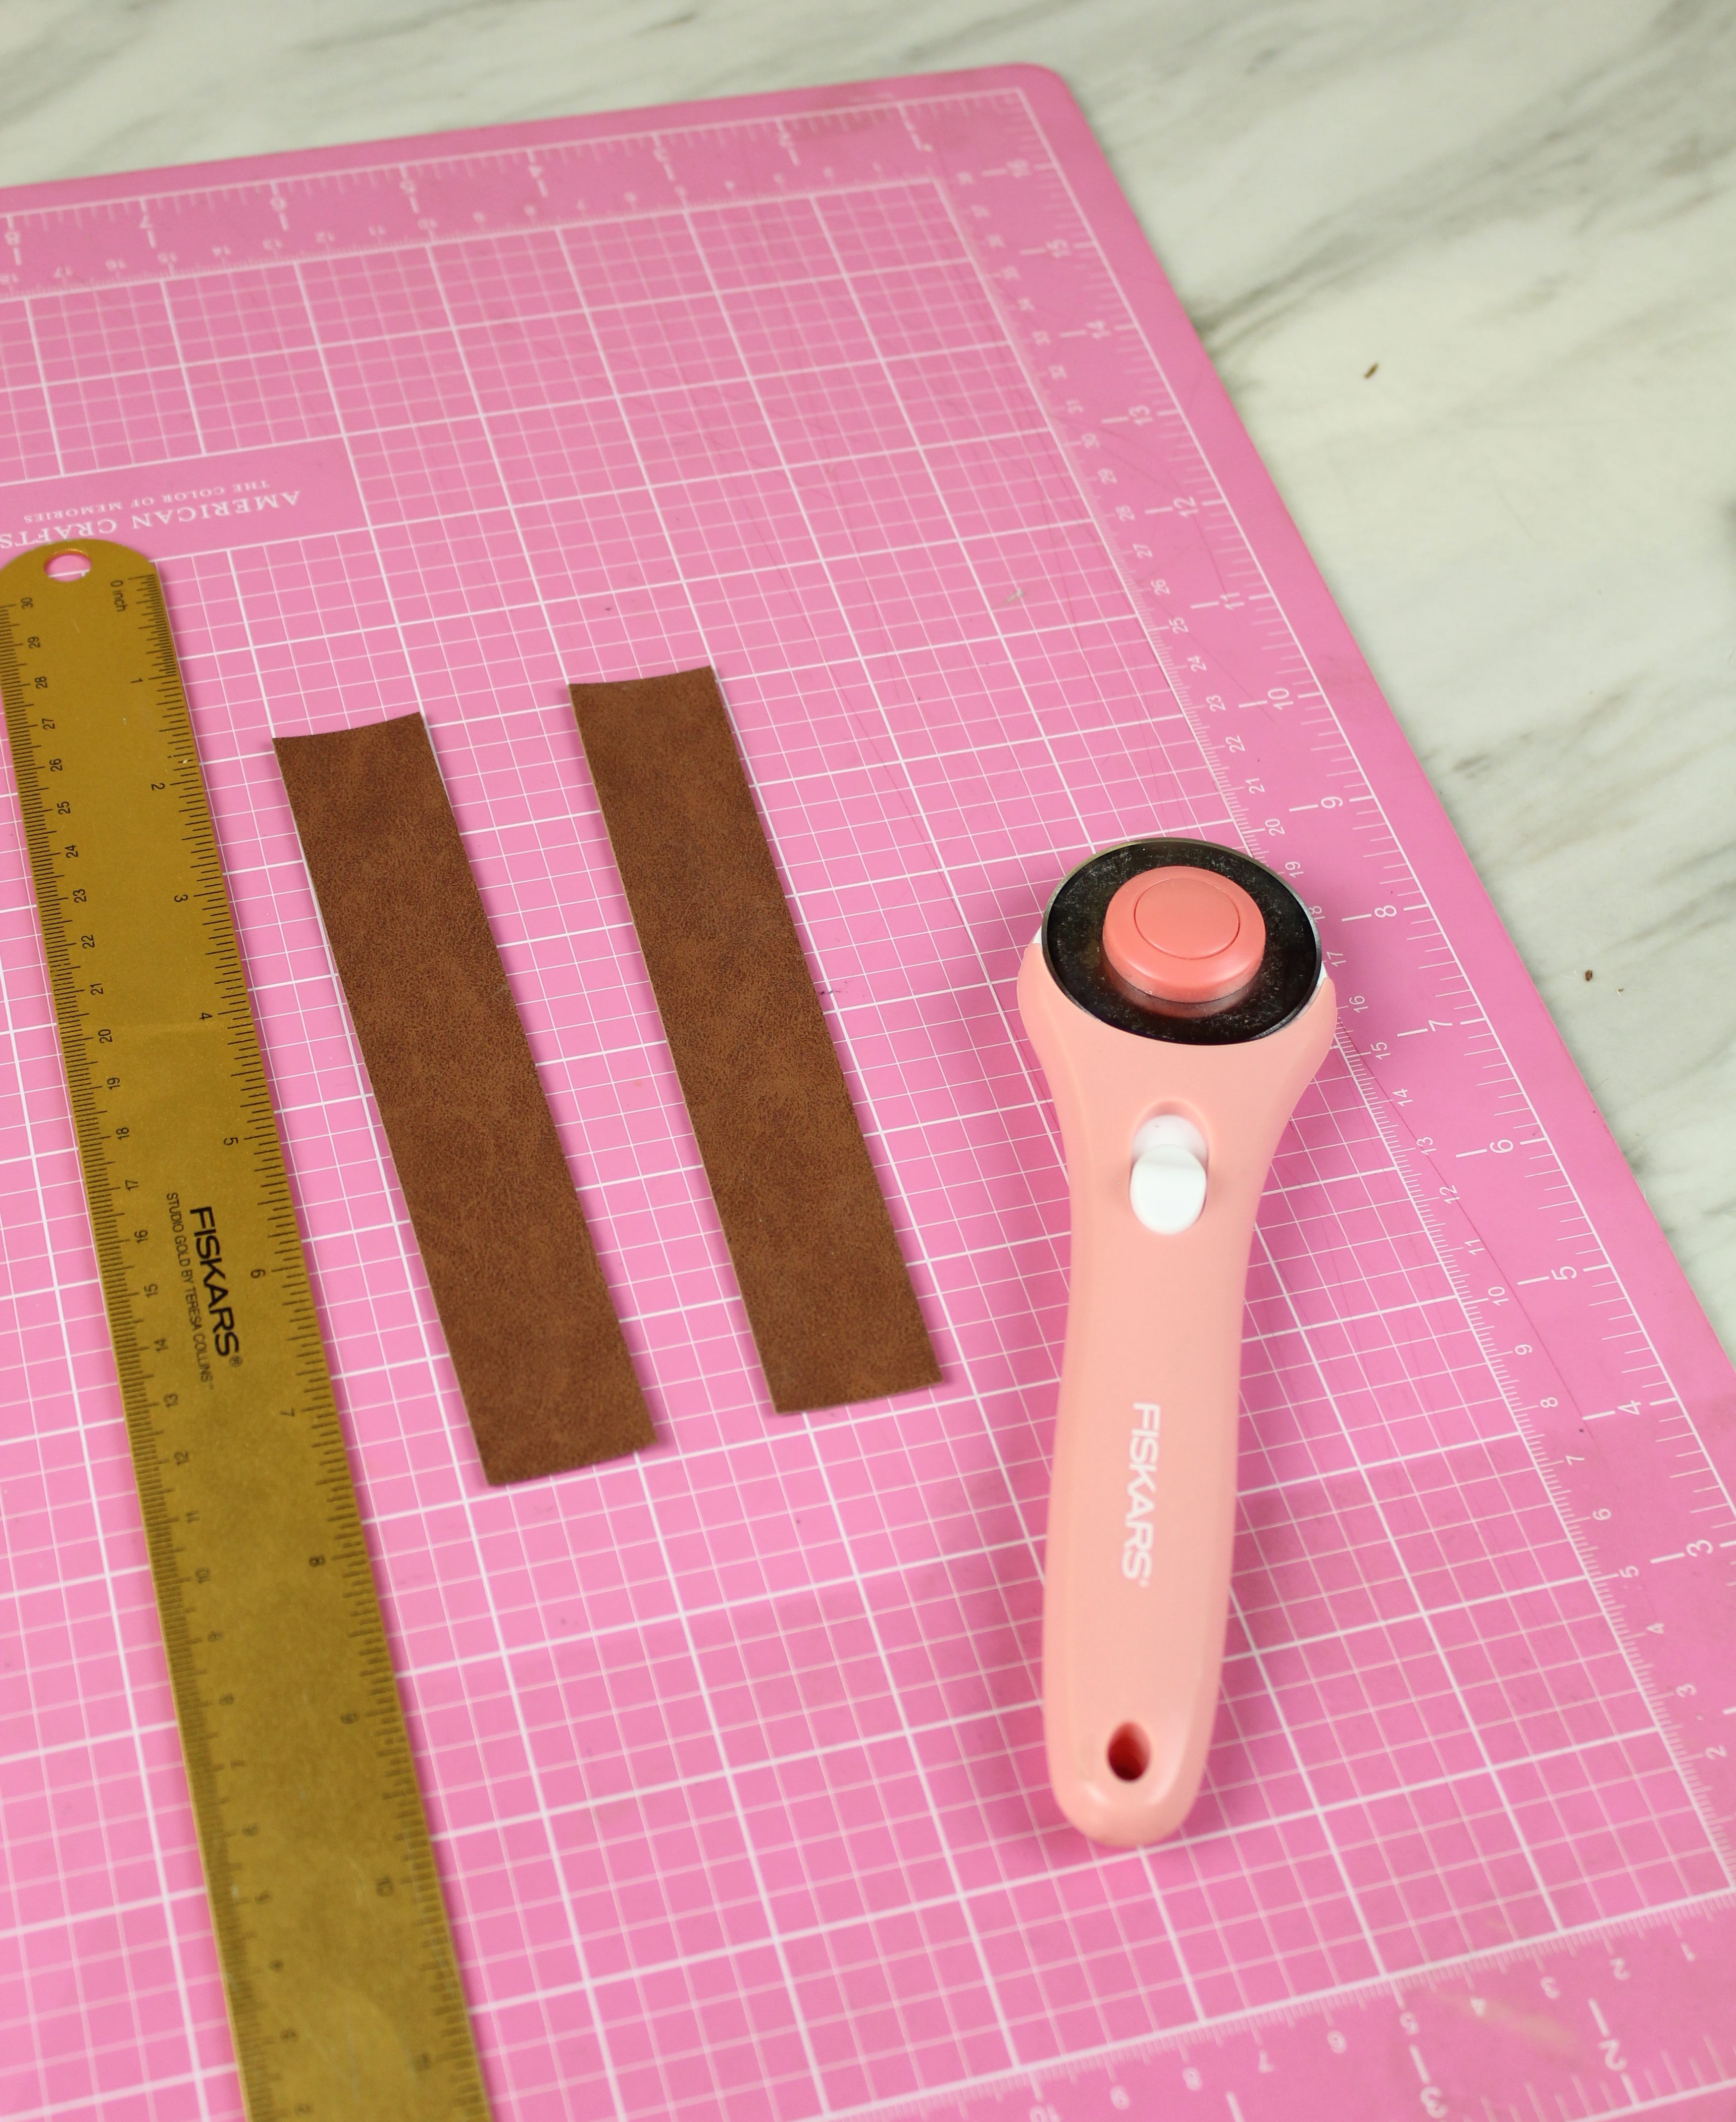
Using a ruler and a rotary cutter, cut a one inch strip from your faux suede strip.
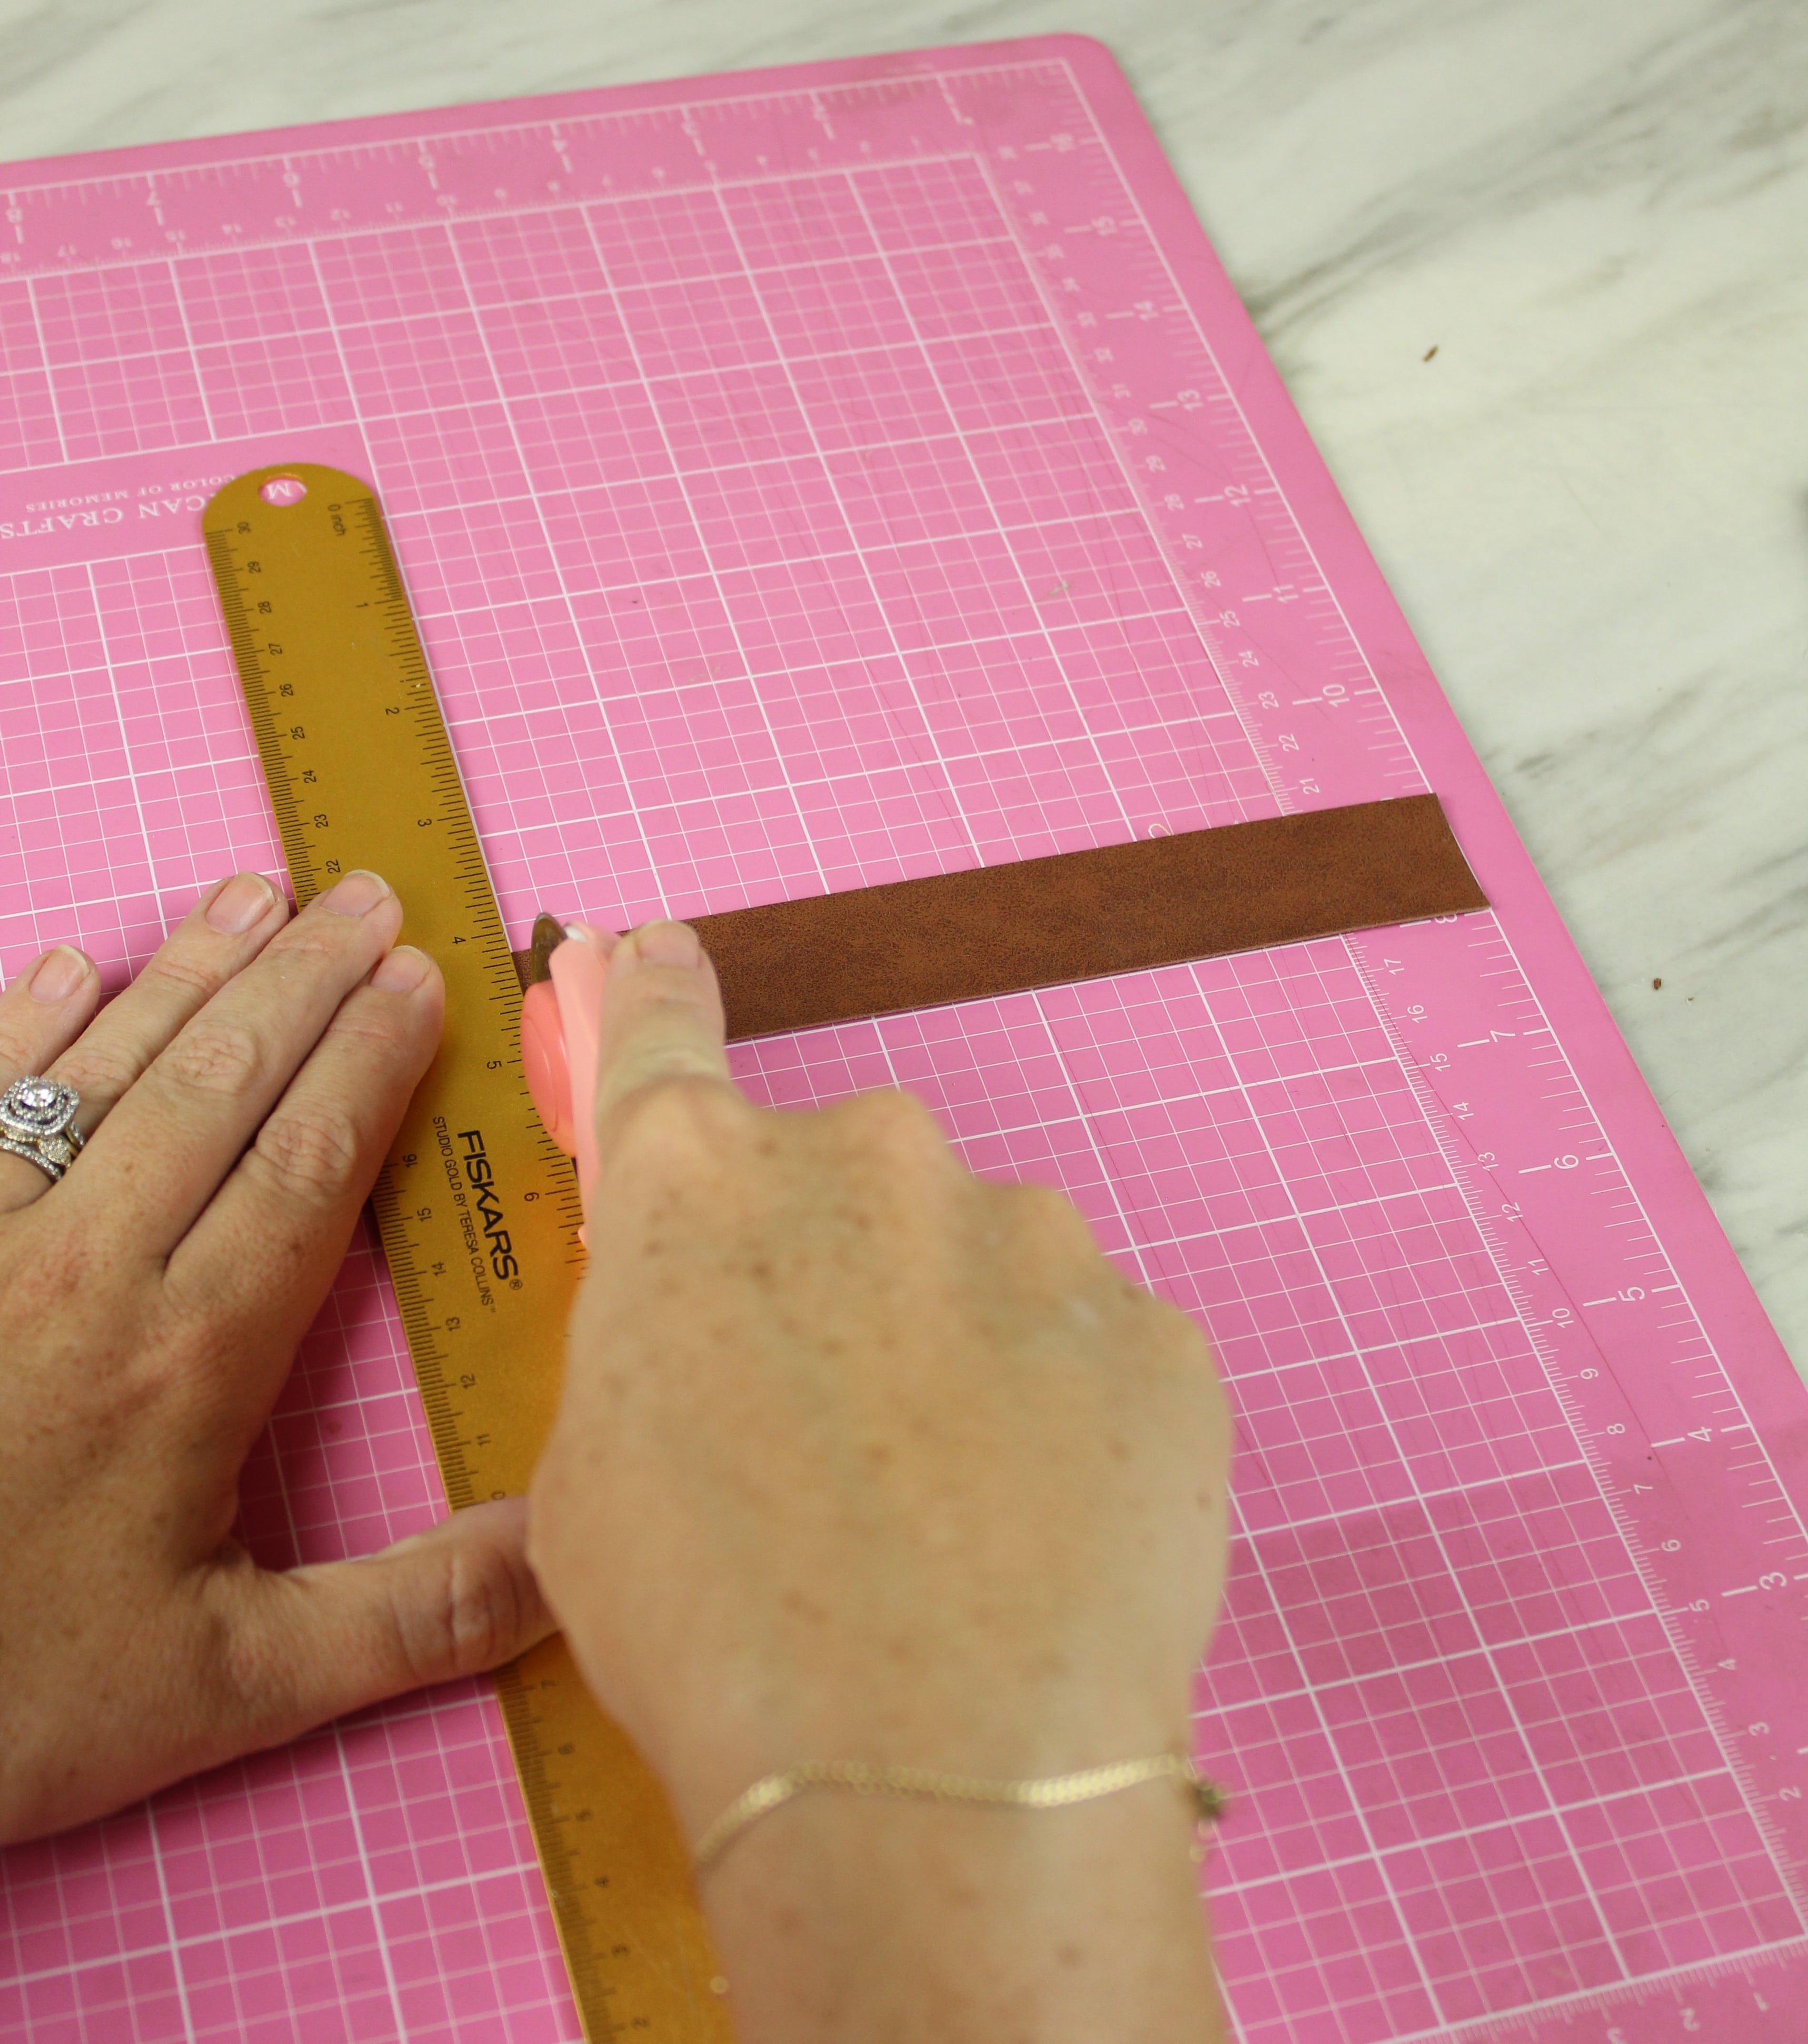
Then cut that strip down to six inches. Because the sheets are 12 inches long, this should give you both of your six inch faux suede strips for the project.
Add your holes
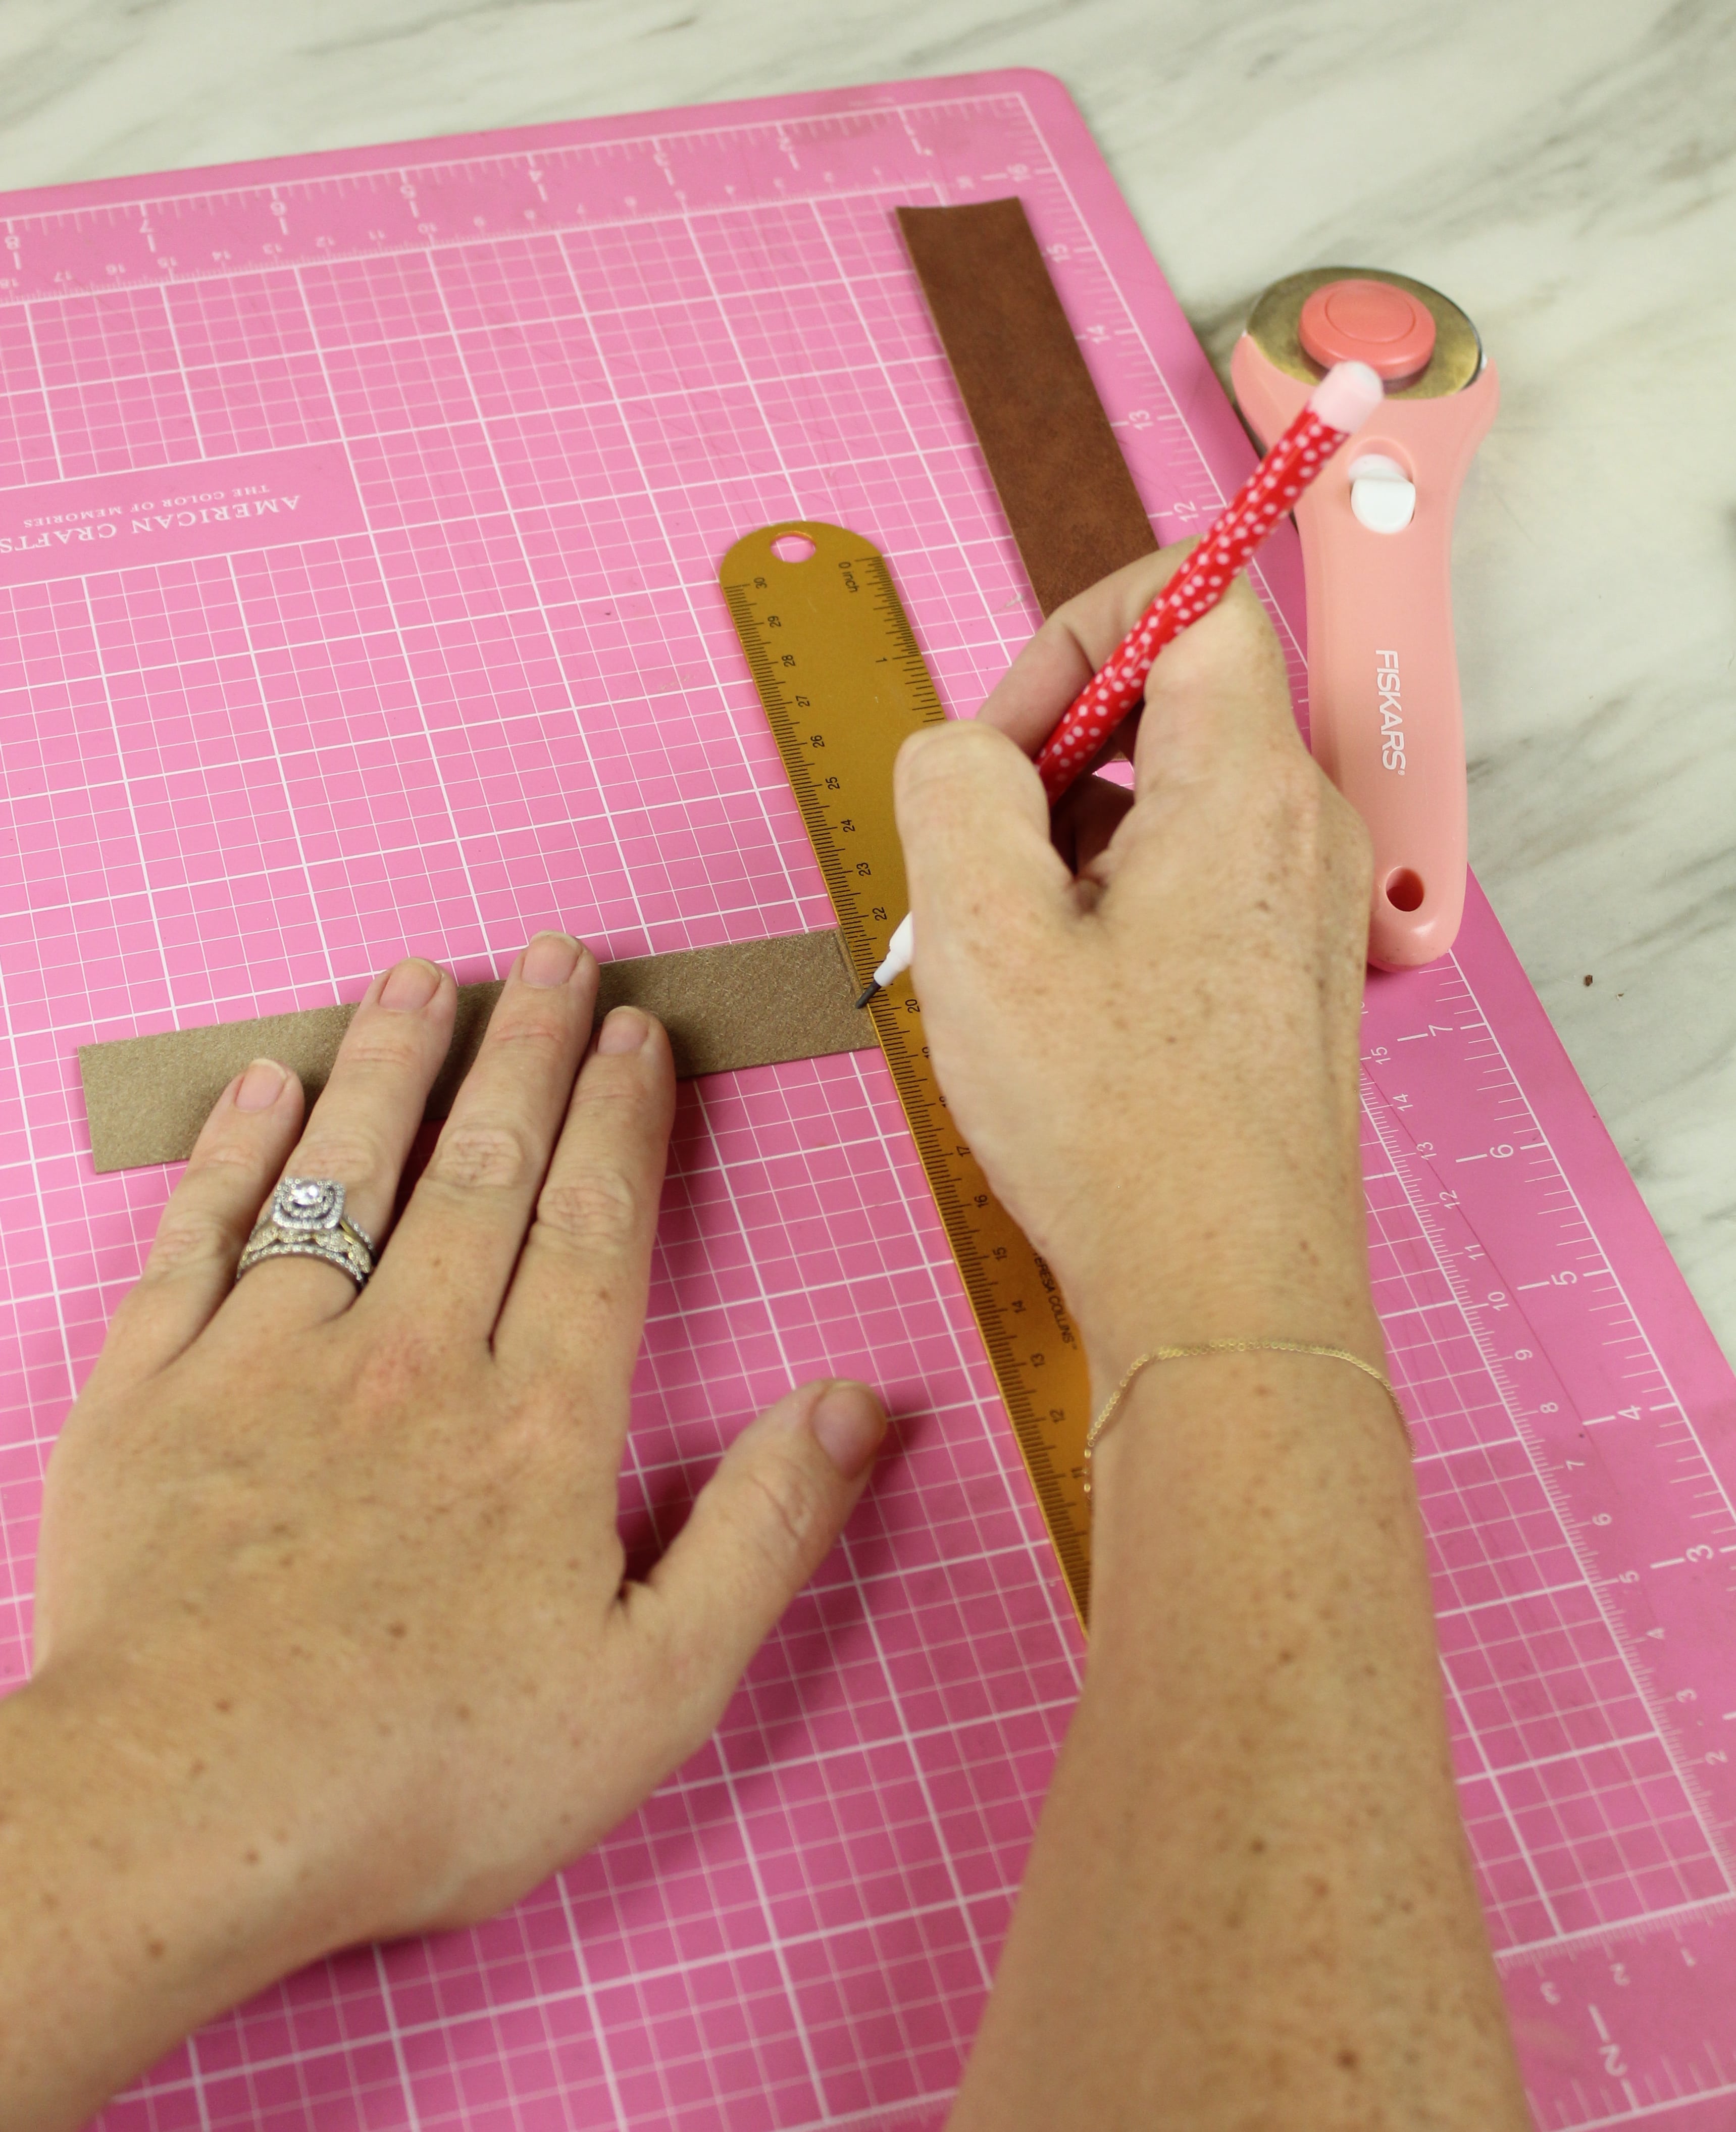
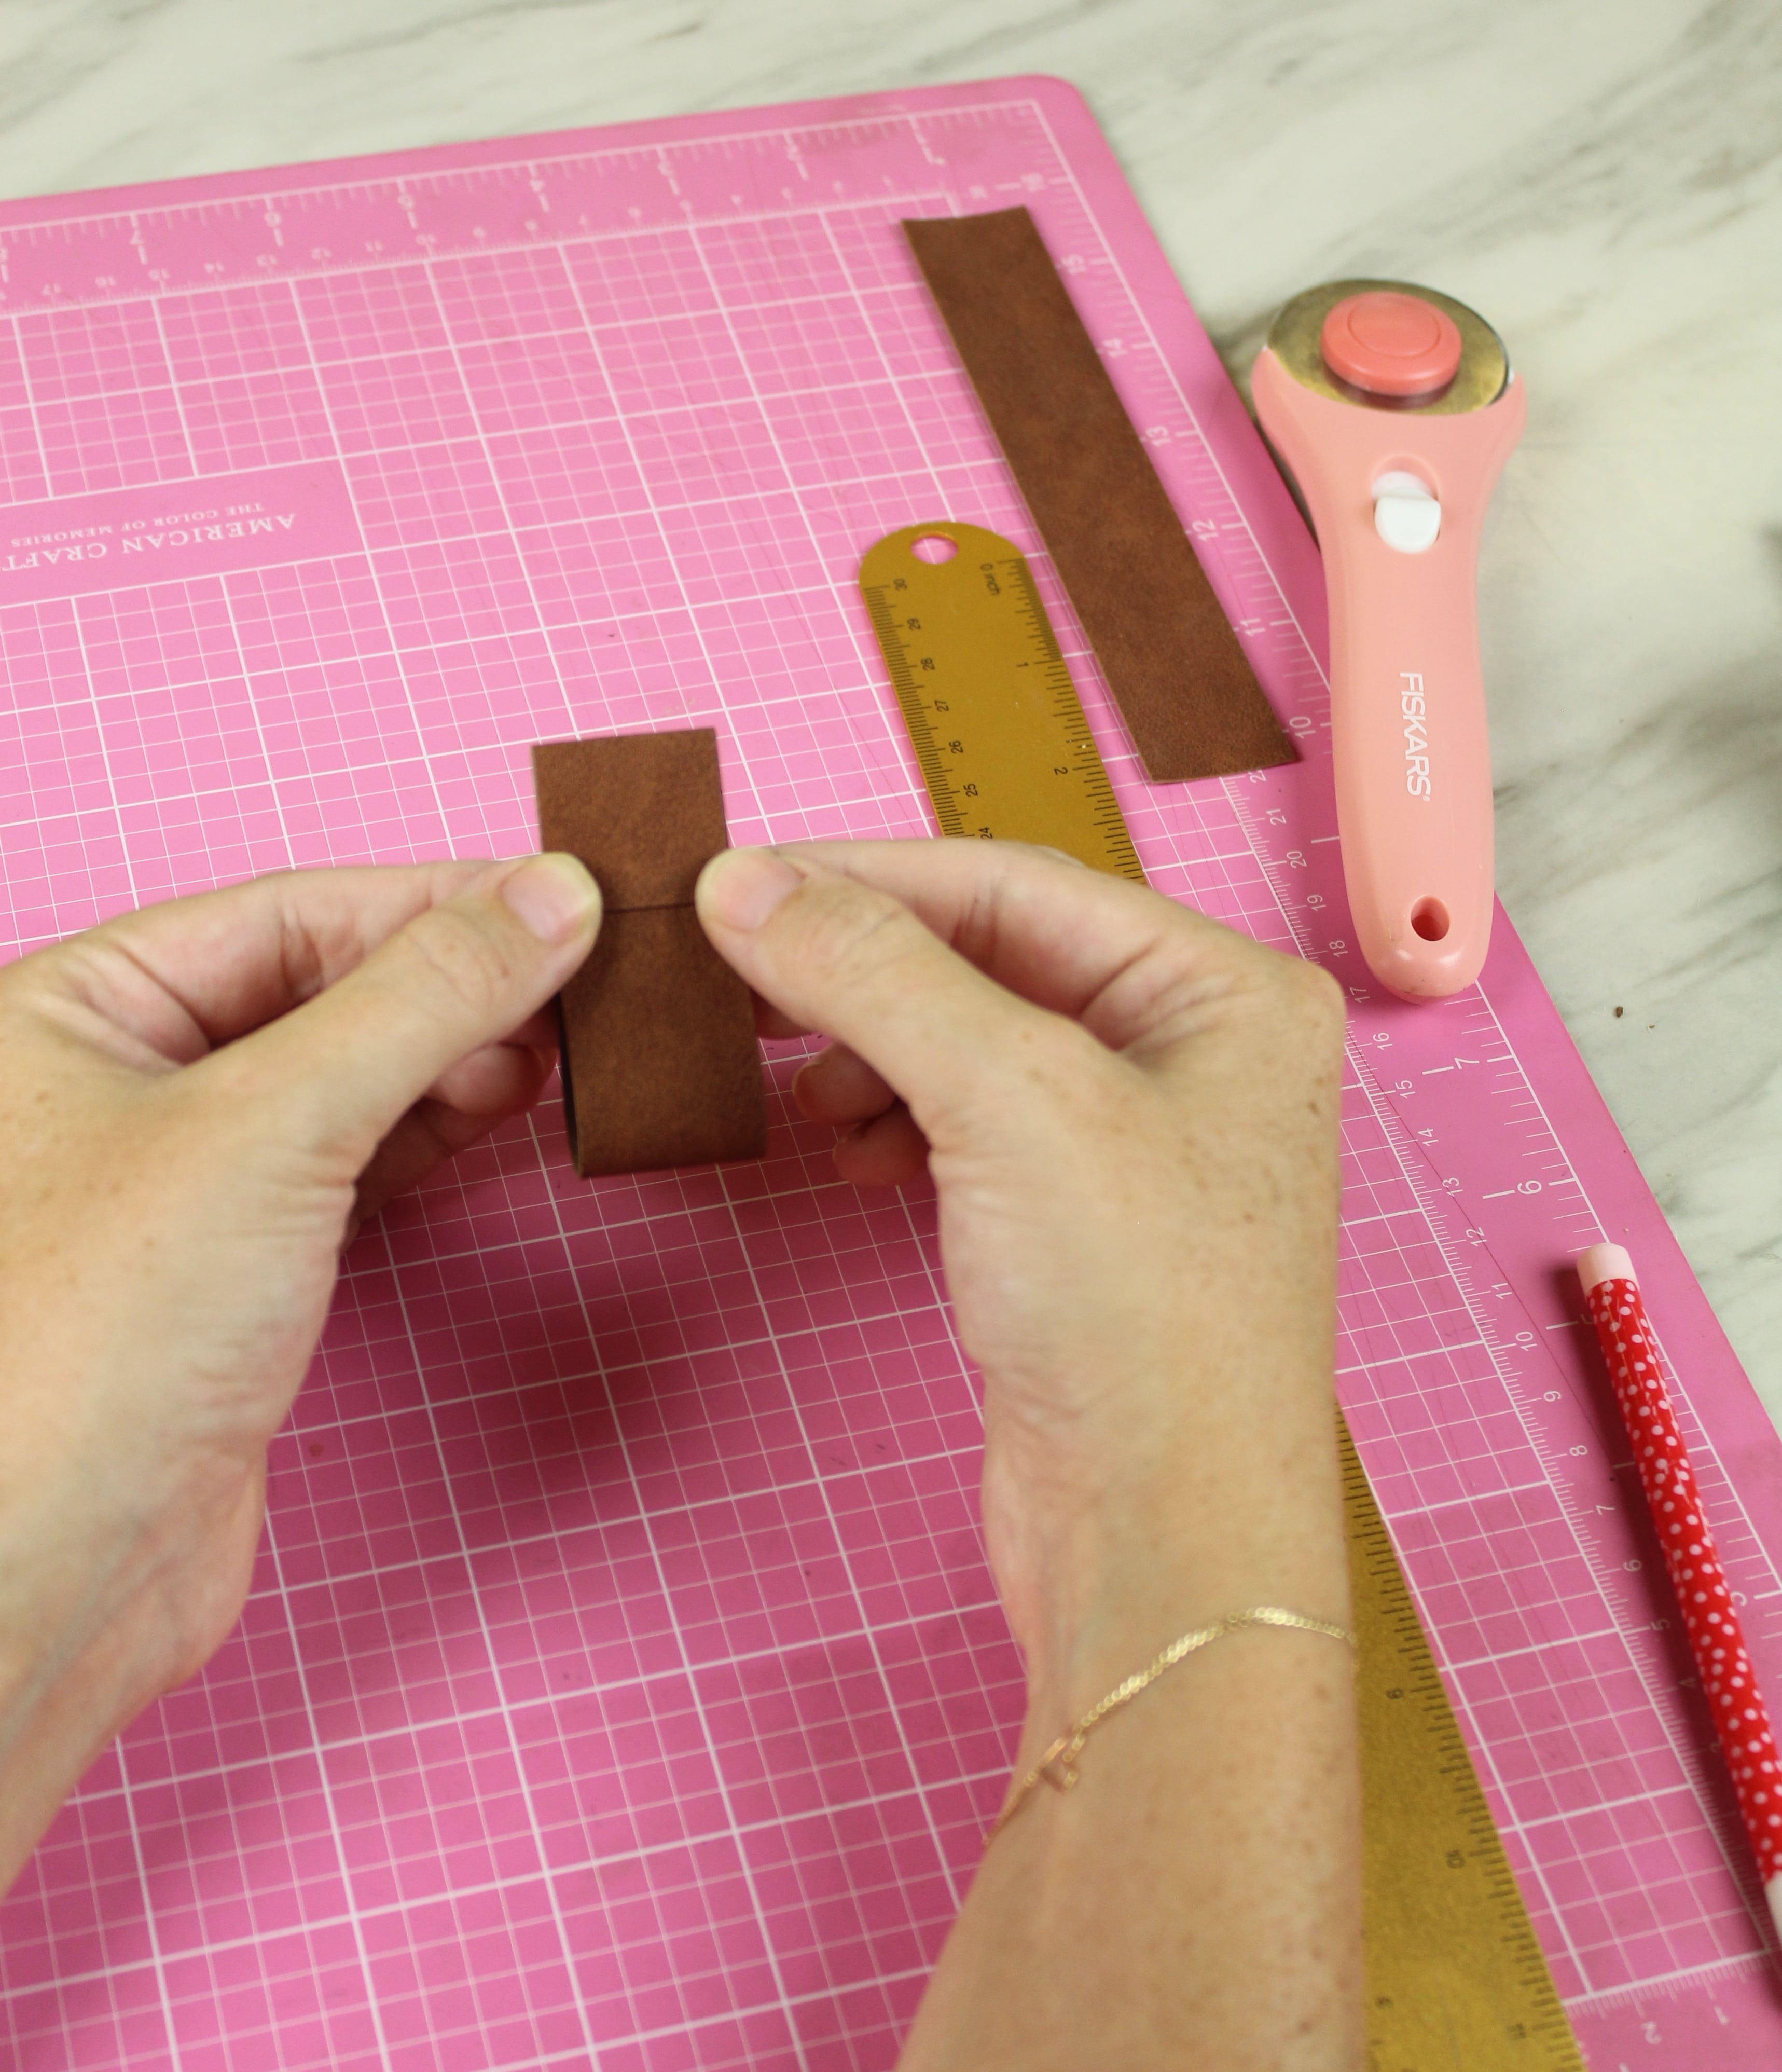
With the faux suede face down, measure down one inch from one side and mark your line with a pencil.
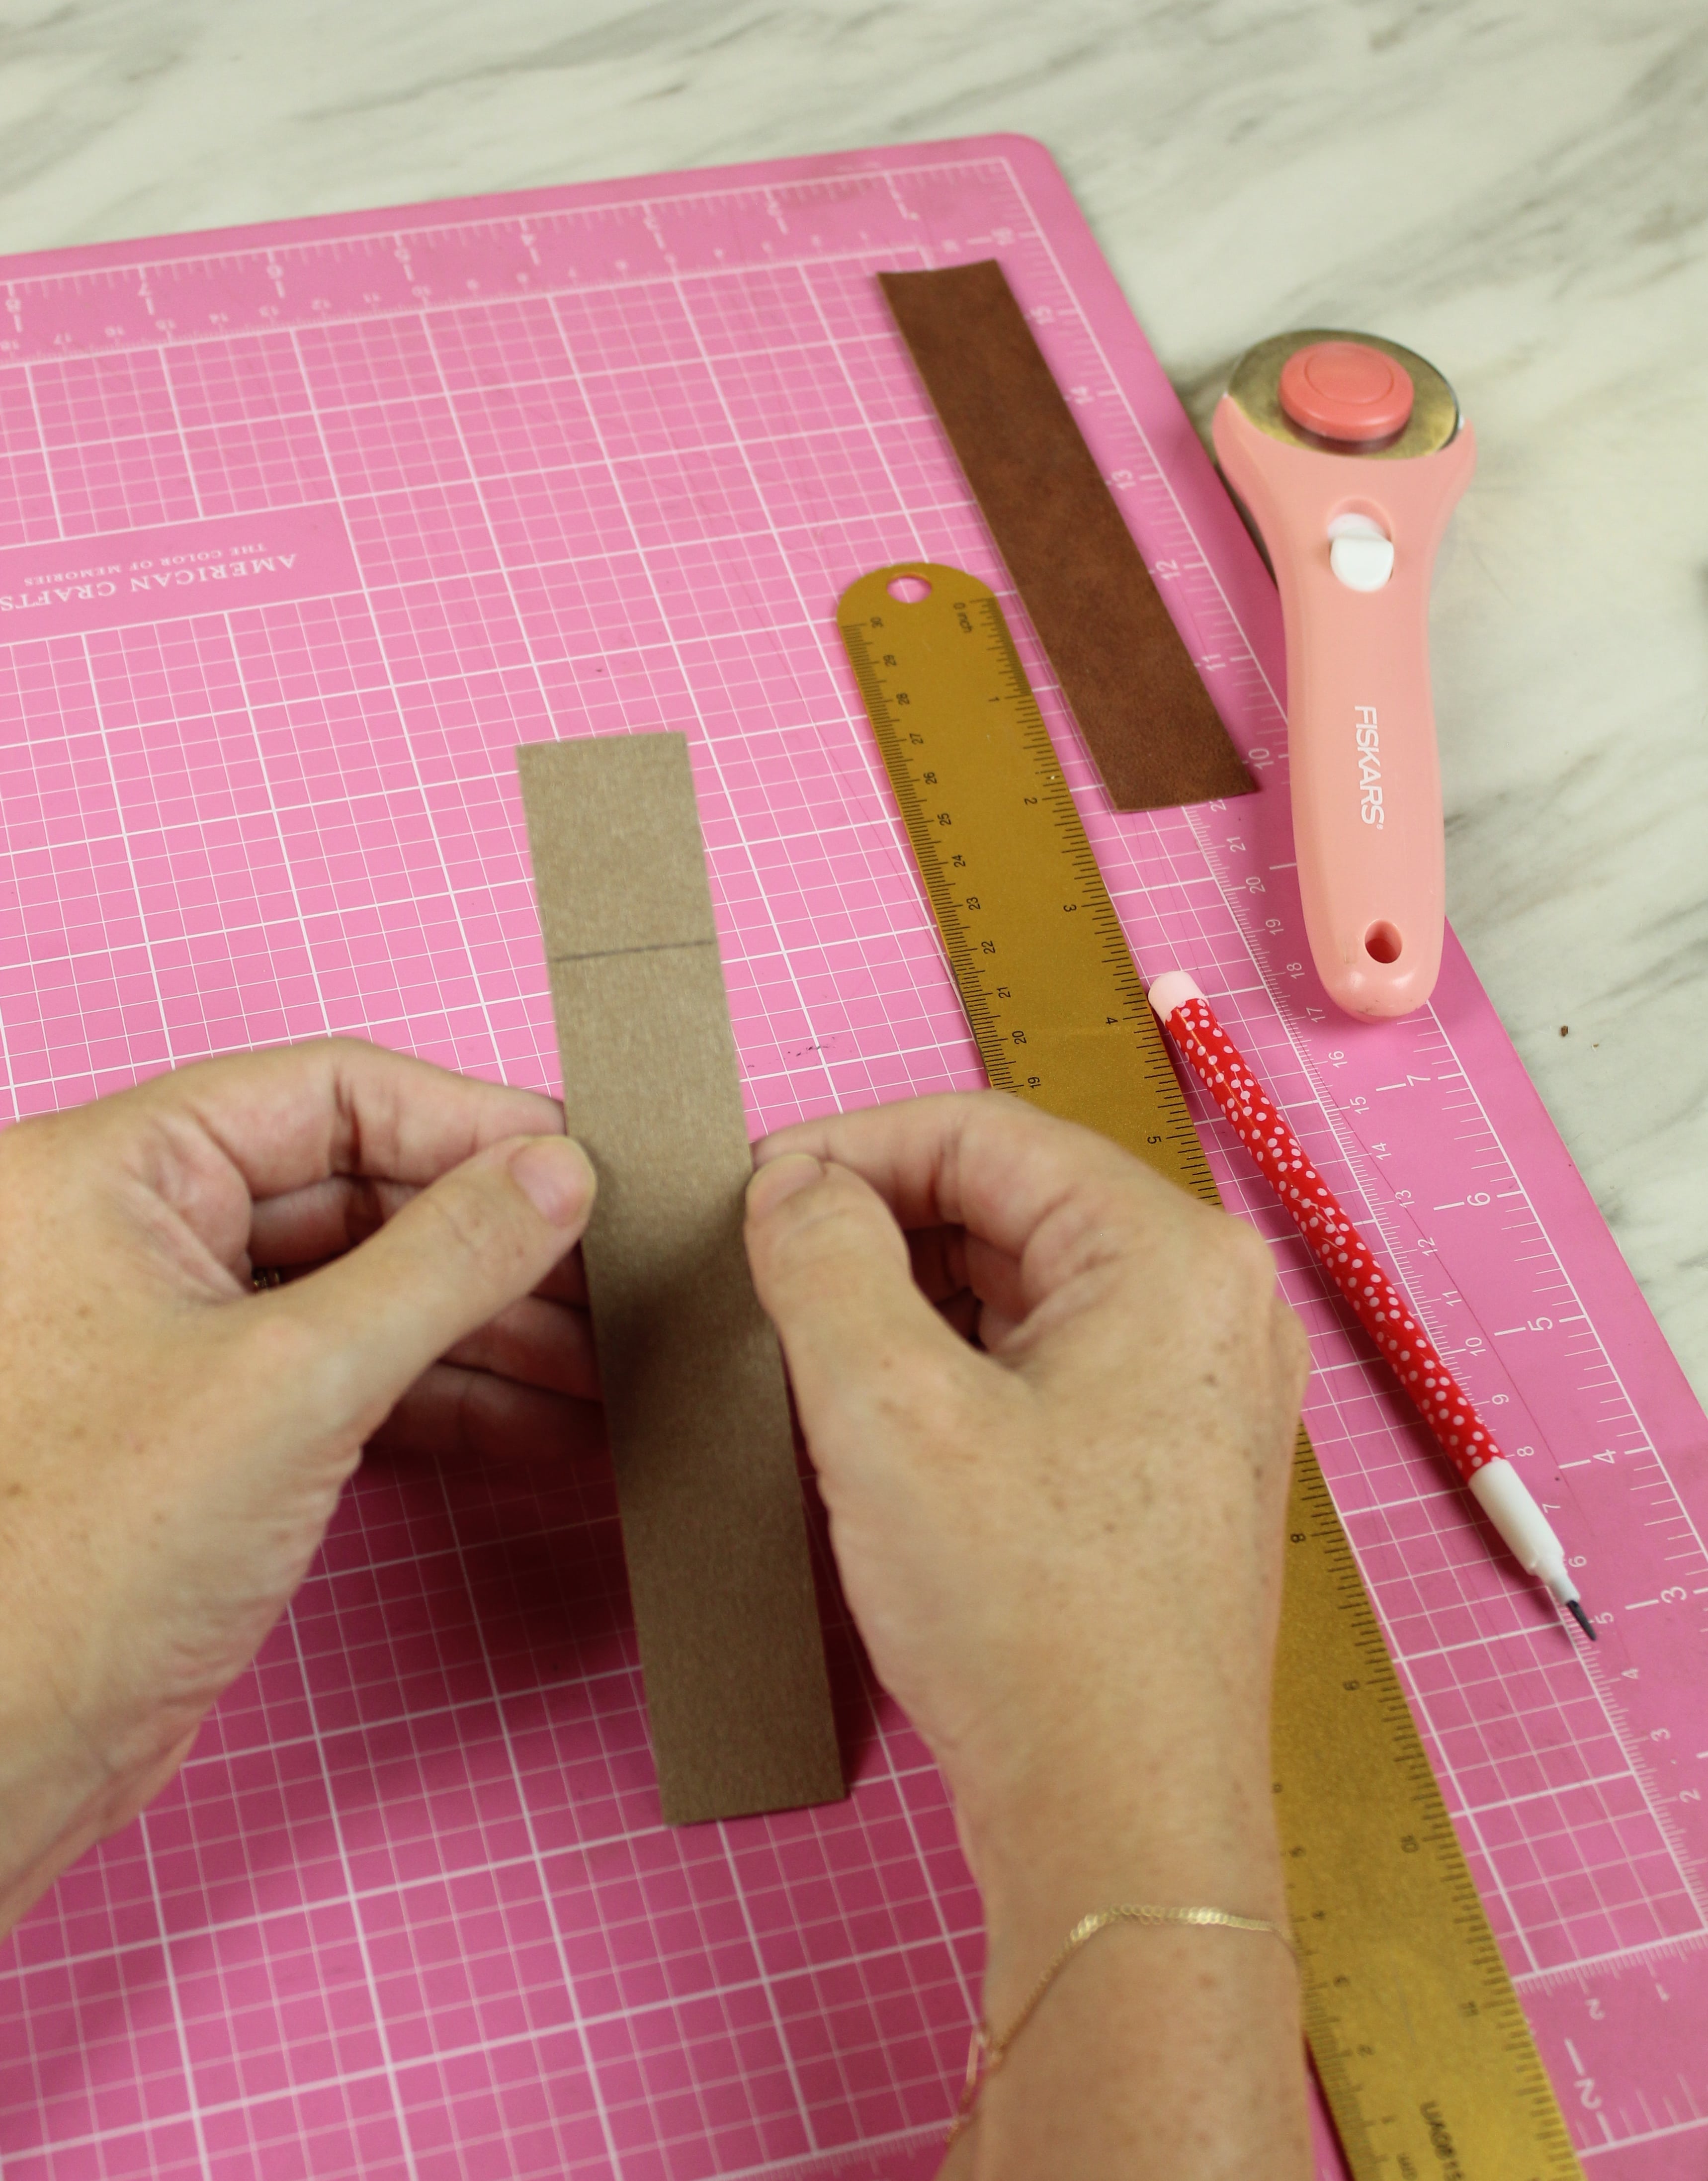
Fold the longer end up to meet your line.
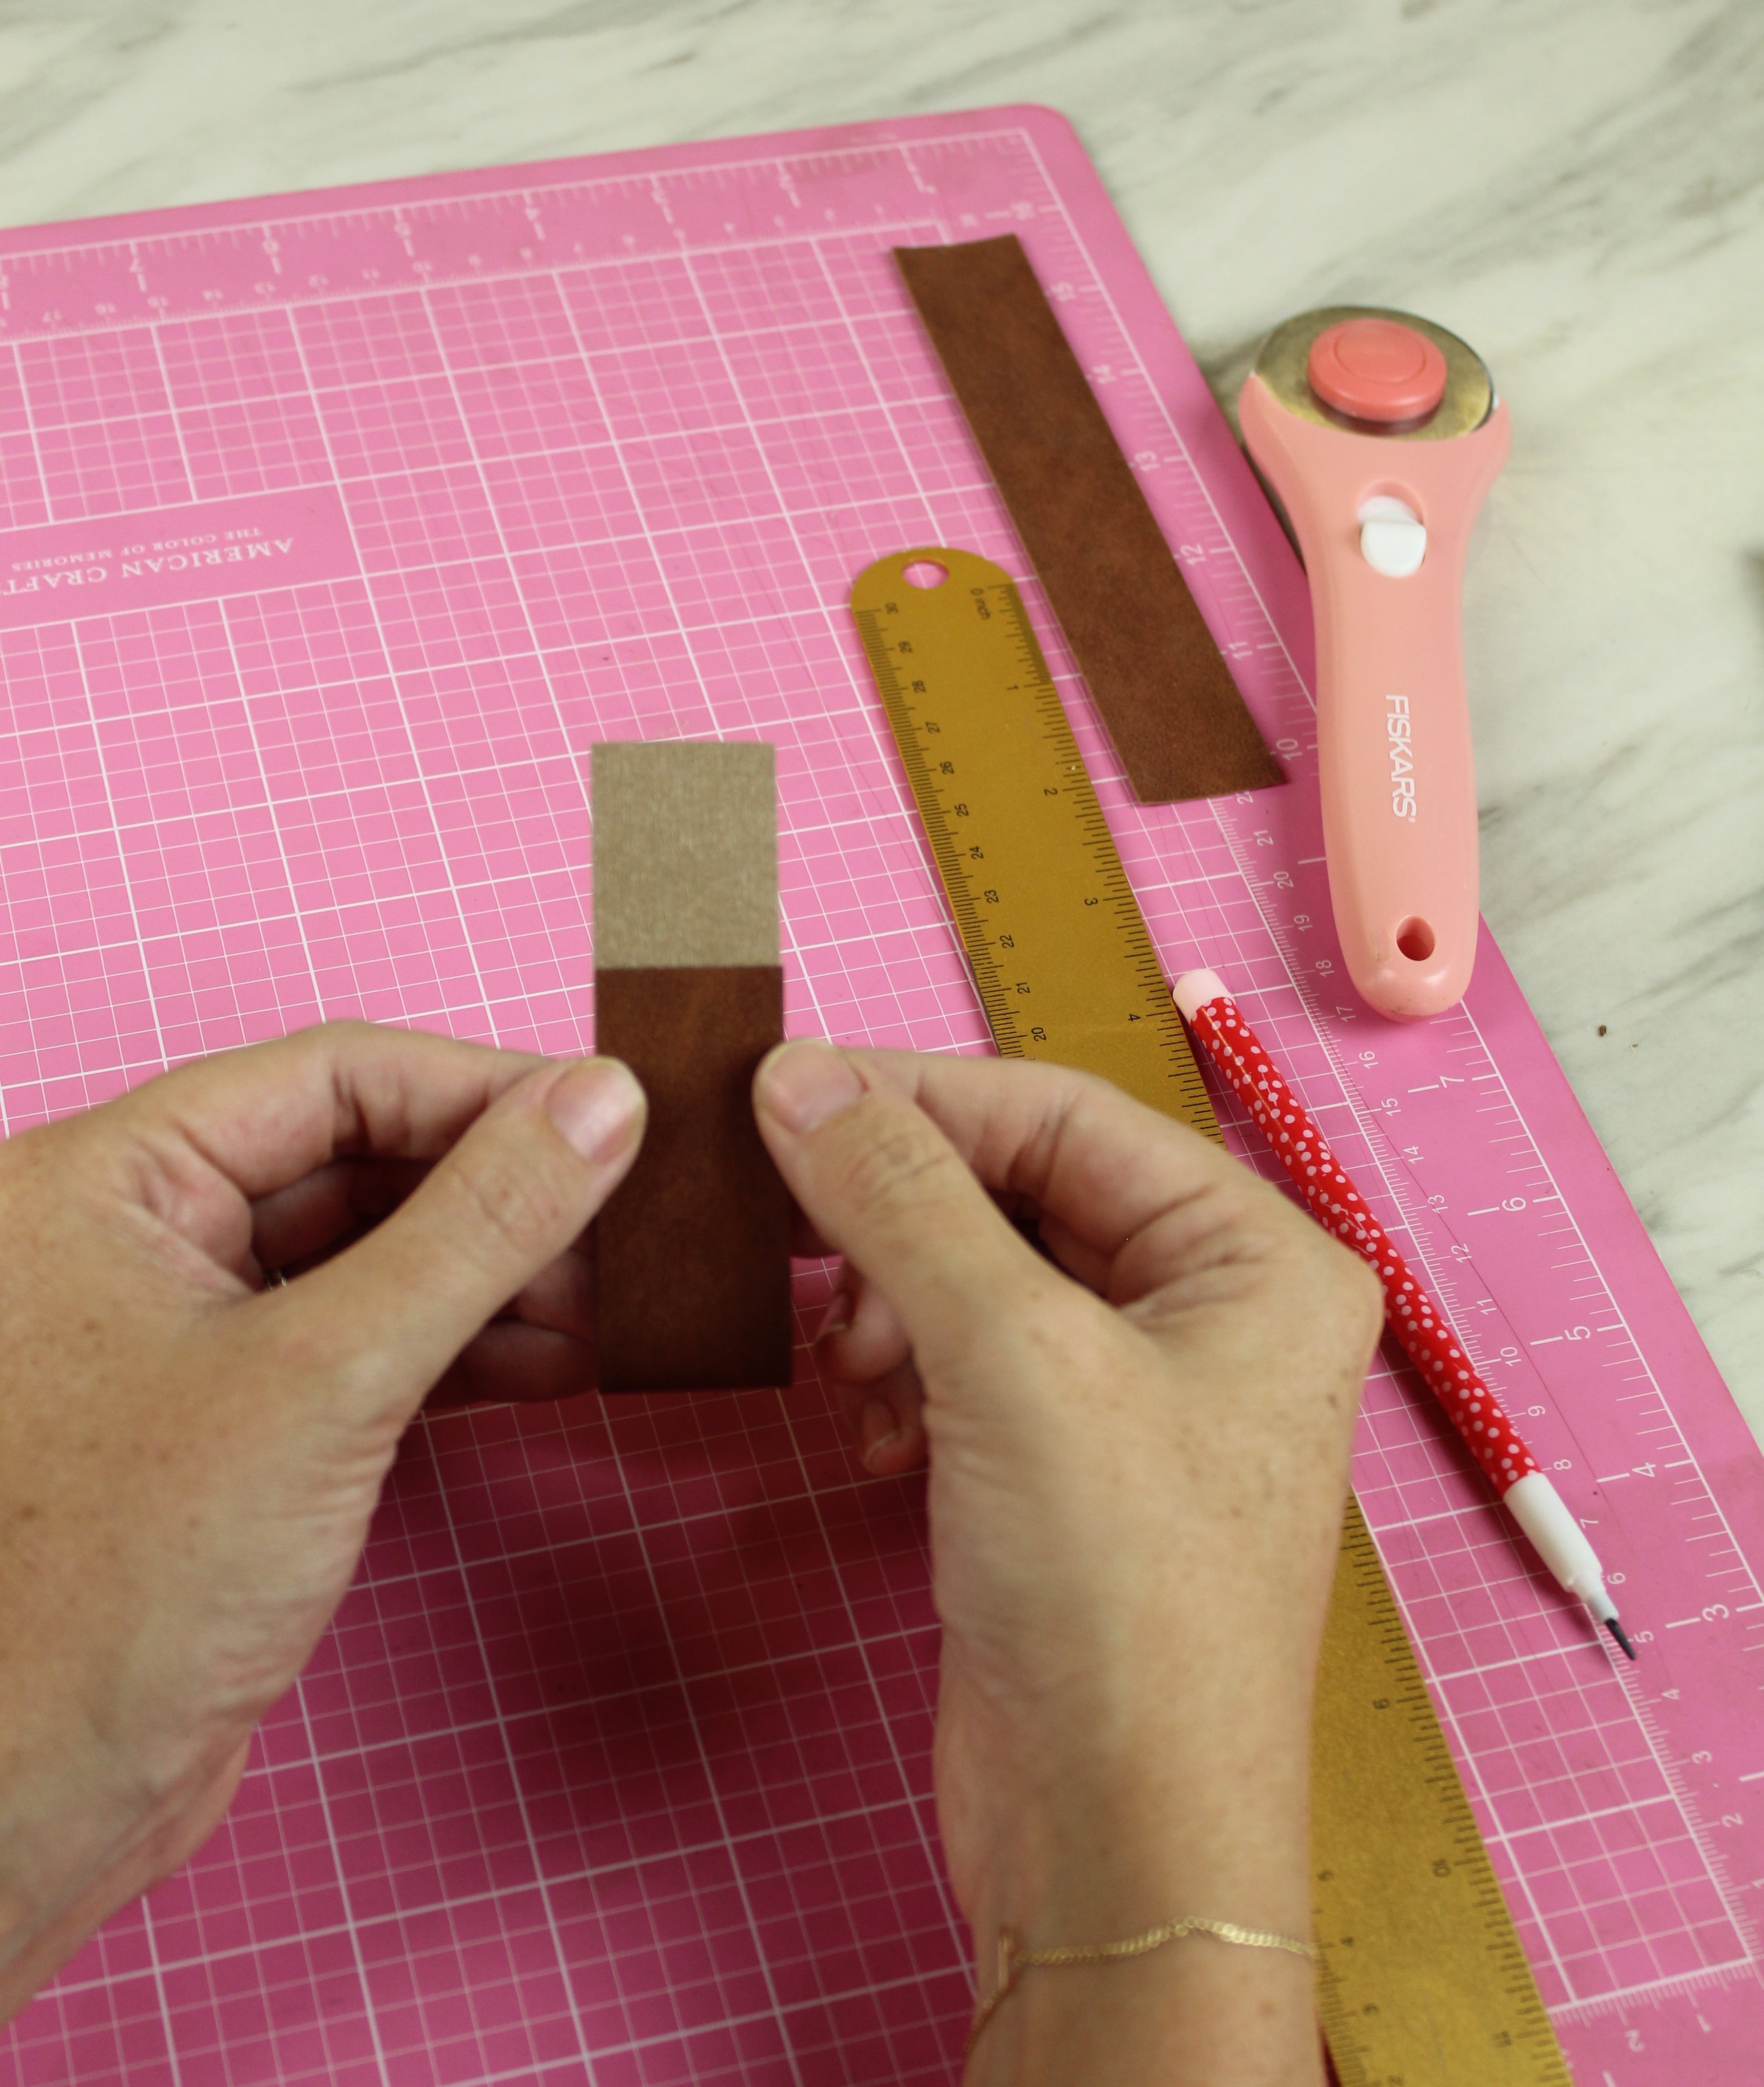
Fold the shorter end over top of the longer end.
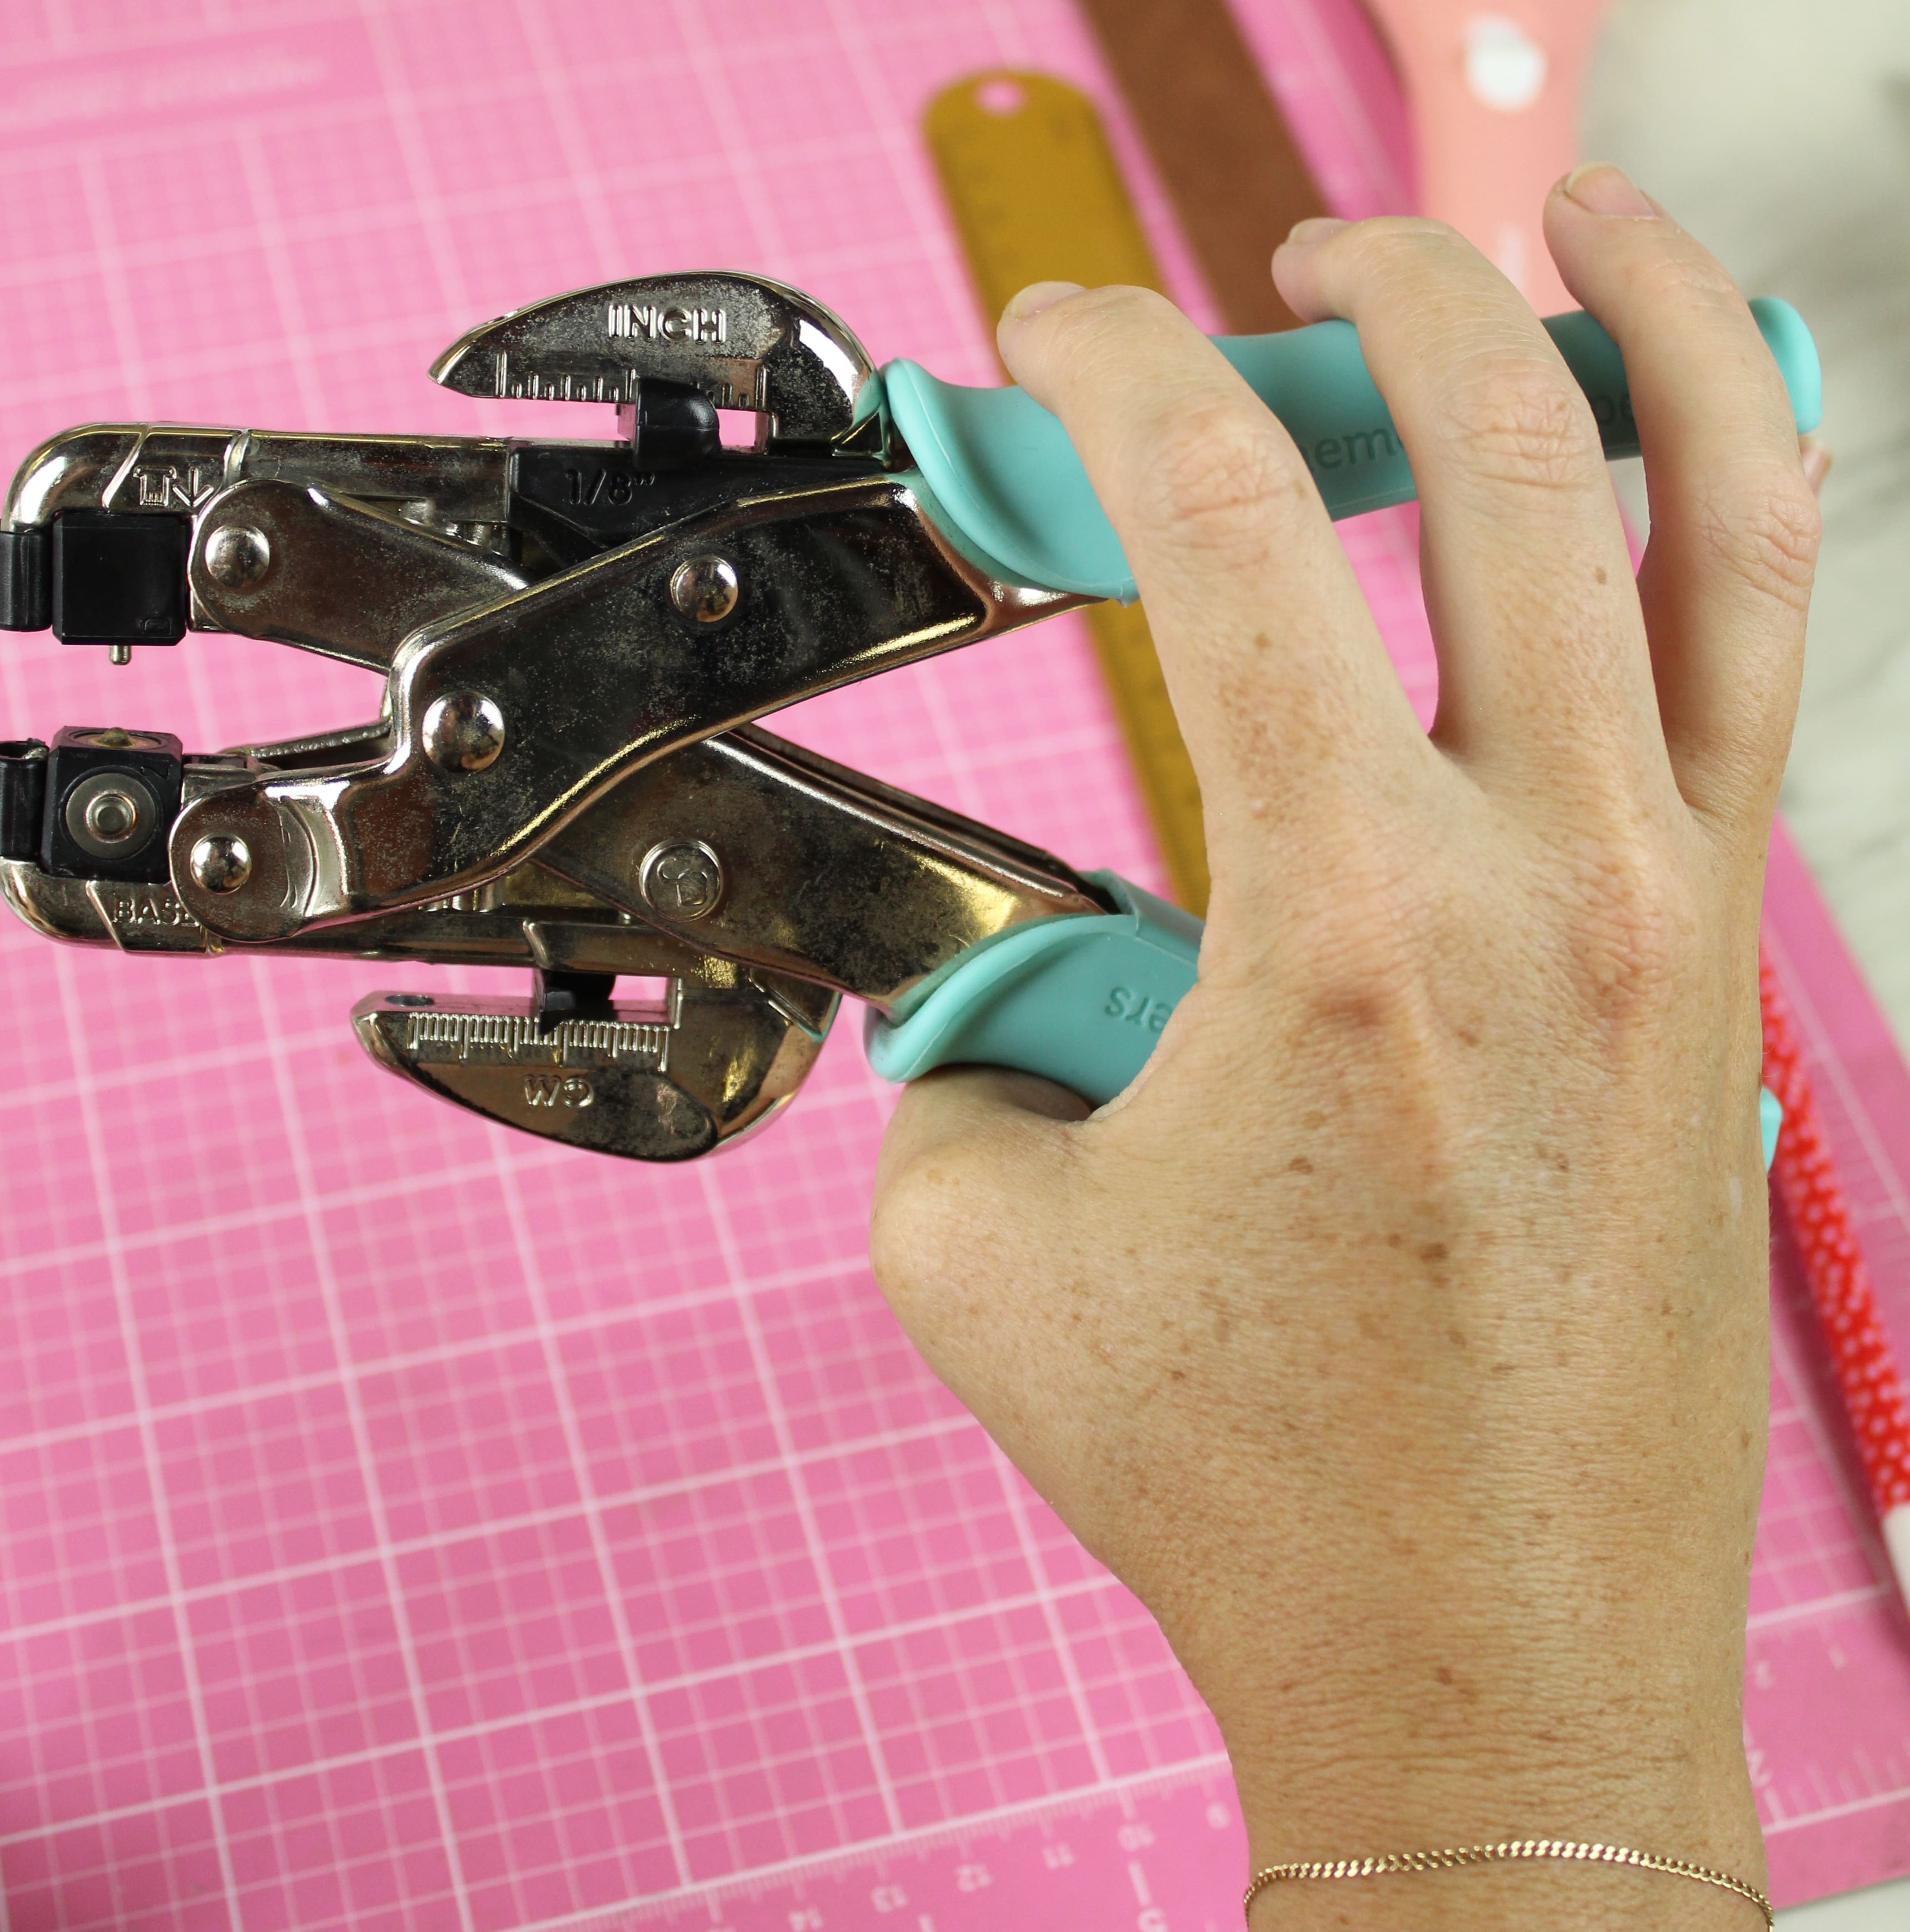
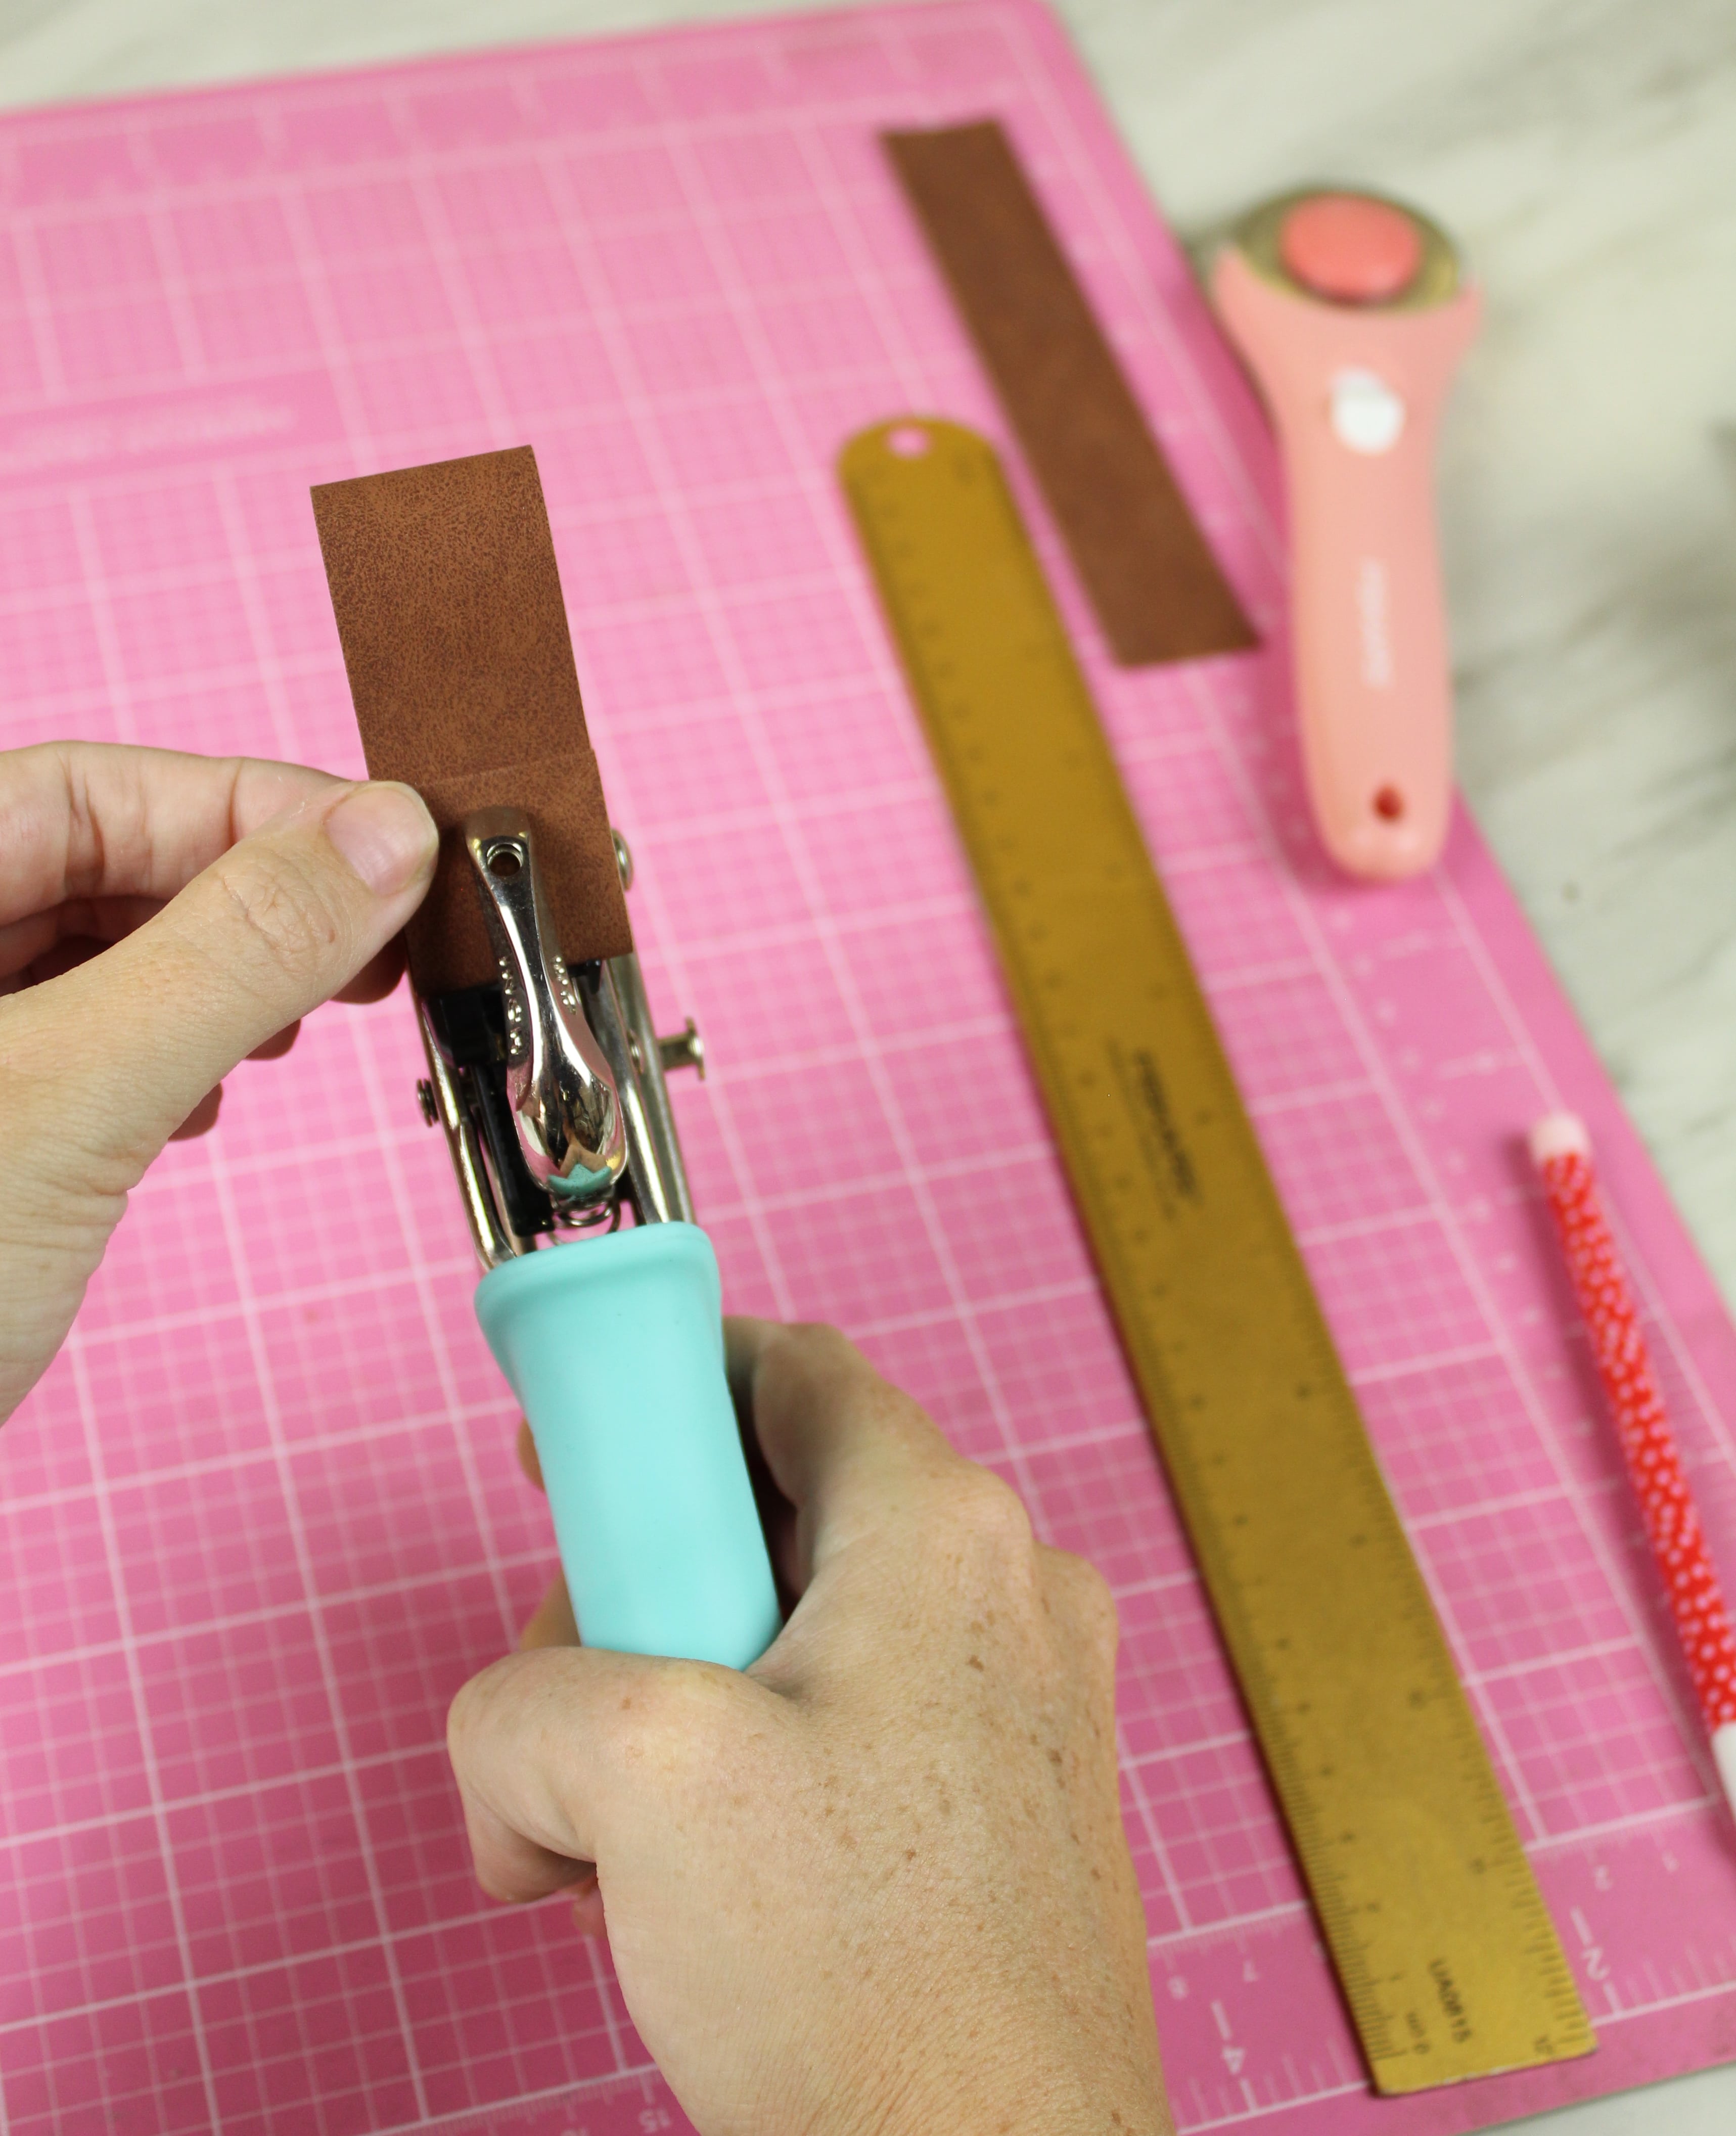
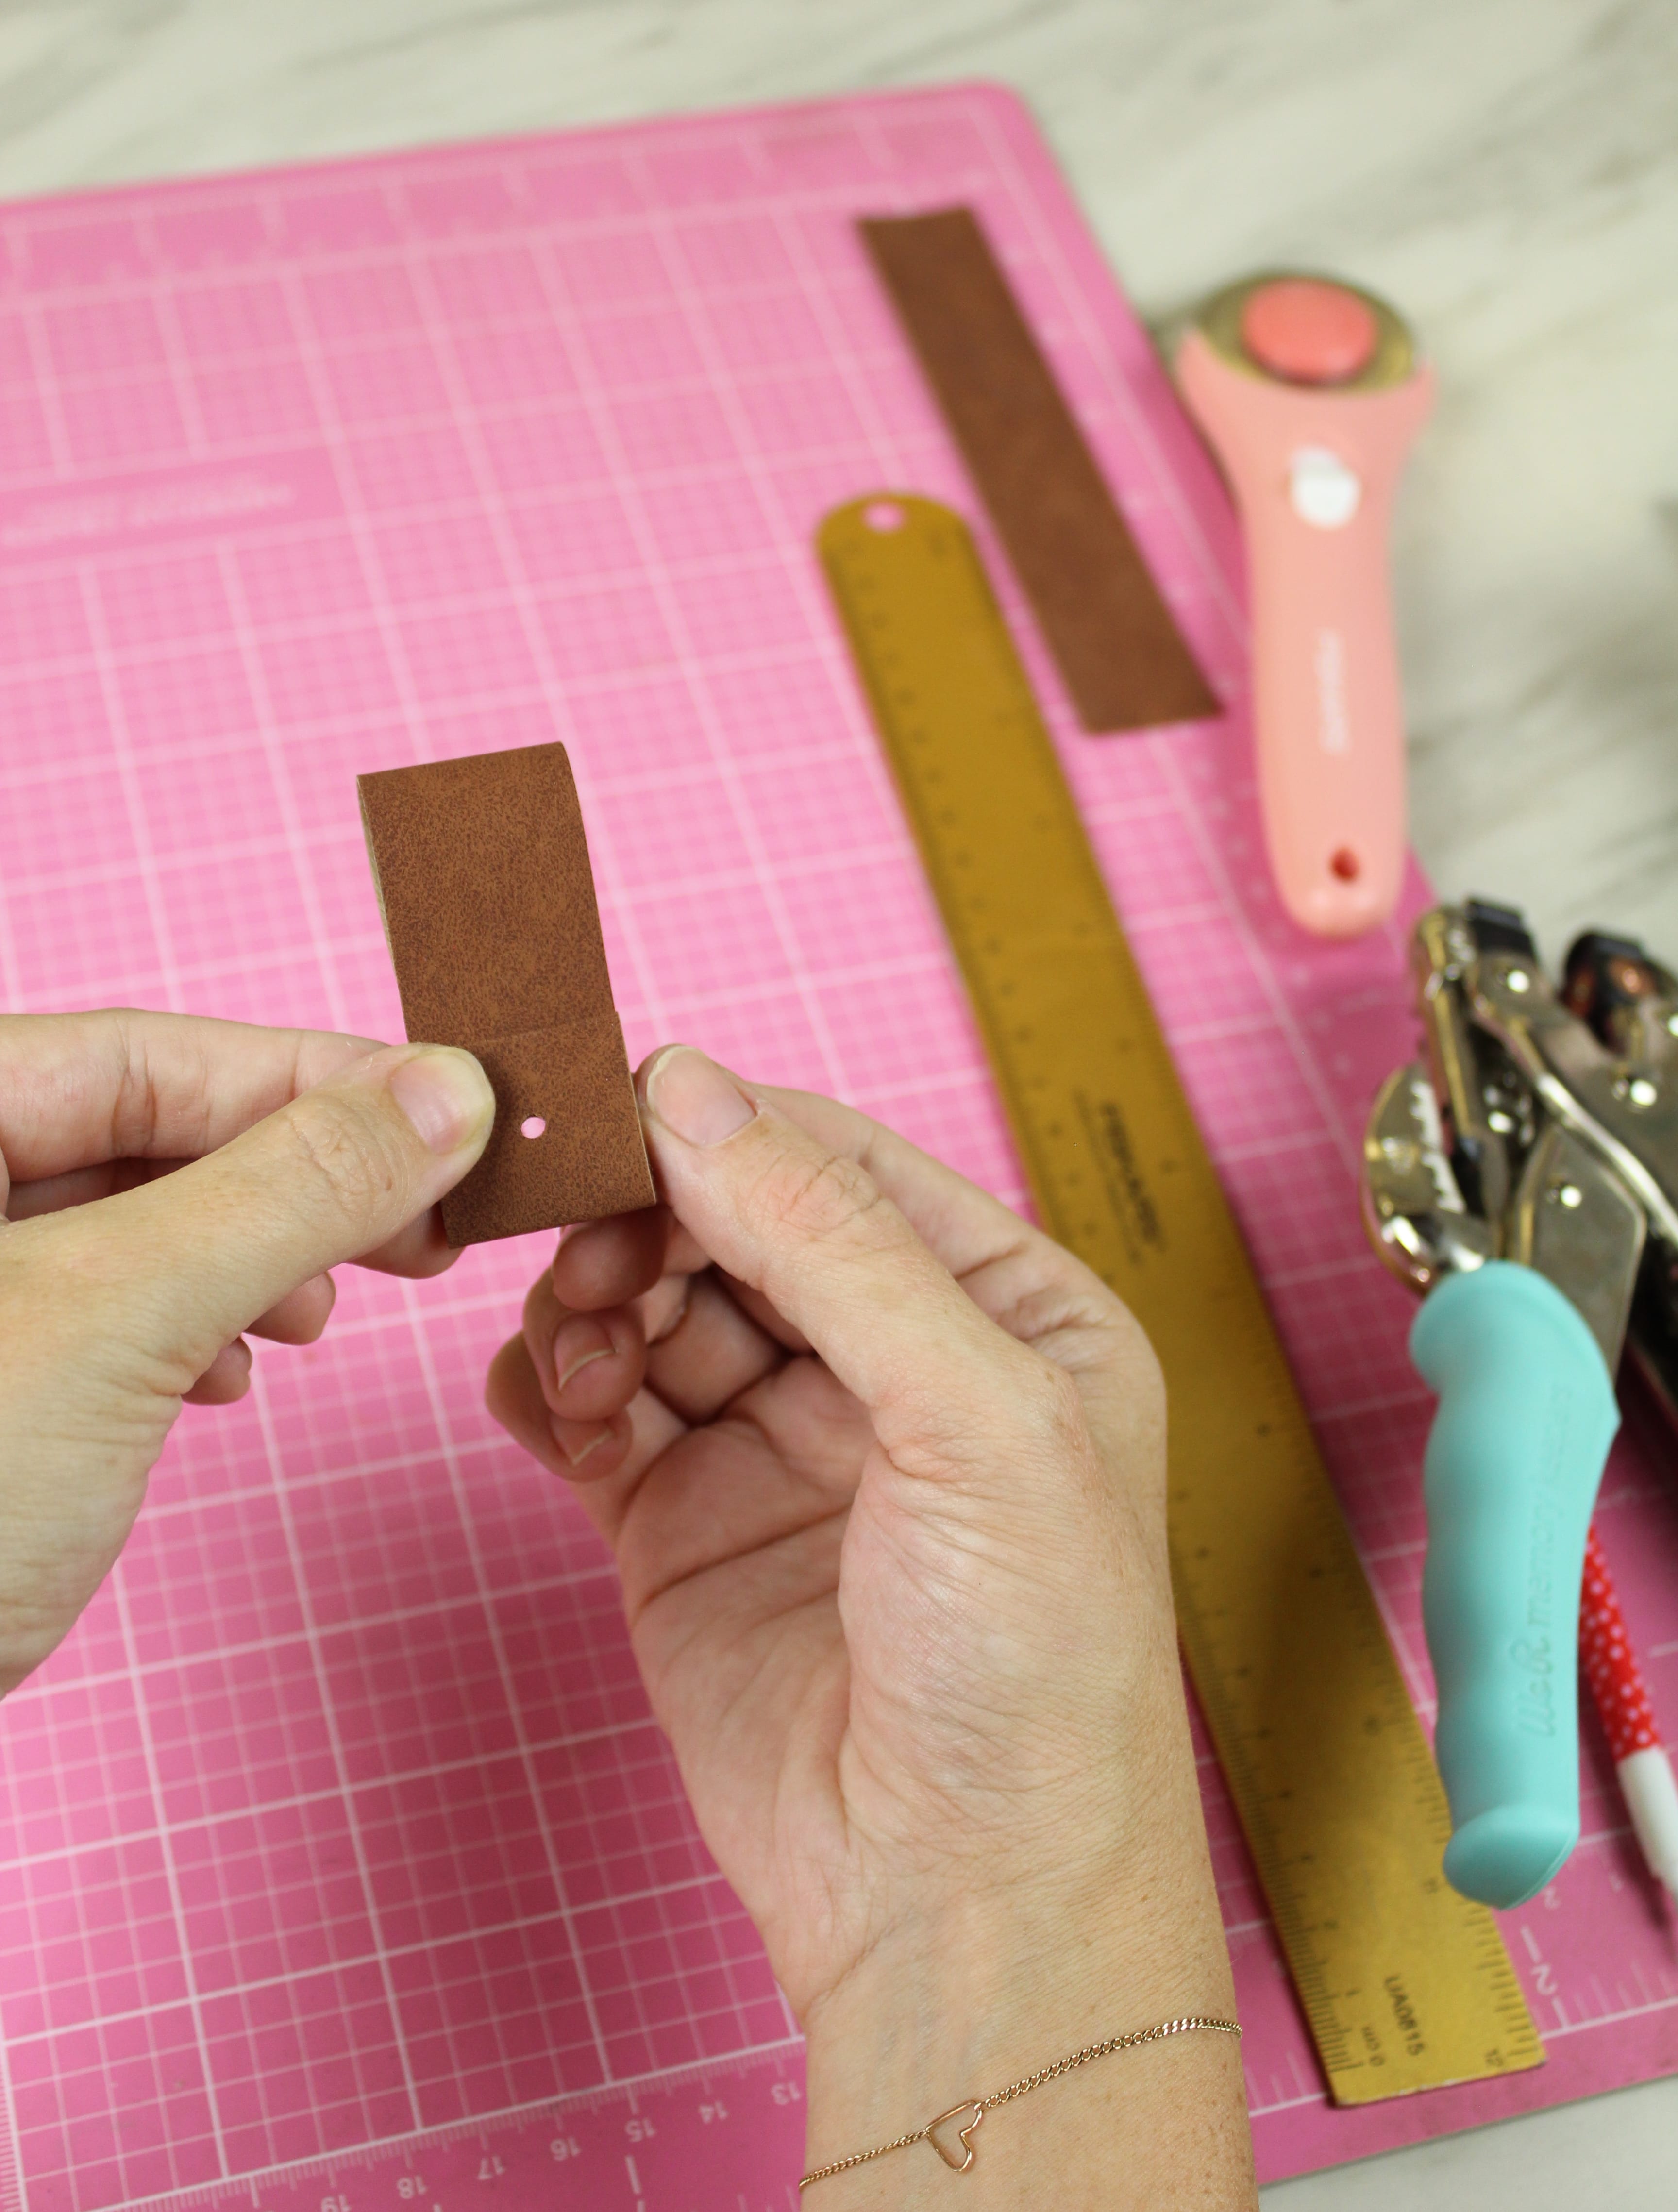
Set your crop-a-dile to 1/2″, center it and punch through all three layers. Repeat these steps with as many pulls as you are making. Since I just have the two nightstands, I only needed two.
Clay Time!
I’ll be honest, I don’t think I’ve ever worked with polymer clay at home. I took several semesters of ceramics class in high school, so I’ve worked with clay before, but it has certainly been some time.
A few tips before we get started:
Wash your hands and be sure you have a clean work surface. If you remember silly putty as a kid, it’s kind of like that. Your clay will grab anything and everything it can, so keep your area clean.
You’ll want a work surface that your clay wont stick to. I had an old piece of tile laying around and it worked perfectly.
If you can, work with your colors in order from lightest to darkest. As you can imagine, the darker colors tend to spread, either onto your hands or your tools, so to keep your light clay the color it should be, use it first.
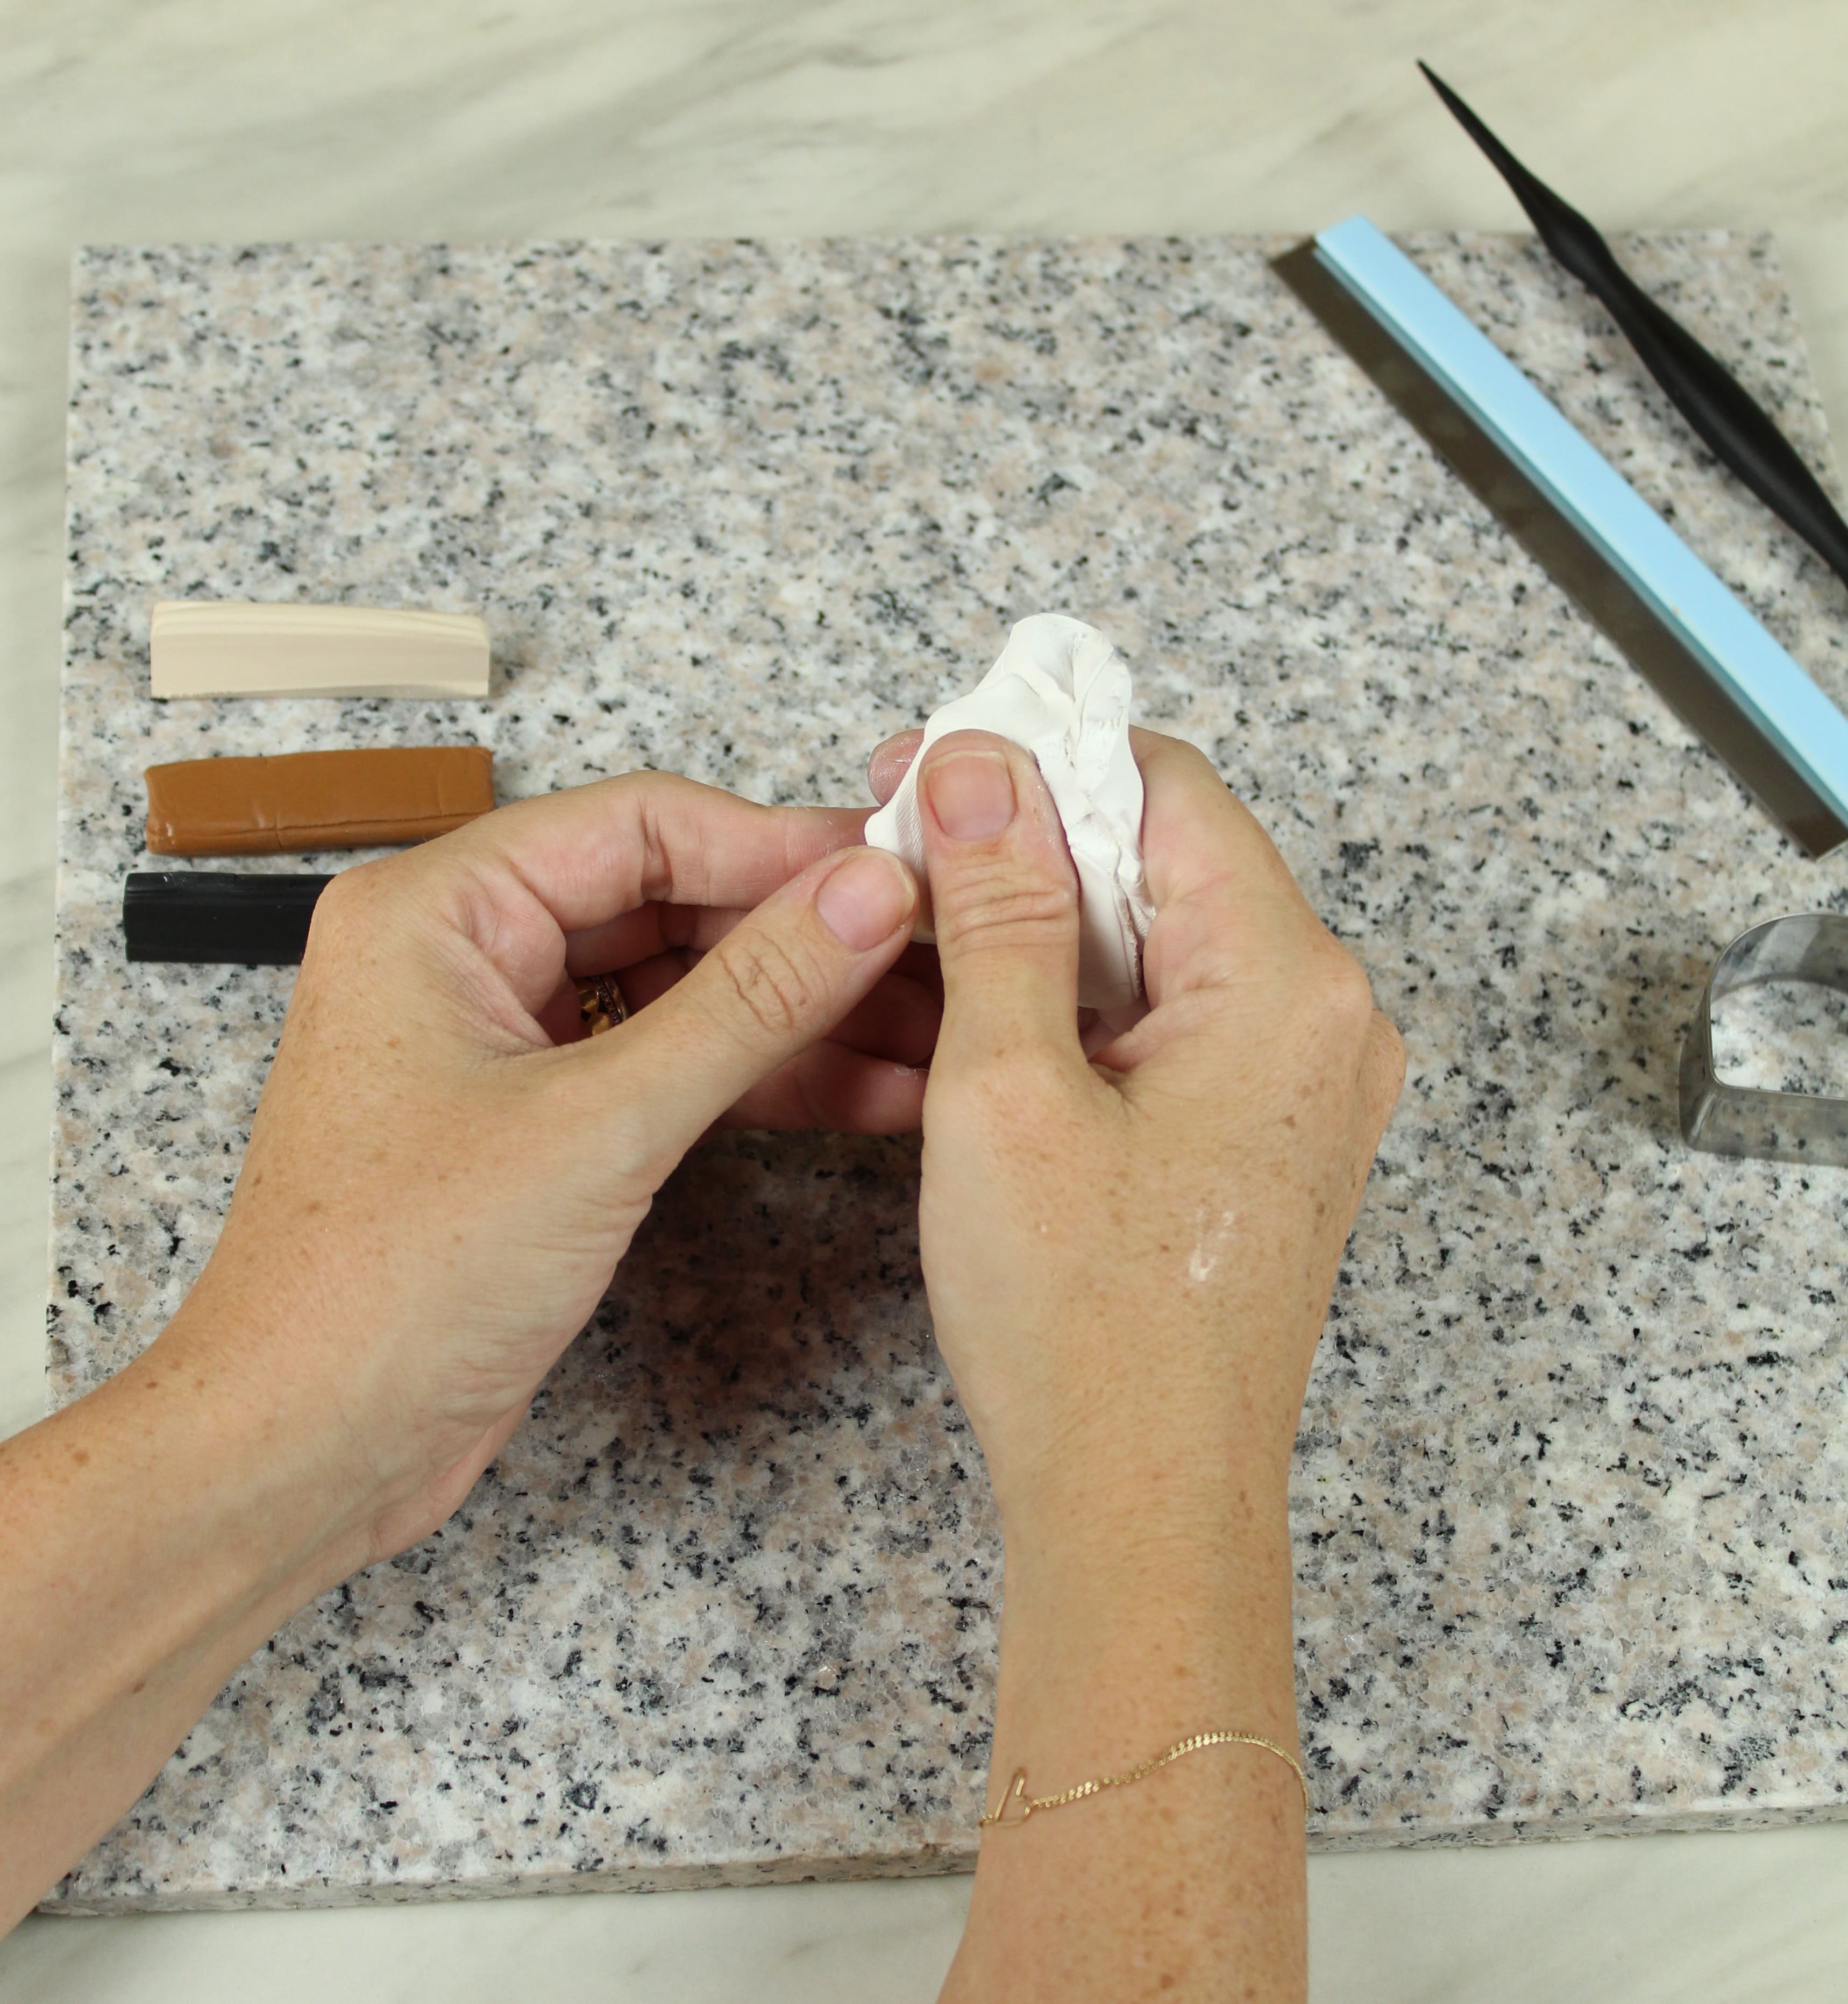
Ok, now that we have that out of the way, it’s time to play! Beginning with your base color (for me it was Sculpey-white) work the clay in your hands until it is nice and soft.
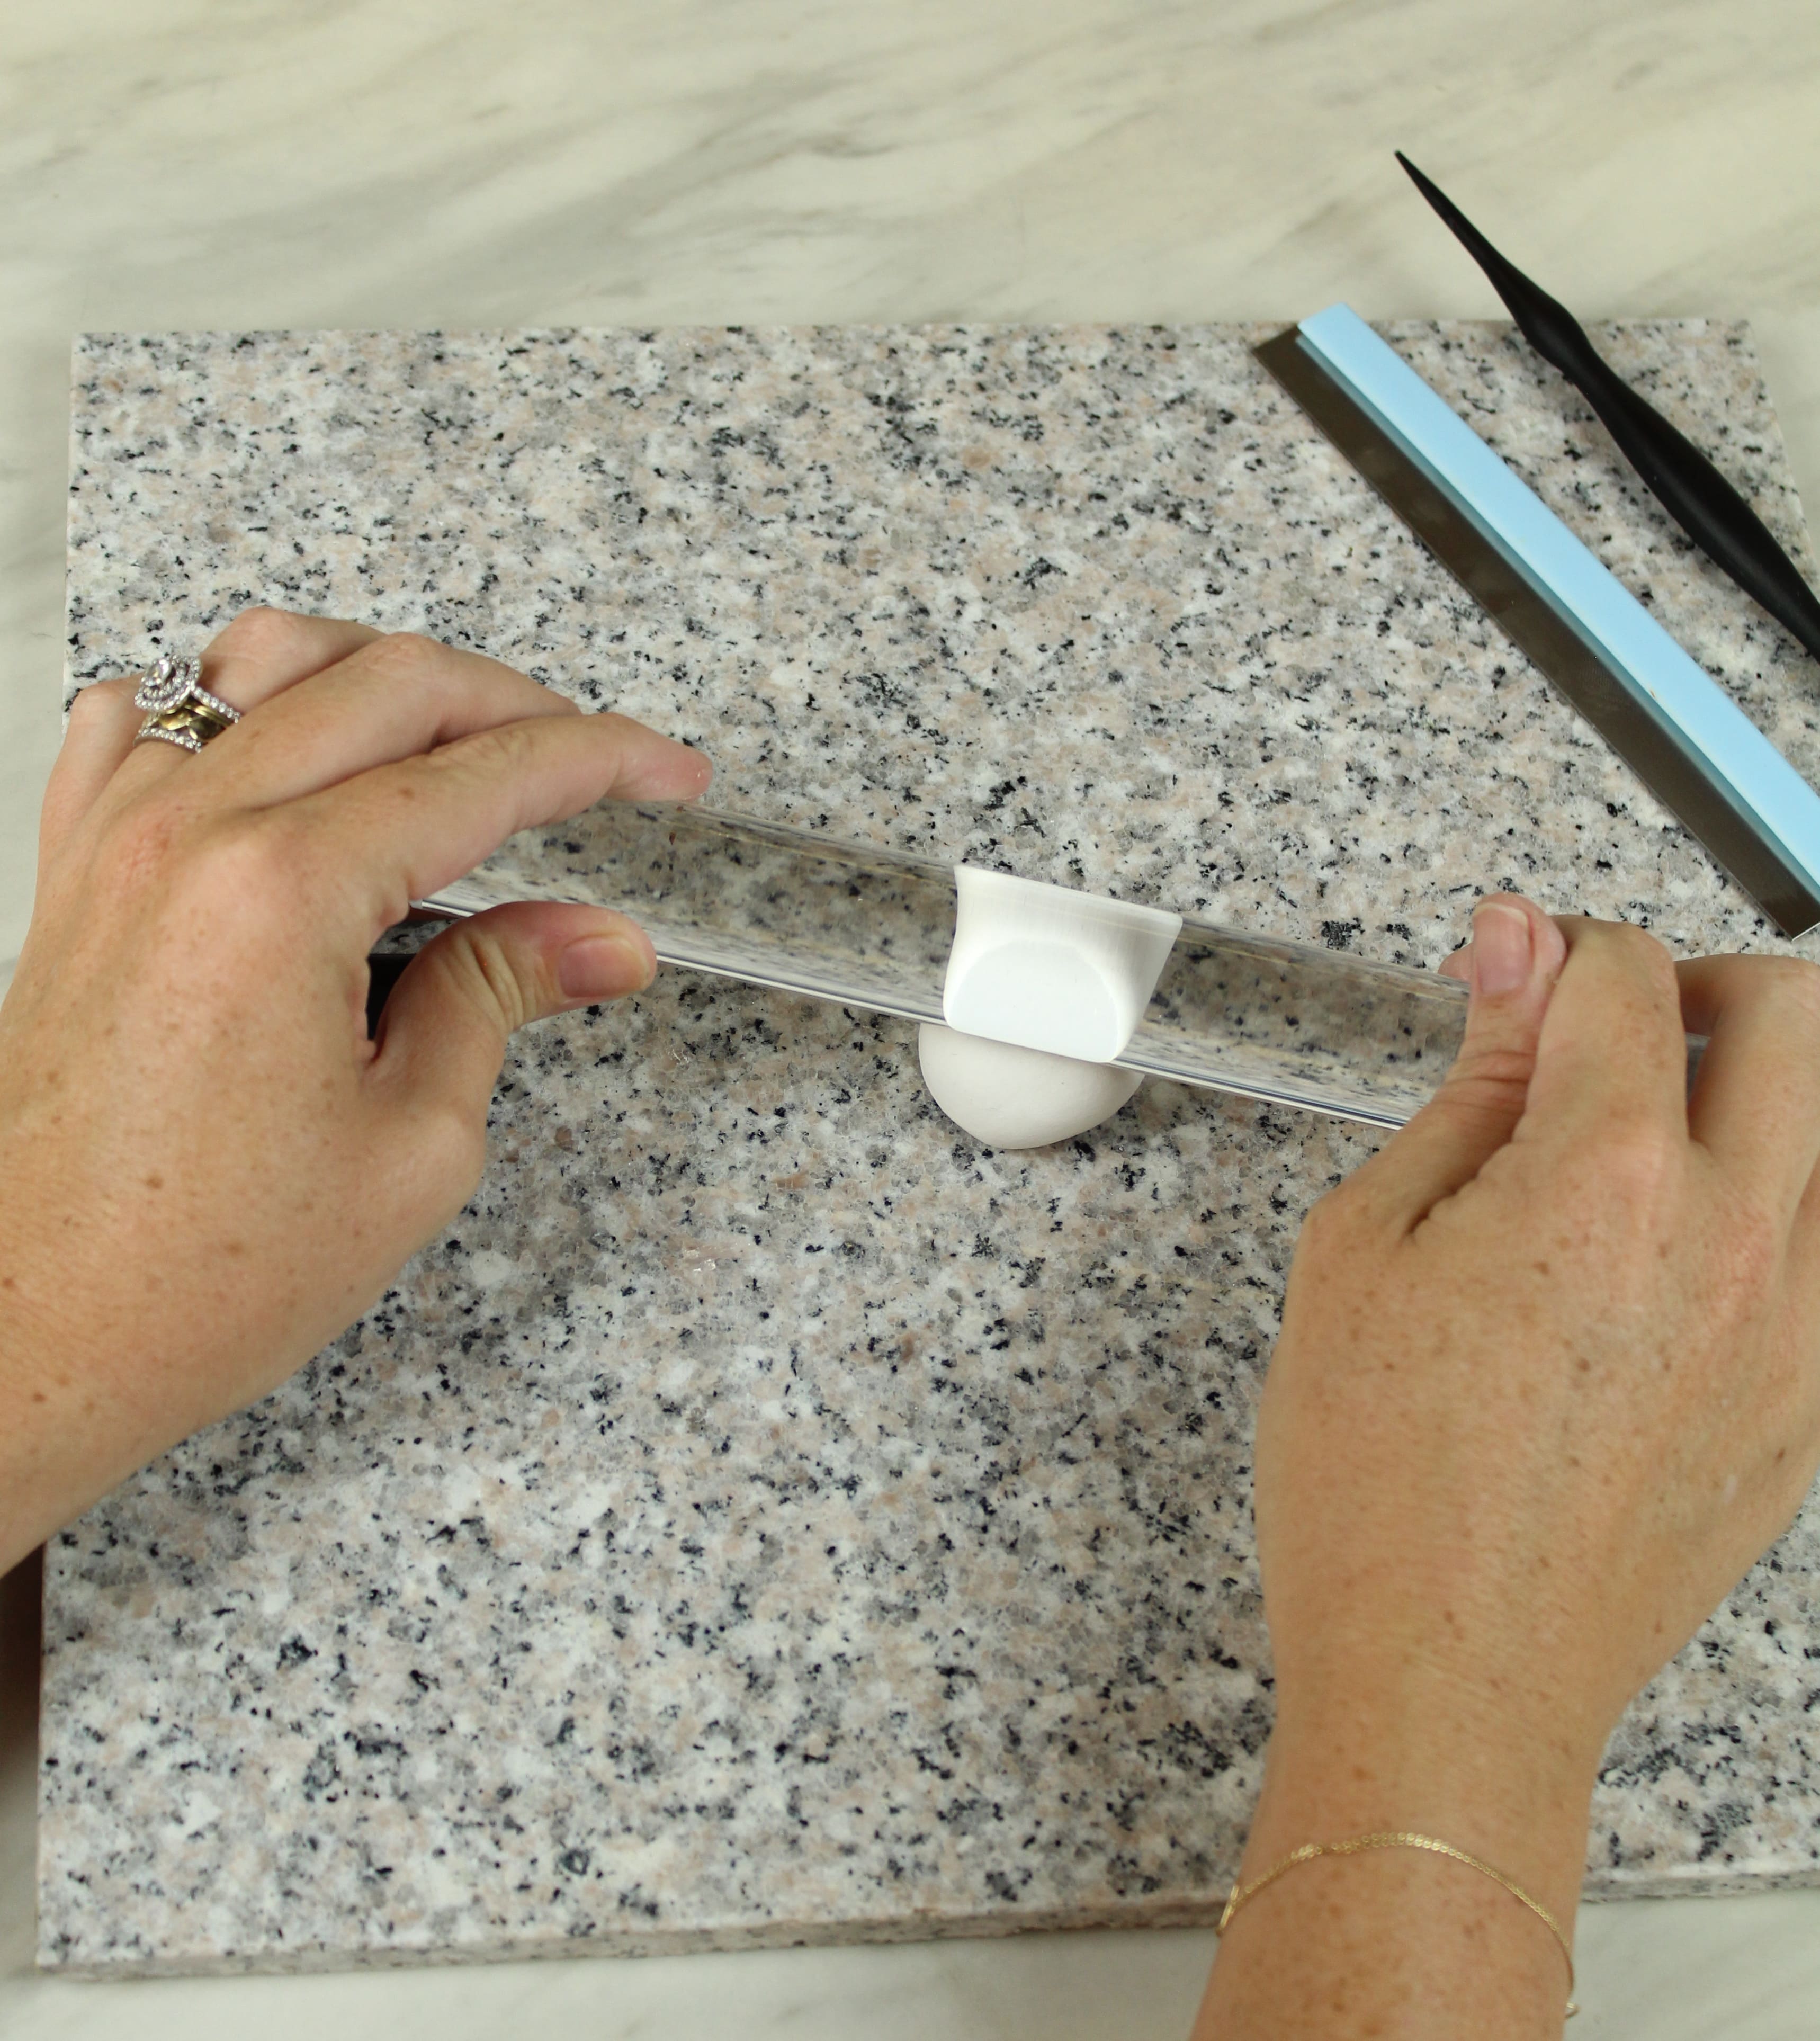
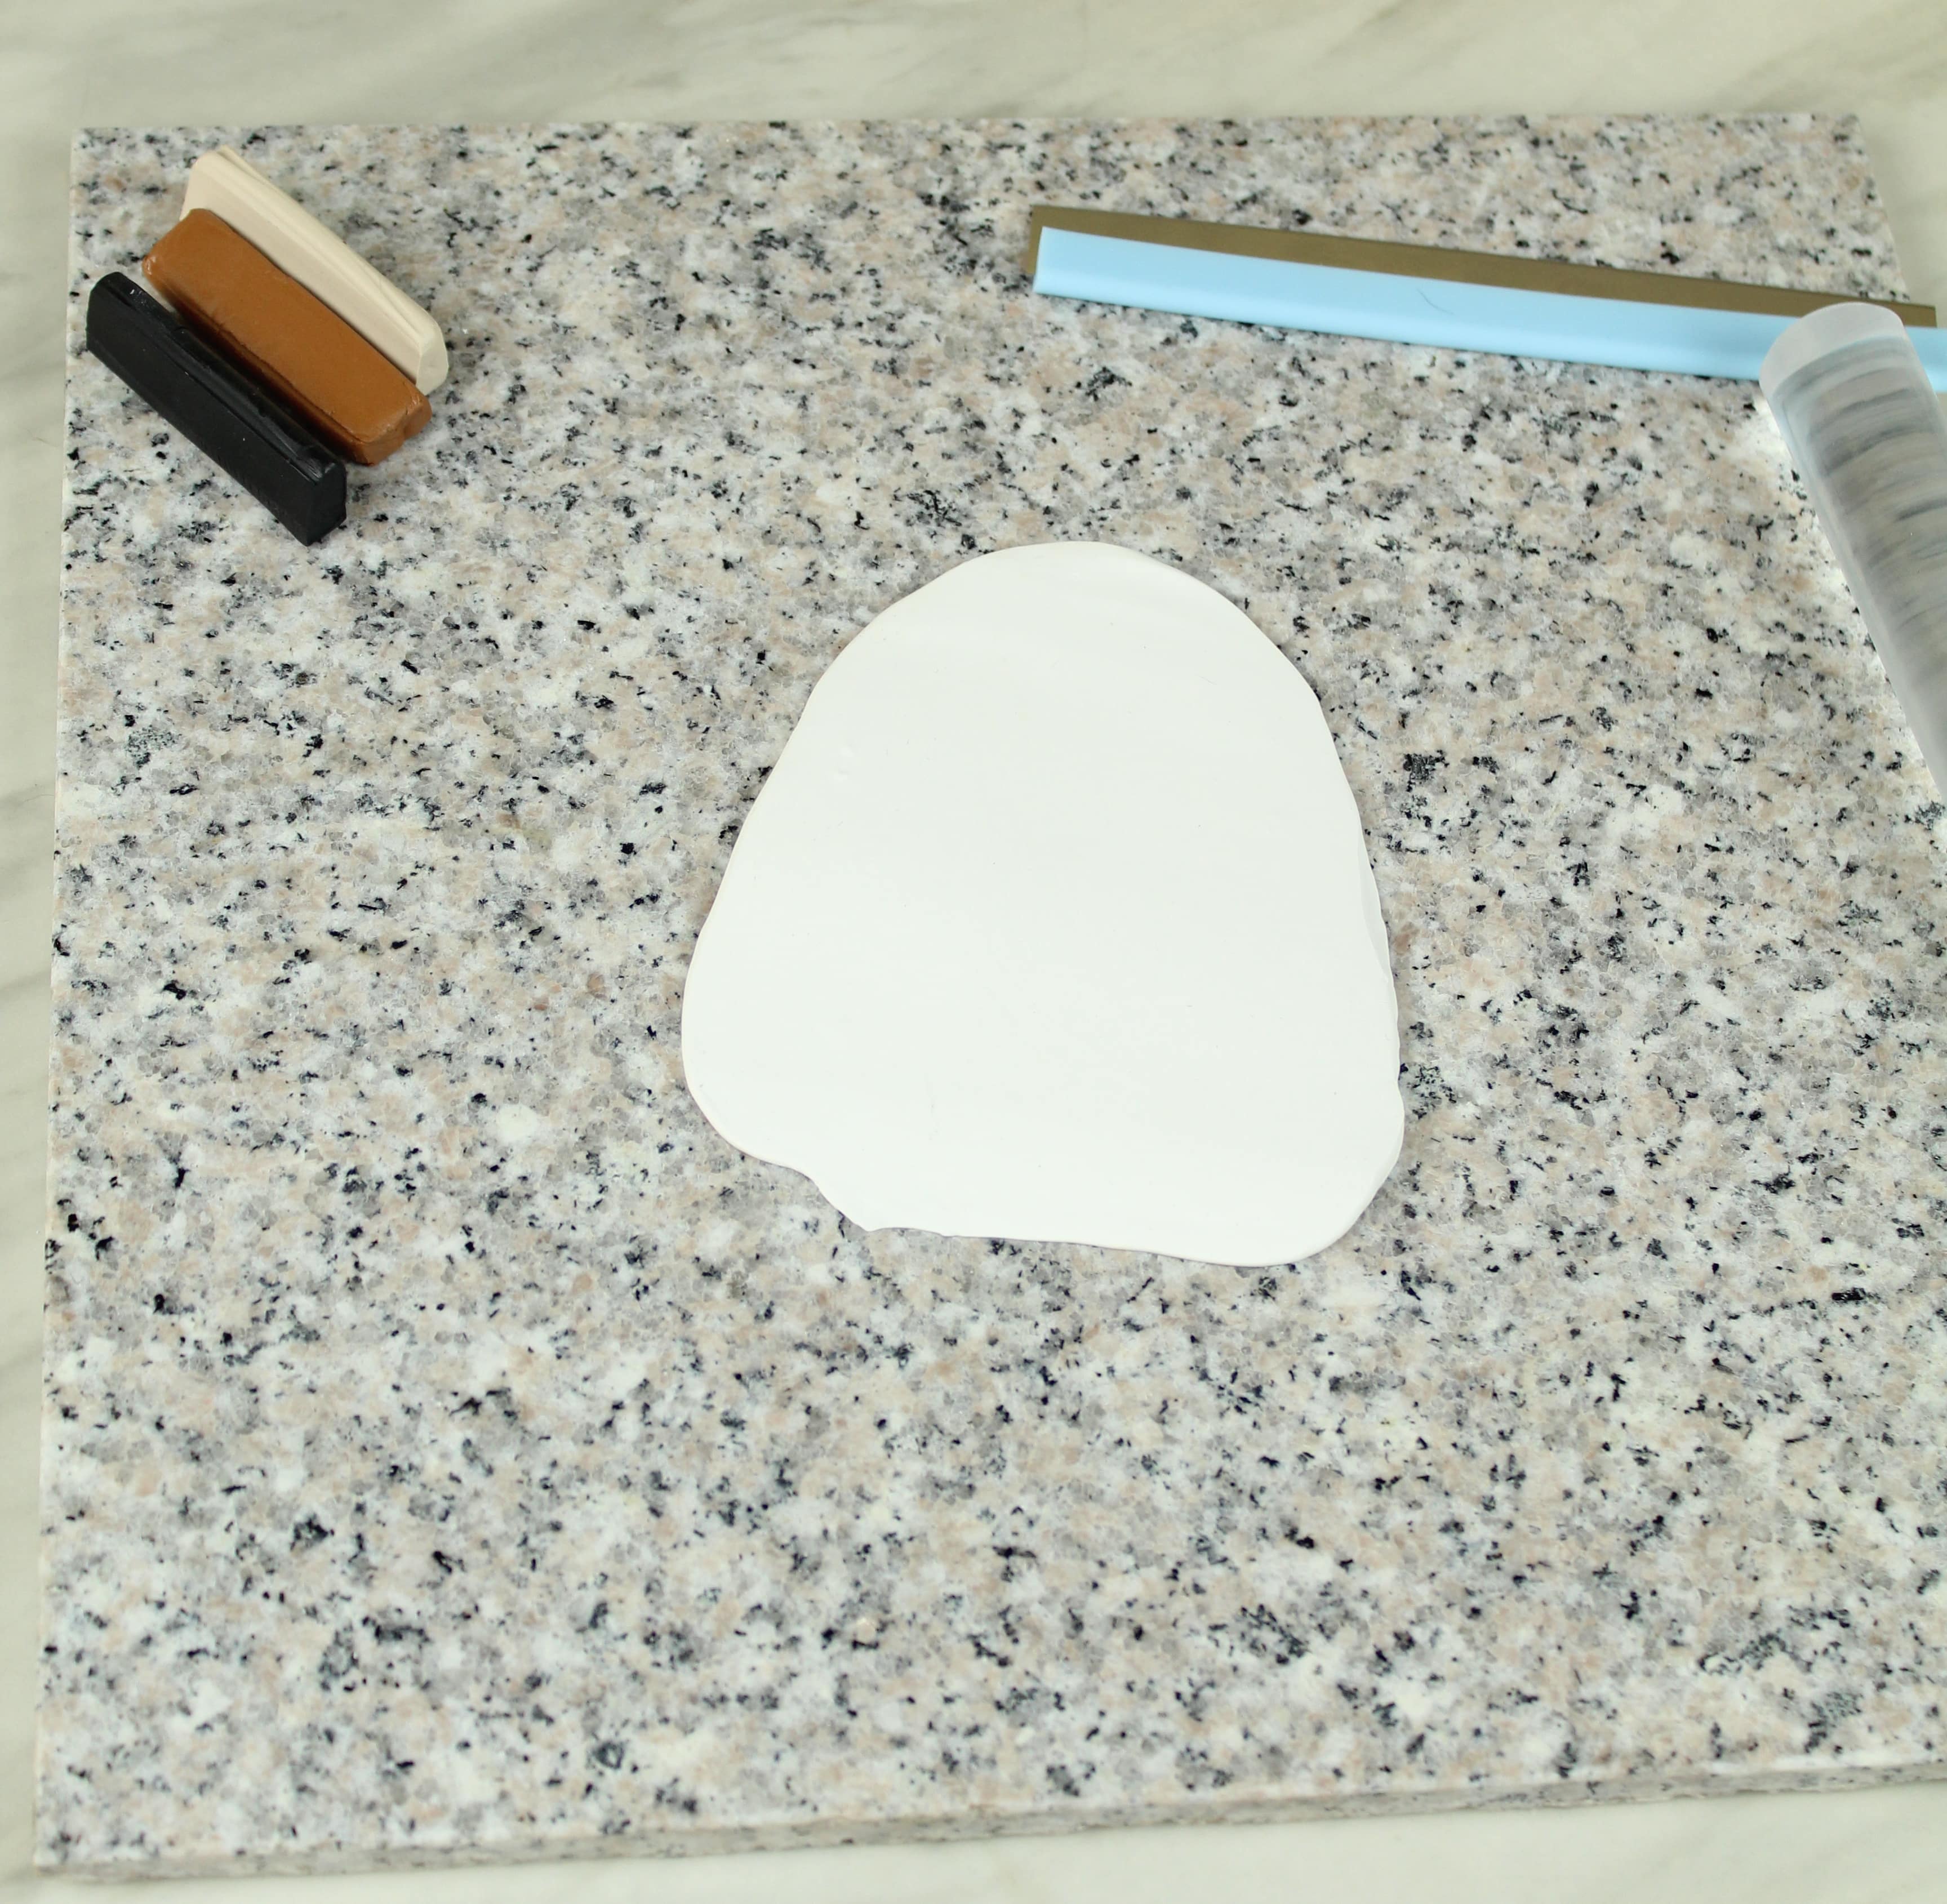
Then, using your roller, roll it flat until it’s about 1/4″ thick. Then set it aside.
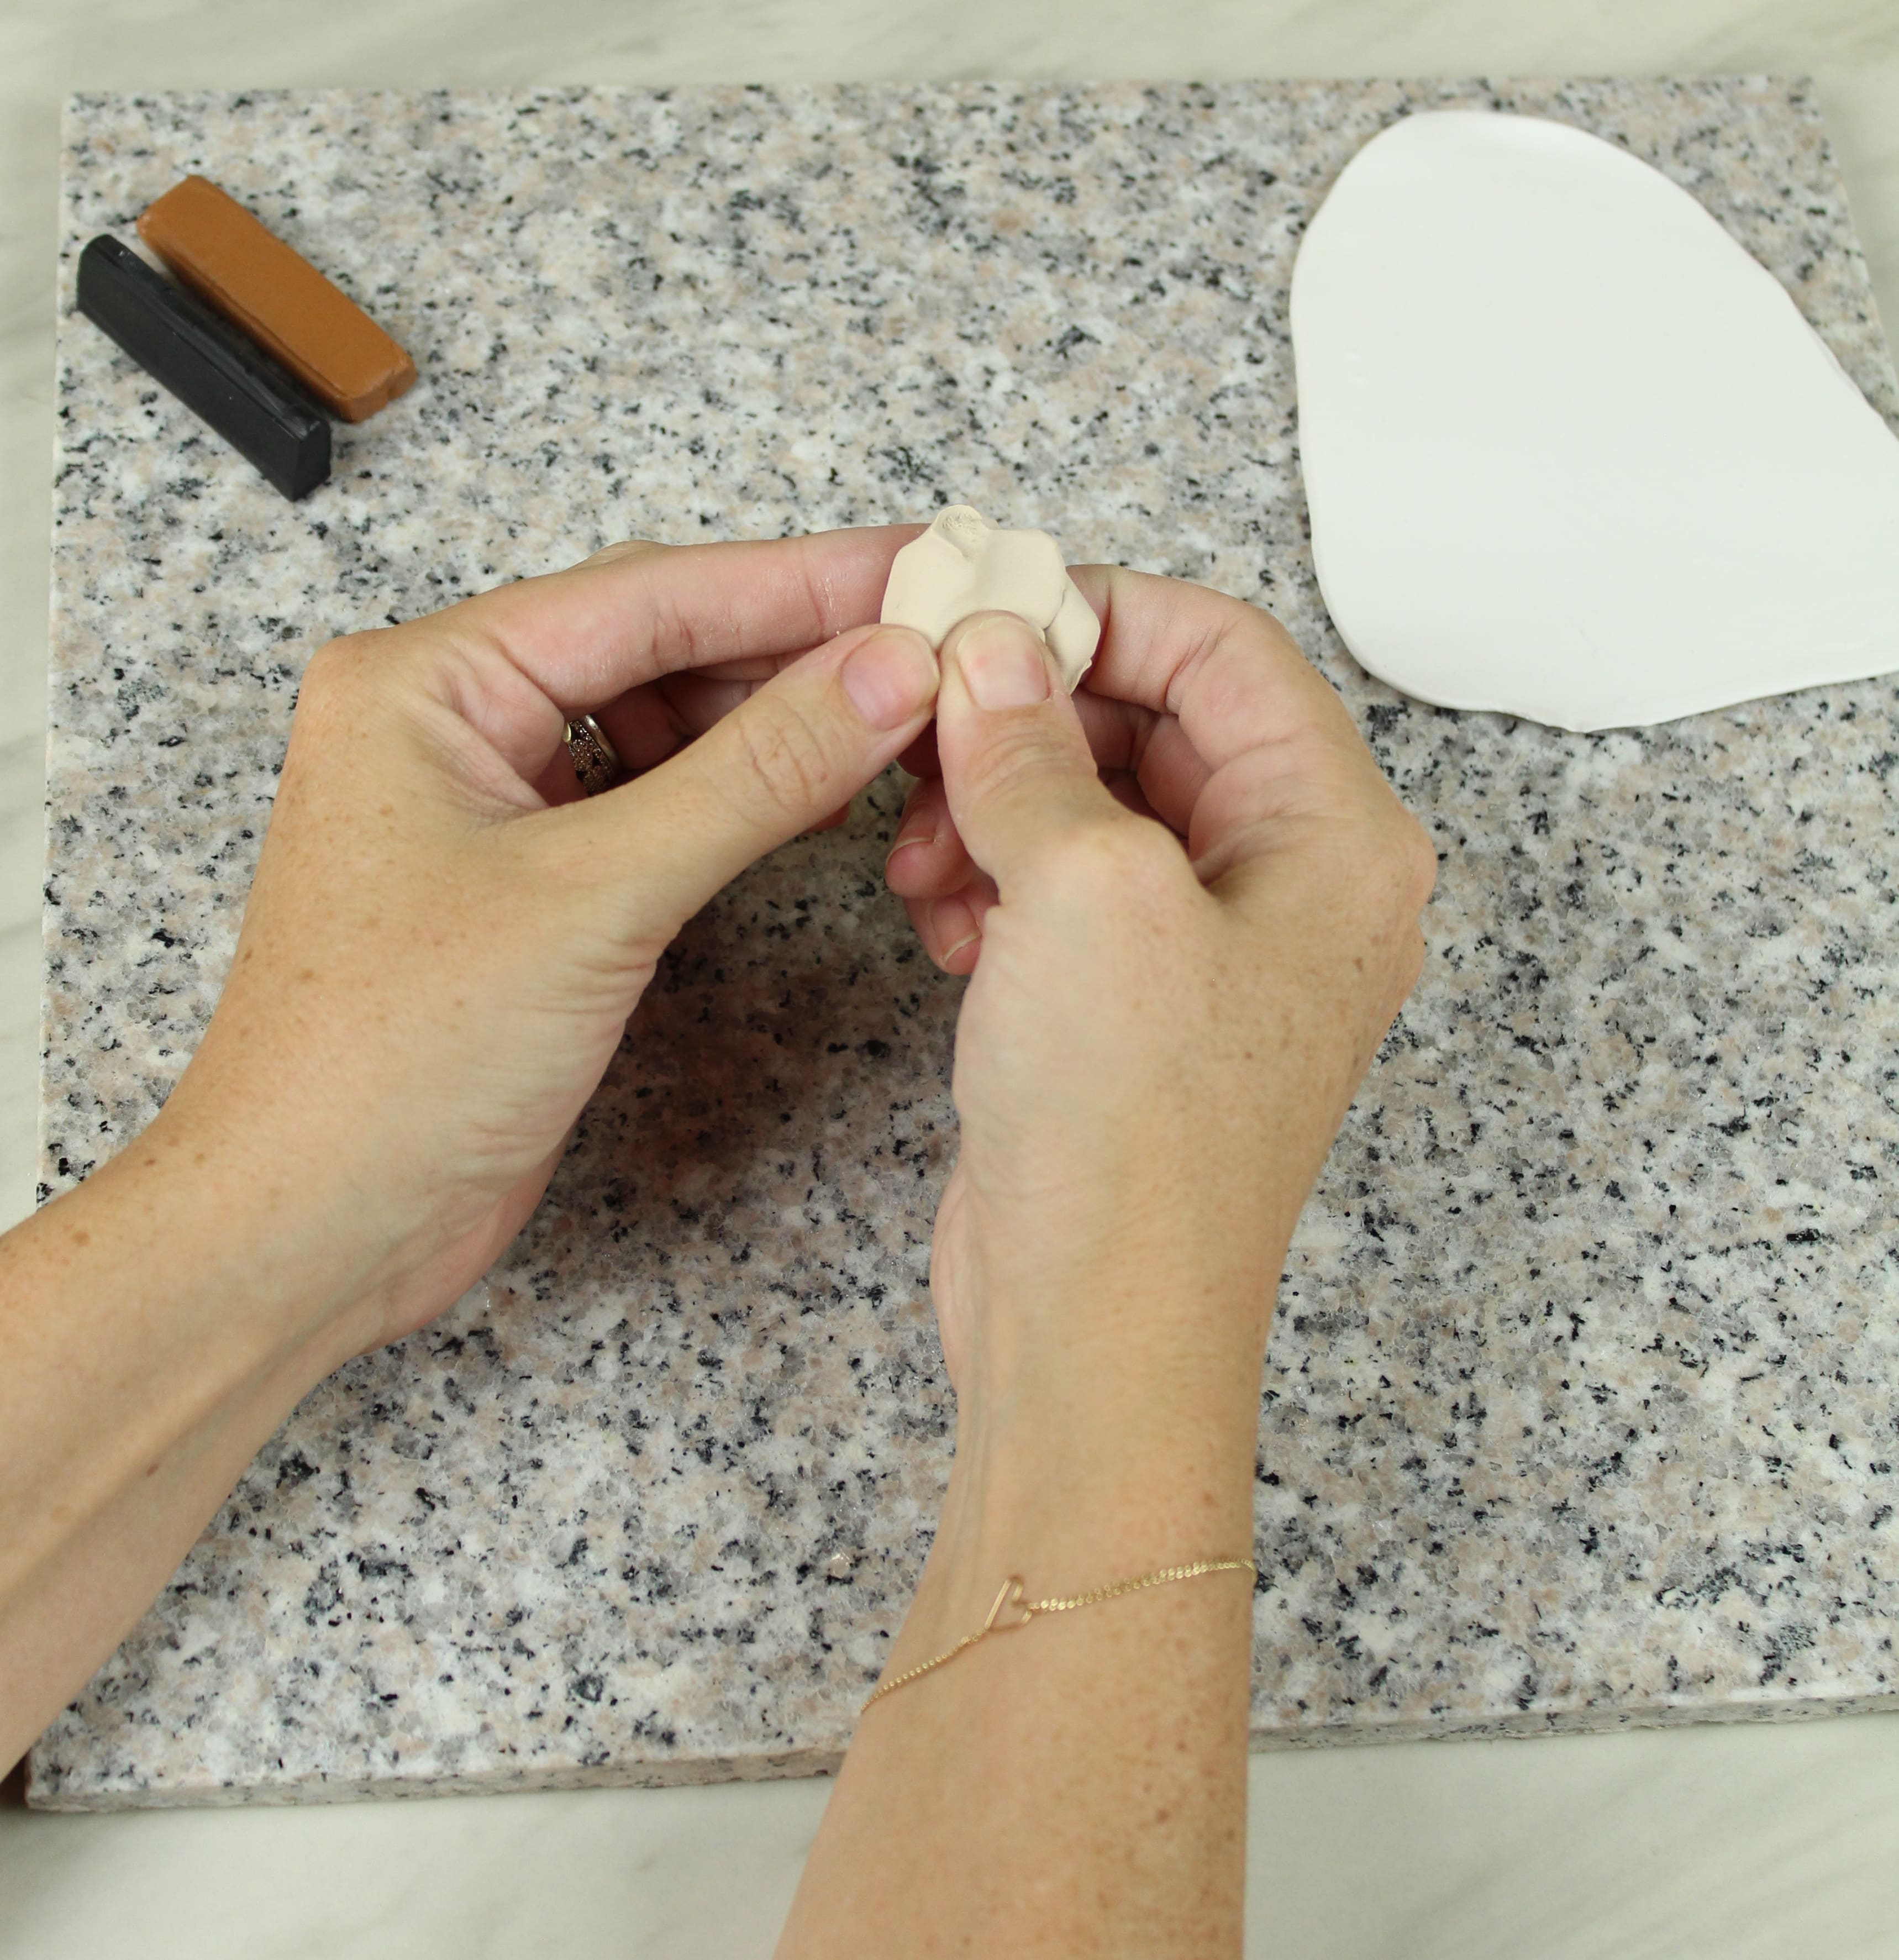
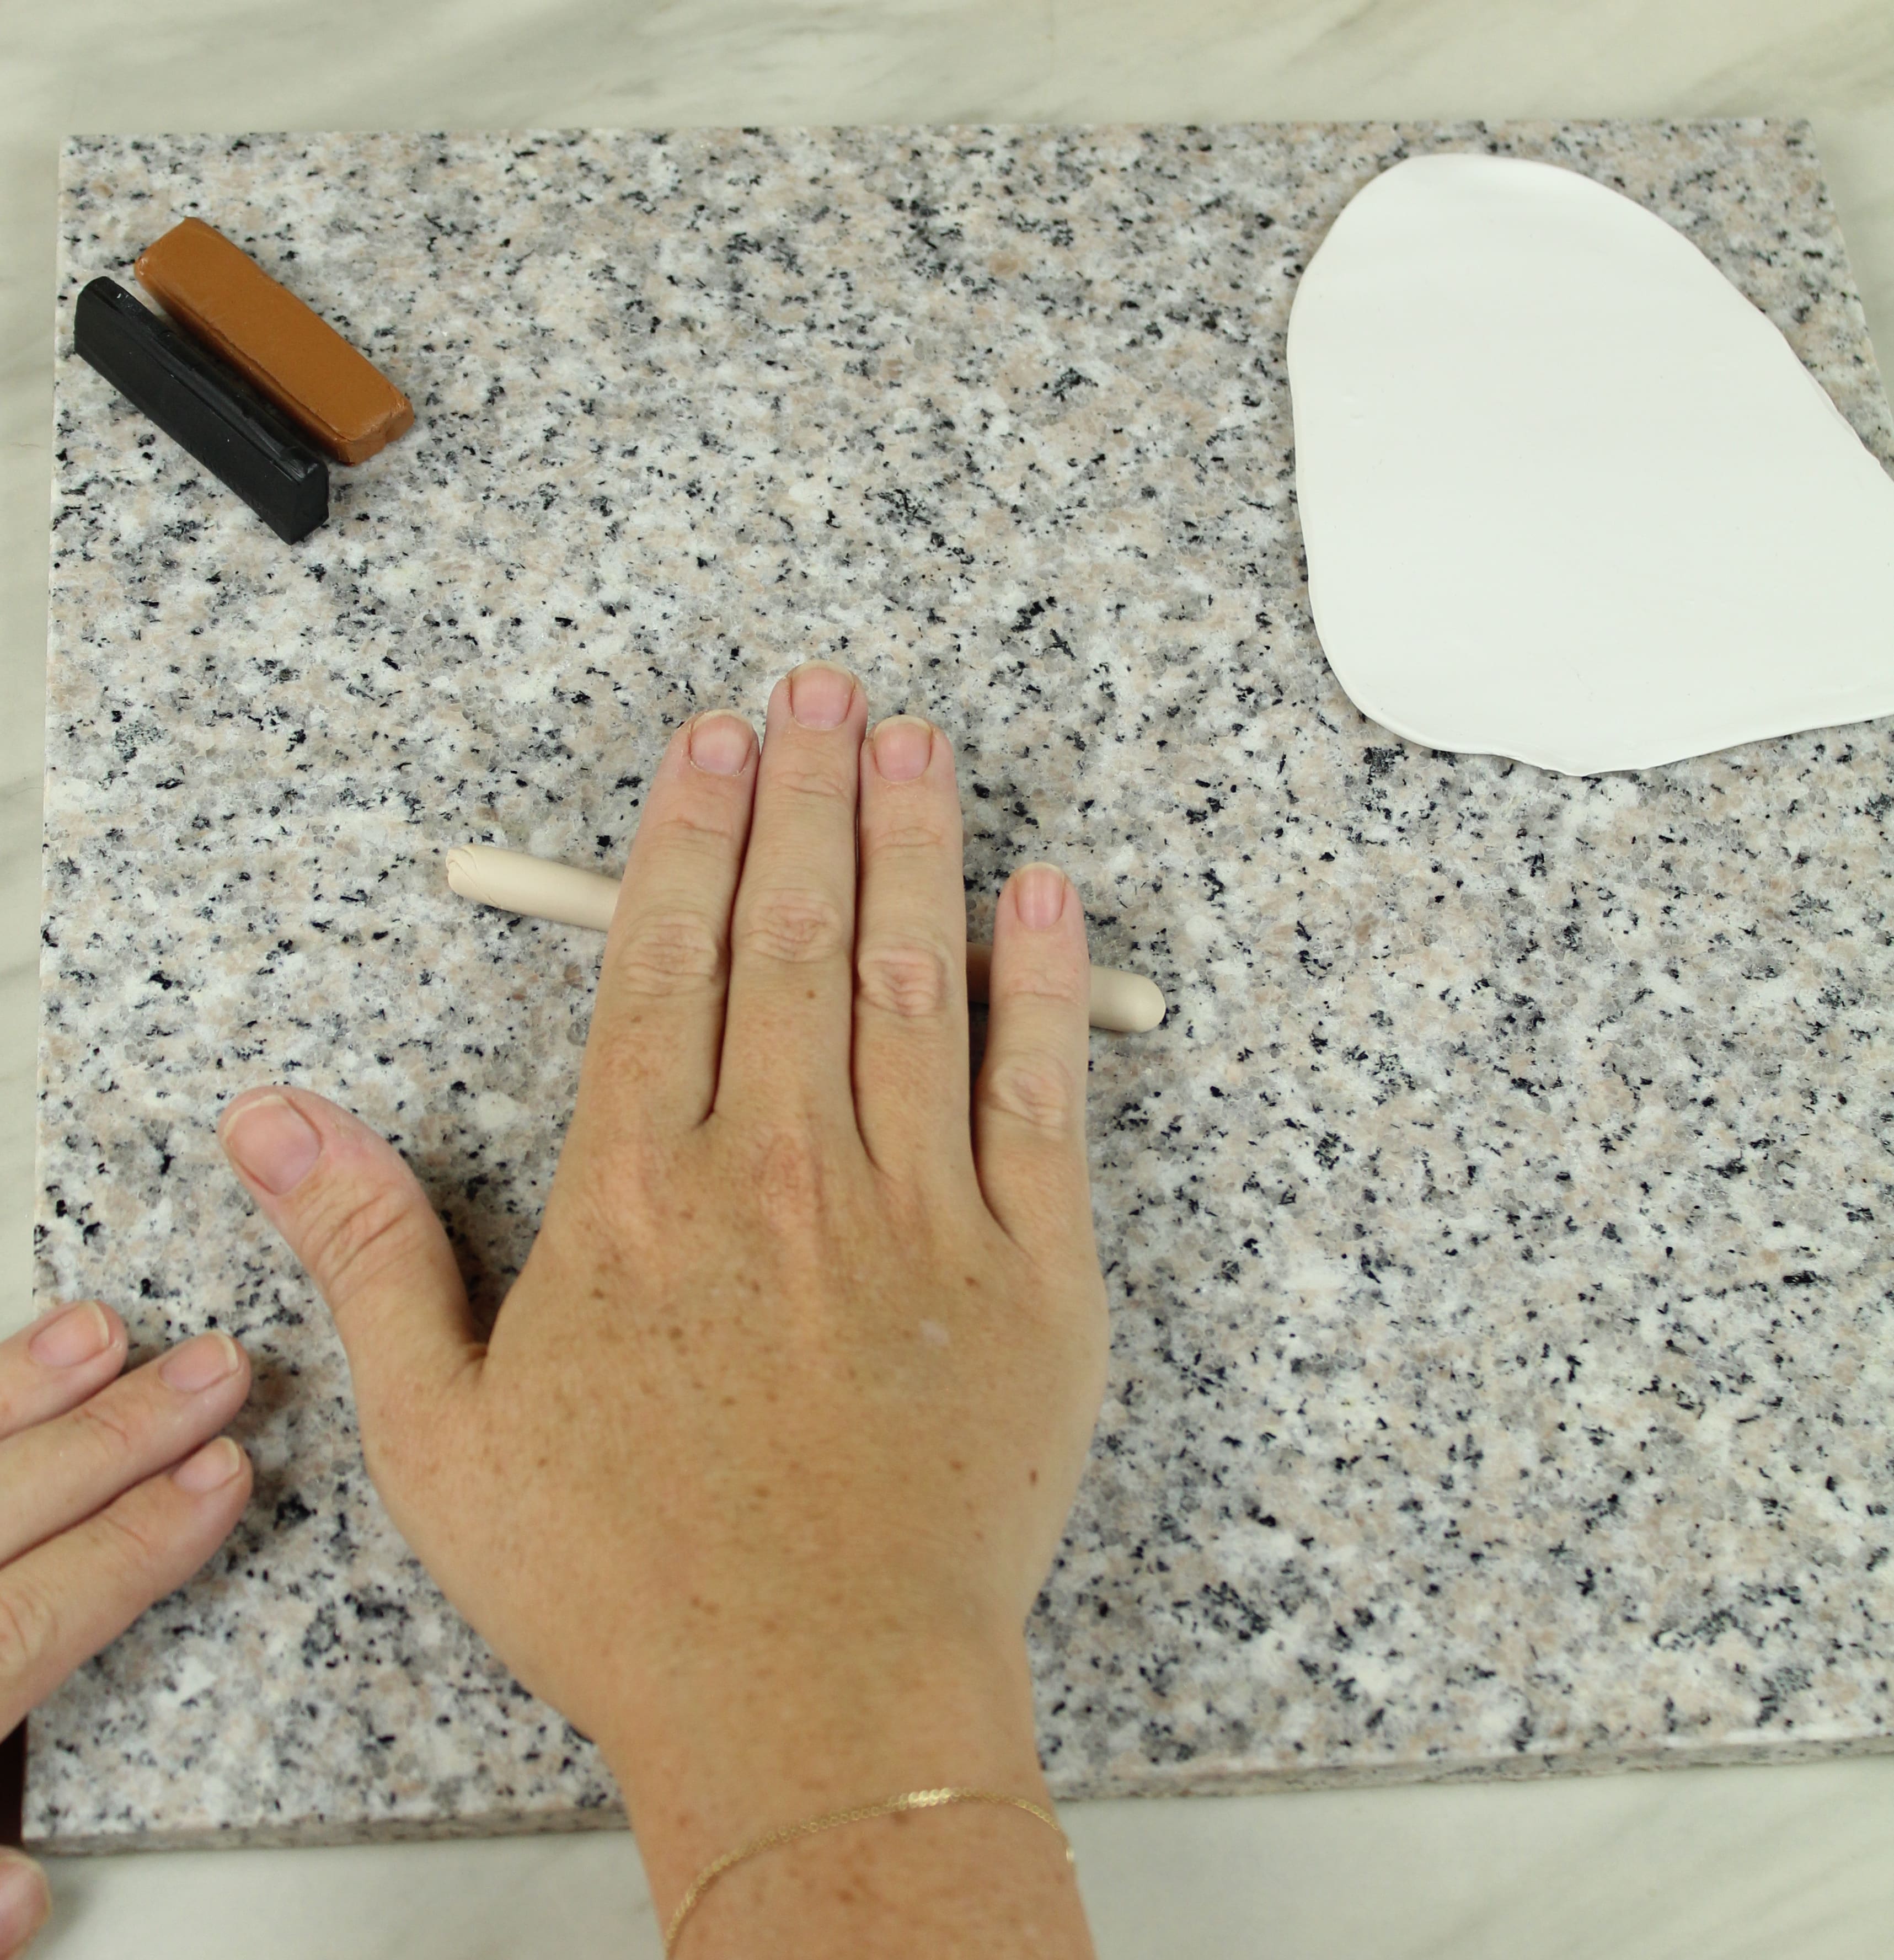
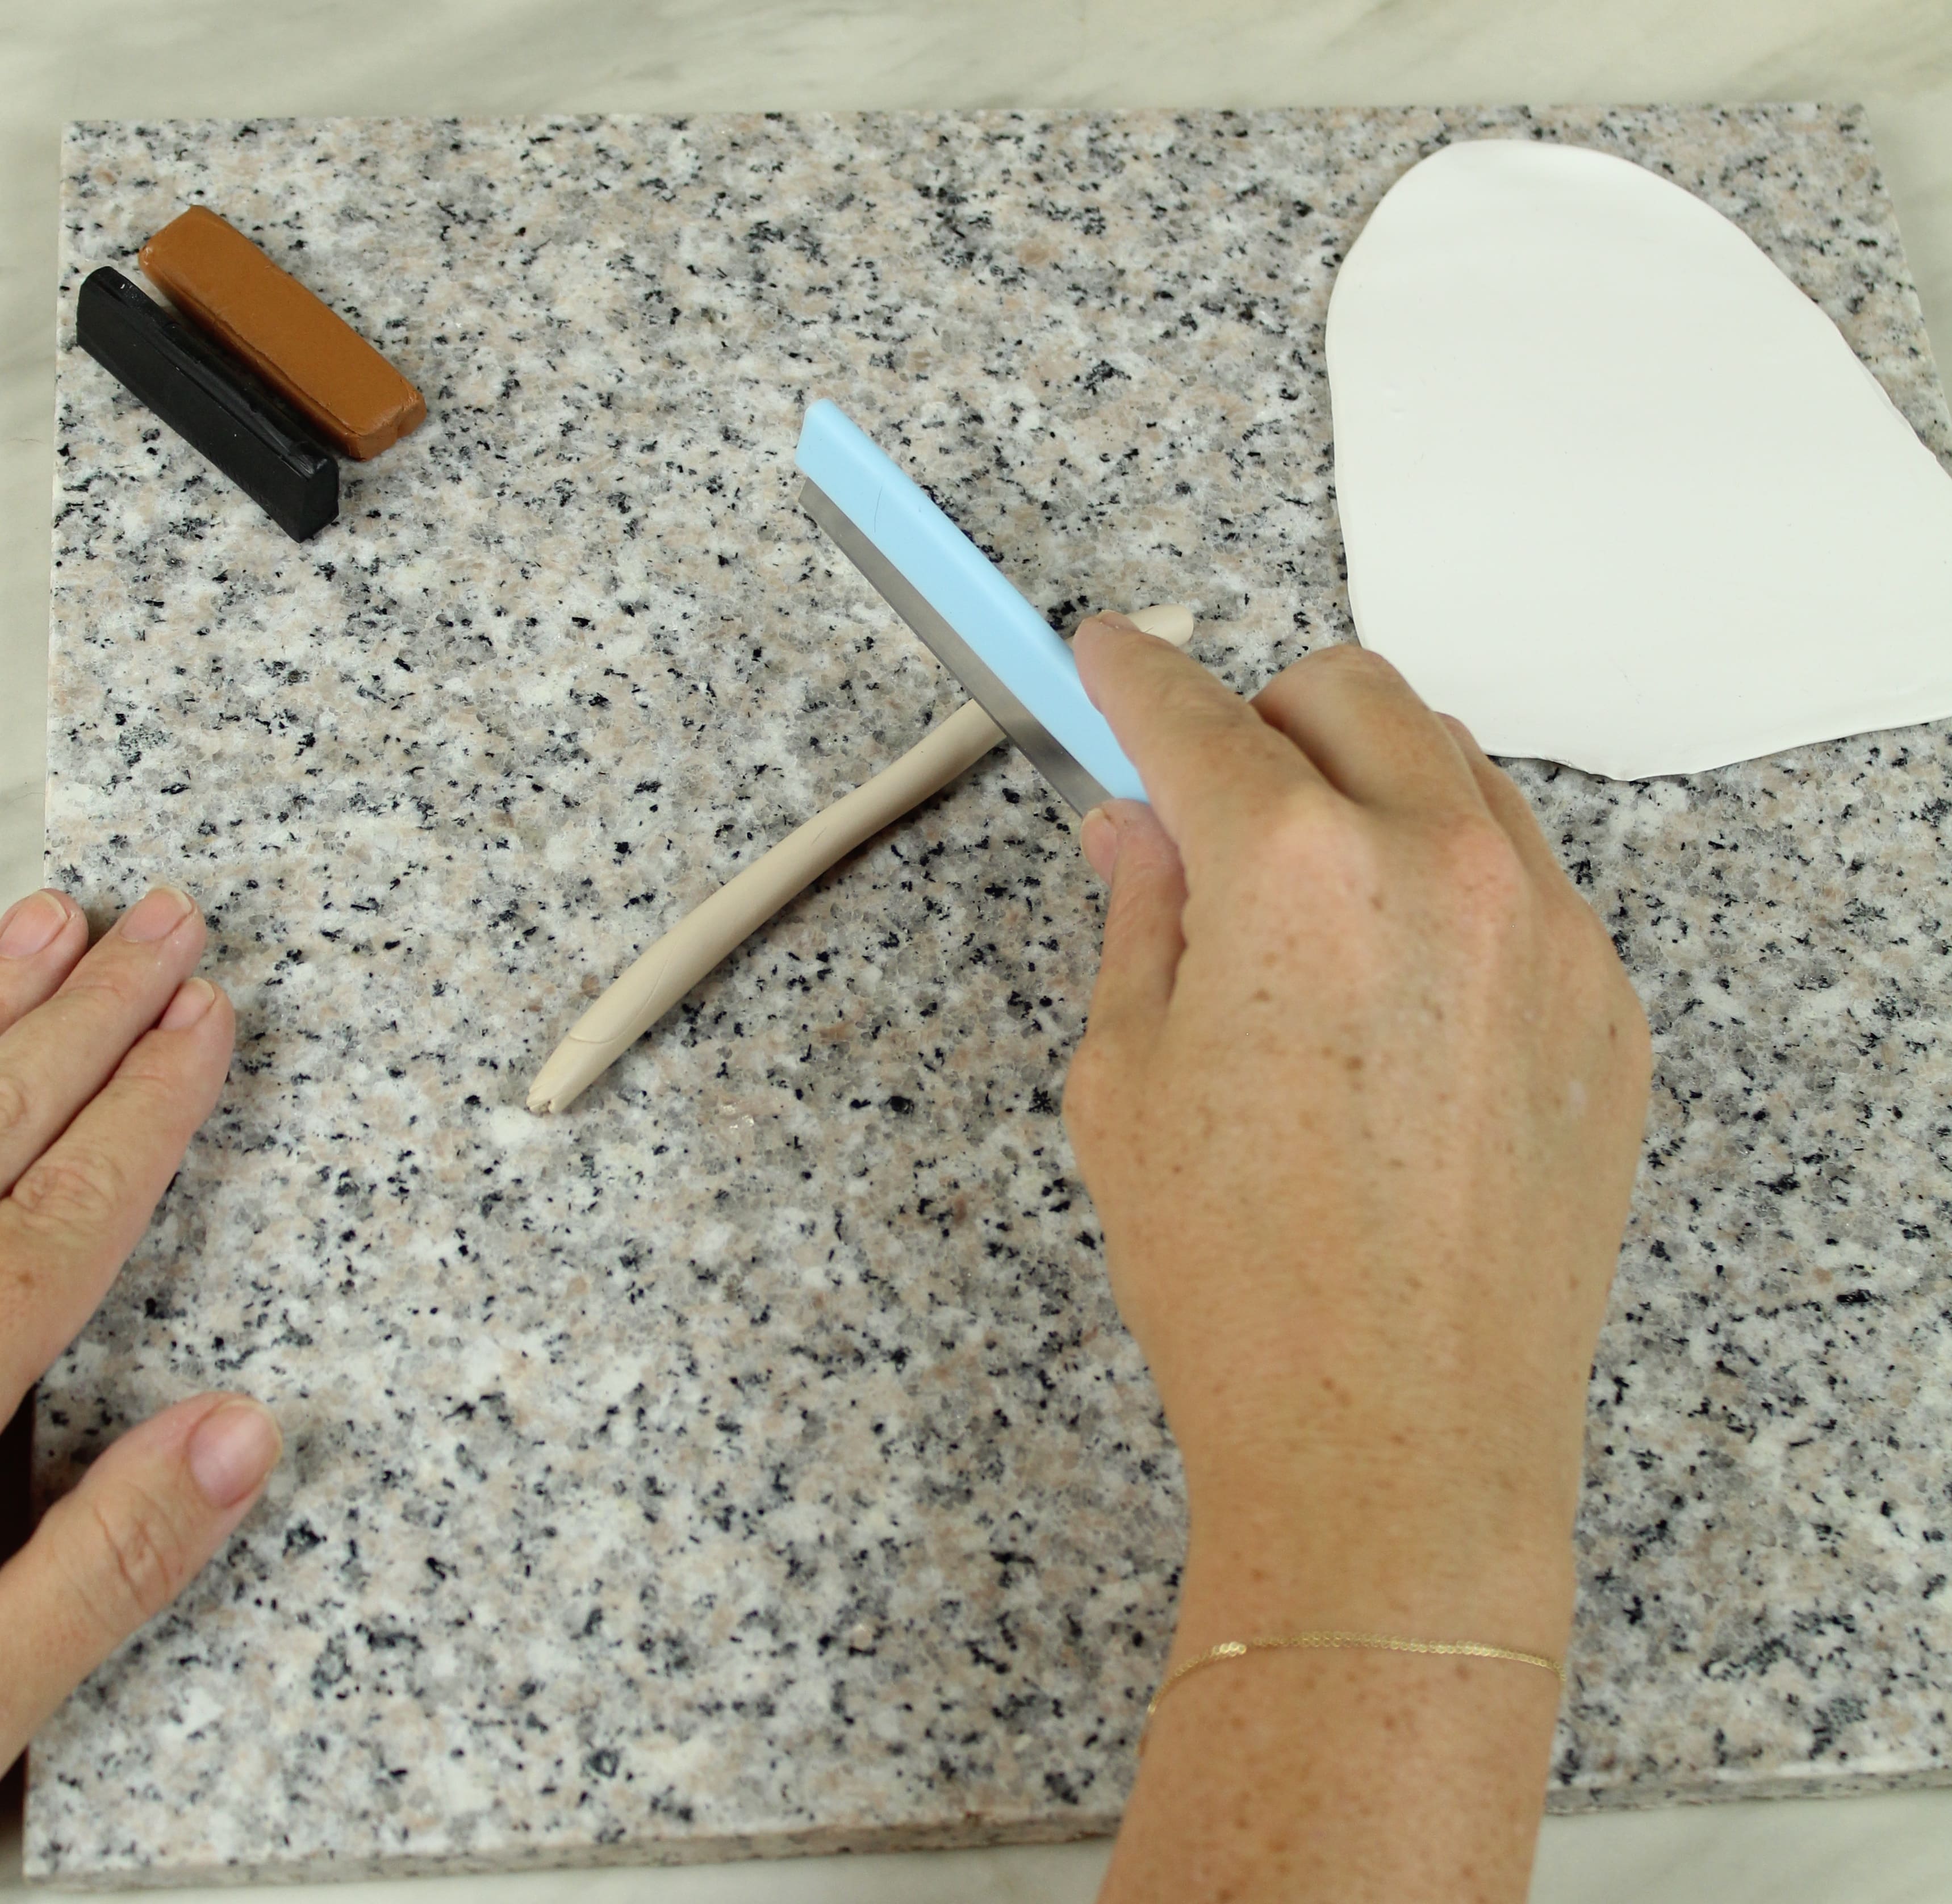
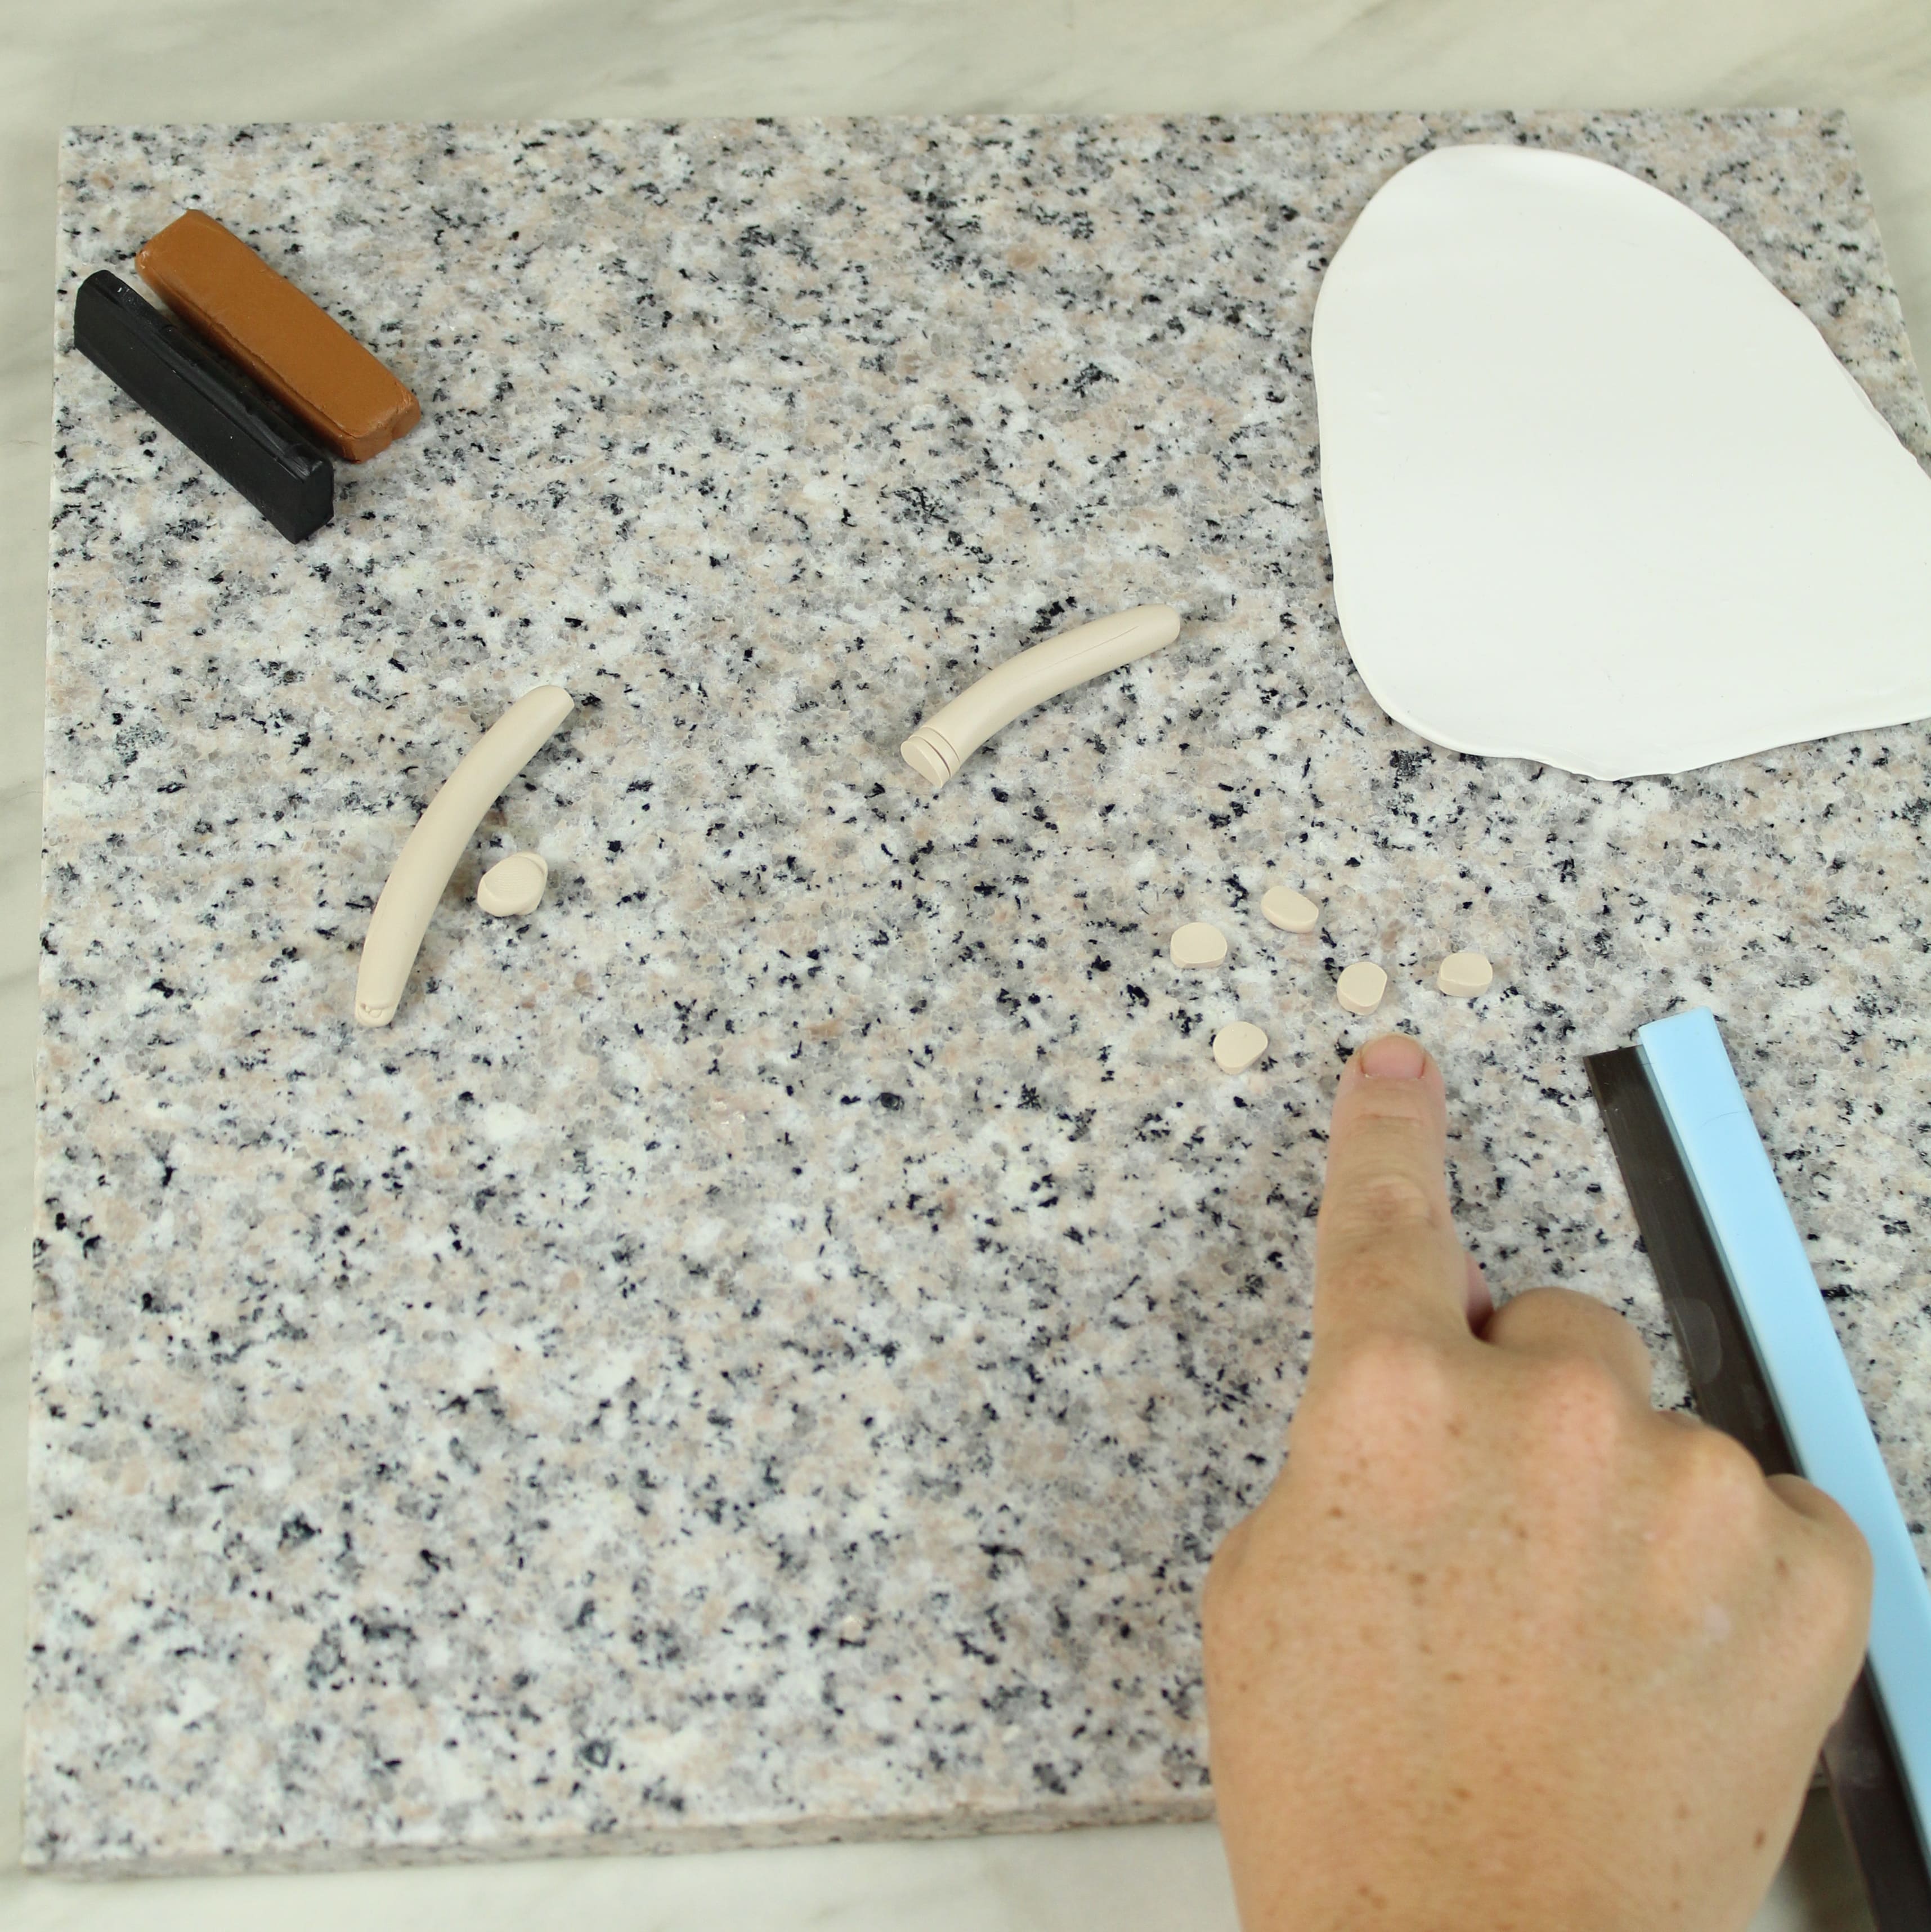
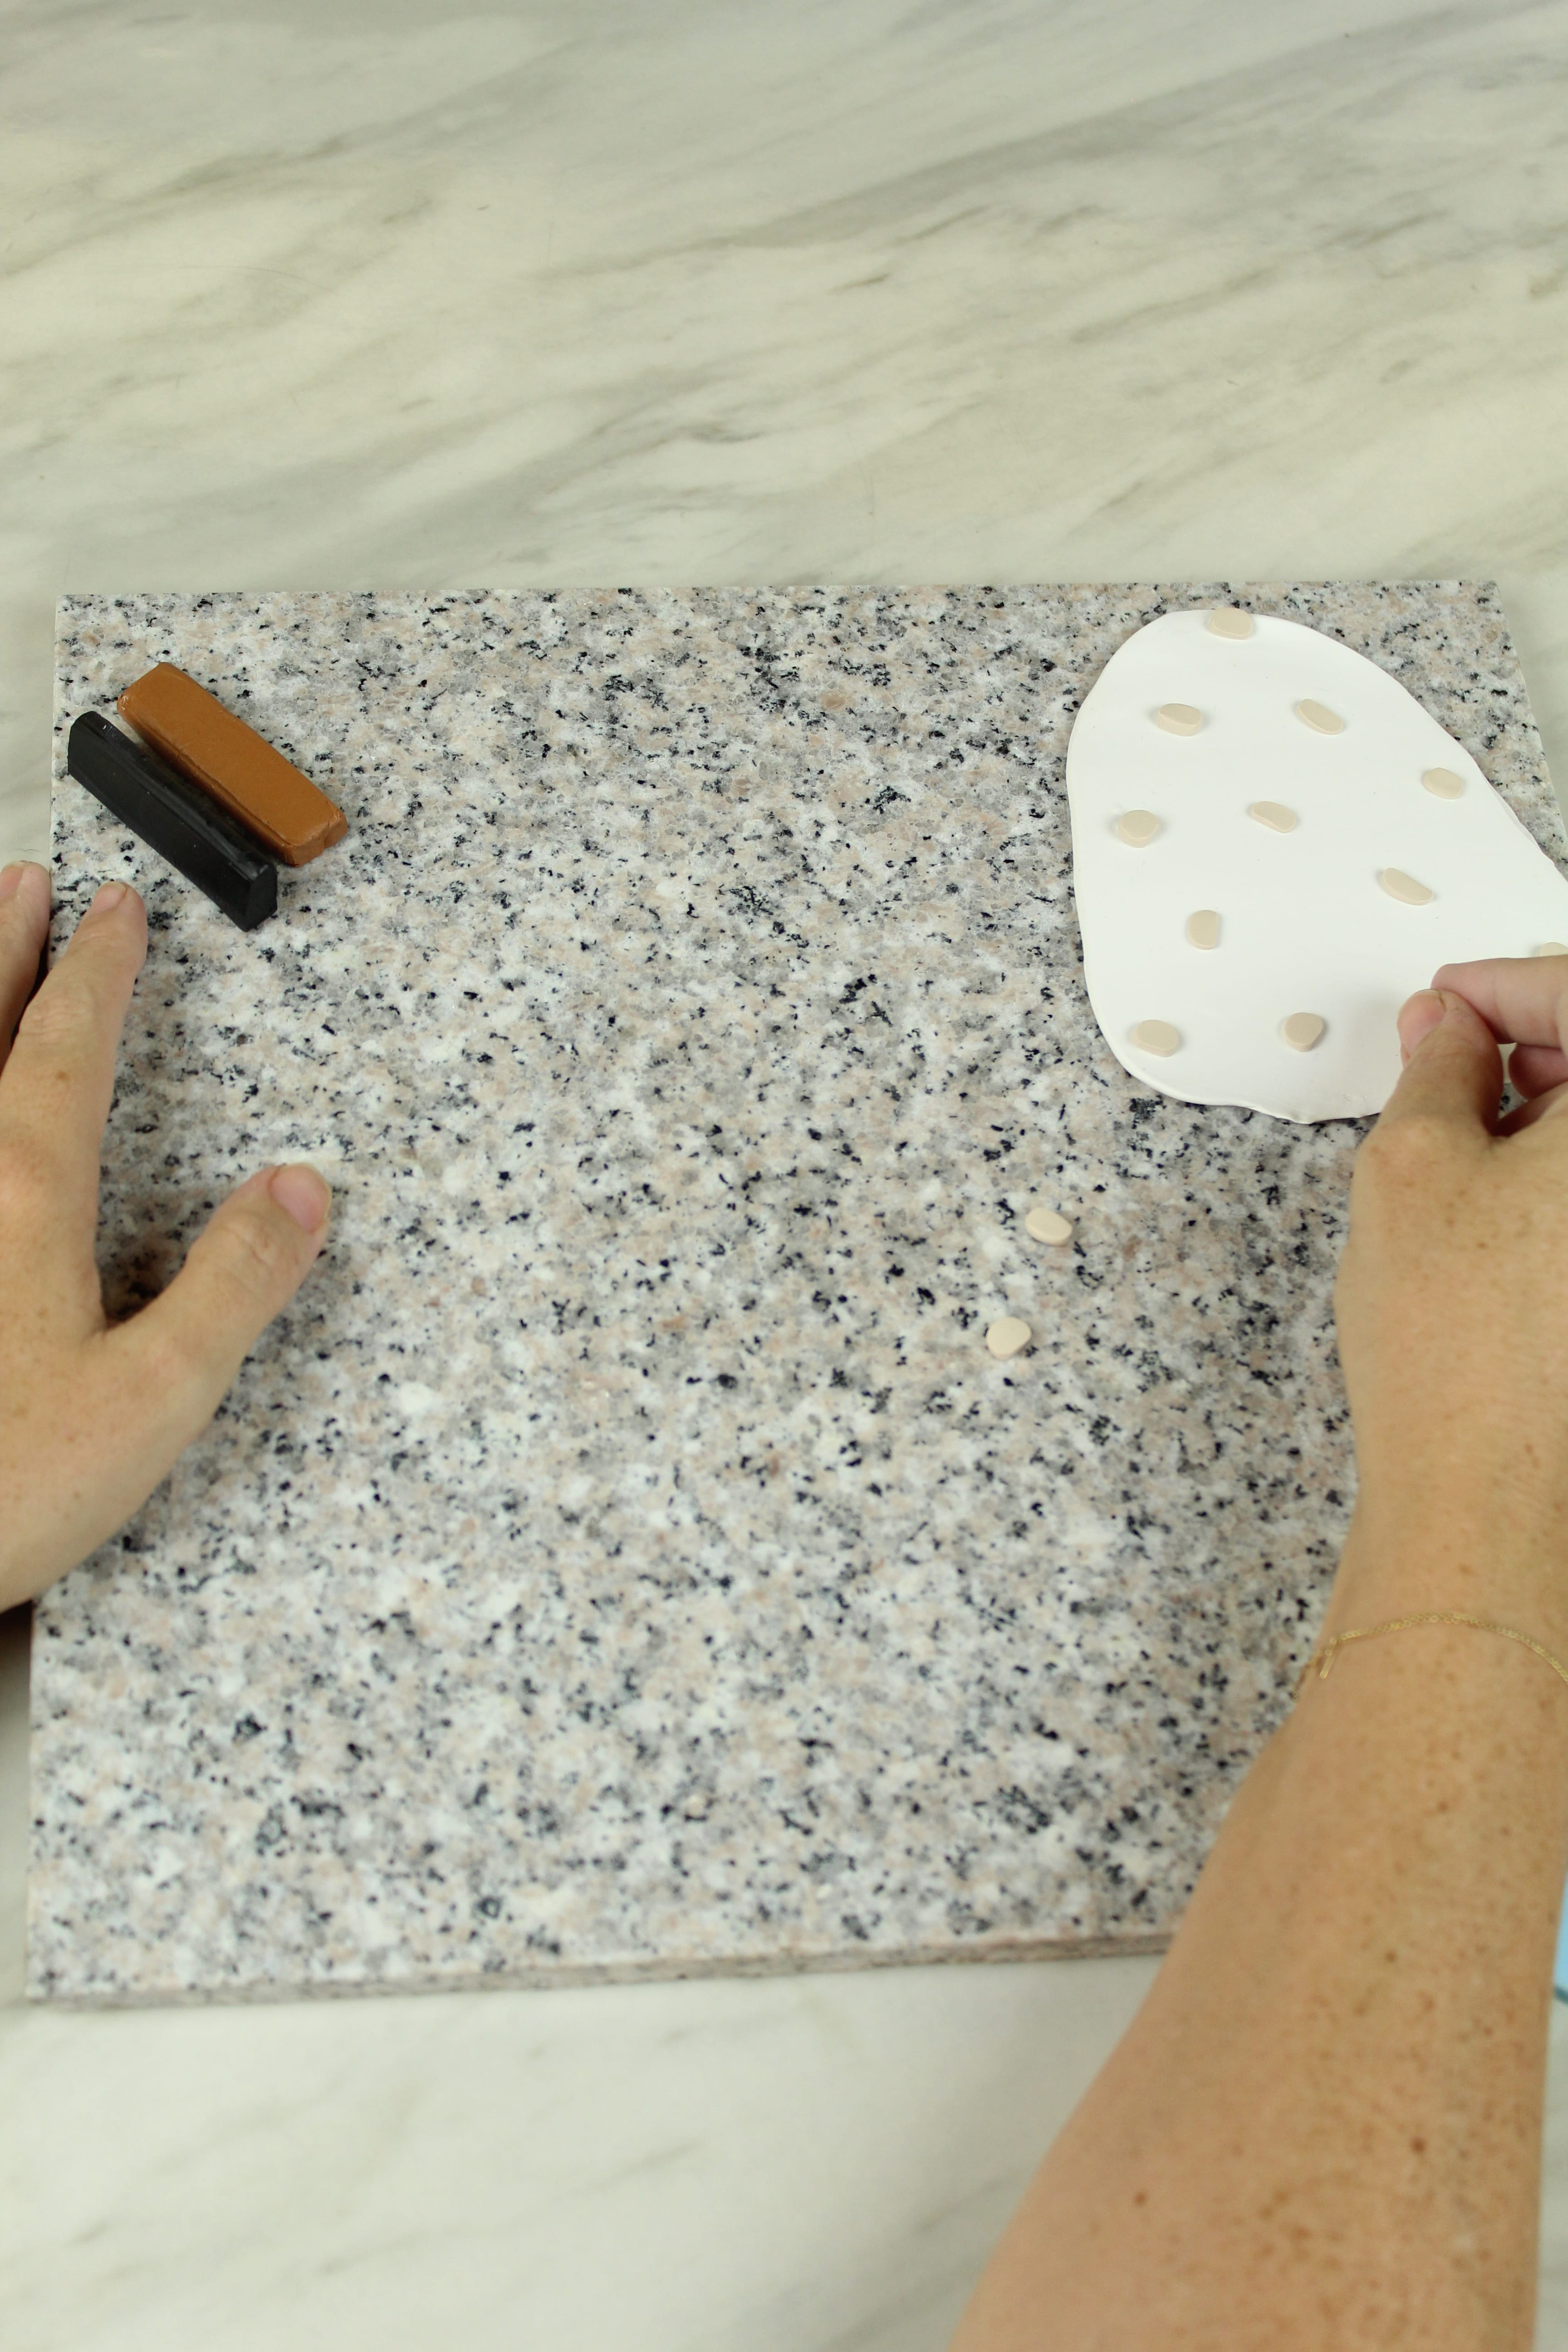
Grab your second color (mine was FIMO-sahara) and work it in your hands, like you did your first color. Roll it out with your hands until it looks kind of like a worm. Using your slicing tool, start to cut small pieces from the worm shape. They should be somewhat circular (because of the more abstract vibe I was going for, I was ok with the fact they weren’t perfectly circular).
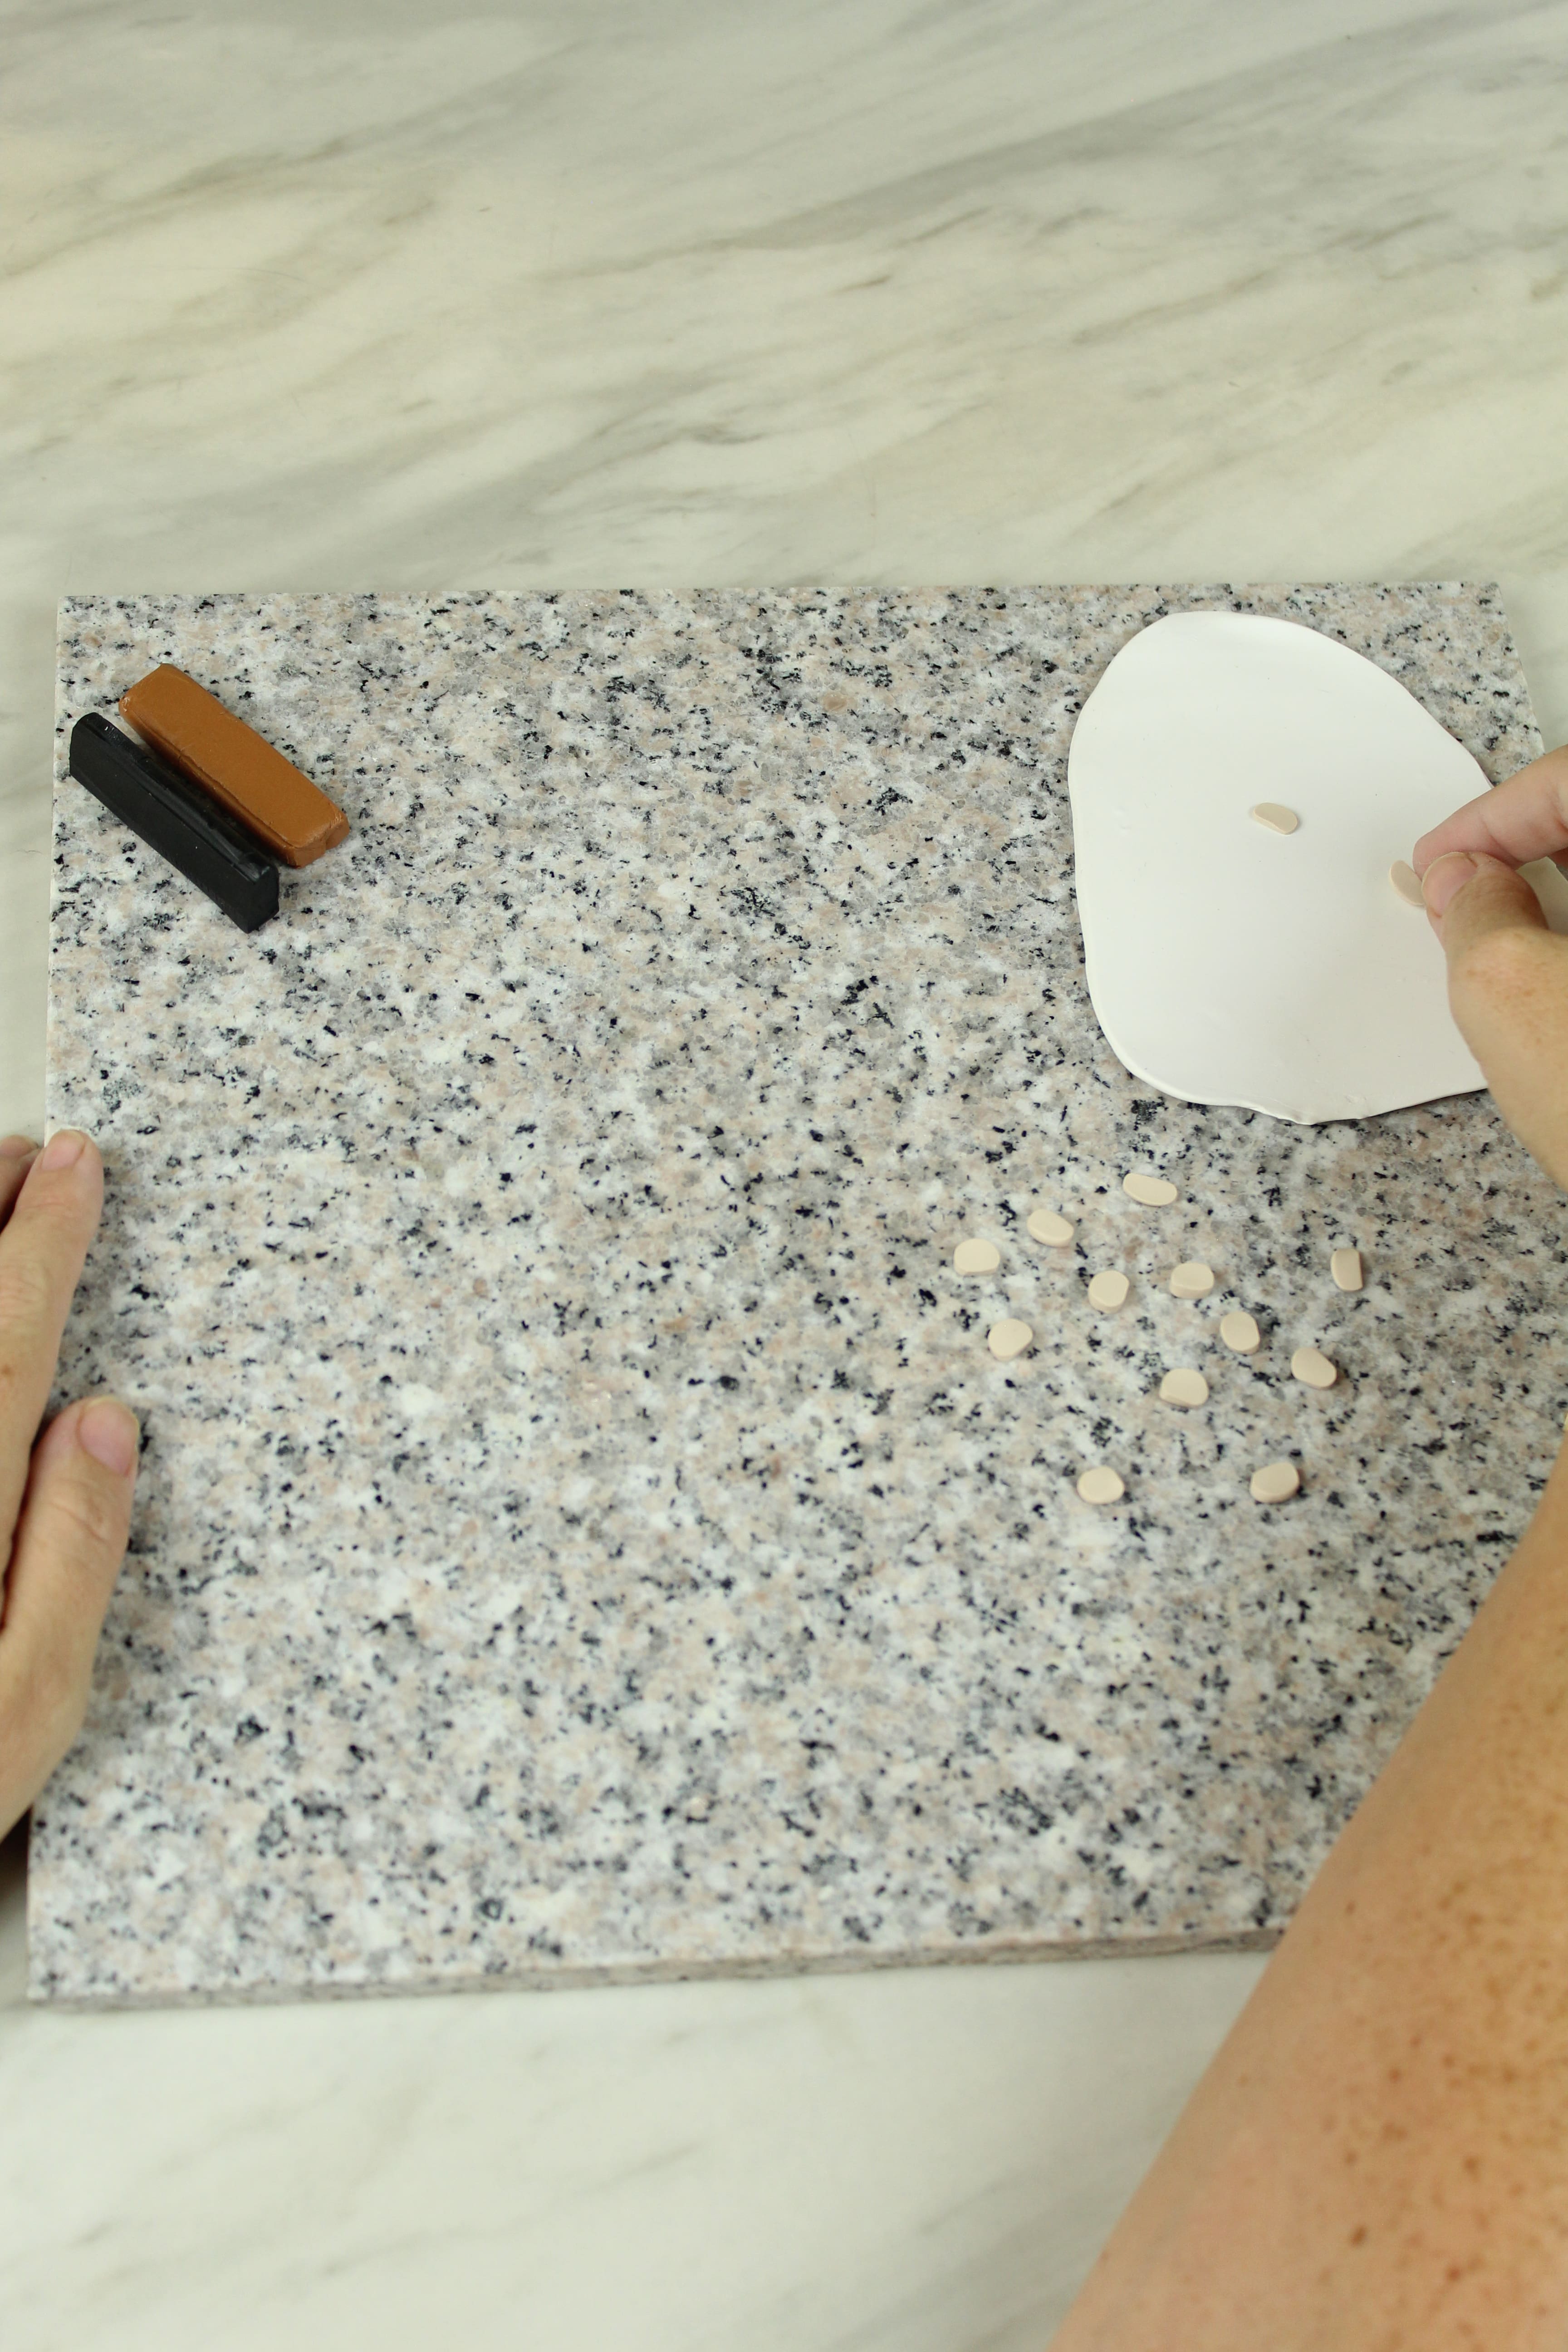
Place your pieces onto your clay slab.
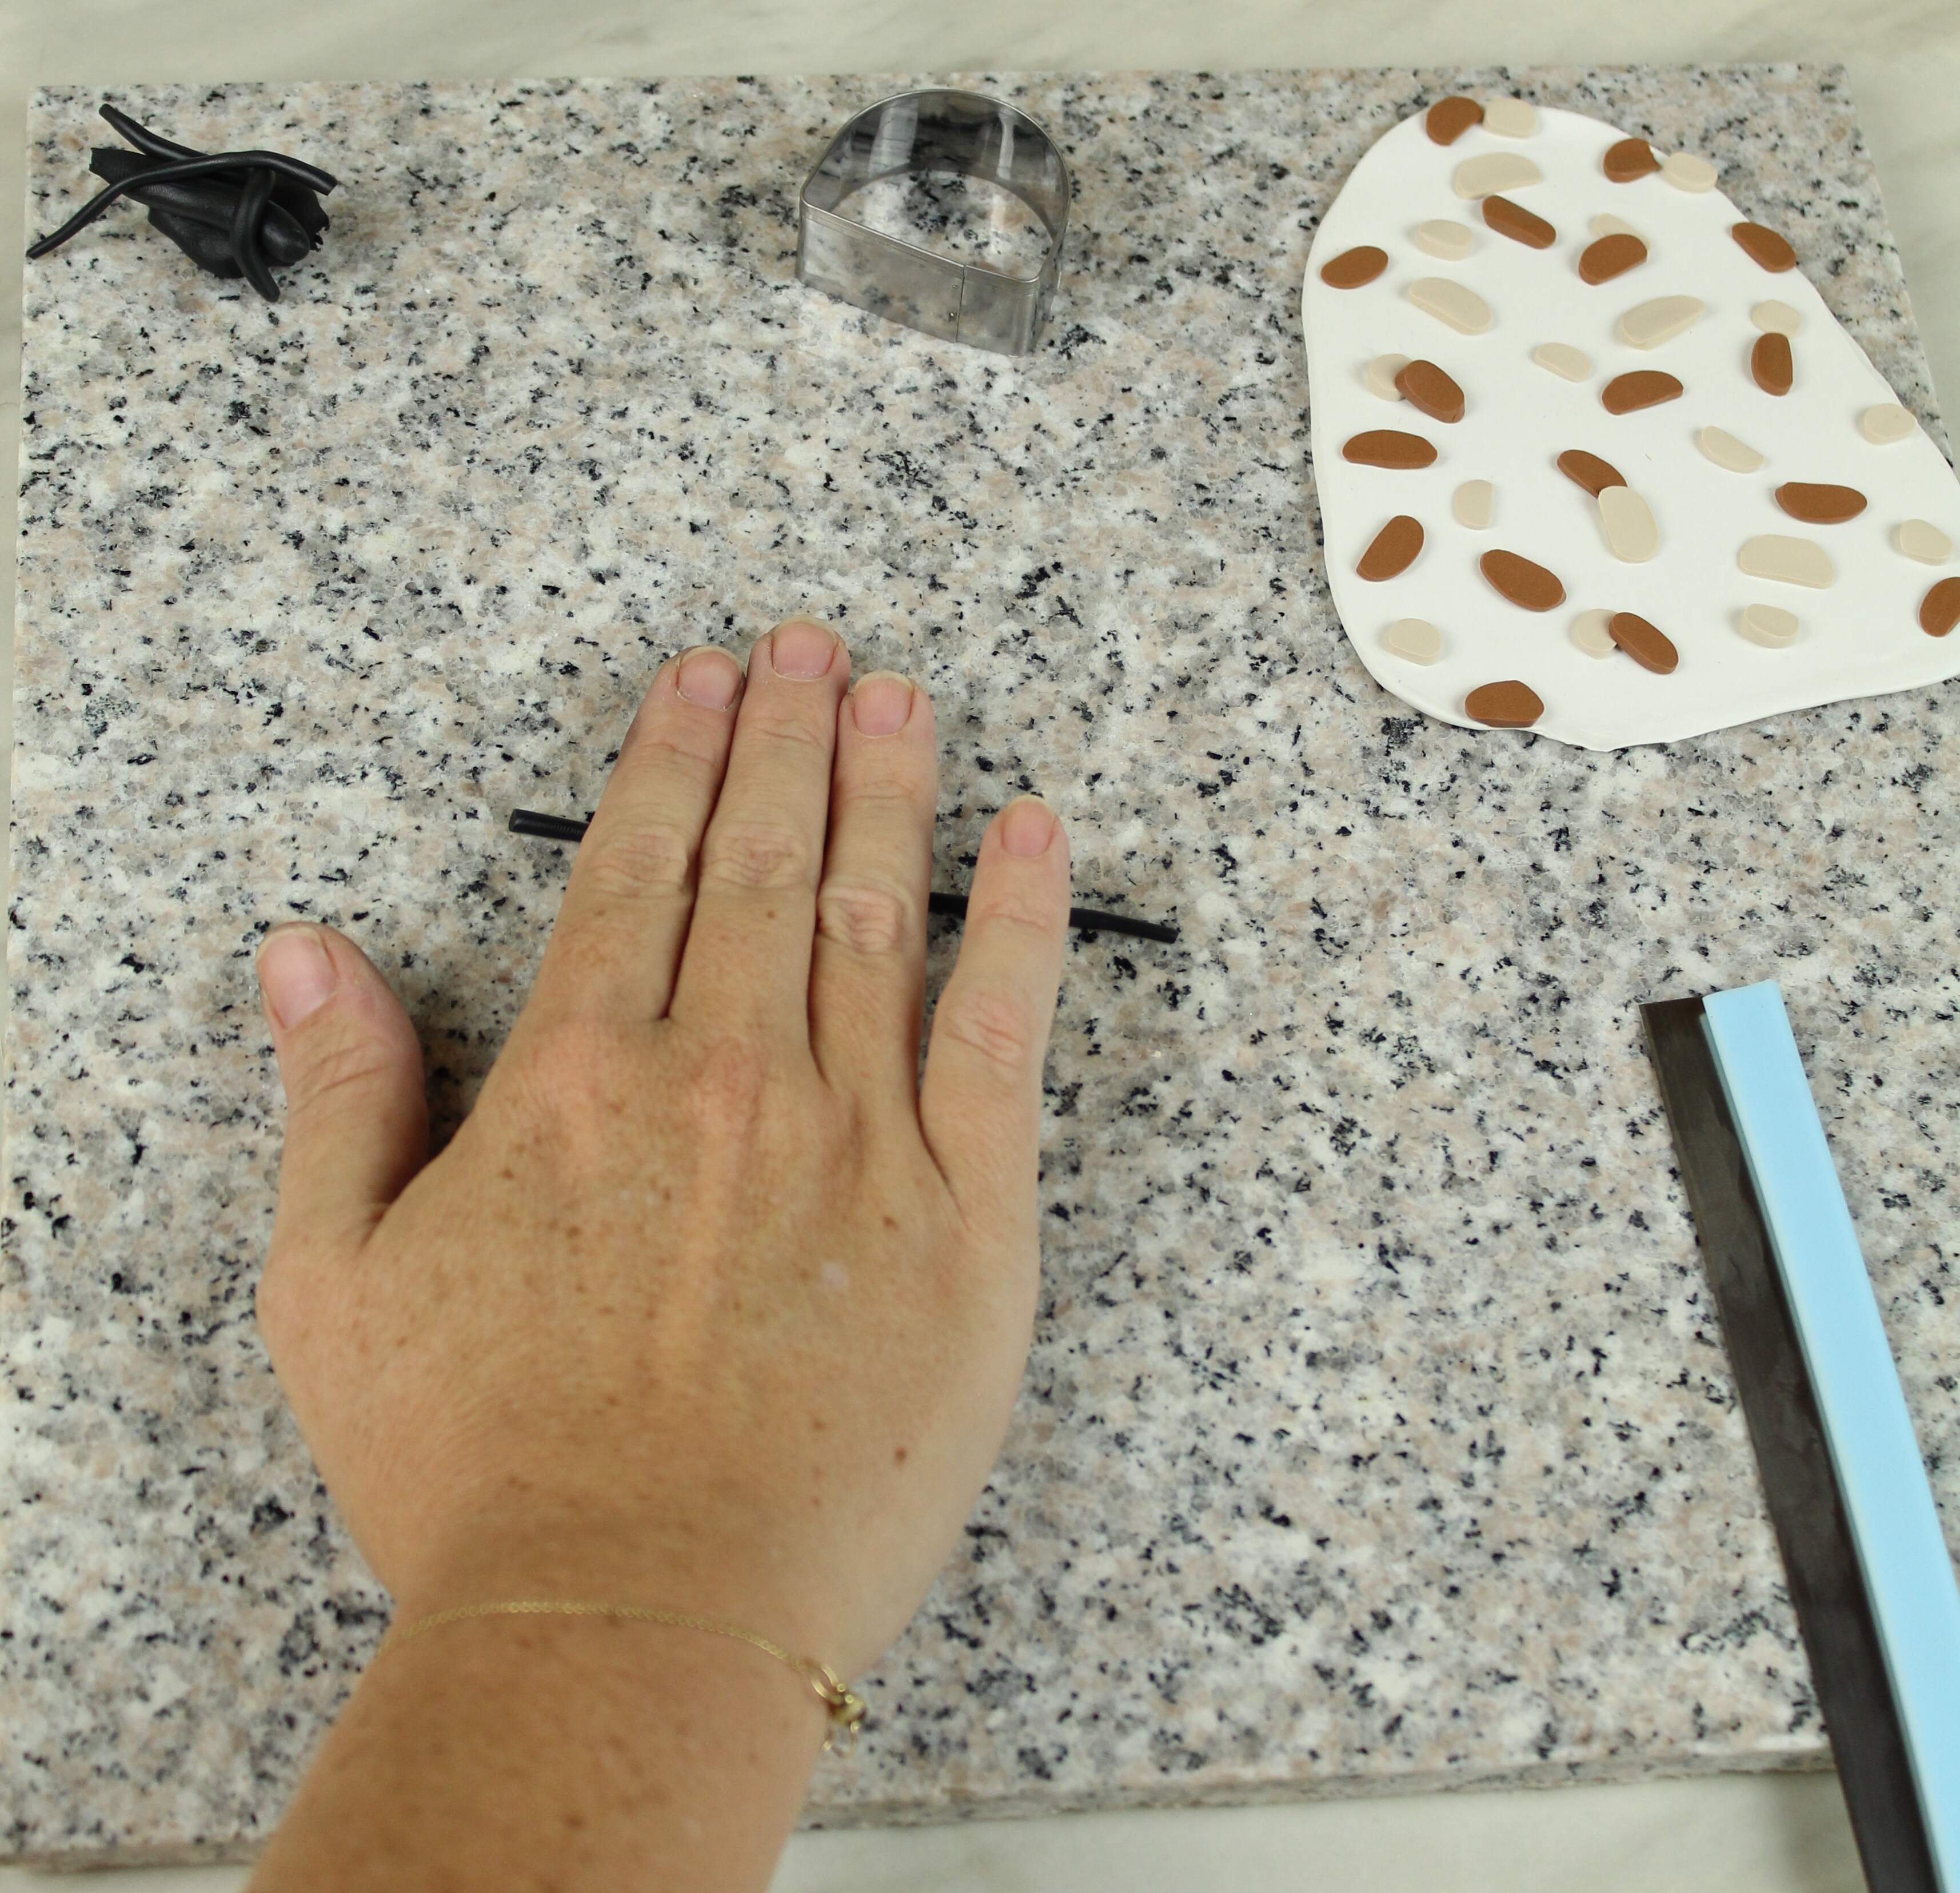
Repeat with your next color (mine was FIMO-caramel)
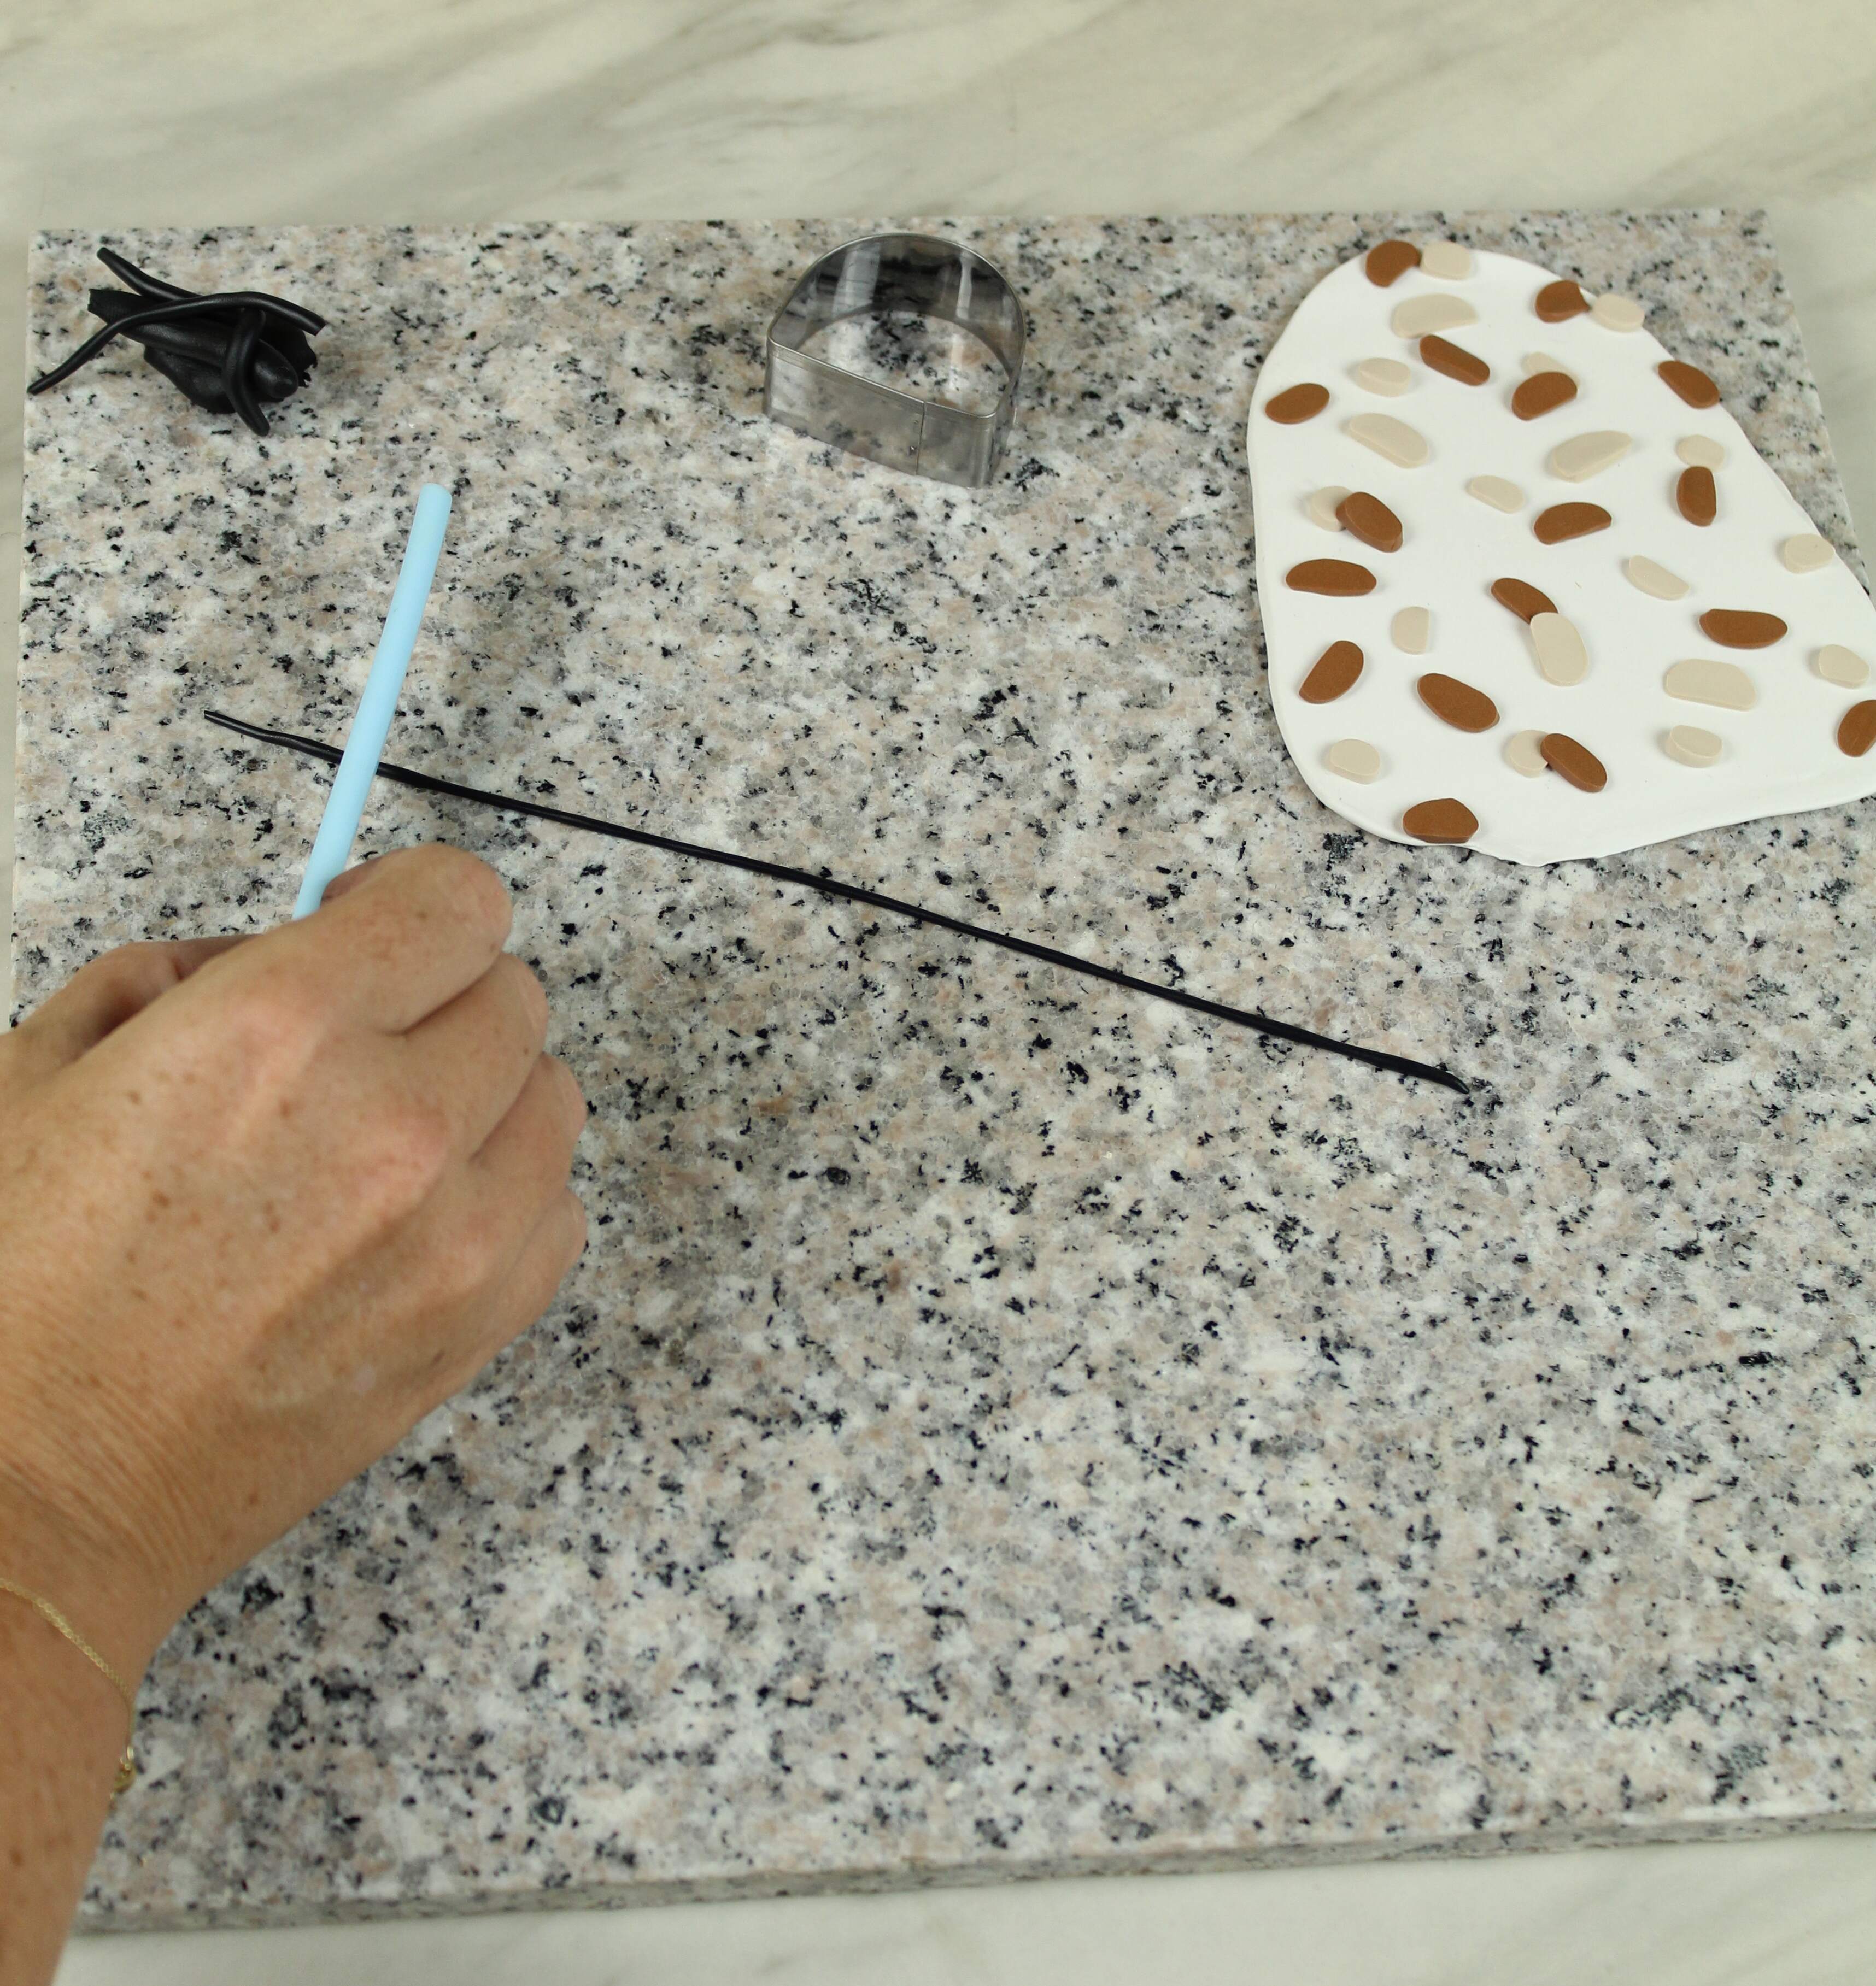
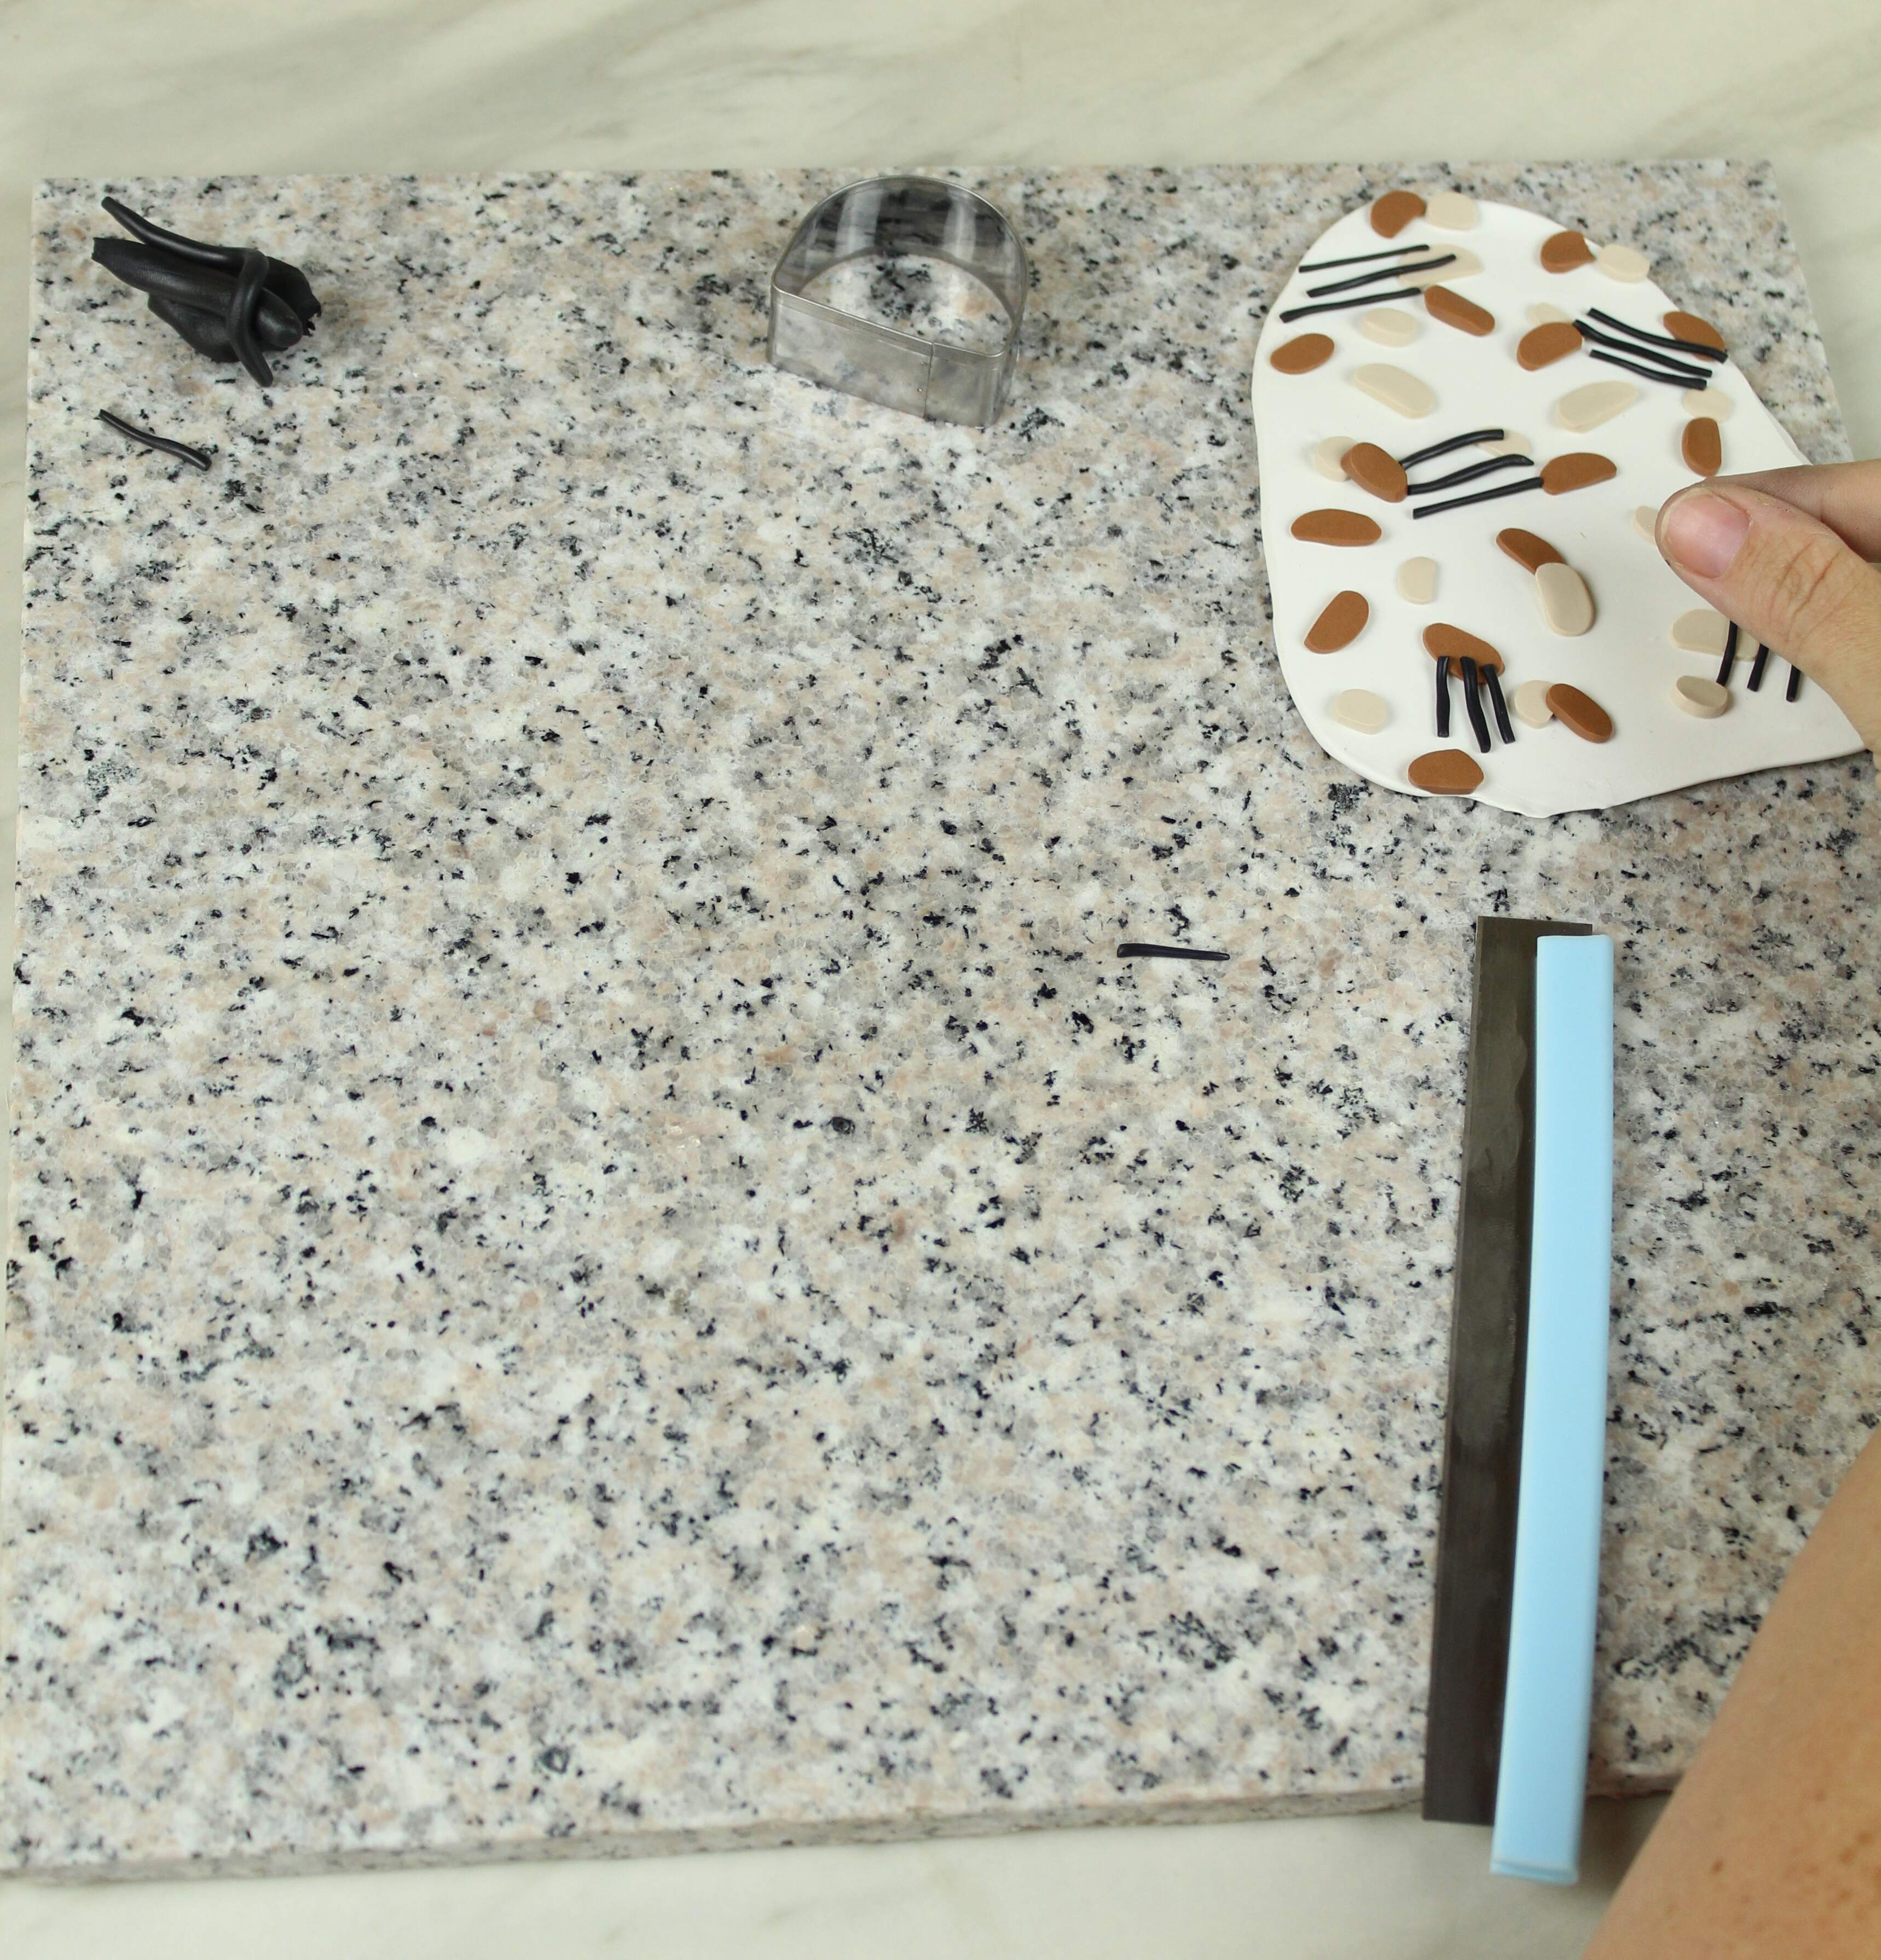
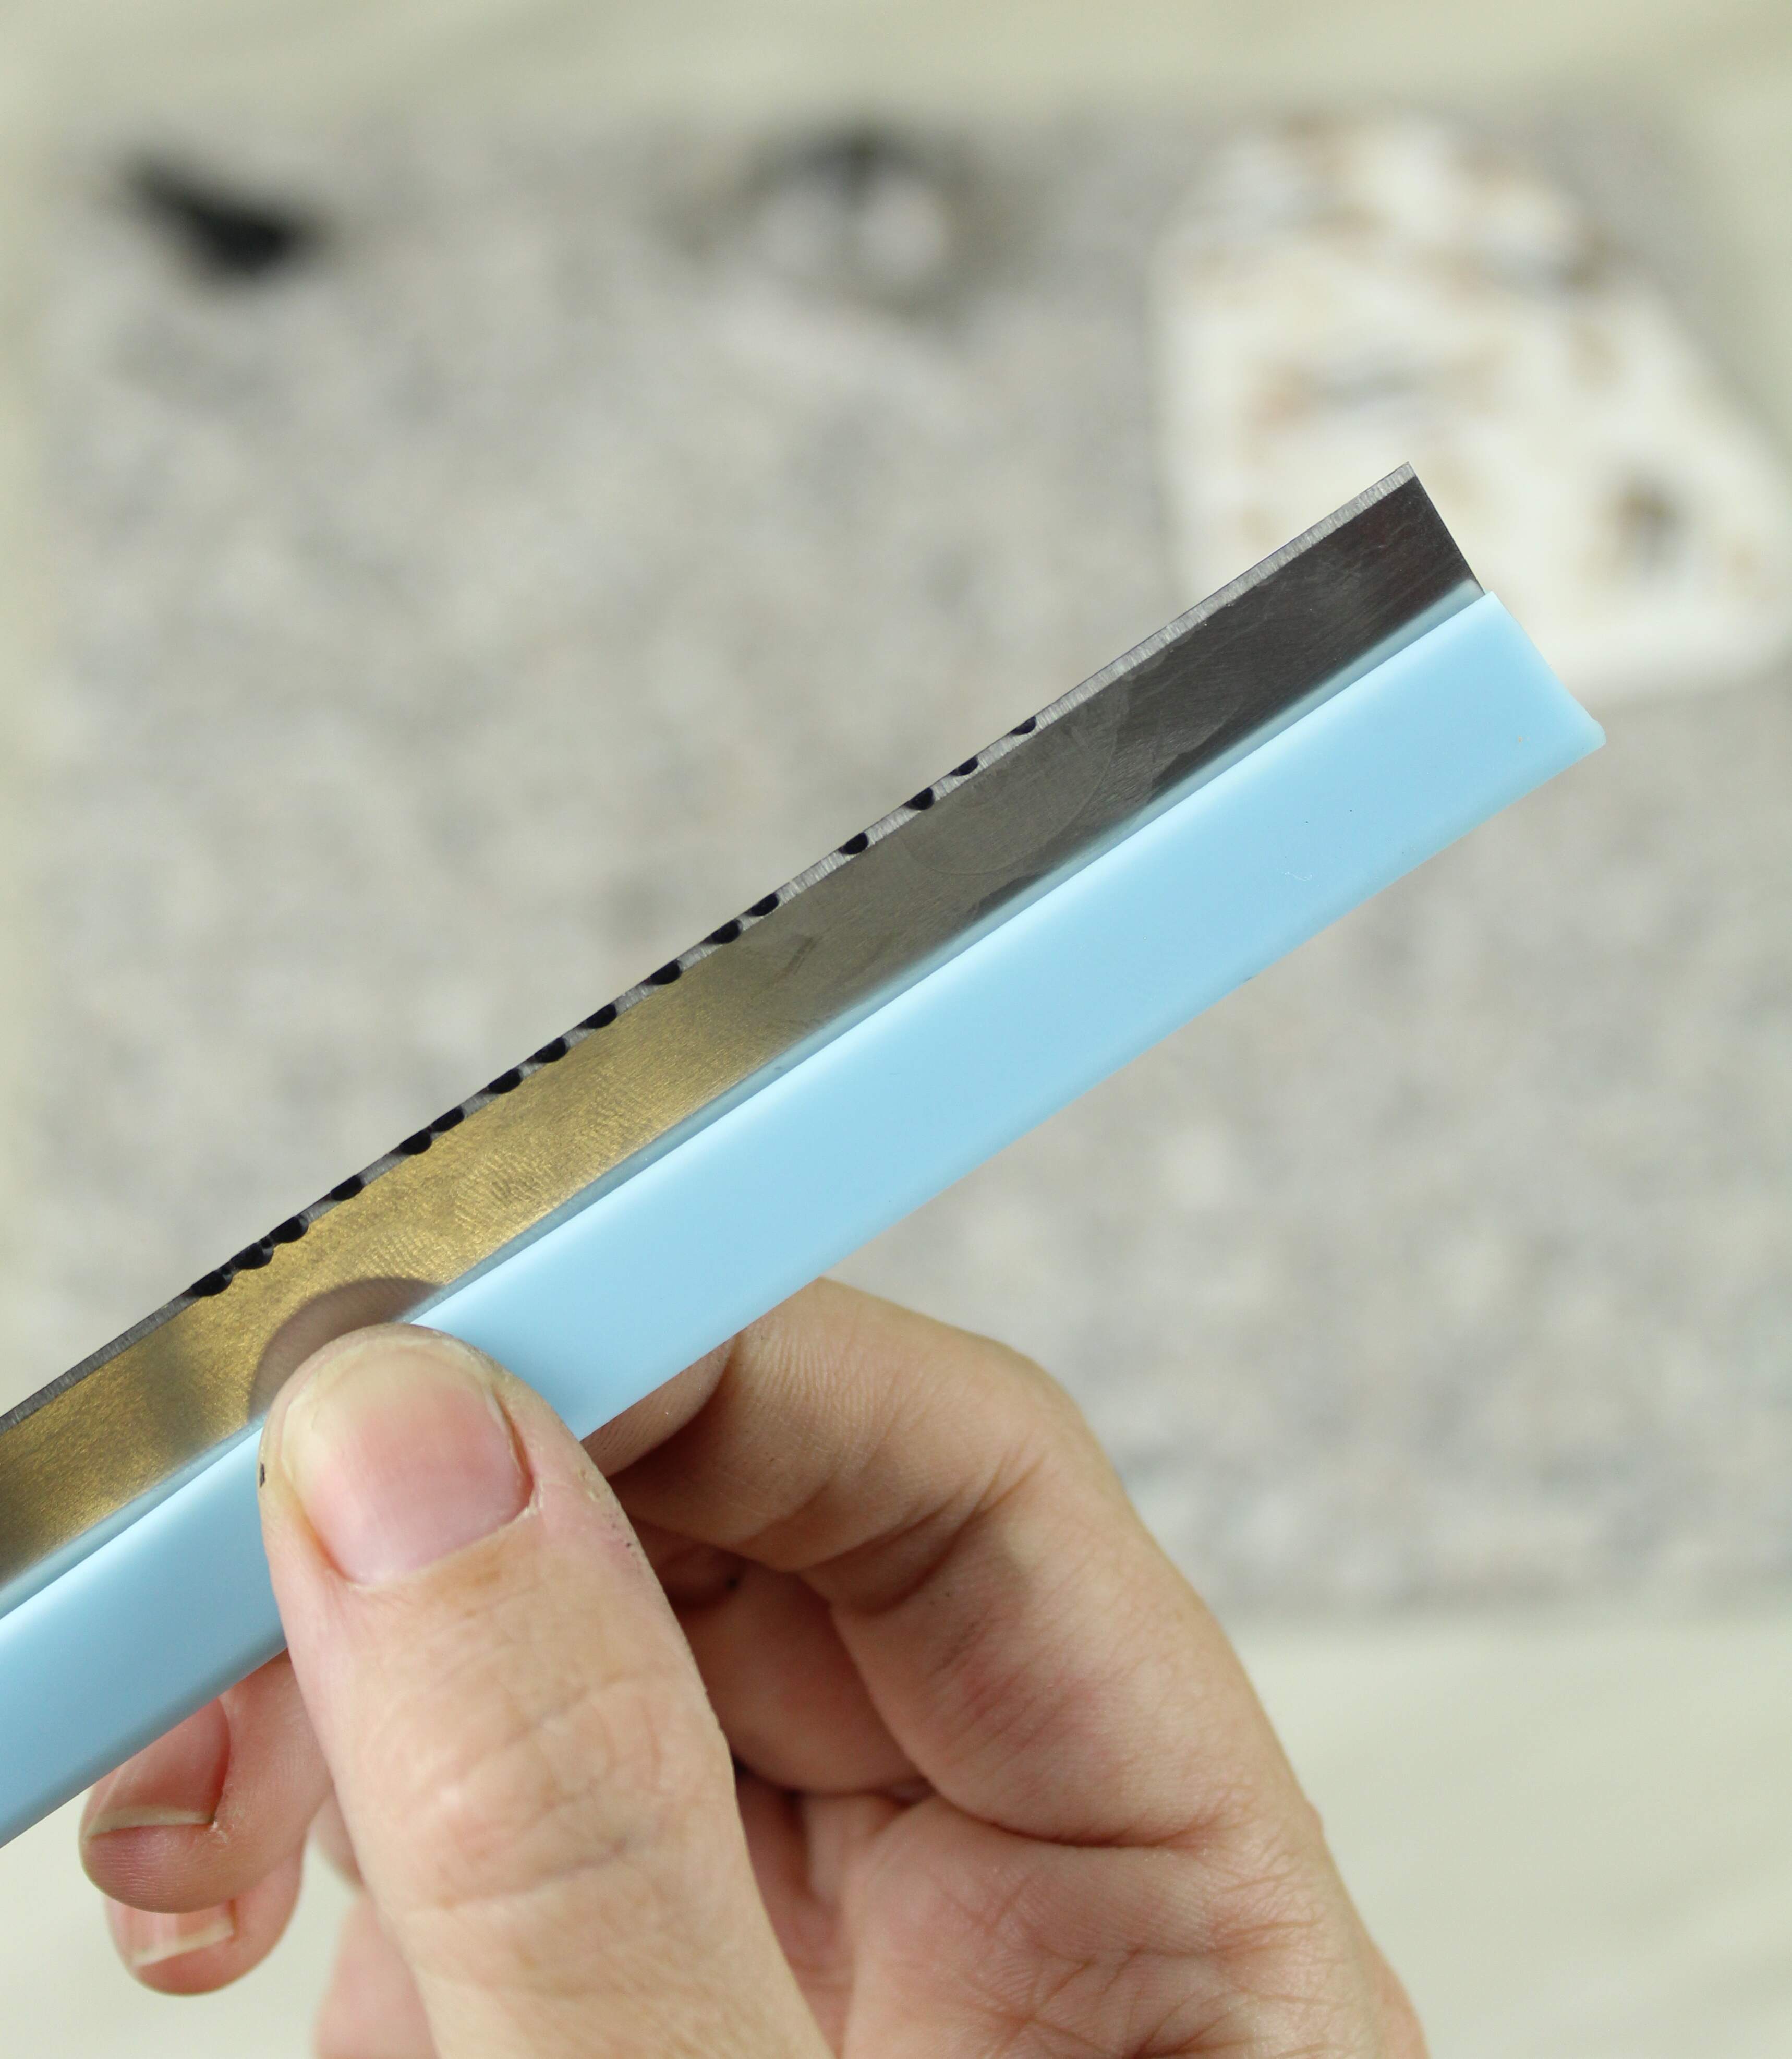
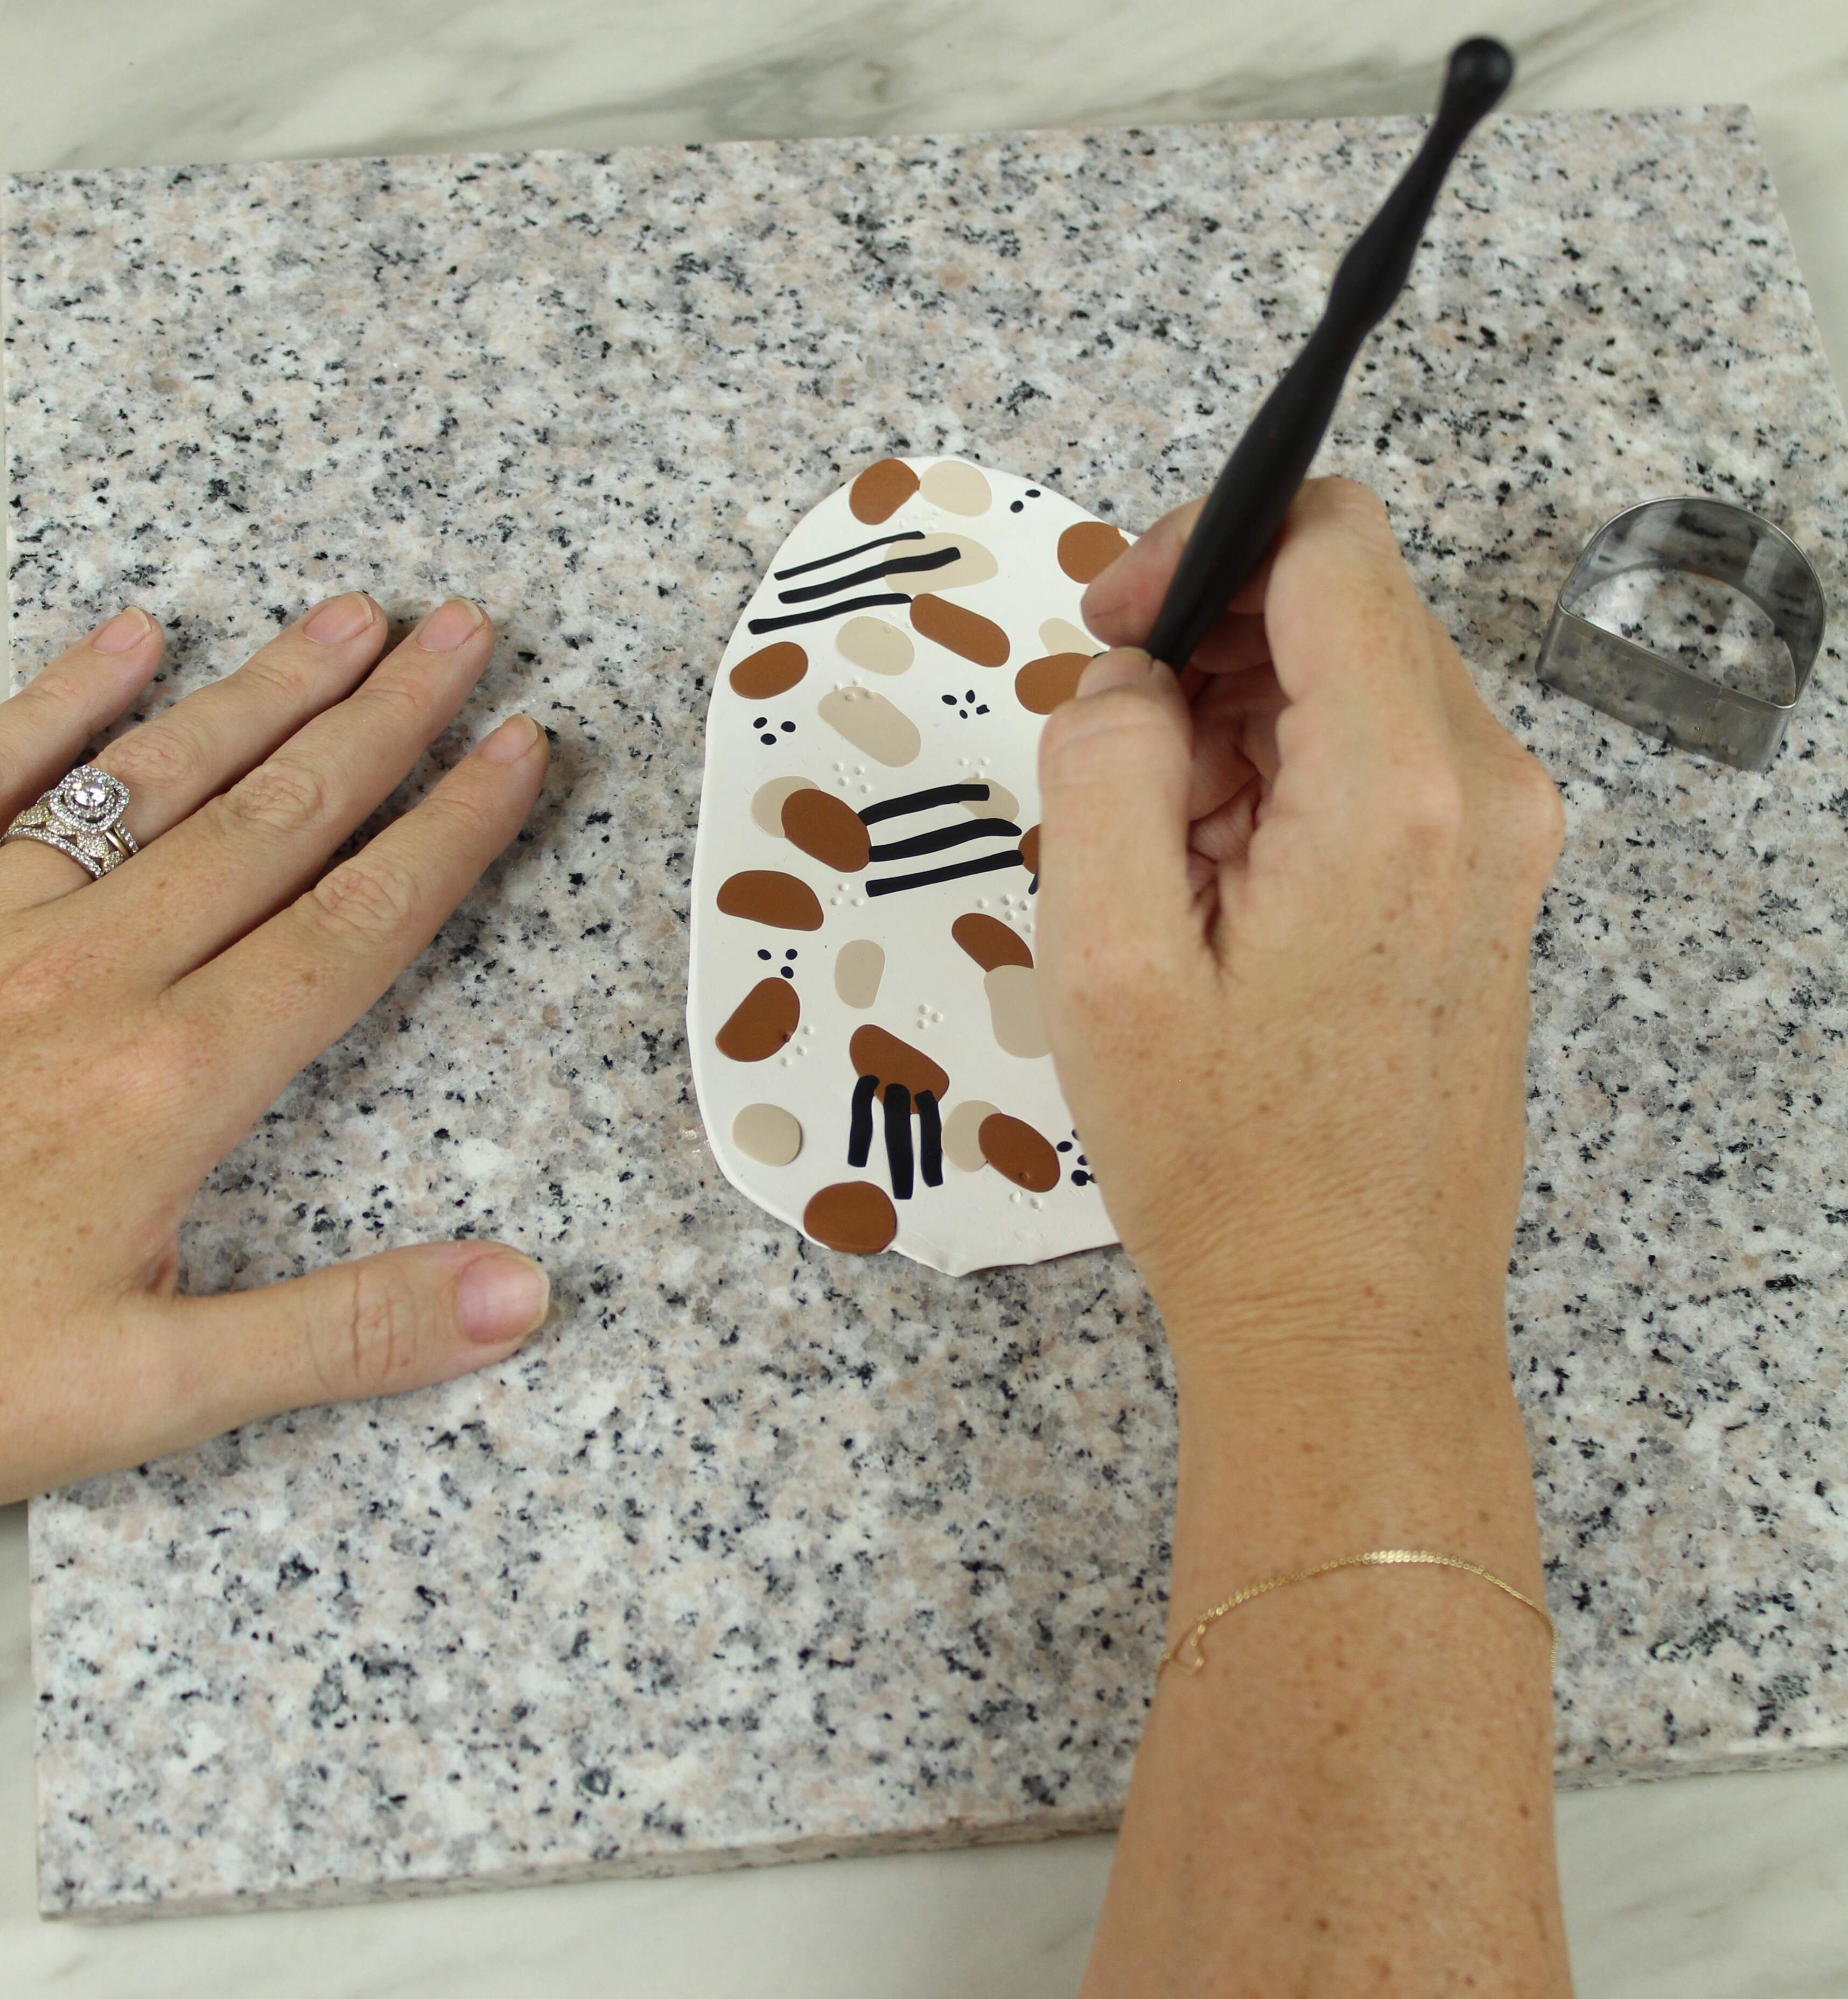
For the next color (FIMO-black) I wanted to do do another technique, lines and small circles. To do this I rolled it super super thin as you can see and cut longer segments that I then placed on the slab to look like lines.
Then I cut super small pieces to be the small dots and placed them where I wanted on the slab.
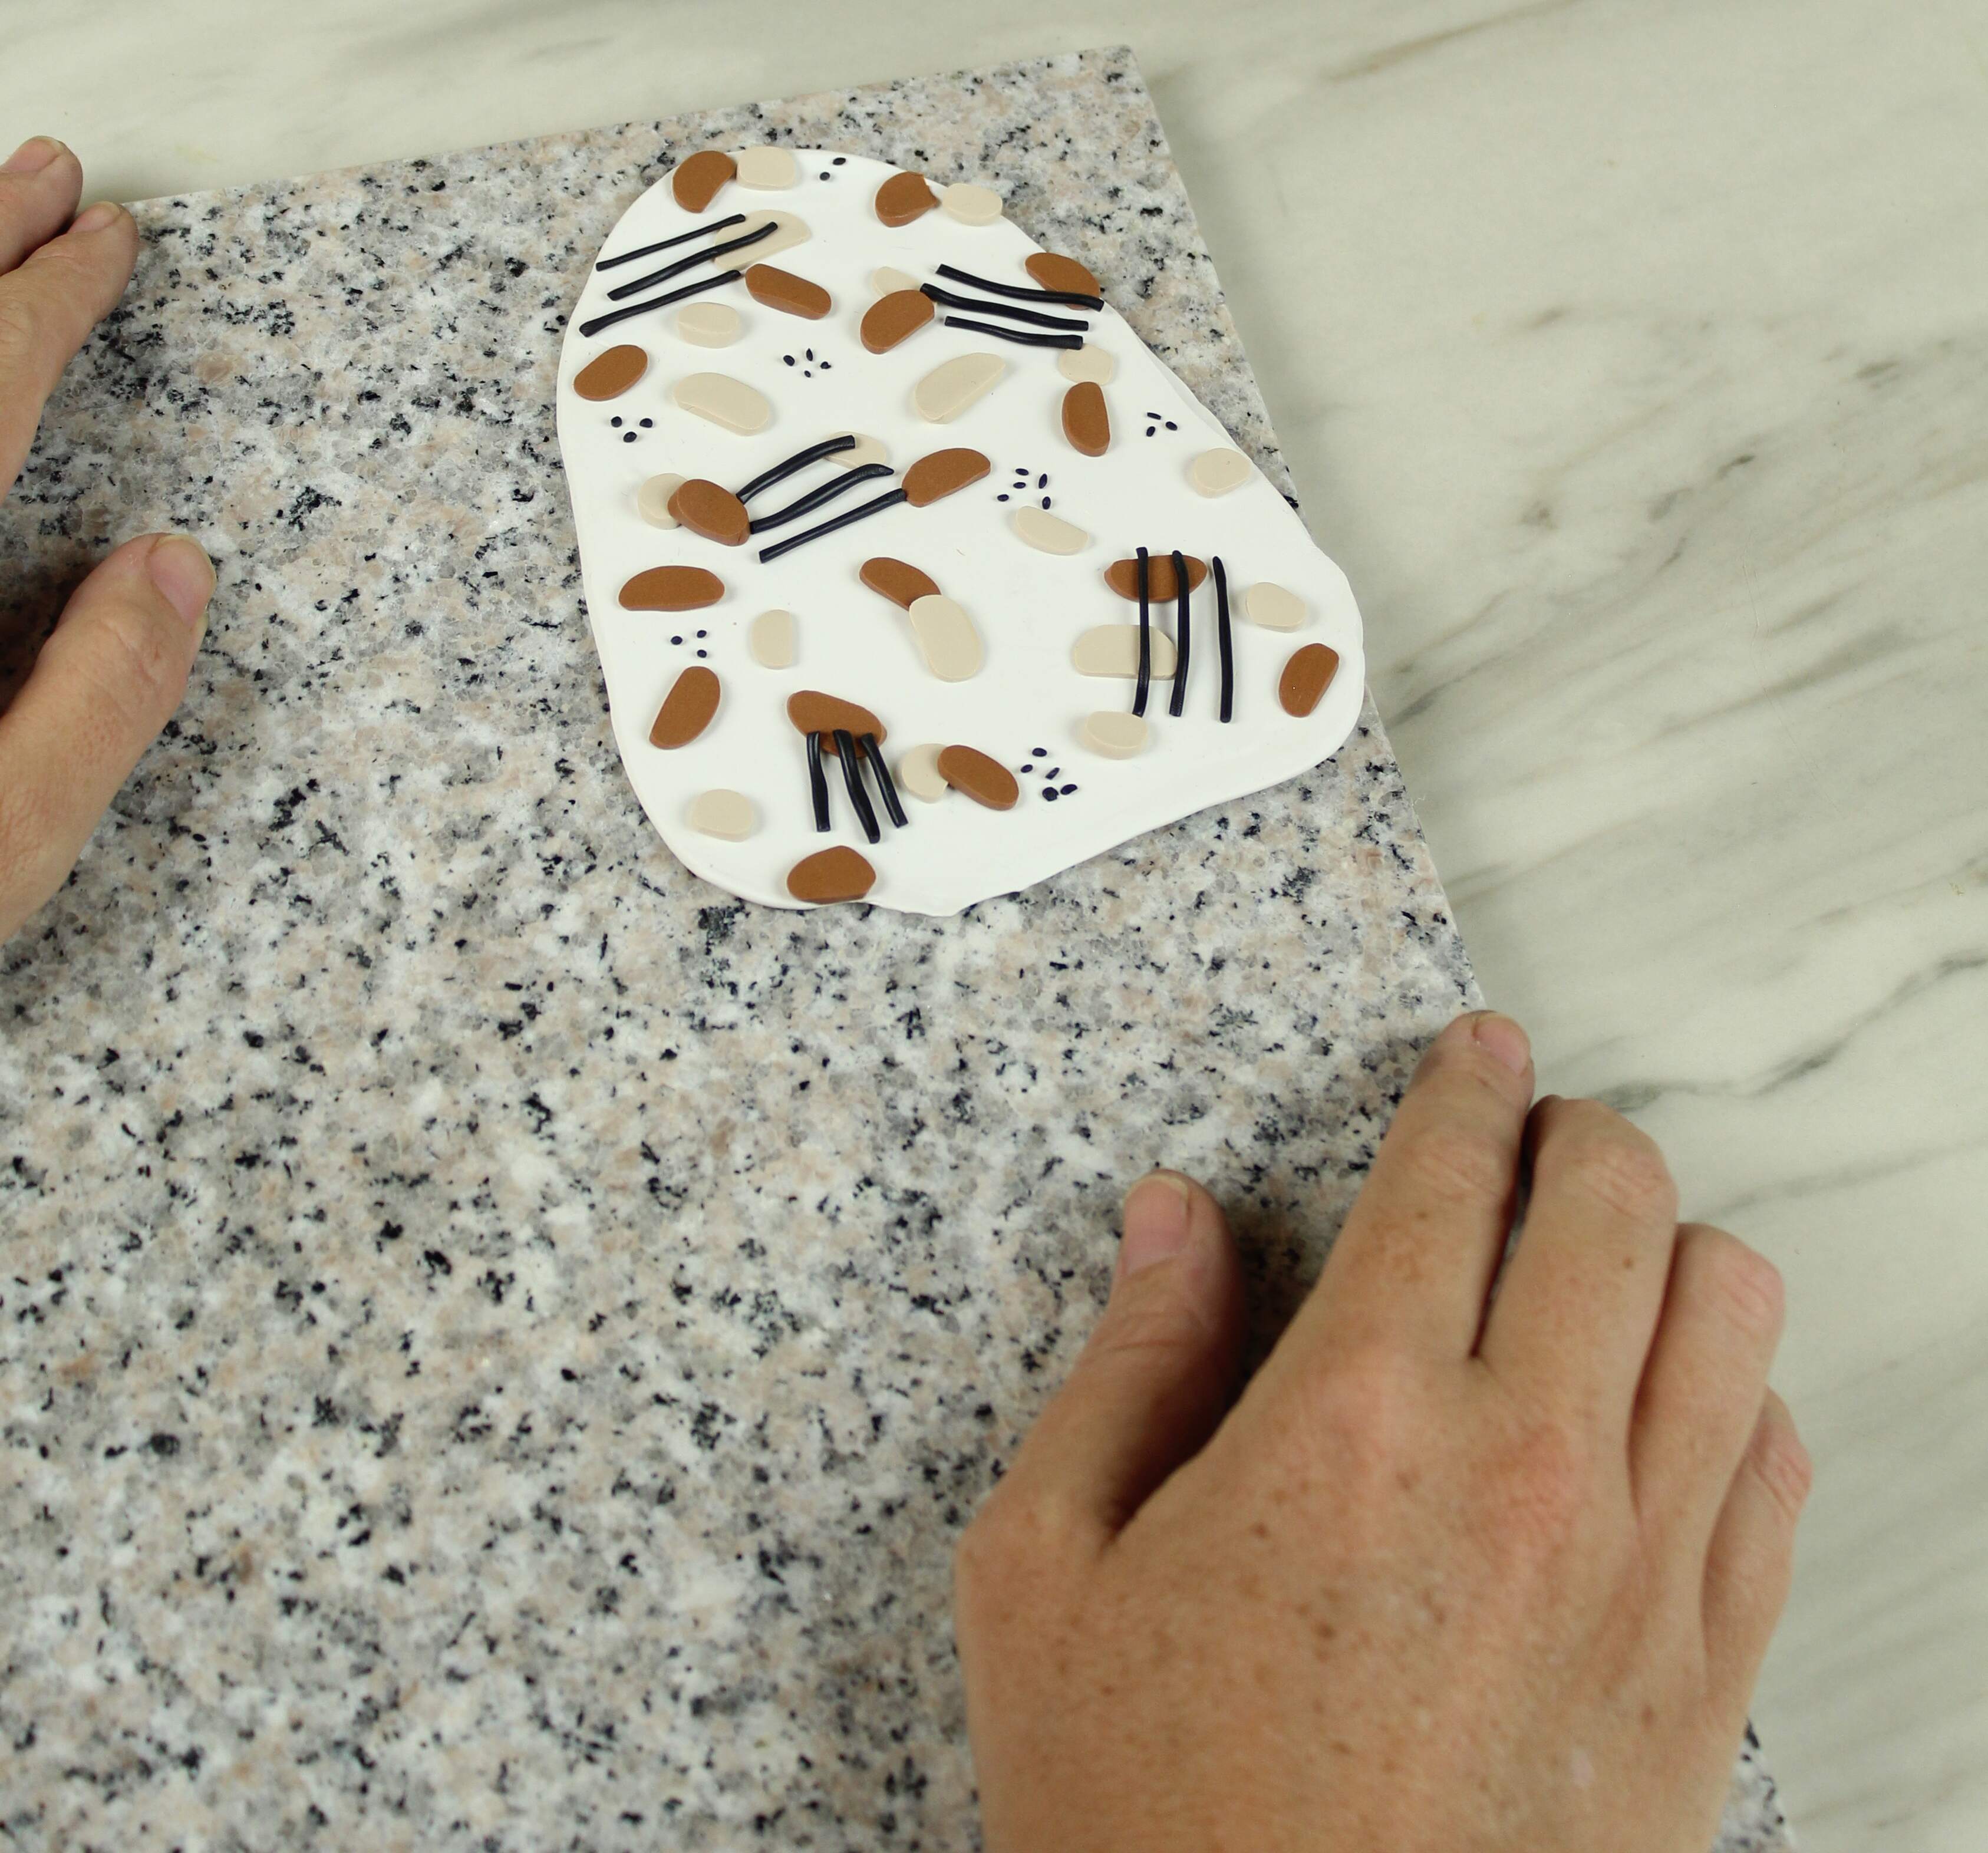
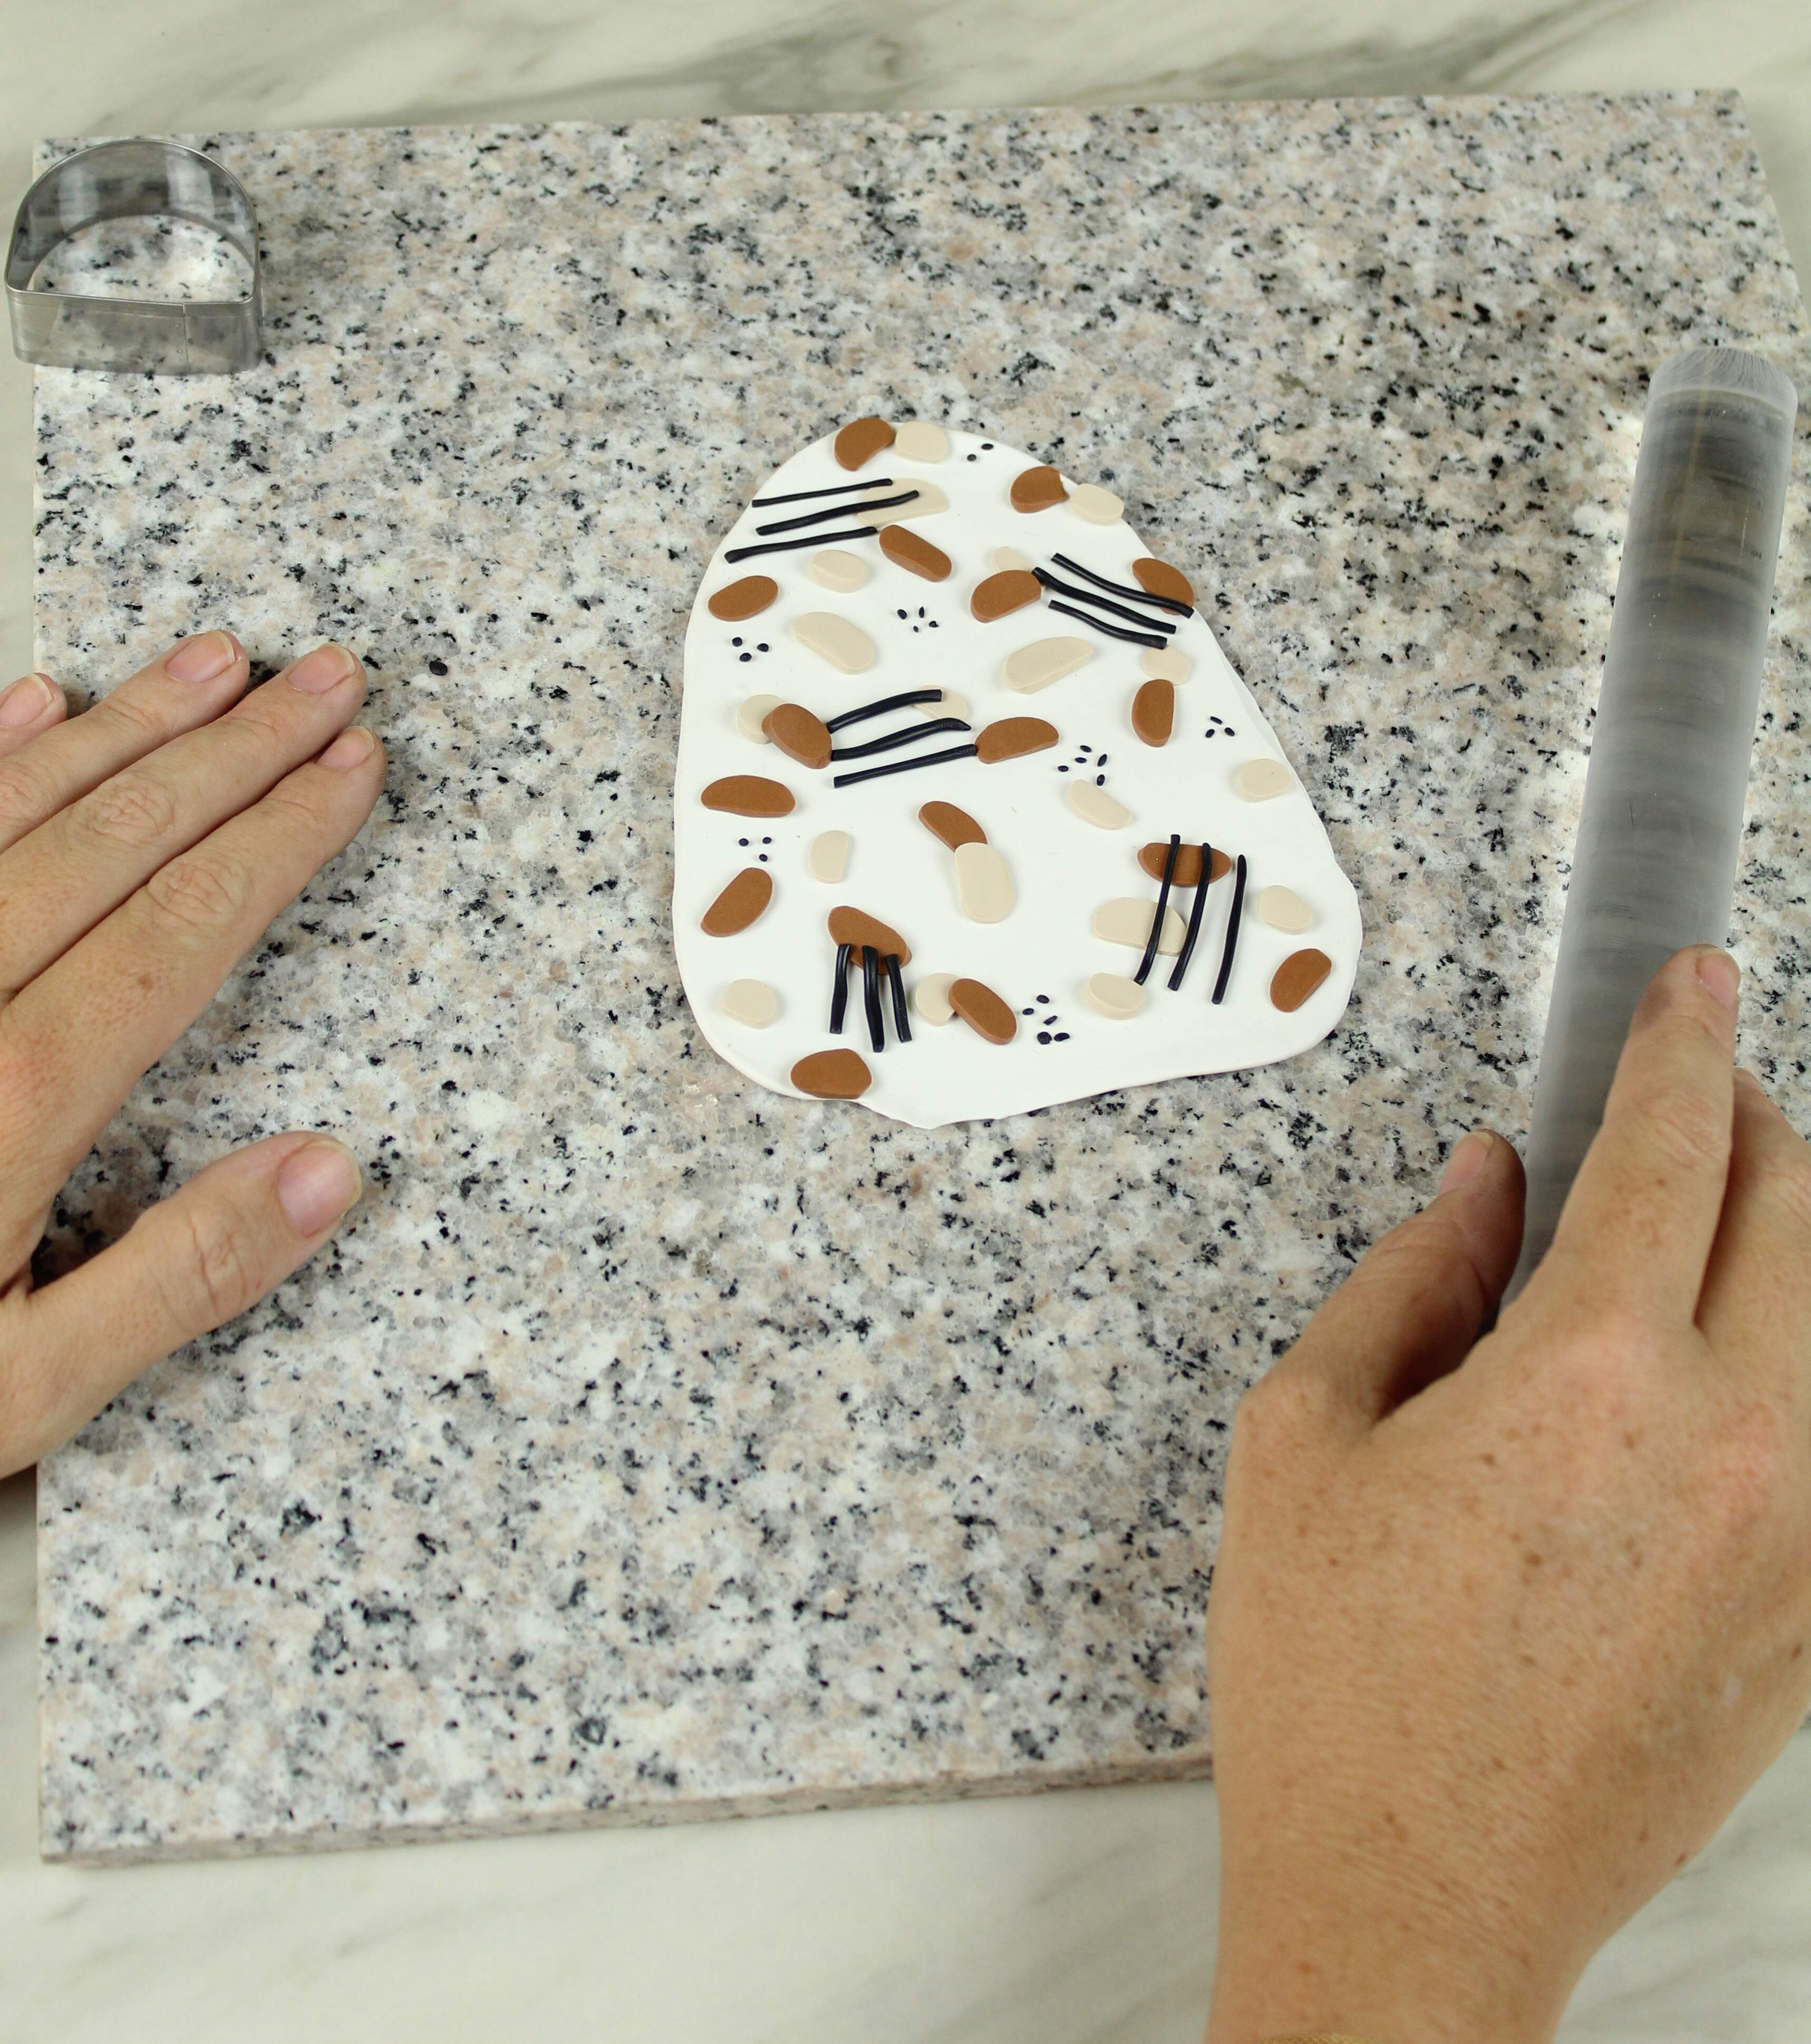
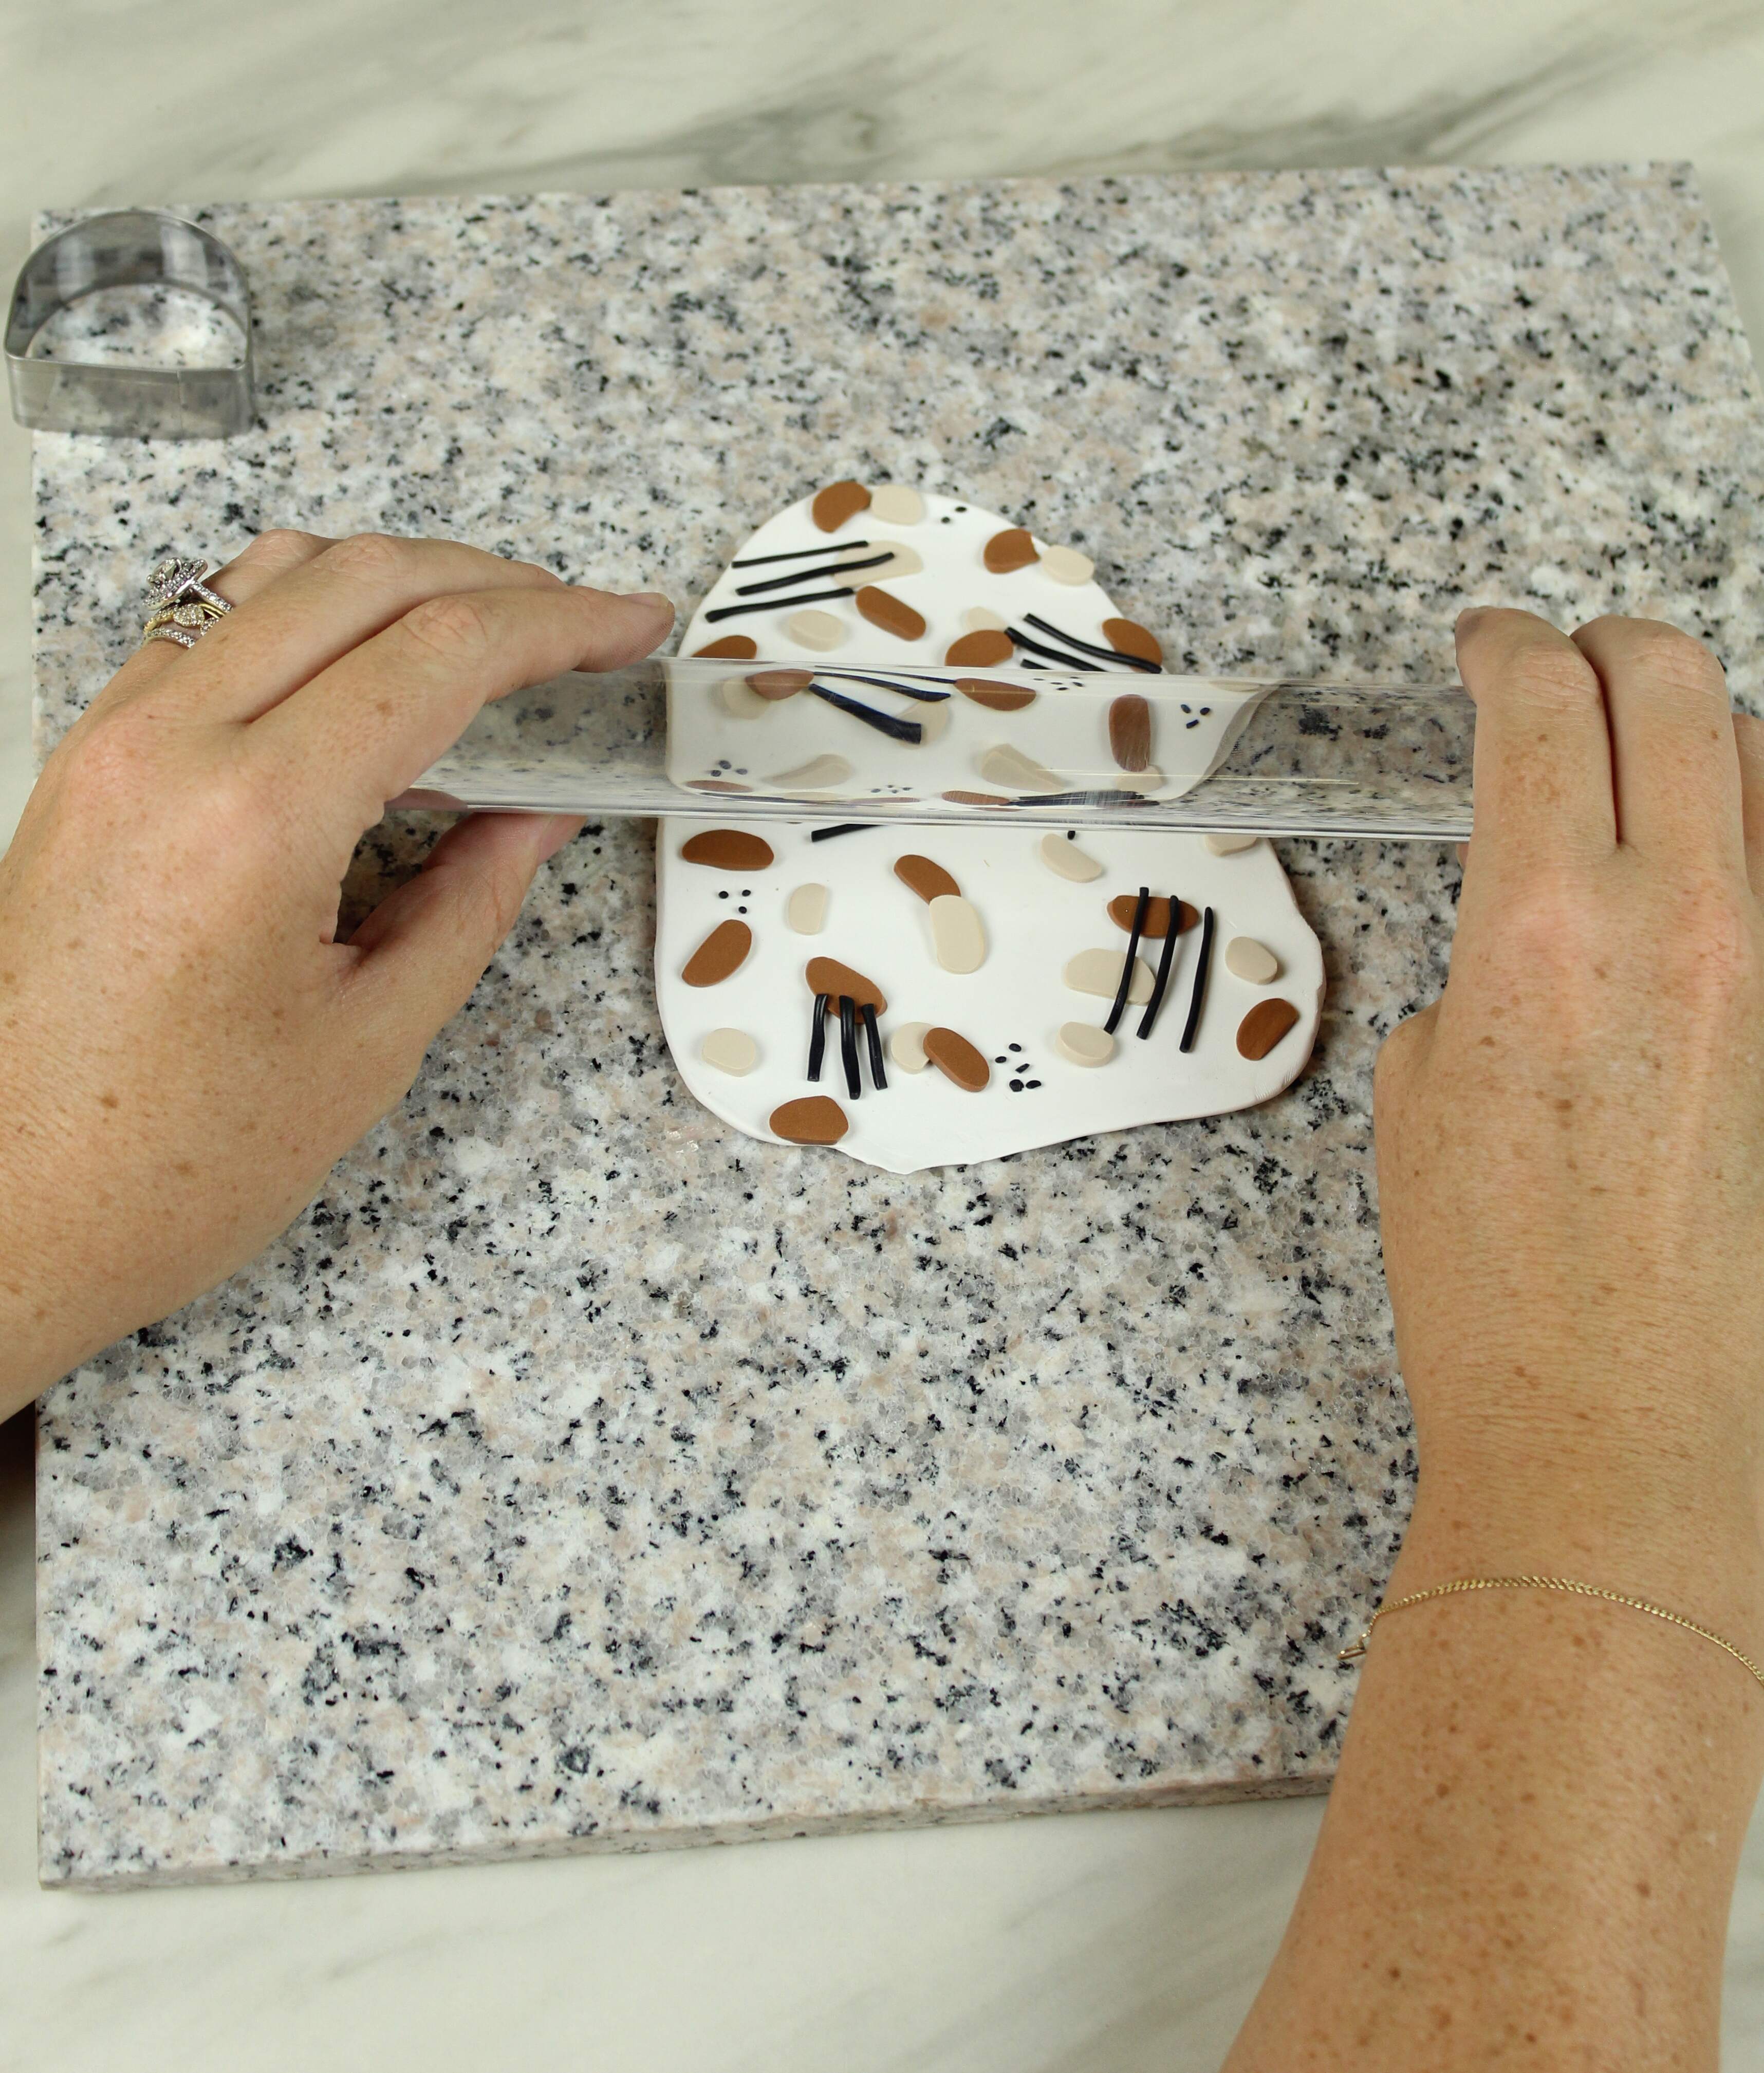
Then it’s time to roll it all out to make it all flush. Take your time with this and do small sections at at time.
Then to add a little more visual interest I used a poker tool to add some indented clusters.
Cut Out Your Shapes
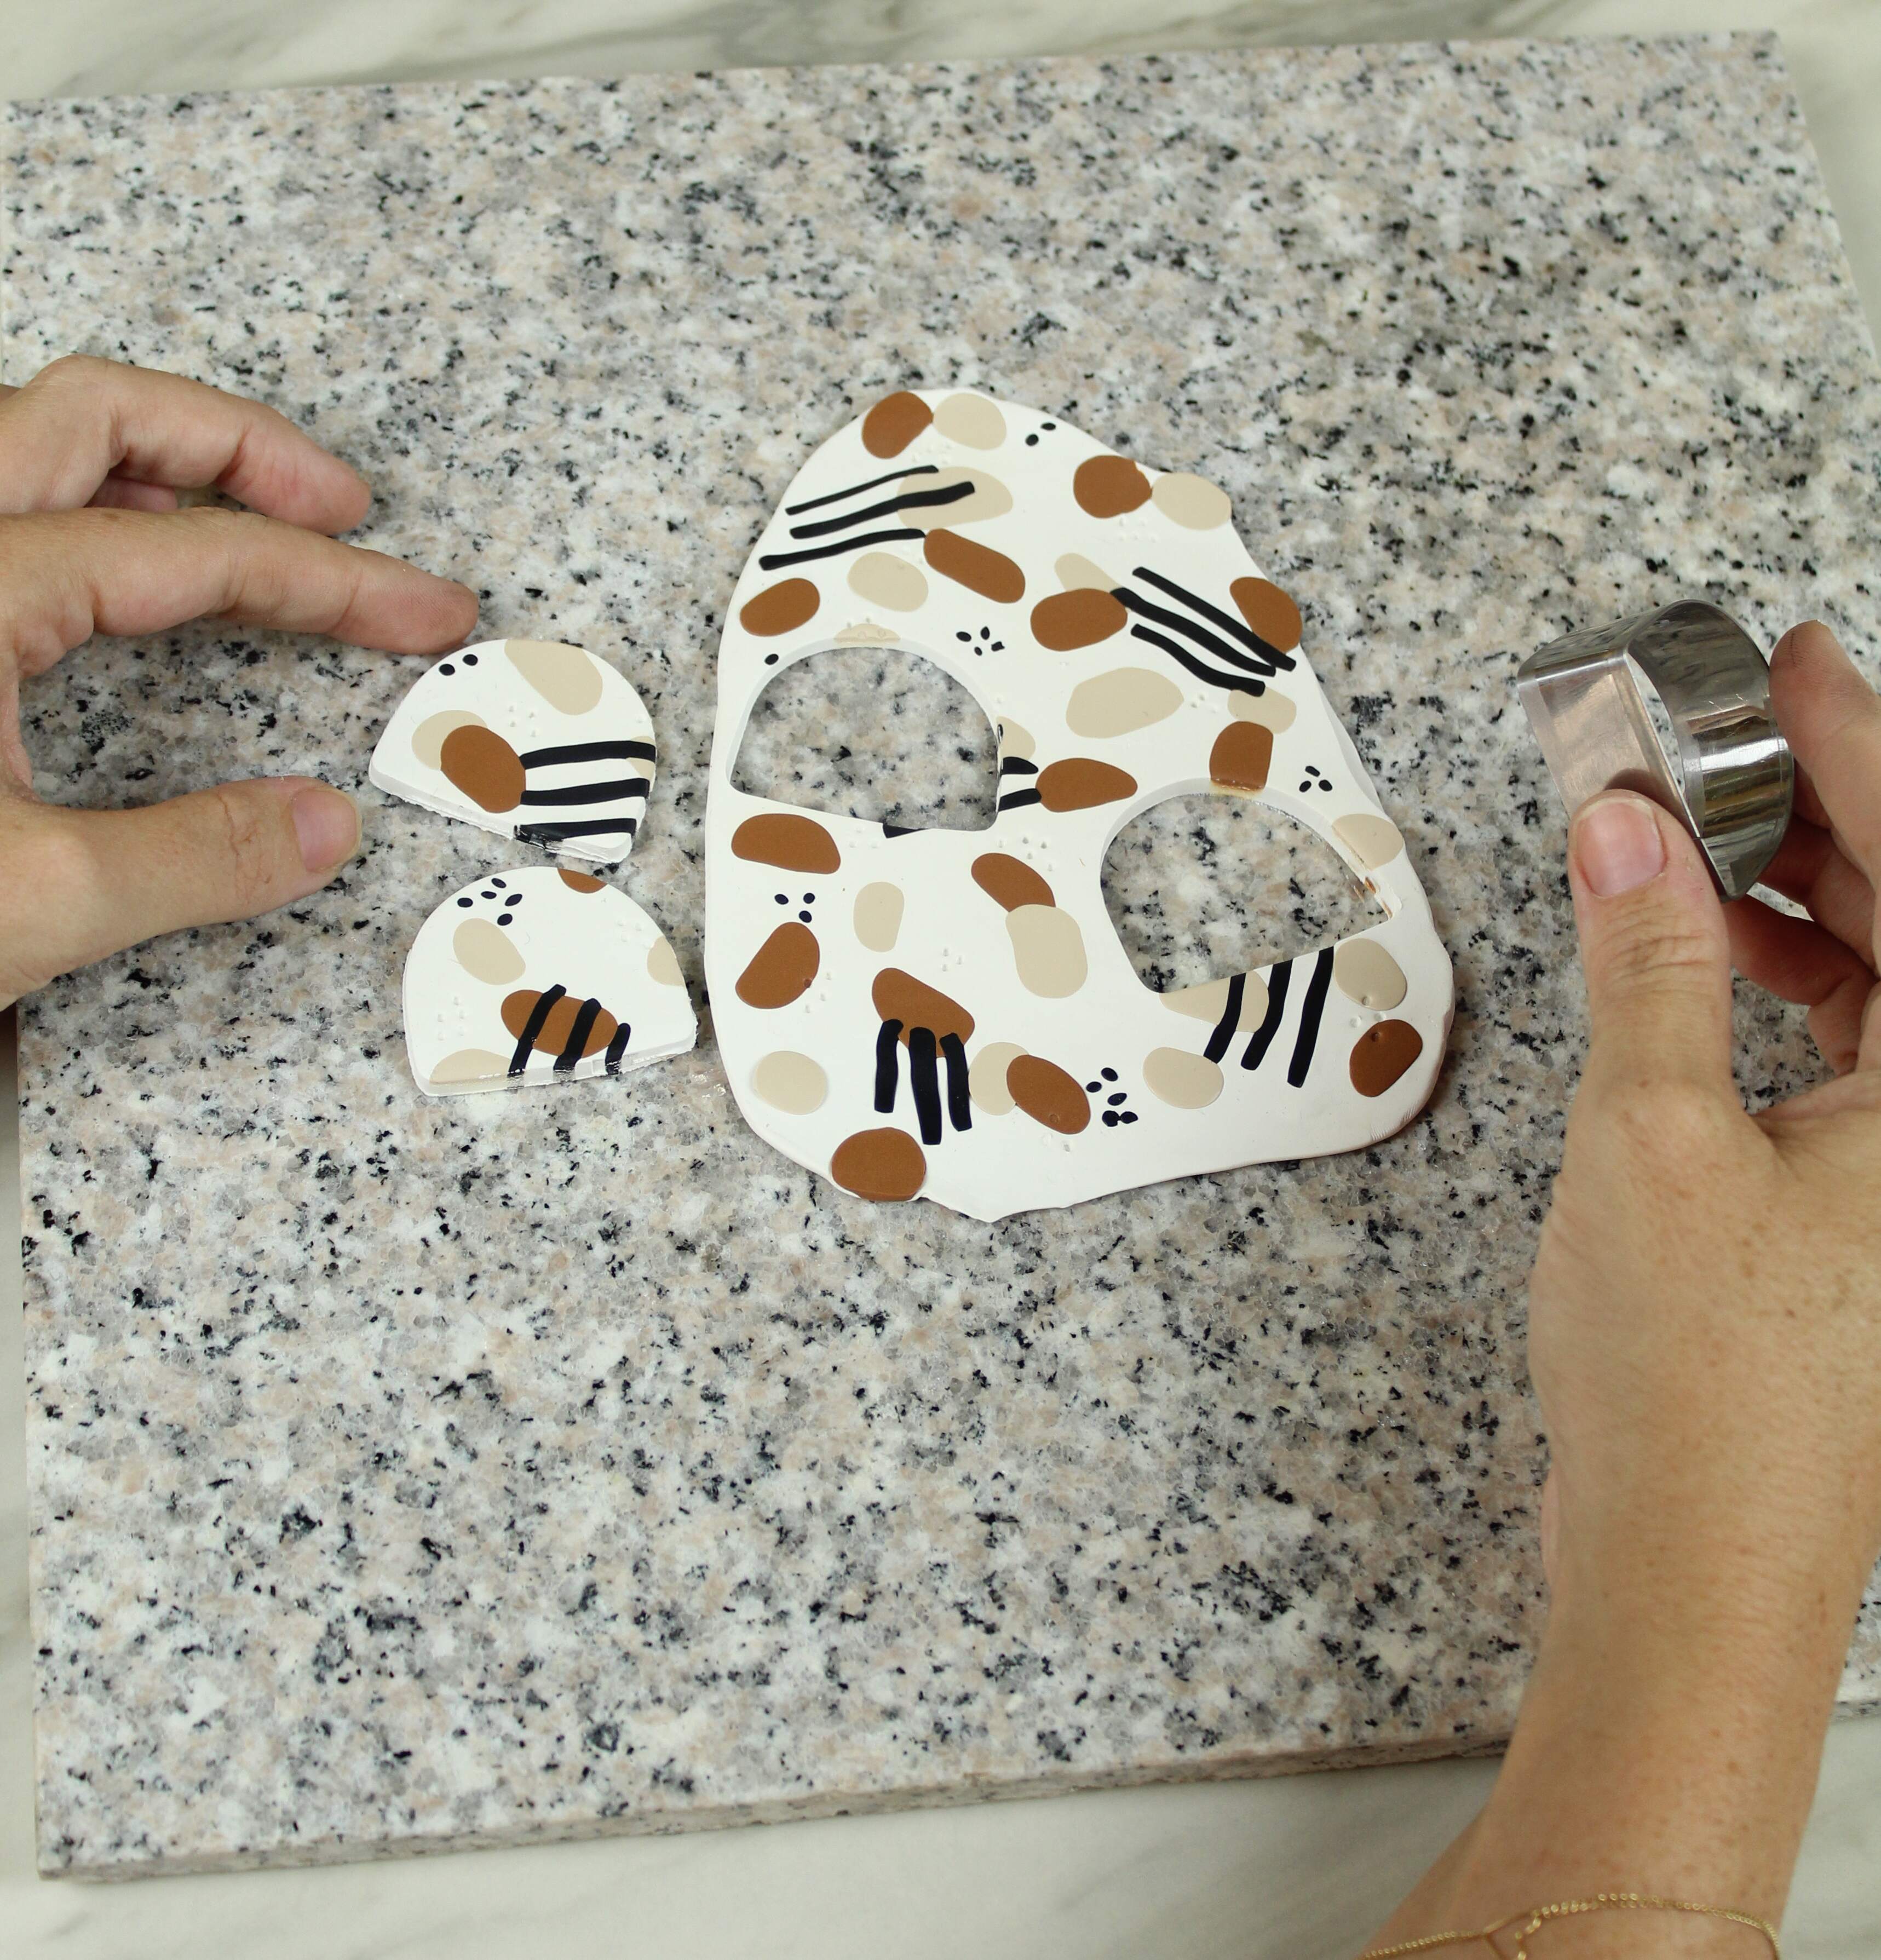
Now time for the hard part, deciding which part of the slab you want to use! Our friend Sarah over at Sarah Hearts along with Rachel over at The Crafted Life just came out with this super fun collection with FIMO and I couldn’t wait to get my hands on it. It’s part of what motivated me to attempt this project to be honest. Anyways, I used the semicircle jewelry cutters from the collection for this part and I love the modern look of it! Move your cutter around until you’re happy with the pattern that will be on your pull. To be safe, I cut out four pieces, incase I didn’t end up liking one.
Prep Your Screws
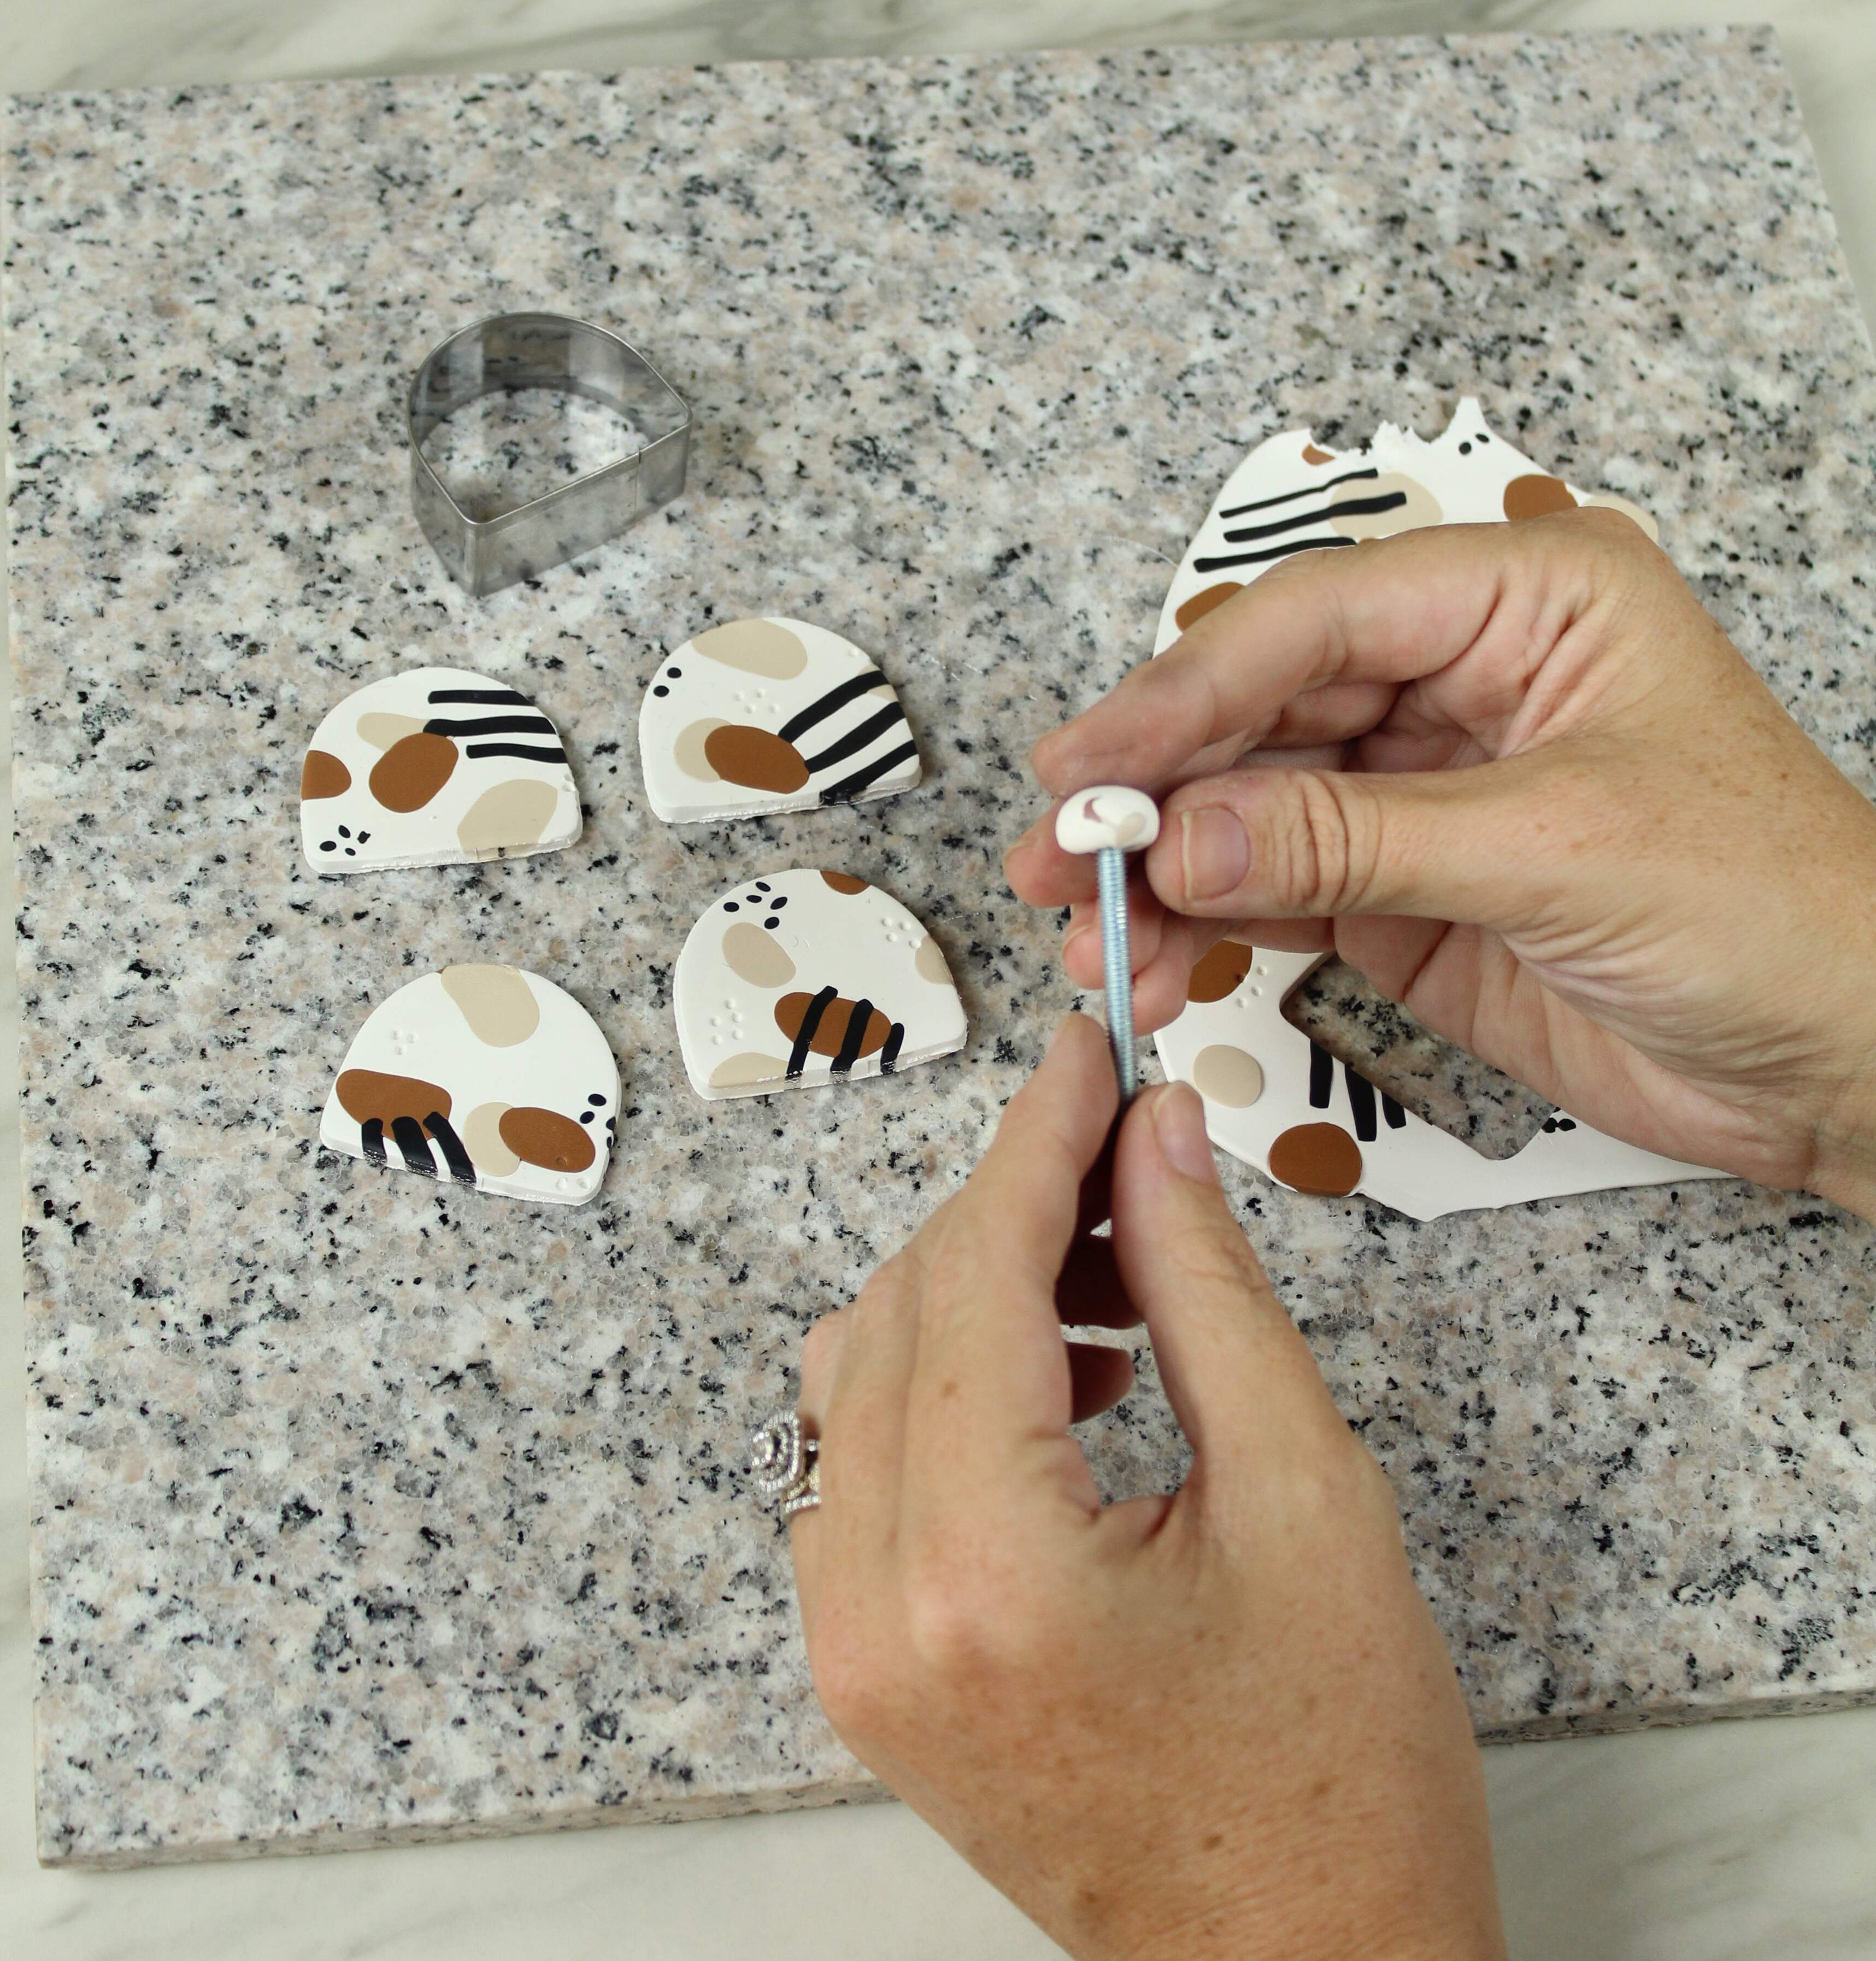
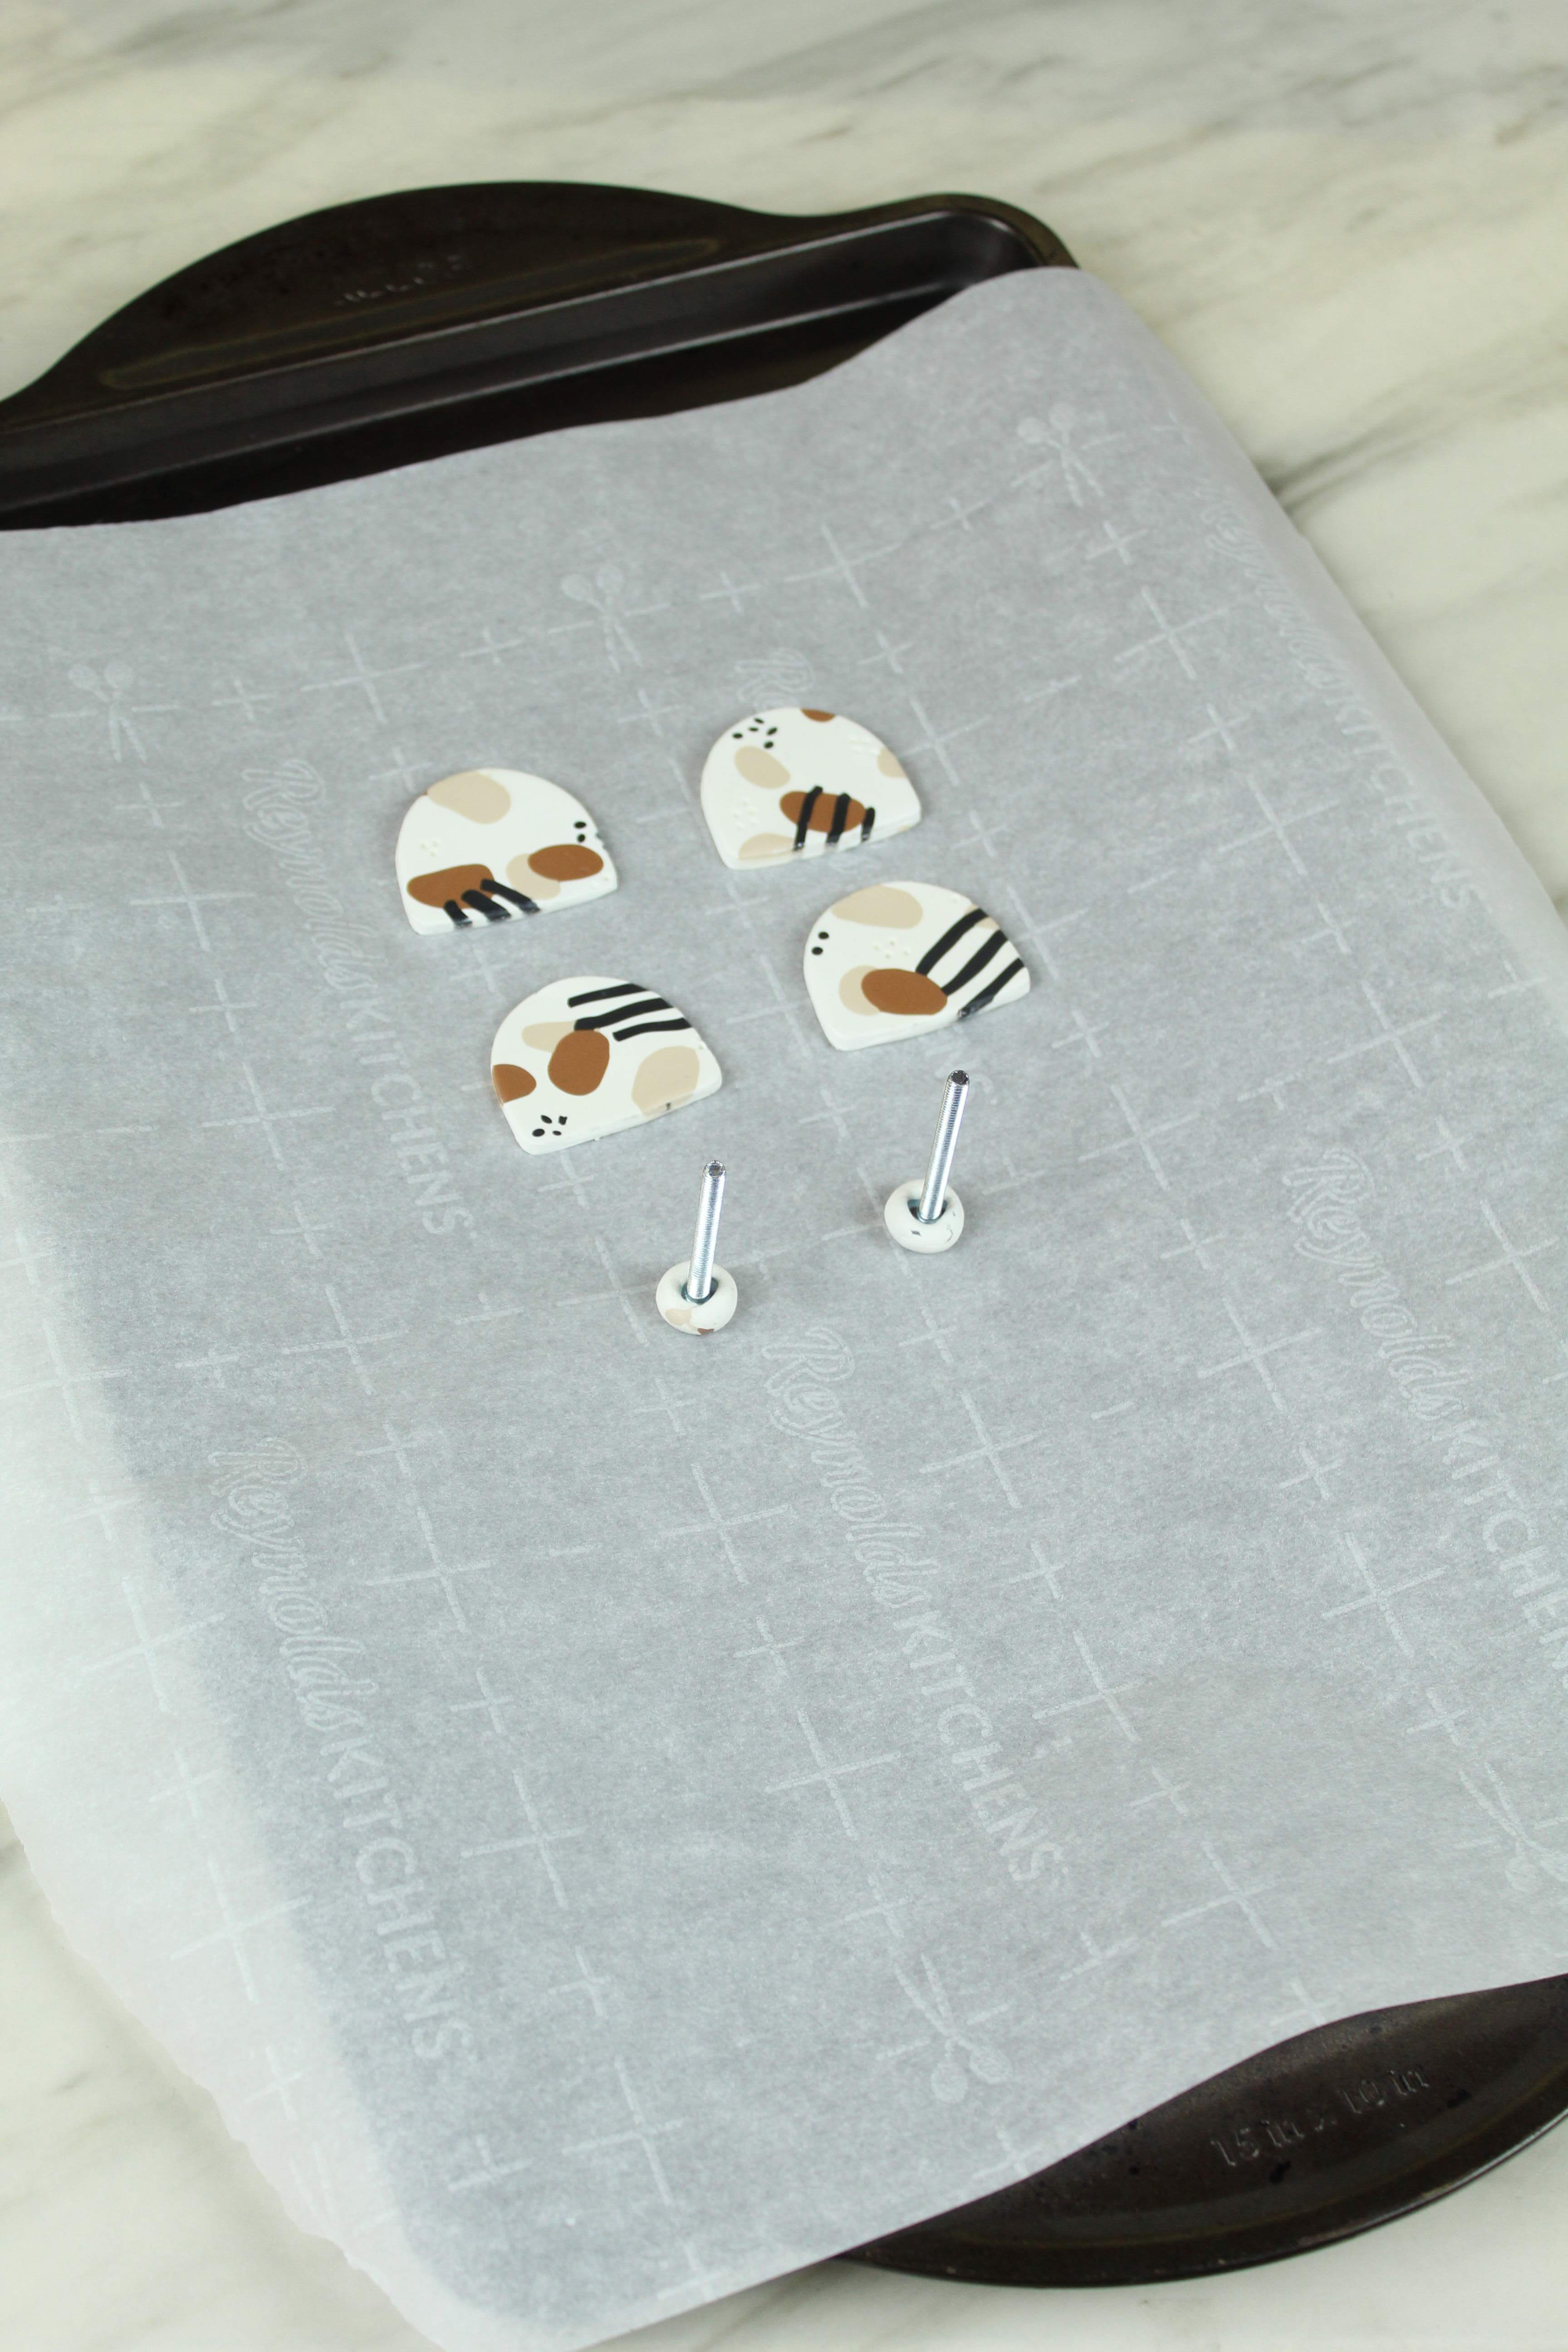
Grab a small pieces of clay from your slab and wrap it around the head of your screw. Once it’s snugly wrapped, flatten the top on your piece of tile.
Smooth Your Pull
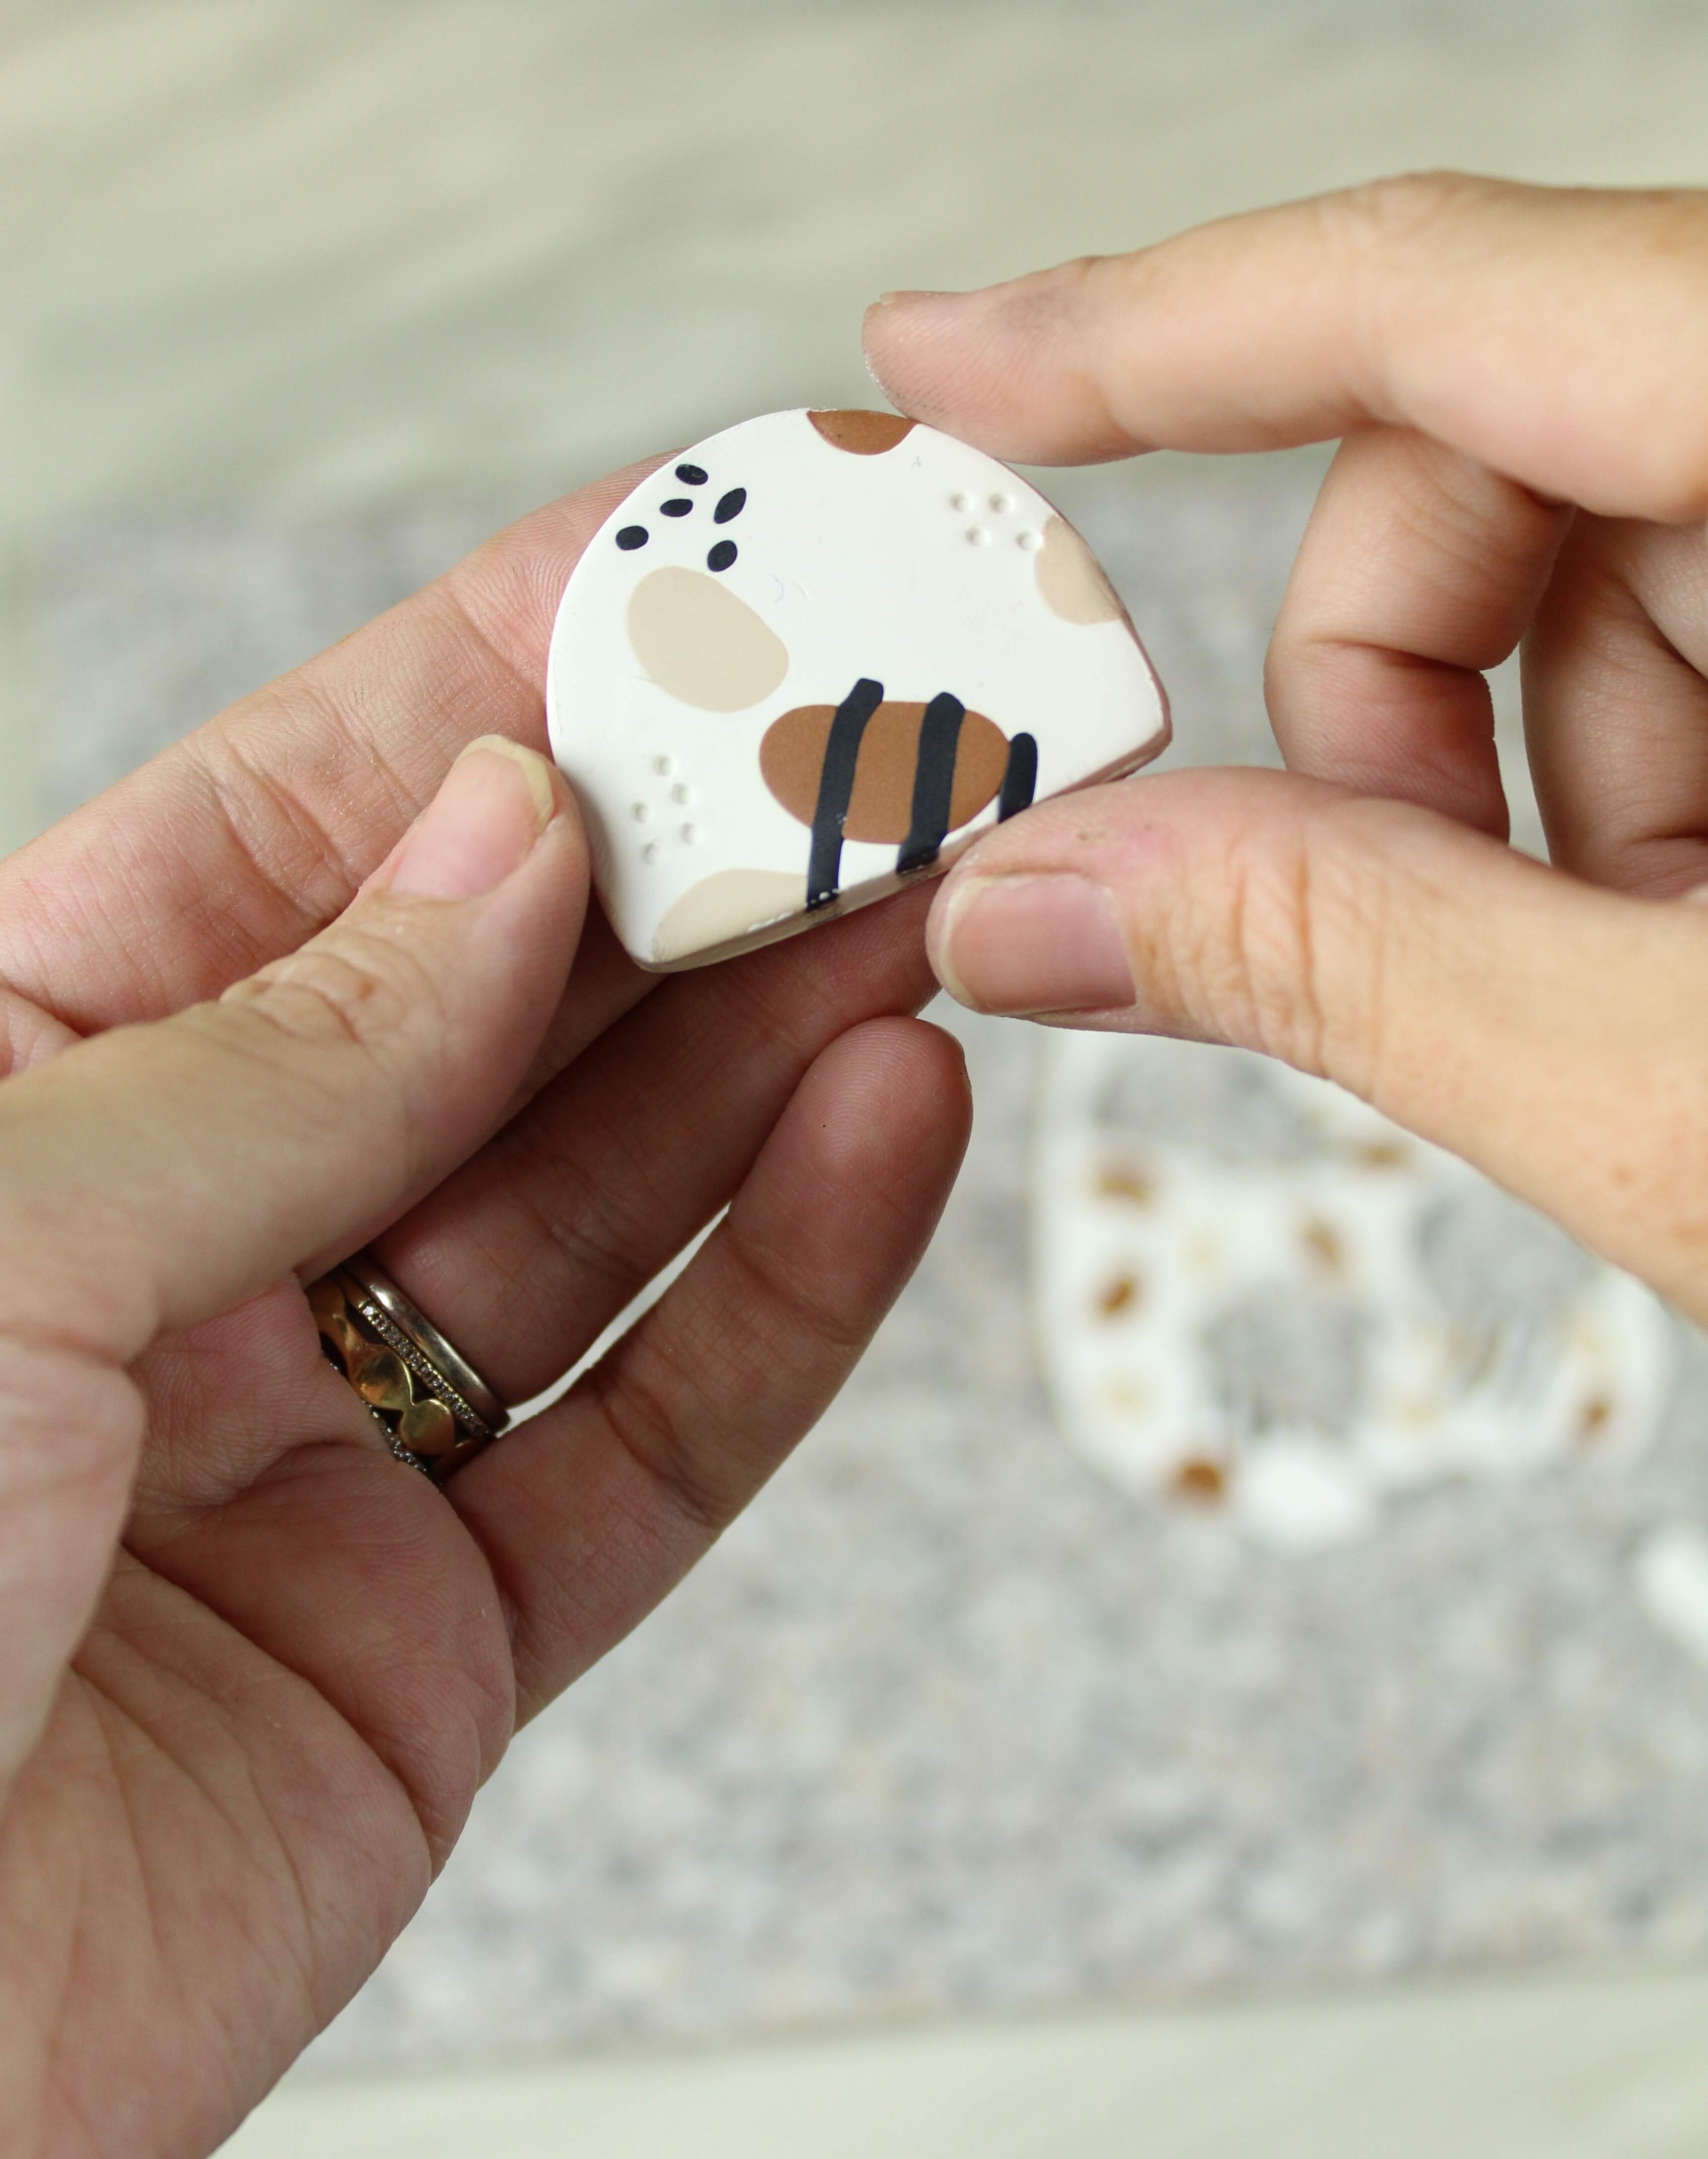
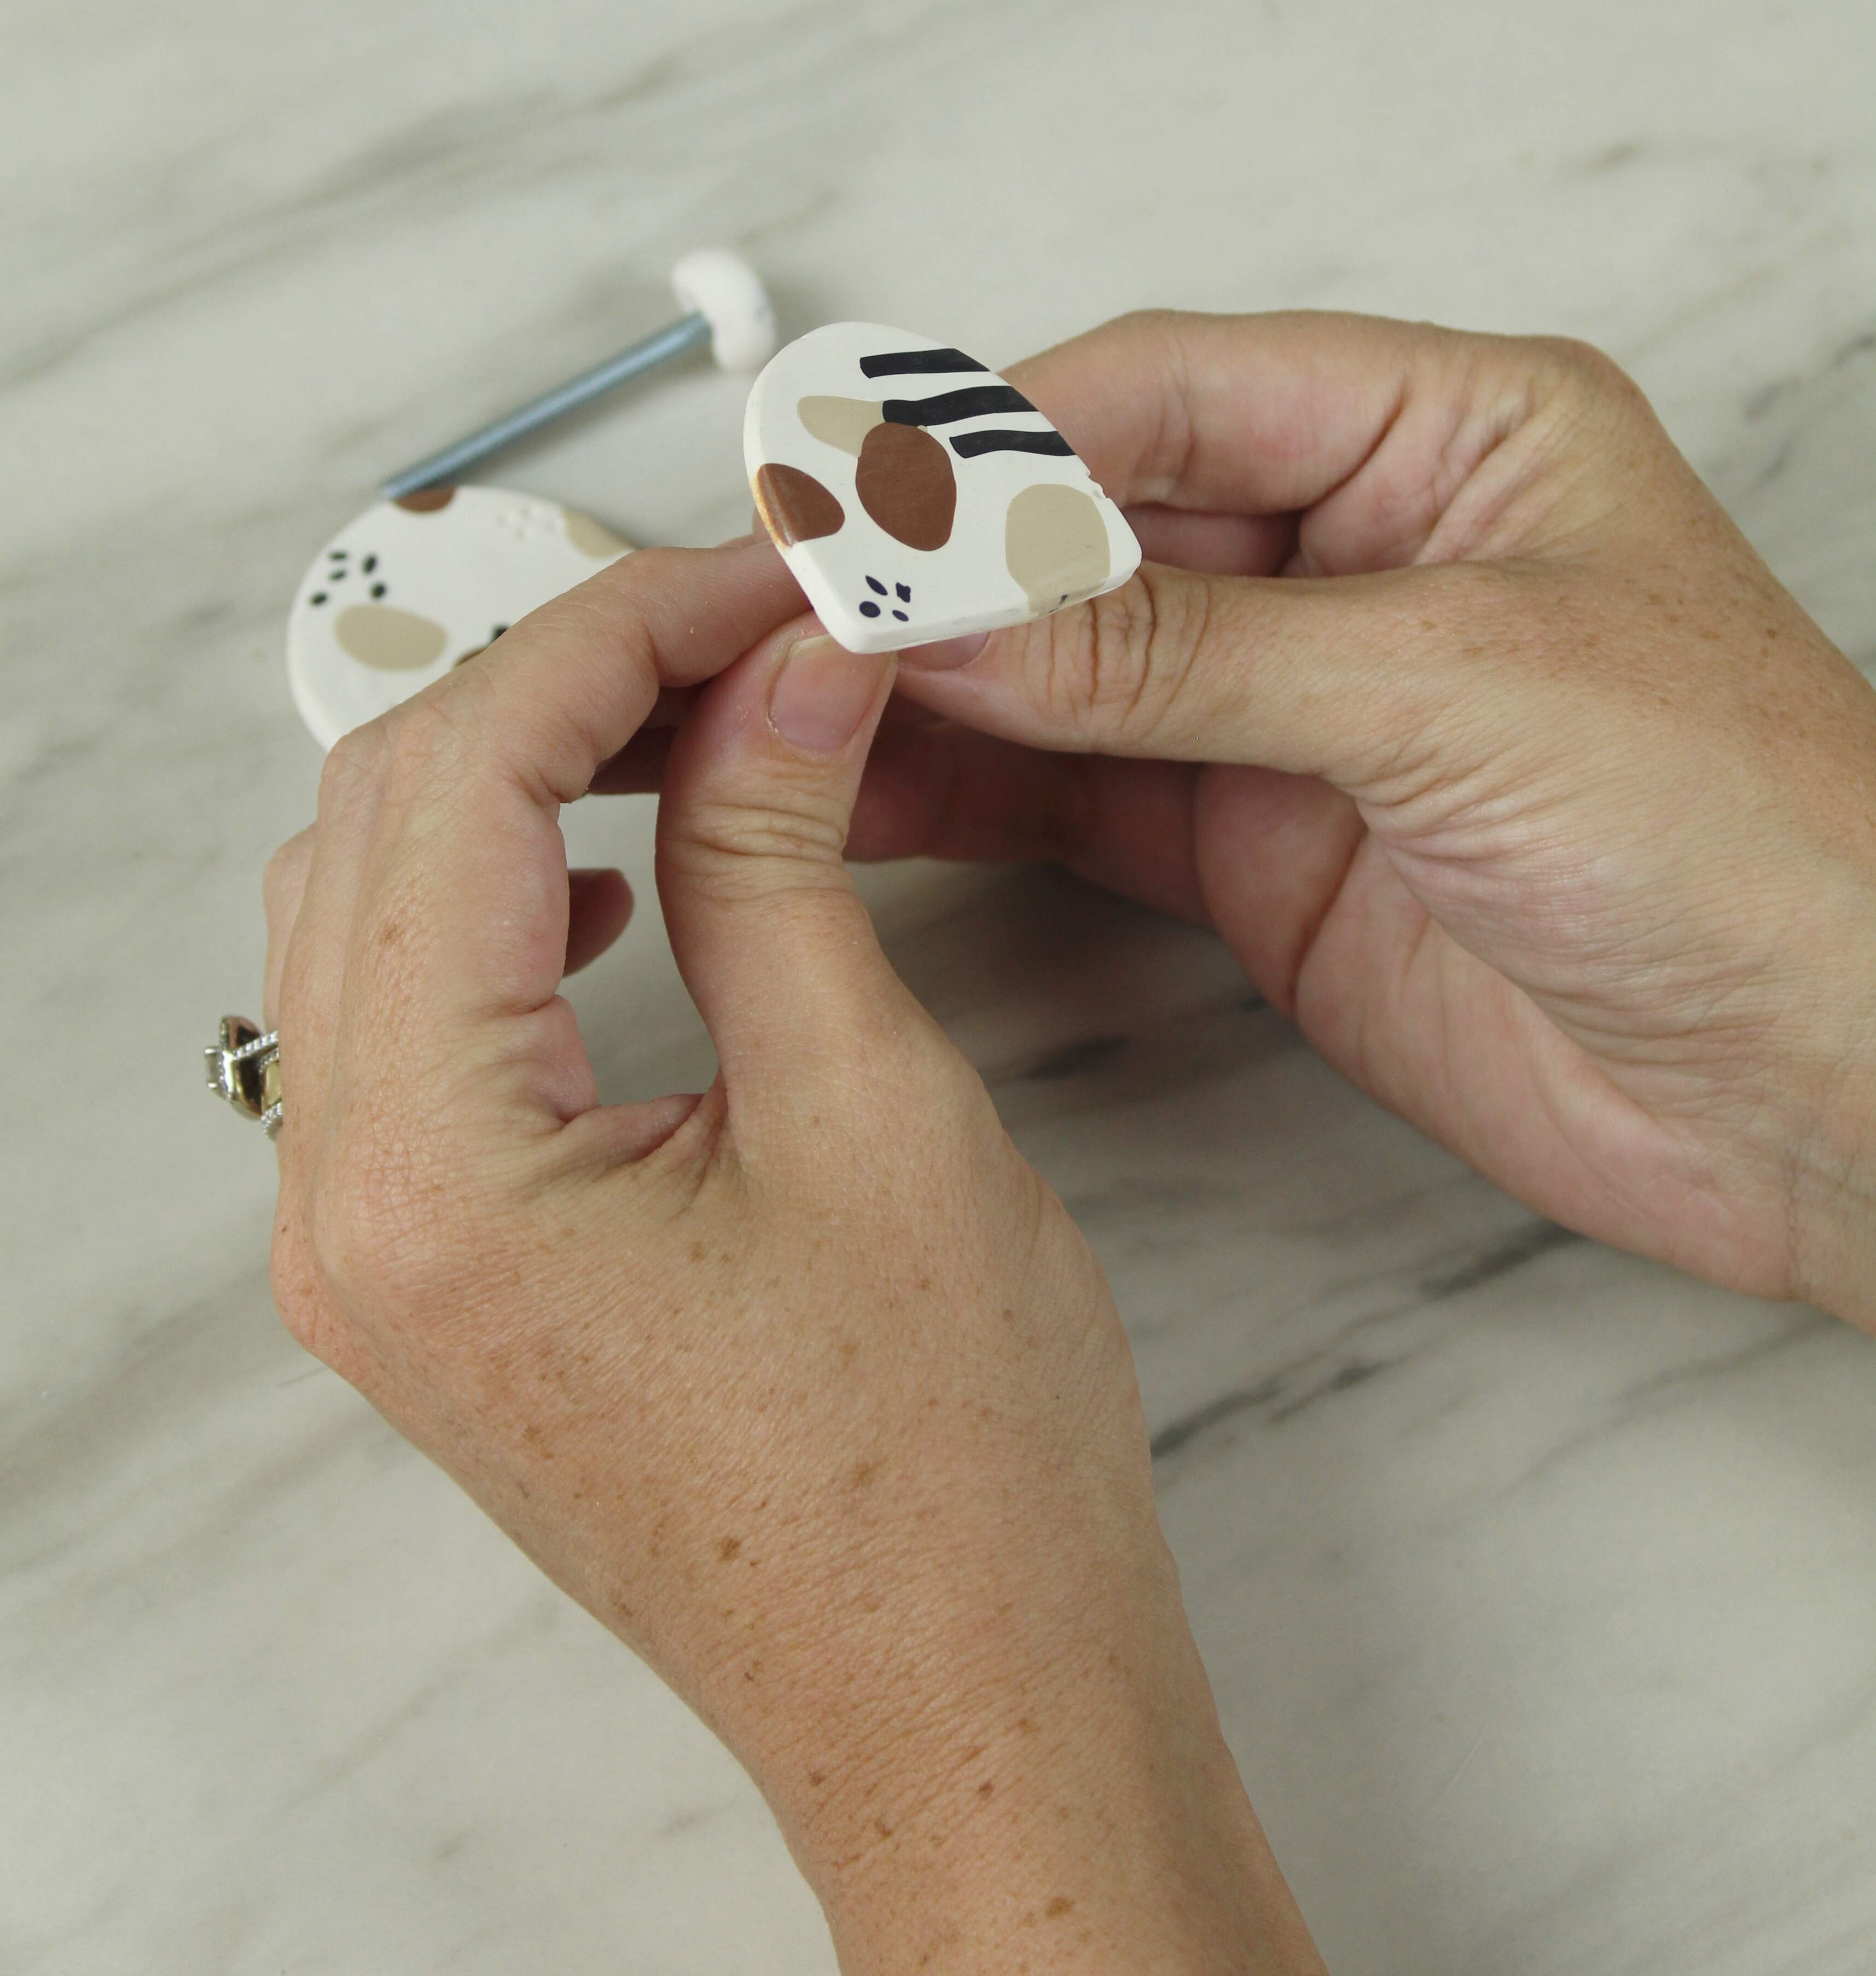
We’re almost there! Before putting your pulls in the oven, use your finger to smooth all the edges.
Time to Bake!
Put all of your clay elements on a piece of parchment paper on a cookie sheet and bake them according to the directions on your clay.
Glue
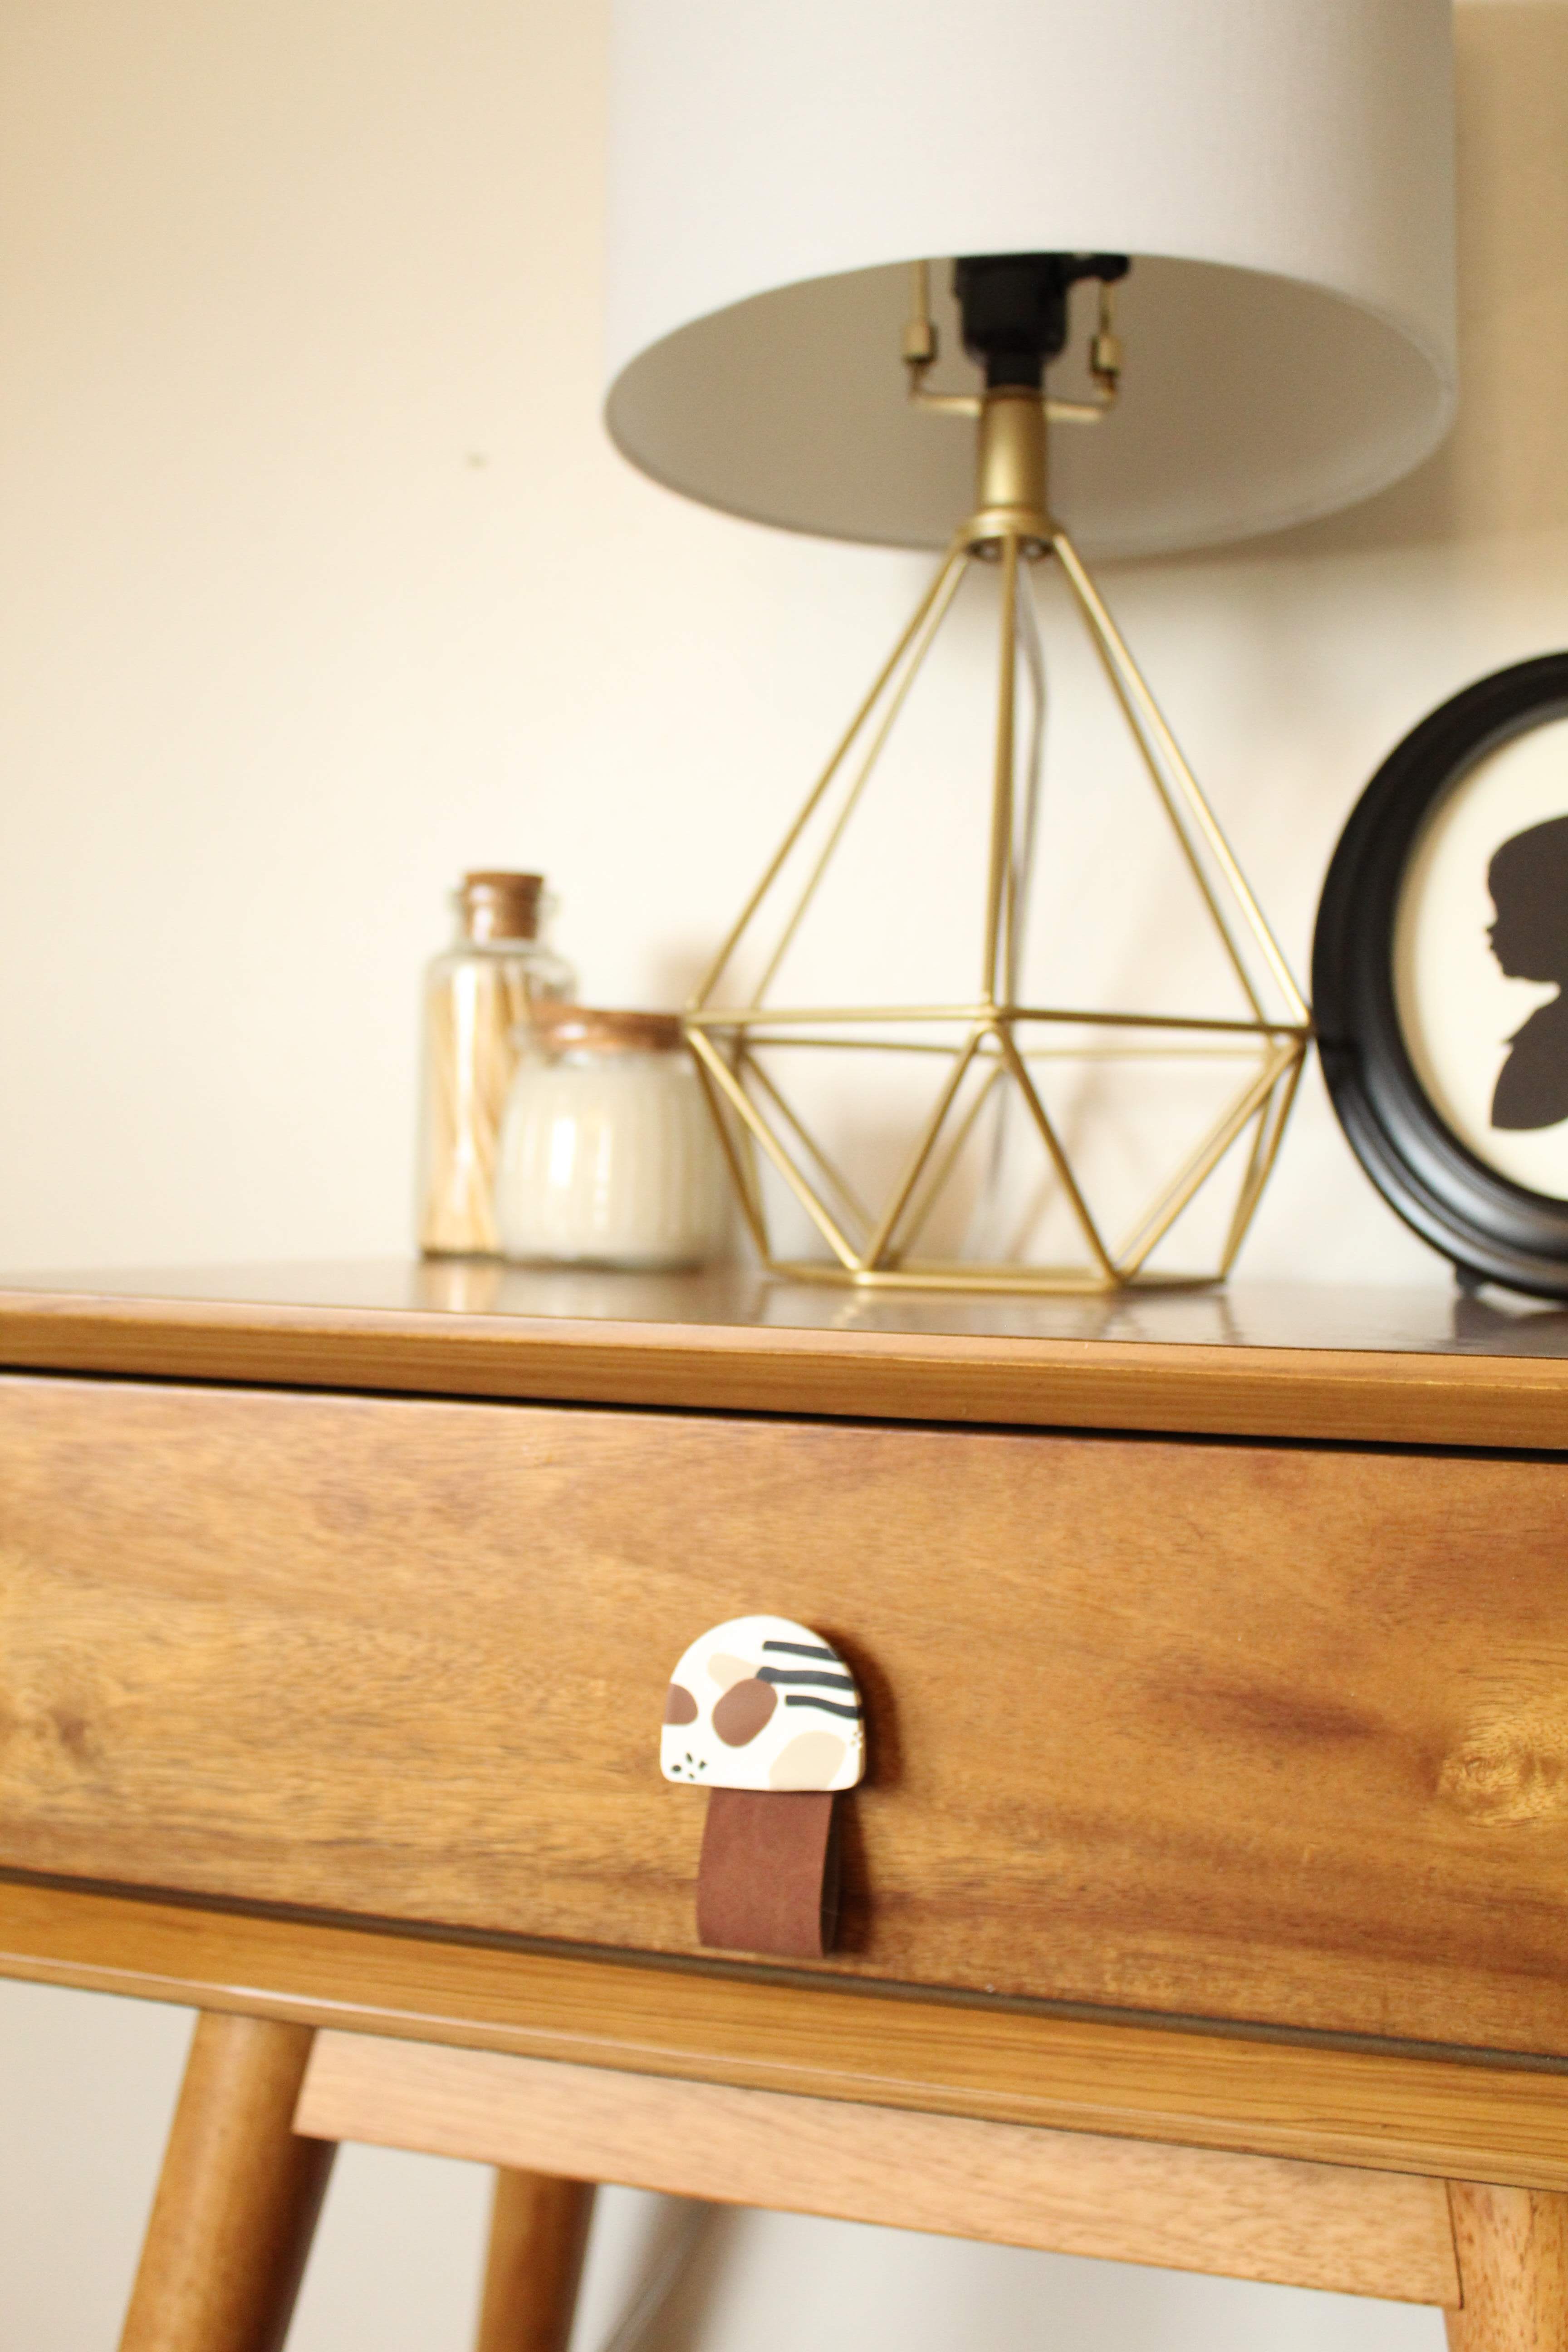
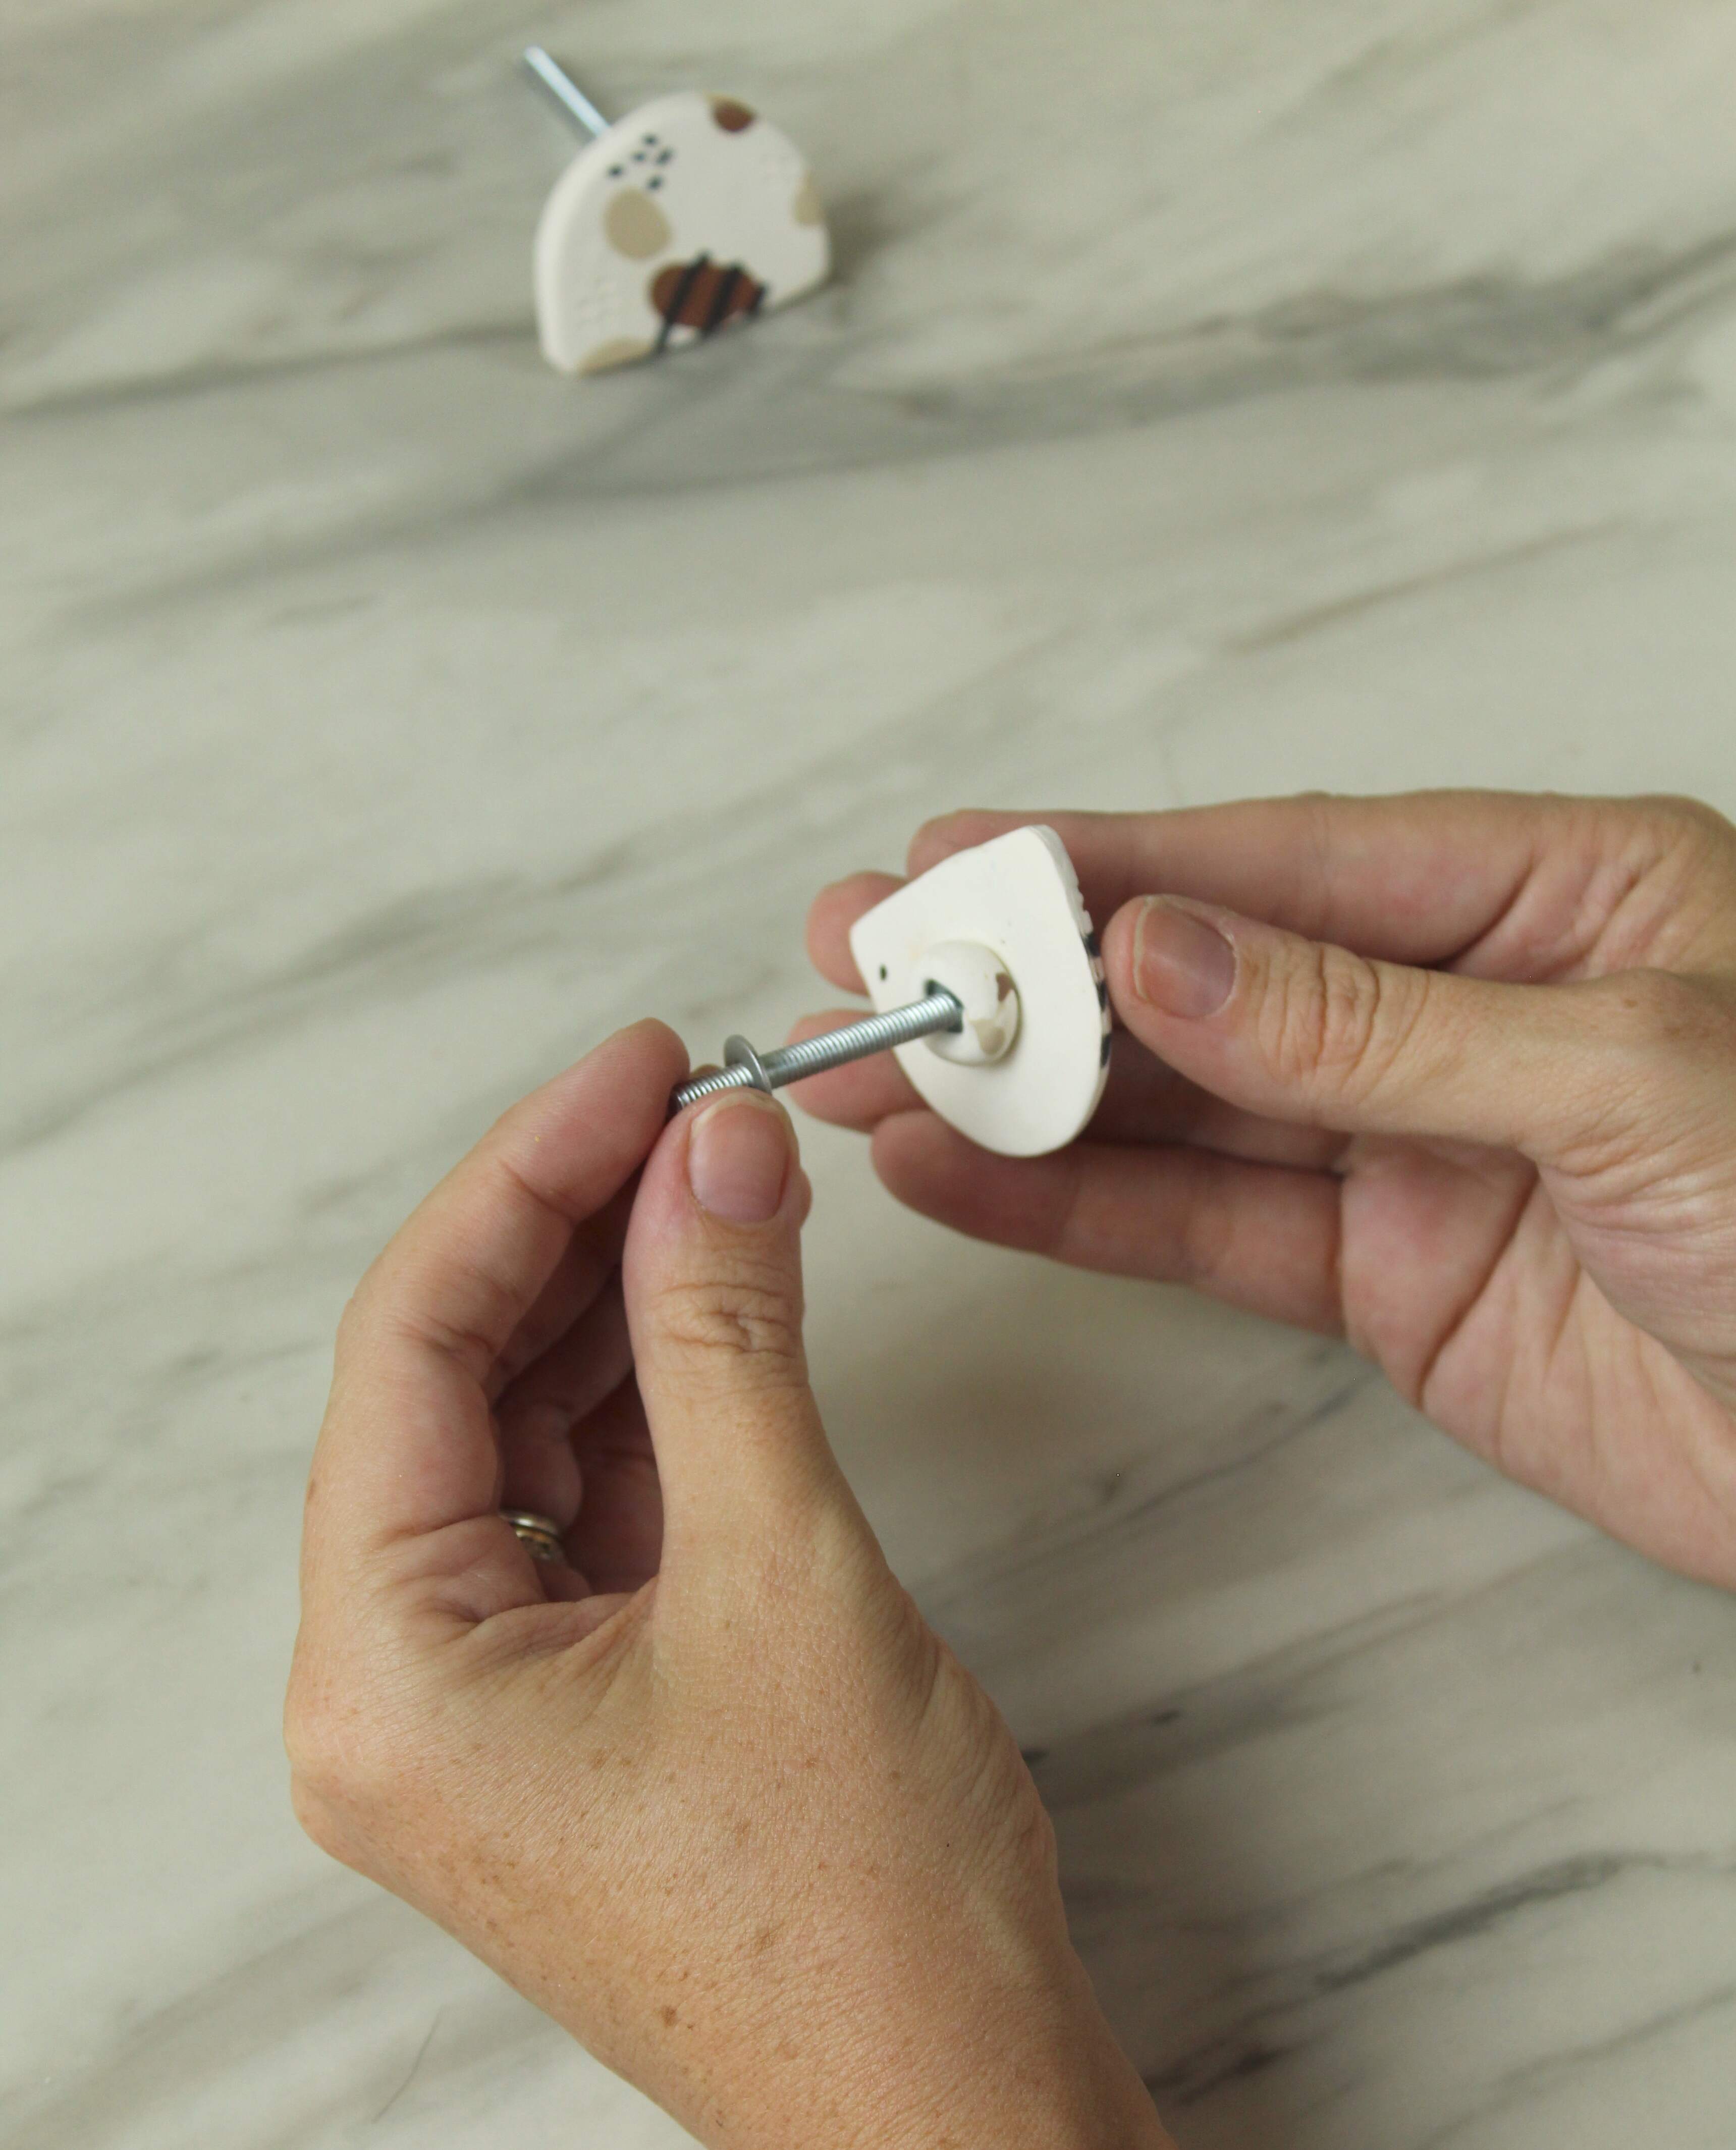
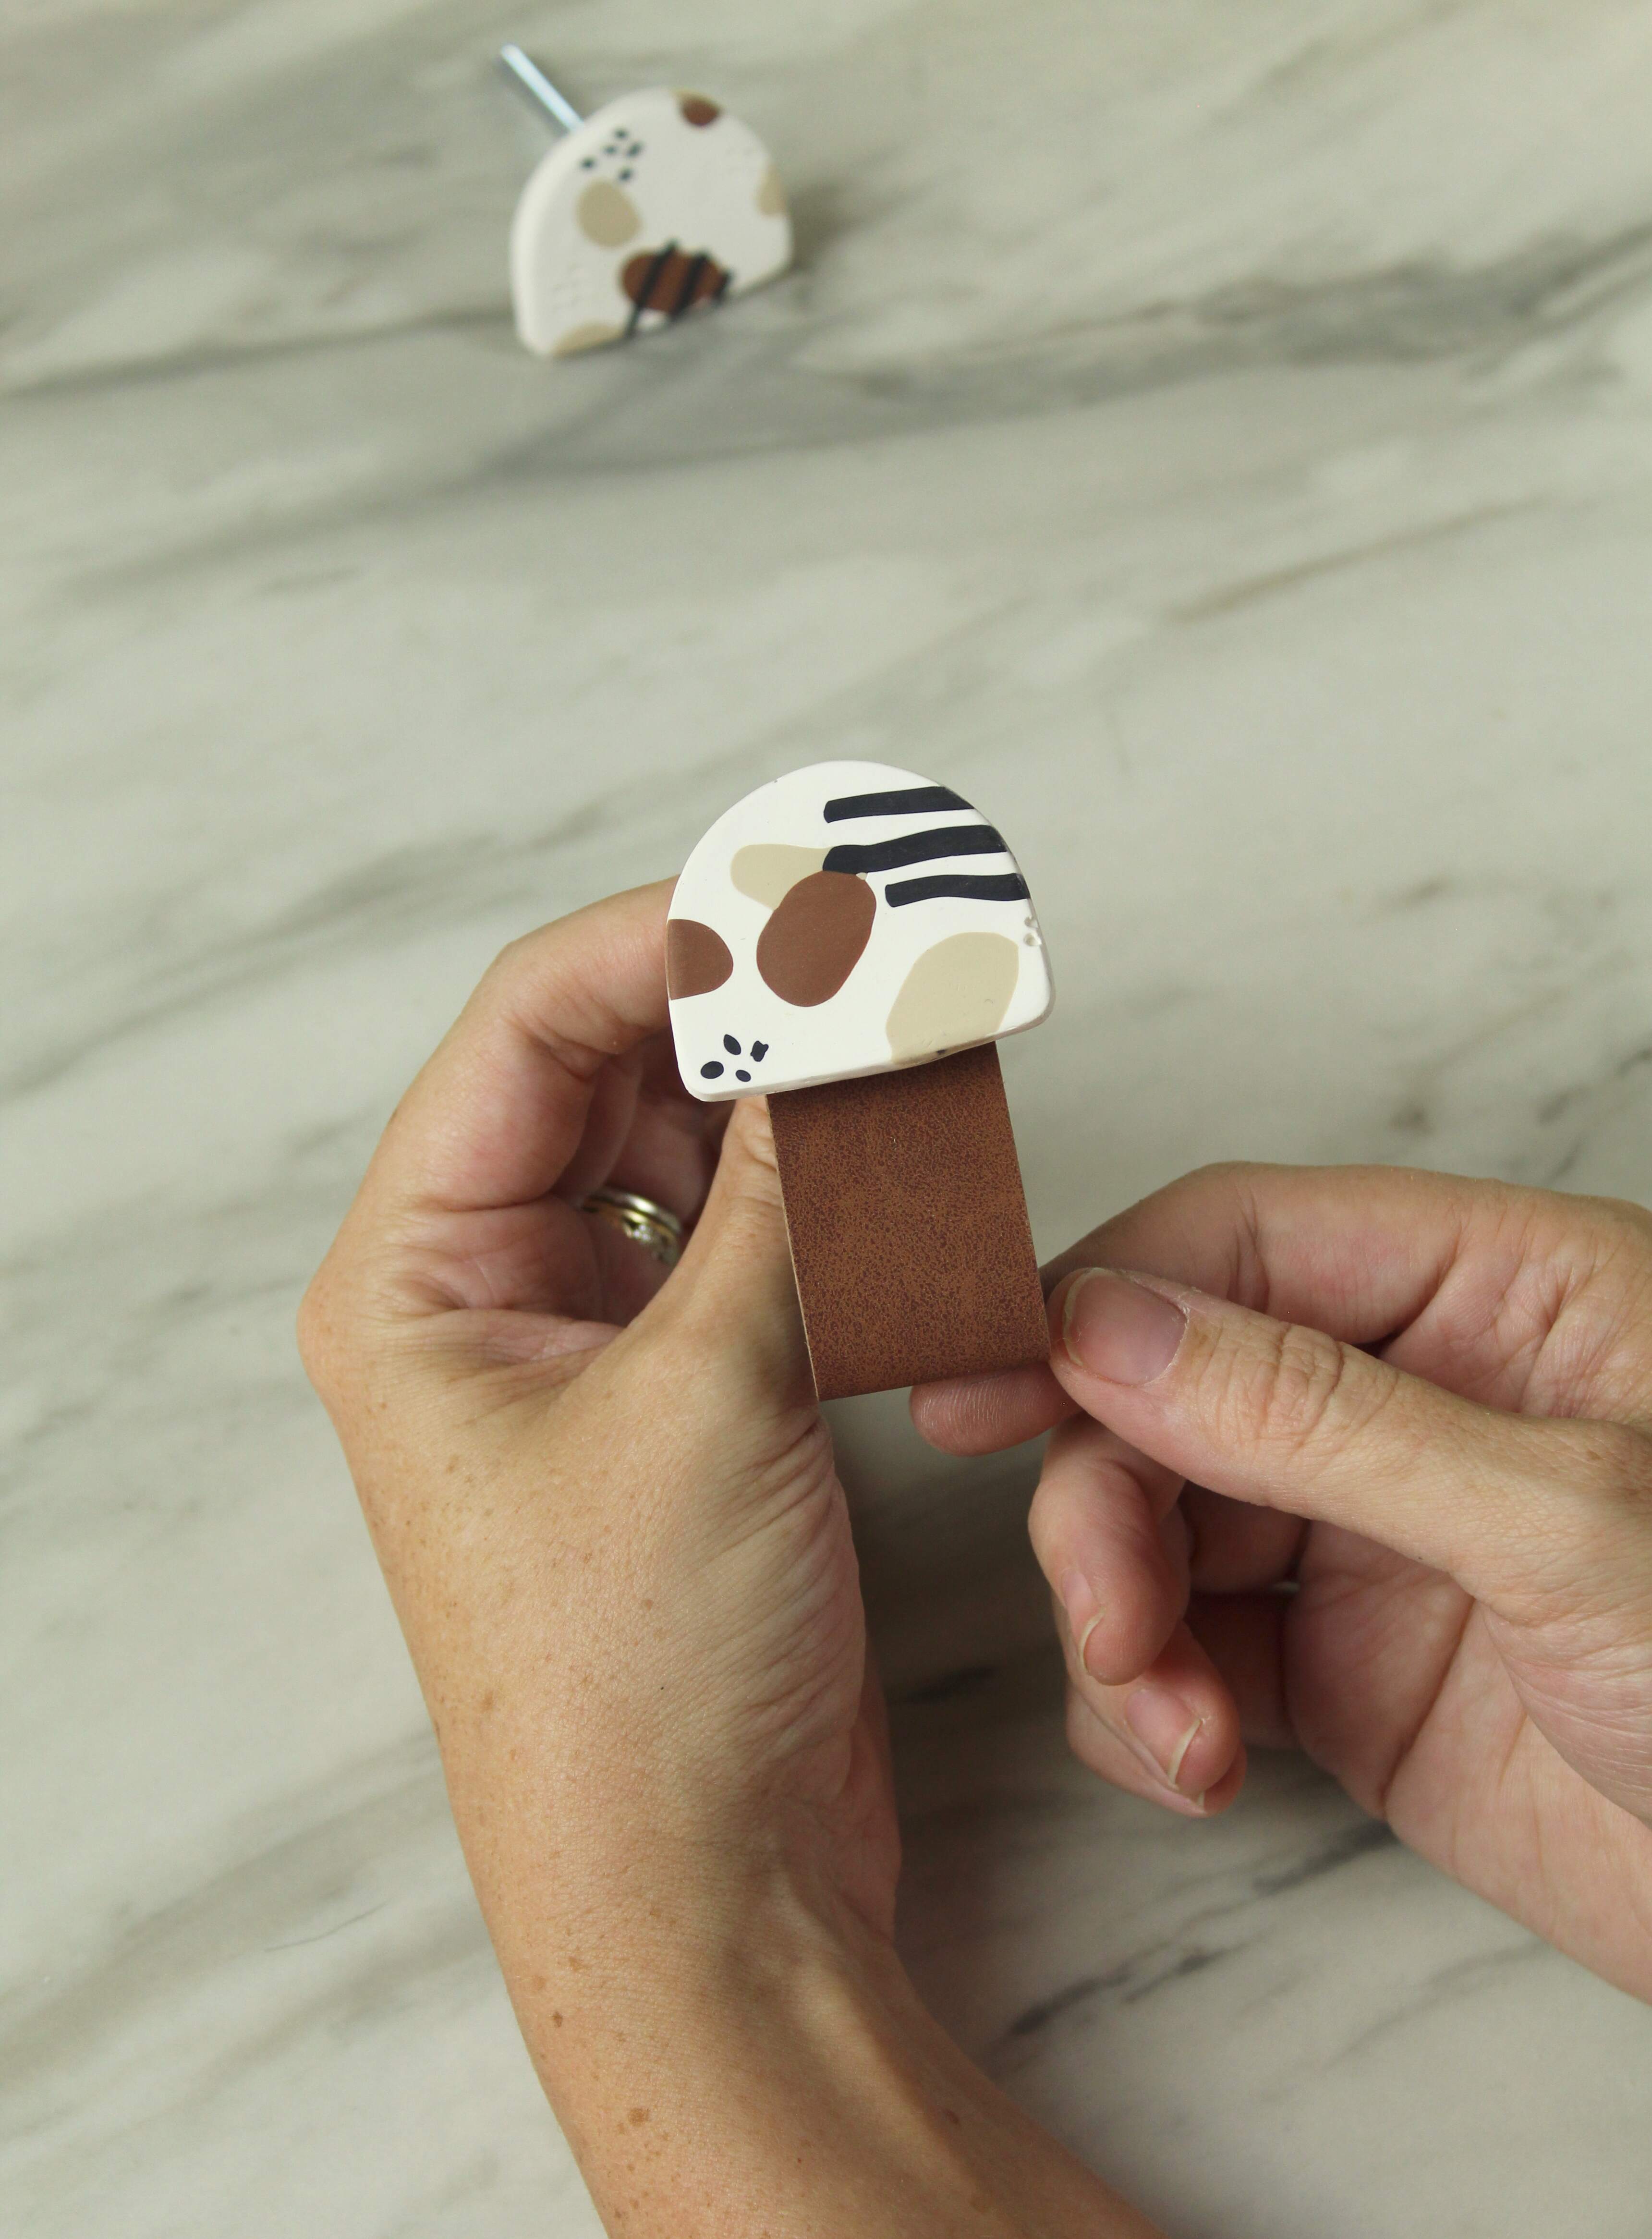
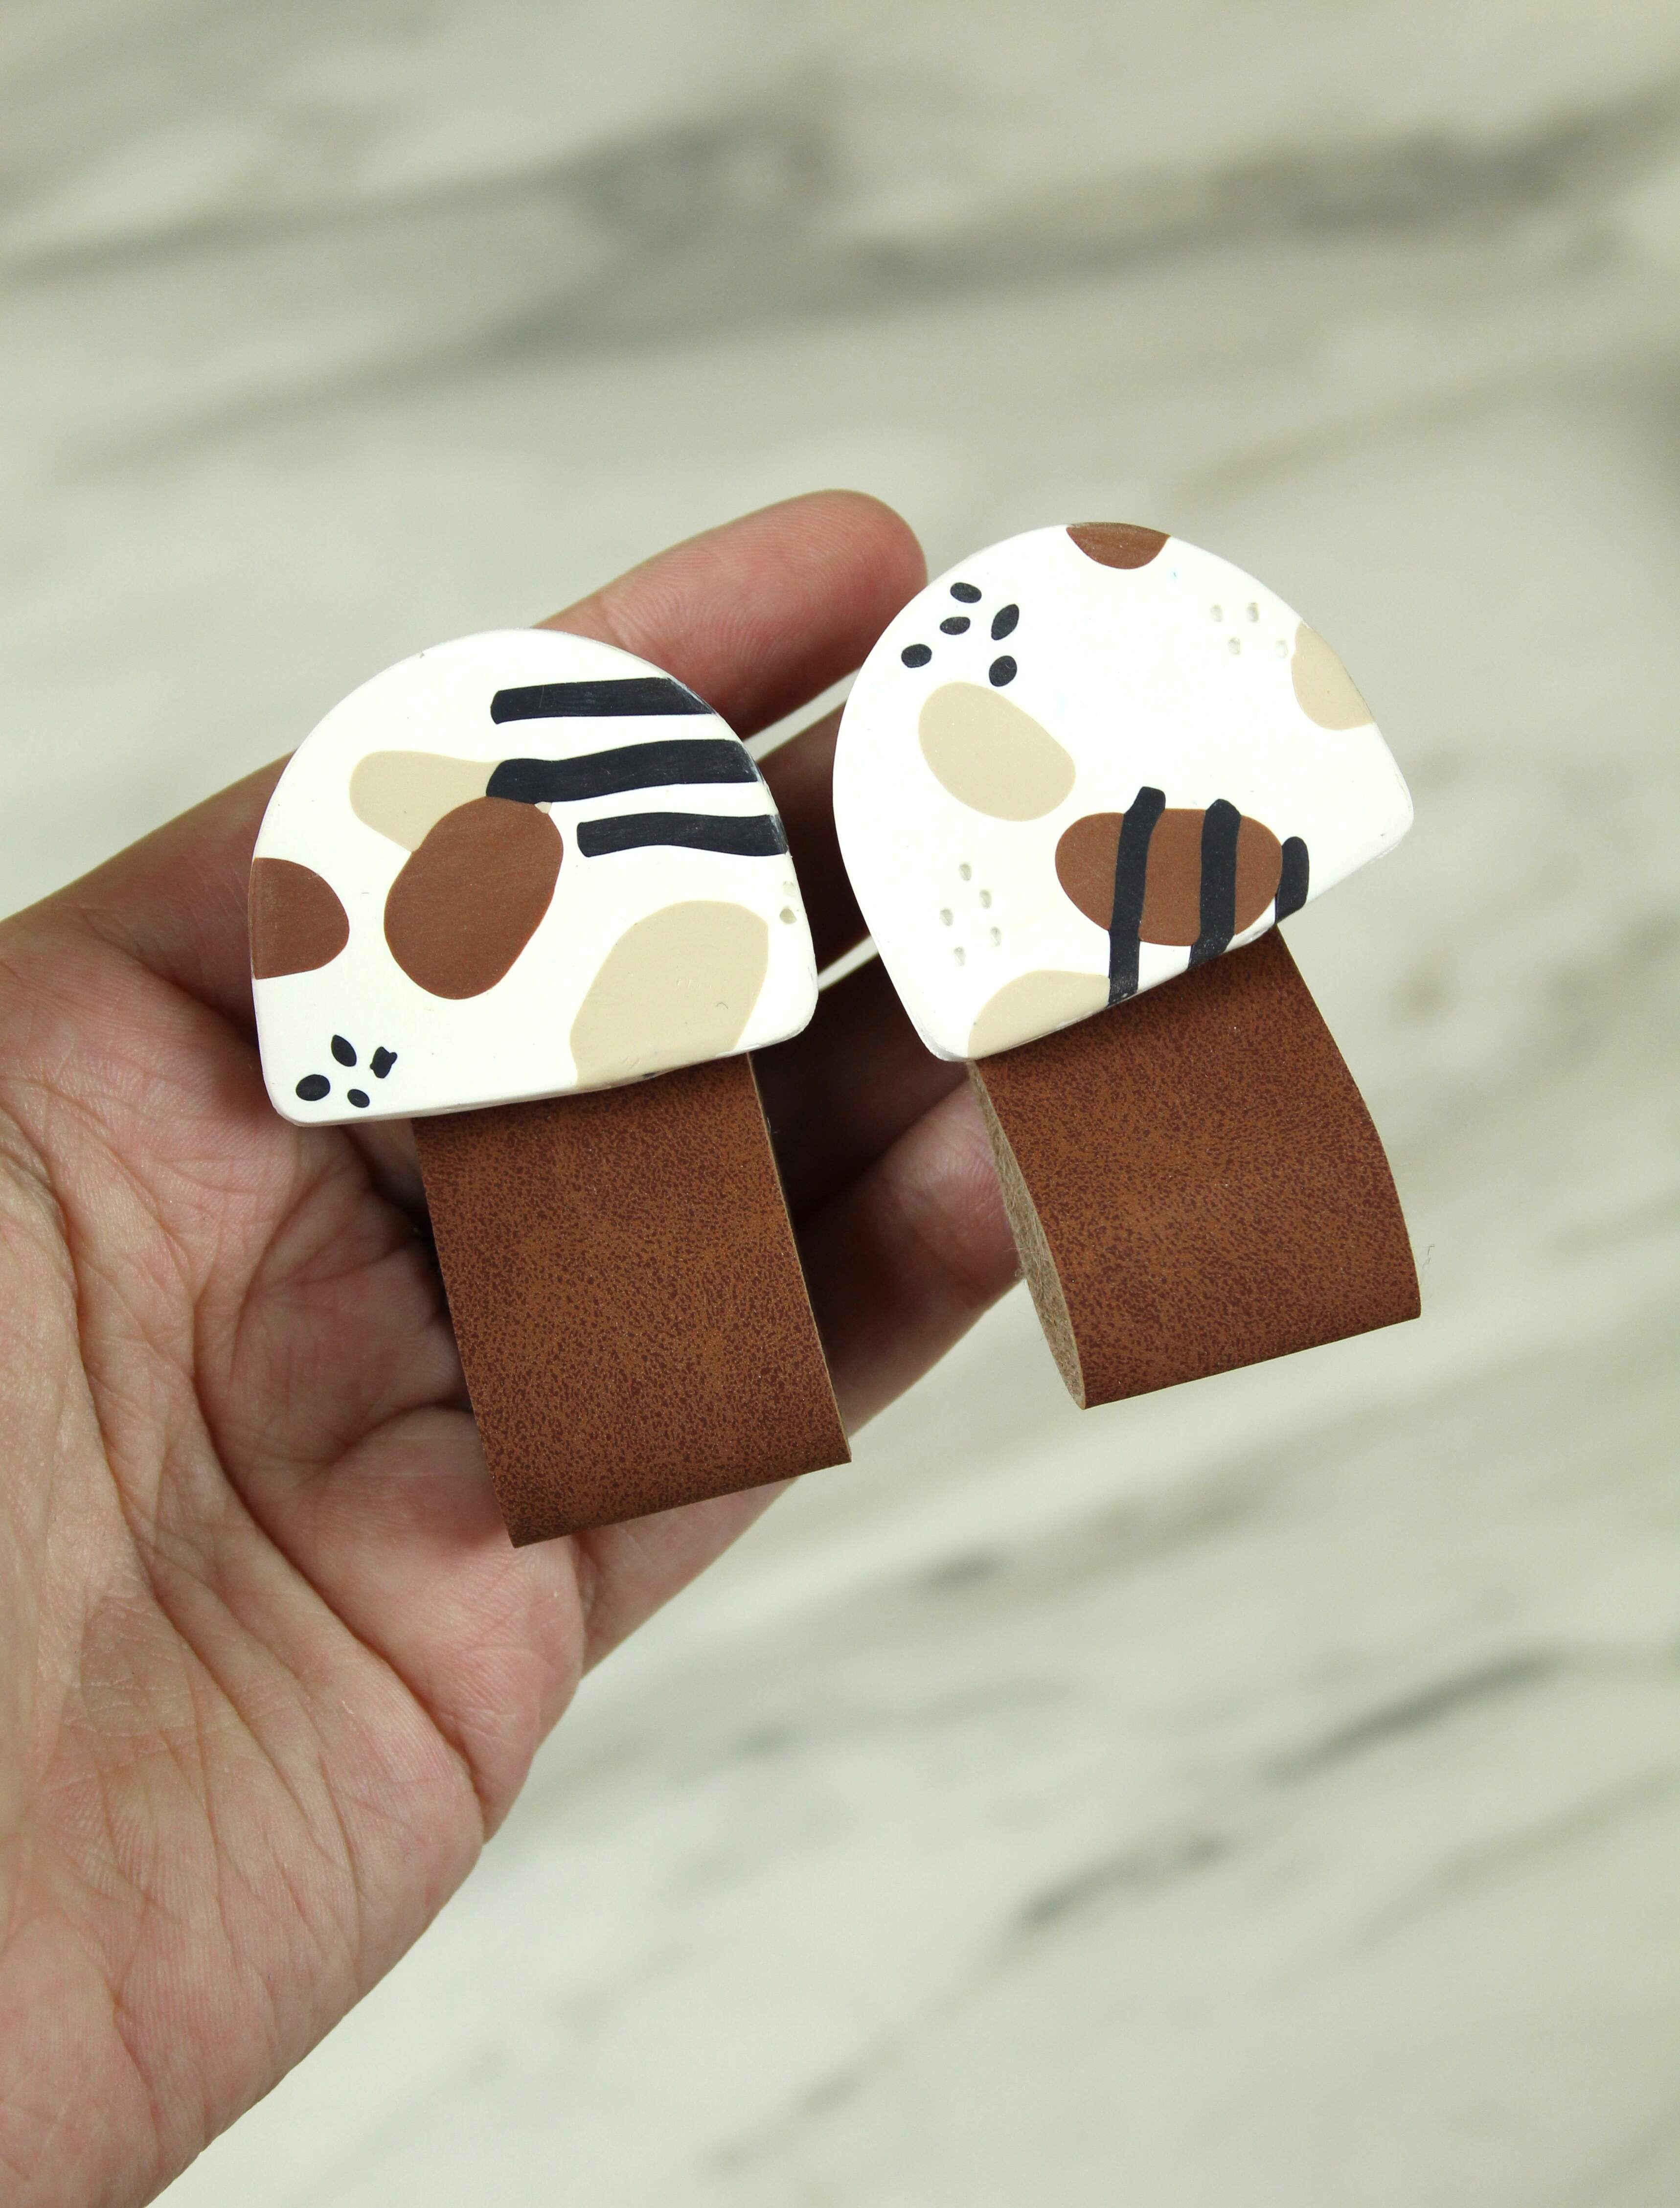
Using a heavy duty glue, put it on the top of your screw (which should now have clay on it). Then place it on the back of your pull piece. I placed mine in the very center but I think if I were to do it again, I would place it closer to the bottom center so that you see less of the top of the suede. Learn from my mistake. It is recommended to let the glue cure for 24 hours. I was impatient and didn’t. Do as I say not as I do.
Assemble
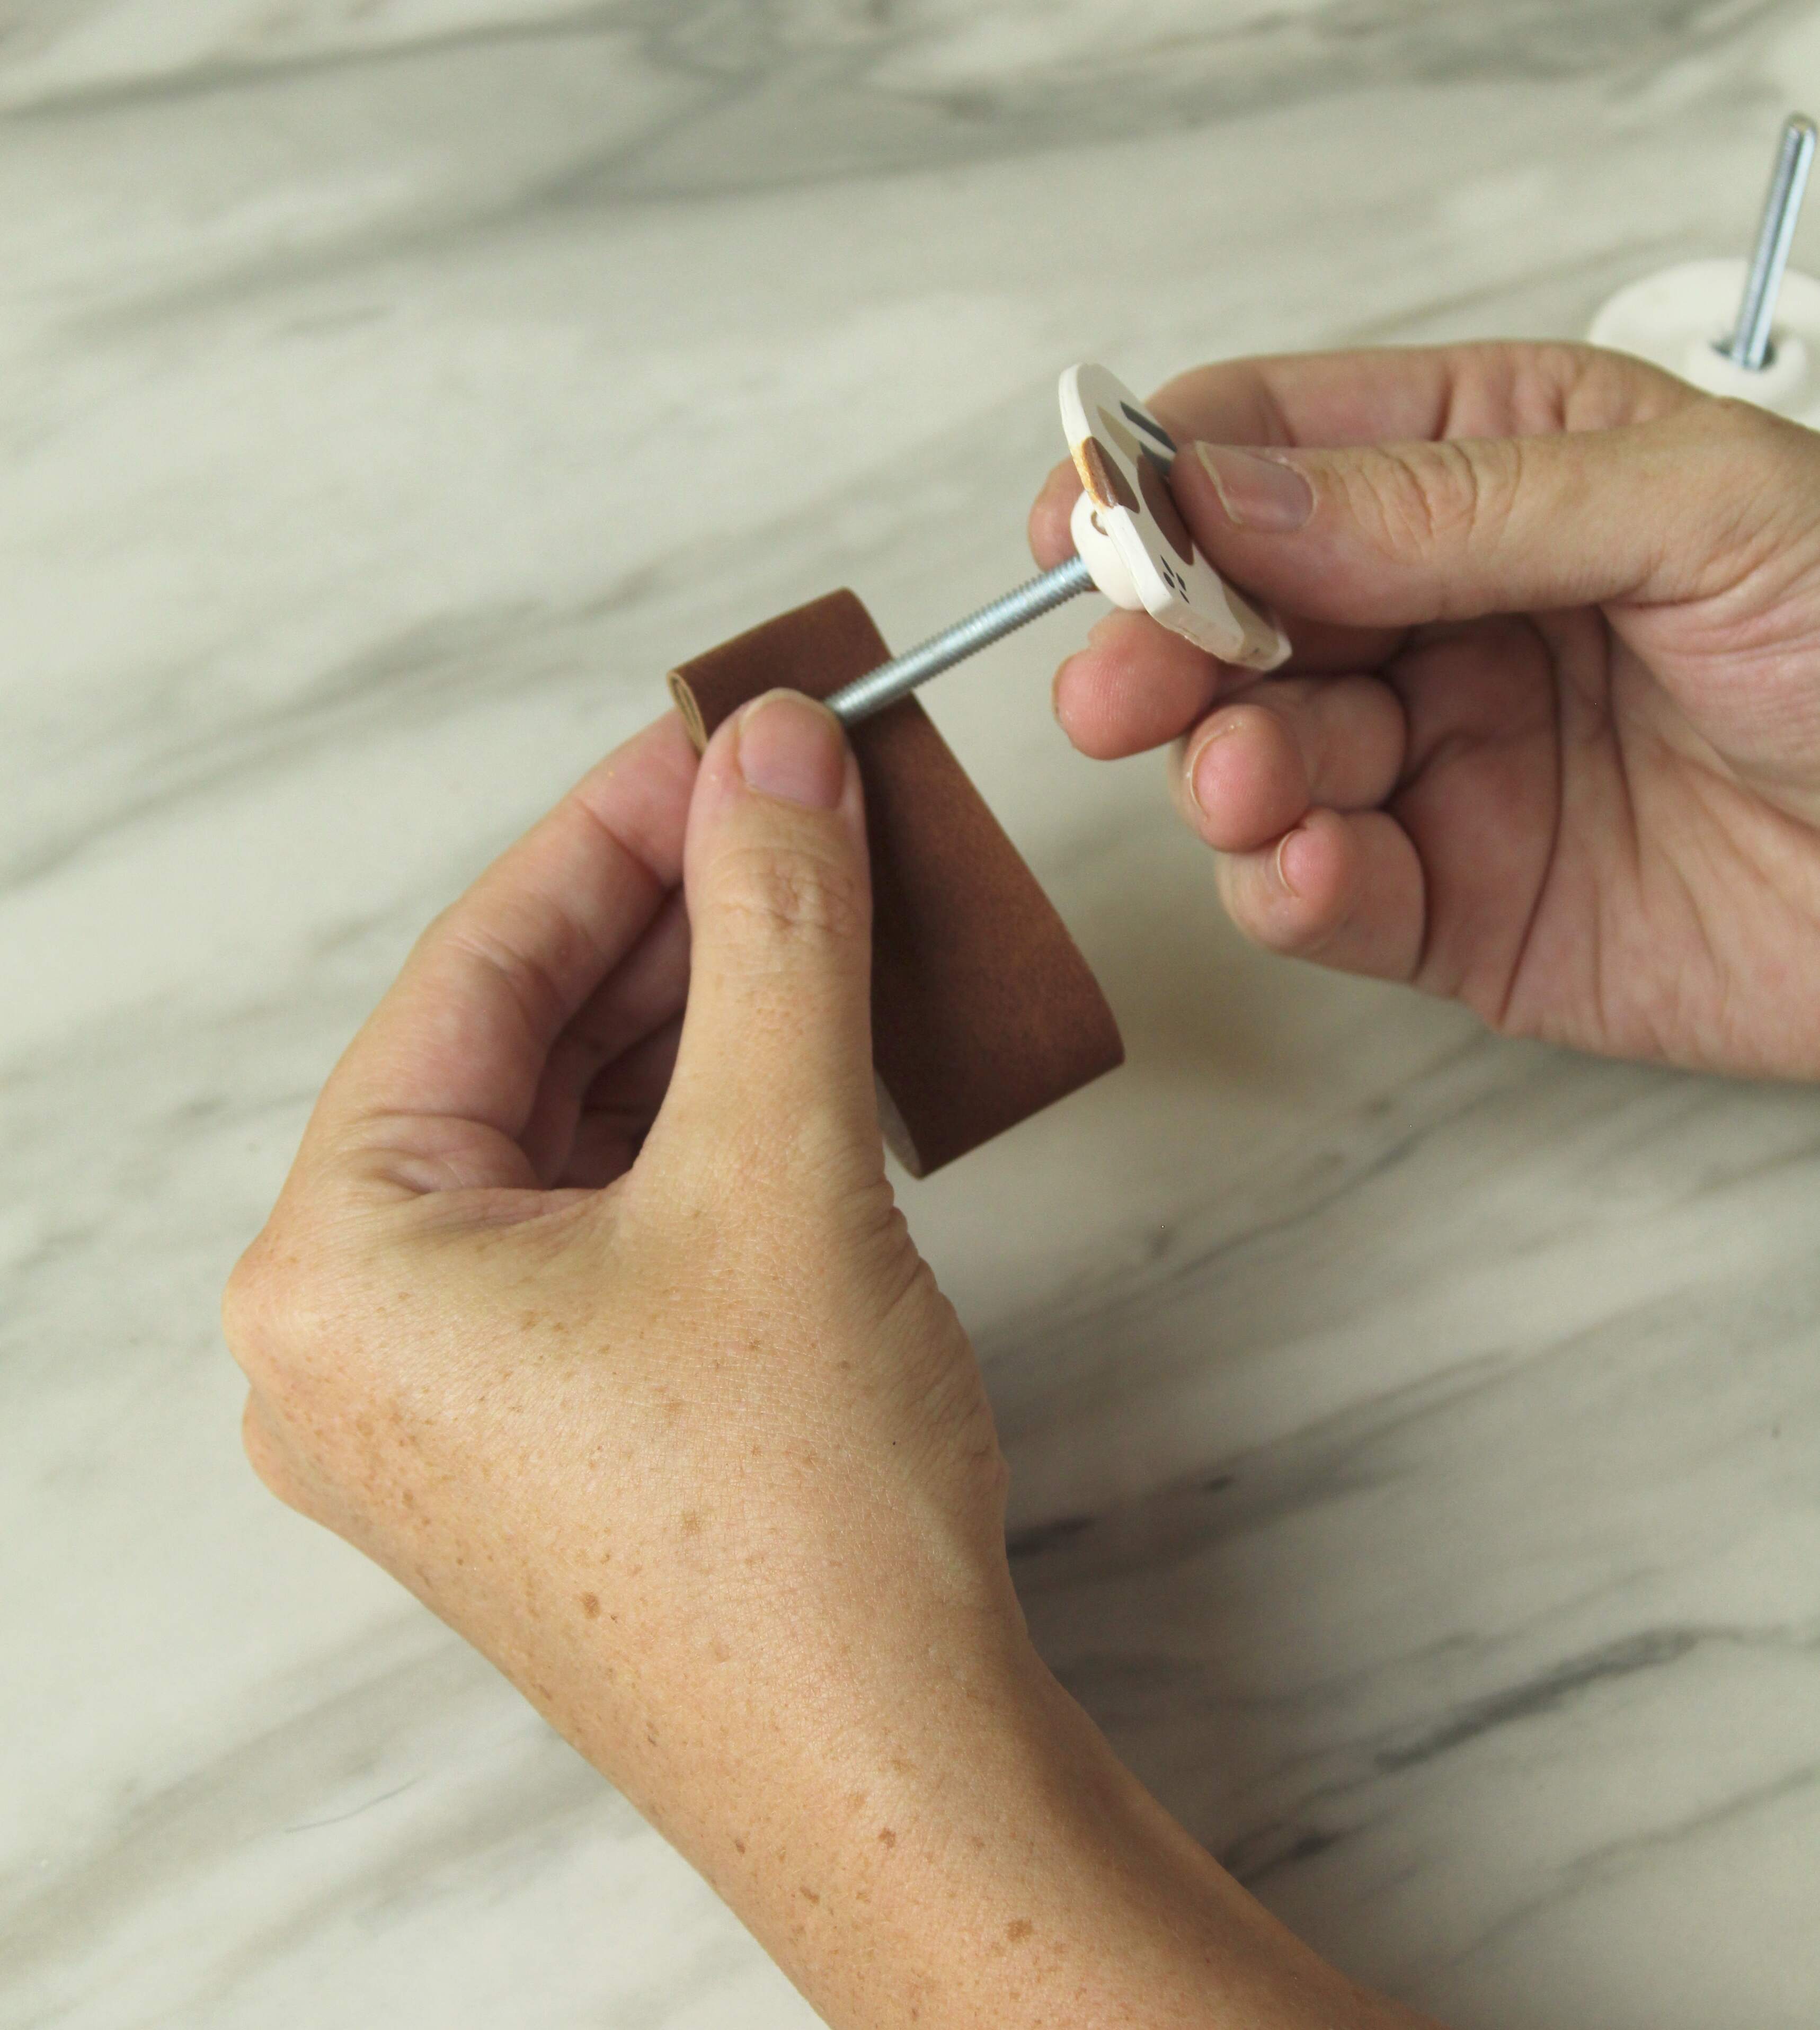
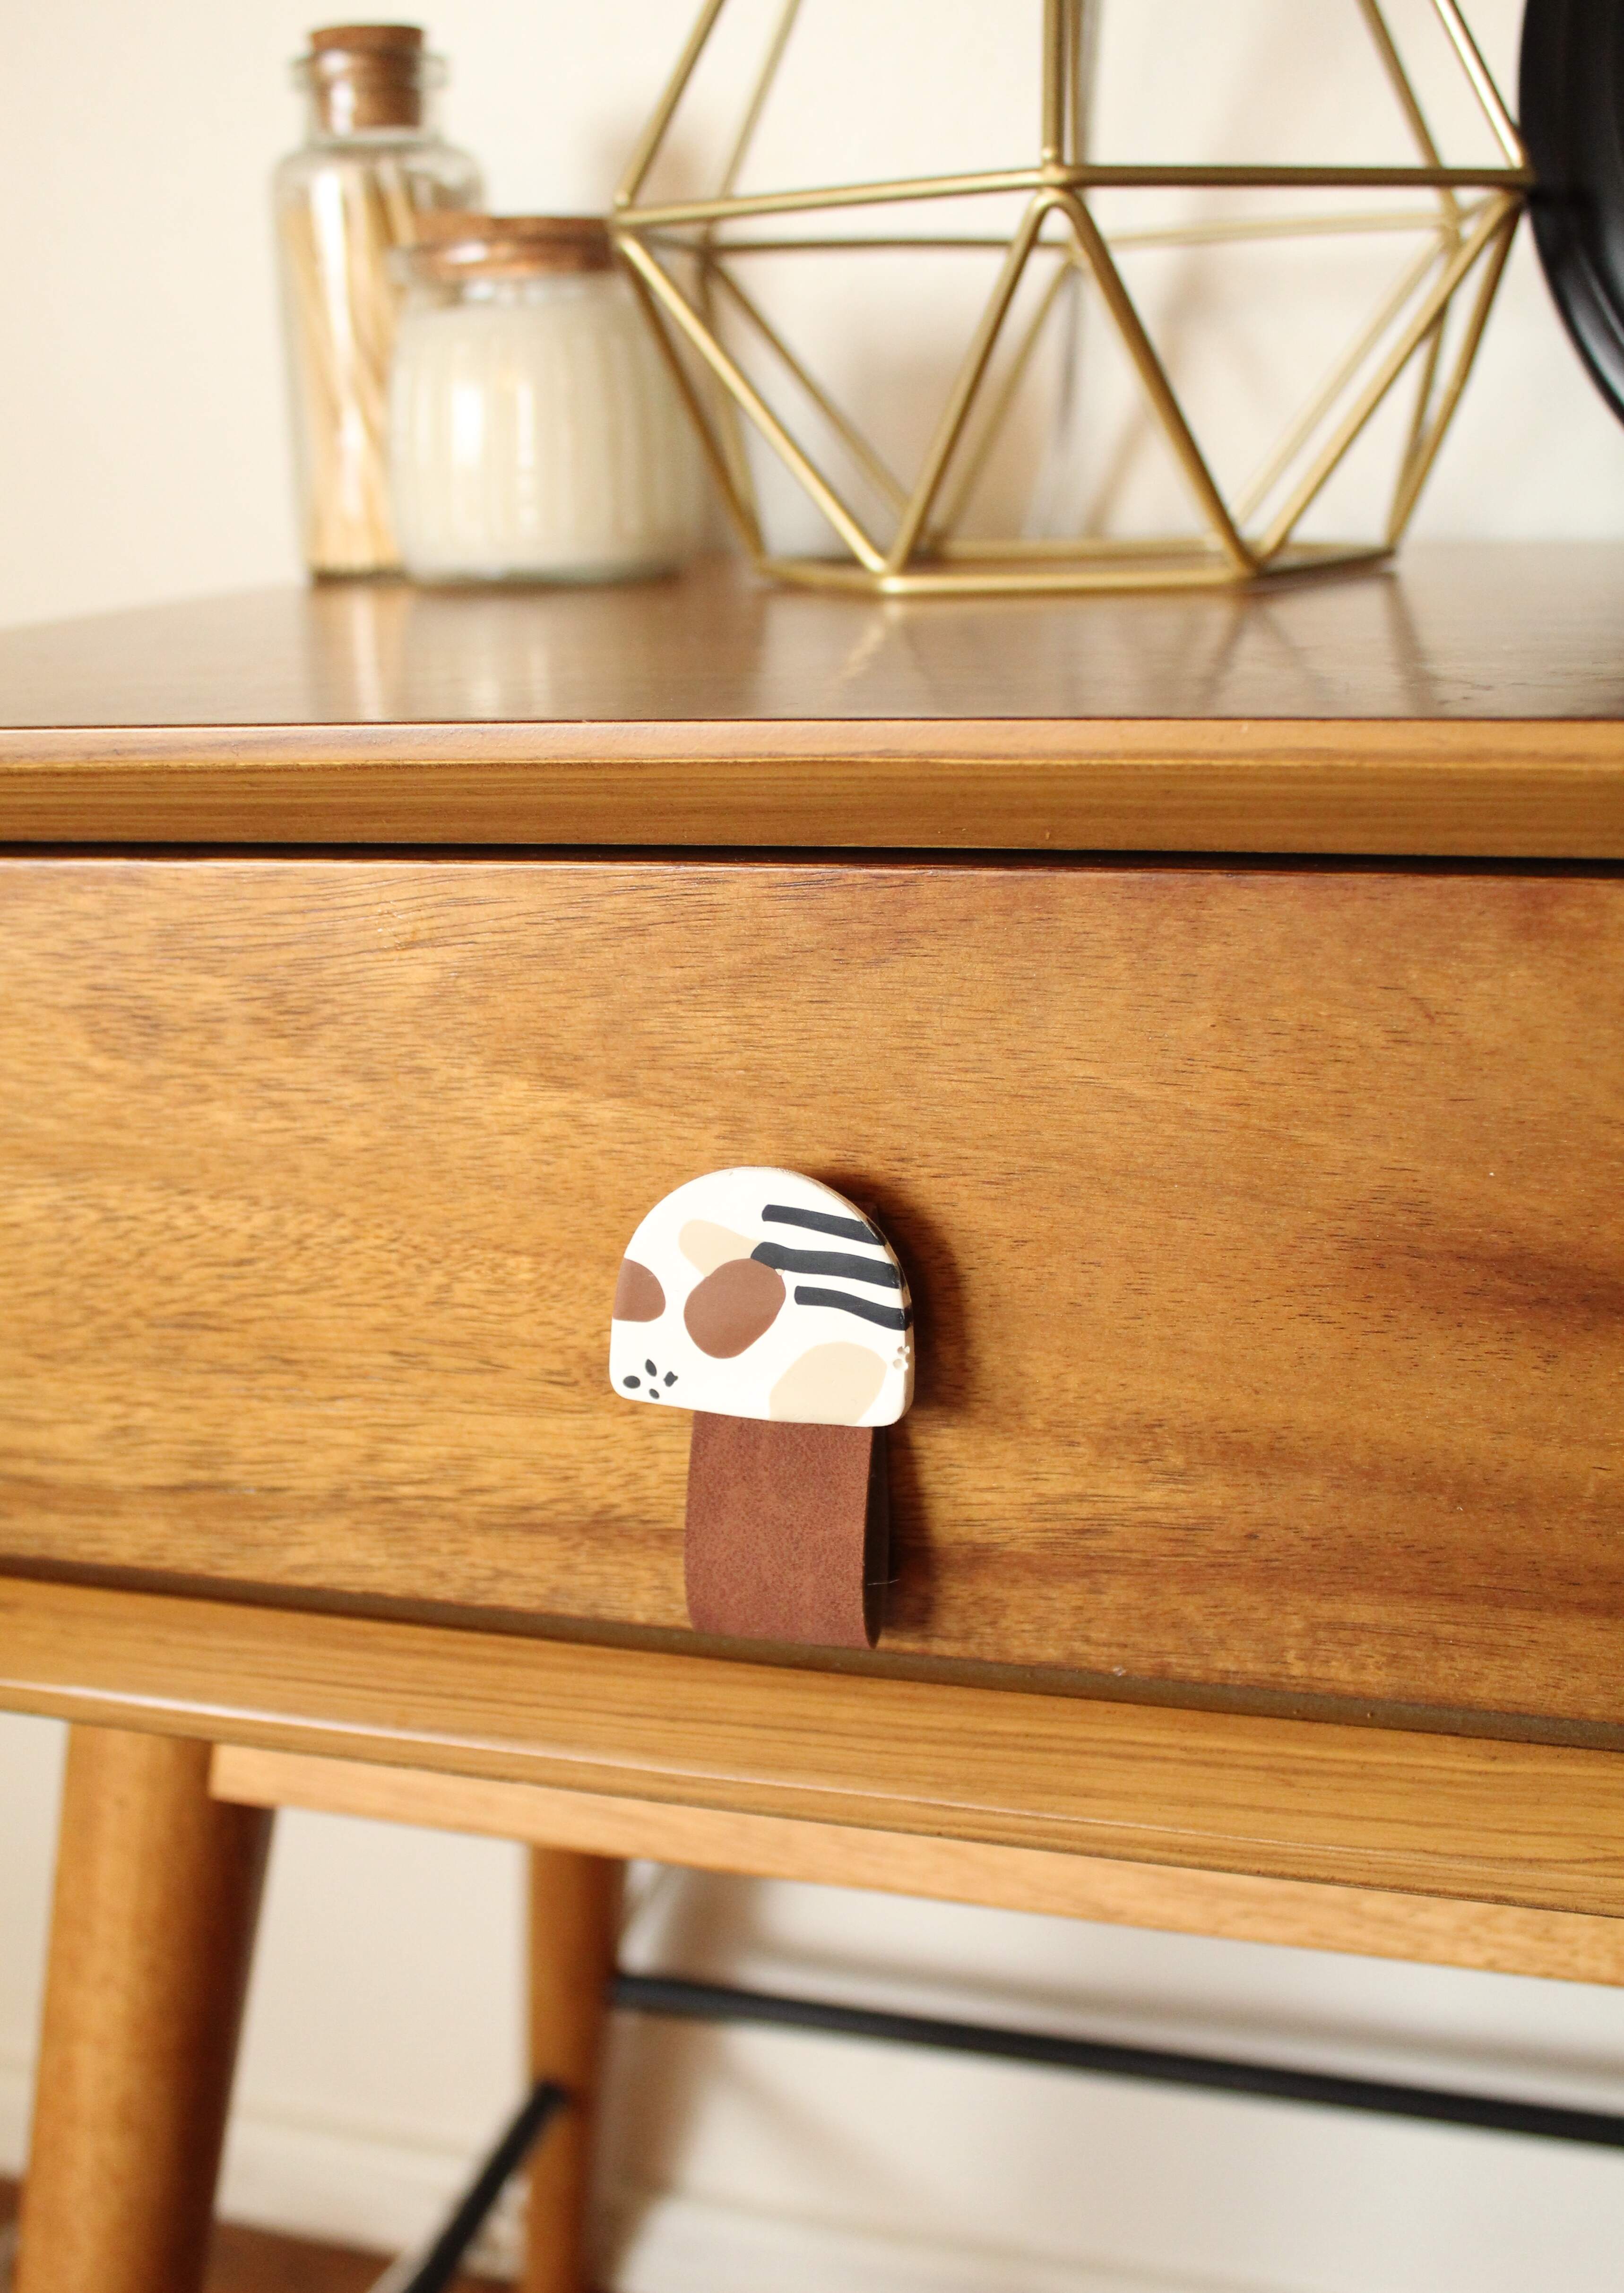
Once your glue has cured place a washer on the back of your screw. Then thread the whole thing through your faux suede piece. And you’re done! A totally custom and unique modern drawer pull! When you put them on your drawer be sure to add your second washer and then the nut to secure your pull.
Now step back and admire your work. These pulls really elevate any piece of furniture, whether it’s a nightstand, a dresser, you could even do them on your vanity!
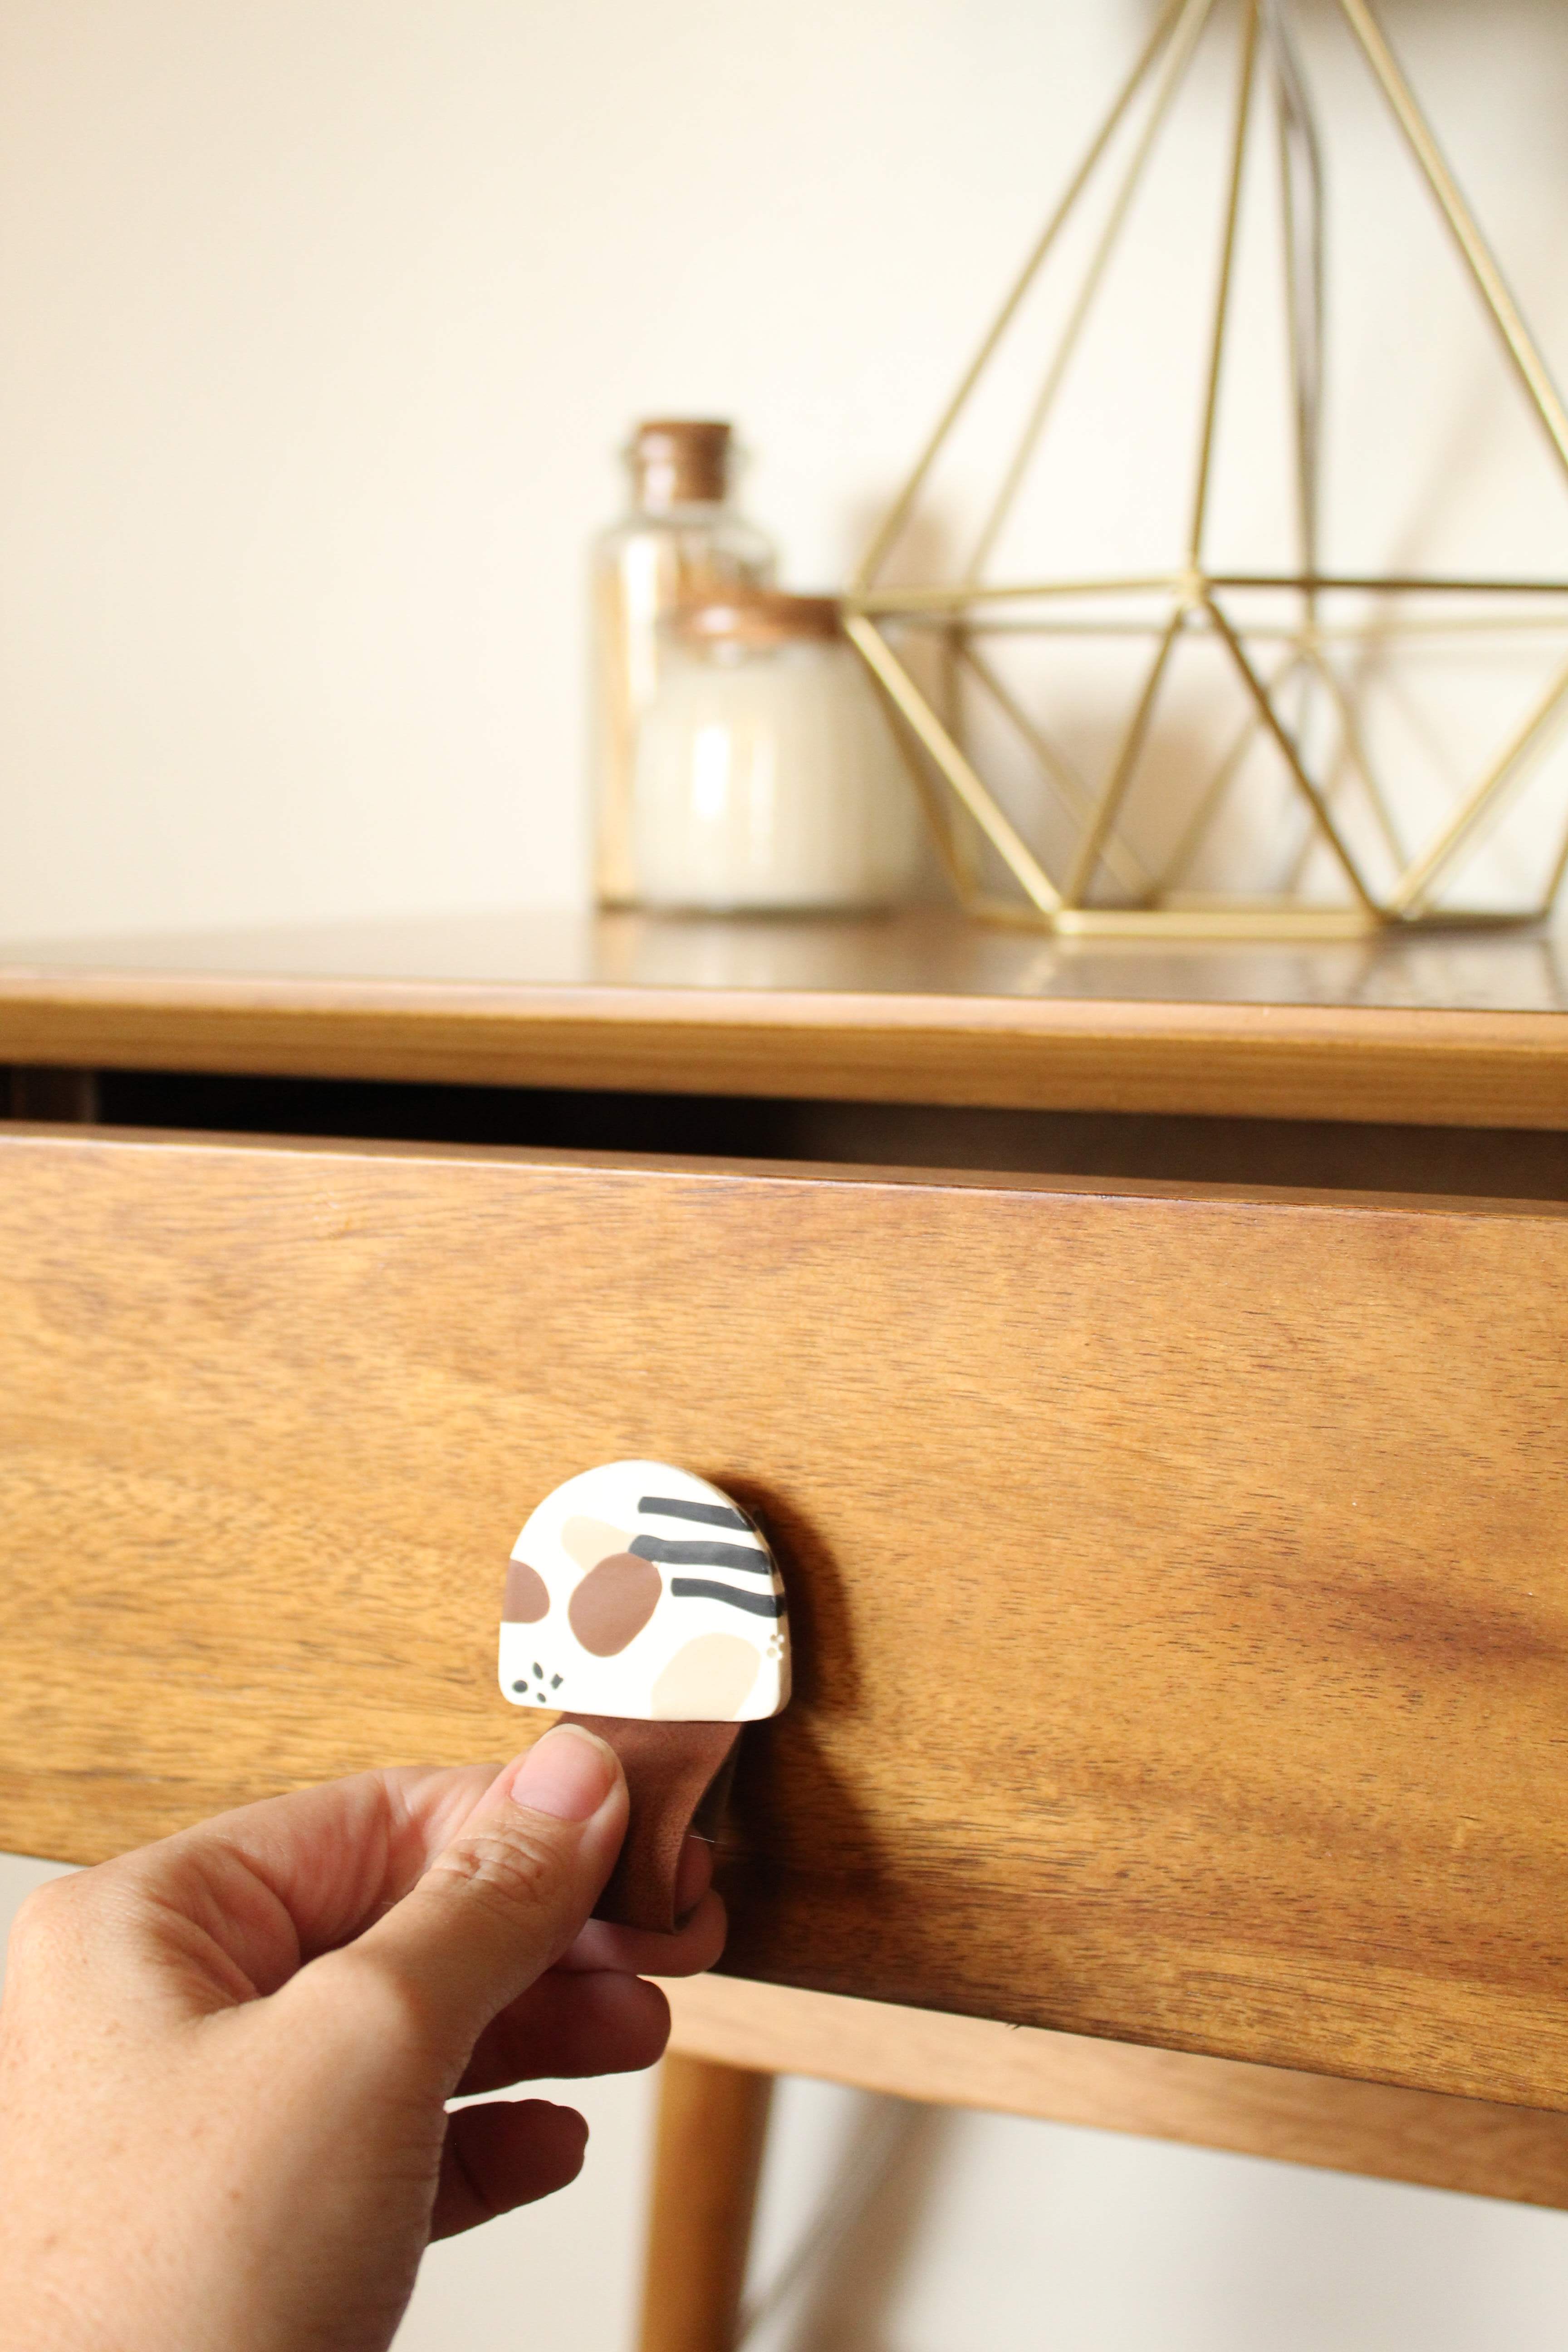
EDITORS NOTE: These pulls are constructed in a way that you should be using the faux suede portion to open the drawers. The clay portion is more for form than function. The heavy duty glue should help keep them in tact but heavy use could potentially cause damage to the clay part of the pull so keep that in mind when opening your drawers.
If you create one of our projects, please share a picture with us on Instagram or Twitter using the hashtag #somethingturquoisediy, we regularly reshare our favorites! Your profile will need to be public for us to see it otherwise, you can always DM us!
DIY Tutorial Credits
Photography + DIY Tutorial: Shea O’Quinn of Not So Cli-Shea // Polymer clay (Sculpey-white and FIMO-sahara, caramel and black) // Semicircle Jewelry Cutter // Clay Tool Starter Set // Clay Slicer // Acrylic roller // Tile // Faux Suede: Courtesy of Cricut // Ruler // Rotary Cutter // Crop-a-dile // Baking Sheet // Parchment Paper // E6000 Glue
Shop The Supplies:
Find the supplies you’ll need for this project from our affiliate links below:









Comments