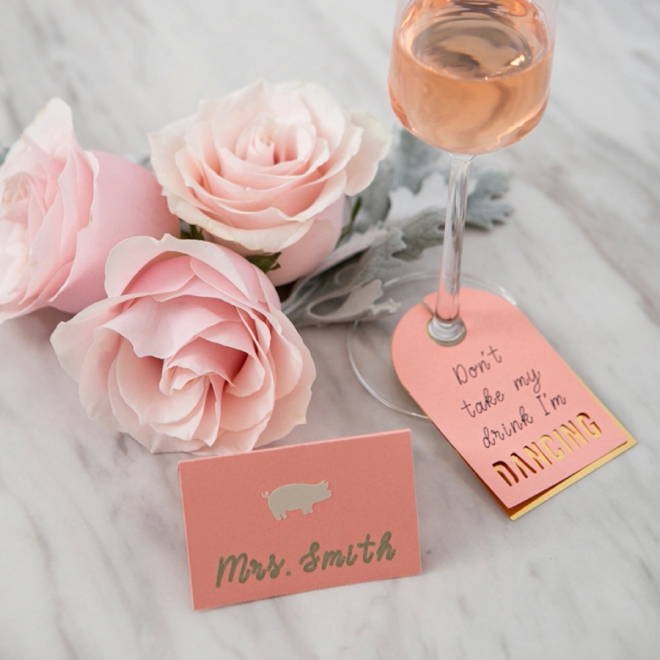
Entrée Style Seating Cards & Don’t Take My Drink Cards With Cricut & Martha Stewart

-Sponsored Post-
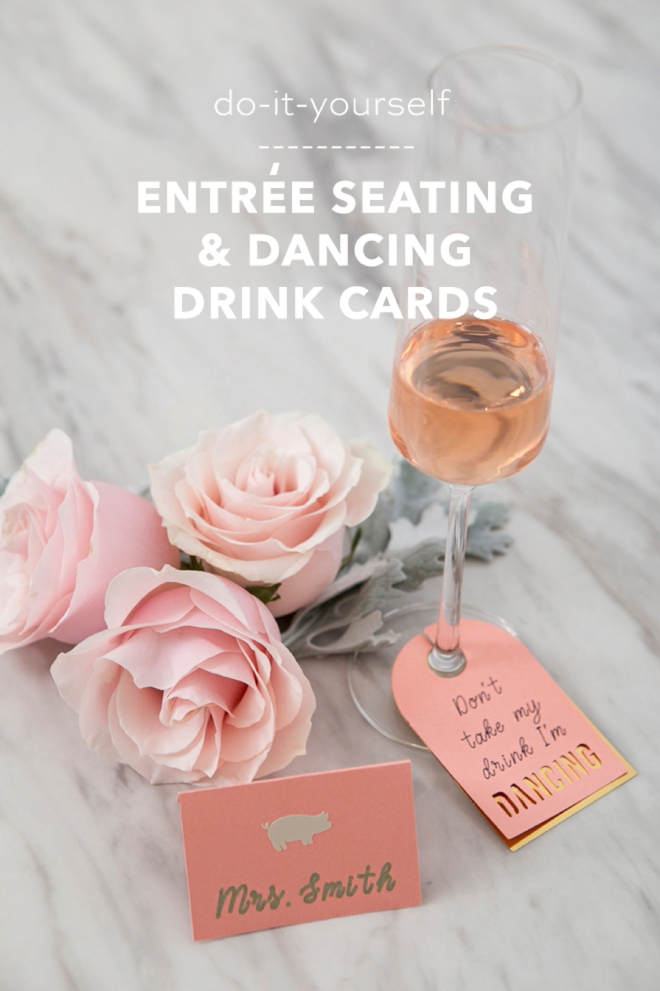
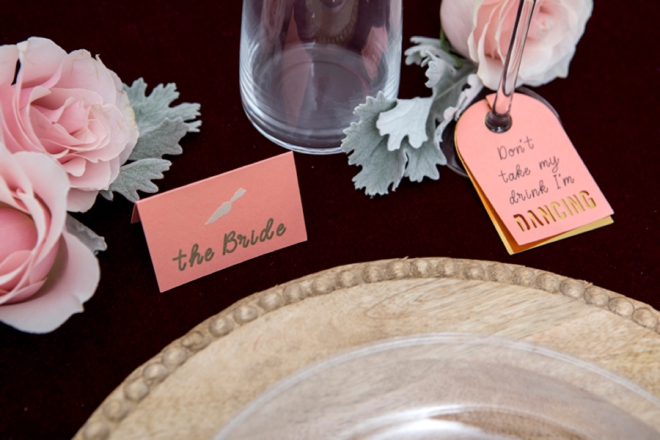
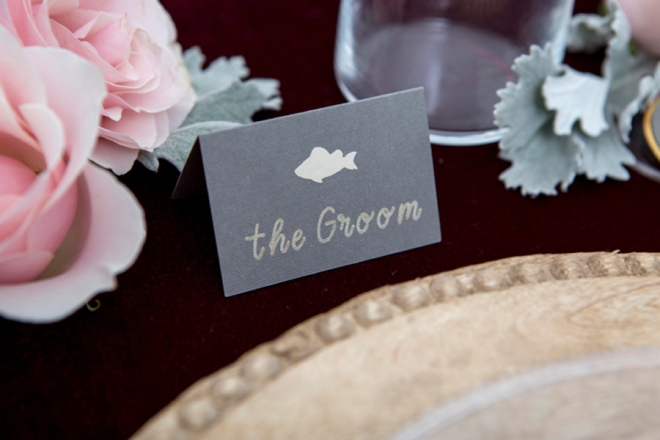
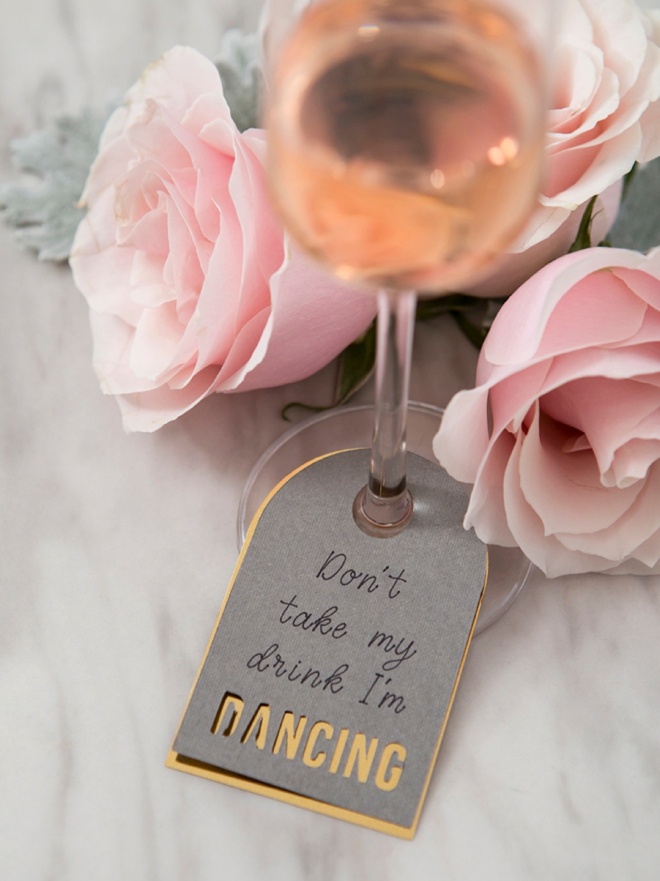
Ahh, the age-old wedding question: when offering multiple menu options, how do you communicate each quests choice with your servers? Well, today Martha Stewart and Cricut are helping us out with that! I’ve predesigned adorable “entrée style seating cards”, along with “don’t take my drink I’m dancing” cards that your servers will thank you for. Your Cricut does all the hard work, seriously you almost have to do nothing it’s fantastic. So gather your rsvp list and let’s get crafting!
Martha Stewart & Cricut Wedding Collection
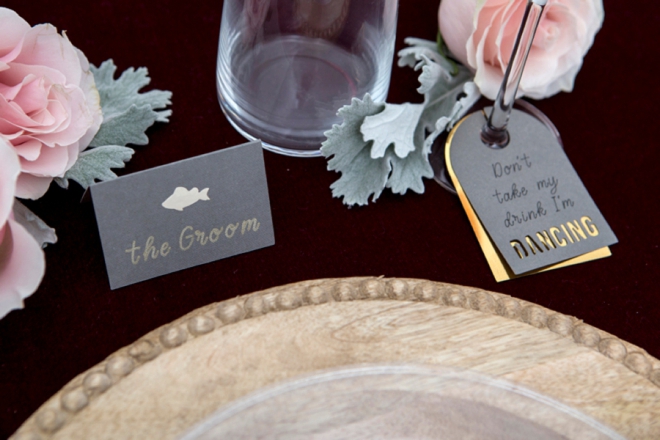
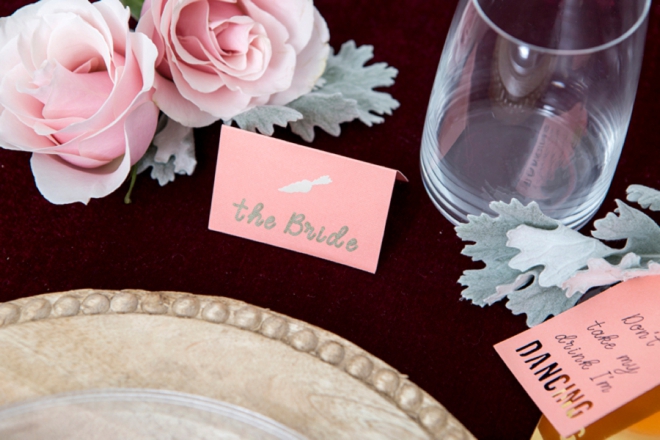
It’s not everyday that I can get this jazzed about new craft products! I’m honored to share that Martha Stewart has just released a brand new line of wedding-specific Cricut materials at Michaels!!! Yaaassss! One of the most exciting elements is that the packages, be it iron-on, vinyl, or cardstock – are all mixed materials! Which is exactly what we need for weddings! A little of this and a little of that making creating all your wedding projects super easy… and it wouldn’t be Martha without gorgeous color schemes! Today I’m using one of her mixed cardstock packages called Petals & Pearls to create both tags you see here.
SUPPLIES:
Create In Design Space
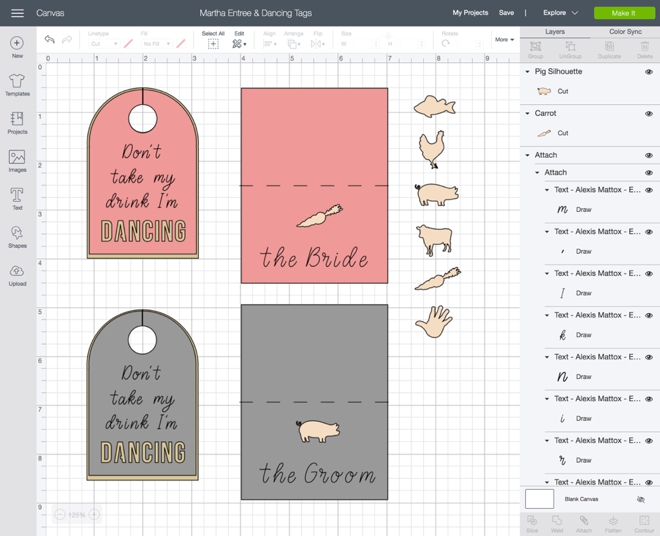
The first step is to login to Design Space and start designing your custom cards. Like I mentioned before, your Cricut does all the work for you on this project, it’s amazing. It cuts the cards and writes the text too! Click on this link to visit my canvas in Design Space to use my pre-designed cut files, some of the files I used for these designs require a subscription or will cost a few dollars. The two fonts I used are Bebas and Emma Rae. For the seating cards, you will need to add each guests name individually along with their entree choice sticker, so it will take you some time. Prepare your mats and get ready to cut!
Time Saver: as each RSVP comes in, make your guests seating cards then! That way you won’t have to sit down and make 100+ all at one time.
Let Your Cricut Work It’s Magic
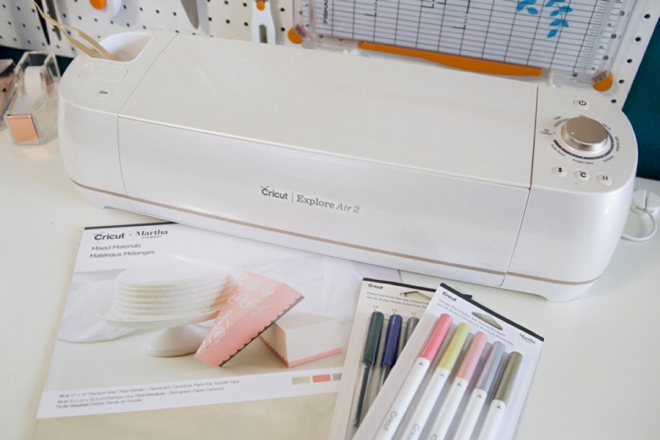
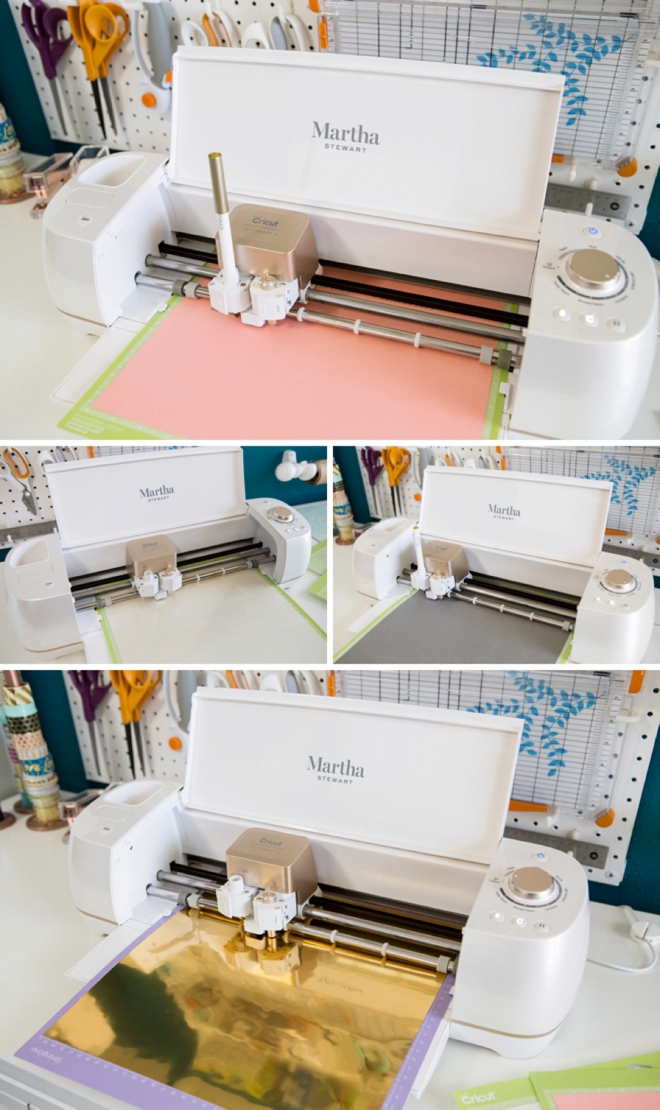
Here we’ll be cutting cardstock (for the cards), vinyl (for the menu stickers), and party foil (for the underneath of the drink cards)… along with using the scoring stylus and two different pens the Gold marker and the Black fine tip, so lots going on. Stay focused and remember to choose the right cutting material along with adding the proper pens when the machine calls for them!
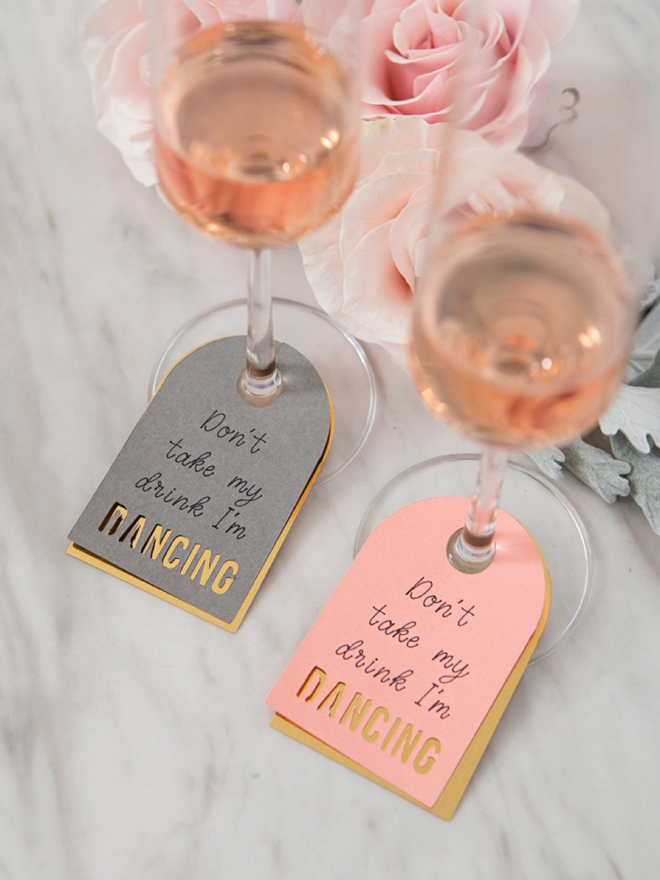
Don’t Take My Drink
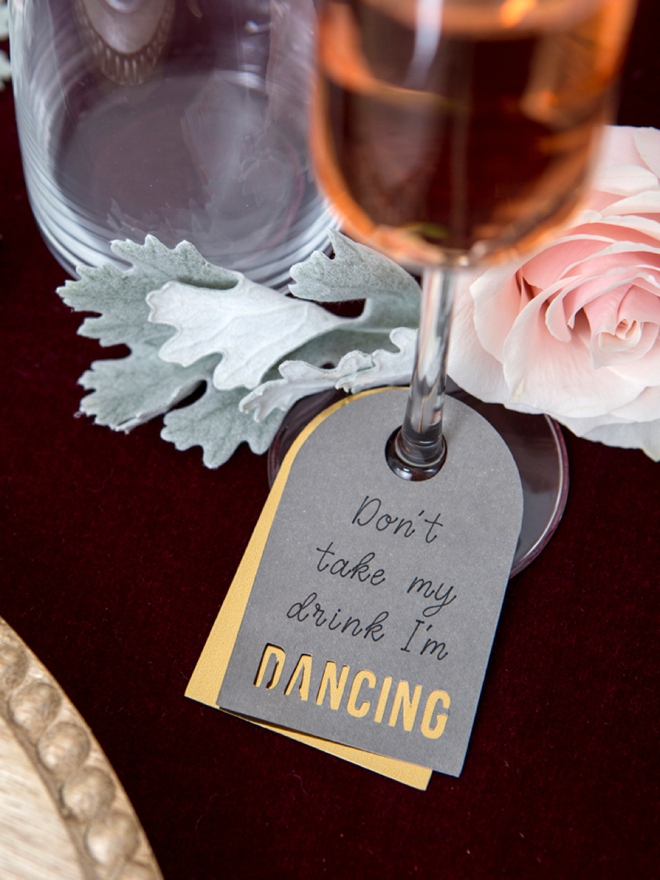
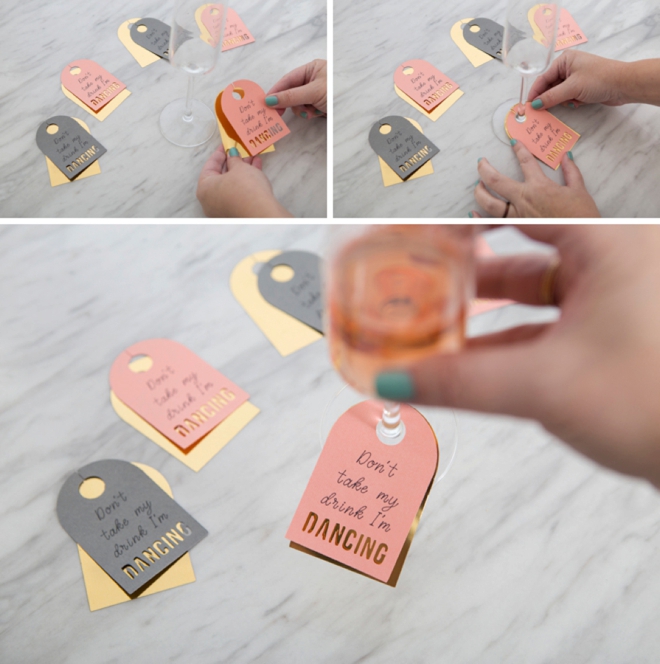
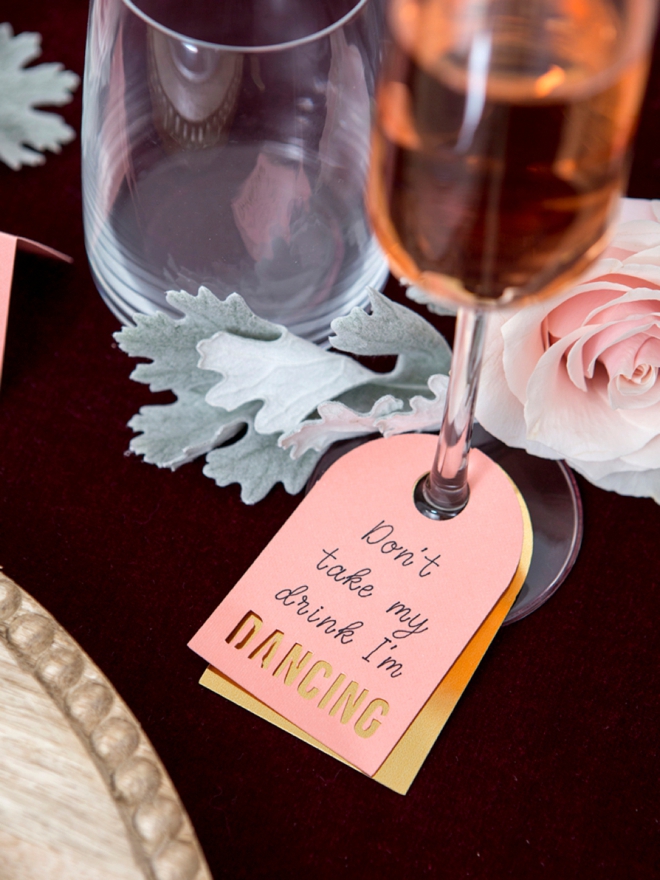
Servers LOVE clearing tables, so let them know you’re still enjoying your drink with these adorable hang tags! The party foil addition underneath the tags adds a fun shine to this idea. Have these available at the bar or at each table for your guests to use.
Entrée Seating Cards
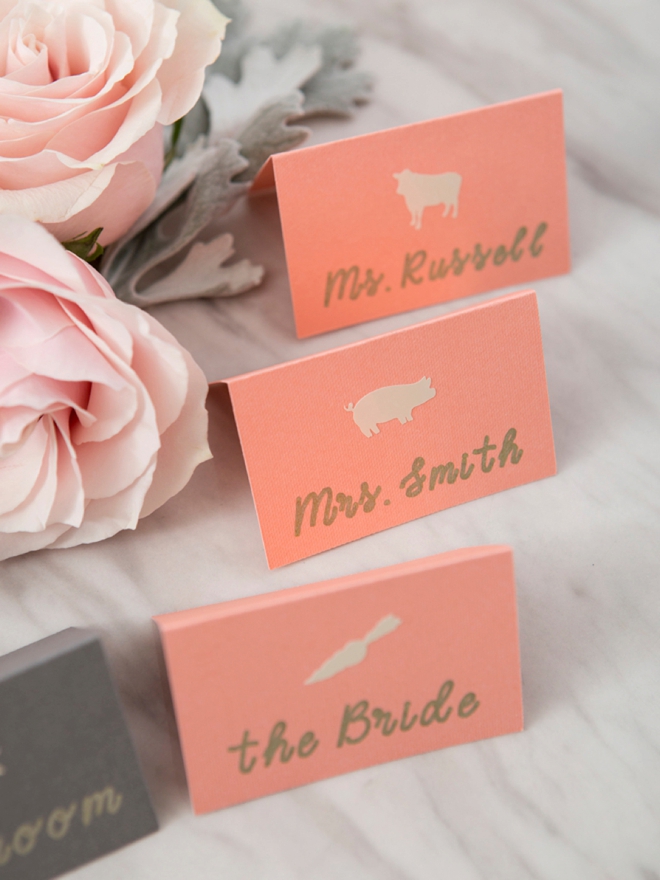
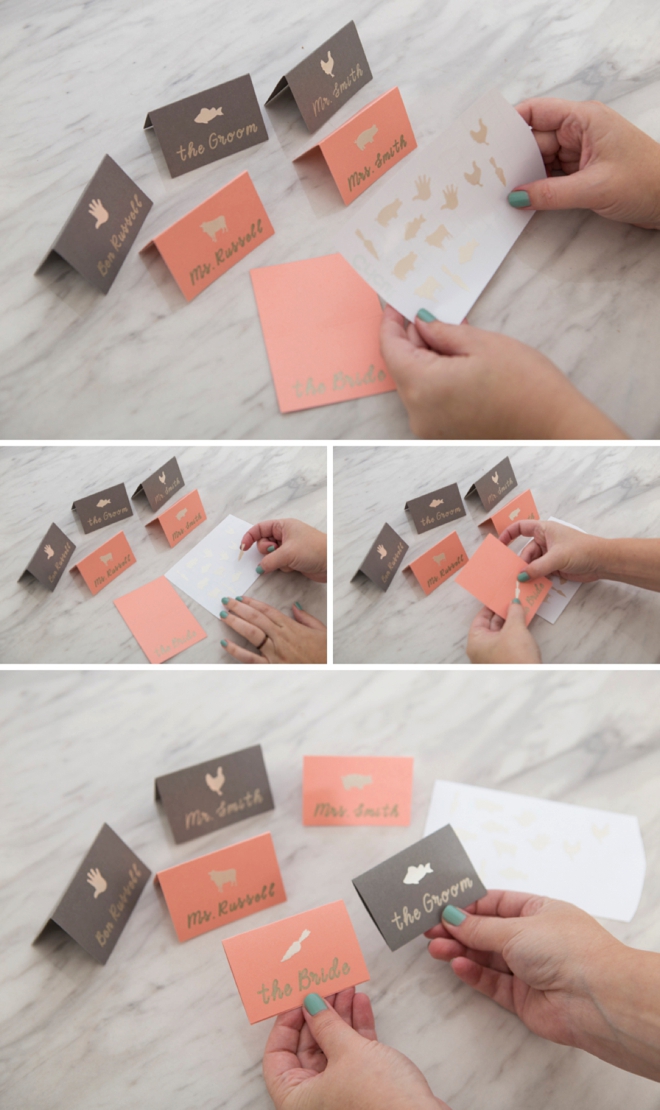
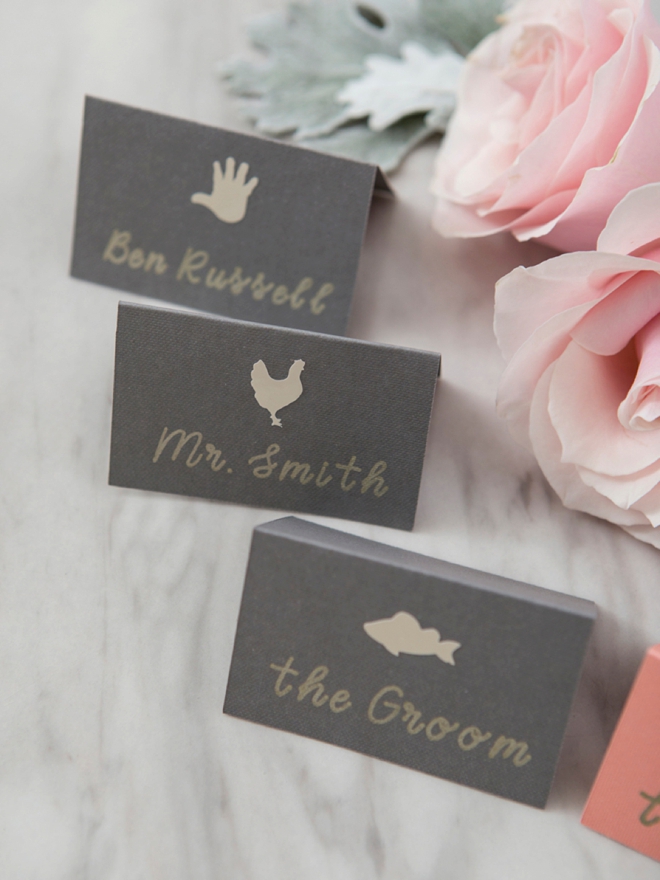
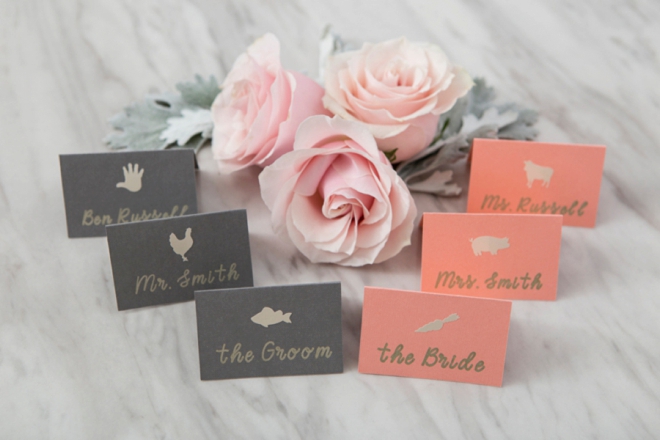
Yes you can give your servers a master list of who should be sitting where and what they ordered, however your guests will change seats and forget their menu choice. These cards solve those issues. With it placed right in front of the guest, it makes it super easy for the servers. Simply add the correct vinyl sticker for each guests choice, that’s it!
Menu: you might not be offering all these choices, so simply delete the icons you don’t need! Also, the hand is supposed to be the “kids meal”.
Endless Personalization Options
If you’ve been on the fence about getting a Cricut, or you need a gentle nudge to finally pull the trigger – our projects are it! Seriously, the sky is the limit when it comes to what you can make for your wedding with the Cricut Explore or the Cricut Maker. From adorable custom cards like these to an entire wedding bouquet made from felt and everything in between. It will be your number one wedding crafting tool and after your wedding, you will find loads of ways to personalize your new home, make fabulous gifts and so much more!
DIY Tutorial Sponsored By:

Cricut is a world-class leader in personal electronic cutting machines that has enabled people to achieve their creative best for over 50 years. Today, millions of people use Cricut products to create unique projects, and they focus on enhancing lives with this power of creativity. Let Cricut help you take your wedding personalization and project creativity to the next level!
As with all our DIY tutorials, if you create one of our projects please send us a picture – We Love Seeing Your Creativity! If you use Instagram or Twitter please use the hashtag #SomethingTurquoiseDIY and it will show up on our Get Social page. Happy Crafting!
DIY Tutorial Credits
Photography + DIY Tutorial: Jen Causey of Something Turquoise // Cricut® Explore Air™ 2 Special Edition, Martha Stewart Machine Bundle and Mixed Materials: courtesy of Cricut // Nail Polish: OPI – Withstands the Test of Thyme
Shop The Supplies:
Find the supplies you’ll need for this project from our affiliate links below:




Comments