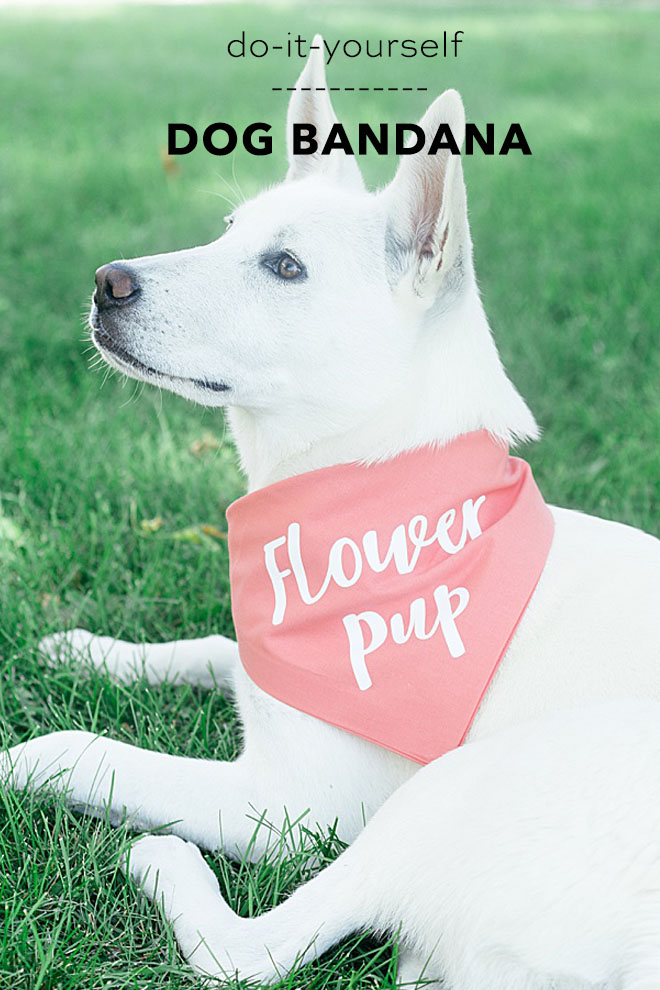
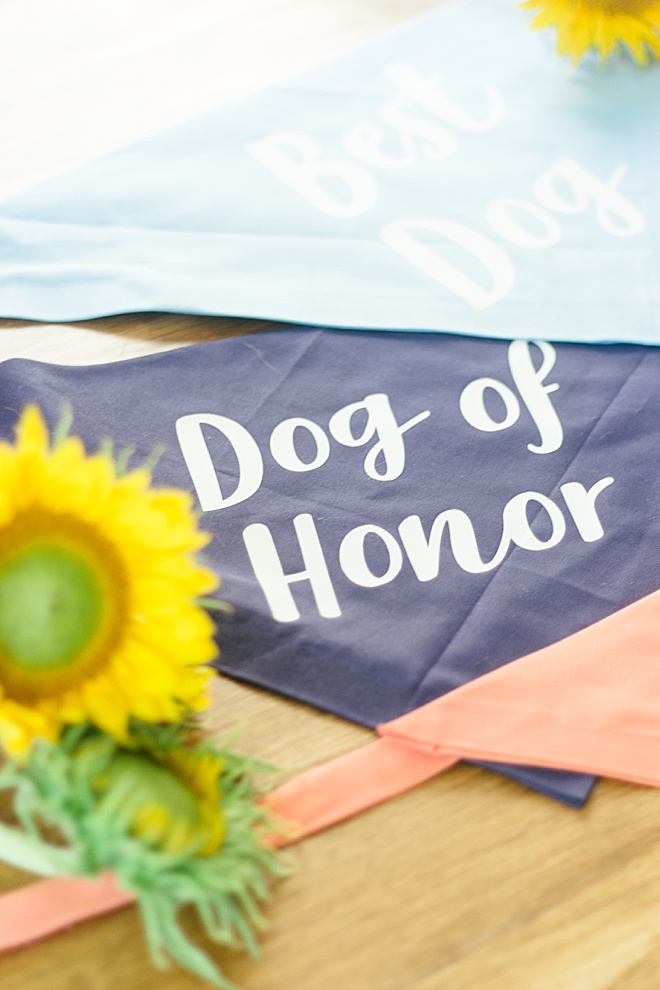
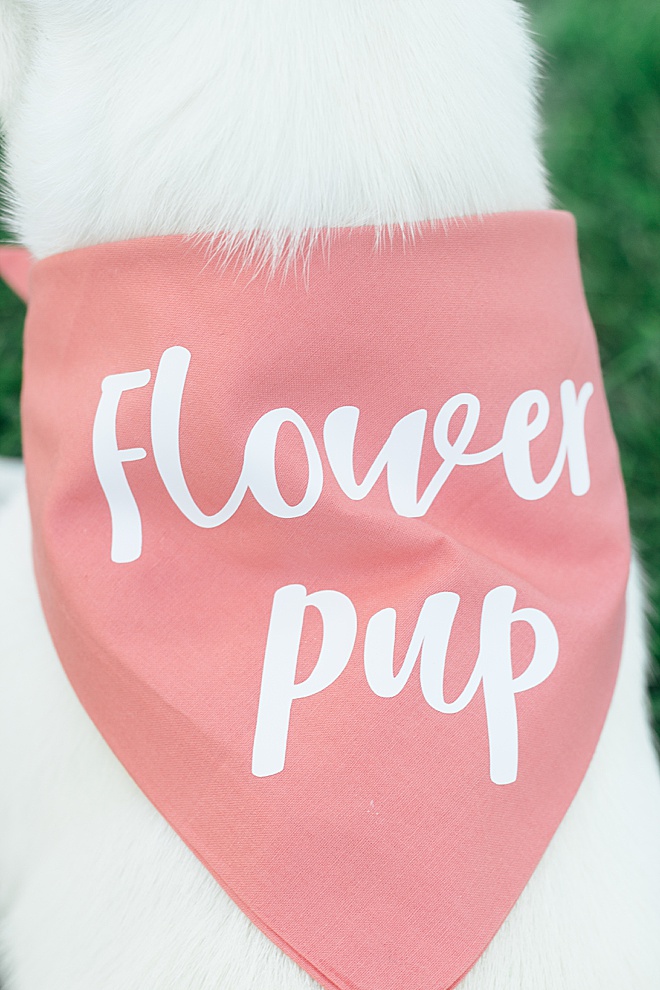
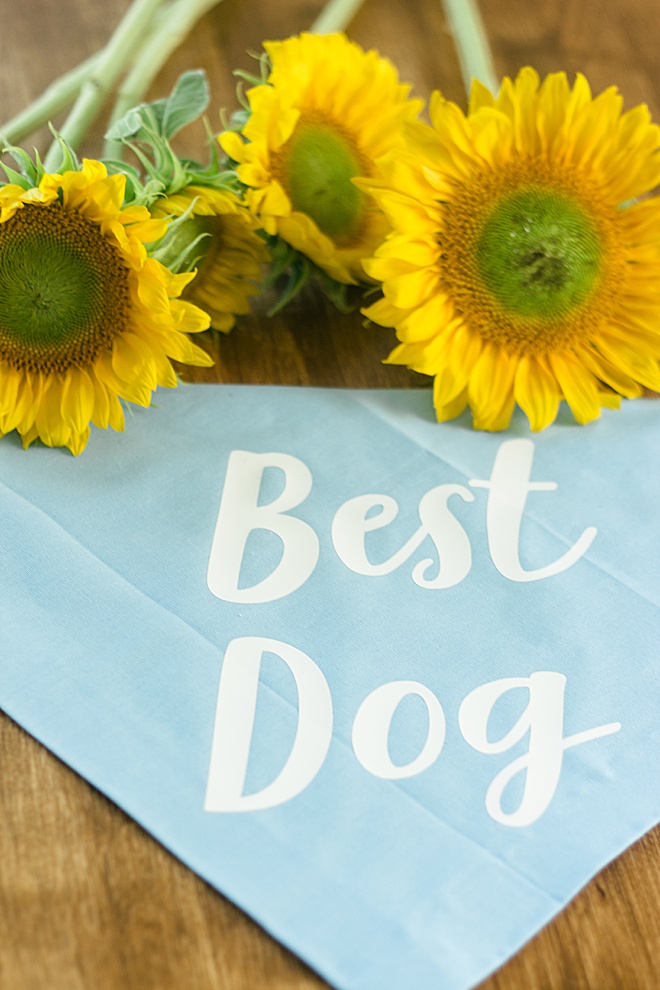
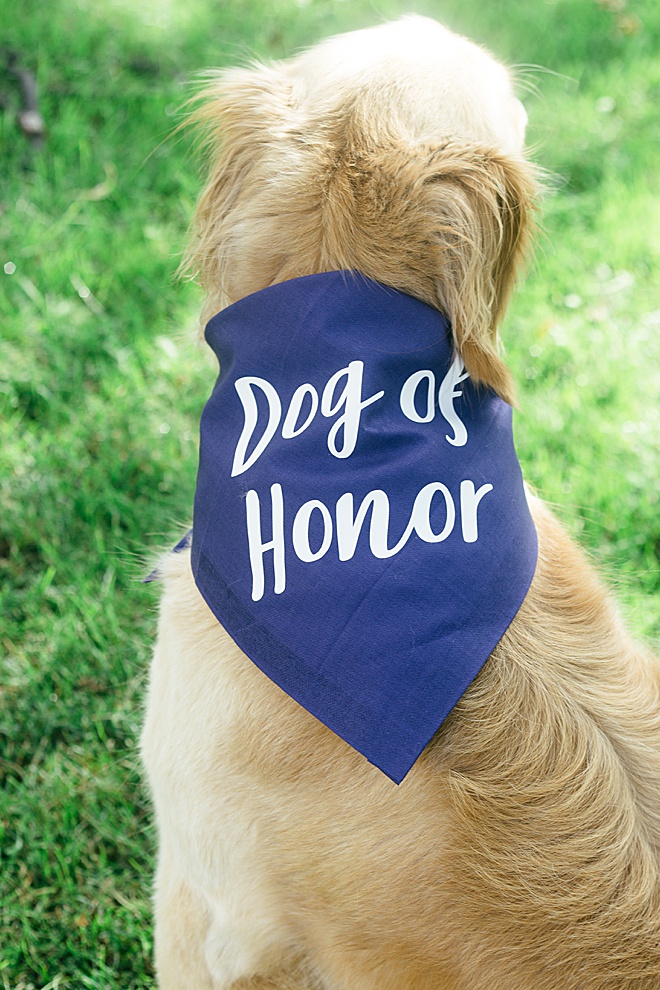
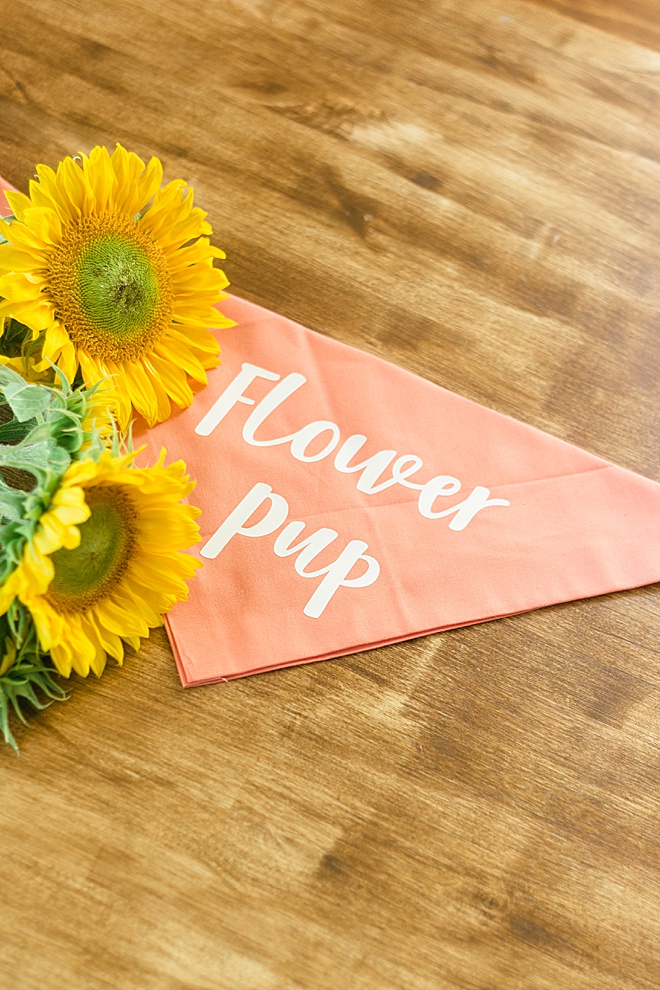
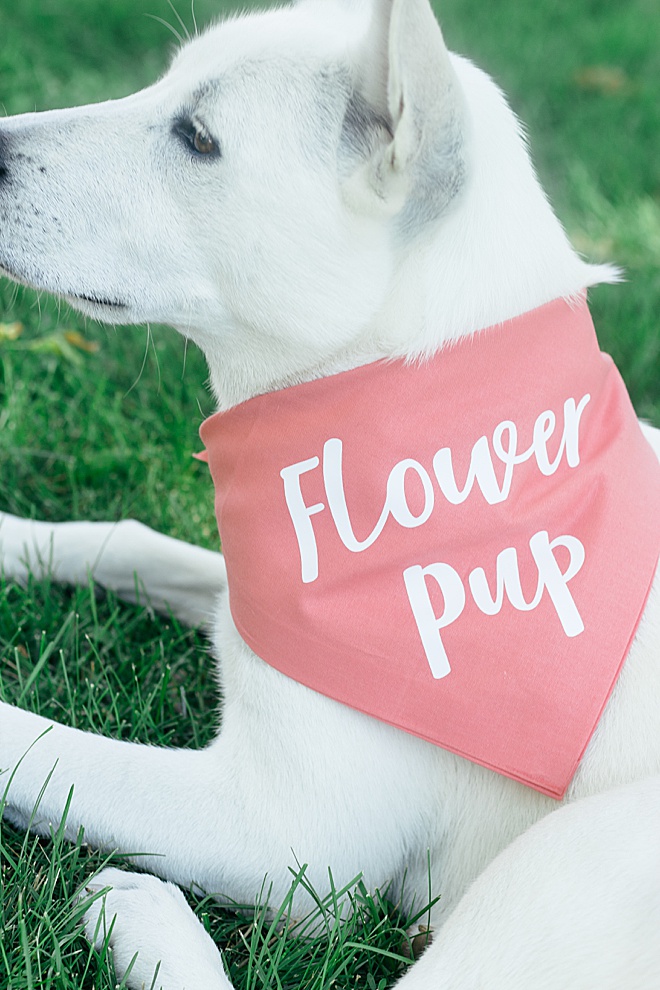
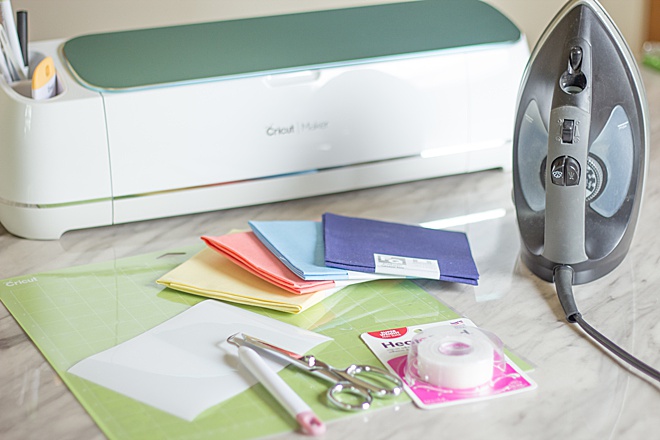
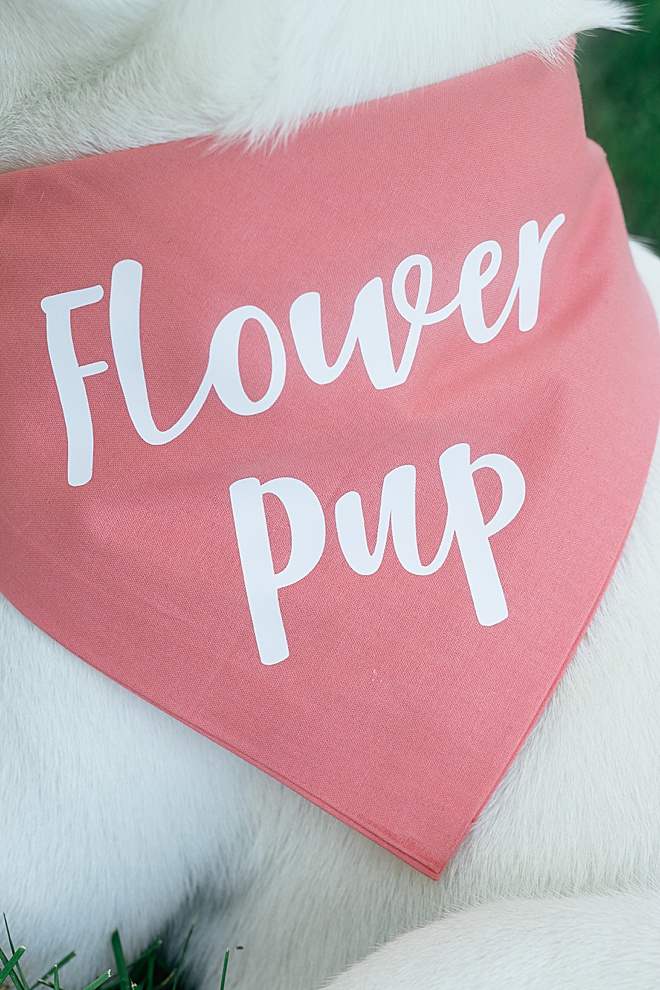
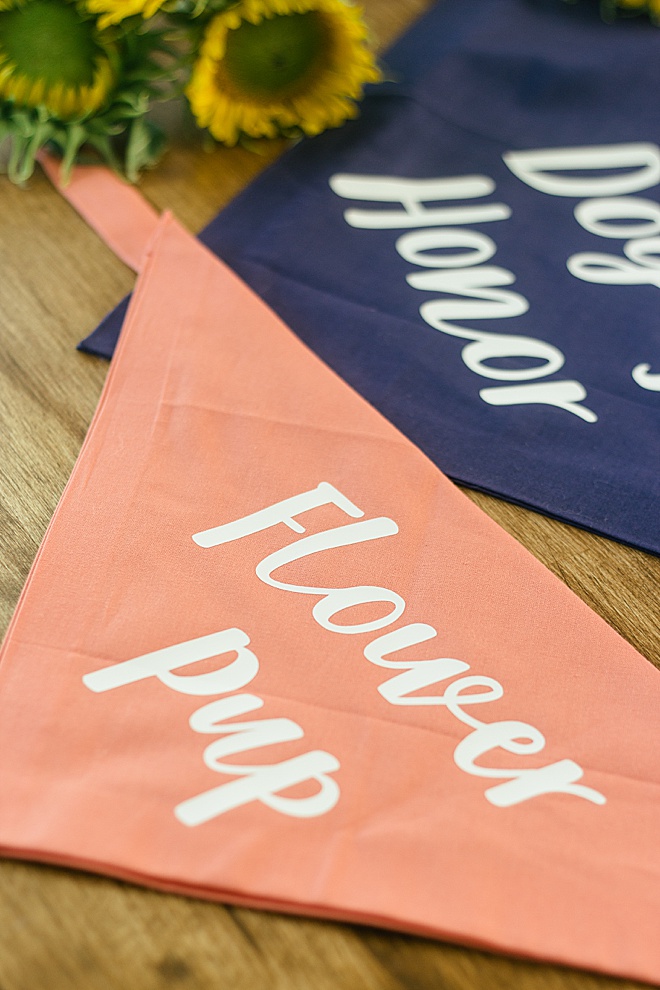
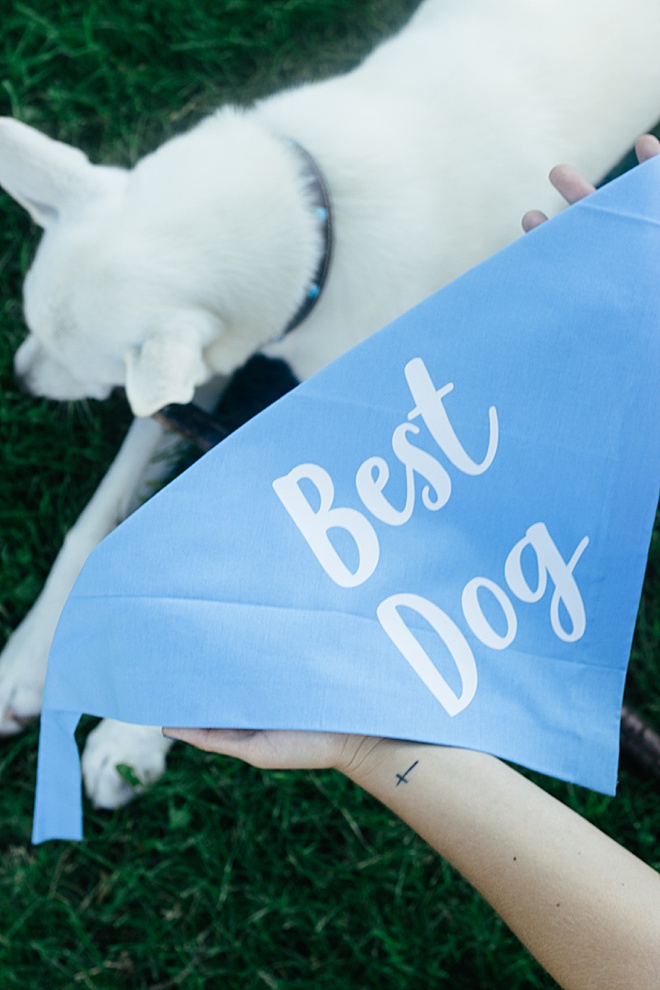
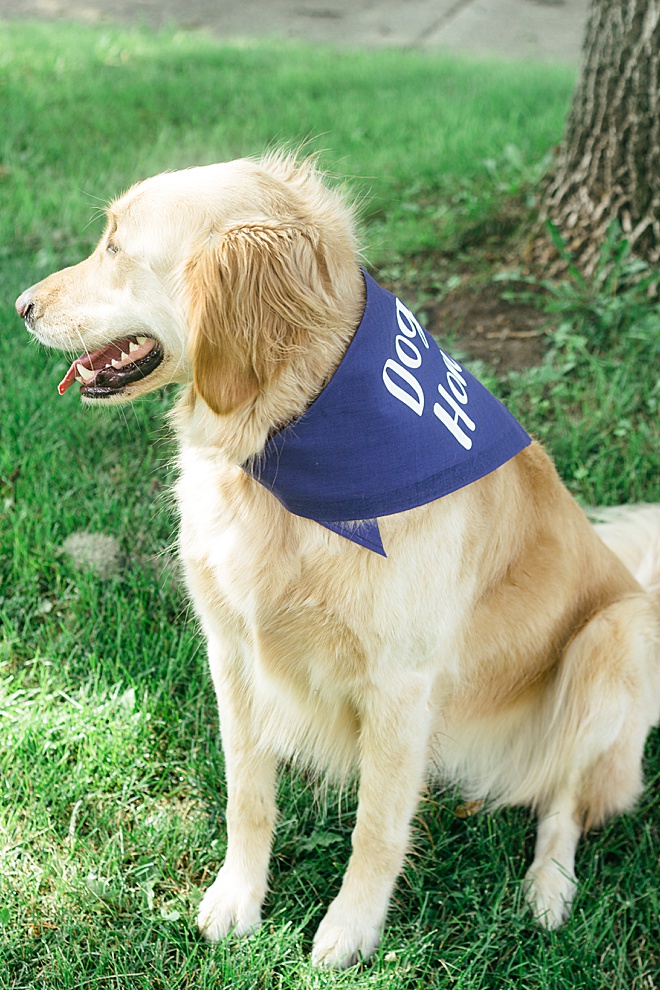
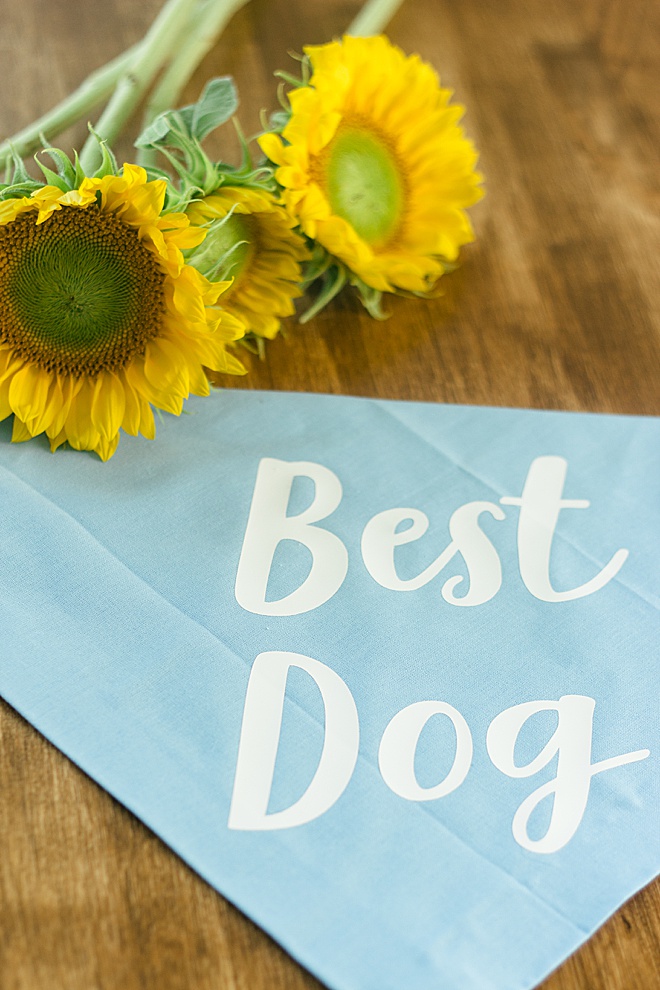
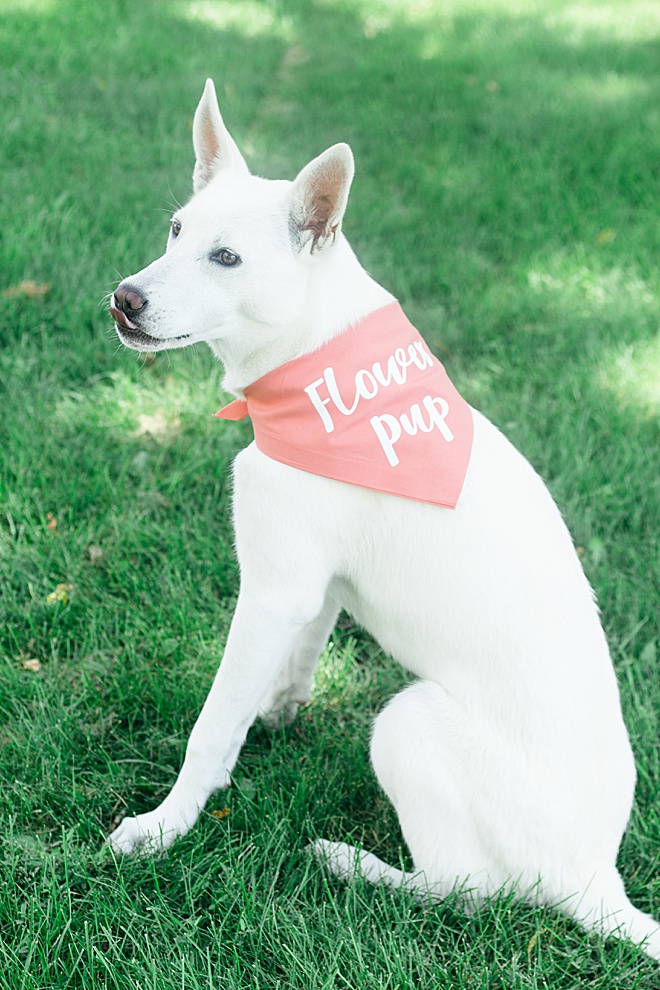
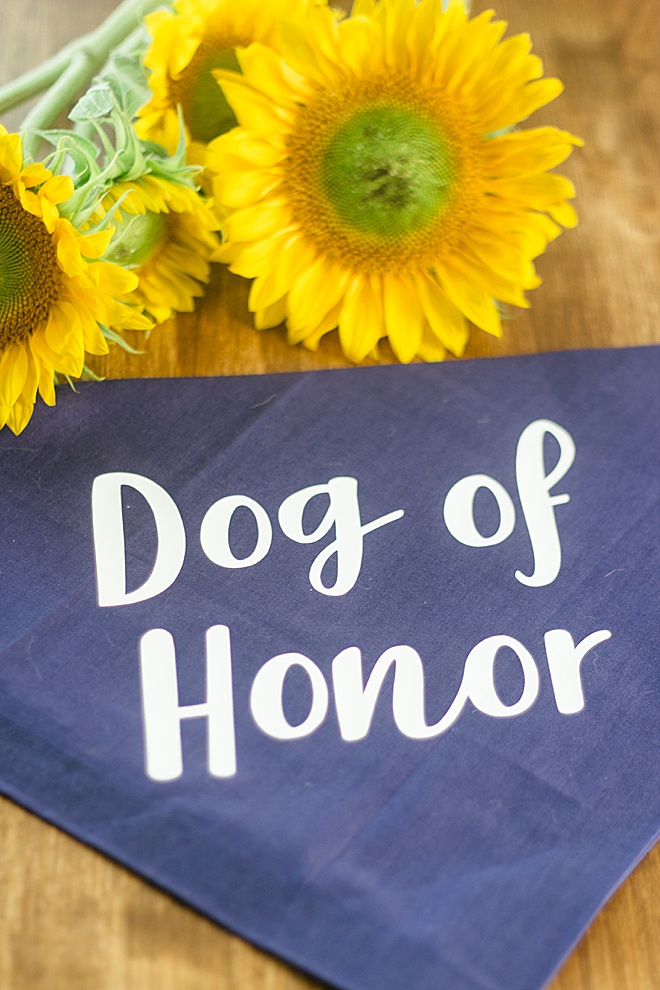
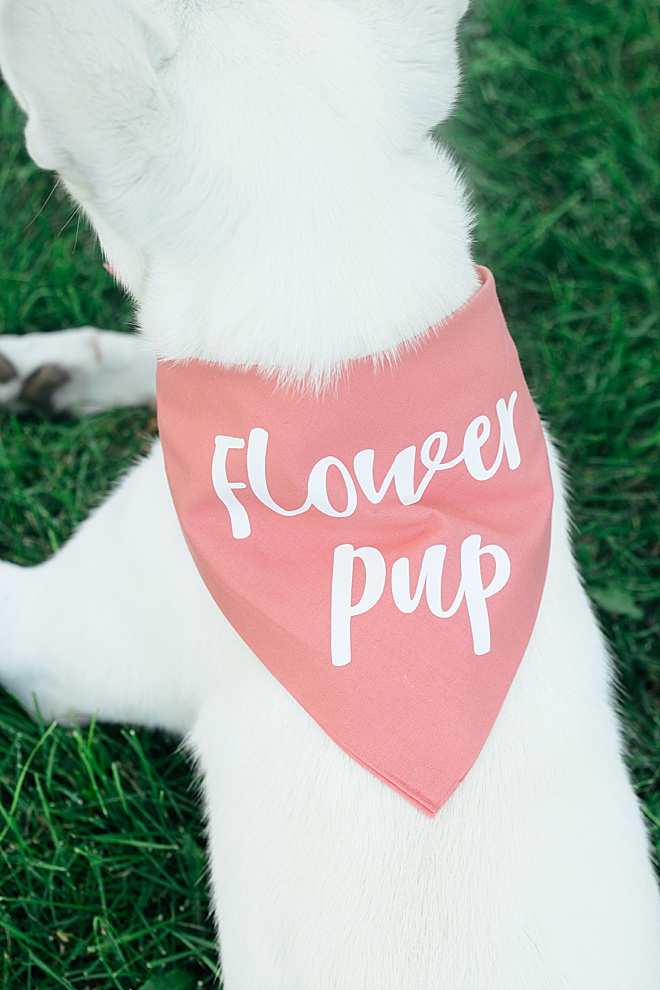
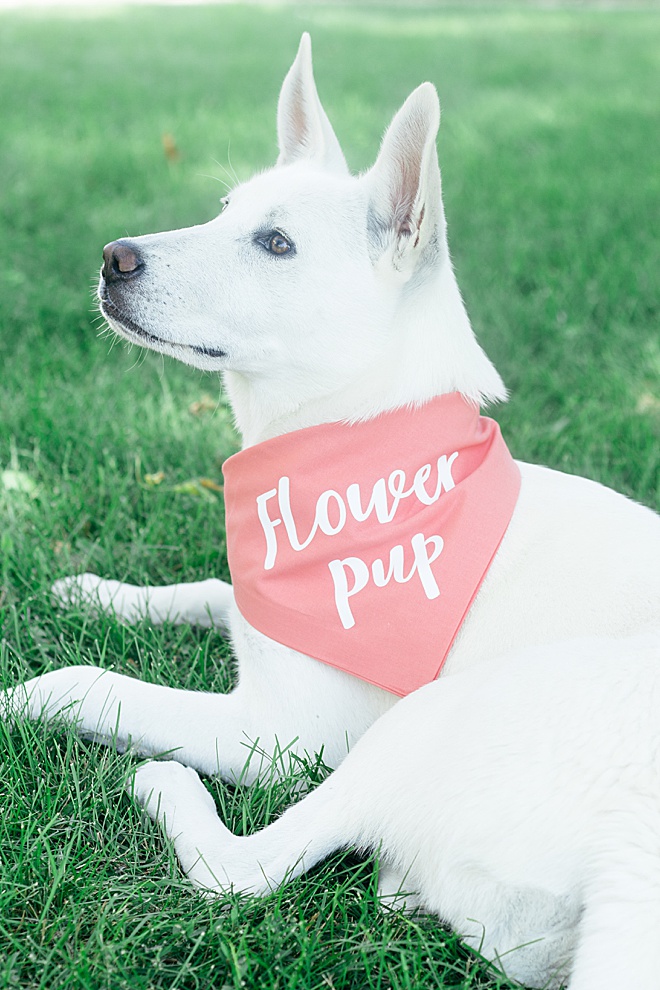
I am Carli Hein from Hein & Dandy, a DIY blog focused around every day life! I am in love with my dog. We didn’t get her until a year after we were married but if it was up to me we would have gotten one much sooner. The inspiration for this DIY is for all the dog moms out there who want their pup to be a part of their big day creating one family. Whether you want your dog to be your “Dog of Honor” or “Flower Pup”, maybe even his “Best Dog”, we have a bandana for you. The best part is there is no sewing involved! Grab your dog BFF, and your Cricut, and let’s make!
Iron the wrinkles out
You can use an ironing board or a towel while ironing. Make sure the steam setting is OFF and you put the temperature to “cotton”.

Fold and Cut
If you have a big dog, fold the fat quarter into a triangle, leaving a strip at the end. Cut off the strip and save it for later in the tutorial.
If you have a small dog, fold the triangle so there is a strip of fabric on both sides of the triangle.

Hem Tape
Unfold the triangle to reveal a large square. Fold over every edge and place a strand of hem tape the entire length. Using the iron, heat the fold for 5 seconds. Do this step for all four corners.

After all edges are hemmed we are going to fold the the fabric back into the triangle. Place two long strands of hem tape along the seam and iron down again for 5 seconds.


Add Ties
Time to take out the extra pieces of fabric and create the tie. Cut the long strand in half. Place hem tape in the middle of the fabric, fold over each edge to the middle, and iron. Do this for both pieces and then cut a triangle out of the end of the fabric at an angle.
On the back of the bandana, place a strip of hem tape and iron the ties onto the back.


Upload
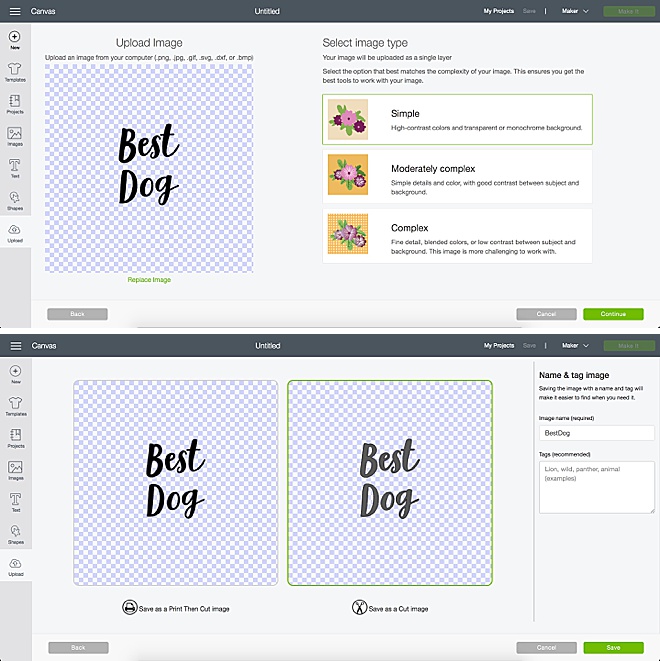
Now for the fun part! Using our Cricut cut files at the end of the post, download the files to your computer. Upload them to a new project on your Cricut Design Space.
Once uploaded, click the “simple” image type box. Then save as a cut image, putting any information you want to remember about this project in the tags section. Then click save.
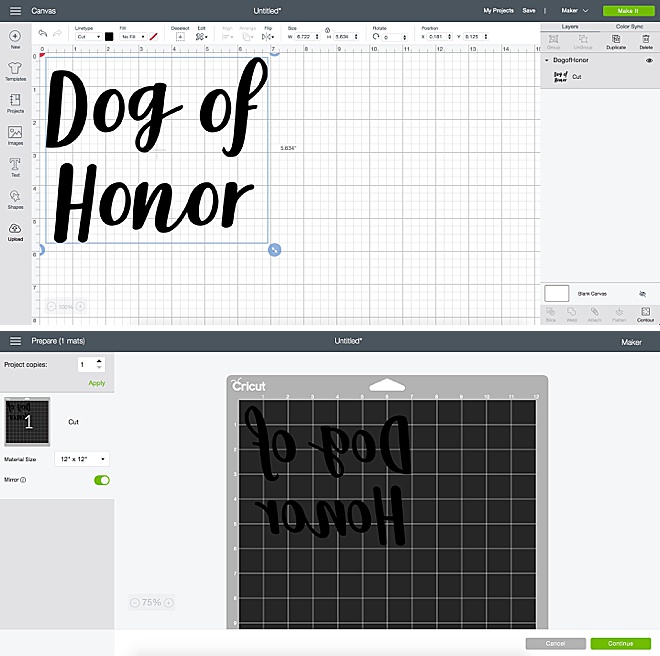
For the large bandana you will want your words to be under 7 inches in length to fit on the bandana.
Click “make it” and make sure to click the “mirror image” option. Then Click continue!
Cut
Let your Cricut do all the hard work for you with a touch of a button! Make sure that the shiny side of the iron-on vinyl is on the bottom, sticking to the Cricut mat.

Weed
Weeding iron on is so simple and fun with Cricut. Peel back all the areas that you do not want to be ironed on to your bandana, leaving just the words left on the plastic.

Iron On
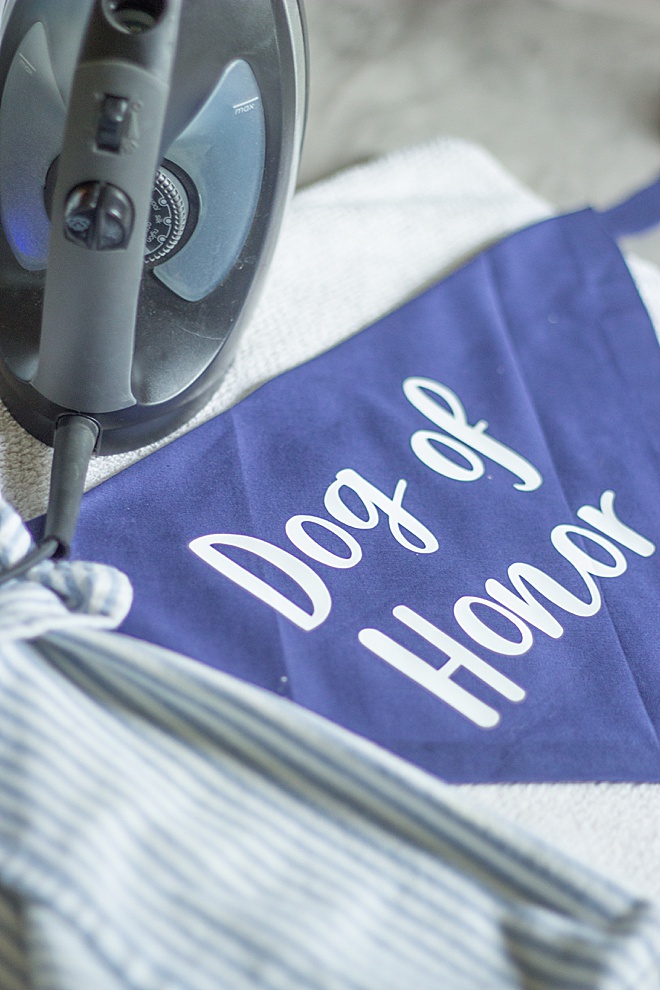
Heat the surface of the bandana before you put text on top of the bandana. Align the design in the middle of the bandana. Press down so it sticks to the fabric and put a thin cloth on top of the design. Iron using pressure until the design sticks to the fabric and doesn’t peel away when trying to lift the plastic coating off.

Tie
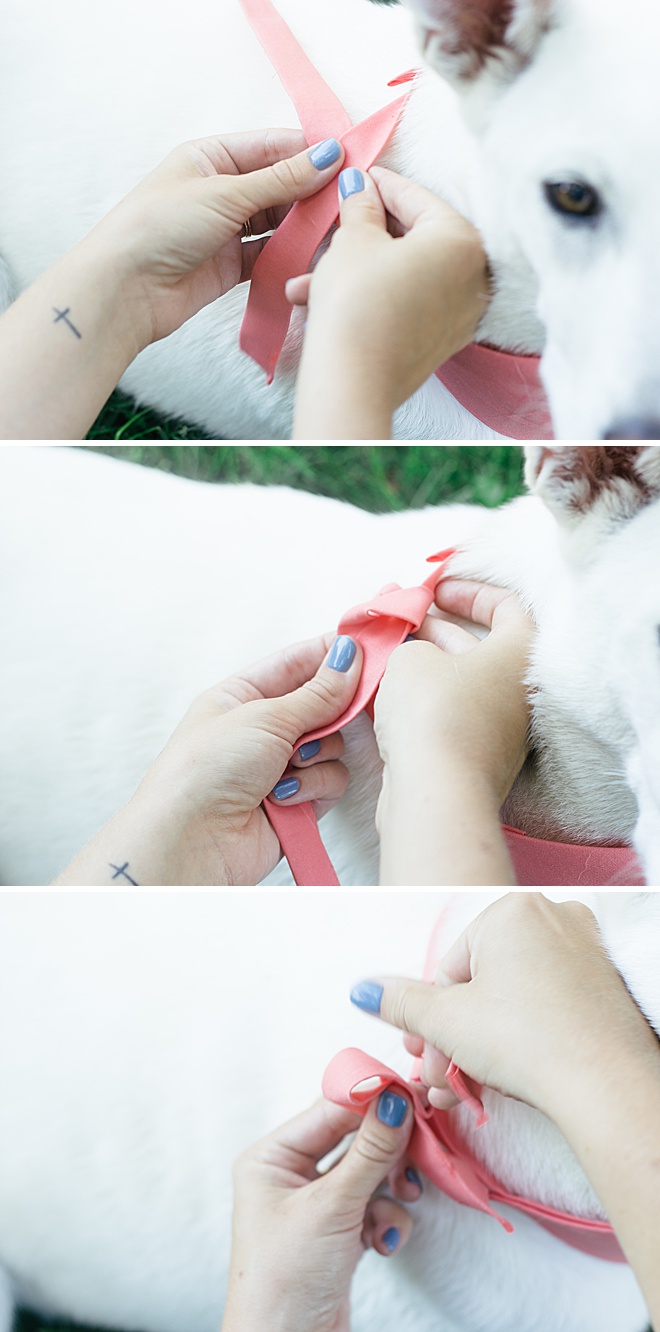
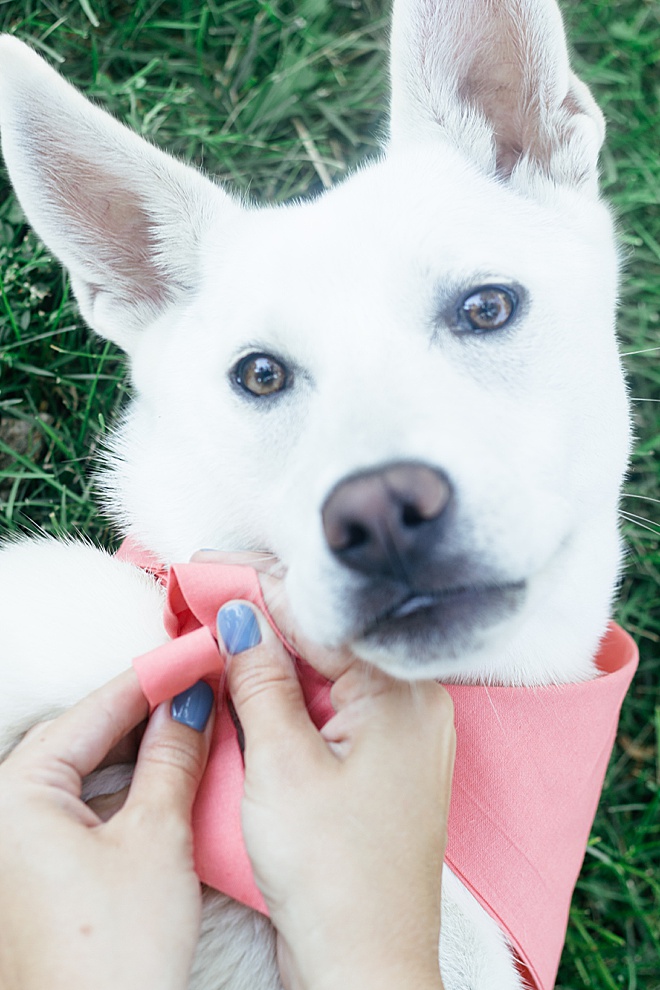
Put the bandana around your dogs neck and tie either a knot or a bow. You’re choice! My dog, Kappa, plopped her body over when I put it on her. Make sure that your dog is comfortable wearing a bandana before your big day! You don’t want them trying to bite it off or roll around trying to get it off their neck.
Hein & Dandy is a blog founded on crafts and creative writing, inspired by adventure and wellness. Make sure to check out our website for new projects and inspiration!
As with all our DIY tutorials, if you create one of our projects please send us a picture – We Love Seeing Your Creativity! If you use Instagram or Twitter please use the hashtag #SomethingTurquoiseDIY and it will show up on our Get Social page. Happy Crafting!
DIY Tutorial Credits
Photography + DIY Tutorial: Carli Hein of Hein & Dandy // Cricut Maker: courtesy of Cricut // Fat Quarters: Amazon // Cricut Mat: Amazon // Cricut Iron-on Vinyl: Amazon // Hem Tape: Amazon // Iron: Amazon
Shop The Supplies:
Find the supplies you’ll need for this project from our affiliate links below:



Comments