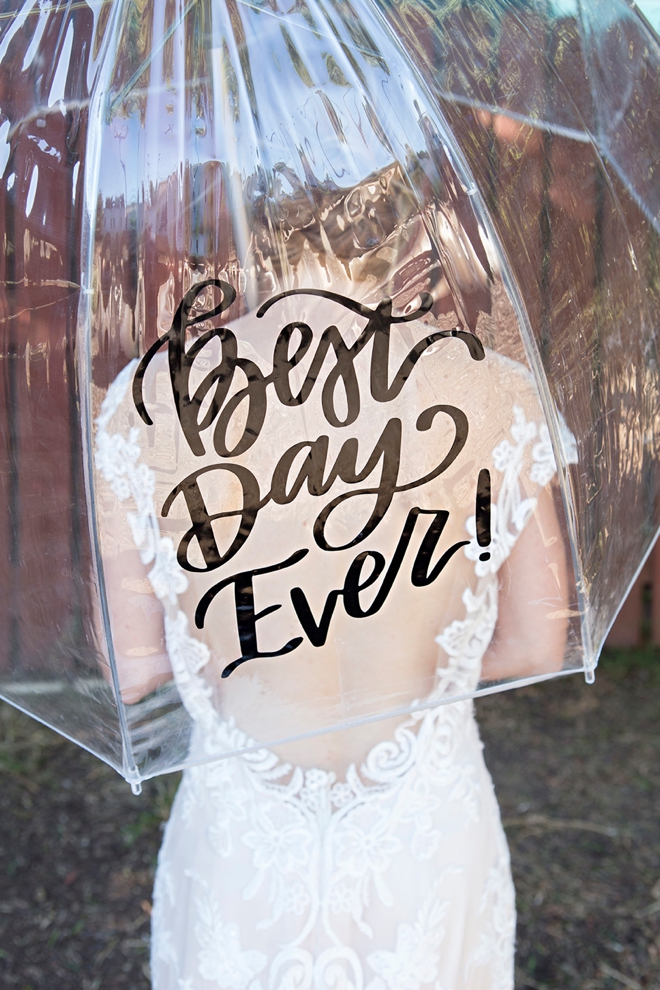
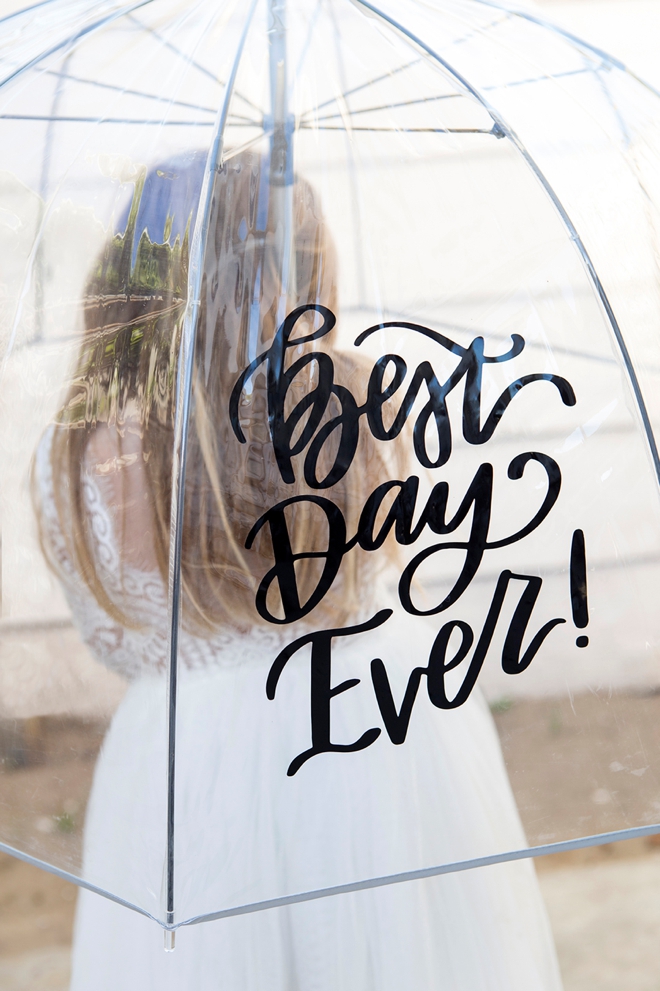
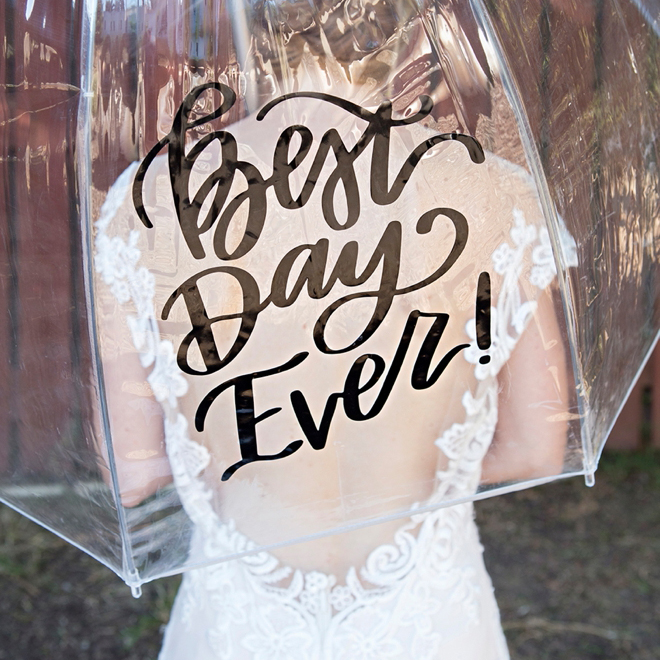
The last thing that any bride wants on her wedding day is rain. However, if rain is a possibility, there is nothing you can do but make the most of the photo ops you might have. So get yourself a darling pair of rain boots, maybe a custom rain coat and of course an umbrella. The easiest way to personalize a simple clear dome umbrella is by using your Cricut of course… and we’re showing you how.

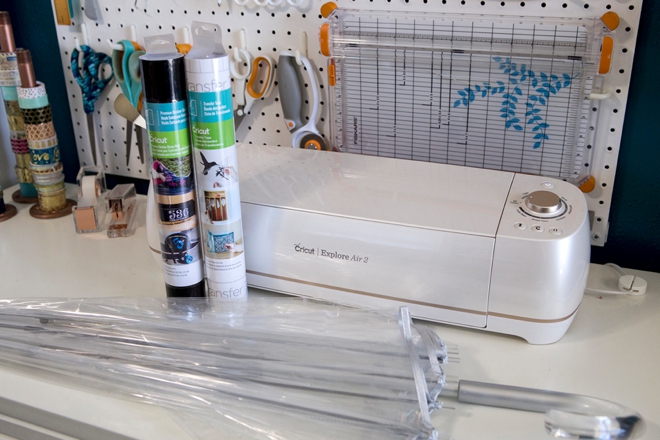
SUPPLIES:
- Cricut Explore or Cricut Maker
- Clear Dome Umbrella
- Black Vinyl
- Transfer Tape
- Our exclusive, hand-lettered “Best Day Ever” .SVG cut file for your Cricut! Only $1.99!
Create In Design Space
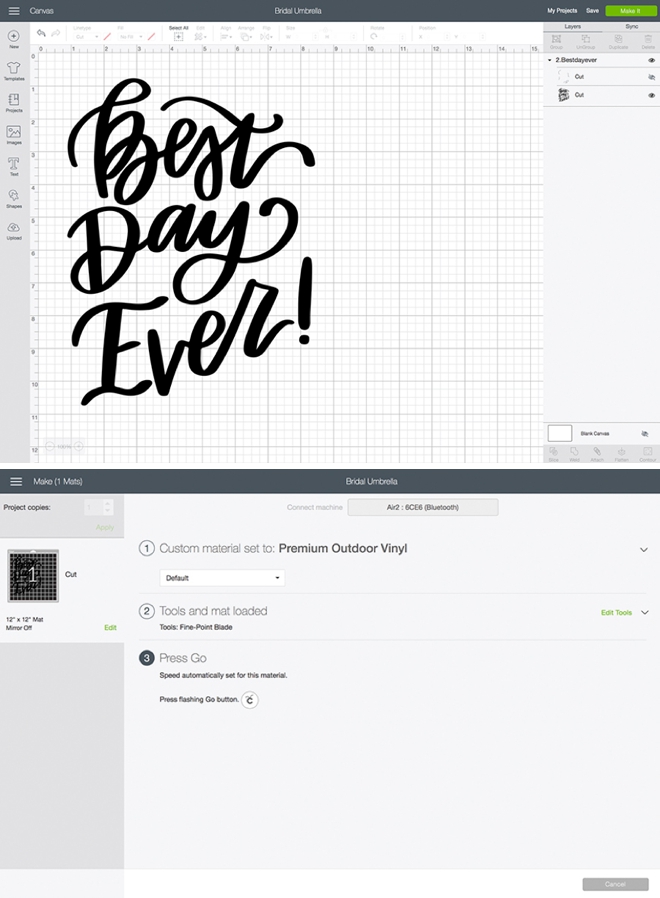
The first step is to login to Design Space and start designing your umbrella! Upload our exclusive Best Day Ever .SVG cut file by using the “upload” button on the left tool bar. Locate the file on your computer and select to add it to your canvas. Then drag, resize, and add personal touches like maybe your names and wedding date. This design has little swirls and accents around it which I removed by simply clicking the “eye” in the layers panel to turn those elements off. I cut this design at 7.5″ x 10″. Prepare your mat and get ready to cut!
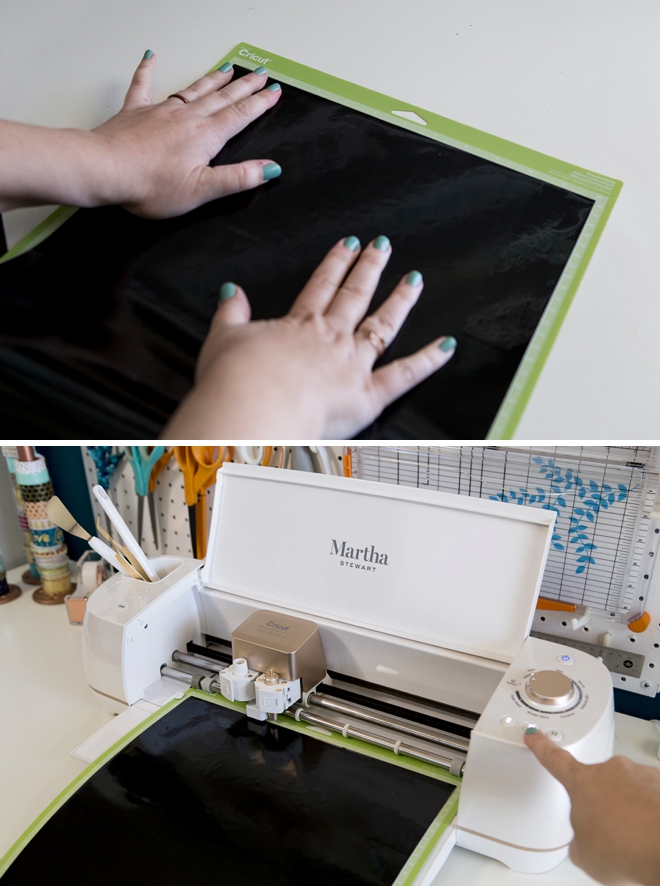
Let Your Cricut Work It’s Magic
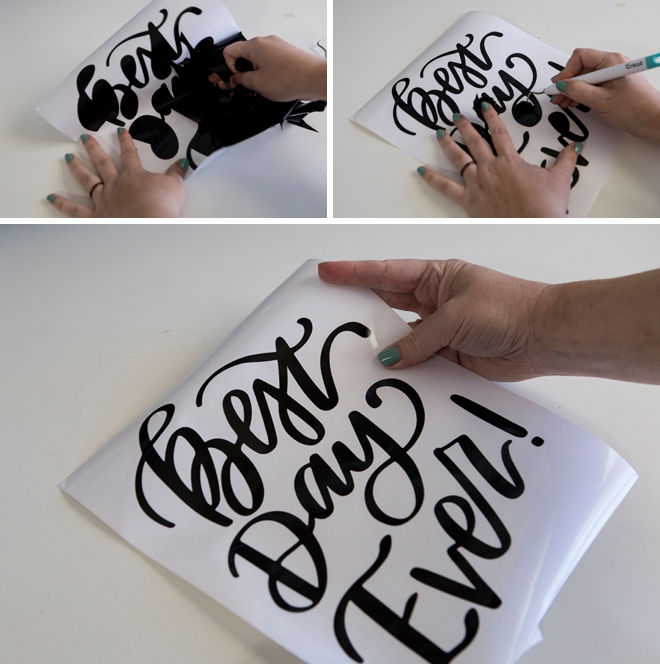
Weed The Designs
Weed, (aka. remove) all the excess iron-on material that isn’t a part of your design. Using the Cricut weeding tools makes the removal of intricate pieces super easy.
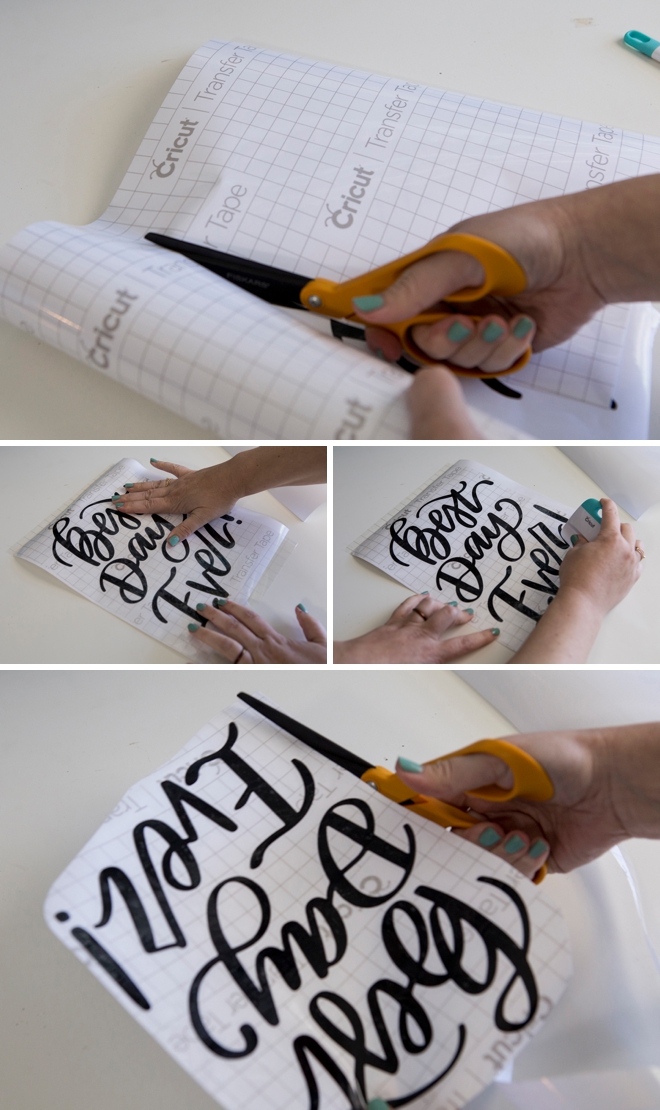
Transfer Tape
Transfer tape is the BEST and if you’ve never used it, you must try it. Basically you transfer your new vinyl stickers from their base to a clear film so you can properly position them on their final resting place. Cut a piece of transfer tape just larger than your designs, peel and evenly smooth on top of the vinyl using the scraping tool. Then cut the overall design down as small as possible, this will help when placing the design inside the umbrella panel.
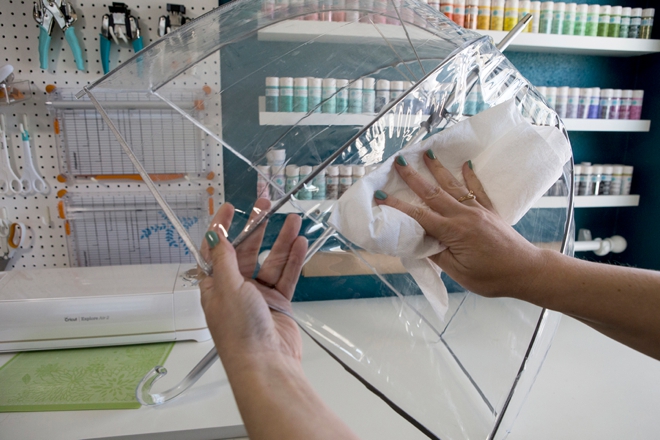
Prepare The Surface
The umbrella arrived with a light, kind of dusty chalky substance on the plastic. I used Windex and a paper towel to really wipe down and clean the umbrella before adding the sticker.
Adhere The Designs
Finally, the fun part. Remove the white vinyl backer sheet leaving just the clear transfer tape and your design. Then place on top of the umbrella and then using one hand on top and one underneath the umbrella, press and smooth as best you can. Don’t rush this step!
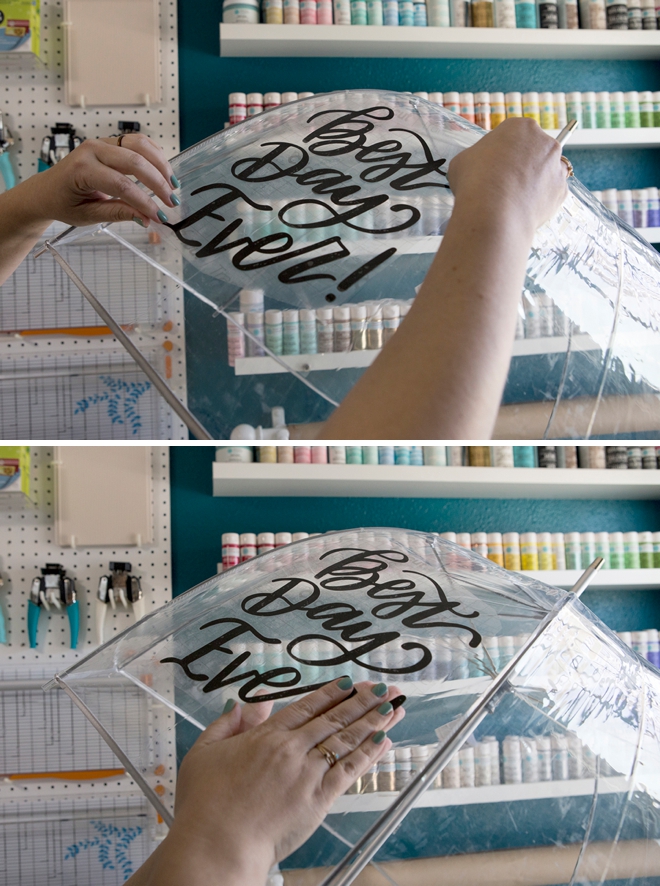
The Reveal
Next, carefully pull away the transfer tape away to reveal your new umbrella! It might help to cut the transfer tape into three sections, each word, to remove one at a time.

YAY Rain
Now at least if it does rain, you don’t have to be as bummed out because you know you’ll be able to get some awesome photos!
As with all our DIY tutorials, if you create one of our projects please send us a picture – We Love Seeing Your Creativity! If you use Instagram or Twitter please use the hashtag #SomethingTurquoiseDIY and it will show up on our Get Social page. Happy Crafting!
DIY Tutorial Credits
Photography + DIY Tutorial: Jen Causey of Something Turquoise // Best Day Ever .SVG Cut File: Shop Something Turquoise // Clear Dome Umbrella: Amazon // Martha Stewart Edition Cricut Explore Air2, Black Vinyl, and Transfer Tape: courtesy of Cricut // Wedding Dress: Karlee, Casablanca Bridal // Flower Girl Dress: Amazon // Nail Polish: OPI – Withstands the Test of Thyme
Shop The Supplies:
Find the supplies you’ll need for this project from our affiliate links below:


Comments