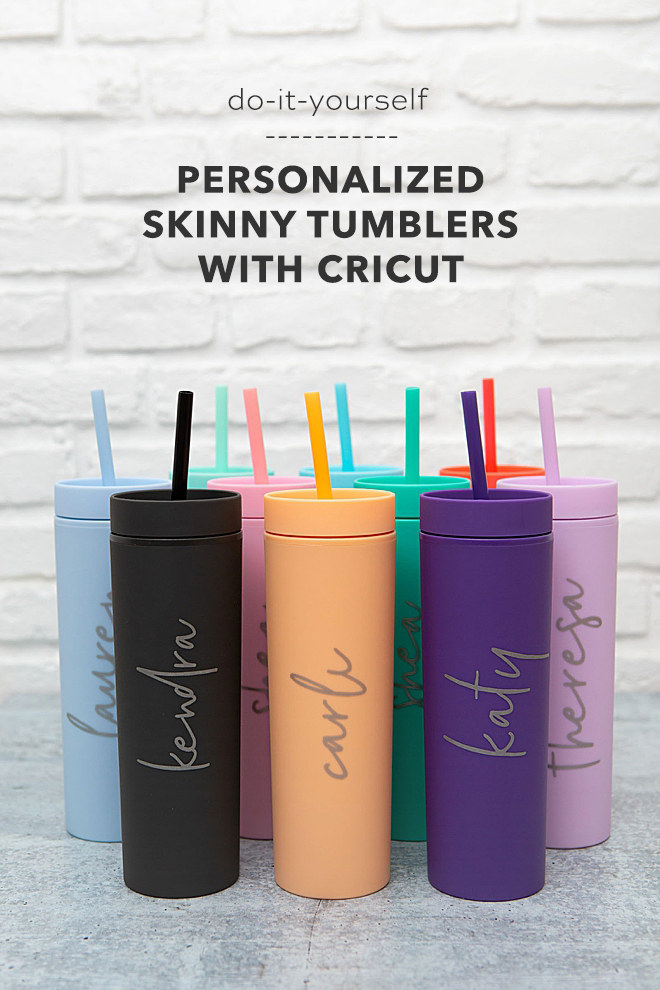
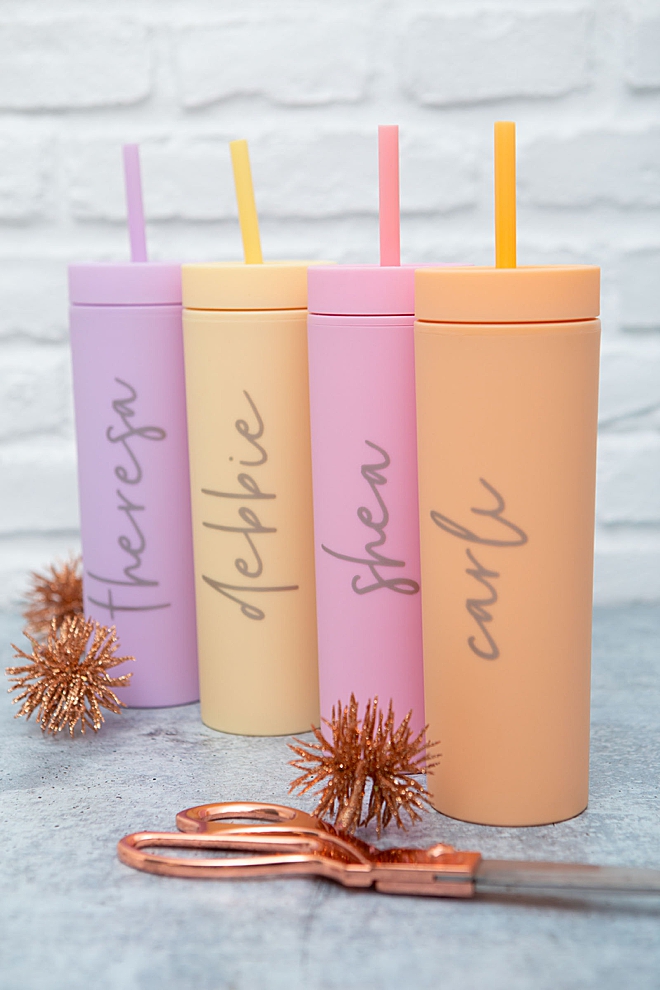
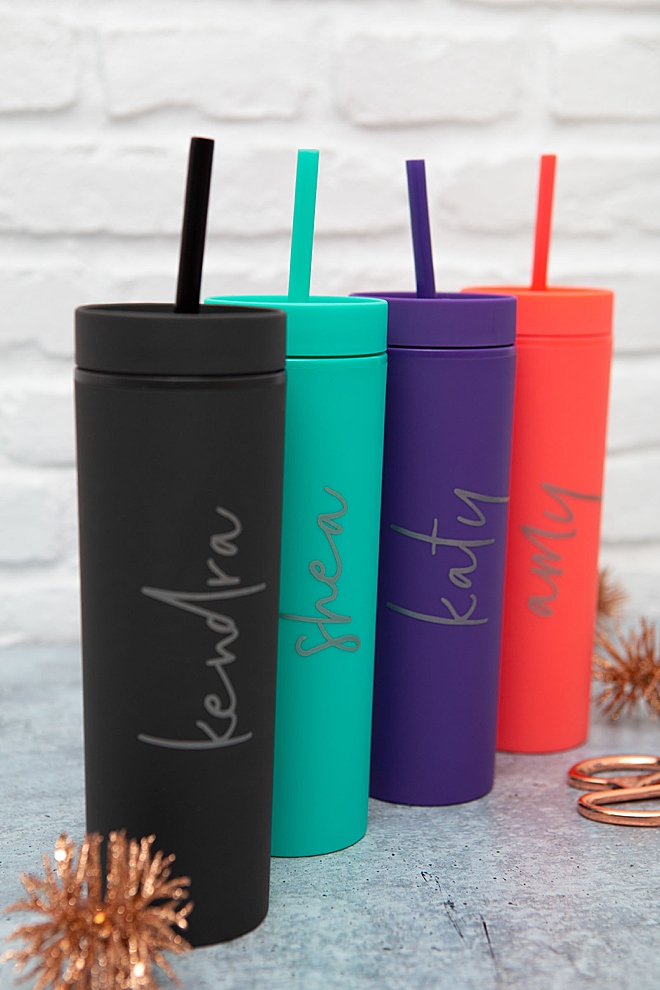
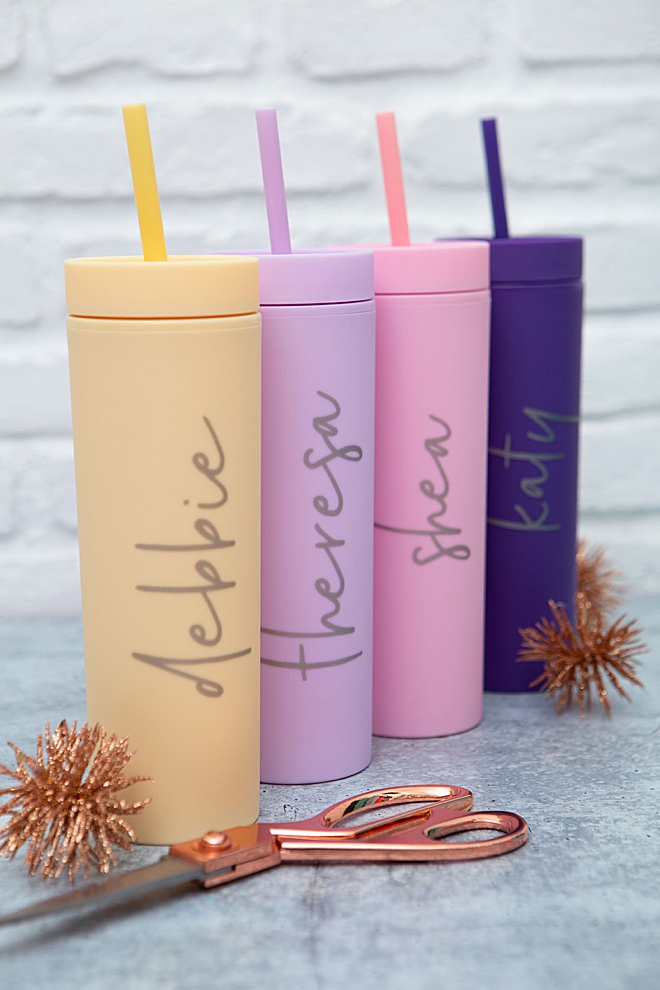
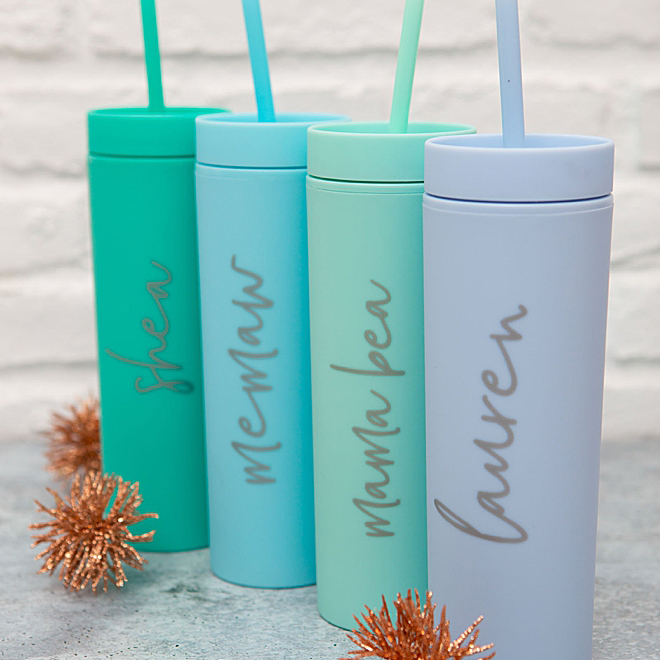
I love making holiday gifts for my friends, family, and especially the fabulous gals who work for me. So this year they are each getting a set of Acrylic Gemstone Paper Clips, Custom Alphabet Name Bracelets, a beautiful notebook from Minted, and these Frosted Skinny Tumblers! With just a few quick computer clicks in Design Space and a very quick Cricut cut, I was ready to personalize these tumblers, in fact, I did all 12 in under 1 hour. These colorful cuties break down to a price point of roughly $5 each, making them terrific holiday gifts for anyone! Also great for bridesmaids!
A Color For Everyone
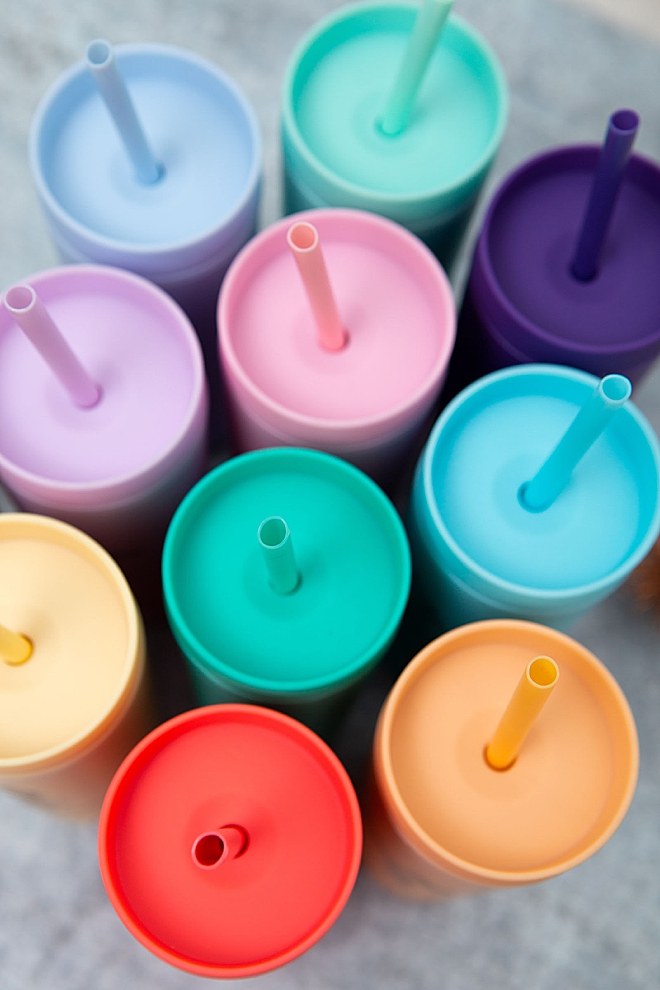
This 12-pack of matte pastel tumblers really does have a color for everyone on your list be it for the holidays or your wedding party. And the most popular colors are also sold in sets of 12, in case you’re looking for just one color.
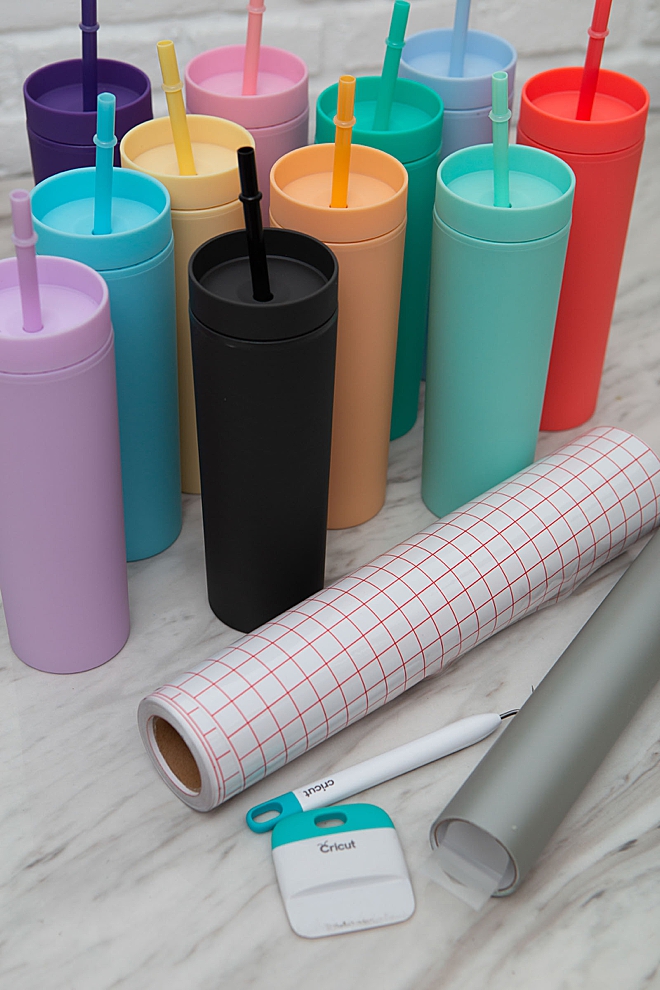
SUPPLIES:
- Cricut Maker, Cricut Explore, or Cricut Joy
- 12-Pack Matte Pastel Skinny Tumblers
- Cricut Frosted Gray Premium Vinyl
- Transfer Tape
- Rubbing Alcohol Wipe
- Weeding Tools
- Scissors
Create in Design Space
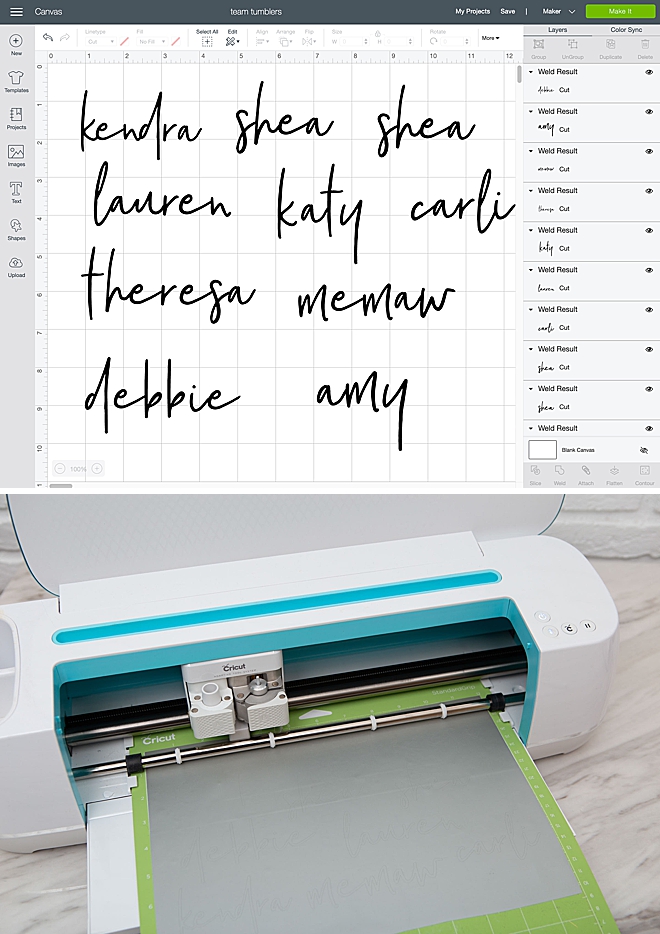
First login to Design Space to design your tumbler sayings. Use names, nicknames, funny sayings, etc. For these I used the paid font Poppit & Finch.
Let Your Cricut Work It’s Magic
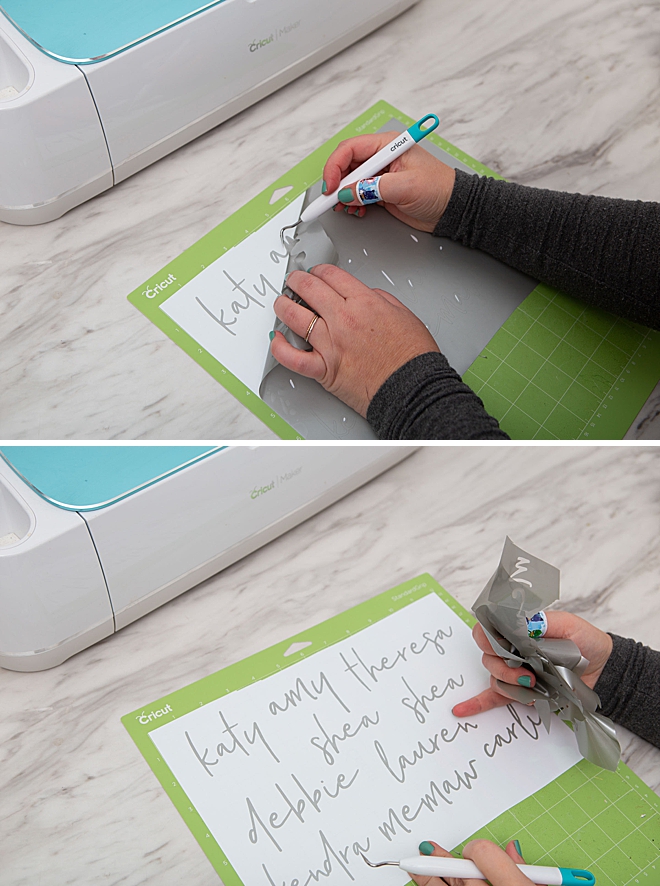
Weed The Designs
Weed, (aka. remove) all the excess vinyl material that isn’t a part of your designs. Using the Cricut weeding tools makes the removal of intricate pieces super easy.
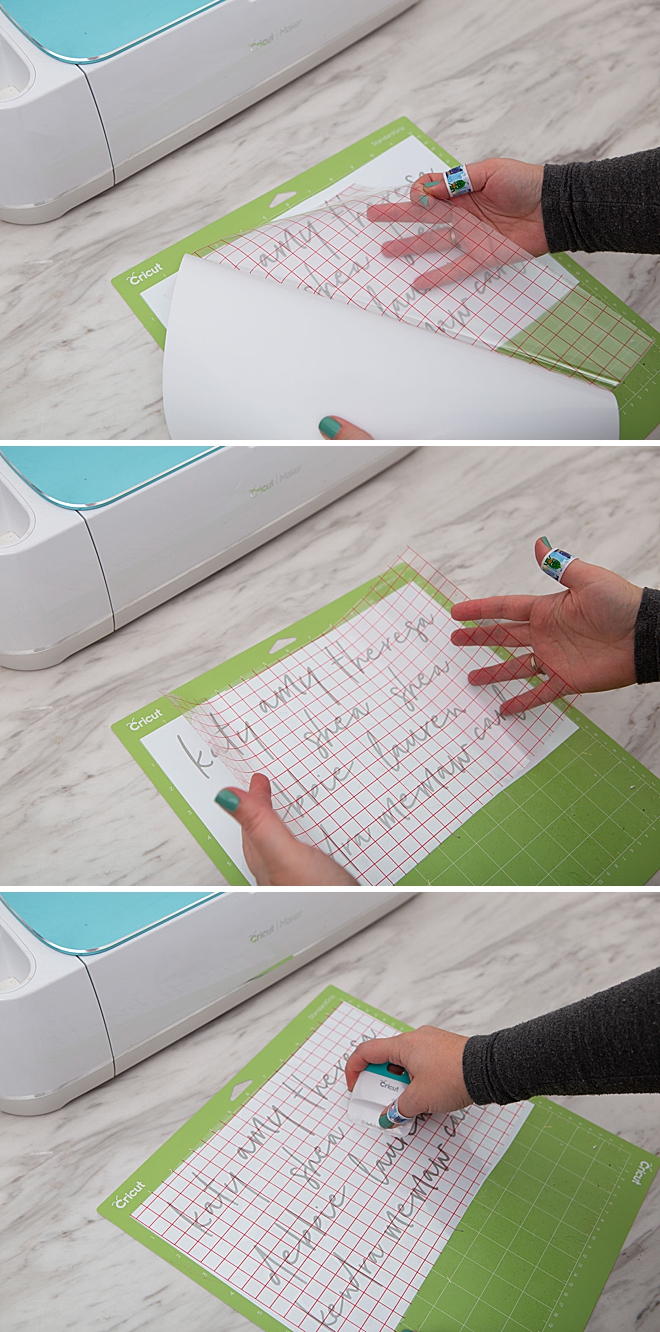
Transfer Tape
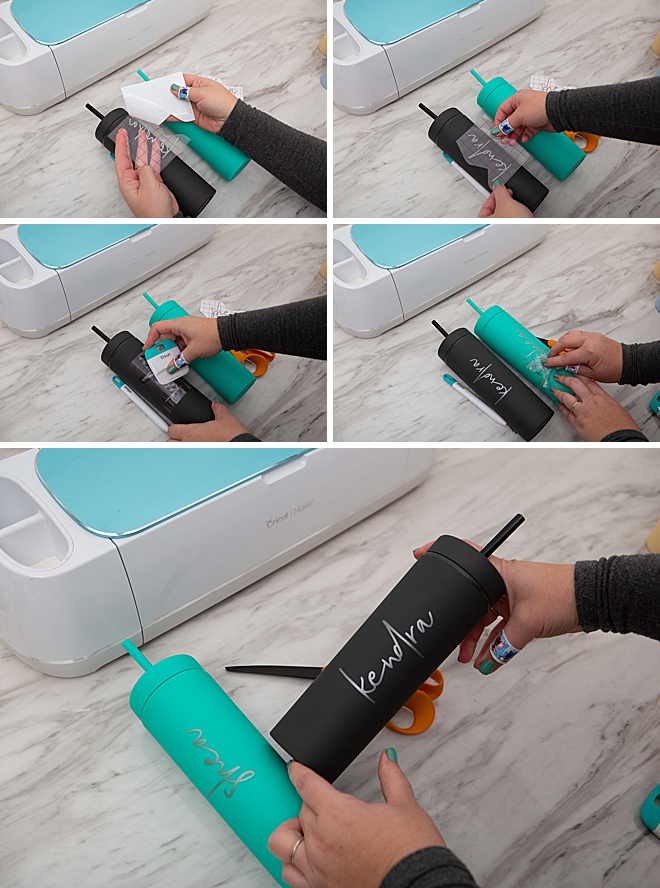
Transfer tape is the BEST and if you’ve never used it, you must try it. Basically you transfer your new vinyl stickers from their base to a clear film so you can properly position them on their final resting place. Cut a piece of transfer tape just larger than your designs, peel and evenly smooth on top of the vinyl using the scraping tool.
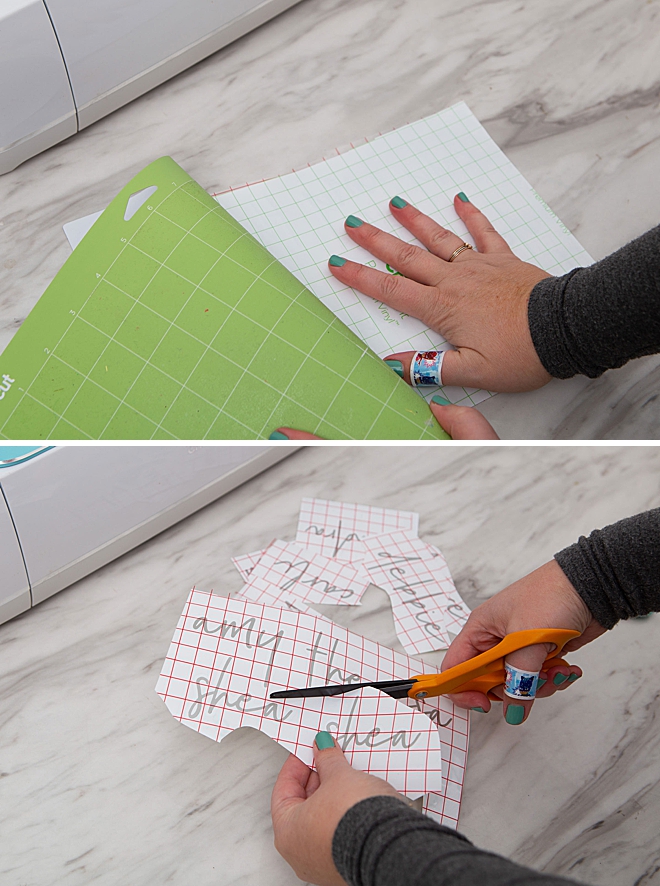
Upside Down Removal
With vinyl projects like this it’s best to turn the mat upside down and peel it away from the design, rather than peeling and curling the vinyl design of the mat. It puts less stress and movement on the sticker. Then cut out each name.
Wipe Clean
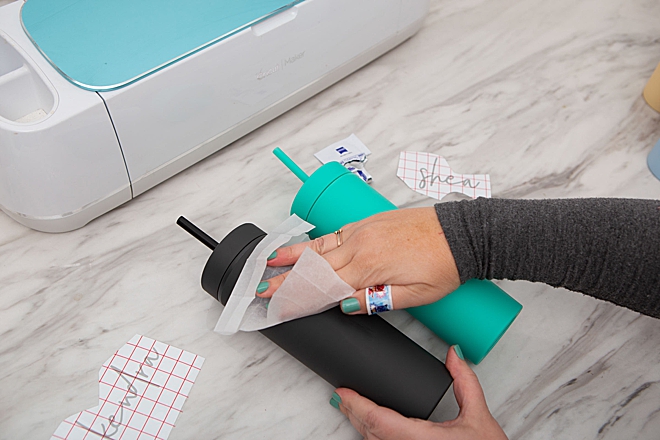
Using rubbing alcohol or the like, clean the surface of your tumbler for proper vinyl adhesion. I’m using a Ziess lens wipe because I have them on hand here in my studio.
Adhere The Designs
Finally, the fun part. Remove the white vinyl backer sheet leaving just the clear transfer tape and your design. Then place on top of the tumbler and gently burnish with the scraping tool. Next, pull away the transfer tape to reveal your awesome personalized design!
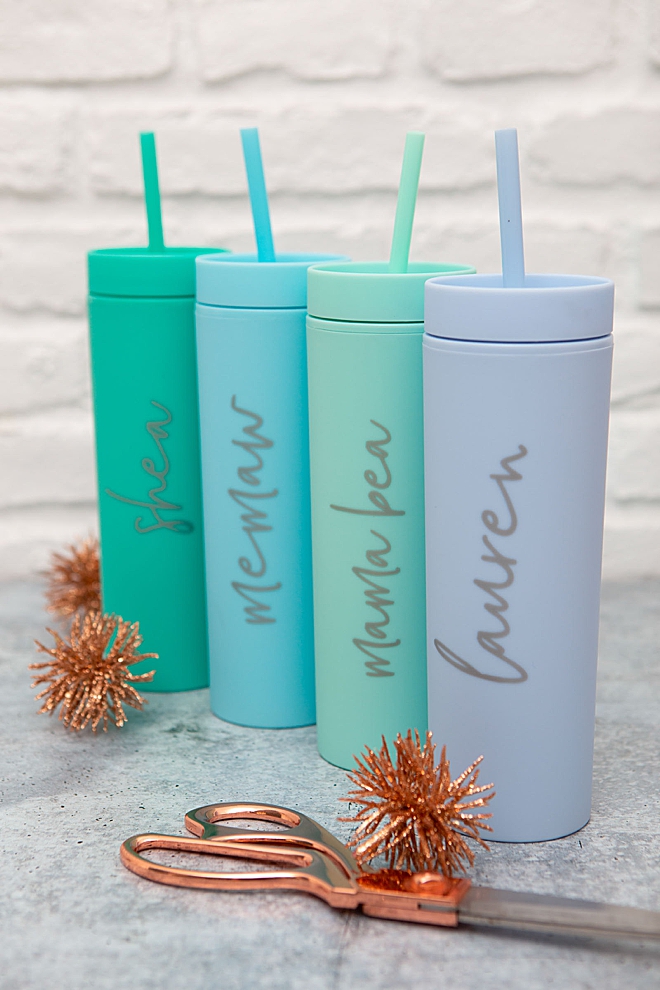
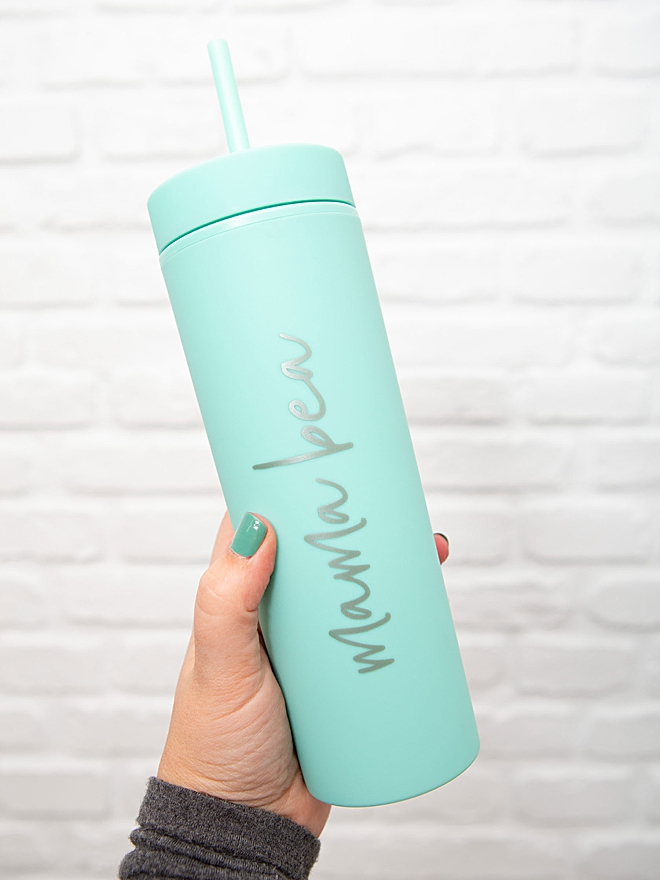
Mama Bea
My sweet step-daughter calls me Mama Bea, so obviously that’s what my tumbler had to say!
If you create one of our projects, please share a picture with us on Instagram or Twitter using the hashtag #somethingturquoisediy, we regularly reshare our favorites! Your profile will need to be public for us to see it otherwise, you can always DM us!
DIY Tutorial Credits
Photography + DIY Tutorial: Jen Causey of Something Turquoise // 12 Pack Matte Pastel Skinny Tumblers: Amazon // Blue Cricut Maker: Amazon // Cricut Frosted Gray Premium Permanent Vinyl: Amazon // Transfer Tape: Amazon // Zeiss Lens Wipes: Amazon
Shop The Supplies:
Find the supplies you’ll need for this project from our affiliate links below:



Comments