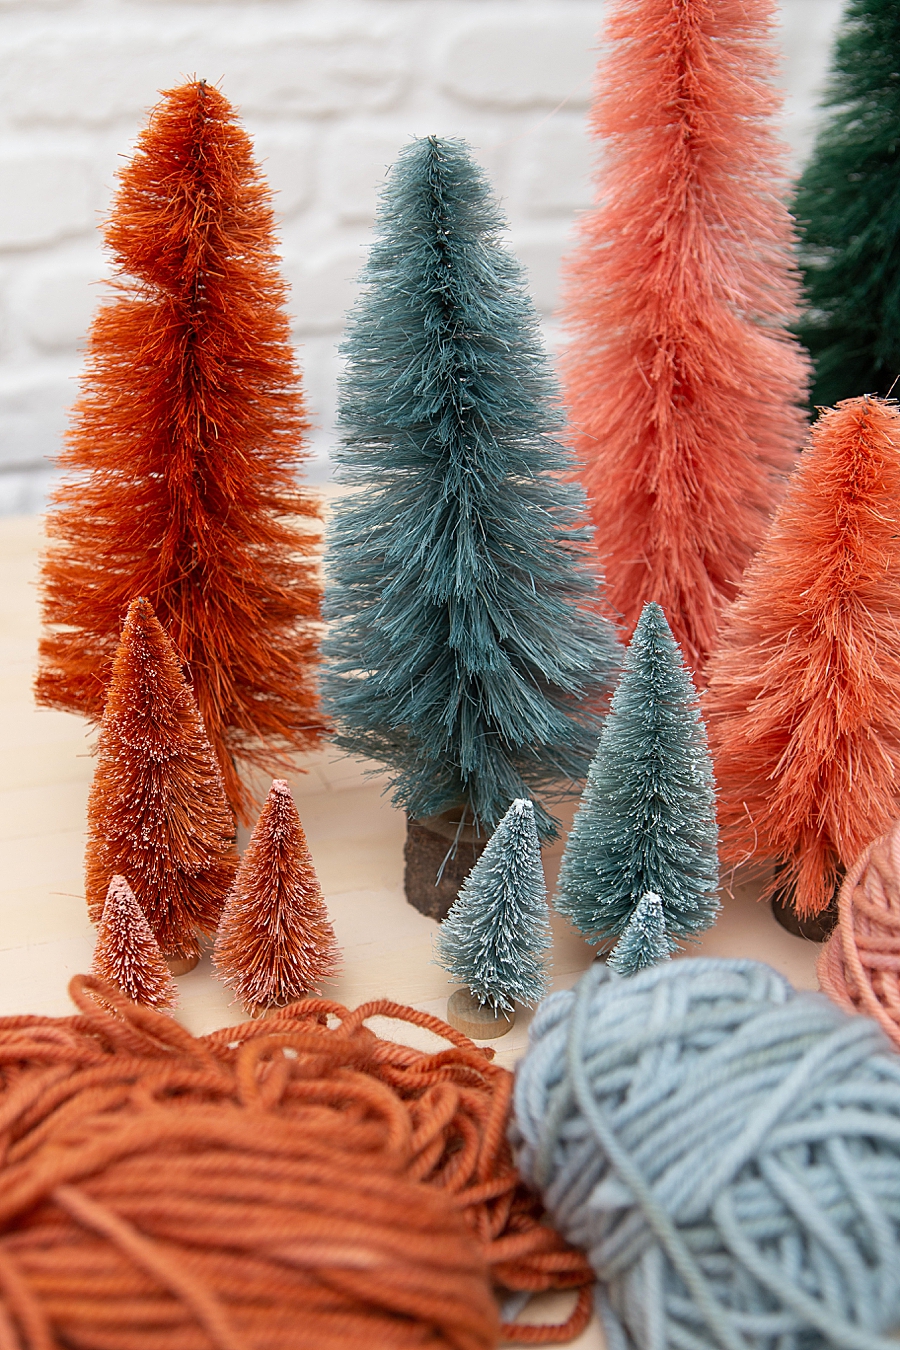
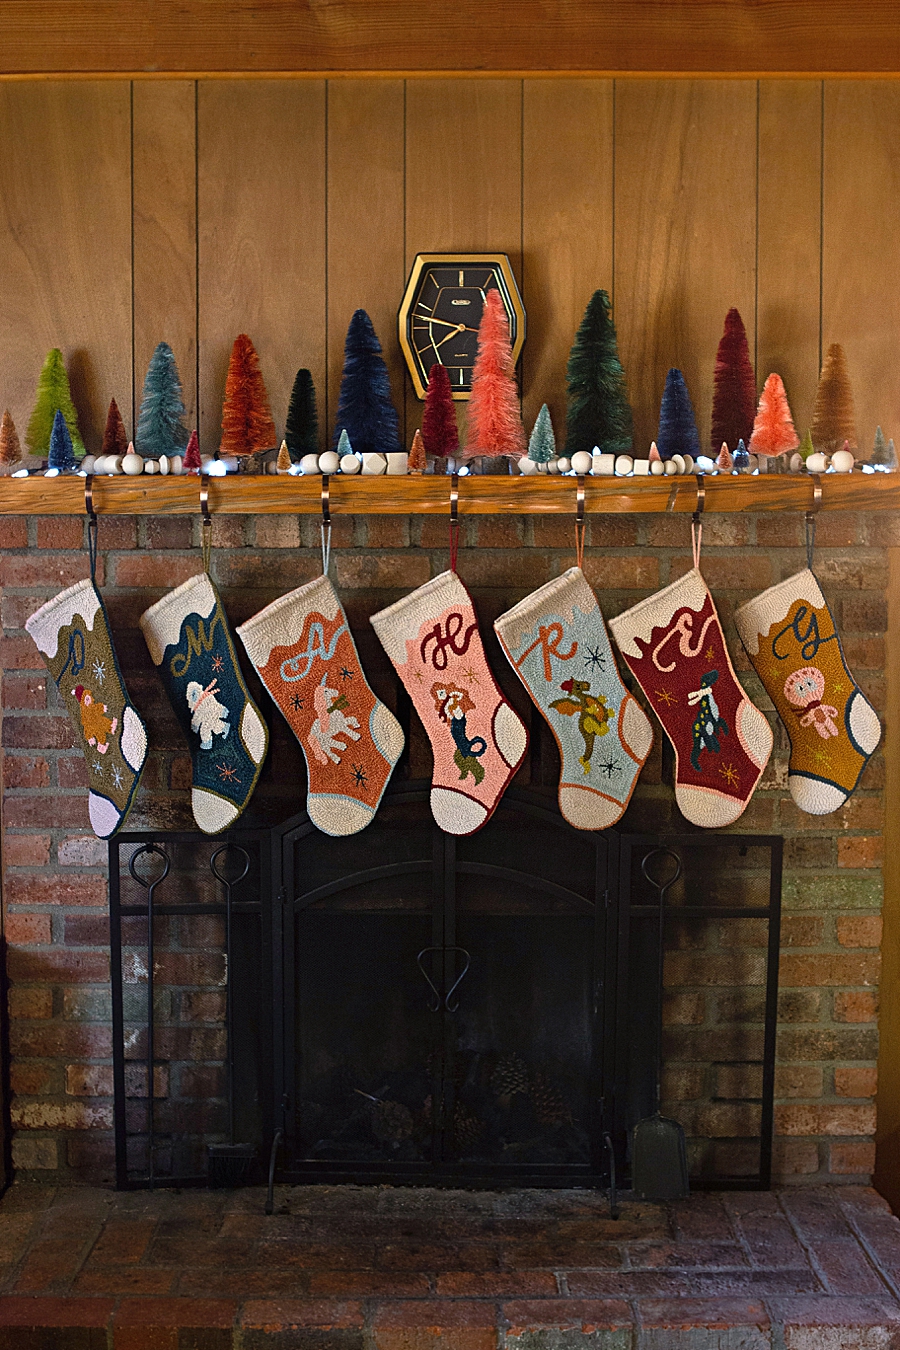
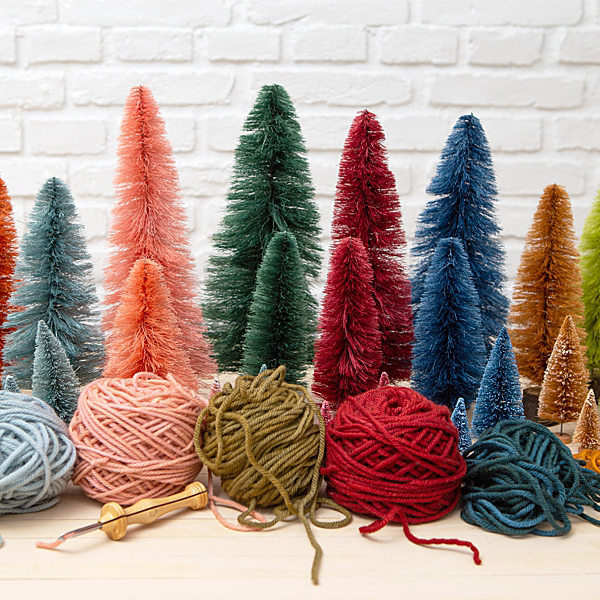
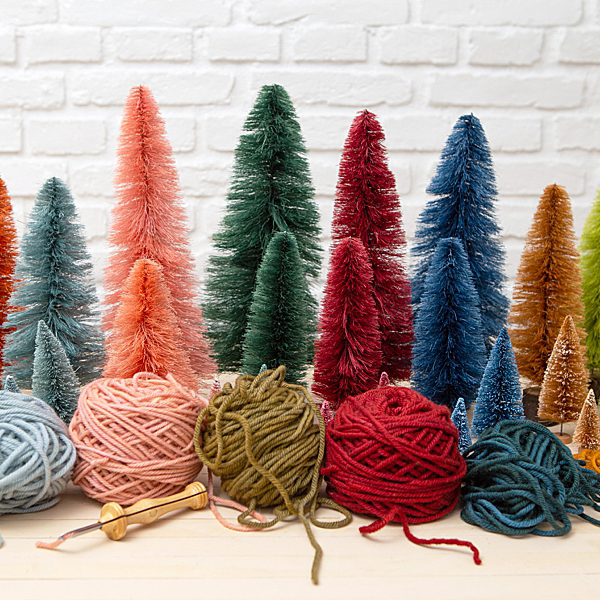
I am so sick of buying junk made in China, there I said it. Maybe you feel the same? When I was searching online to find bottle brush trees that I could dye to match the yarn I used for my punch needle stockings, I literally couldn’t find anything made in the US. But then I was on Etsy and I found them. The best bottle brush trees ever. Handmade with love by Rachel of Studio59 Handmade. They come in classic width, thin, and wide, and they range from 4″-12″ in natural (which is what I used) and so many beautiful colors. I opted to dye them myself as I had very specific colors I was looking for and this is how it went! If you are in the market for bottle brush trees, I highly recommend these!
You can watch me make these in real-time on our Instagram REELS!
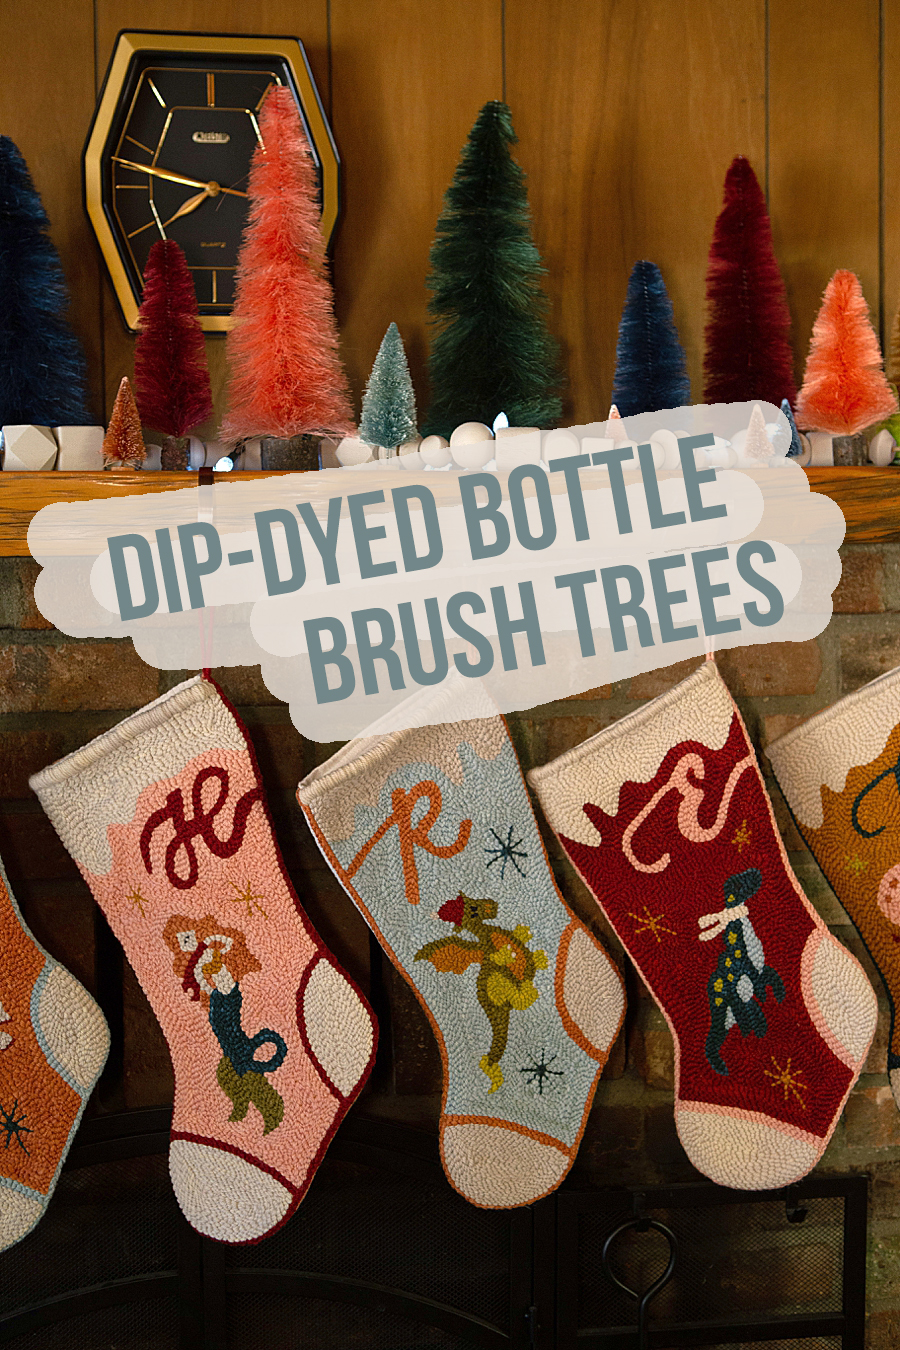
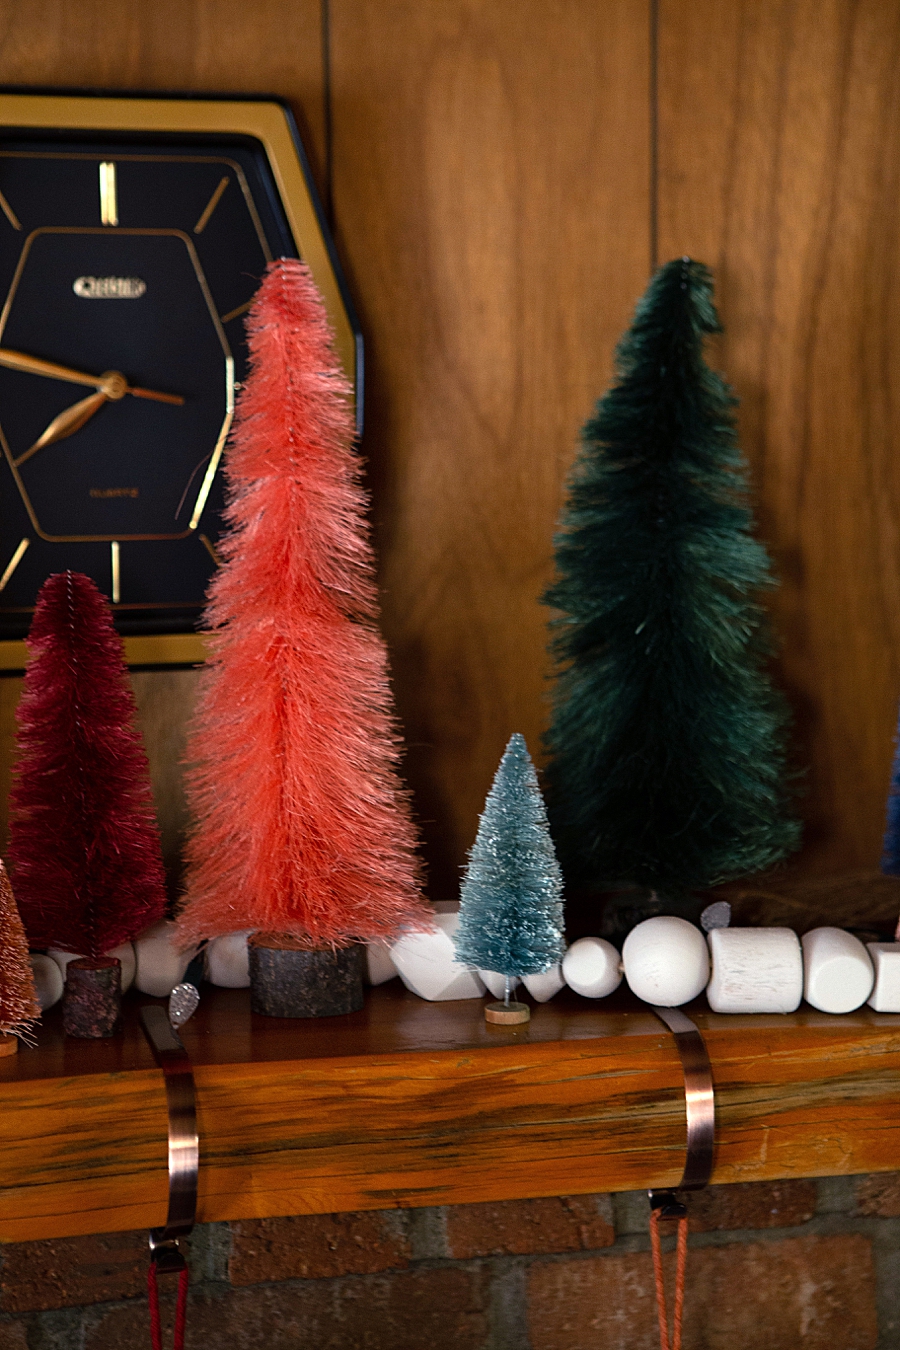
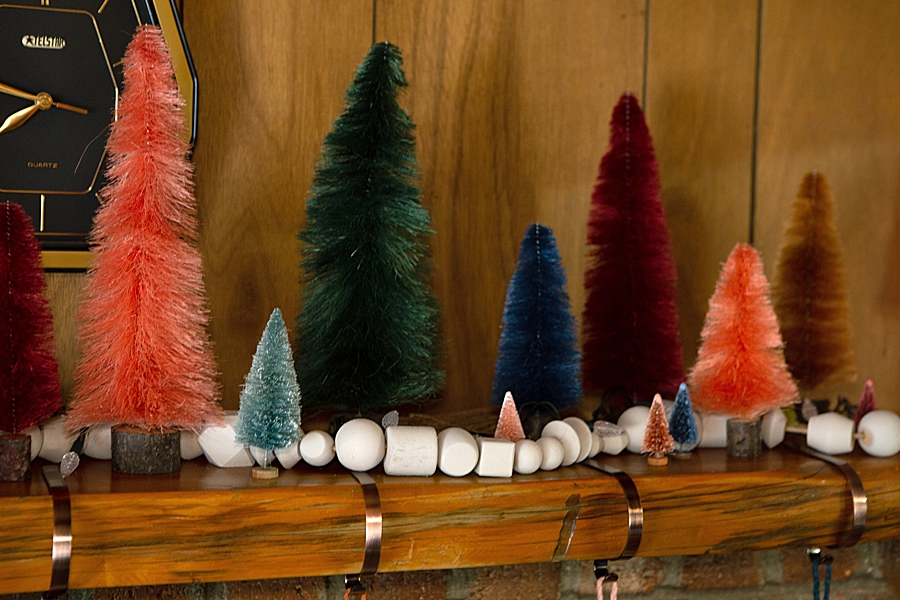
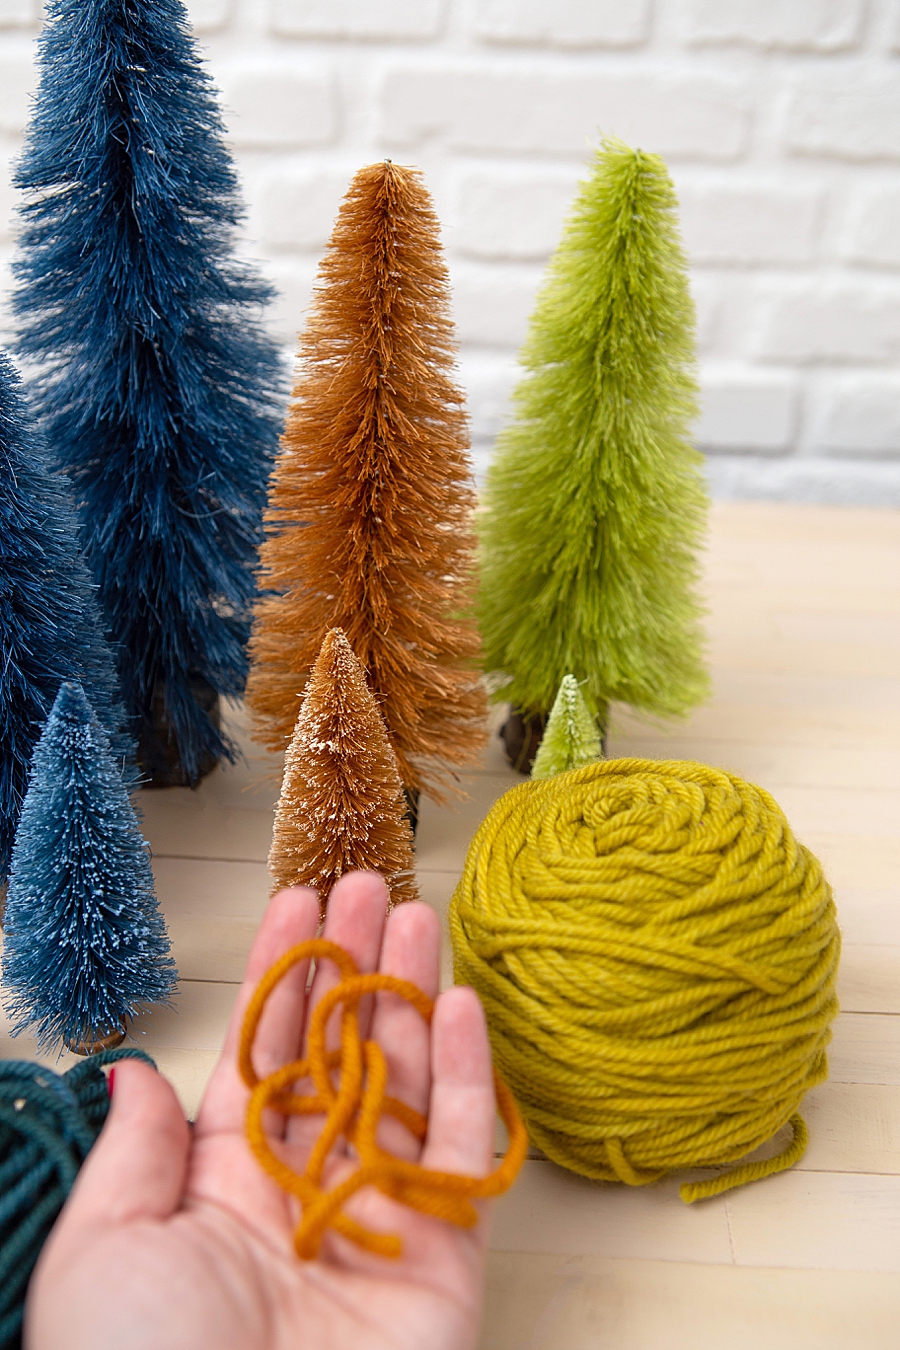
Dyed To Match My Yarn
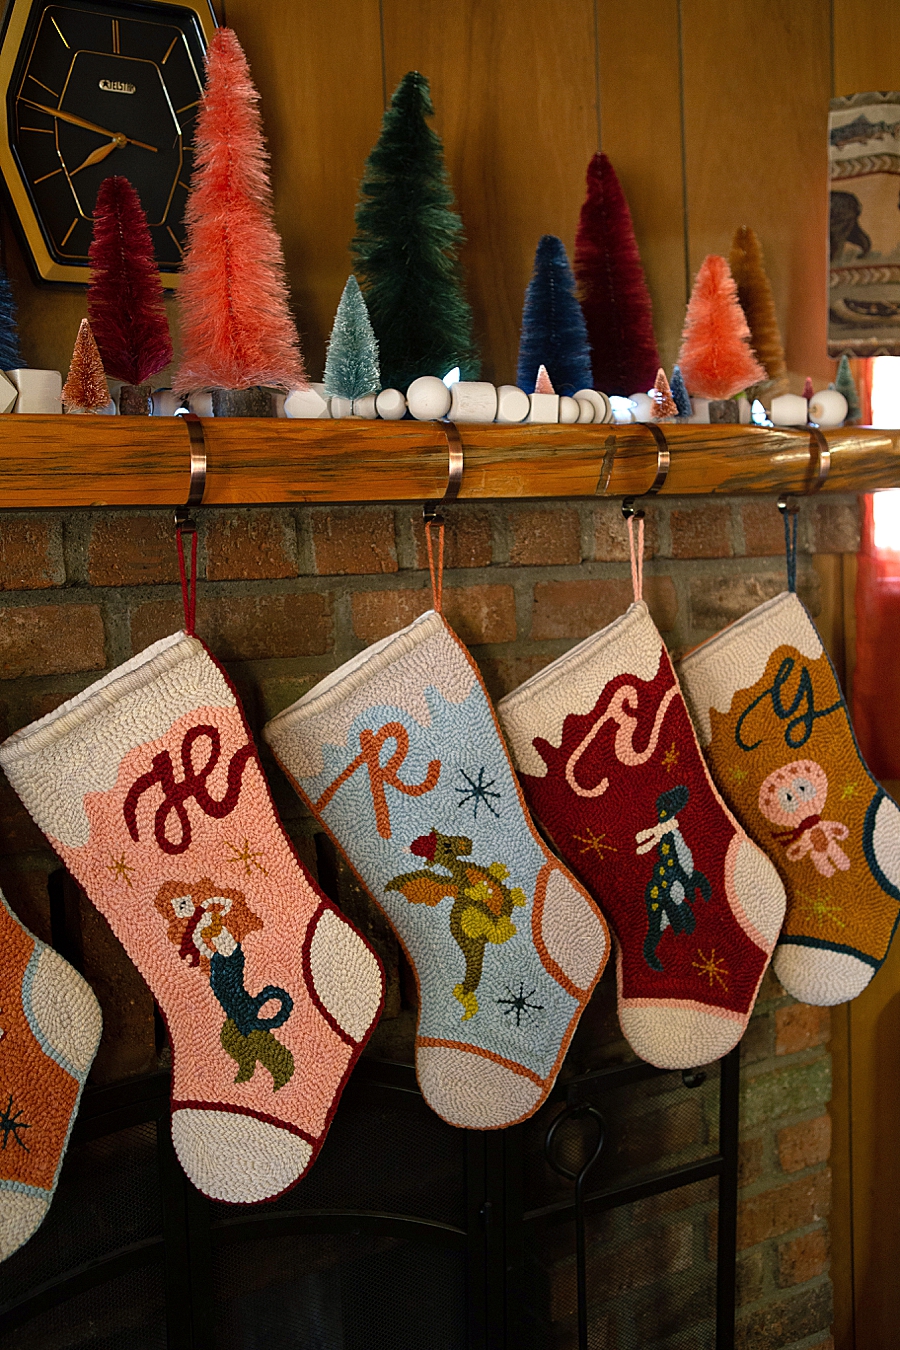
I know plenty of people have dyed bottle brush trees online but I hadn’t yet and I couldn’t do it without documenting it for you. Especially because I did it specifically to match the yarn I used for my punch needle stockings! I am so very happy with how these trees turned out and how well they match the stockings.
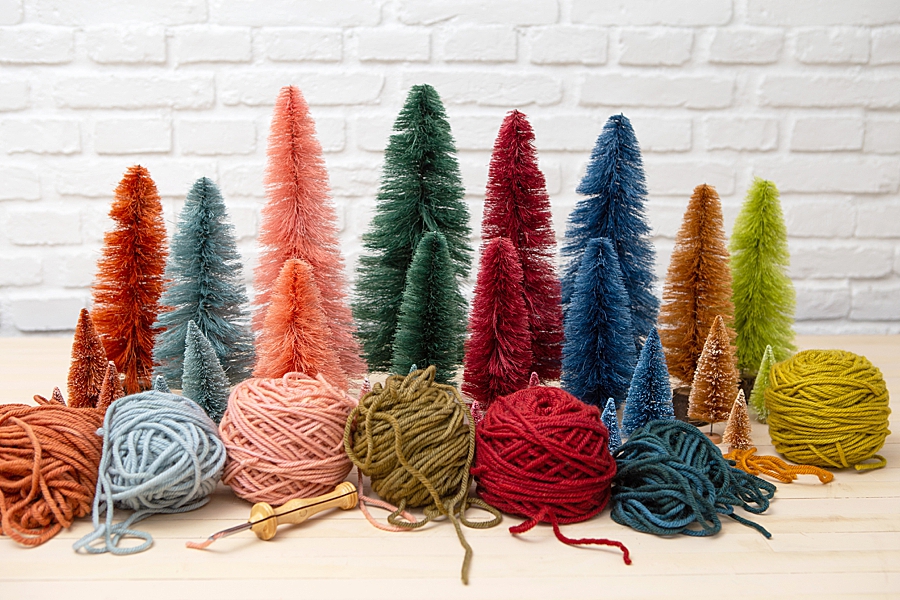
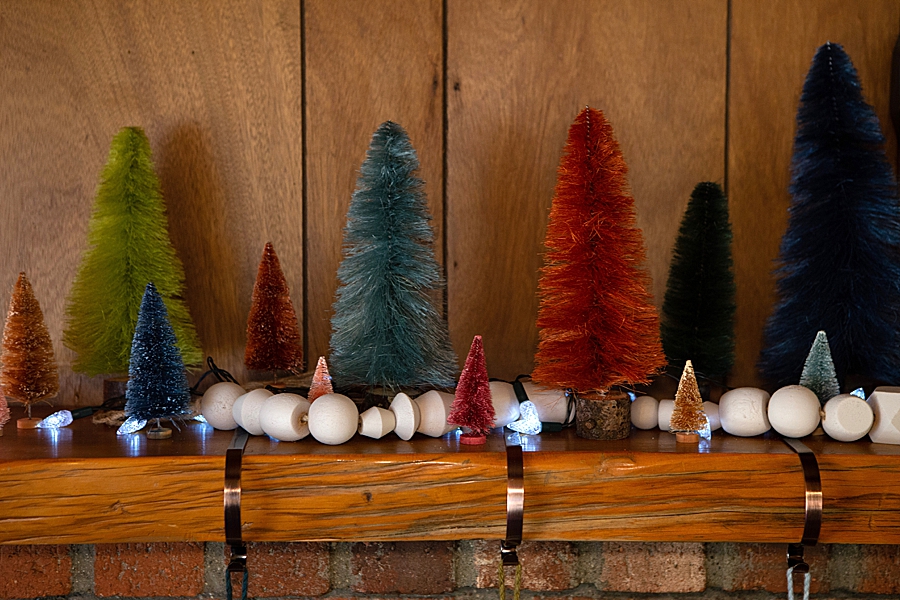
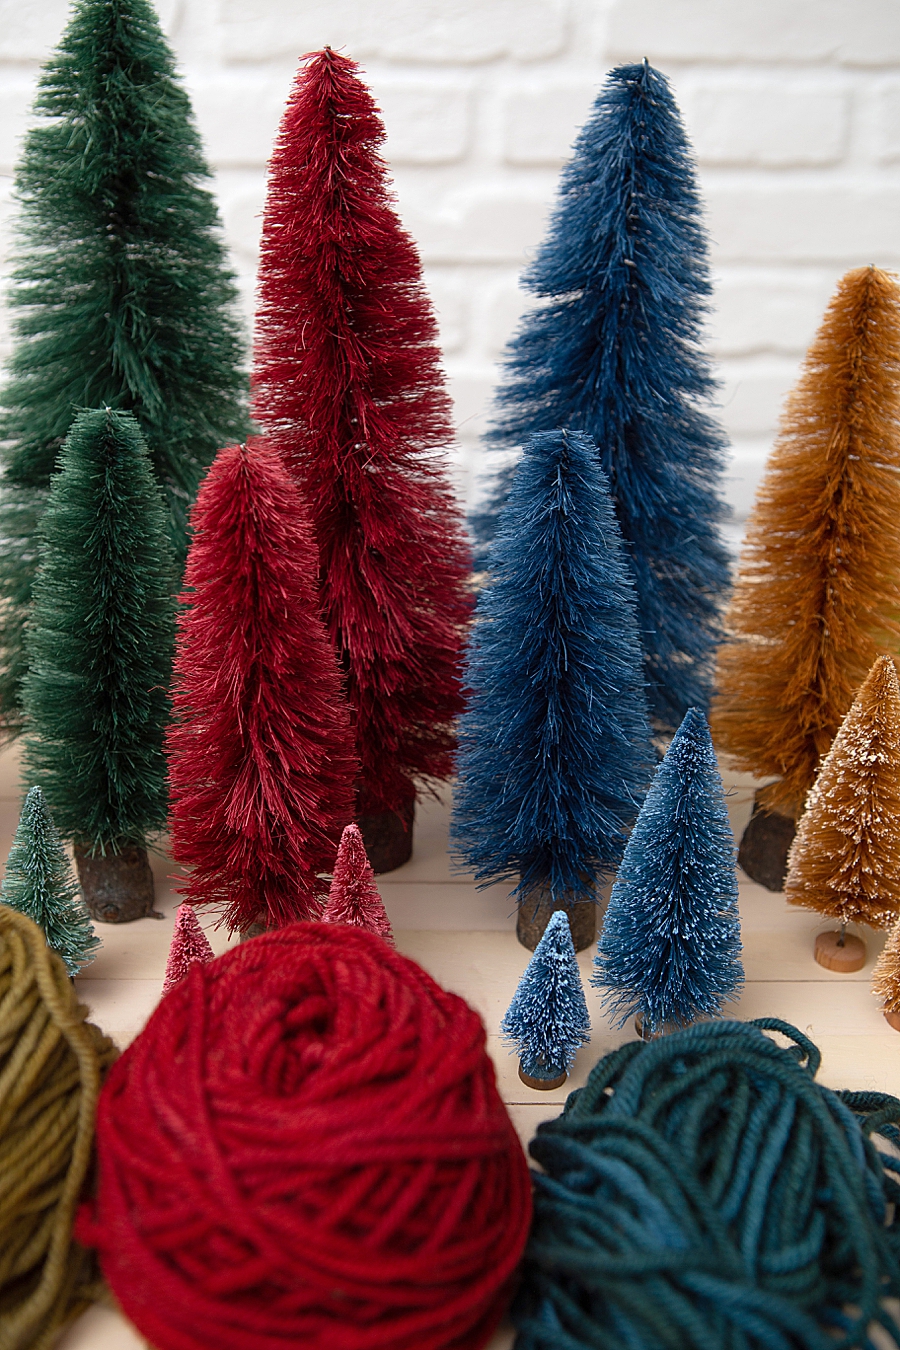
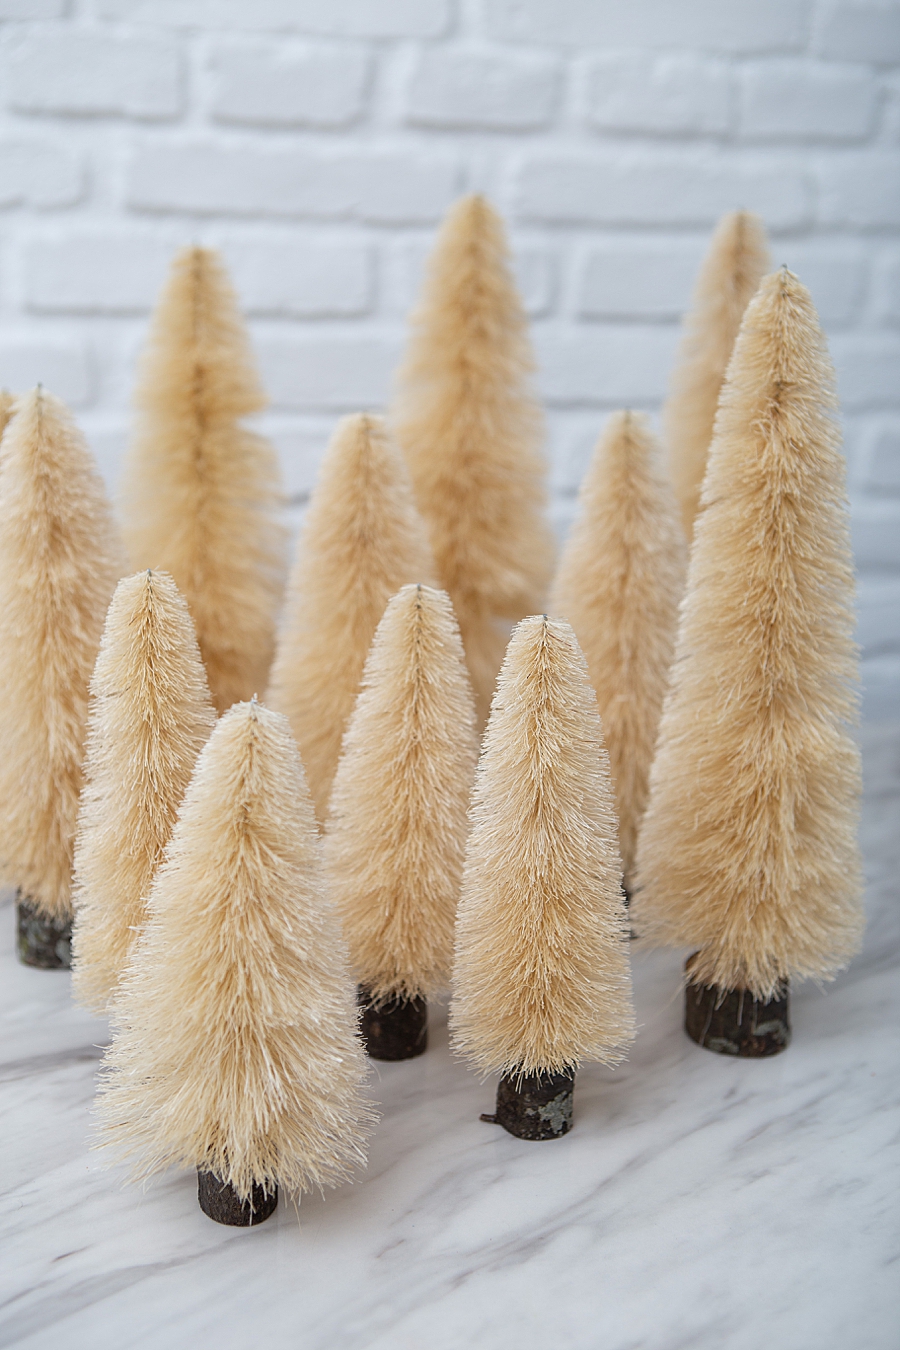
Studio59 Handmade Bottle Brush Trees
I don’t think you will find more beautiful, handmade bottle brush trees. Studio59 Handmade’s trees are simply the best. I bought 15 natural trees in a range of sizes.
You have to watch the video of how she makes them!
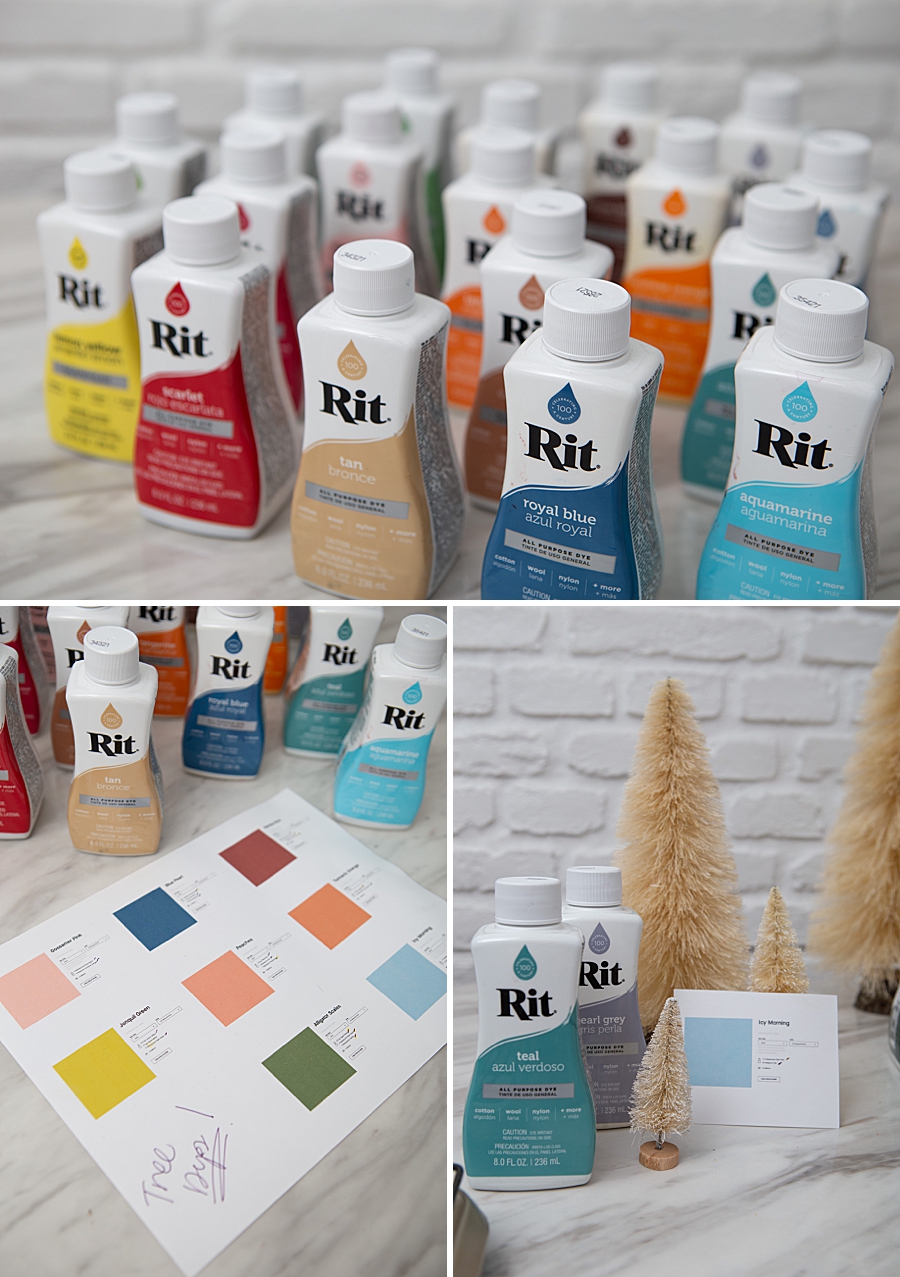
Rit Dye
I’ve been dying a lot of things lately and so my dye collection has been happily growing. To make sure I had the colors I needed, I visited the Rit Dye Color Formulas page and picked what matched my yarn. I took screen shots of all the formulas and then printed them on one sheet.
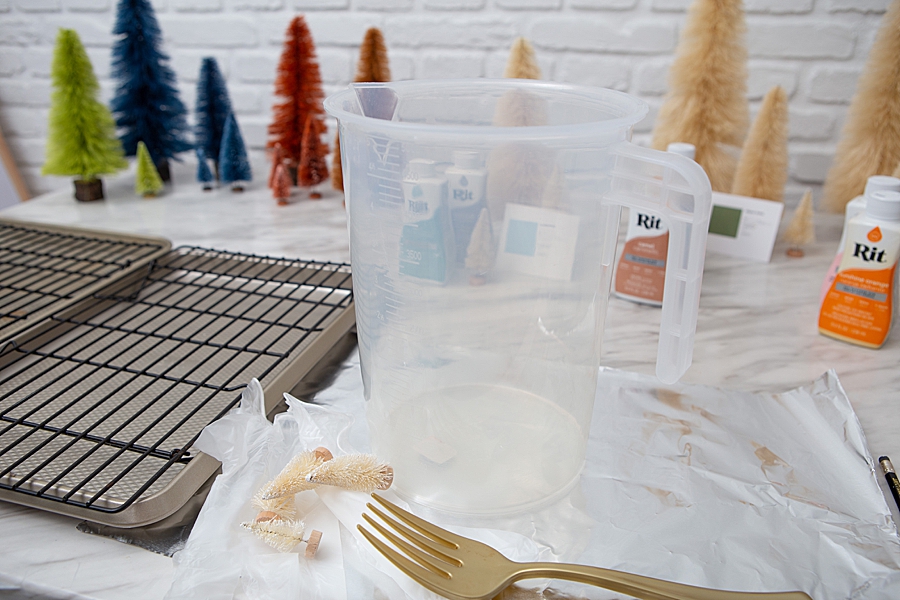
SUPPLIES:
- Bottle Brush Trees
- Rit Dye
- Tall Gallon Mixing Pitcher
- Cookie Sheets
- Cooling Racks
- Soap
- Salt
- Hot Water
- Mixing Spoon
- Gloves
Prepare The Water
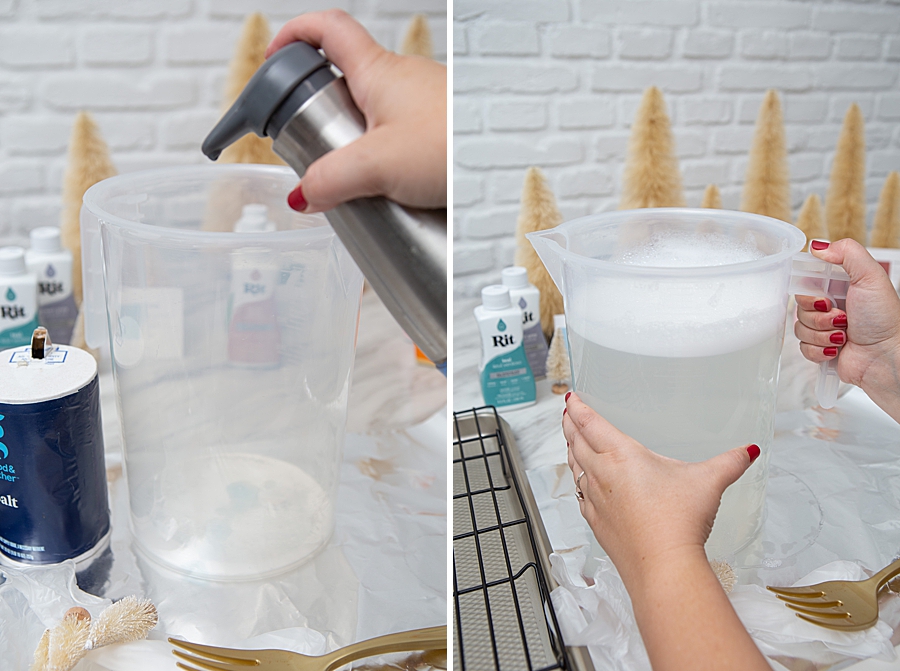
Add 1 tablespoon of dish soap and a teaspoon of salt to your pitcher, then fill with the hottest water you can.
Mix Your Dye
Add the dye amount suggested for each color formula; adjusted to 1 gallon of water.

Test Your Mixture
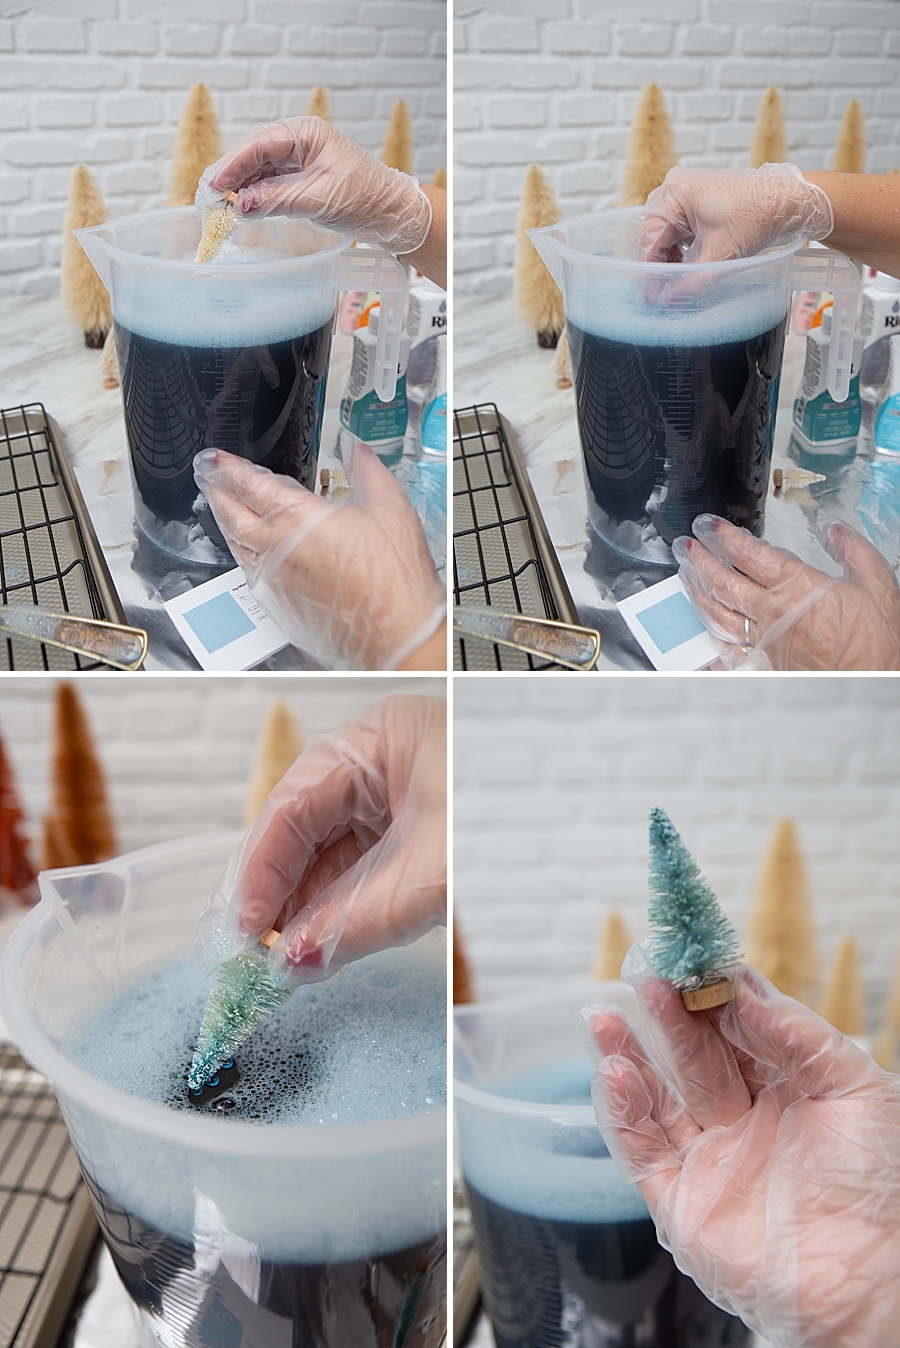
This is optional but was a HUGE help for me. I had some old tiny bottle brush trees that I used for these DIY snow globes and these were perfect for testing out my color formulas first.
Believe me, the Studio59 trees are not cheap so you want to make sure that your color formula is right on before you dip!
Dip Your Trees
I dipped my trees for about 45 seconds. Then I let the water drip off a bit and even ran my hand down them to remove more water.

Dry On Cookie Sheets
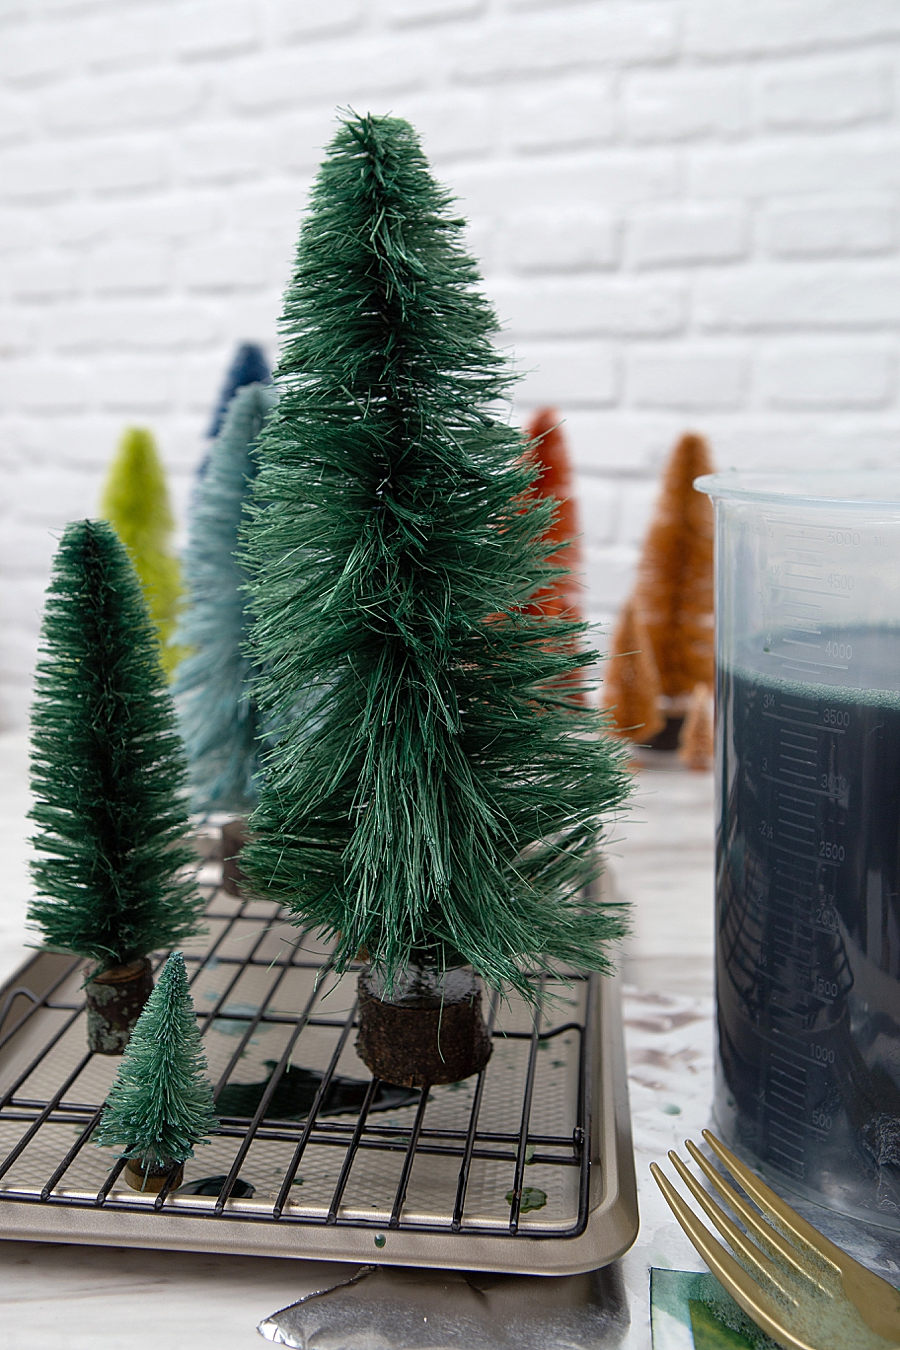
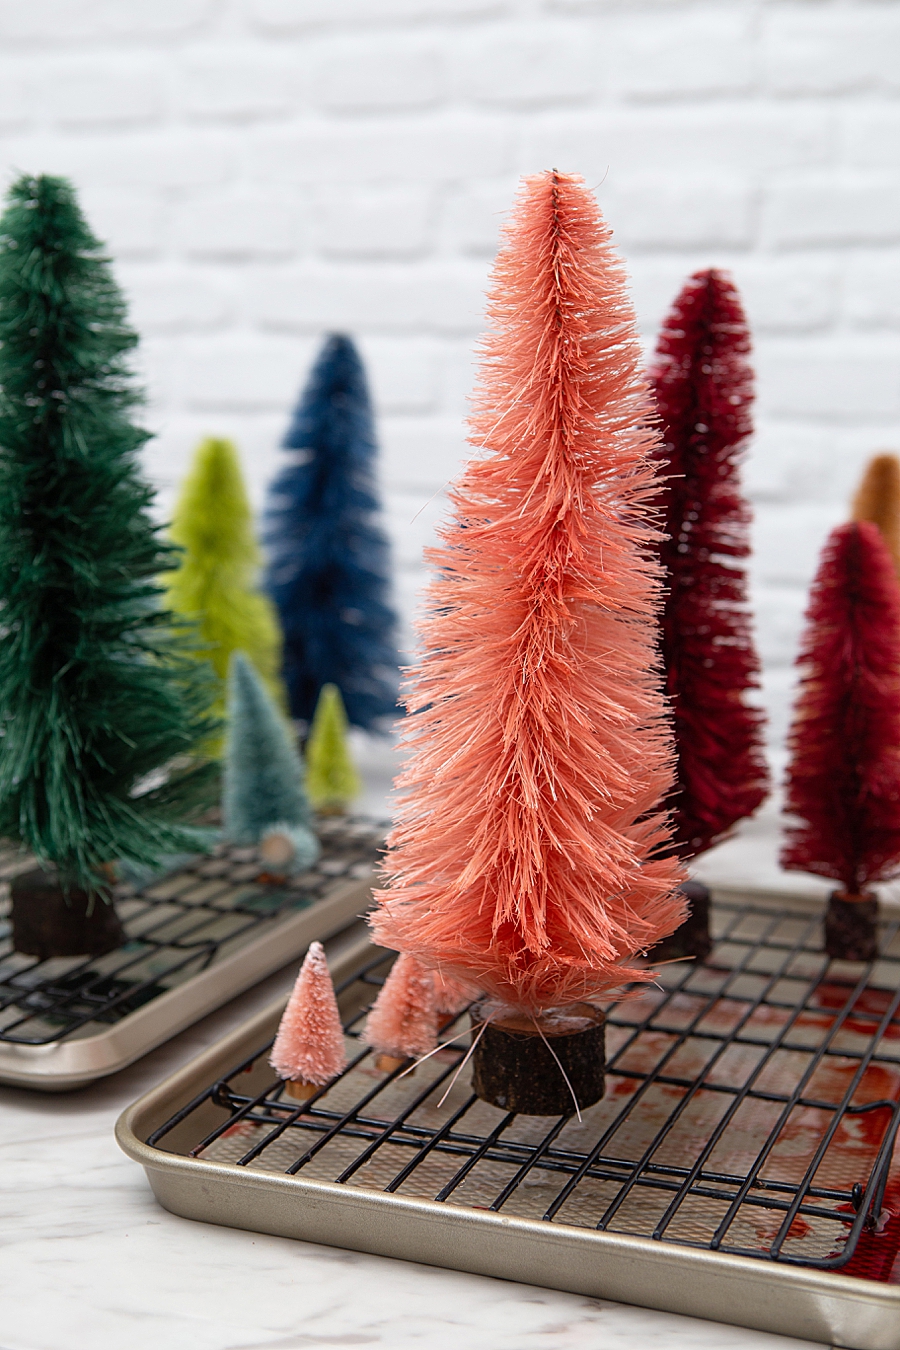
Let your newly dyed trees dry on cookie sheets with cookie cooling racks or the like. I let them dry overnight.
That’s It!
Isn’t it crazy that’s all there is to it!? Now if you can’t find the perfect shade of bottle brush trees for your holiday decor, you know how to dye them yourself!
Check Out My Stockings
If you haven’t already seen them, you should check out my videos on how I made these heirloom punch needle stockings for my family this year!
If you create one of our projects, please share a picture with us on Instagram or Twitter using the hashtag #somethingturquoisediy, we regularly reshare our favorites! Your profile will need to be public for us to see it otherwise, you can always DM us!
DIY Tutorial Credits
Photography + DIY Tutorial: Jen Causey-Kidder of Something Turquoise // Natural Bottle Brush Trees: Studio59 Handmade // Rit Dye: Amazon // Gallon Mixing Pitcher: Amazon // Yarn: Cardo by Manos del Uruguay
Shop The Supplies:
Find the supplies you’ll need for this project from our affiliate links below:






Comments