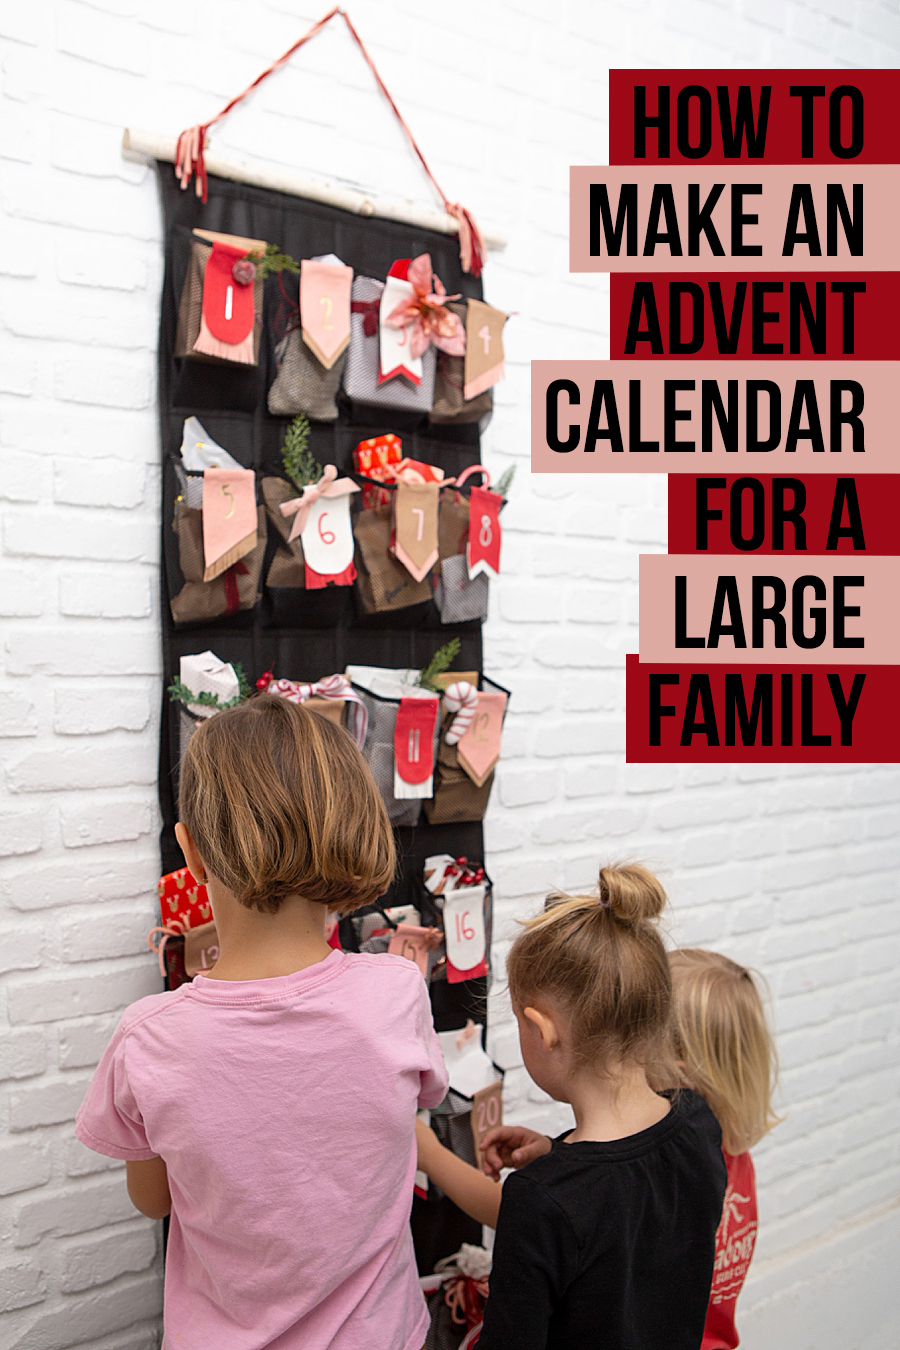
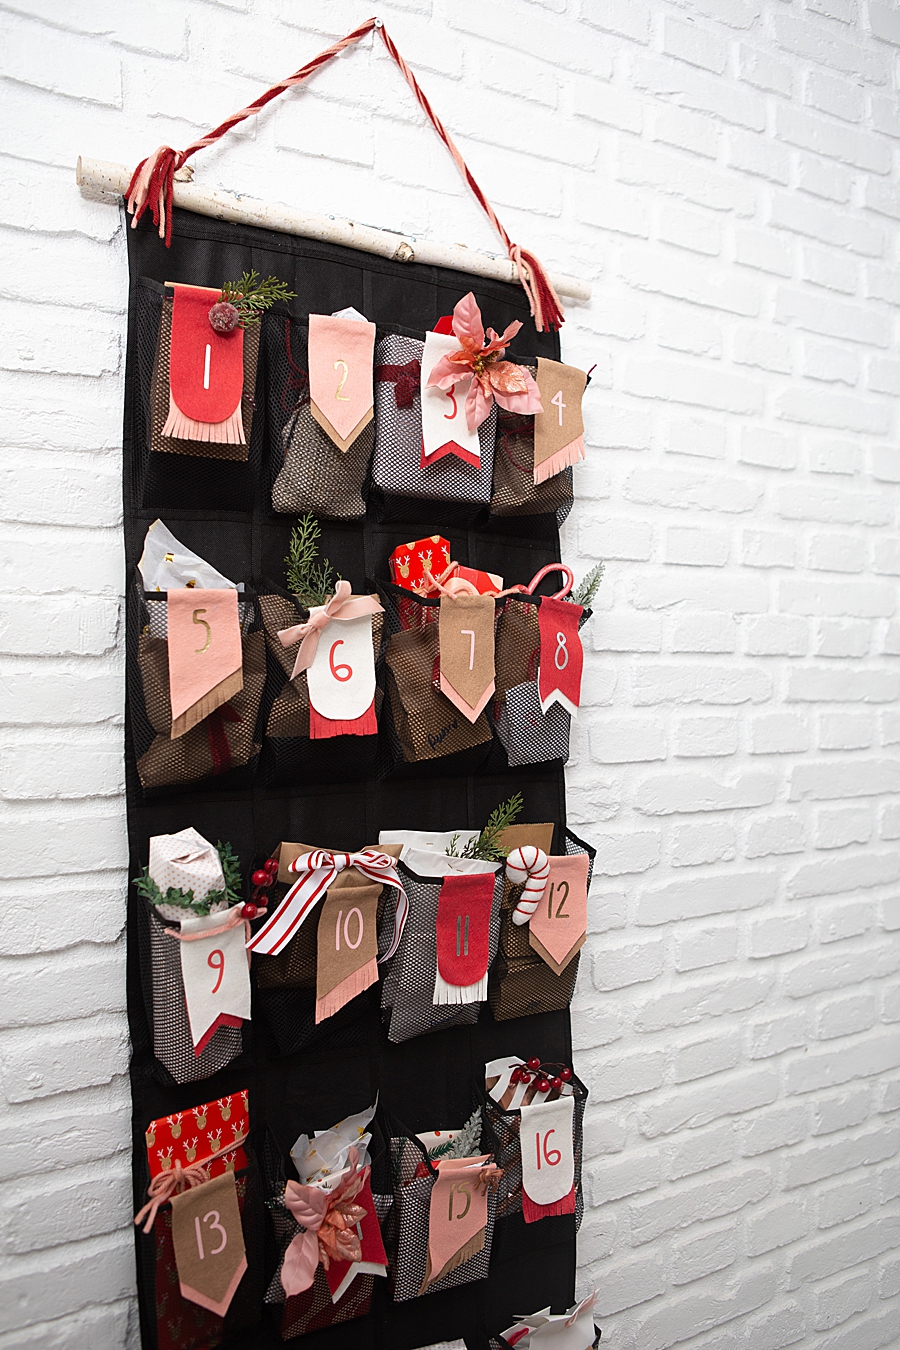
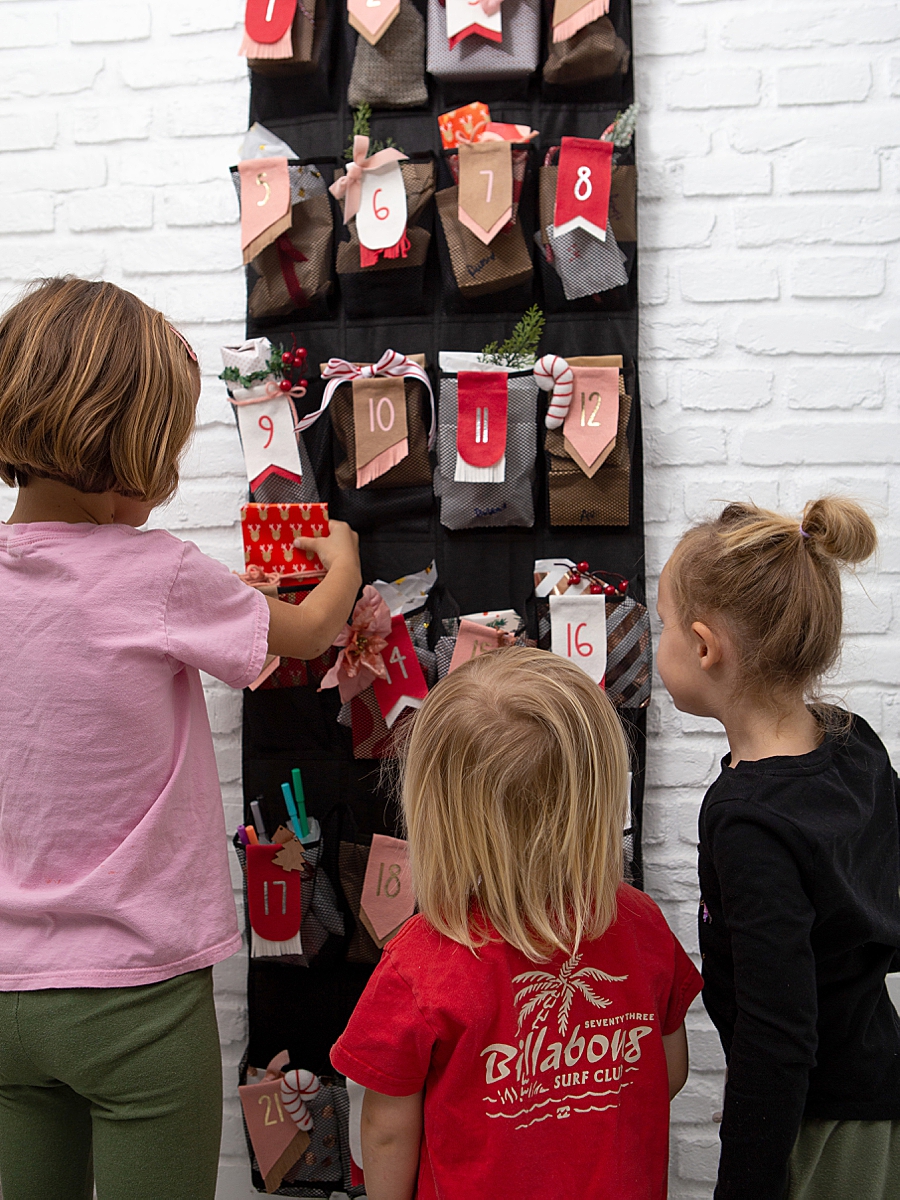
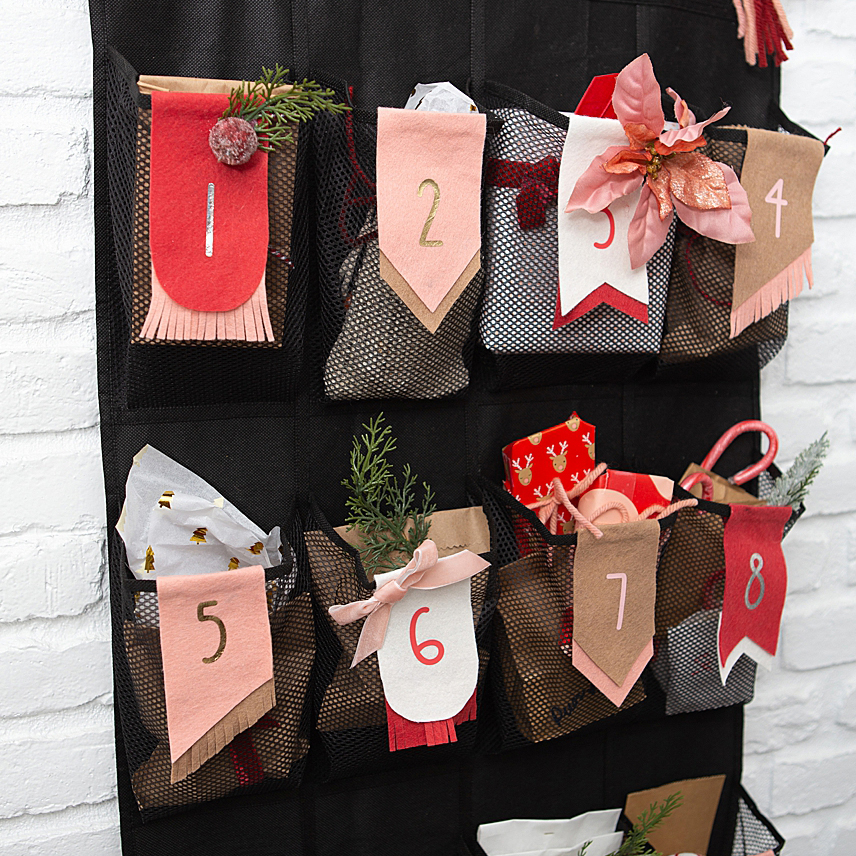
For the past few years, I’ve bought each of my kiddos one of those “toy” advent calendars. We’ve had Legos, jewelry, dinosaurs, cars, Star Wars, Disney princesses, etc… I think by week three both they and I get bored of opening the same thing again. They also are a bit pricey running around $40 each. So I had an idea, what if I took the $160 I would have spent on the pre-packaged toys, and bought them all unique things for each day? Searching online I only found one idea for LARGE families ~ the back of the door shoe holder. So that’s what I went with… and here’s how I put it together and what I bought for them.
You can watch me make this on our Instagram REELS!
Cost
All the toys and candies and things were about $150, so very close to what I would have spent. The stick, felt, yarn, and iron-on, I already had so no cost there. The wrapping, screws, and shoe holder were purchased but I figure I won’t be buying those additional items every year moving forward.
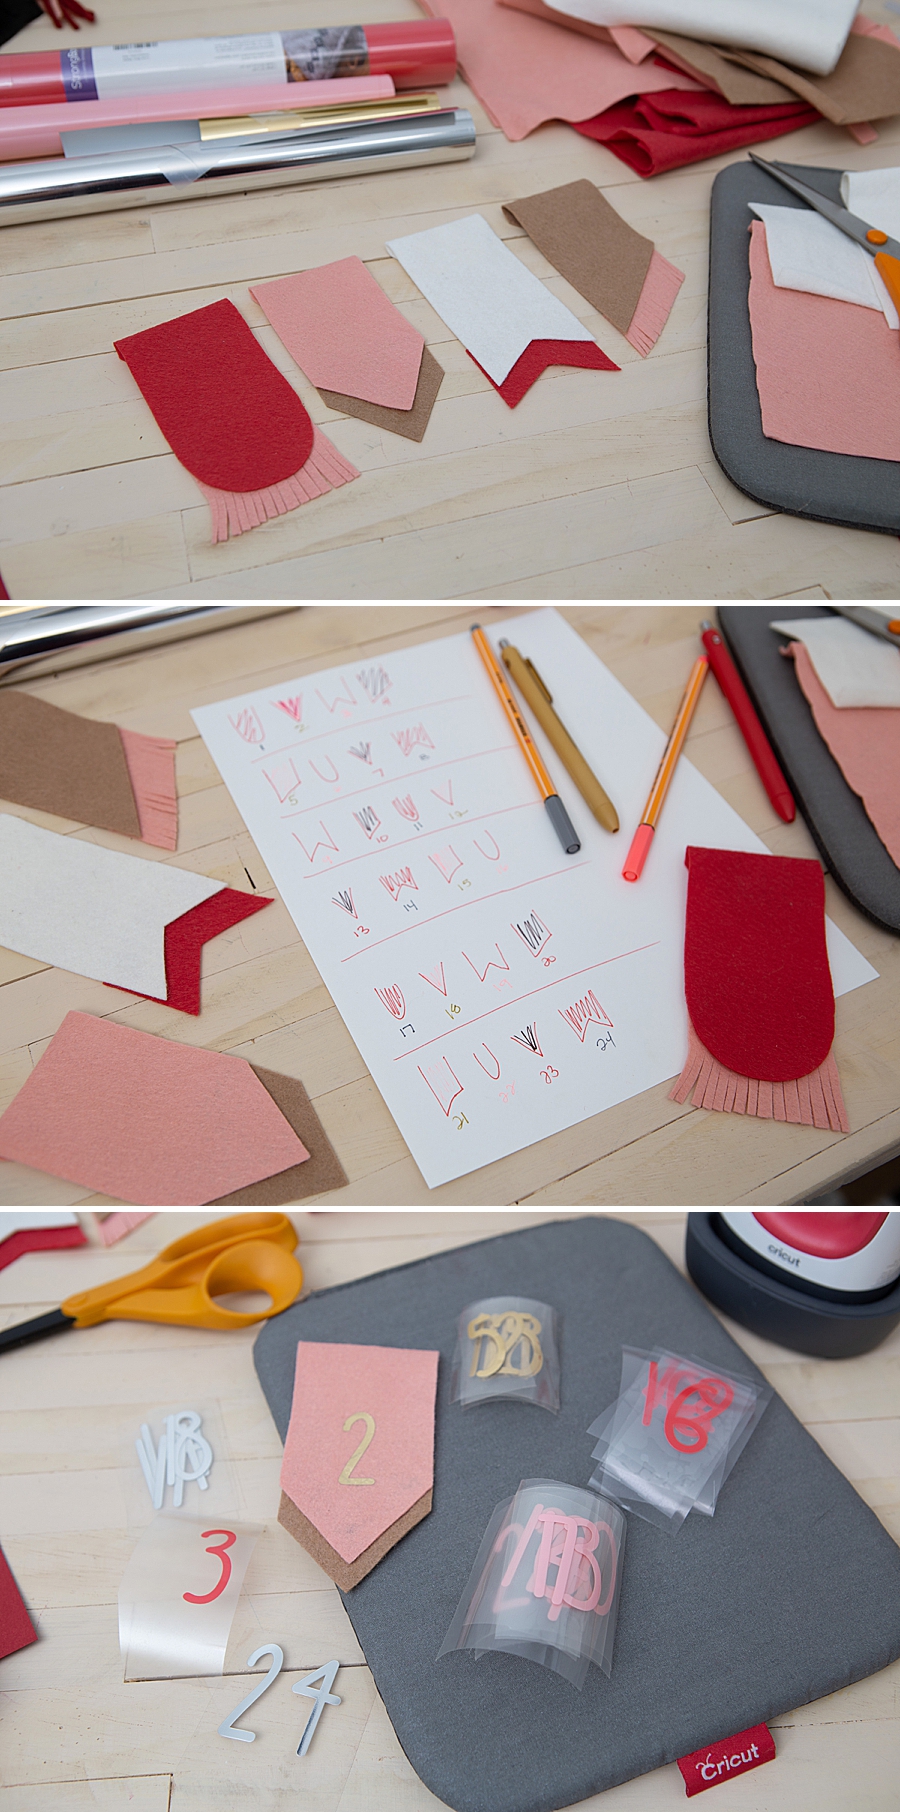
Felt + Iron-on
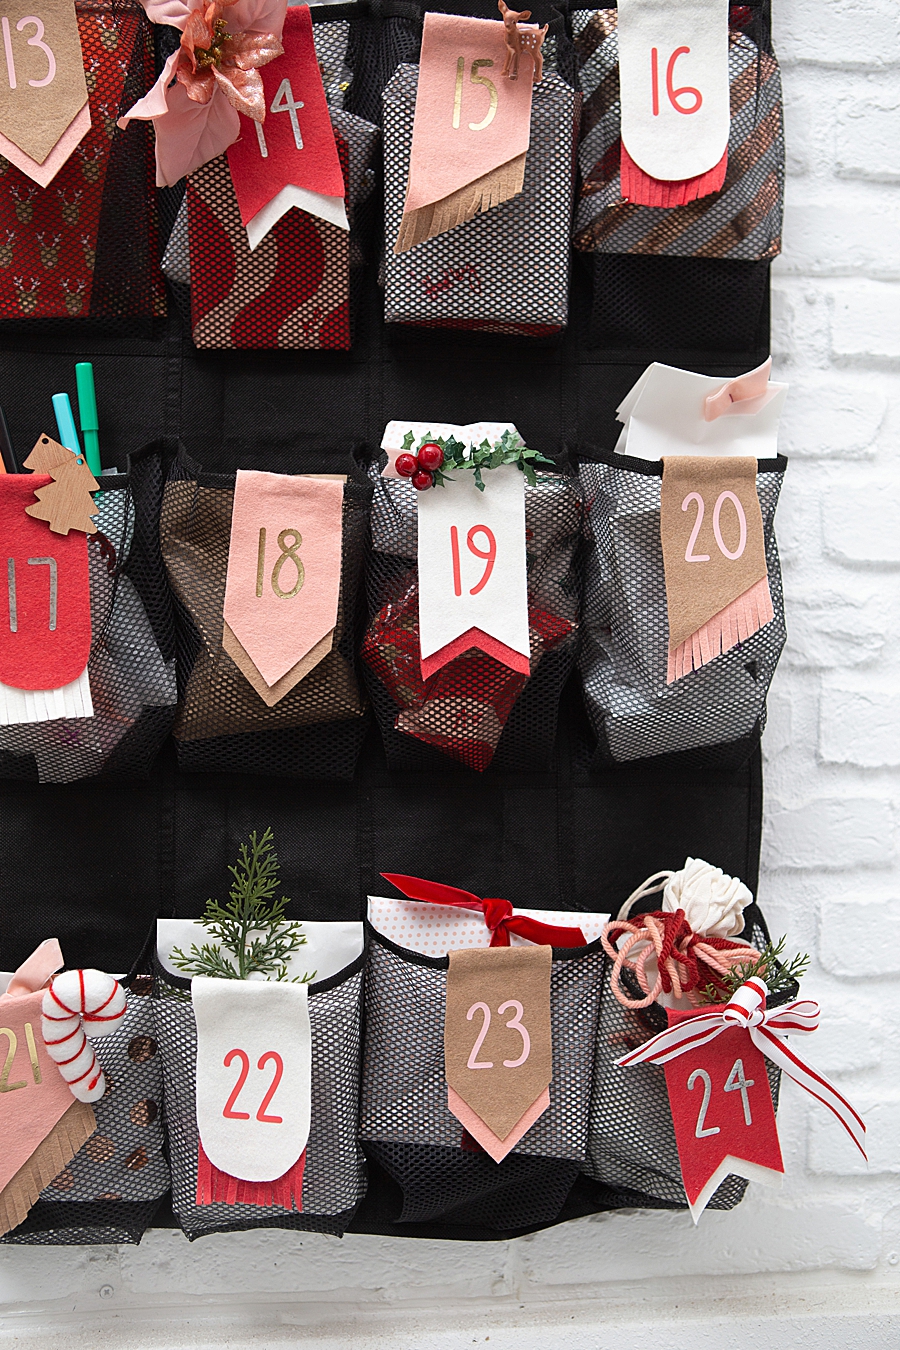
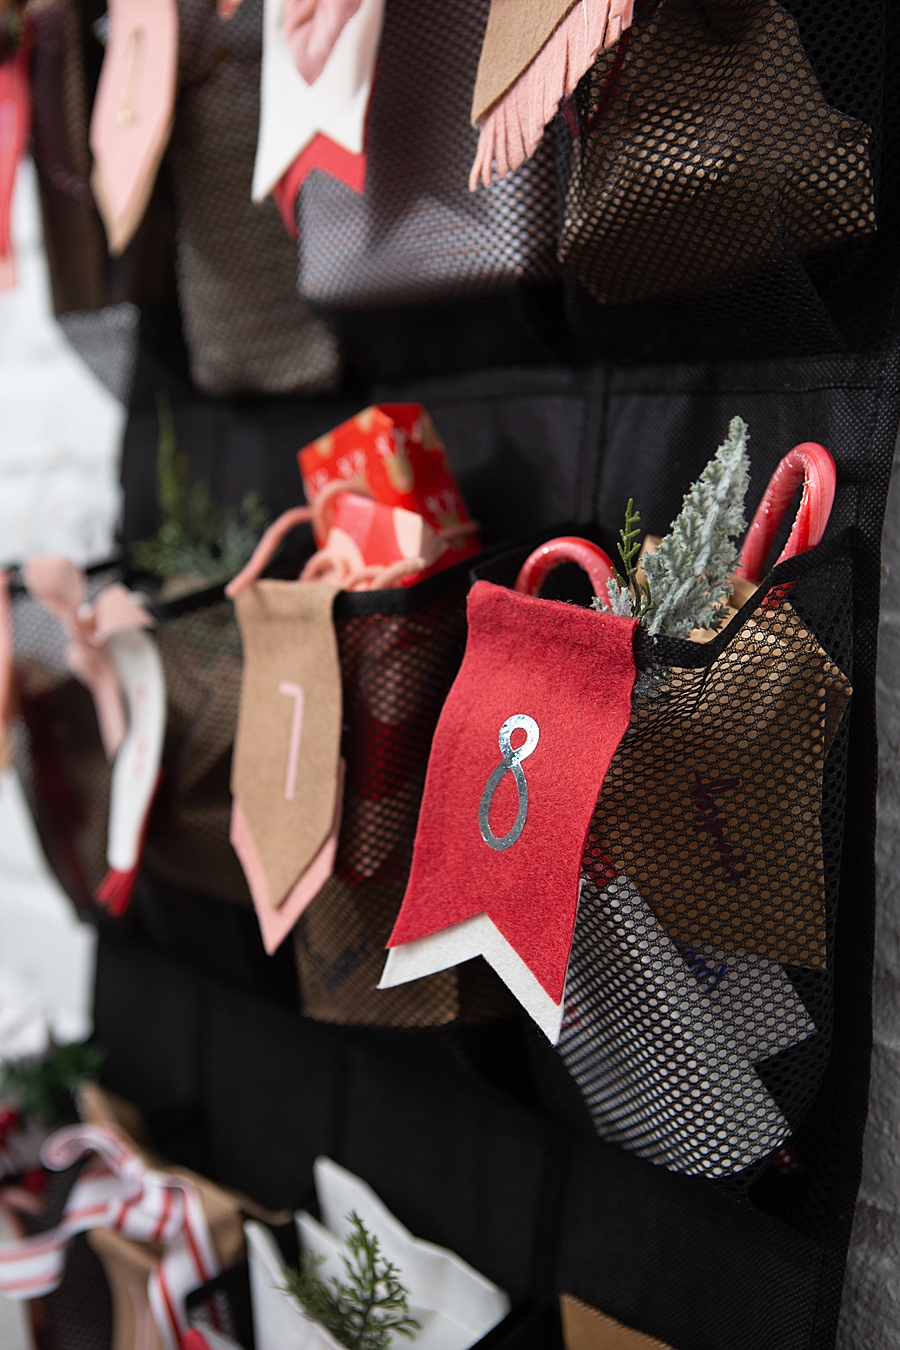
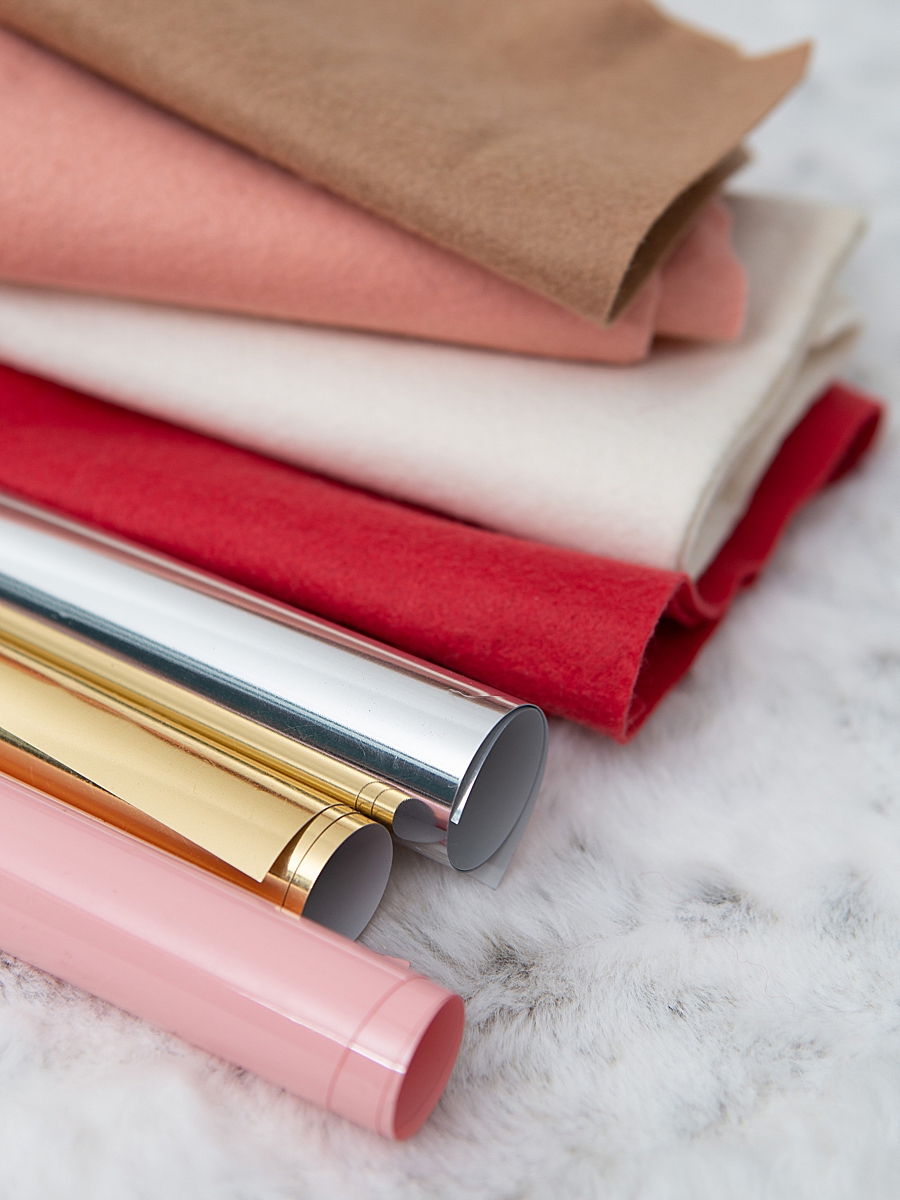
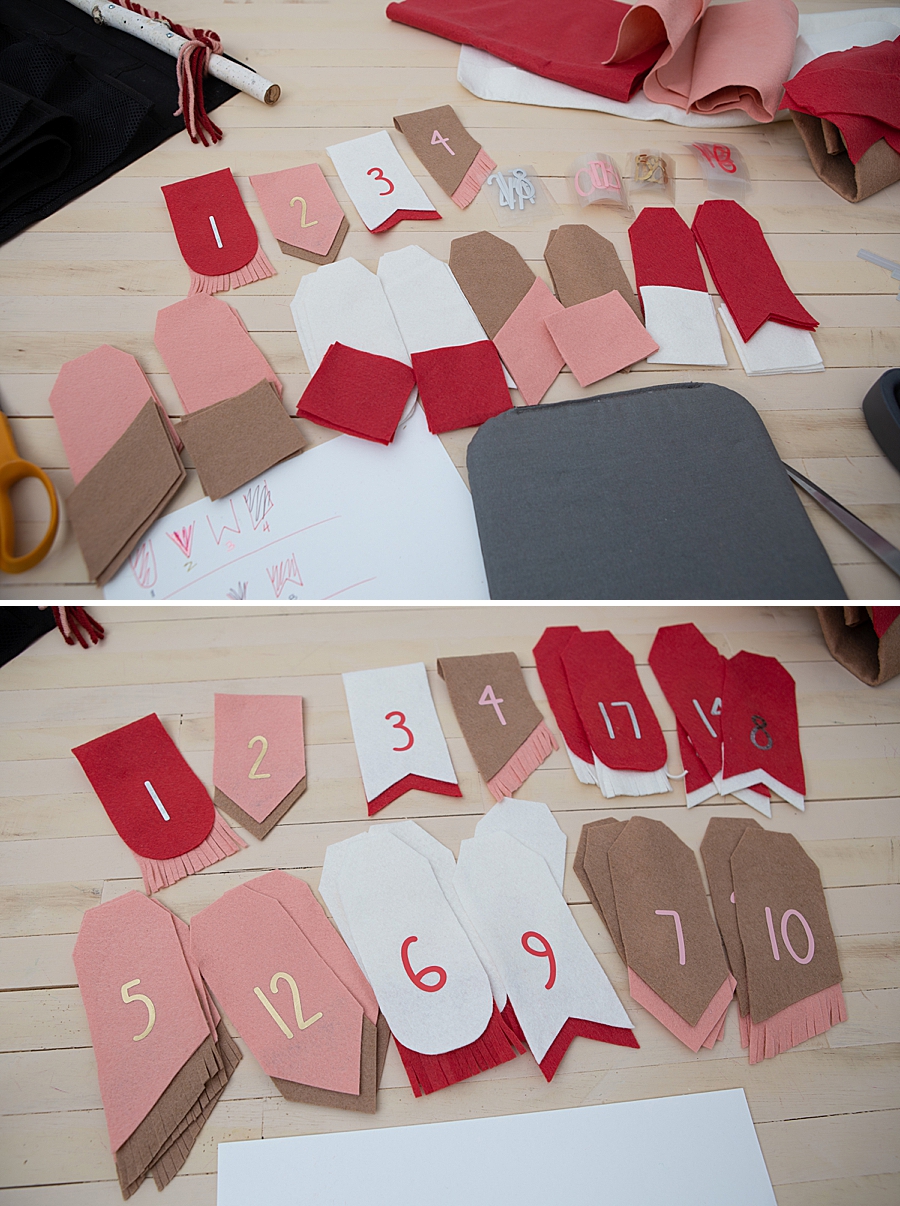
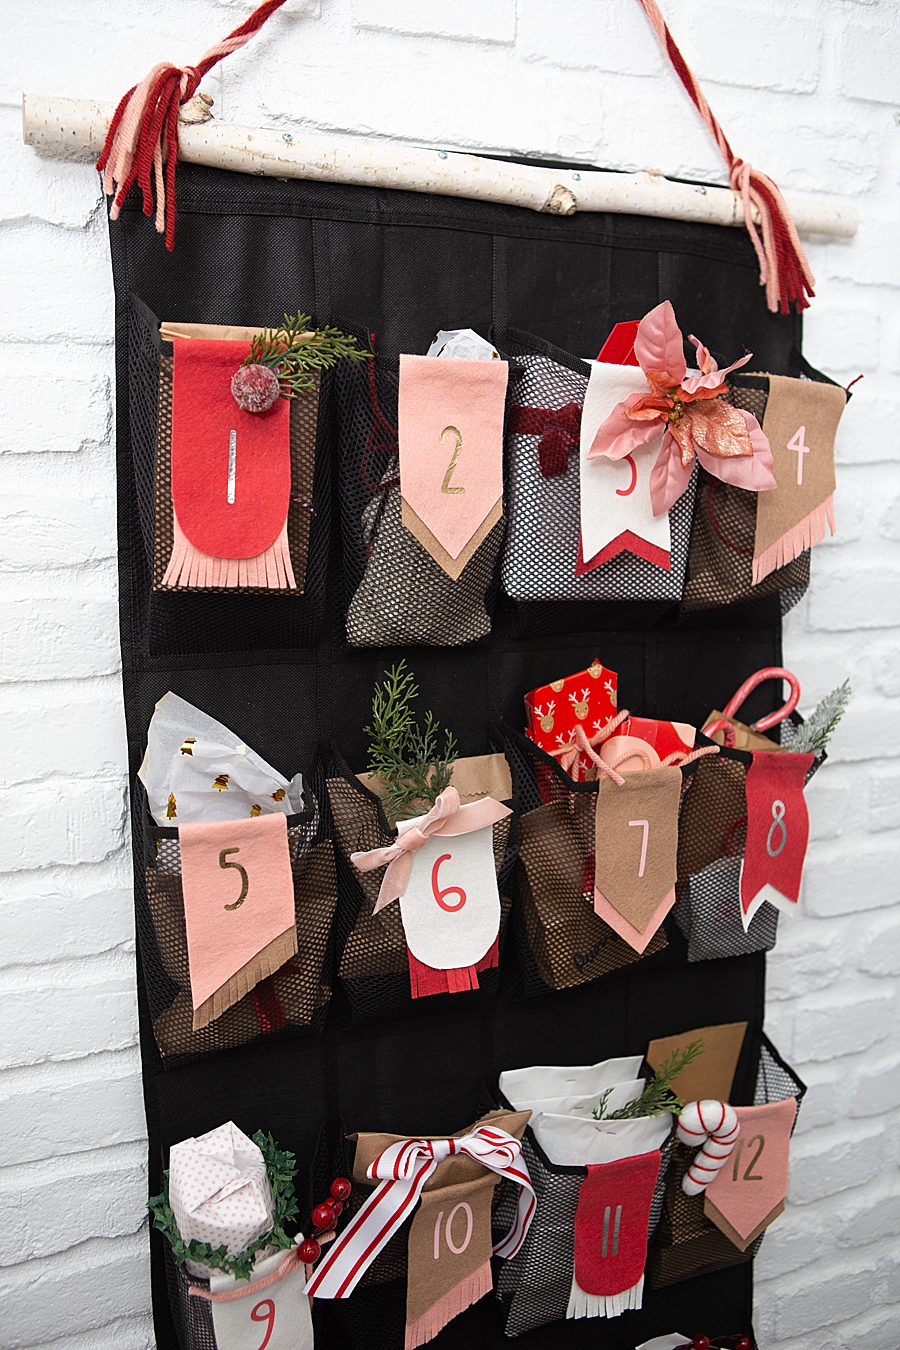
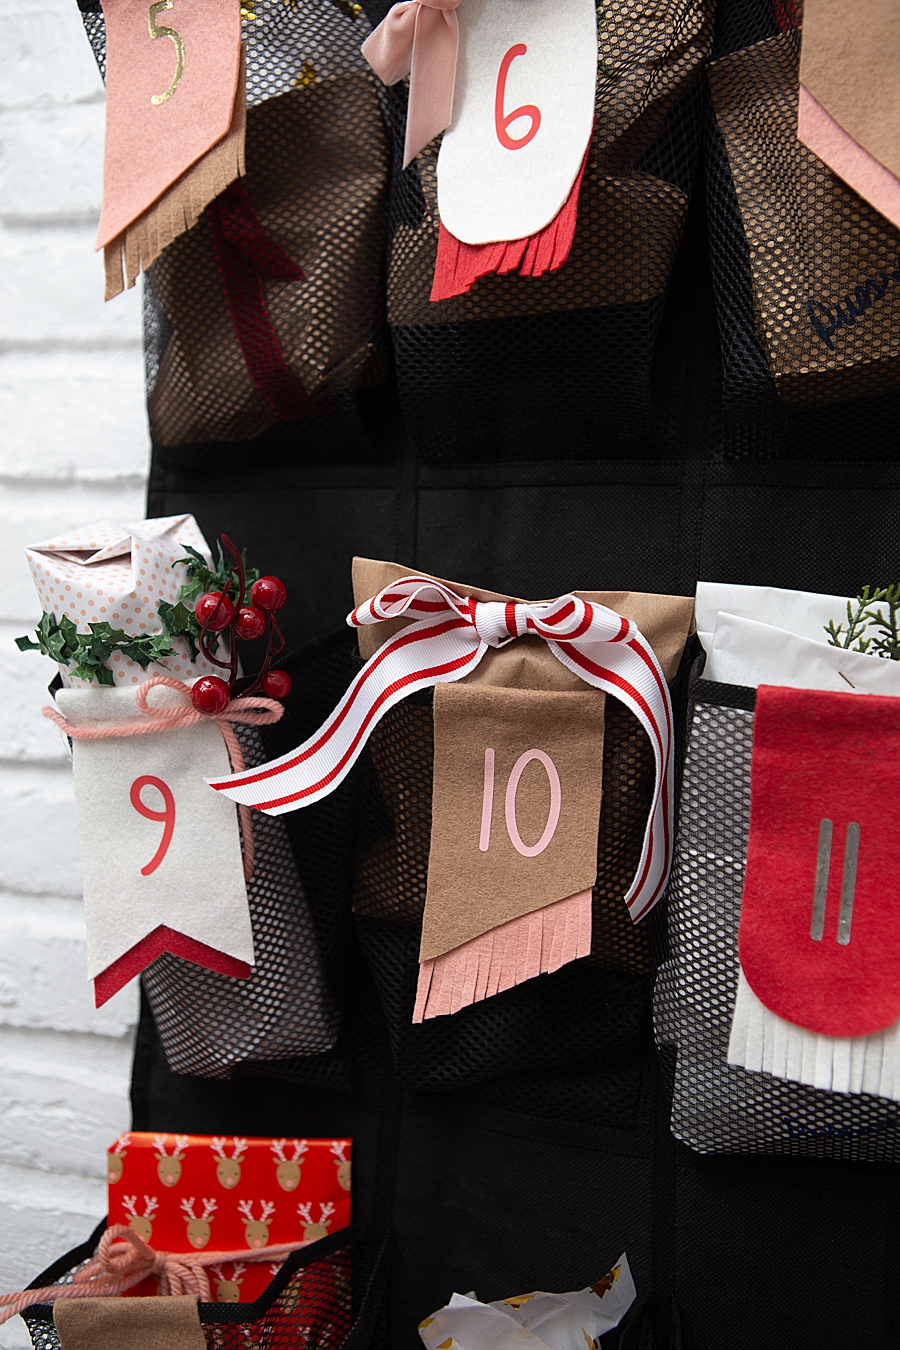
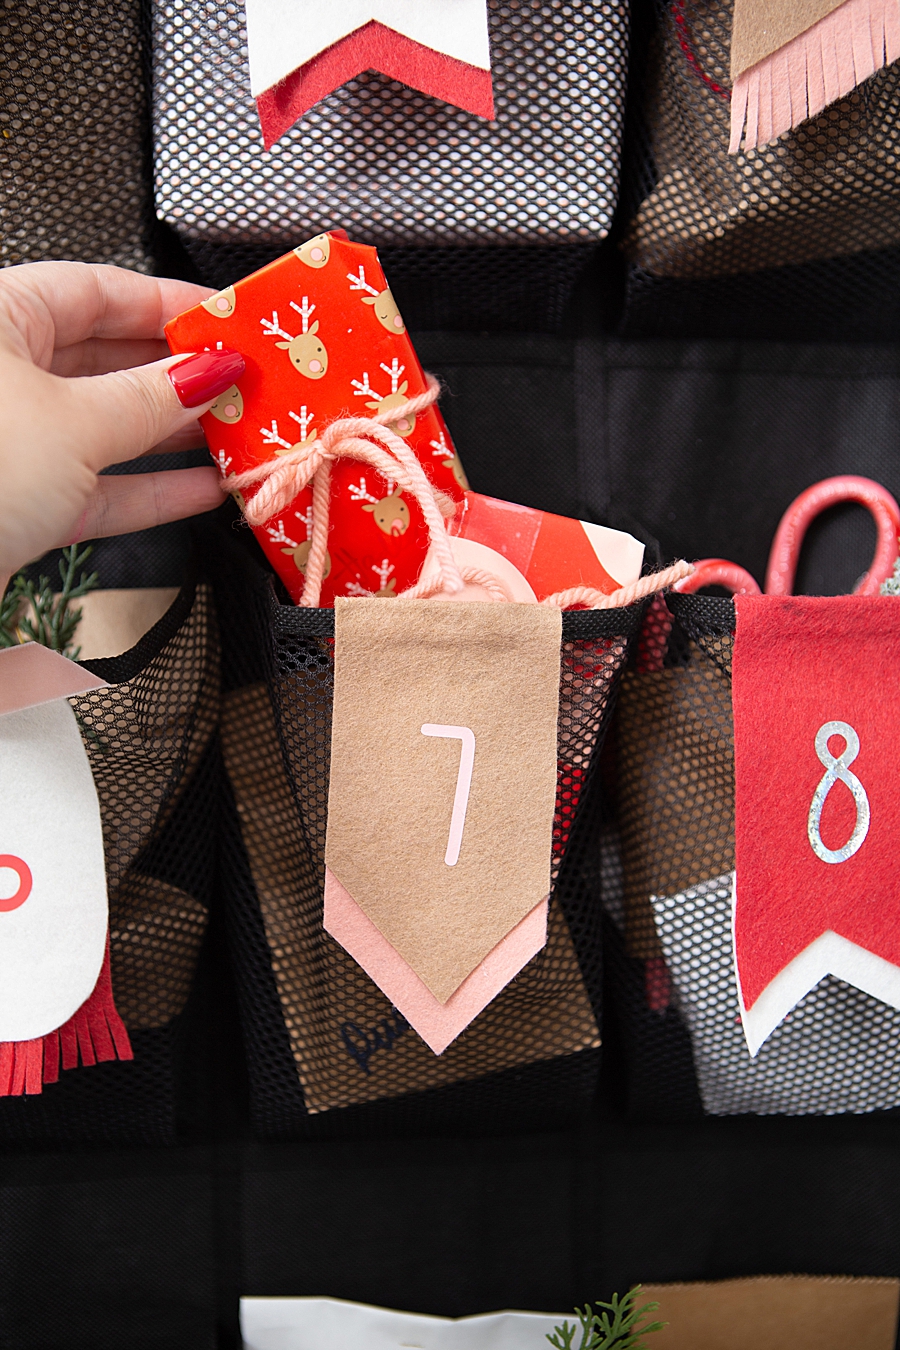
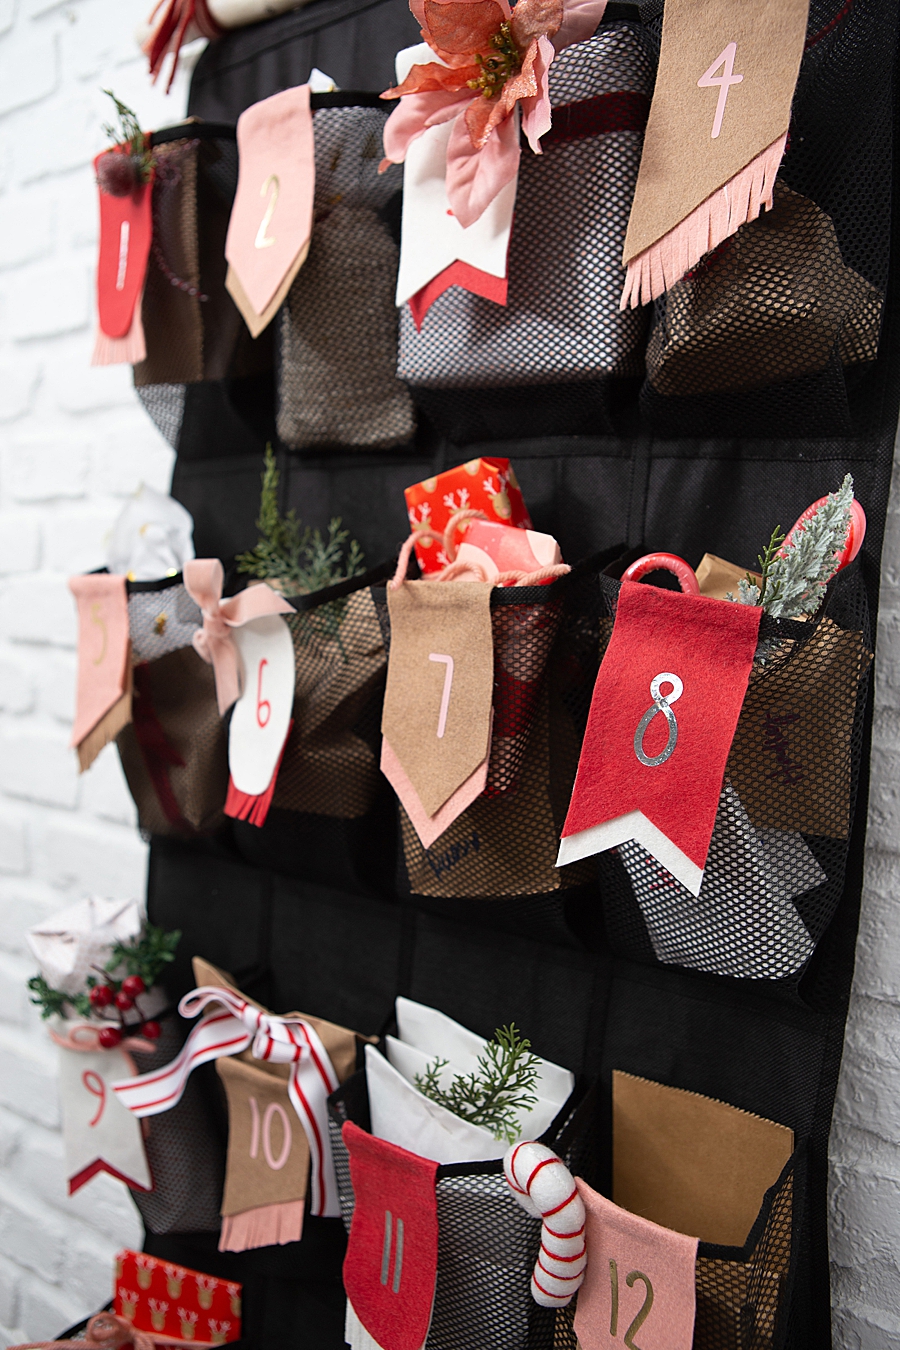
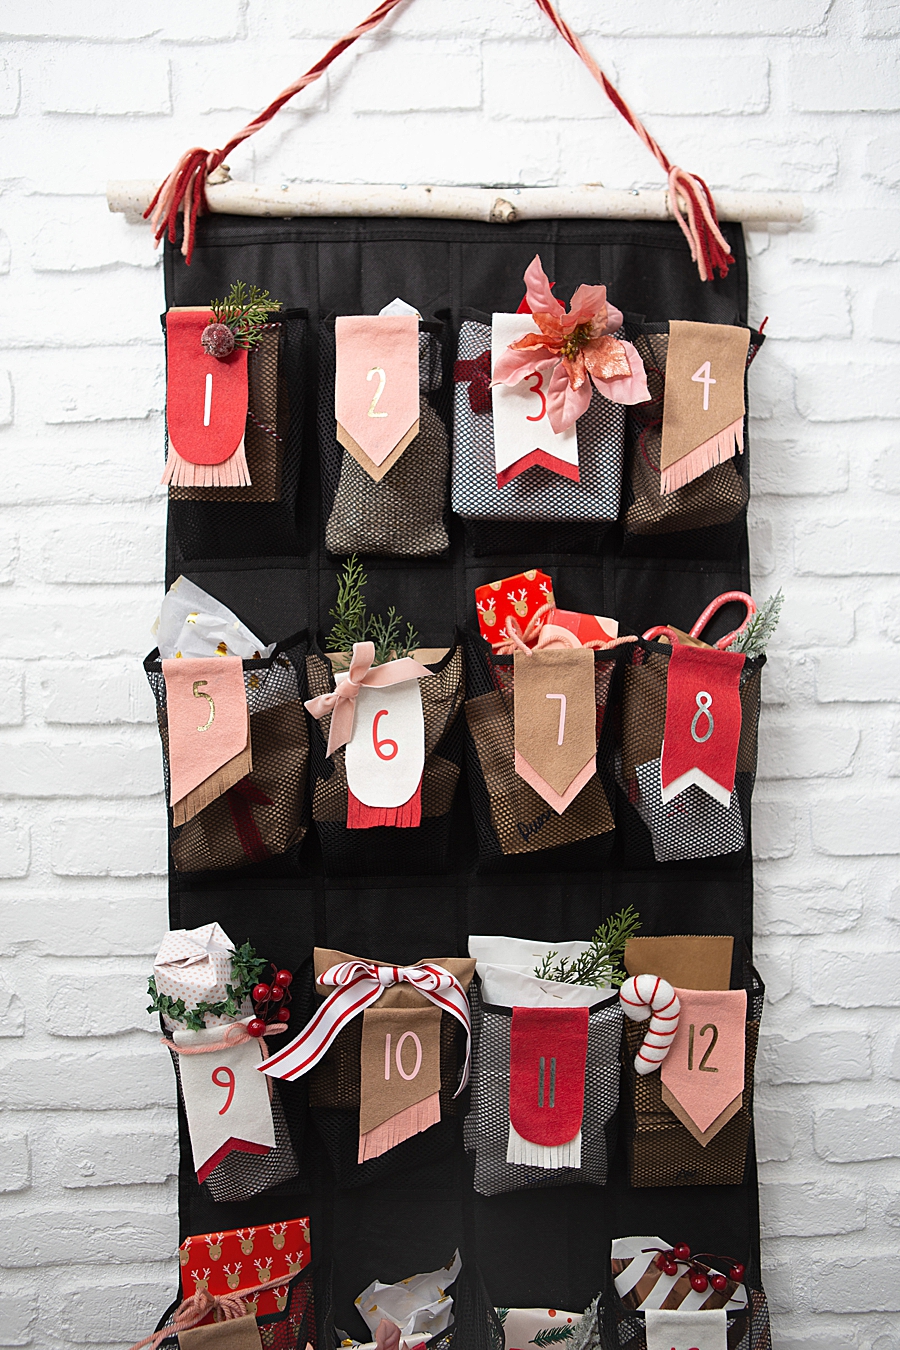
I used Benzie Felt (Red, Blush, White, and Castle) and Cricut Iron-on (Red, Pink, Gold Foil and Silver Foil) to make all the number tags.
Wrapping
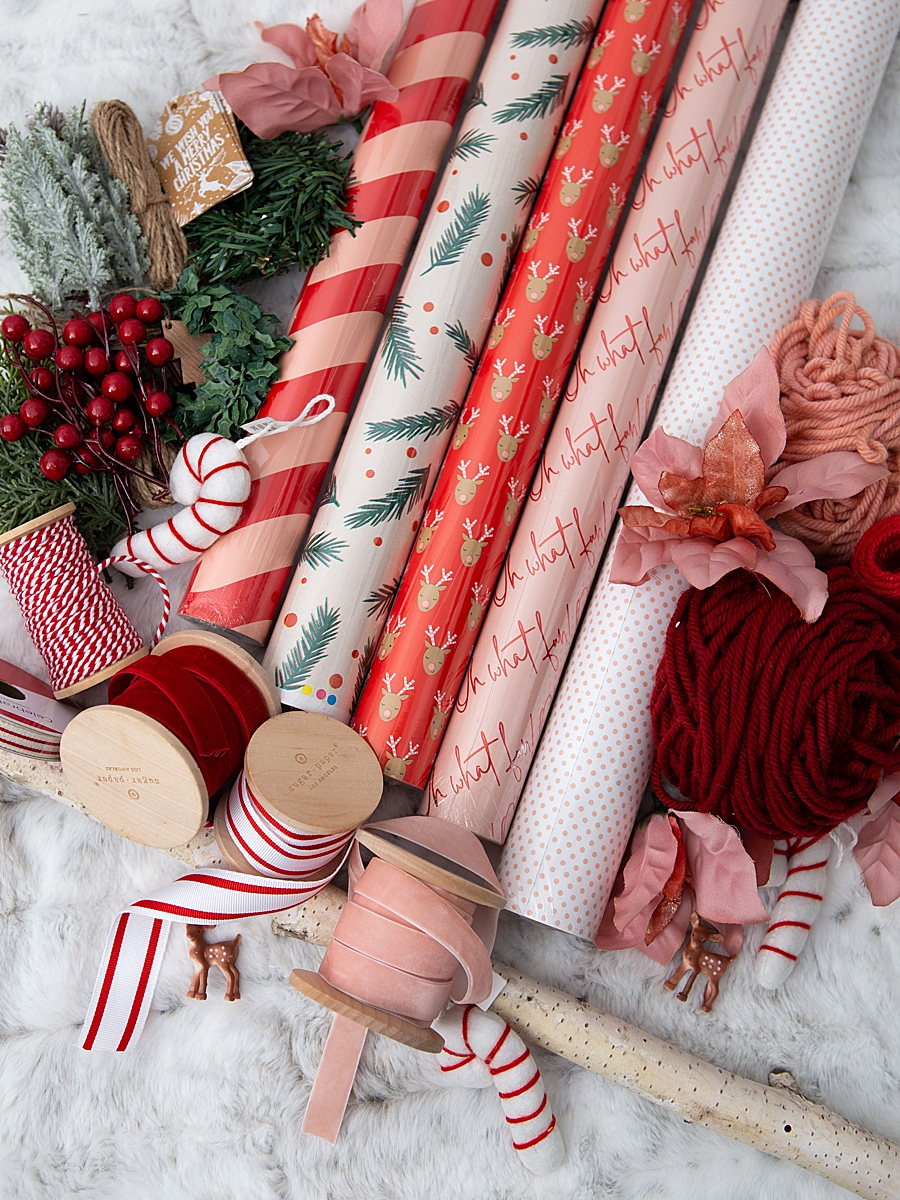
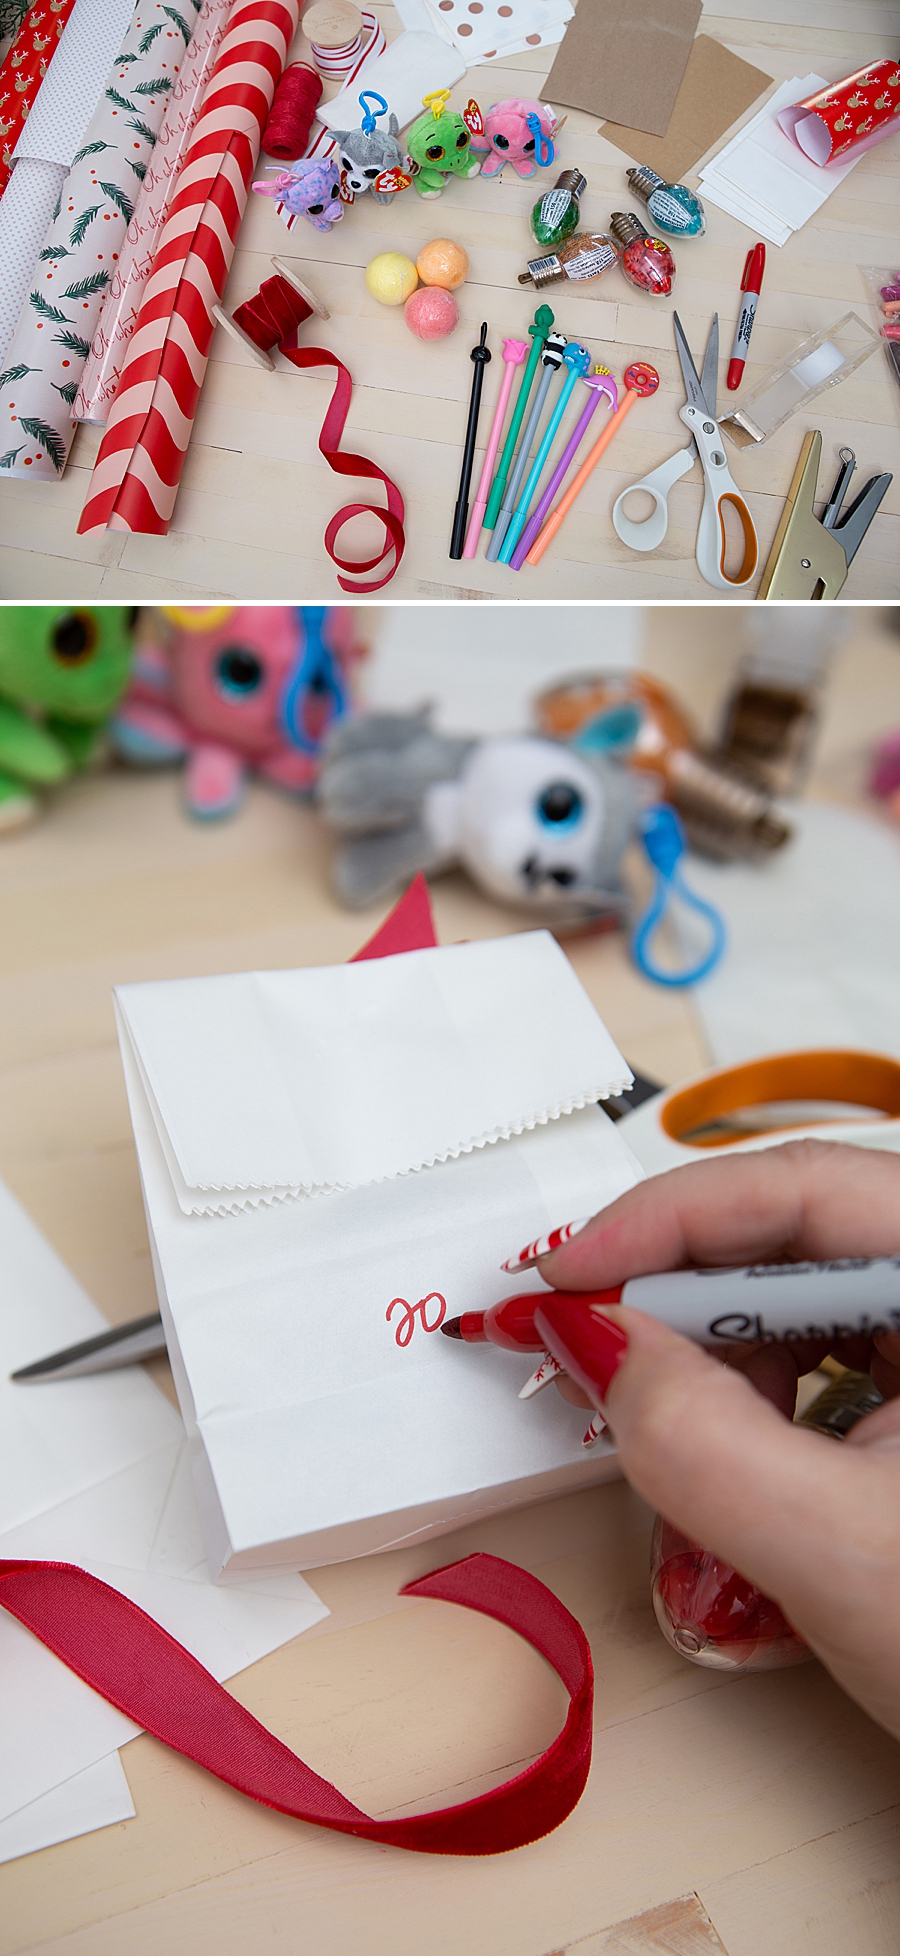
I found all the little embellishments at Michaels and the wrapping paper at Target.
Gift Items
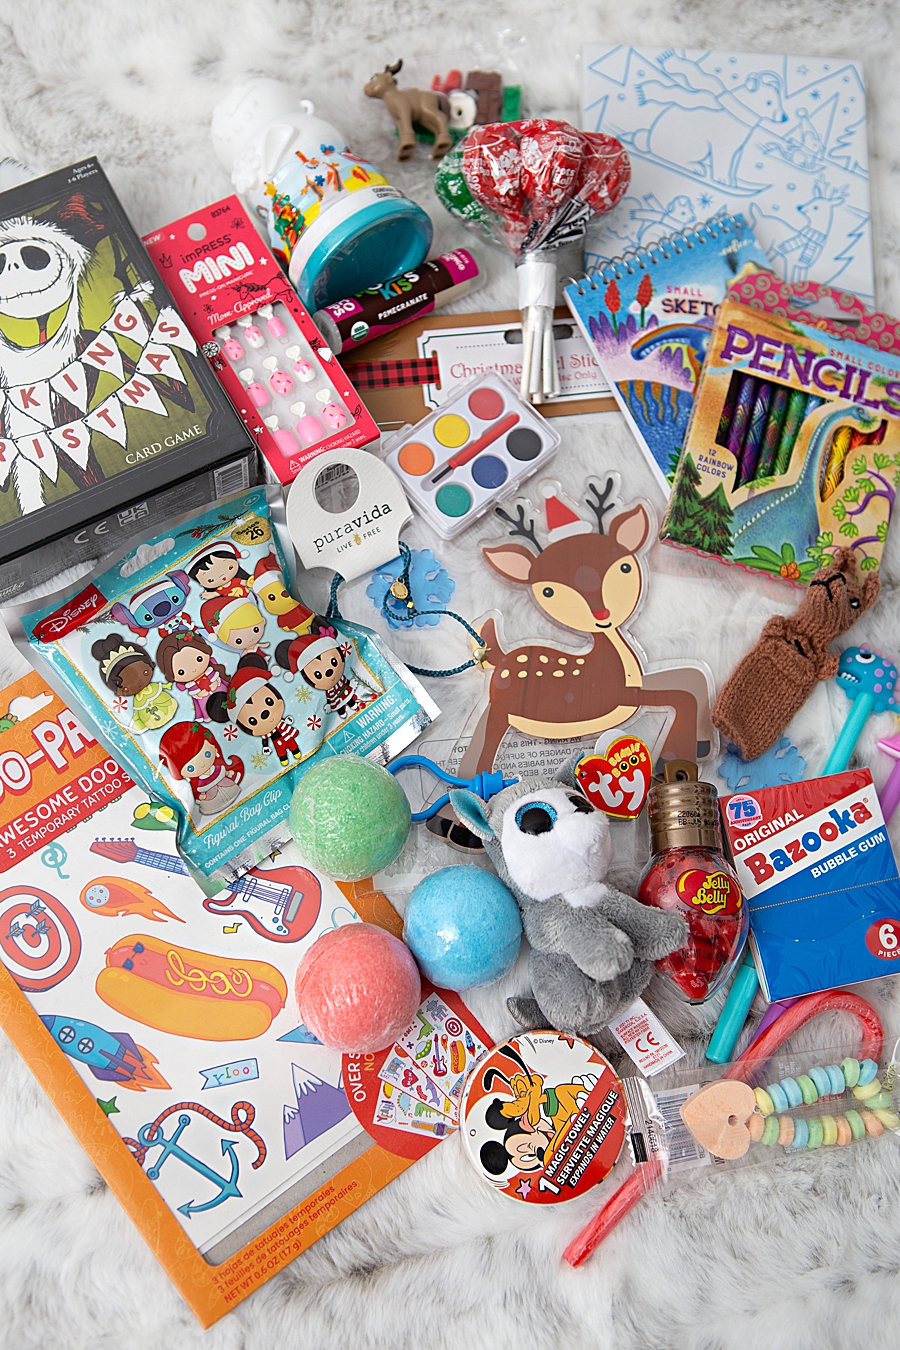
This was so much fun! We have Pura Vida bracelets, bath bombs, candies, mini stuffies, tattoos, colored pencils, a mini notebook, a mini watercolor set, gum, window stickies, press on nails, cars, dinosaurs, a family game, chapstick, legos, play dough, pens, finger puppets, paper scratchers, magic towels… it’s safe to say I’ve been collecting these little things for 2 months.
Our youngest is 14m so some of these things she’s not getting.
Attaching The Branch
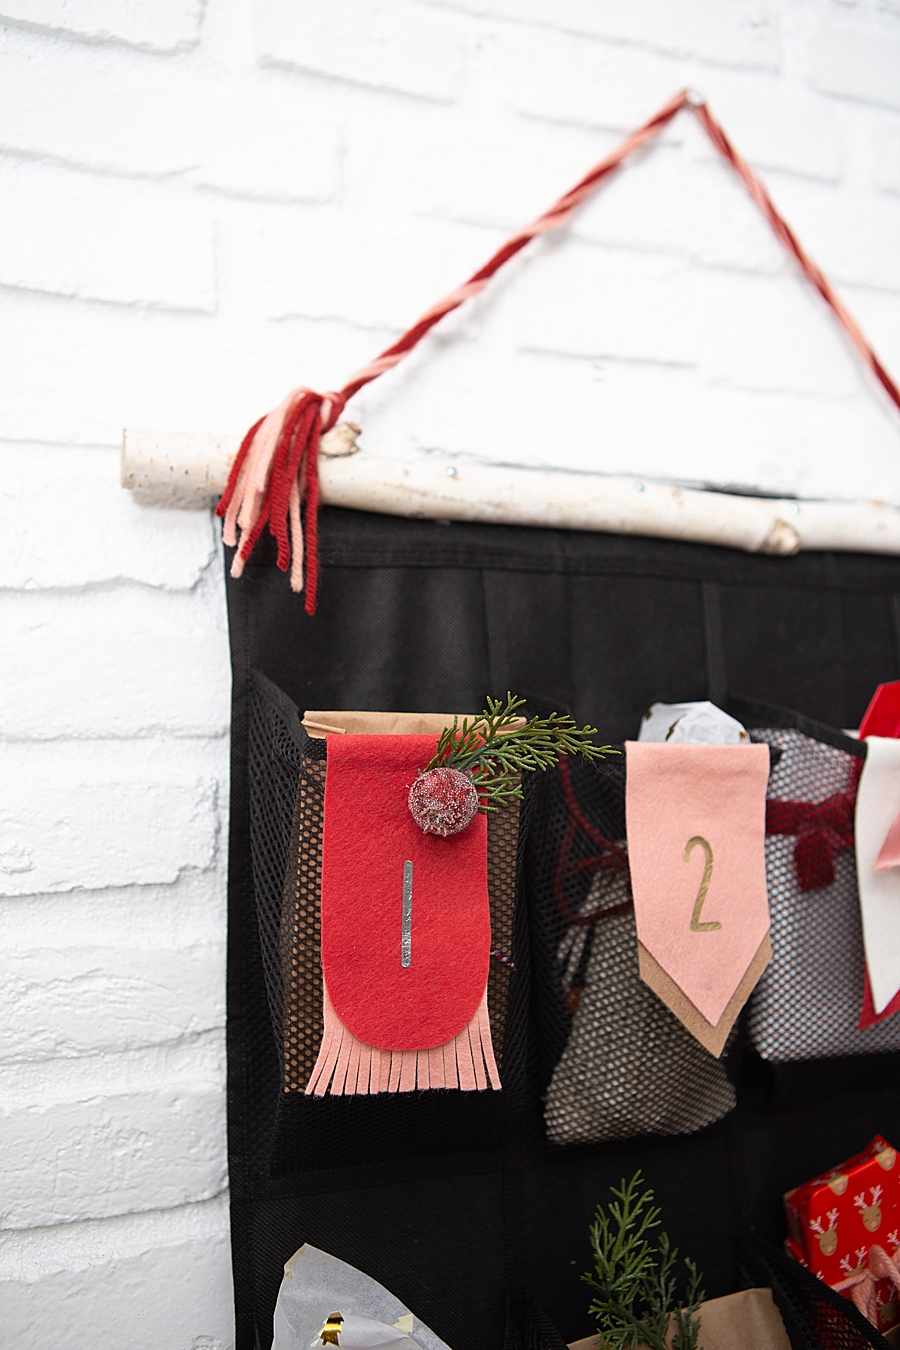
I’ve had this beautiful white branch in my office for a while and I knew I wanted to use it to hang the calendar. The husband recommended that I drill through the branch and attach to the shoe holder with screws, washers, and nuts because it was going to be heavy…
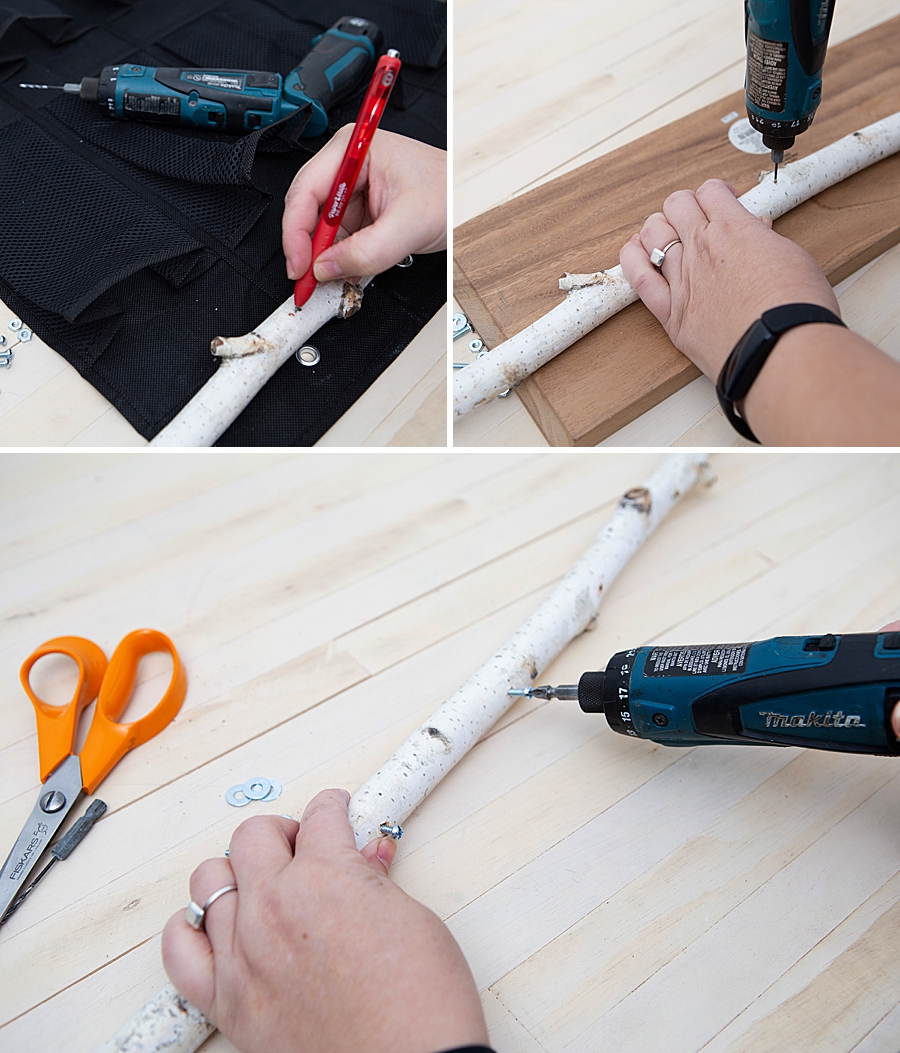
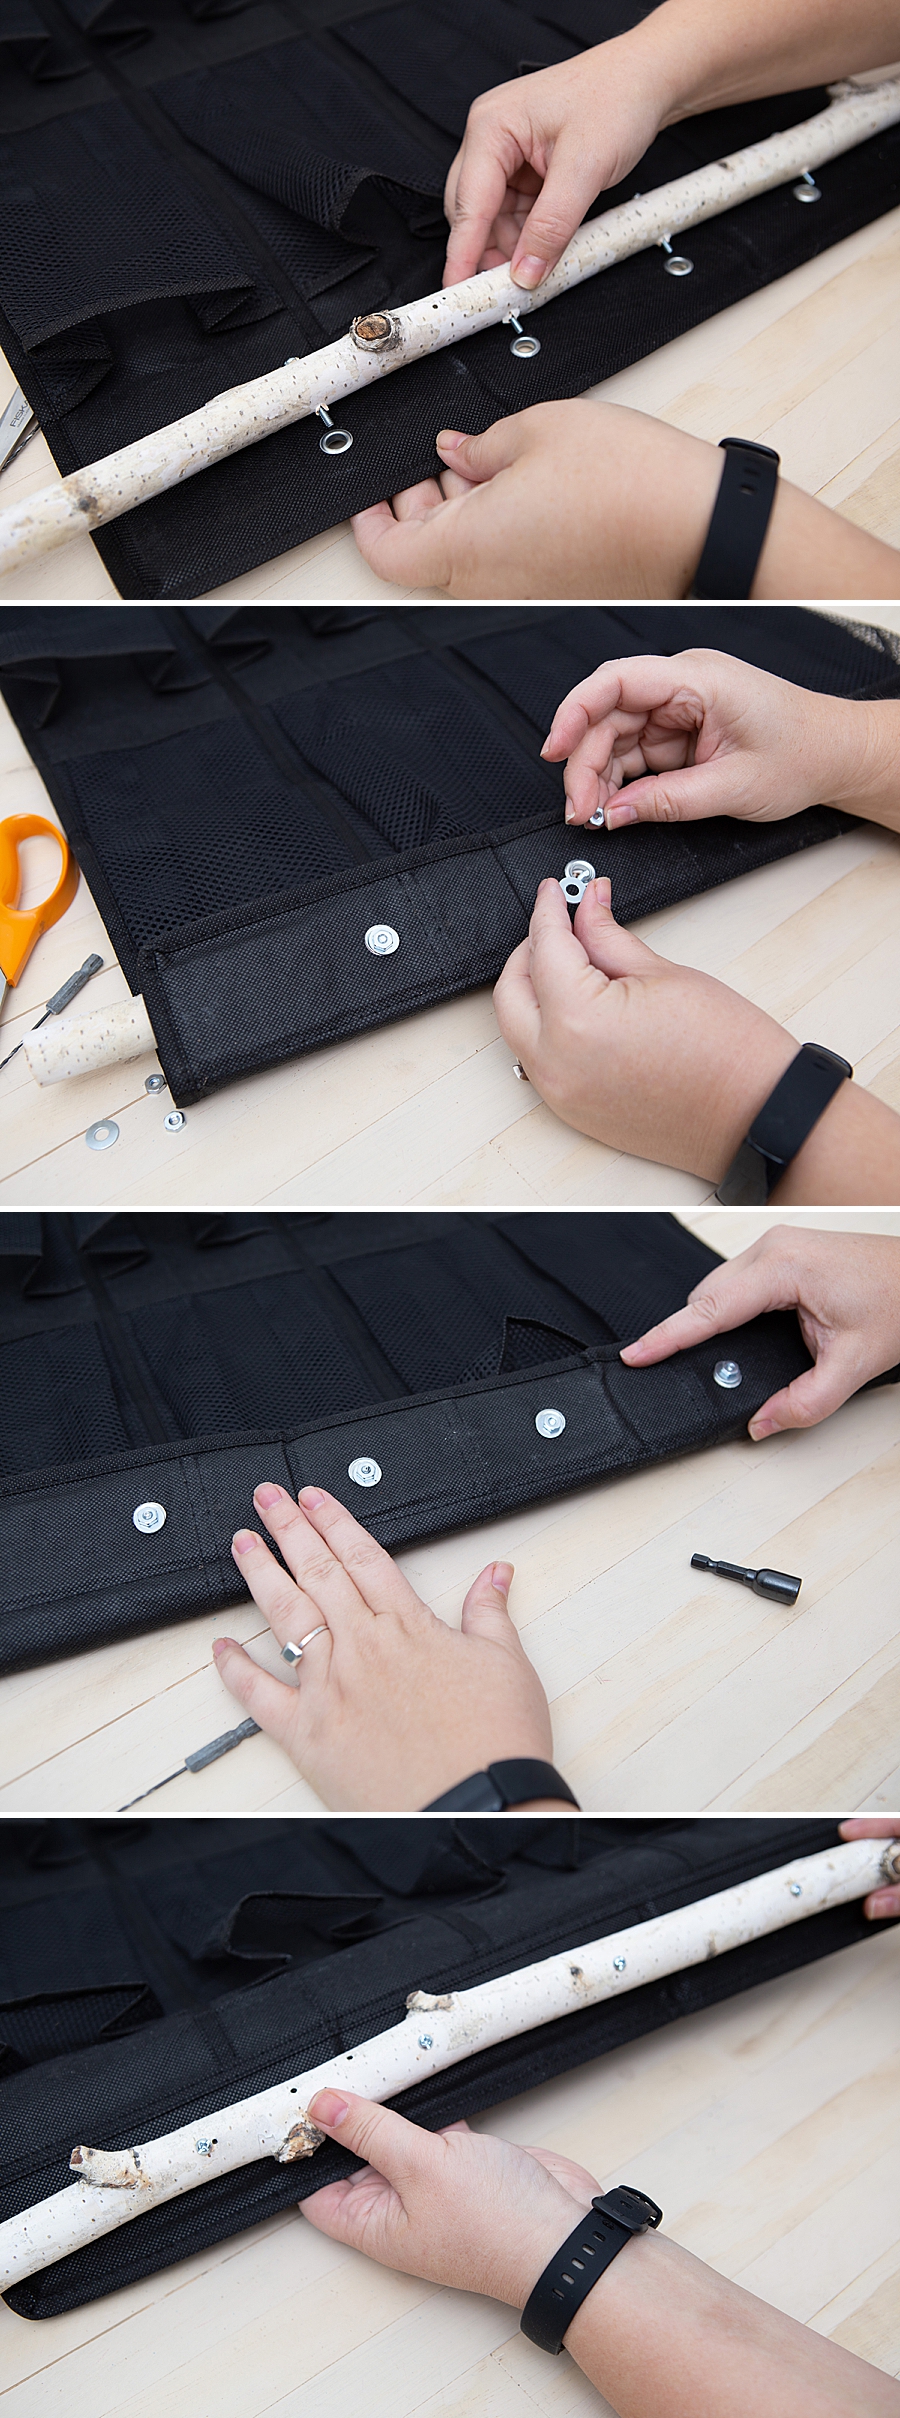
…let me tell you it worked perfectly. I used 1.25″ bolts and hand tightened them using my little wrench attachment for my driver drill.
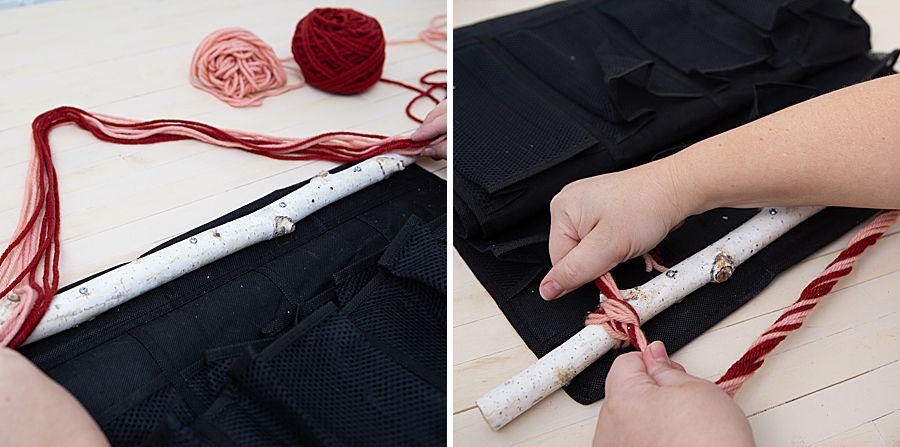
Then I was able to tie 12 strands of yarn together and attach them to the branch. It hangs wonderfully (and sturdy), I’m super happy.
Tag Planning
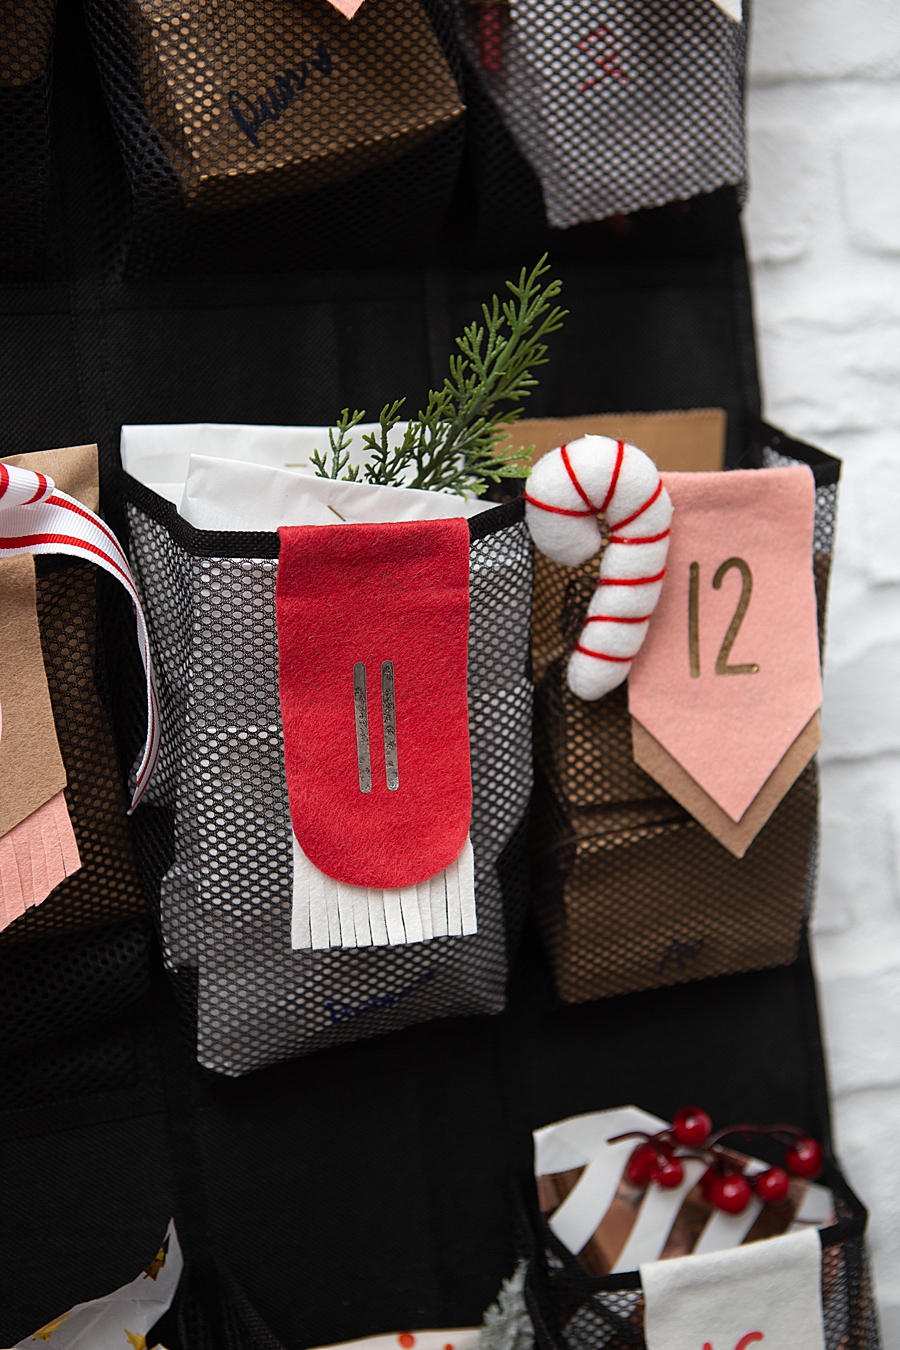
First I designed the four felt tag styles, then I made myself a chart and swapped the colors of each one all the way to 24. After that I just followed the chart to make them all…. this took a while.
Click here to use my Cricut Design Space canvas and pre-designed numbers. Font is BFC Autumn Harvest. If you’re having trouble accessing it, make sure you’re logged into Design Space first.
Gluing On The Tags + Decorations
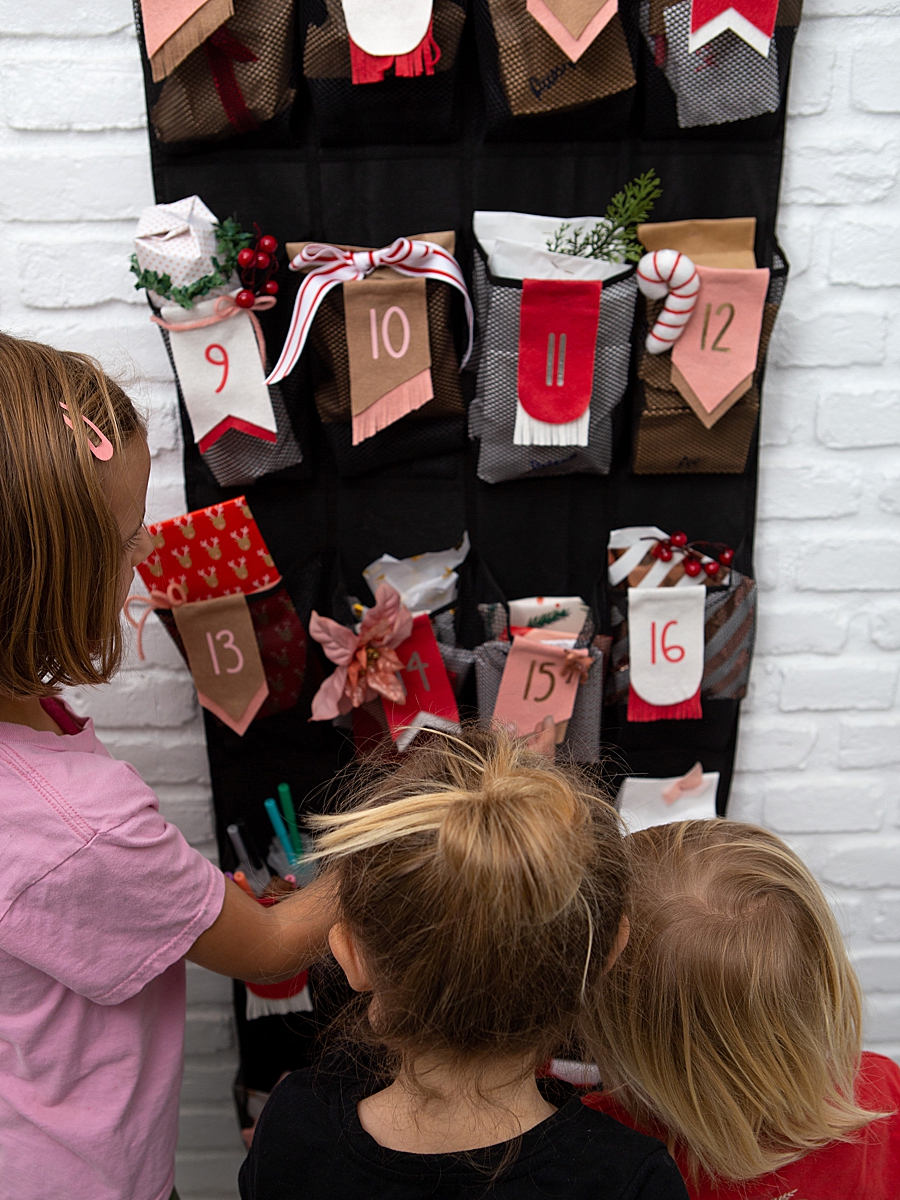
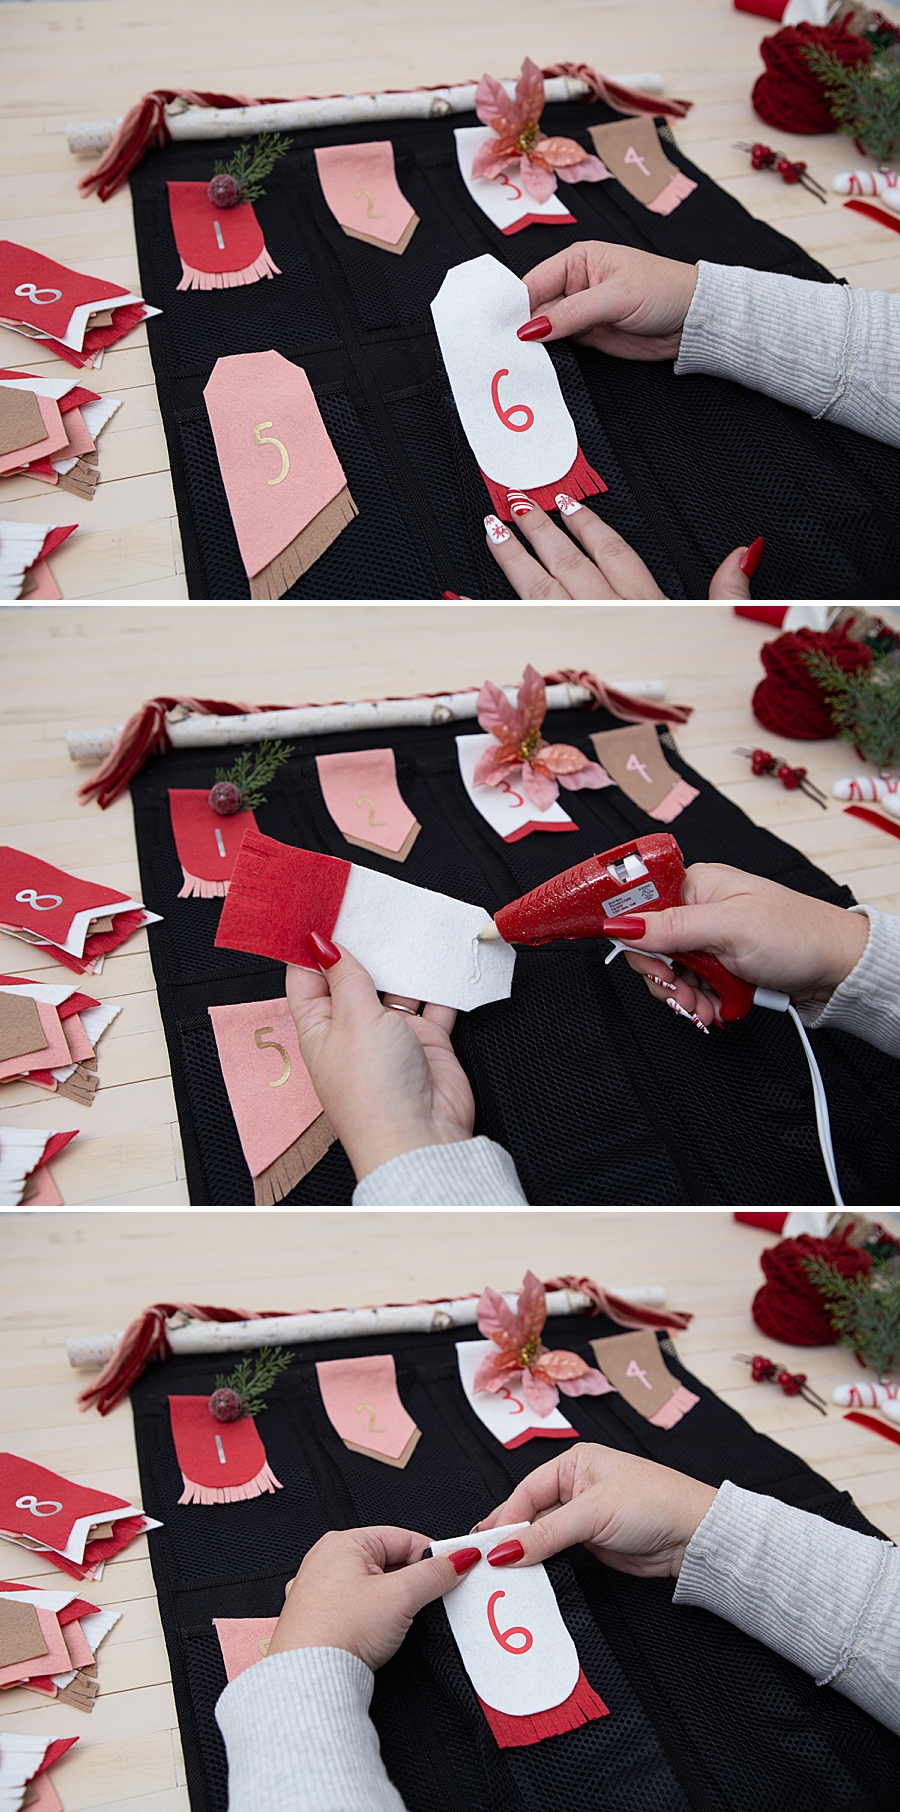
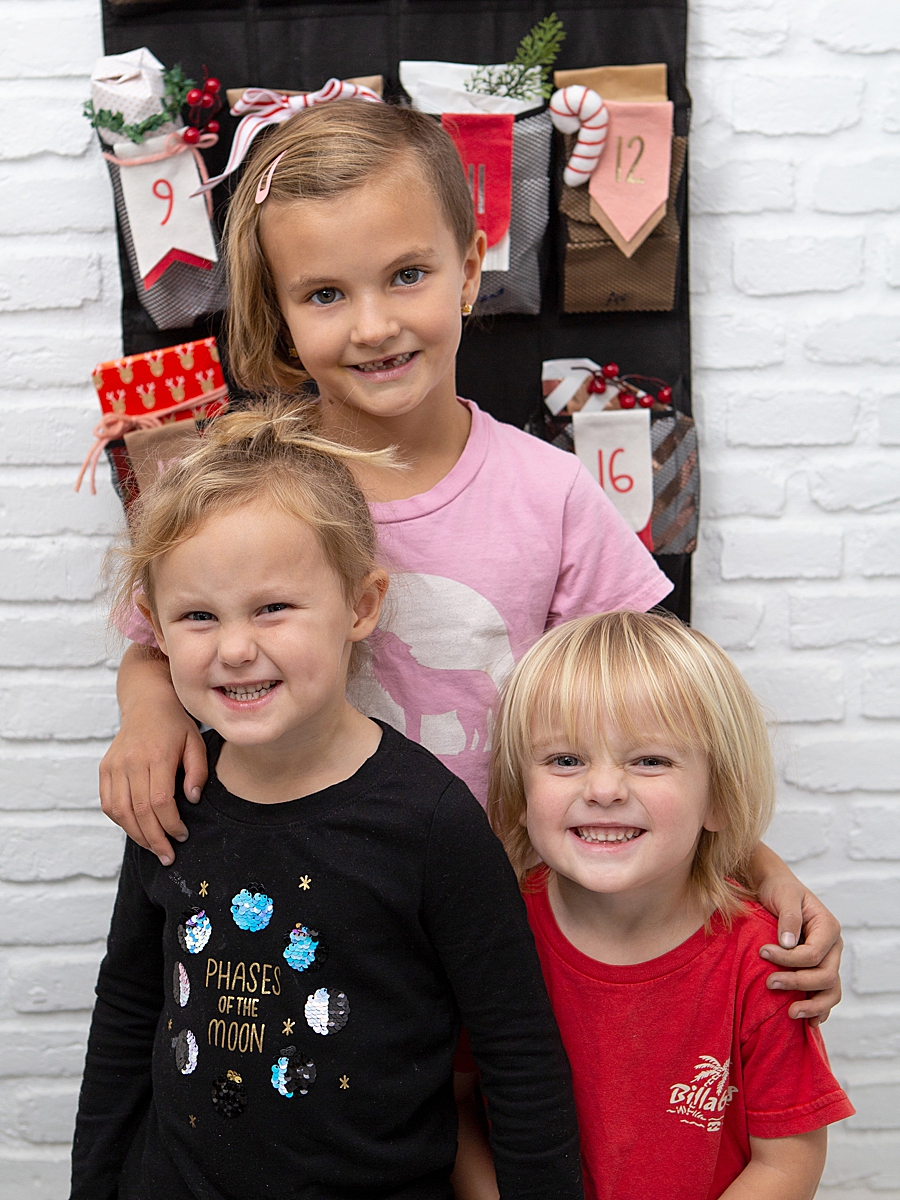
Hot glue was perfect for the task of attaching the tags to the shoe rack. I also glued on cute decorations here and there. I have very low expectations with a 7, 4, 3, and 1 year old that these little decorations will last, so I’ll just fix it up again cute and nice next year.
Wrapping
This felt like it took forever, LOL. Especially because on some days I added little things for me and my husband too.
Mom Trick: I spaced the gifts out with care and I wanted them to be opened on certain days. So on each gift I wrote the day it is to be opened. Mainly because my youngest is a terror and I fully expect her to take all the gifts out of the low pockets that she can reach.
Labor of Love
Yes this was a labor of love but I fully enjoyed it and I know that they will too.
Are you making one of these for your family or have you in the past? Any advice? I’m sure I’m going to learn a lot this year…
If you create one of our projects, please share a picture with us on Instagram or Twitter using the hashtag #somethingturquoisediy, we regularly reshare our favorites! Your profile will need to be public for us to see it otherwise, you can always DM us!
DIY Tutorial Credits
Photography + DIY Tutorial: Jen Causey-Kidder of Something Turquoise // Black Back of The Door Shoe Rack: Amazon // Felt: Benzie Design // Wrapping Paper: Sugar Paper via Target // Cutie little present embellishments: Michaels // Kids gifts = all over! Target, Sprouts, Wallgreens, Alin Paper, Dollar Tree // Nails: KISS imPress
Shop The Supplies:
Find the supplies you’ll need for this project from our affiliate links below:





Comments