This is a sponsored post written by me on behalf of Canon. All opinions are 100% mine.
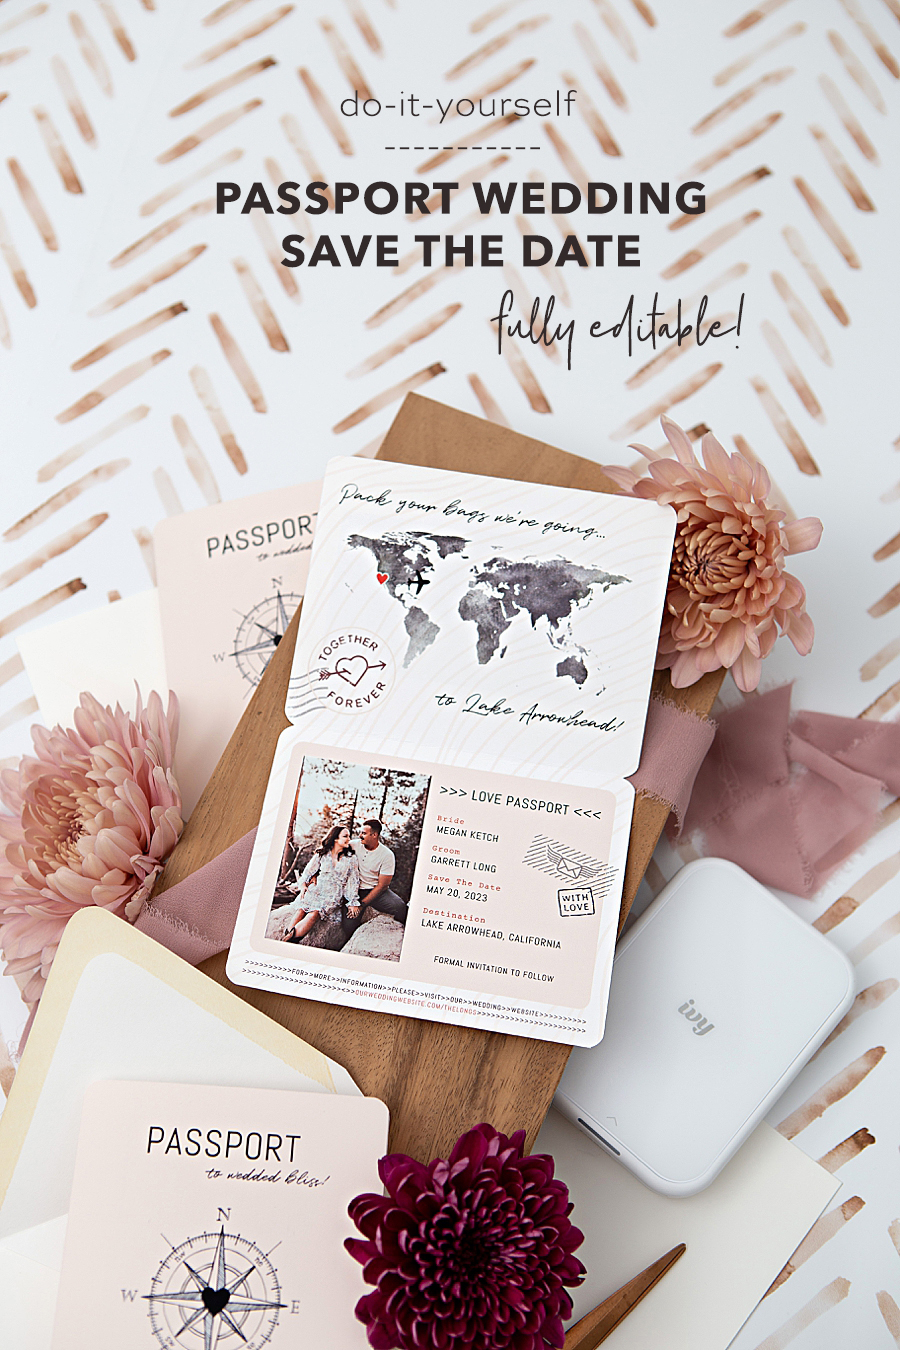
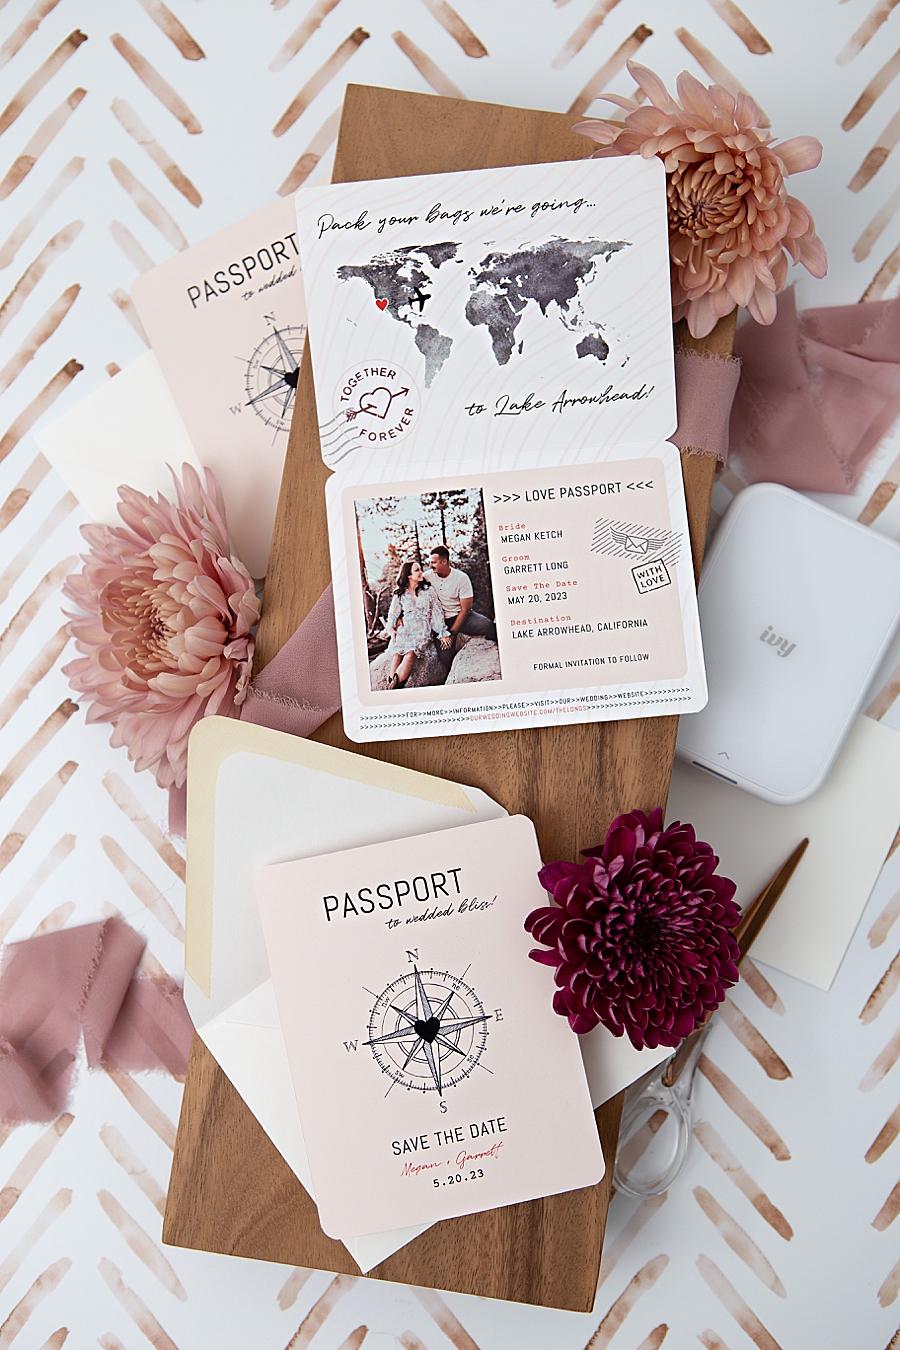
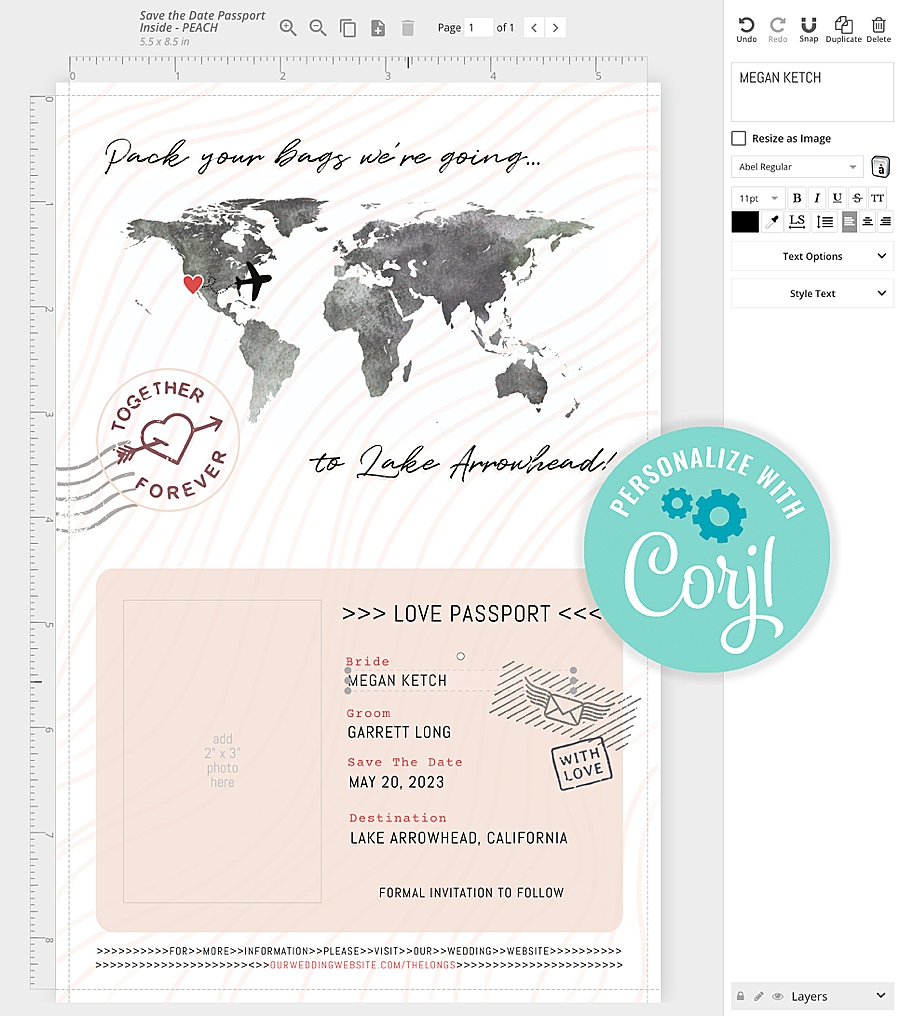
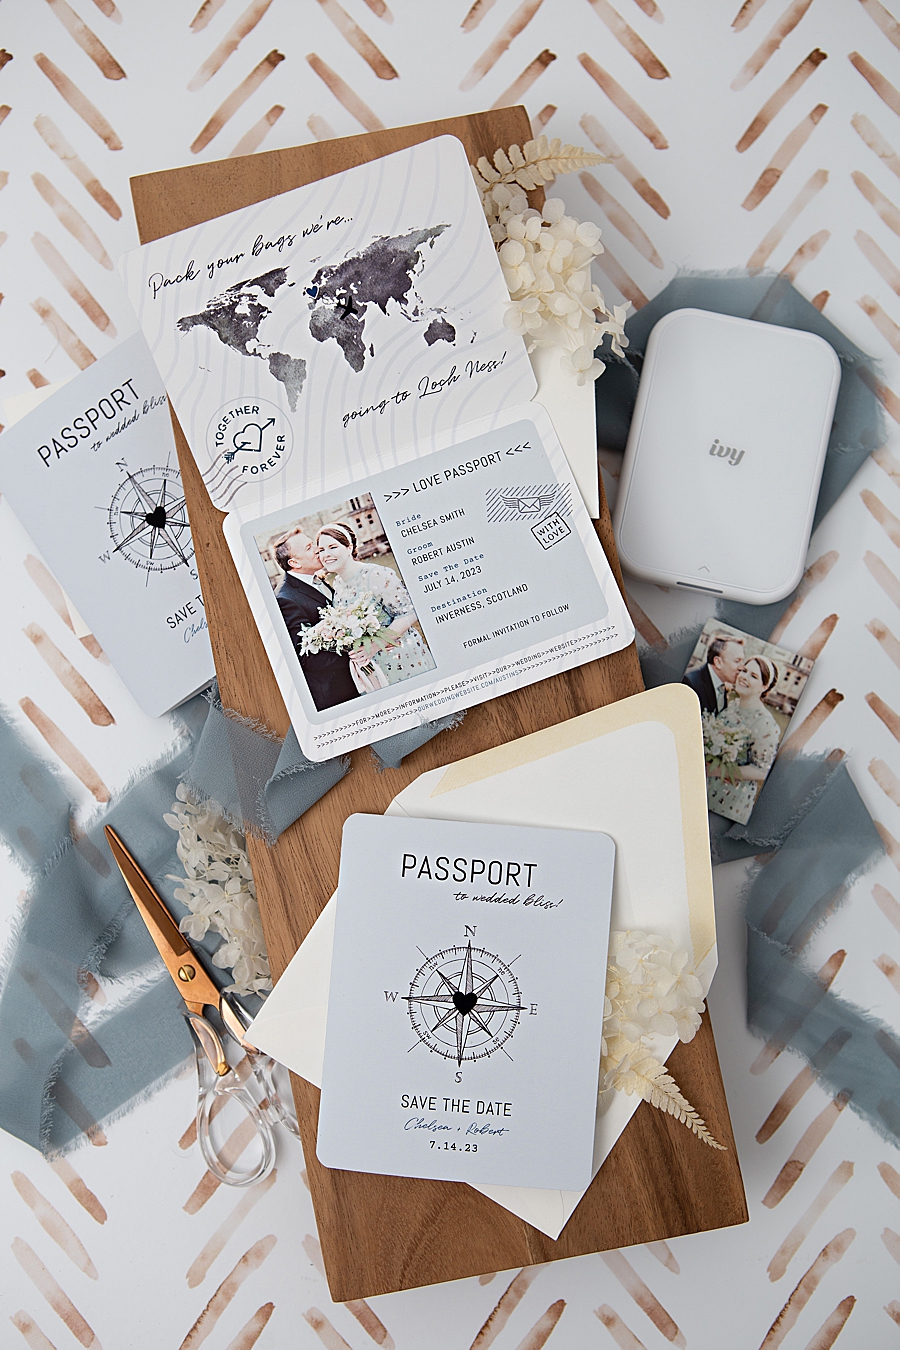
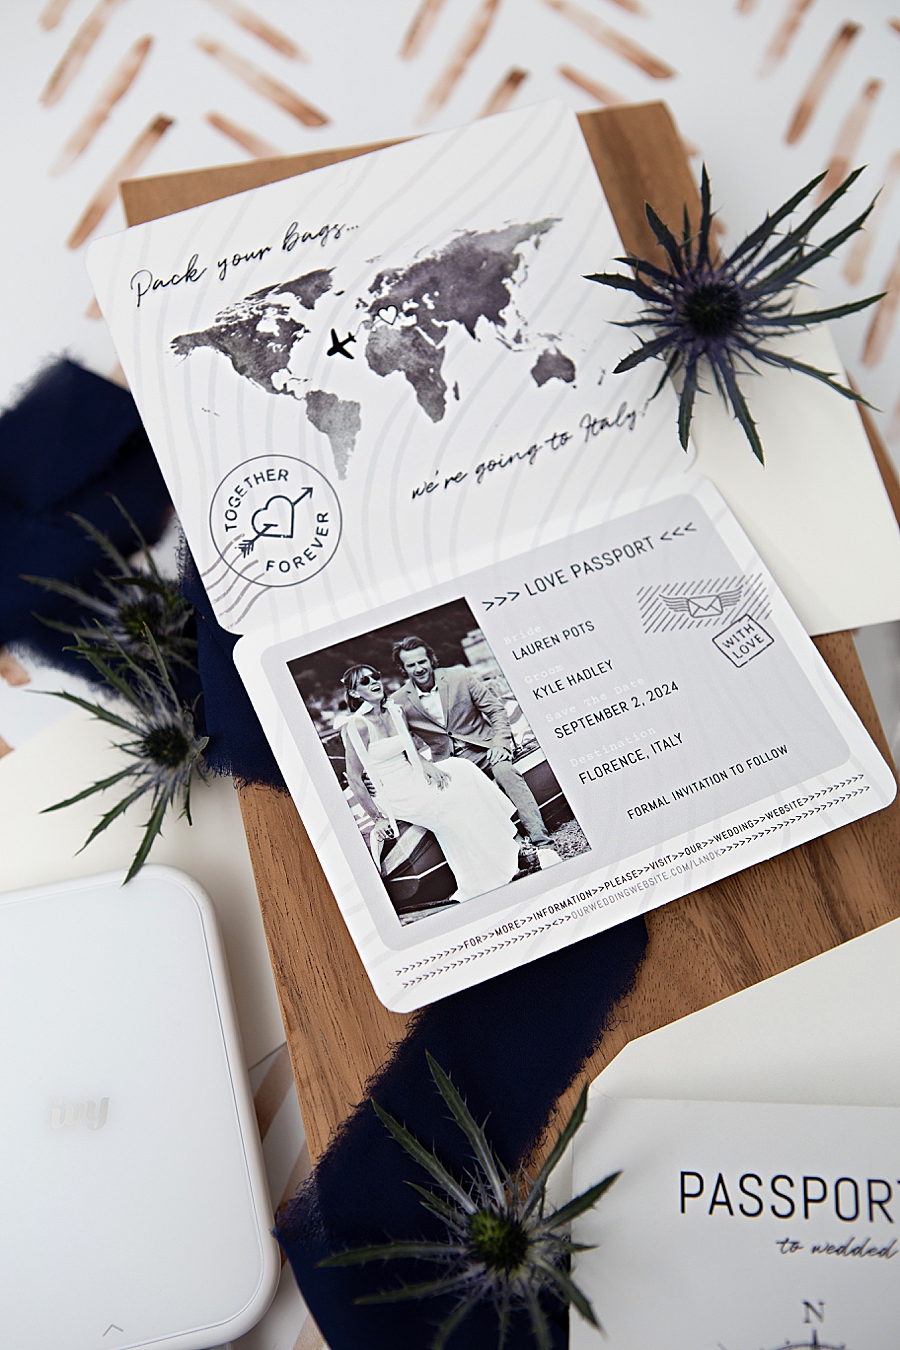
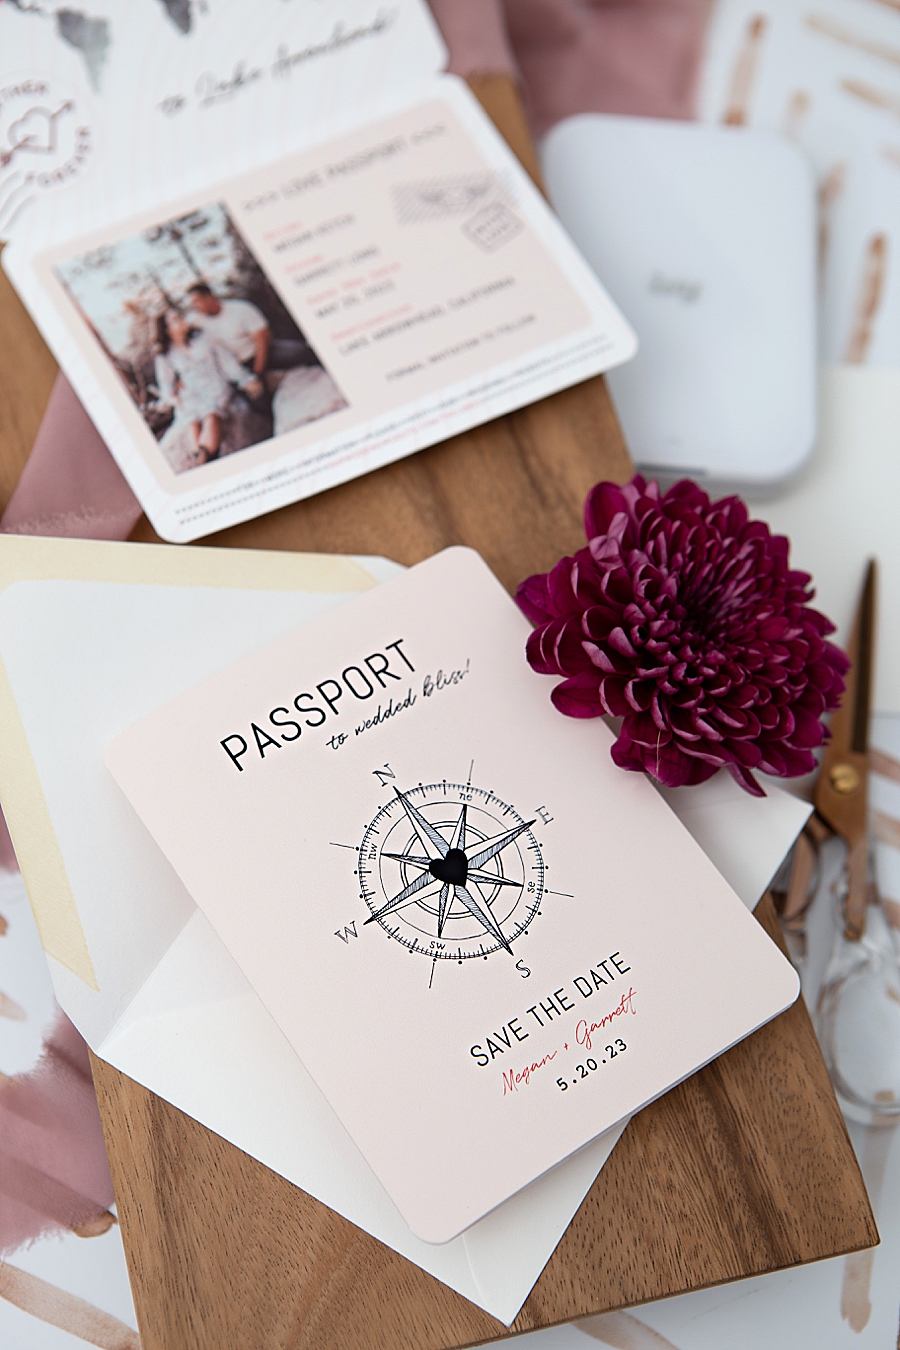
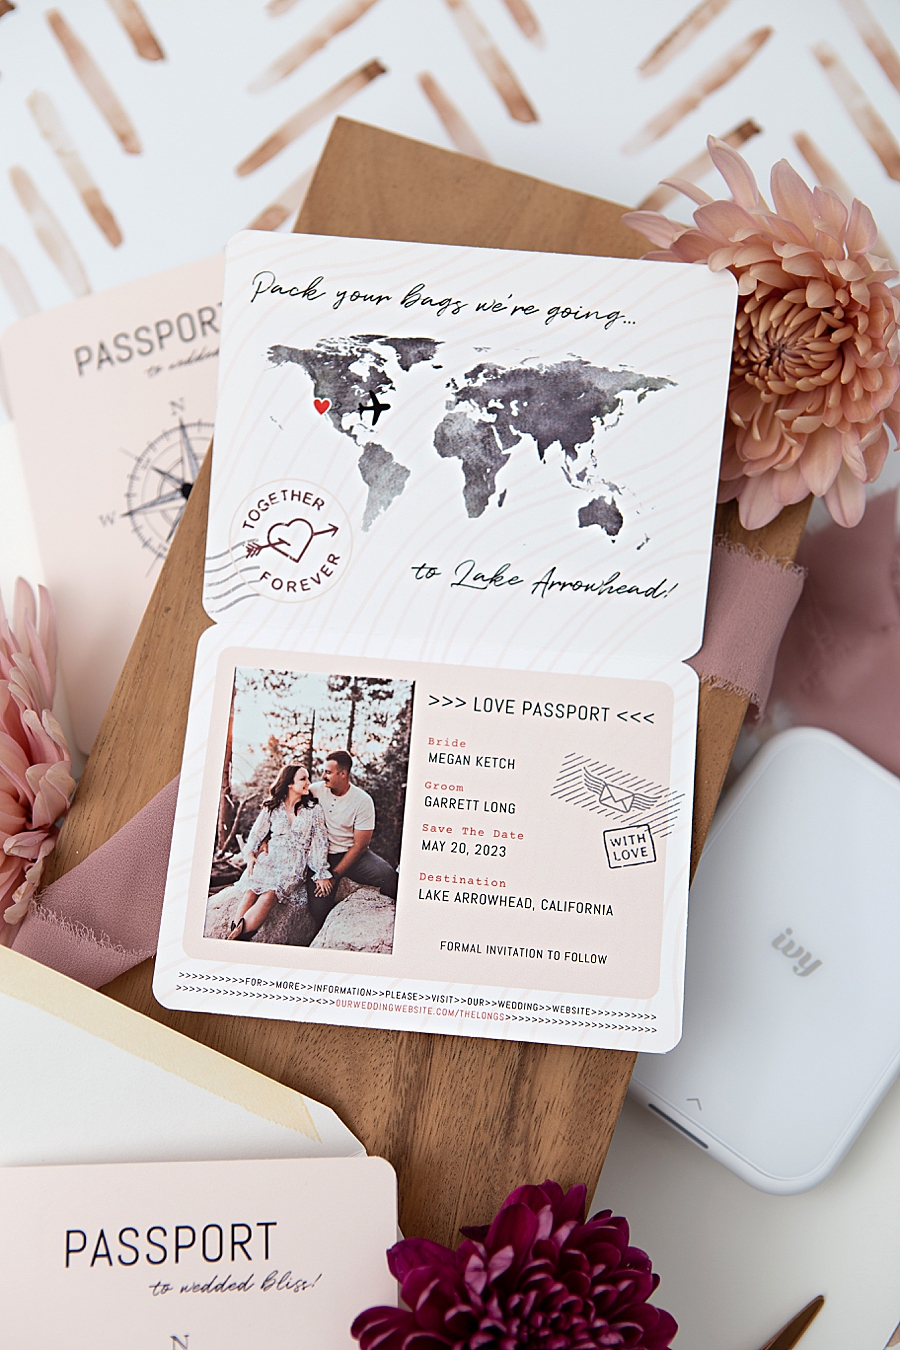
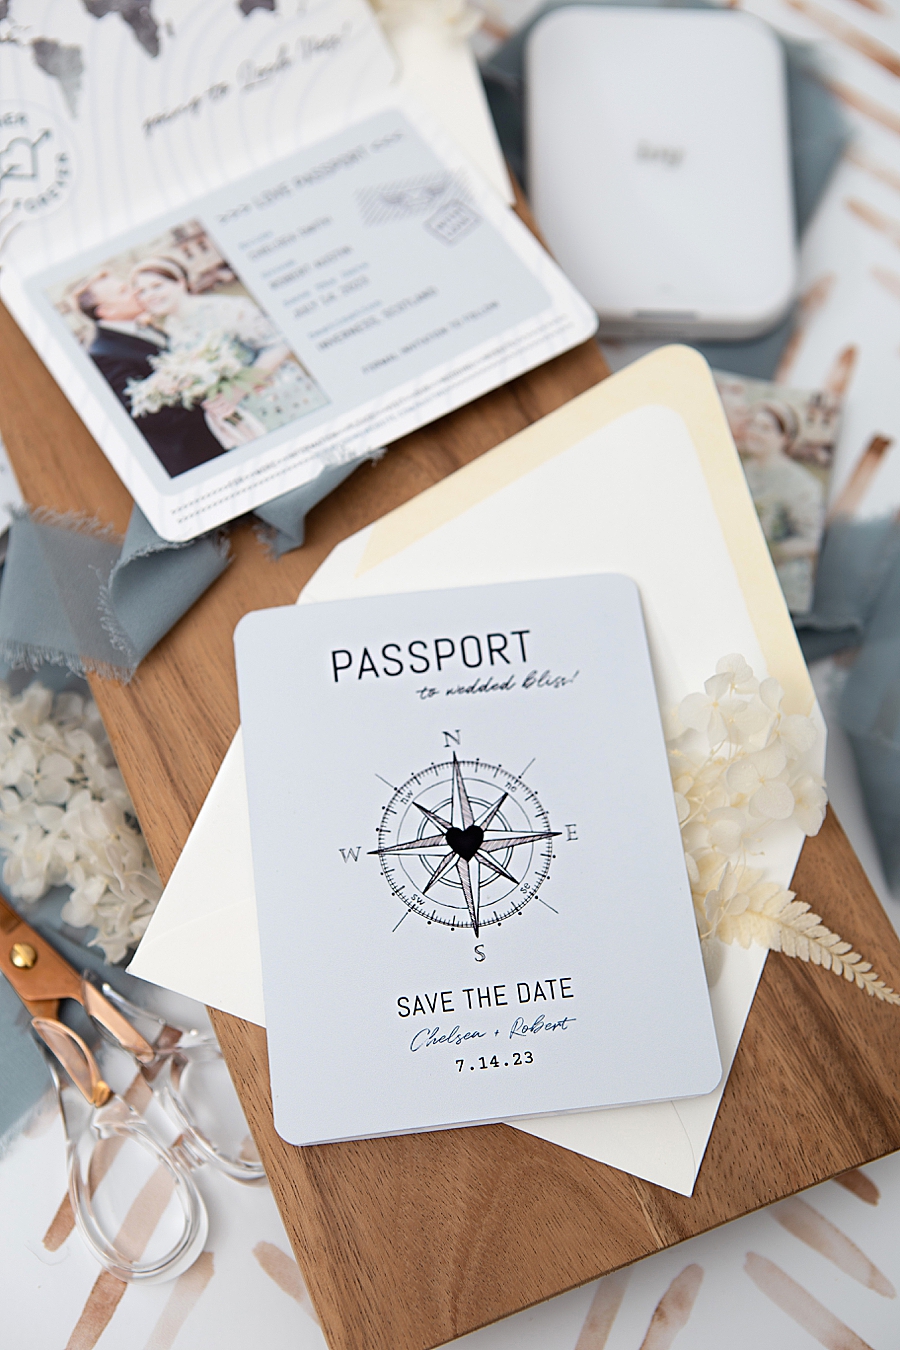
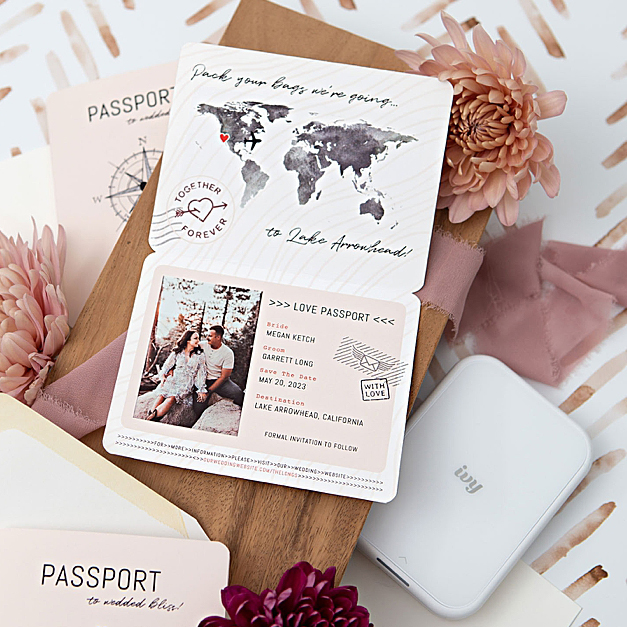
Wedding save-the-date invitations are one of my favorite things to make and I couldn’t be more excited to share my latest design with you. These Passport style invitations are the most EDITABLE designs I’ve ever created because I’m using new software to share the file with you called Corjl. It allows me to add the design elements in a way that you can very easily edit them from your computer or phone! Change the colors, change the fonts, move the airplane around and more. I’ve partnered with Canon to bring you these designs for free (huge thanks to Canon!) and you can get them by entering the code CanonIVY2 at checkout in our shop here. I cannot wait to see what you creative people do with this file, so please make sure to share your designs with us on social. Happy engagement season everyone!
Watch me make these in real time on our Instagram REELS and enter to win a Canon IVY 2!
NEW ~ Canon IVY 2!
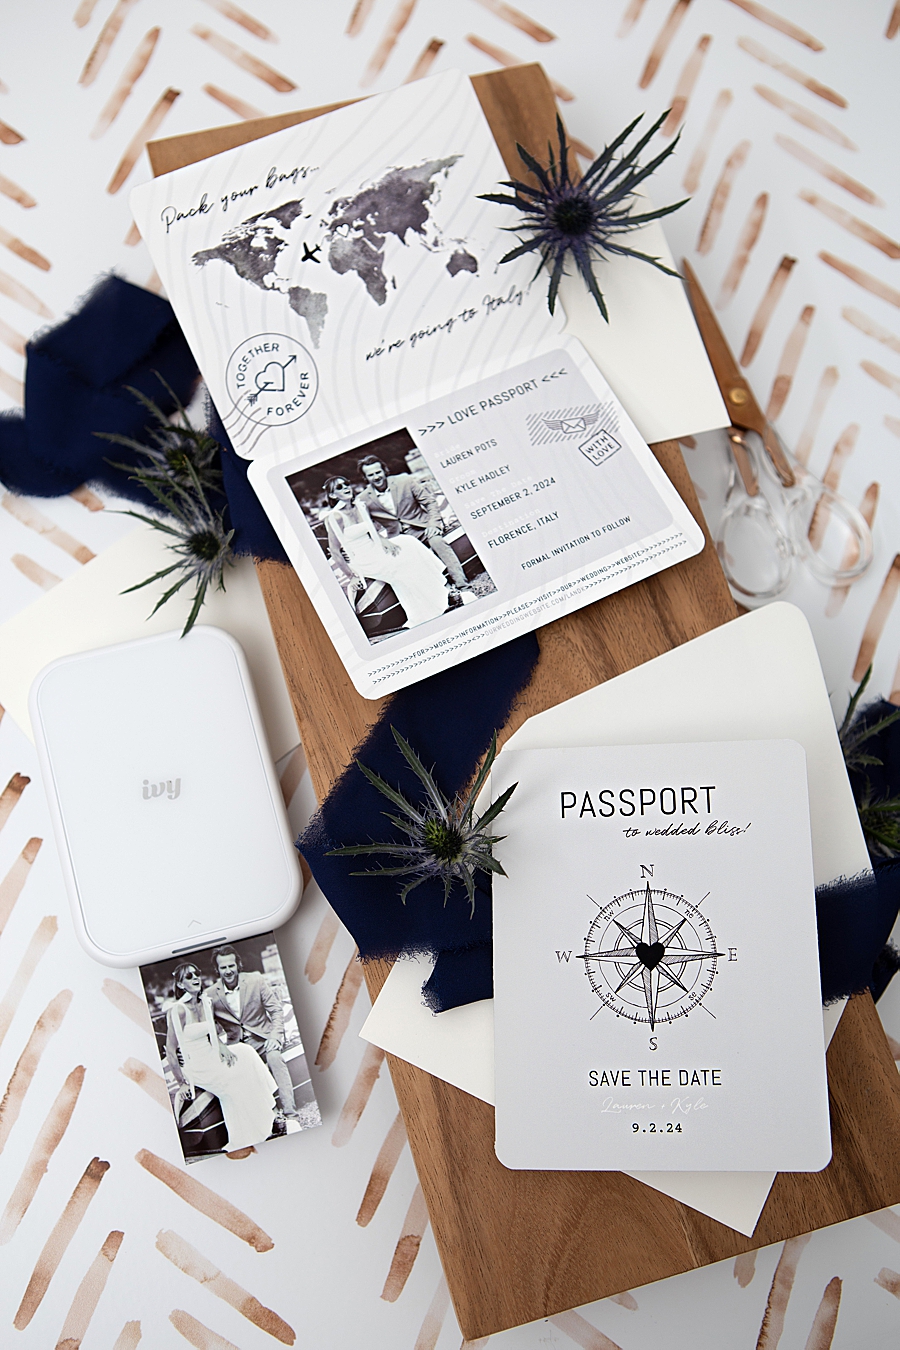
By now I’m sure you’ve seen that I love my Canon IVY mini photo printers. So I’m thrilled to share that Canon just released an upgrade to the original learn all about it here on my YouTube called the Canon IVY 2 Mini Photo Printer and it comes in Pure White and Blush Pink. Faster charging, improved speed, and better print quality are just a few things you can expect from this new model.
ZINK Photo Stickers
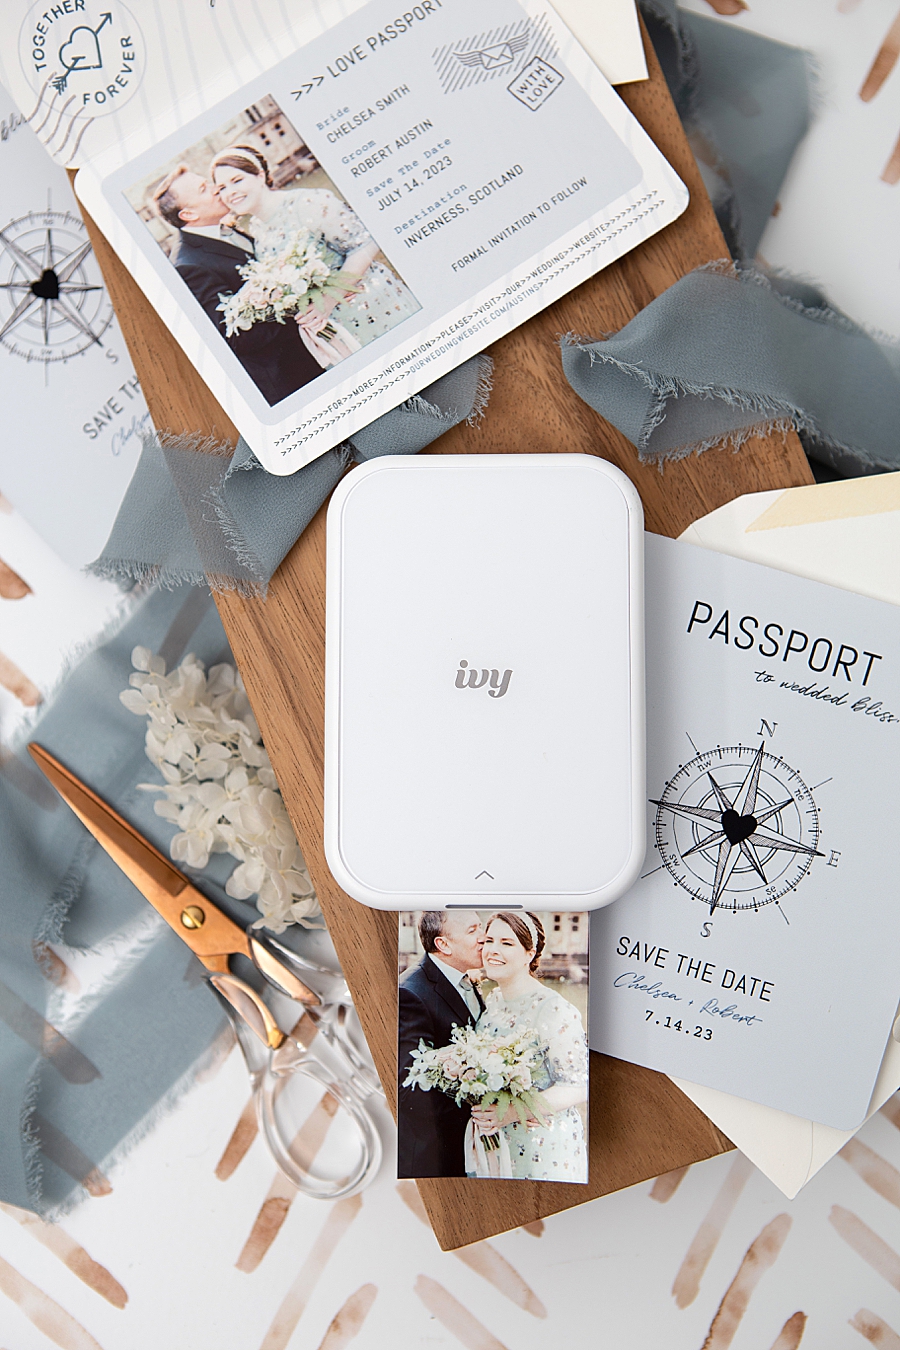
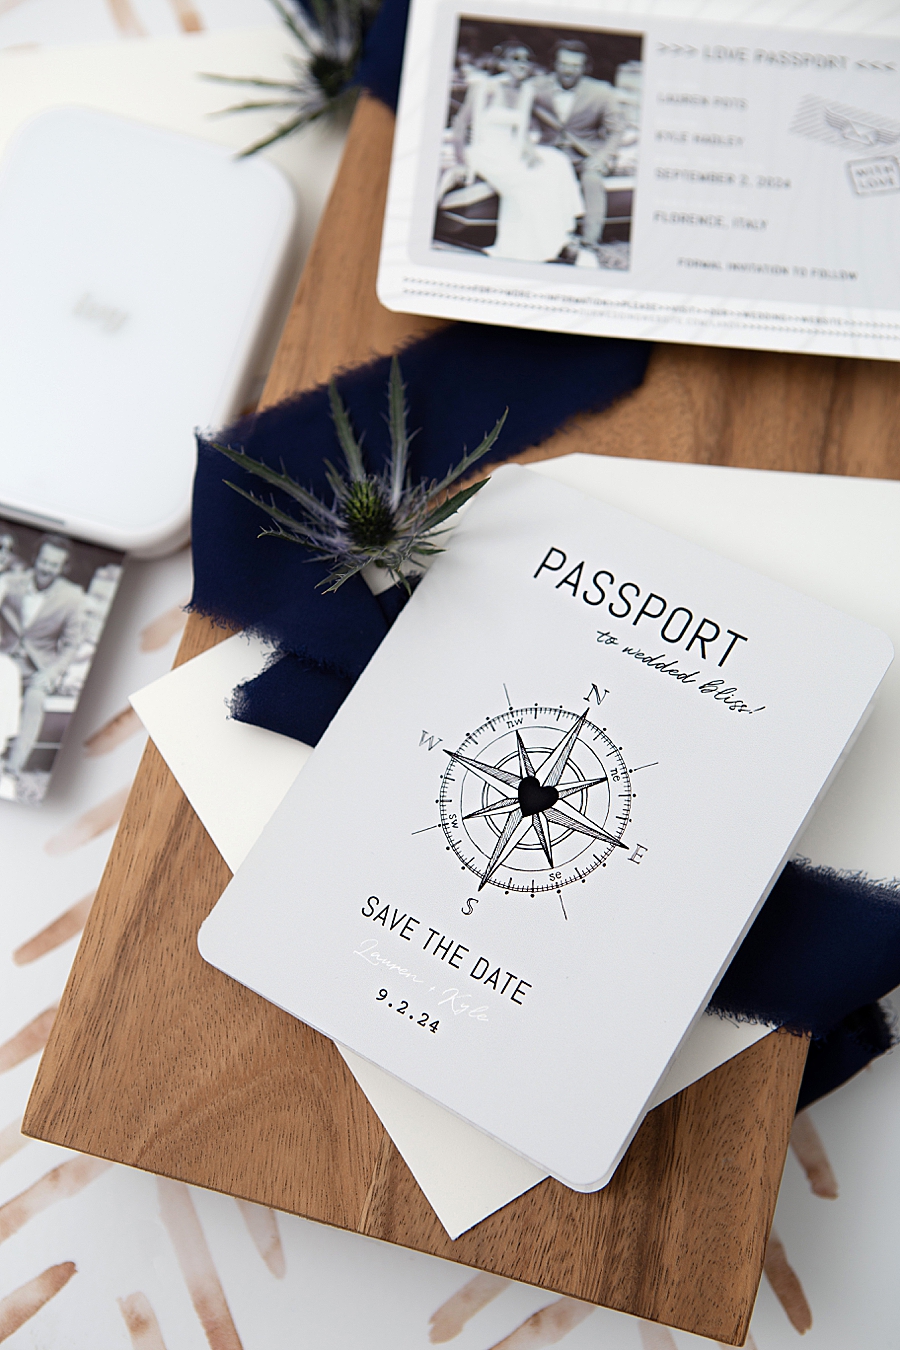
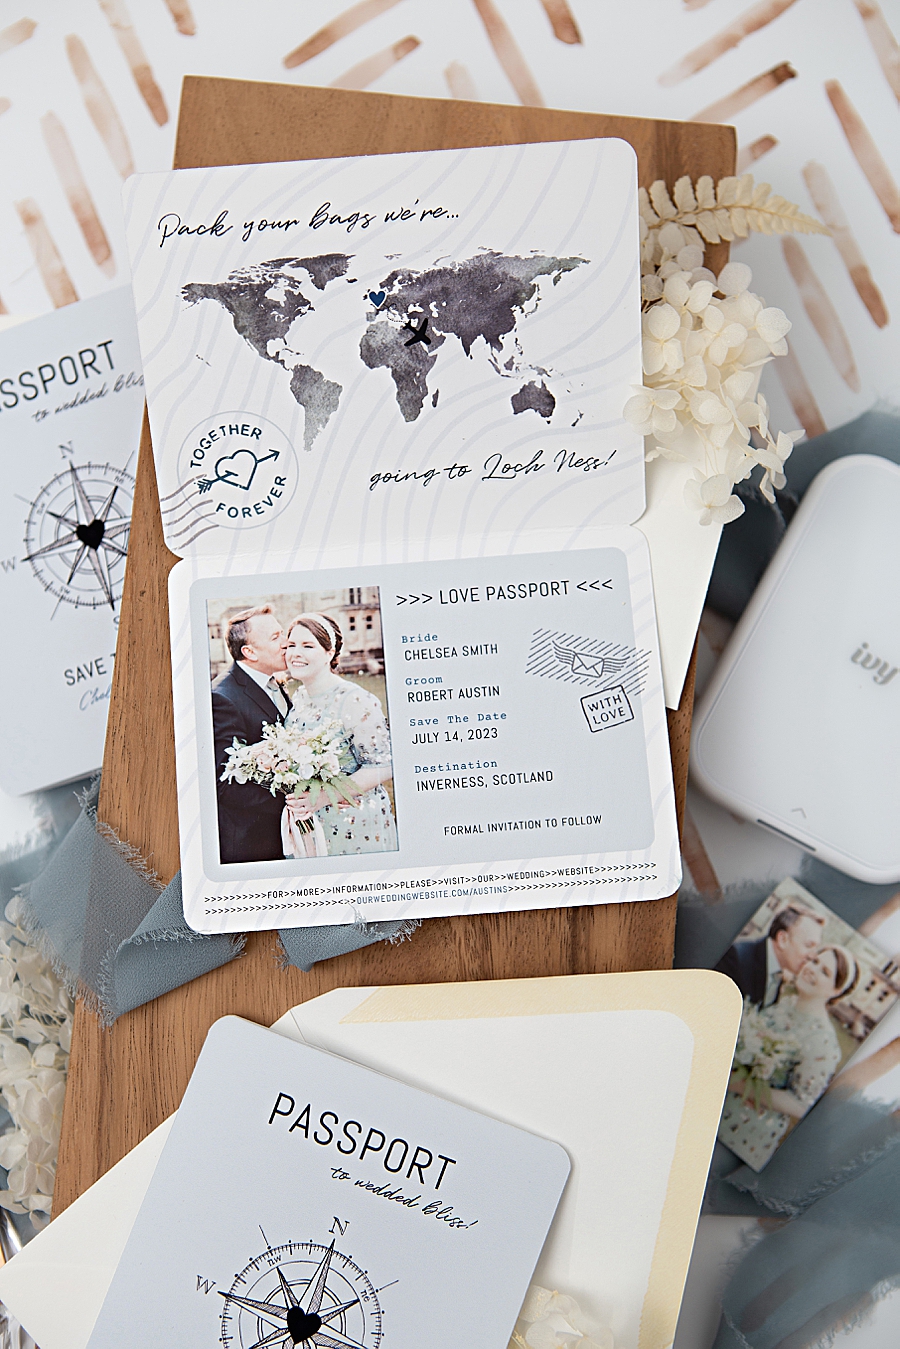
Every single ZINK photo print is a STICKER, which as I love to say, “makes them perfect for crafts”, and this project is no exception. Edit and print our passport design and then print your favorite engagement photos with your Canon IVY 2 so that you have the most perfect photo sticker to add to your save the dates!
SUPPLIES:
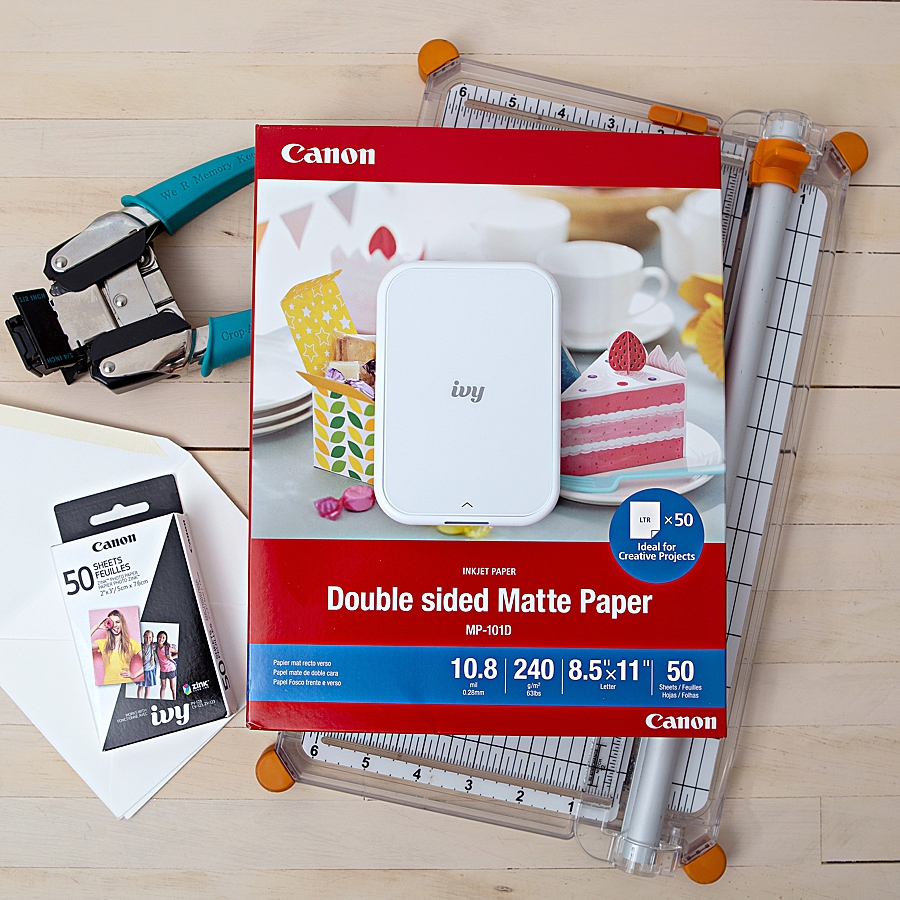
- Your favorite Canon PIXMA Printer, I’m using my TS9521C Crafting Printer
- Canon Double Sided Matte Photo Paper
- Canon IVY 2 Mini Photo Printer (other IVY models will work too)
- ZINK Photo Paper
- Paper Trimmer
- Corner Rounder
- A2 Sized Envelopes, 4 3/8″ x 5 1/2″
- Our exclusive, editable Passport Save the Date Invitation files available in our shop!
New! Editing With Corjl
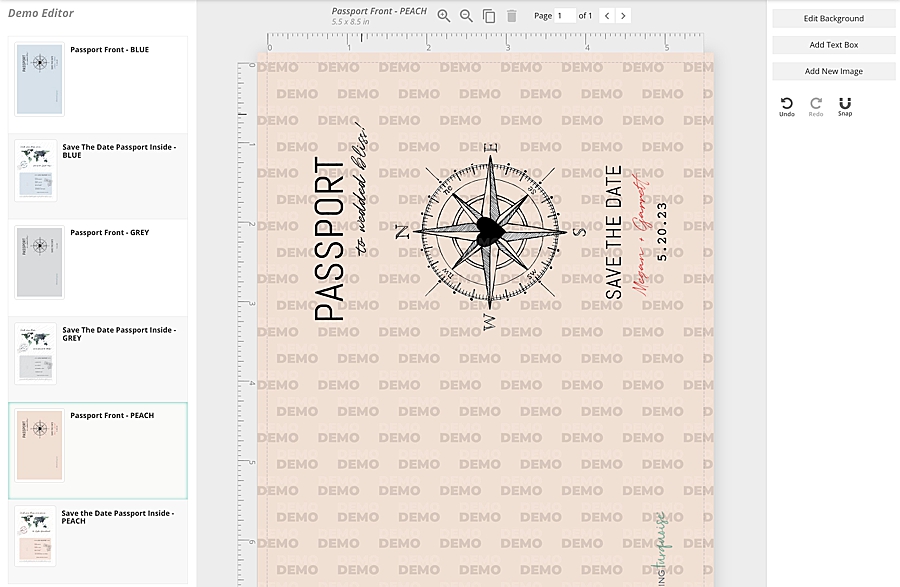
As I mentioned above, I’m using a new design software called Corjl that allows you to fully edit these printable files on your computer, tablet, or smartphone! Simply click and change all the elements of the invitation to match your special event and then save the file.
Enter the code CanonIVY2 at checkout to get these files for free, courtesy of Canon!
Demo Our File
Interested in how this file could work for you? Visit this link for a demo!
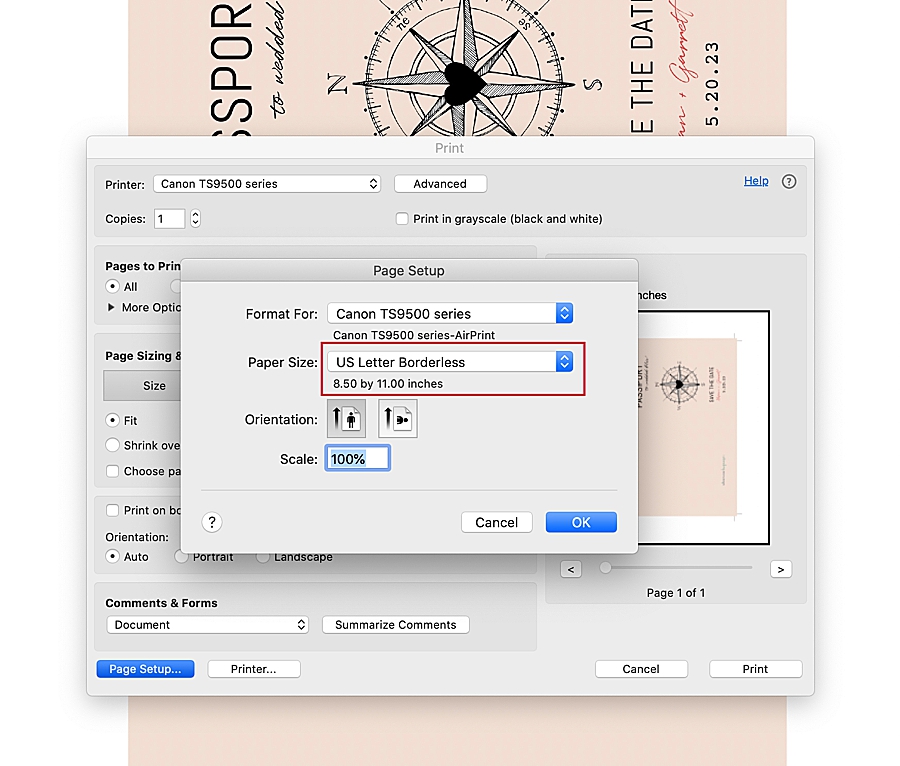
Print Settings
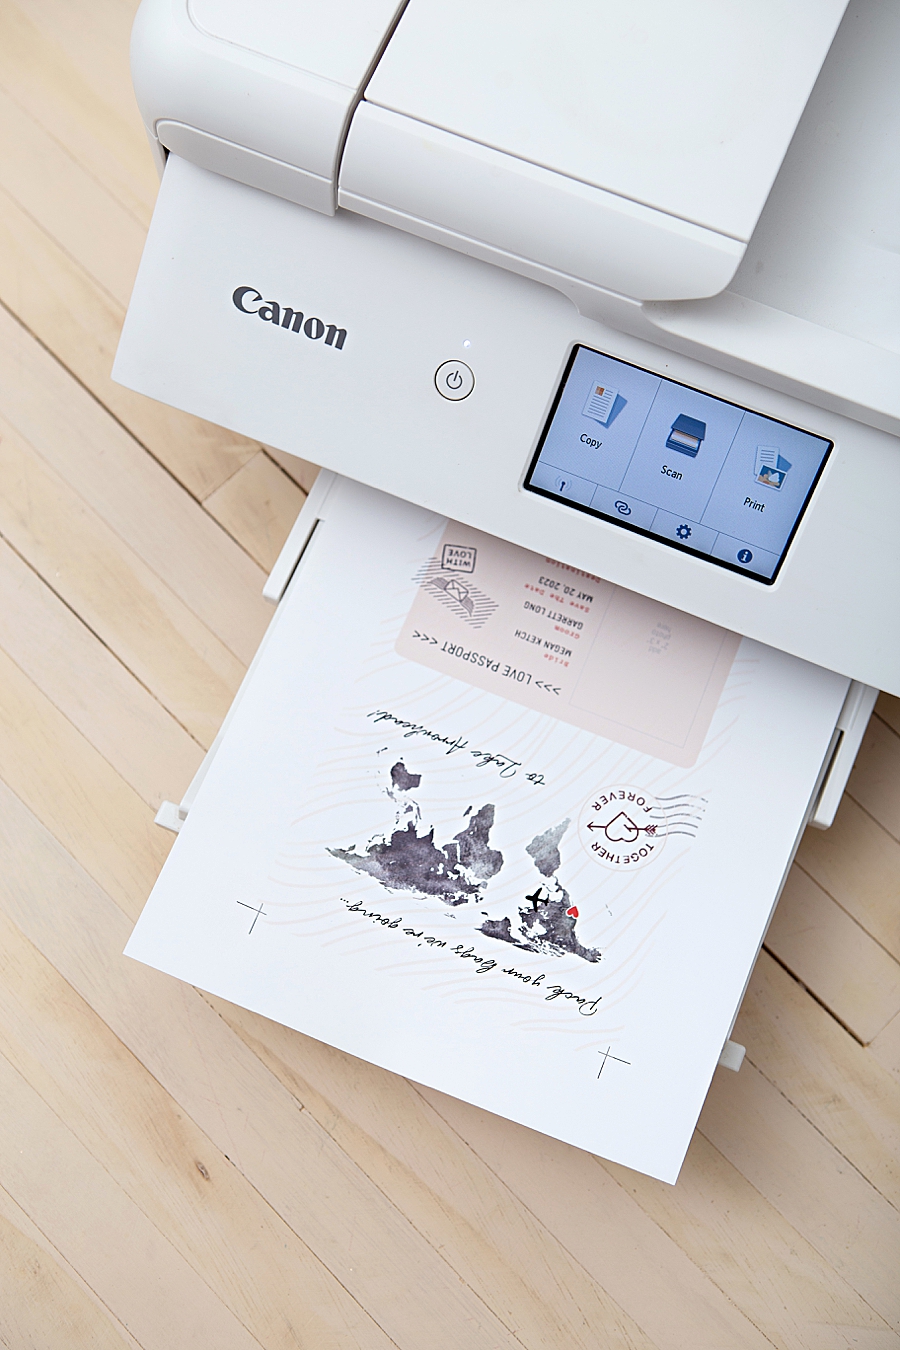
For this design to print at proper size it’s necessary that you select to print on the 8.5″ x 11″ “borderless” option from your PIXMA printer. I also made sure that my settings were on the highest photo print quality. Print each file as many times as you need.
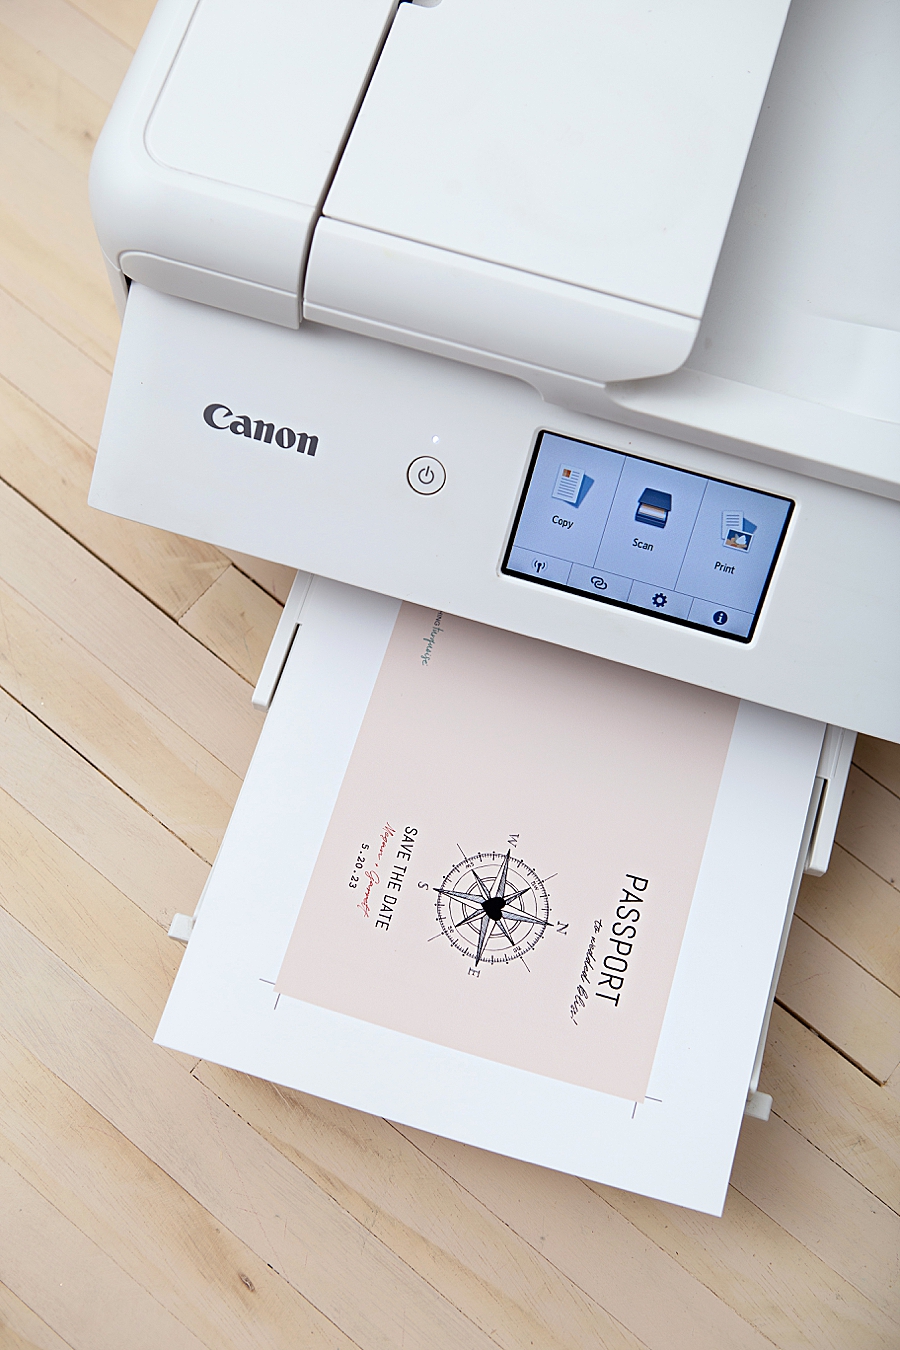
Print The Front
Add a sheet of Canon Double Sided Matte Photo Paper into the rear tray of your printer and print the front of your save the date passport design.
Flip
This is a double-sided print so make sure when you go to print the second side, that the “compass” is facing down.
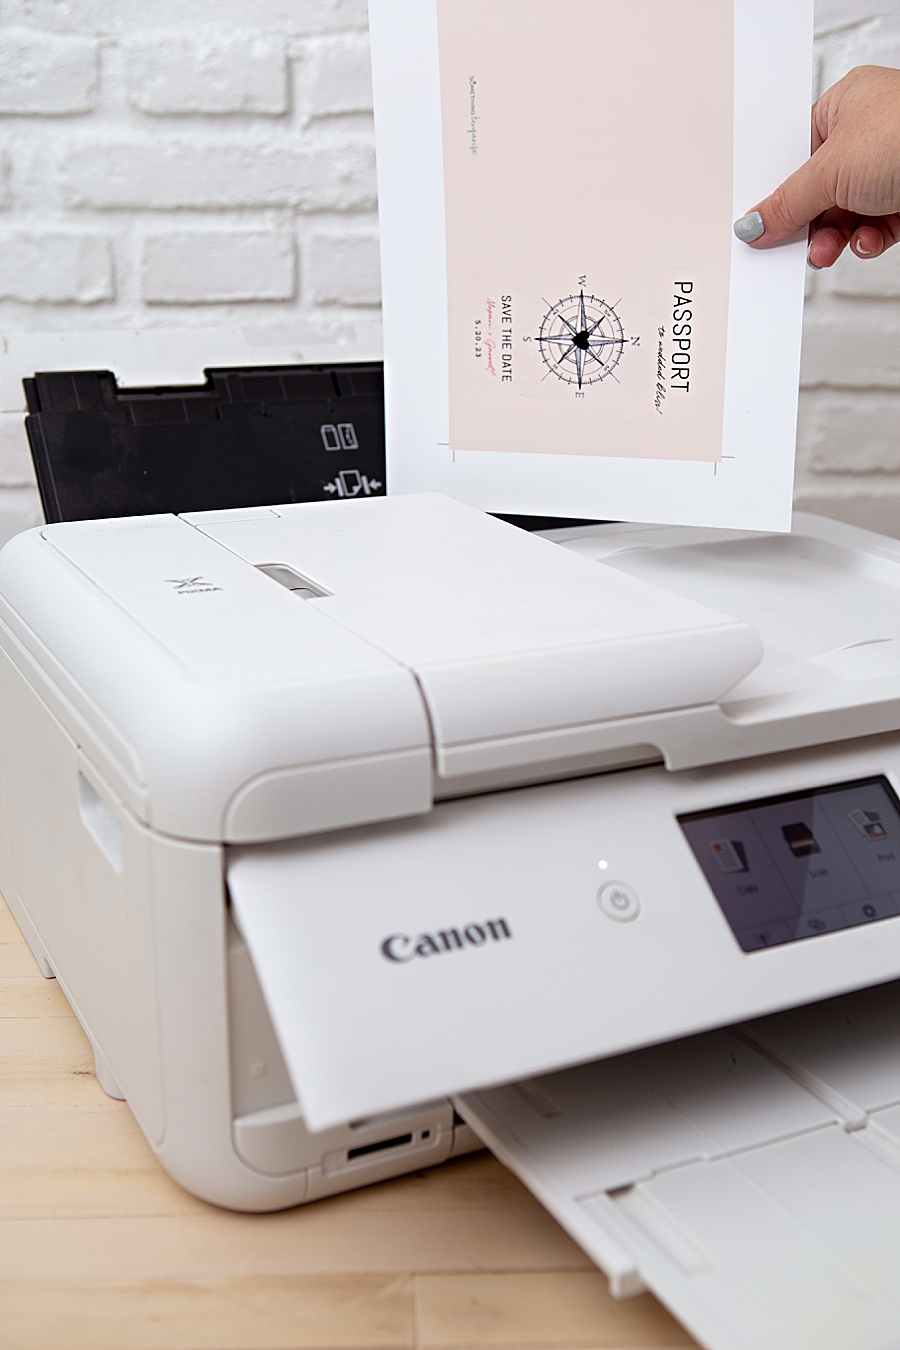
Print The Inside
…and just like that, you’re beautiful, custom, double-sided save the date invitation has been printed!
Trim Down To Size
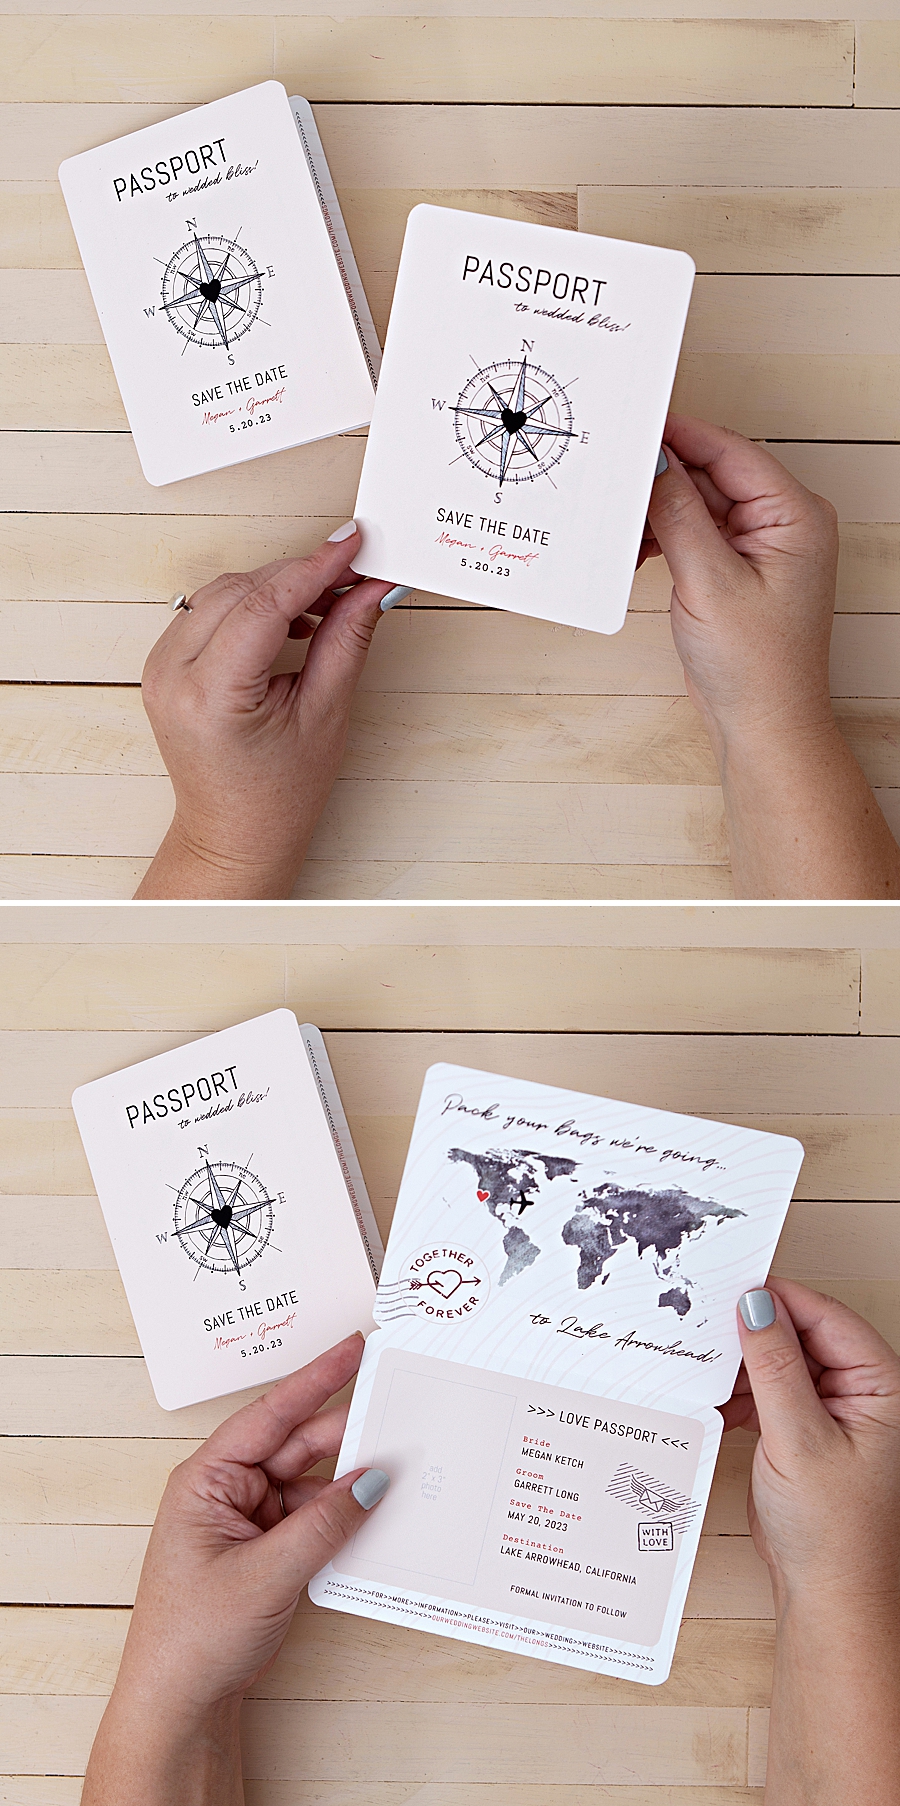
Cut the A2 sized cards down to size. Crafters tip: don’t cut the edges off! Place the cutting blade down onto the paper (instead of slicing down from the top) and cut within the sheet of paper to save the crop marks and get a perfect cut.

Fold + Round
Fold your card in half and if you’re feeling extra crafty you can round the corners to make it look like a real passport.

Cute and ready for photos!
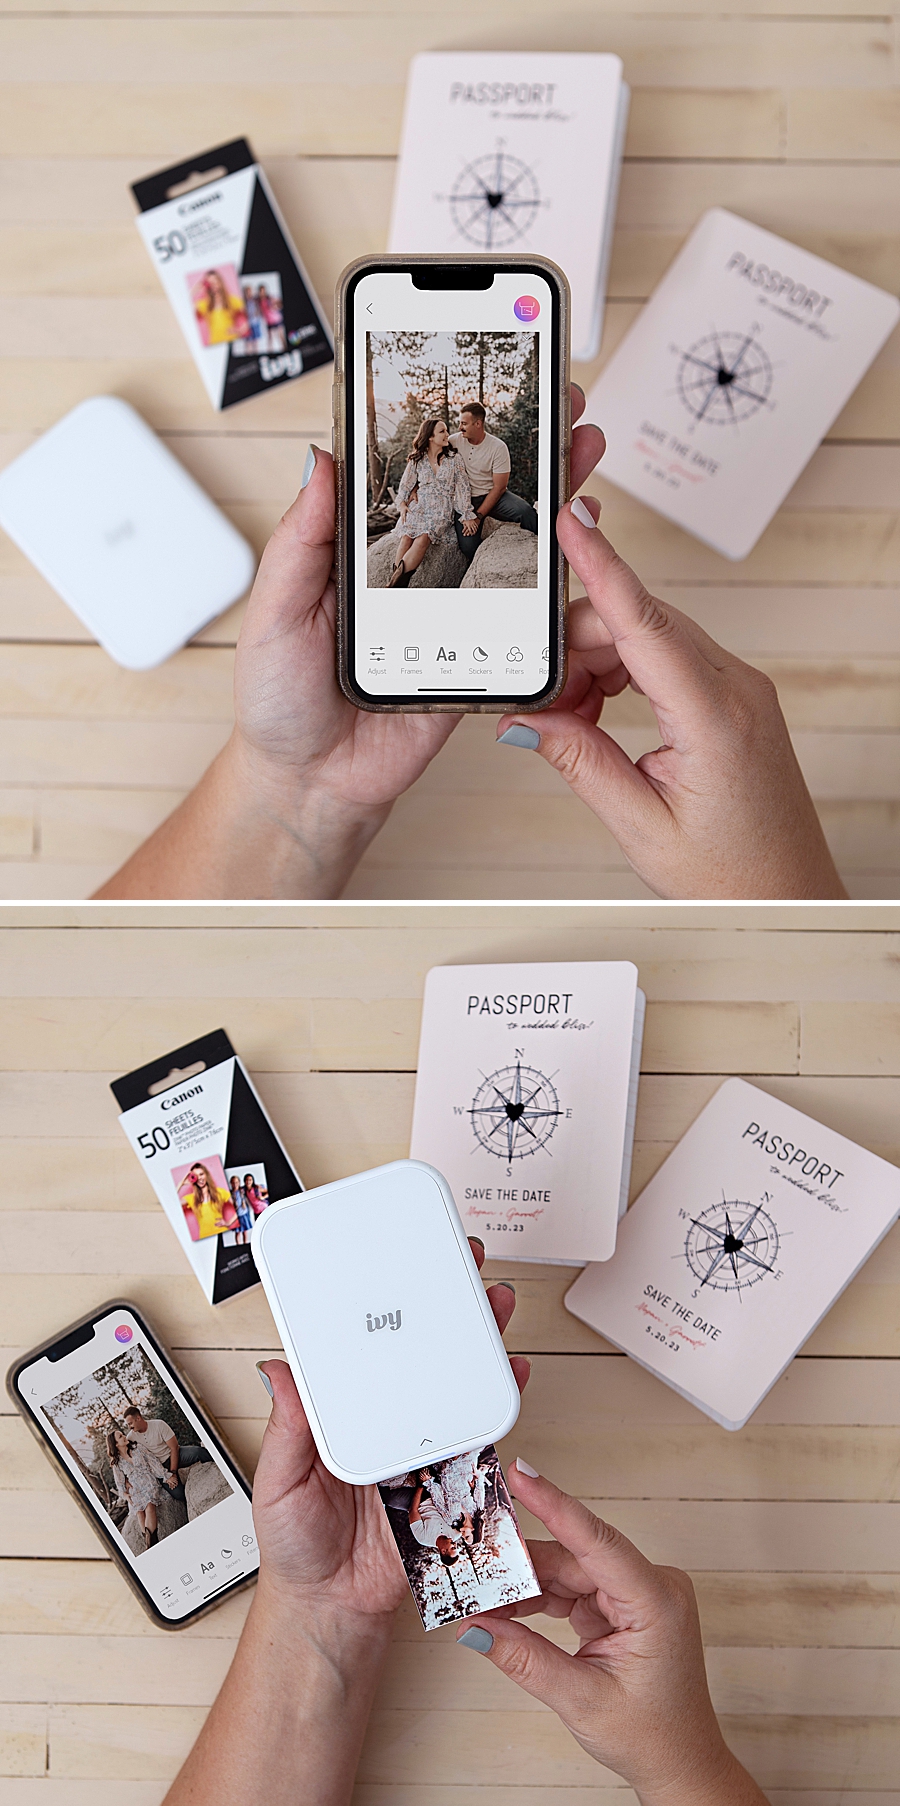
Canon IVY Prints
I’ve designed these cards so that the 2″x3″ rectangle IVY print fits perfectly, no cutting needed. Using the Canon Mini Print App go through the selections to print your favorite engagement photos. You’ll need one for each card.
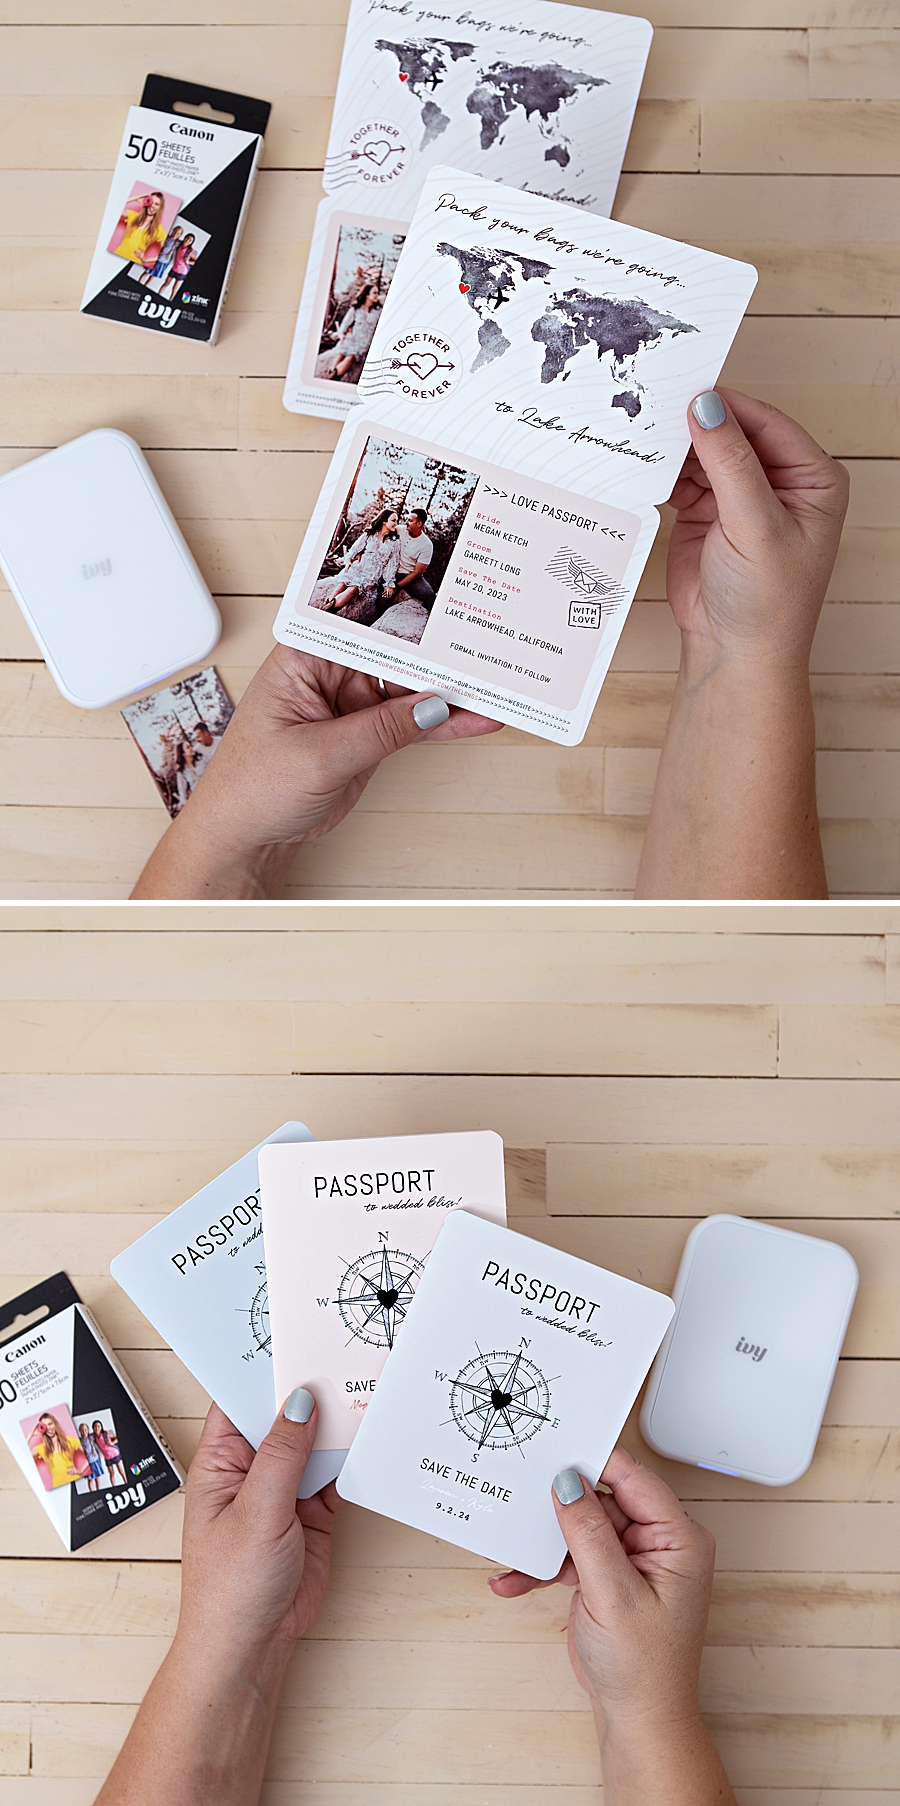
Peel + Stick
The last step is to peel the backing off each photo print and stick to the passport card! It really doesn’t get easier than this.
Edit, print, cut, print, stick, send!

Admire
Your friends and family will be so impressed with these handmade invitations, they might not even realize that you made them yourself!
Gray, Blue, Blush
Using our gray, blue, and blush base, you can really personalize almost every aspect of these invitations and we cannot wait to see what you come up with!
Perfect For Any Destination
Whether you’re getting married a few hours away from your home town or a few plane rides away, this is the perfect way to ask your guests ahead of time to save the date. Many brides opt to send save the dates around 6-8 months prior, possibly even 10 months if serious travel planning is involved. A2 envelopes can be purchased online or at any craft store to mail these invitations.
DIY TUTORIAL SPONSORED BY:

Canon U.S.A., Inc. prides itself on allowing consumers to create and preserve beautiful imagery, from capture to print. With wireless technology and seamless printing capabilities, you can print your photos and printables with precision and ease.
If you create one of our projects, please share a picture with us on Instagram or Twitter using the hashtag #somethingturquoisediy, we regularly reshare our favorites! Your profile will need to be public for us to see it otherwise, you can always DM us!
DIY Tutorial Credits
Photography + DIY Tutorial: Jen Causey-Kidder of Something Turquoise // Canon PIXMA TS9521C Crafting Printer, Canon IVY 2 Mini Photo Printer, ZINK Photo Paper, and Canon Double-Sided Matte Photo Paper: courtesy of Canon // Paper Trimmer: Fiskars // A2 Sized Envelopes: Paper Source // Corner Rounder: [Corner Chomper: Amazon // Silk Ribbon: Amazon
Shop The Supplies:
Find the supplies you’ll need for this project from our affiliate links below:




Comments