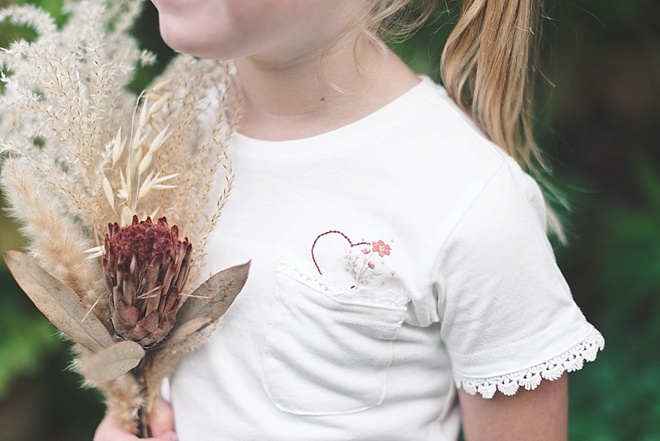
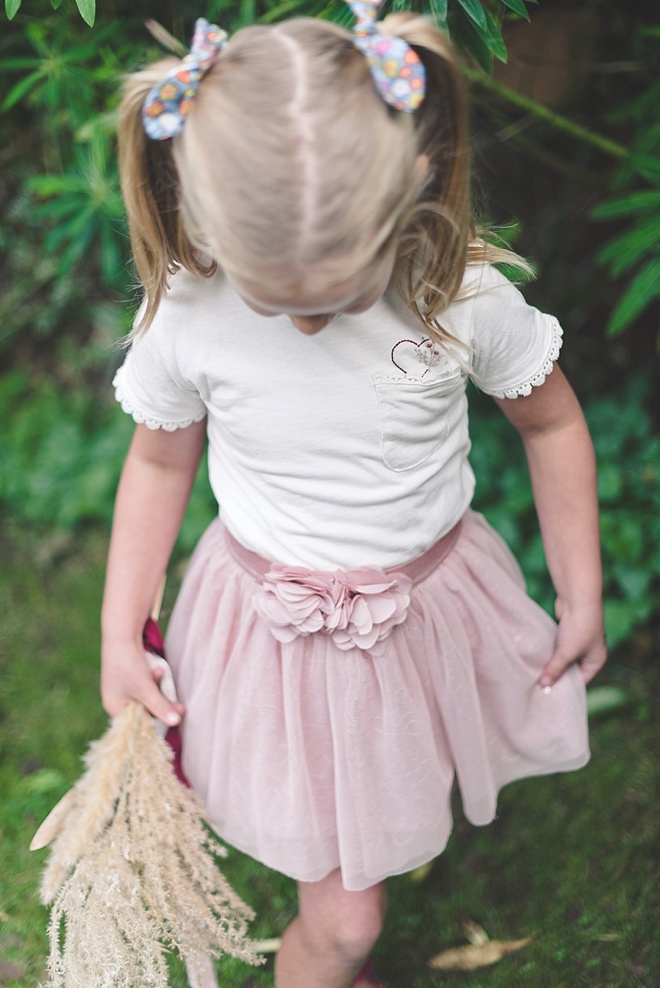
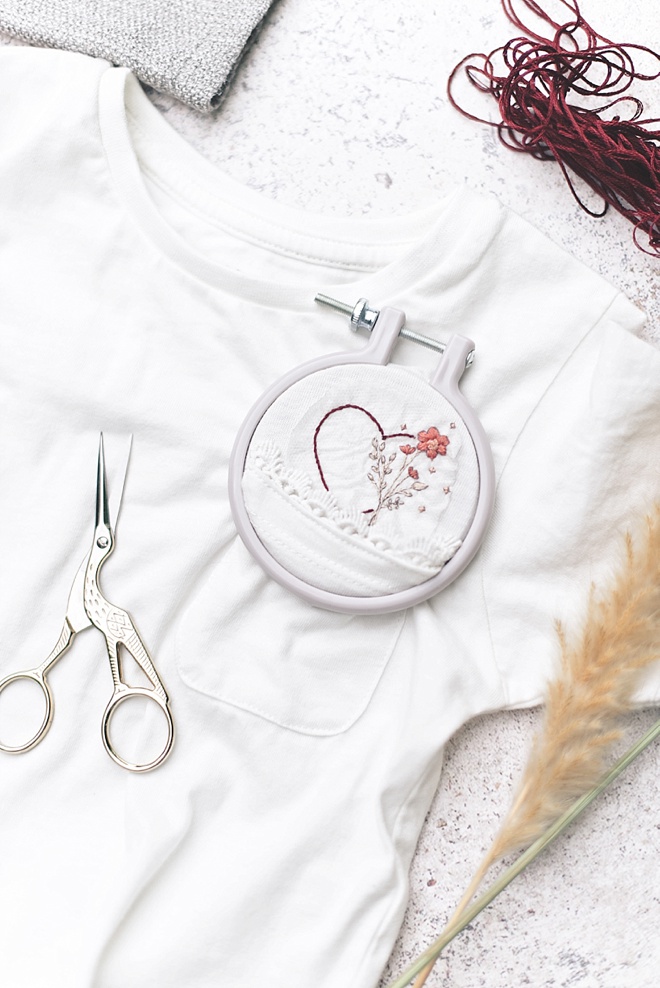
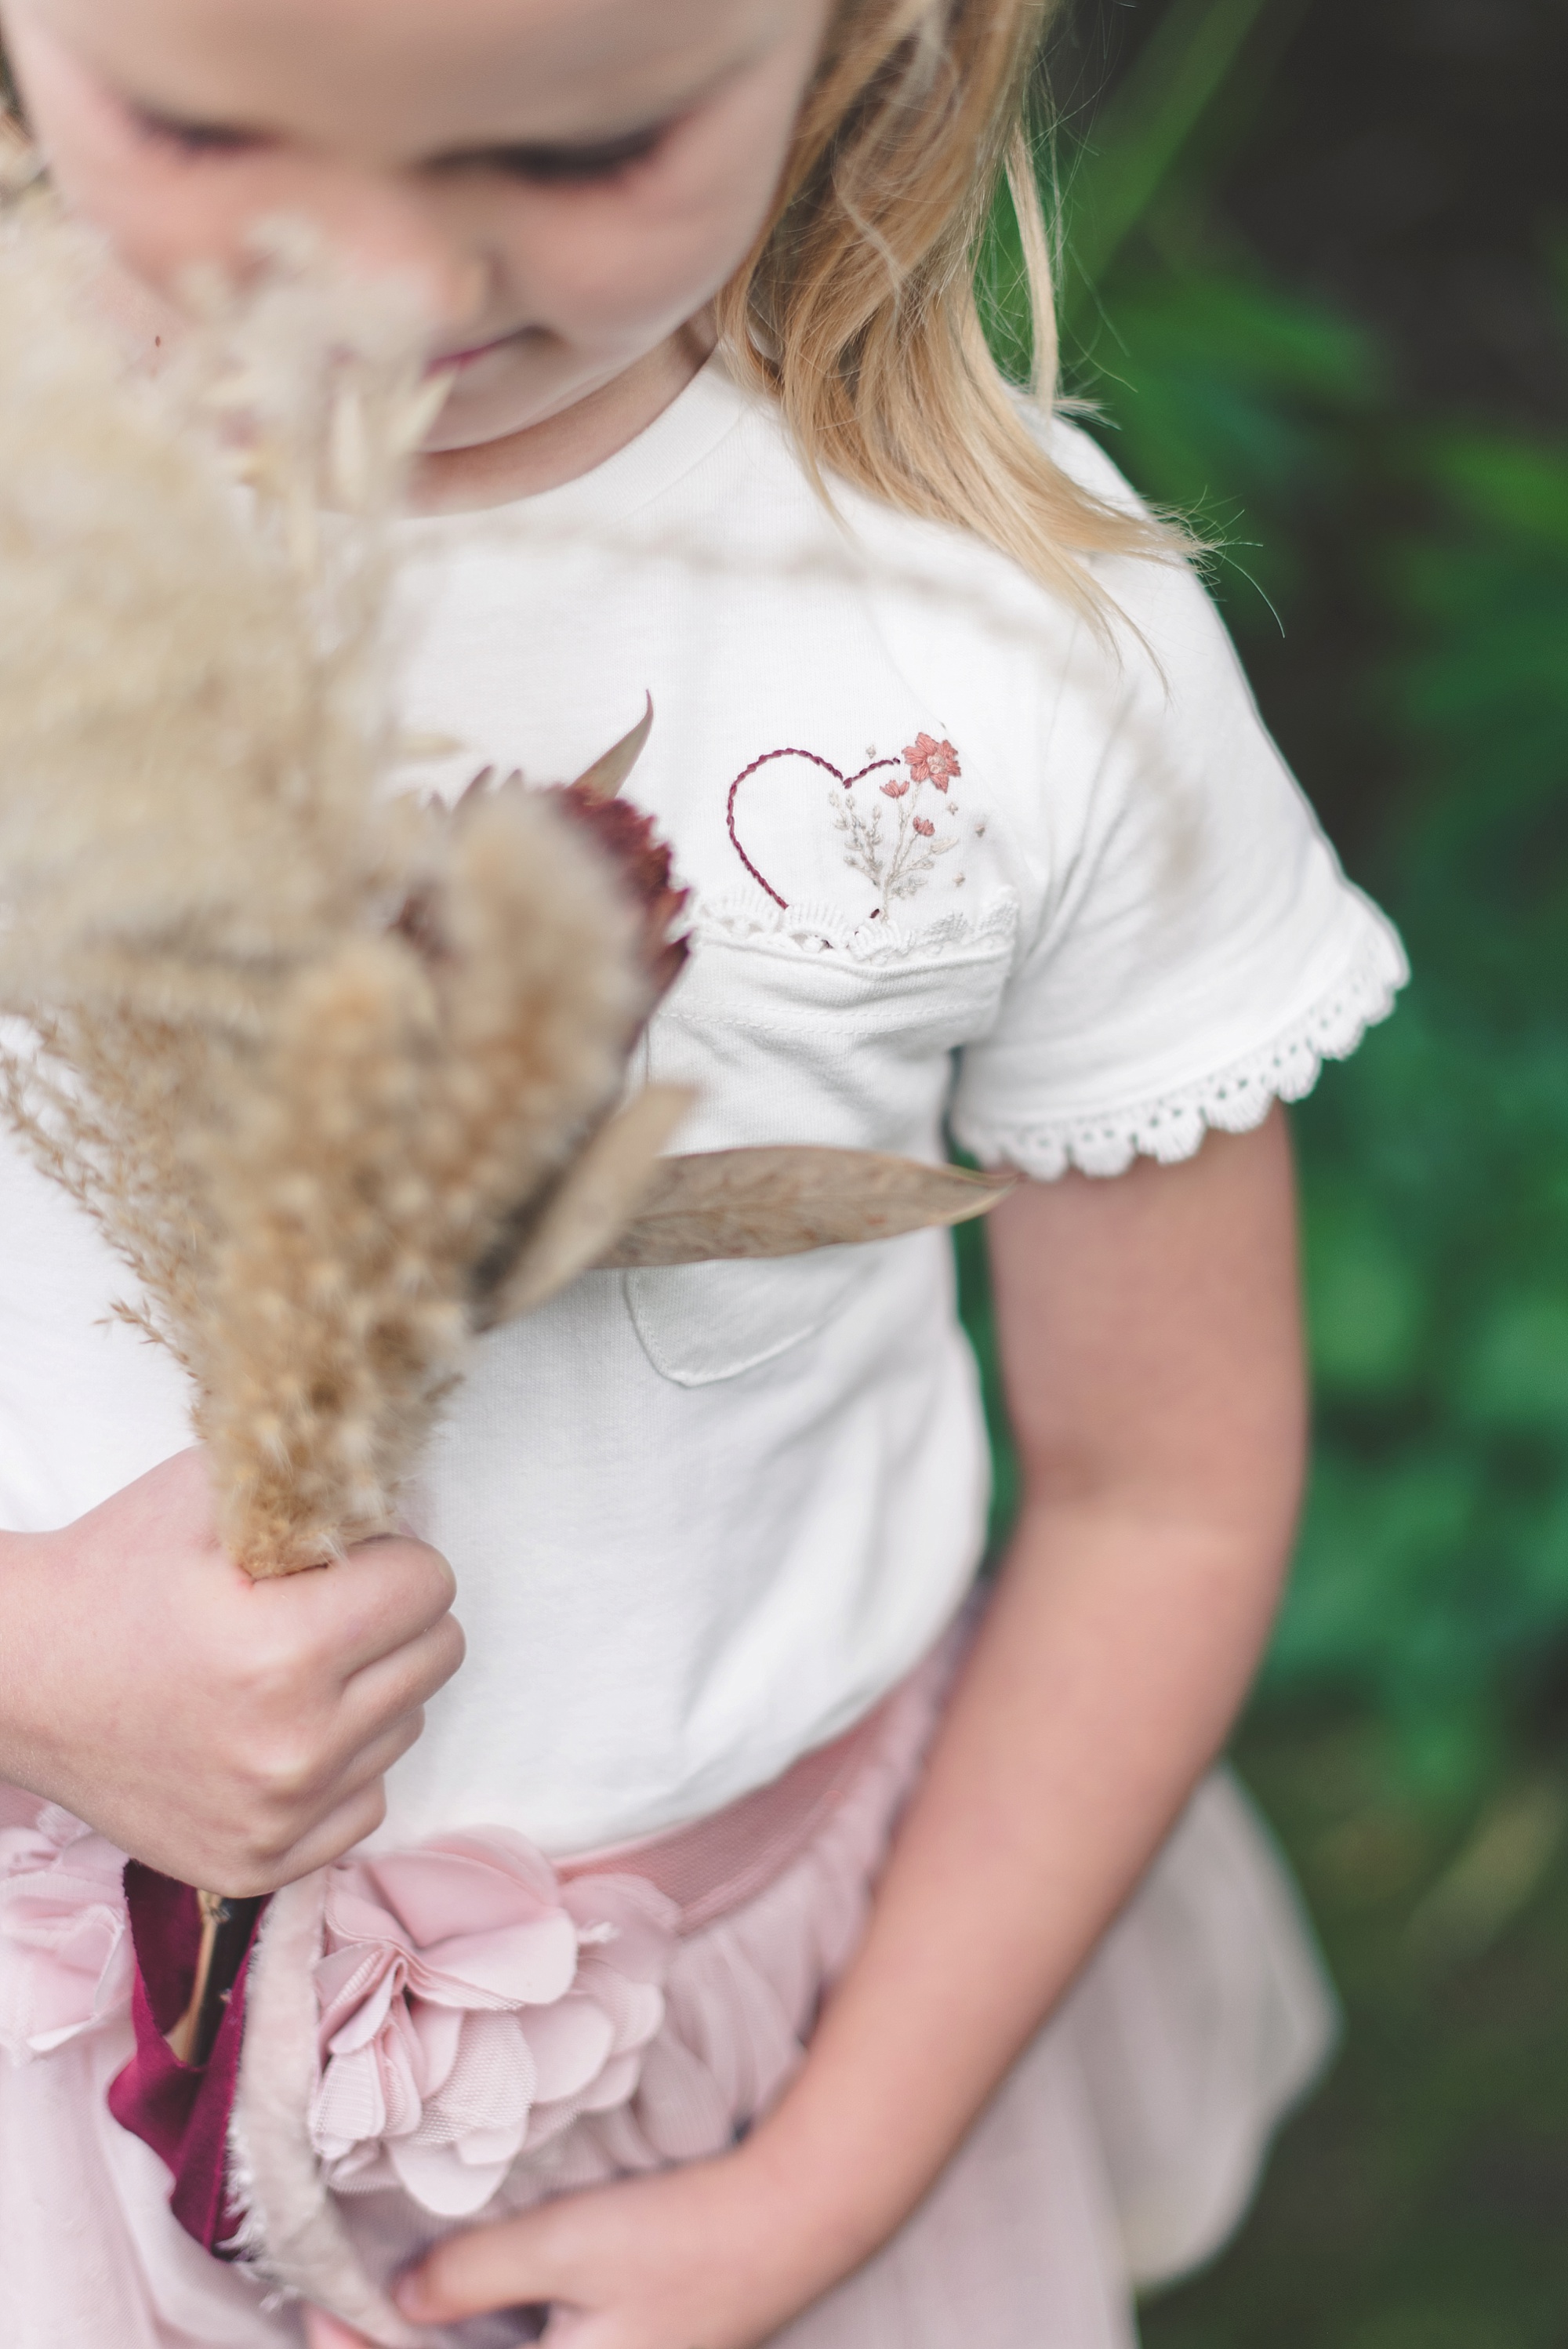
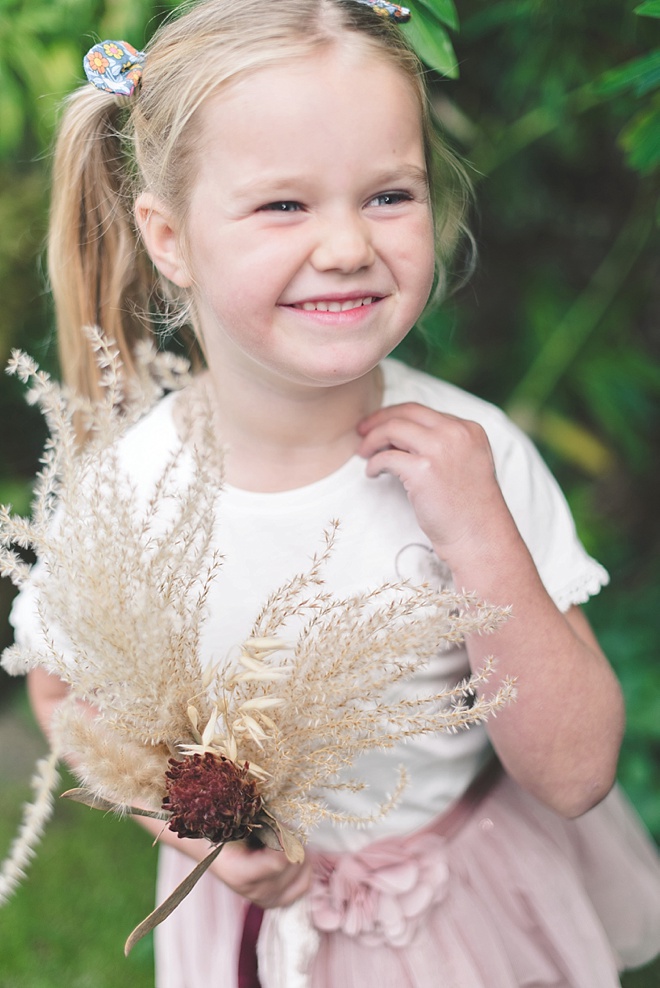
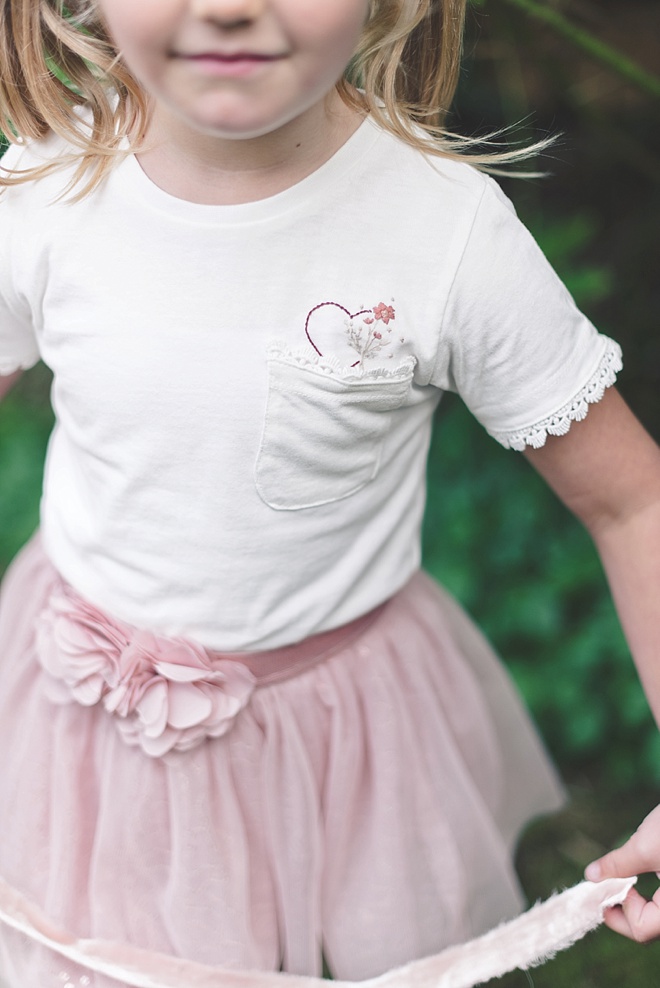
Literally cutest flower girl shirt ahead! If you love making personalized things for your wedding day, then add this embroidery project to your list! By using any t-shirt and a really adorable embroidery kit with easy-to-use stick and stitch patches, you have everything at your fingertips to create a special wearable piece of art for your special little helping you walk down the aisle. Just learn a few basic embroidery stitches, and you’ll be done in no time!
SUPPLIES:
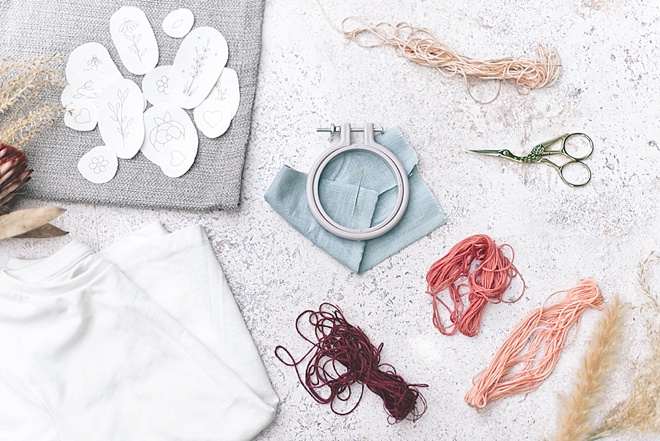
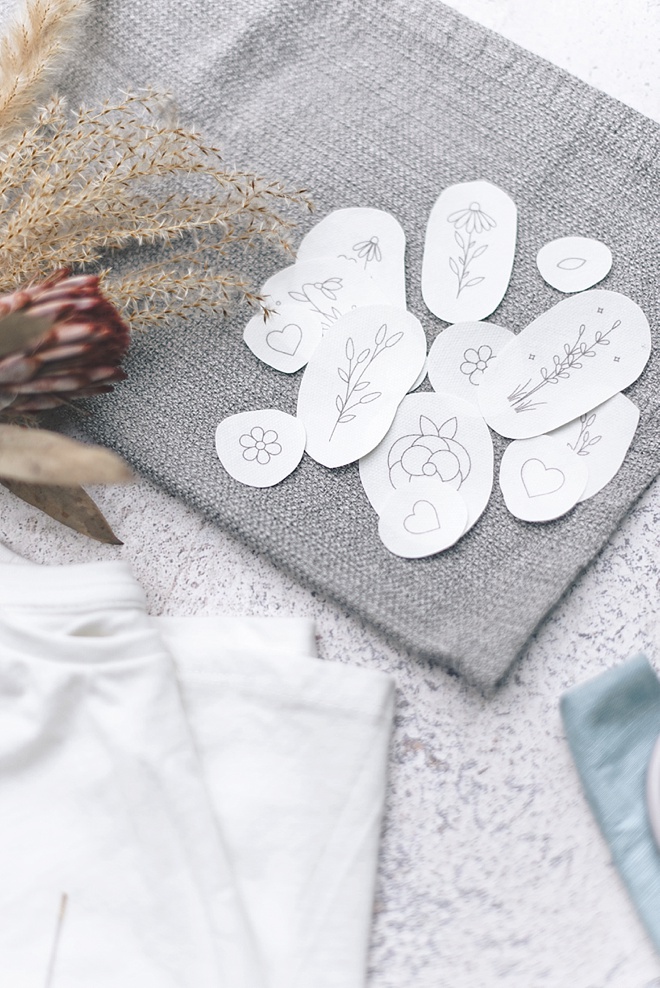
- Embroidery starter kit with hoop, stick and stitch patches, and needles
- Embroidery threads/floss (my color palette was Natural Blush)
- Embroidery scissors
- Blank t-shirt
- Scrap of fabric
- Small bowl of cool-warm water
Maker’s Note
YouTube will be your best friend if you’re new to embroidery! Just search for the name of the stitch you’re needing a live demonstration of, and you’ll get loads of videos. I also have a Pinterest board linking to stitches to help me keep them at hand. If you’re using a kit (like I am from Tales from the Hoop), also check out the maker’s Instagram as they likely will have demos of your patterns and other ideas on which stitches to use for your embroidery designs.
LEARN YOUR STITCHES
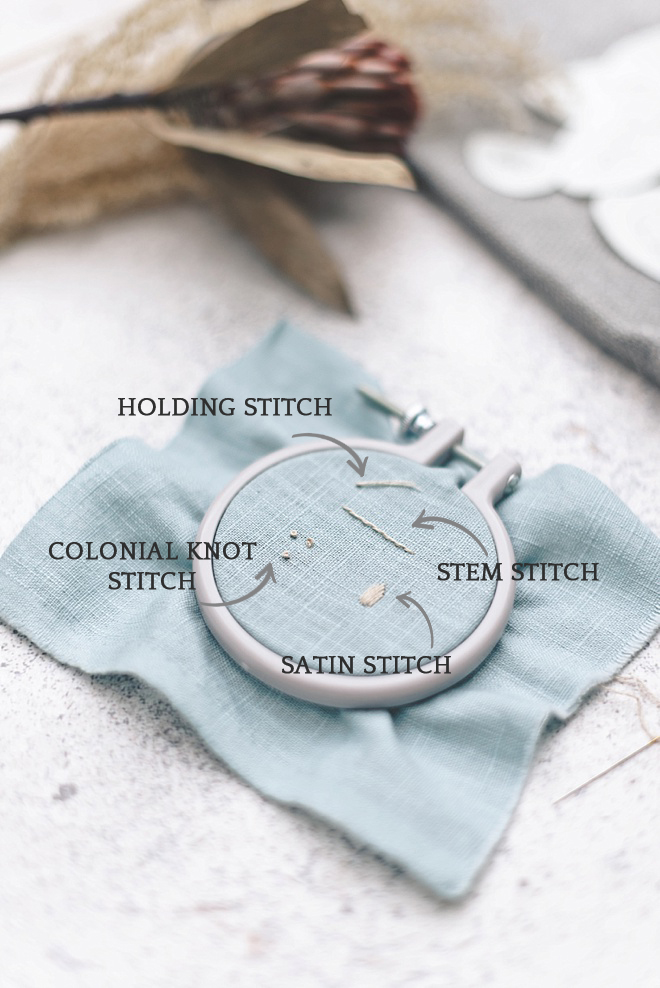
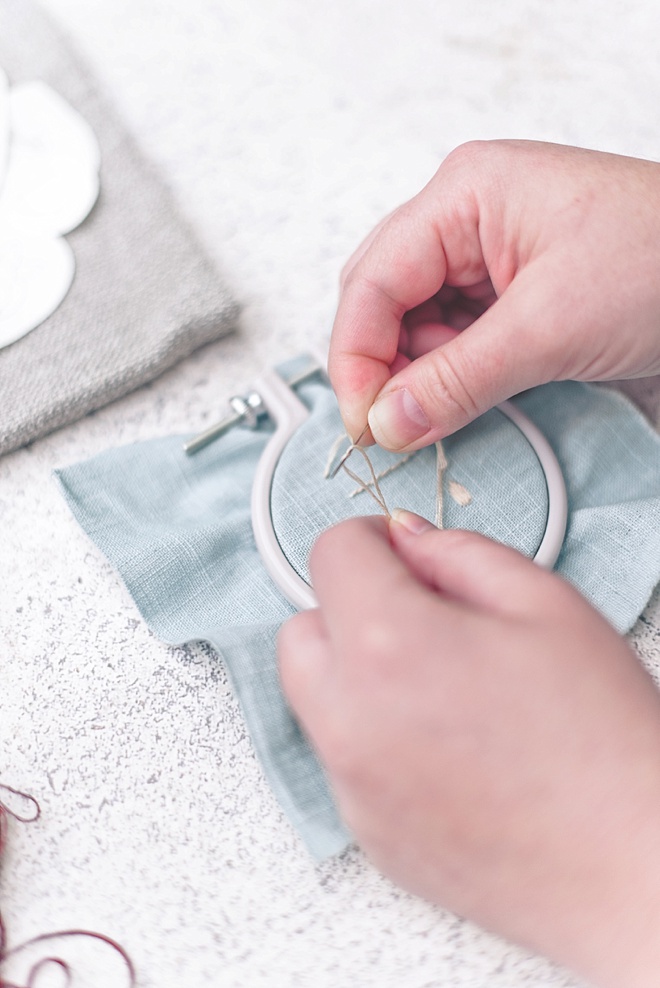
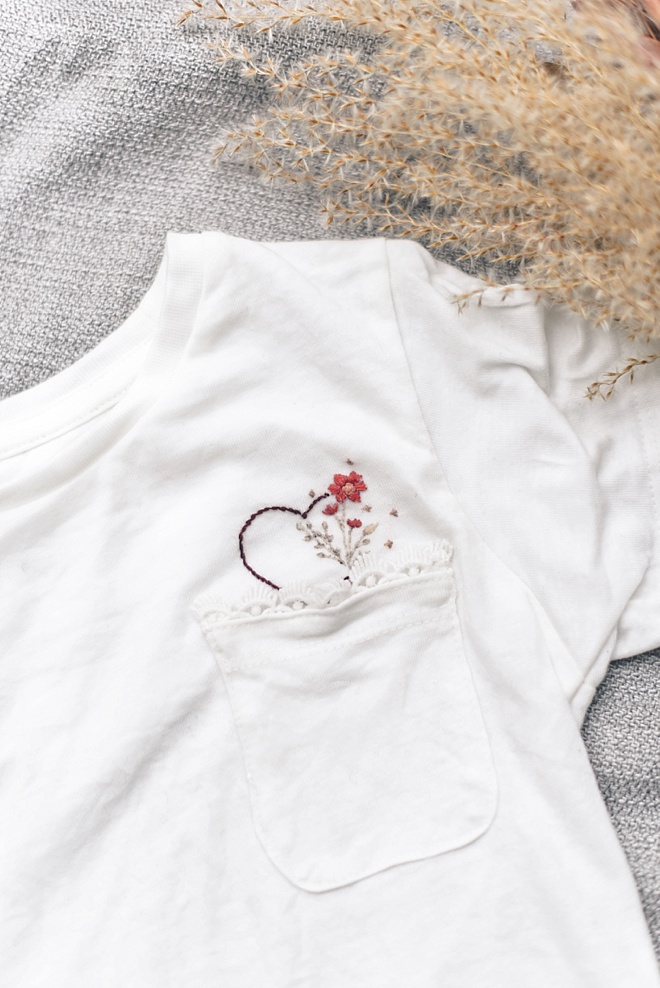
If you’d like to create your design like I have, you’ll need to learn four basic stitches for this project: holding stitch (to start and hold your beginning thread), satin stitch (for the leaves and petals), colonial or French knot (for the daisy center), and stem stitch (for the heart and stems). There are so many fun stitches out there. Feel free to experiment with them to see which ones you want to use for your project.
PRACTICE YOUR STITCHES
Using a fabric scrap, you’ll want to try your hand at each stitch until you’re comfortable enough to start on your shirt. A tip to remember… There is no such thing as “point of no return.” Embroidery can be very forgiving as you can just start over by a little snip or stitch. The fabric you’re stitching on might not be as forgiving (such as silks or stretchy fabrics), so keep that in mind for your projects. Be patient with yourself and eventually you’ll find it rather relaxing! (And this is coming from someone who is a perfectionist and is very surprised how much I now love embroidery and its mindfulness effect!)
STICK AND STITCH
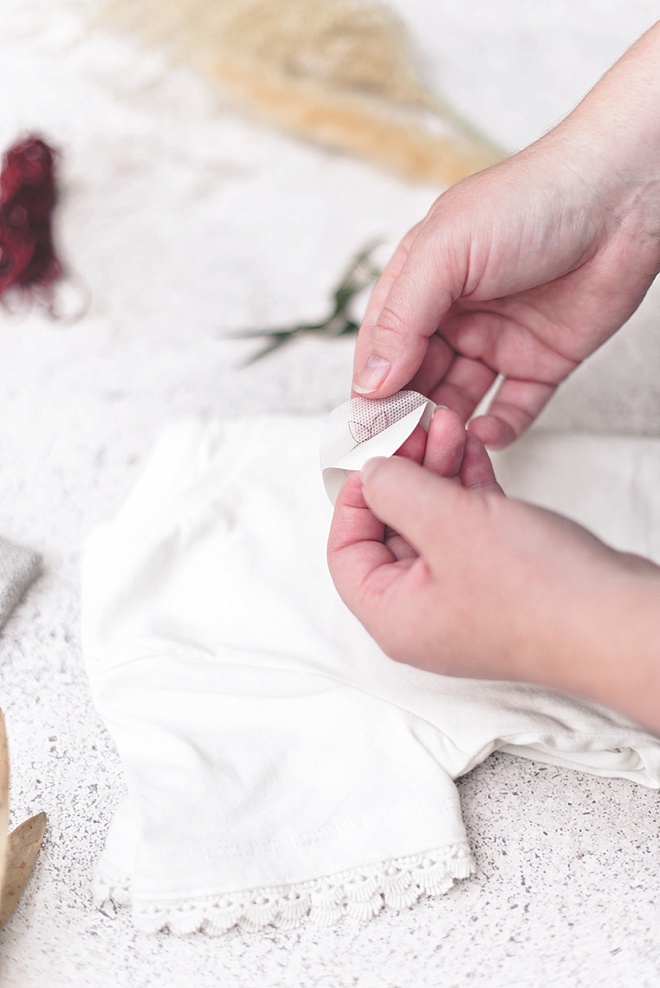
Using your embroidery hoop, enclose your t-shirt to the spot where you’ll be stitching. Choose your design from your stick and stitch patches and place on your t-shirt. You can move it around as needed, but once you start stitching, it stays in place! Make sure you place it exactly where you want it on your shirt. Since these “stickers” are water soluble, be sure to keep away from liquids just in case!
STITCH AWAY
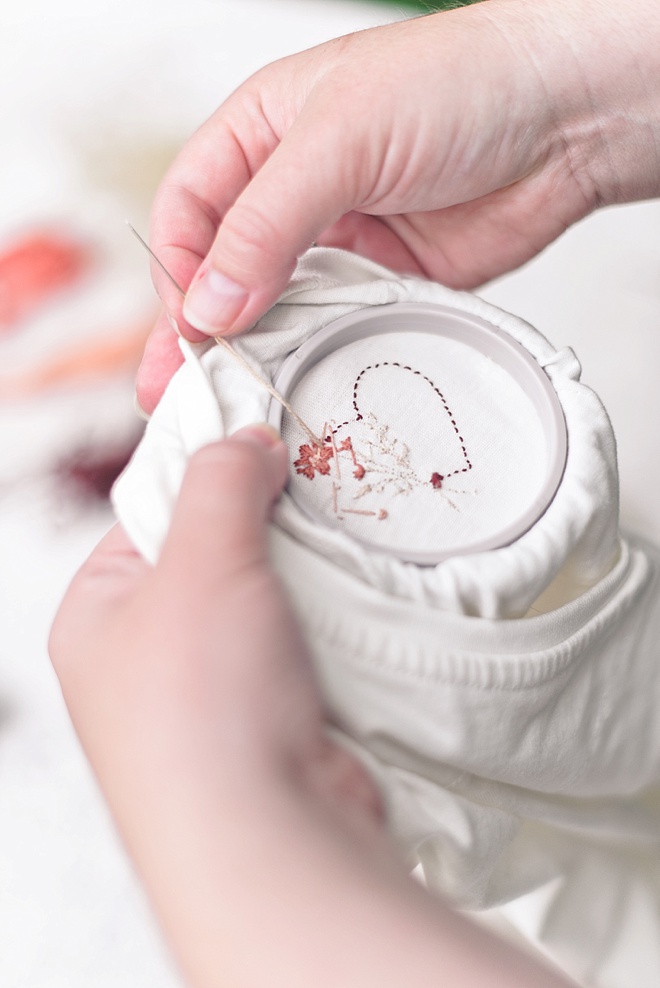
Since embroidery takes awhile to do, I have sped up the process to the end of stitching for this tutorial. (It’s the perfect road trip or night on the couch activity!) You’ll have stitched the stitches you chose, and when you’re finally at the end, you’ll want to finish off the design by needling thread through the backs of your stitches. Snip away your holding stitch as that was only created to keep your thread in place and remove embroidery hoop from your shirt.
REMOVE THE PATCH
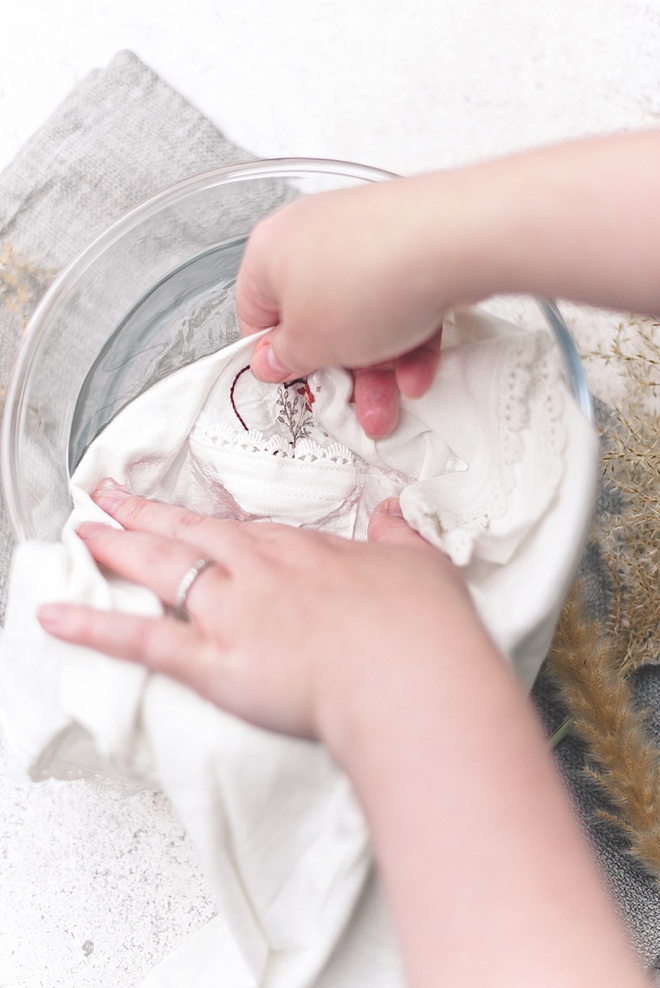
With cool-warm water in a bowl, place your shirt’s embroidered patch into the water and gently rub to remove the sticker away from your design until fully gone. It’s like magic as the water dissolves the stick and stitch patch! Allow to dry and get ready for the cutest flower girl ever!
ABOUT THE MAKER
Considered an enthusiastic creator in the wedding industry since 2009, Chelsea LaVere Barton is a retired wedding photographer and current editor-in-chief of Coastal Virginia’s online wedding publication, Tidewater and Tulle. Before her photographer days, Chelsea was a classroom art teacher and adheres to the mantra of “making life more beautiful” in all she does. When she’s not DIYing, she loves to go on local British adventures with her husband, write about said UK adventures on It’s a Hard Biscuit Life, and quietly relax at home with their cats Pickles Barrington and Juniper McIntyre. You can find her scrapbook of life on Instagram.
If you create one of our projects, please share a picture with us on Instagram or Twitter using the hashtag #somethingturquoisediy, we regularly reshare our favorites! Your profile will need to be public for us to see it otherwise, you can always DM us!
TUTORIAL CREDITS
Photography + DIY Tutorial: Chelsea LaVere Barton // Complete Embroidery Kit and Thread: Tales from the Hoop via Etsy // Embroidery Scissors: Amazon
SHOP THE SUPPLIES
Find the supplies you’ll need for this project from our affiliate links below:





Comments