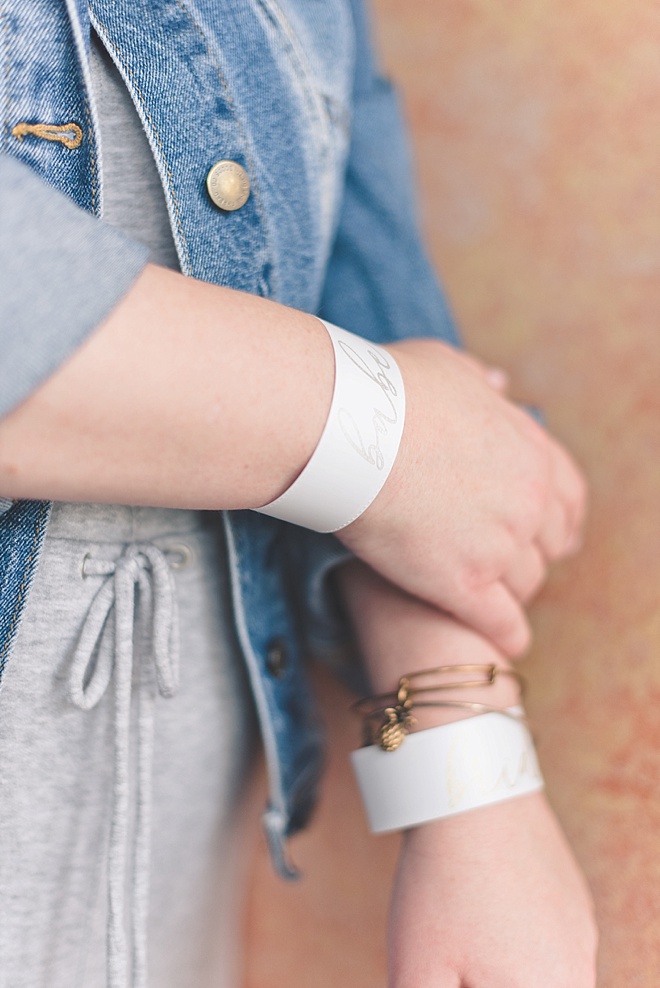
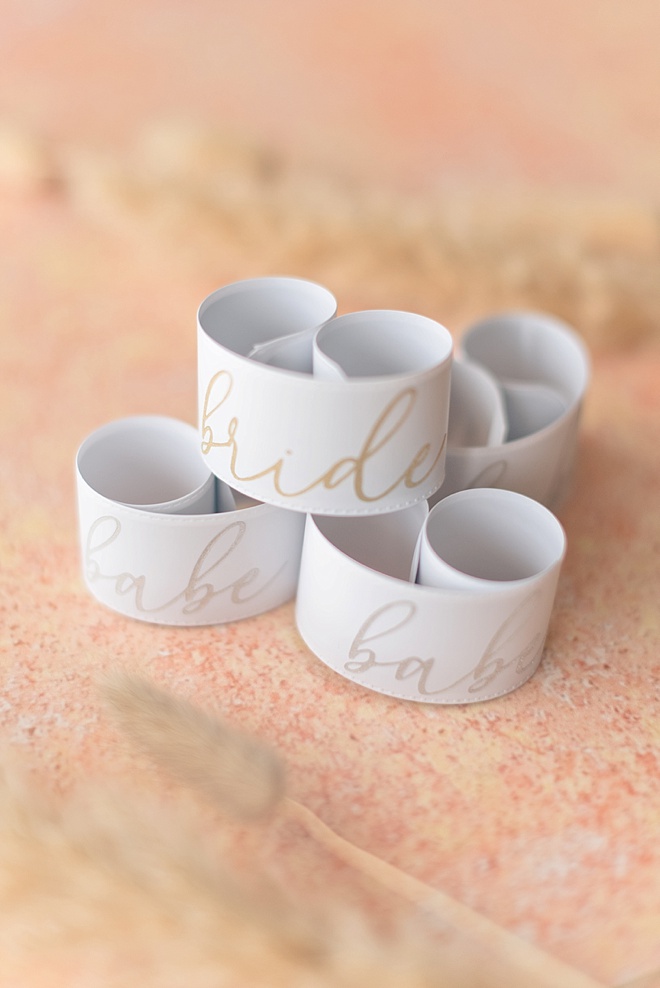
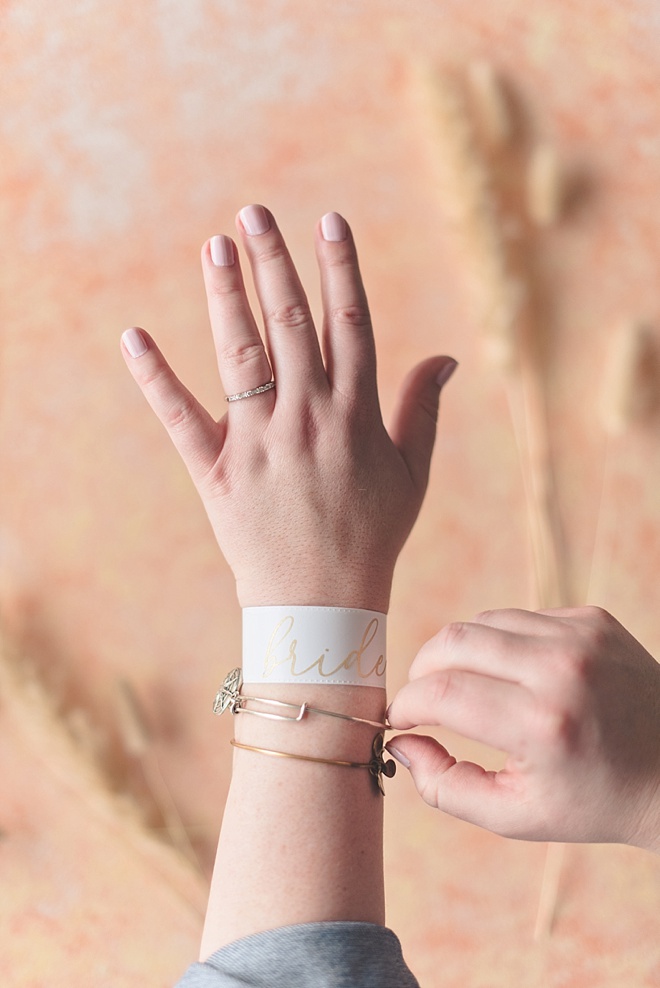
Throwback to childhood for a good lot of us Xennials and millennials! Unlike the school playground, there’s no way these slap bracelets will be banned from your bachelorette party as you celebrate with your pals in nostalgic style.
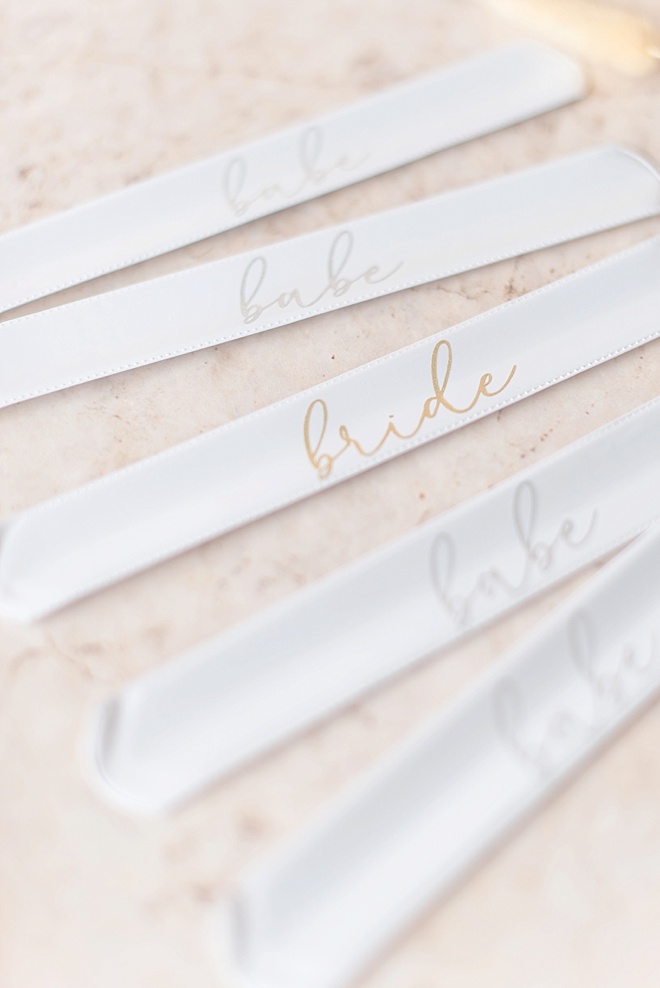
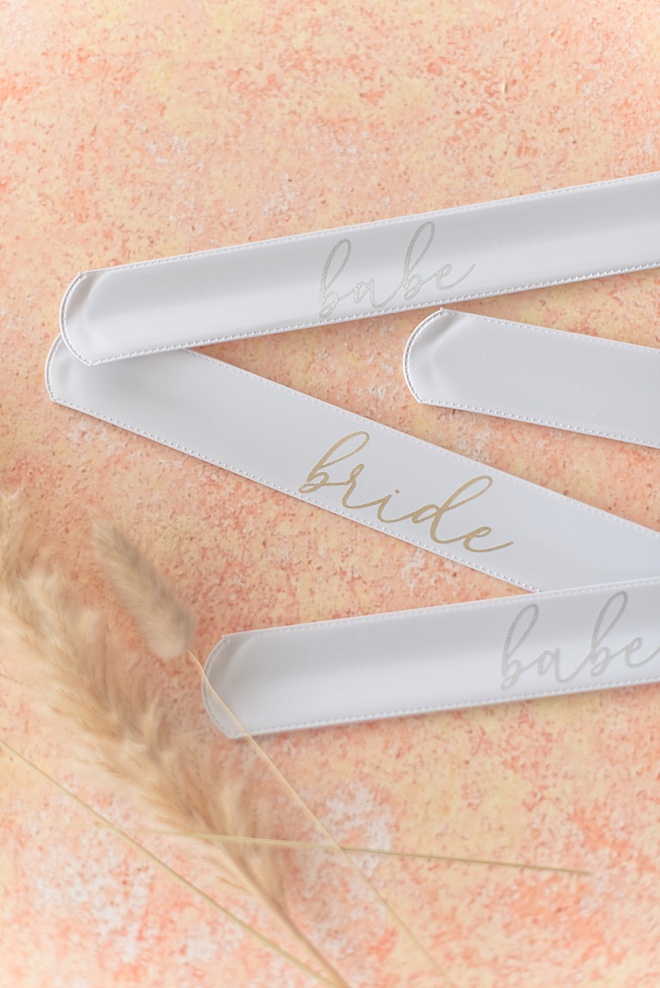
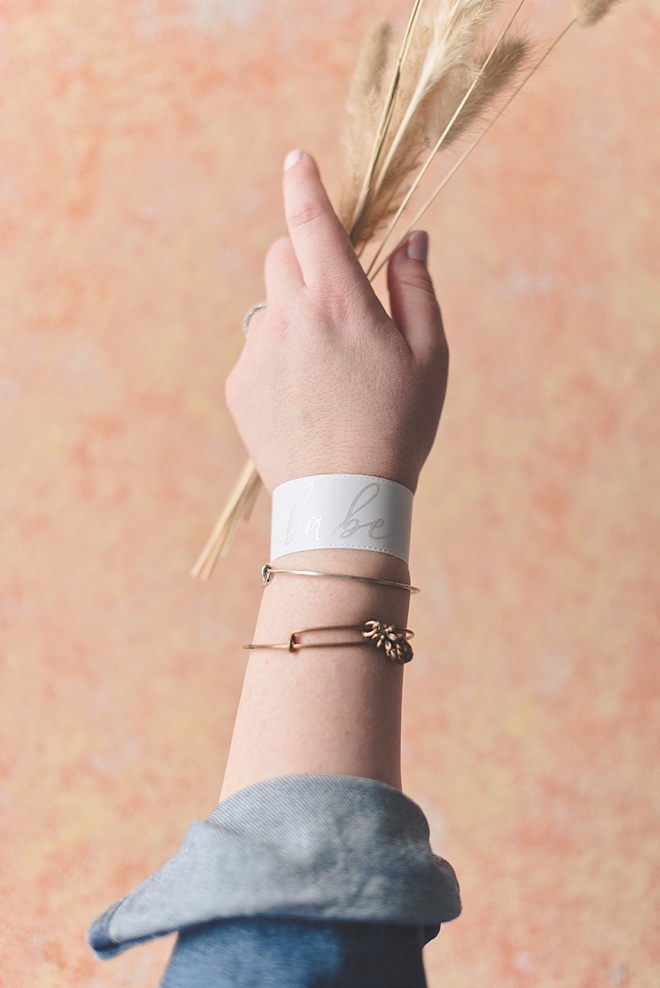
I have kept the project simple with “bride” and “babe” for a chic modern aesthetic, but you can decorate these fun blank bracelets in any way you want. Make them before the party or have a crafternoon where everyone designs their own. You can use cut vinyl words, permanent markers, faux silk flowers, or puffy paint. Lisa Frank stickers, anyone?
After the party, upcycle your slap bracelets to hold together your craft vinyl or gift wrapping paper rolls. Even bach party favors can be eco-conscious!
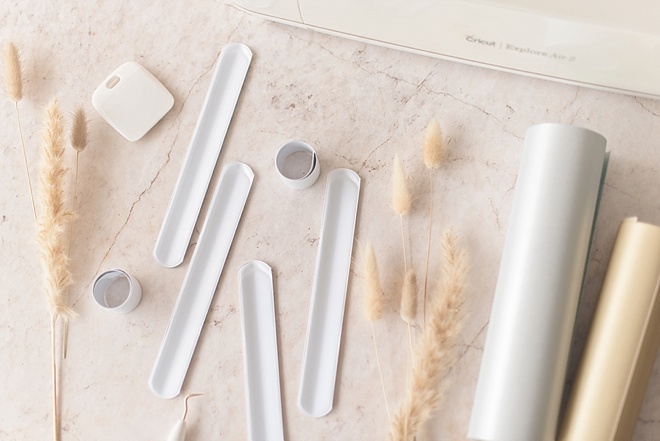
SUPPLIES:
- White DIY blank slap bracelets
- Electronic cutting machine (e.g., Cricut )
- Ruler
- Permanent vinyl in your preferred color
- Transfer tape
- Burnishing tool
- StandardGrip cutting mat
Maker’s Note
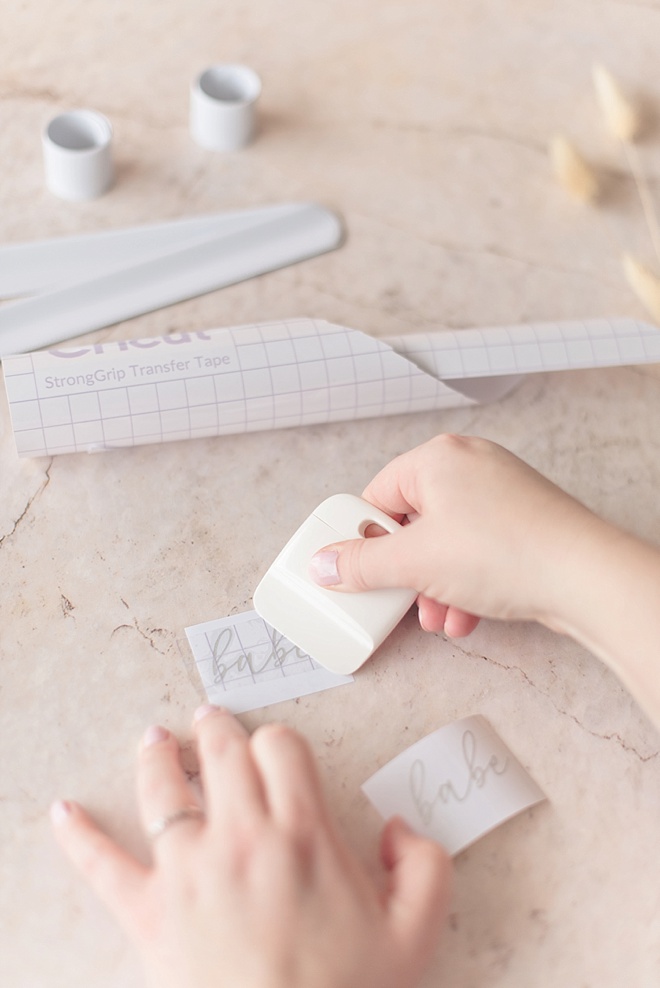
If using the shimmer gold vinyl like I’ve used, you will need StrongGrip transfer tape, not the regular kind listed in the materials list above.
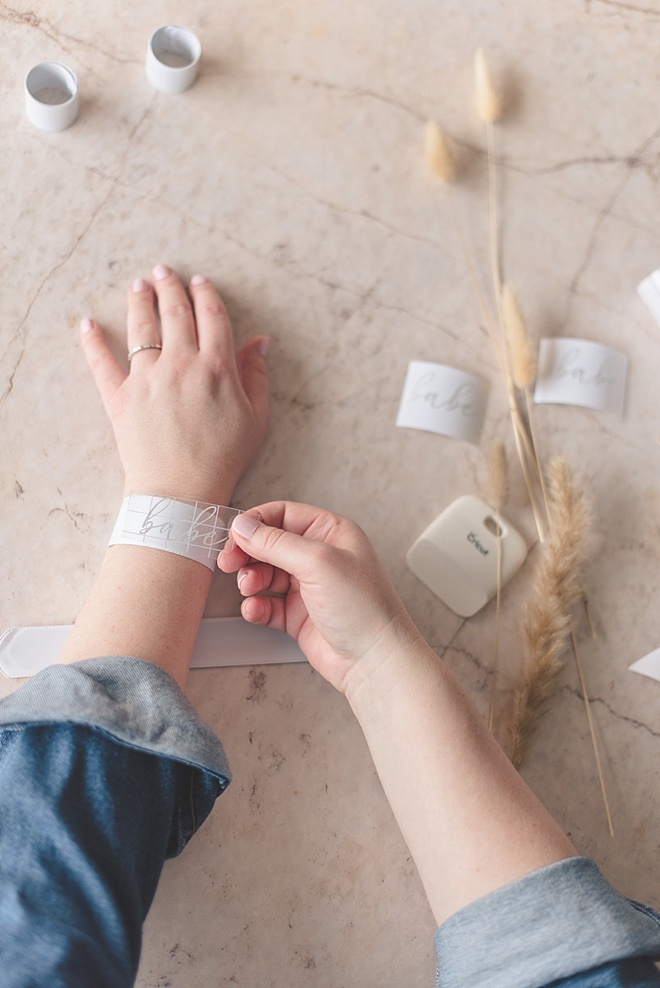
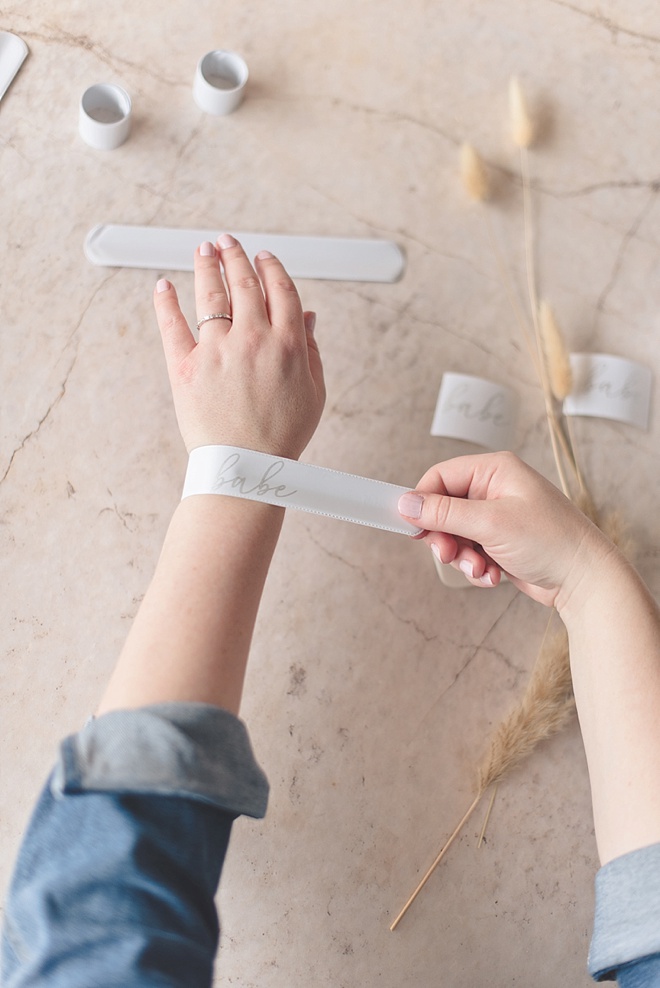
When applying any decorations to your bracelet, it tends to be best to put the bracelet on your wrist first and decorate on your wrist so there are no bubbles or wonky words.
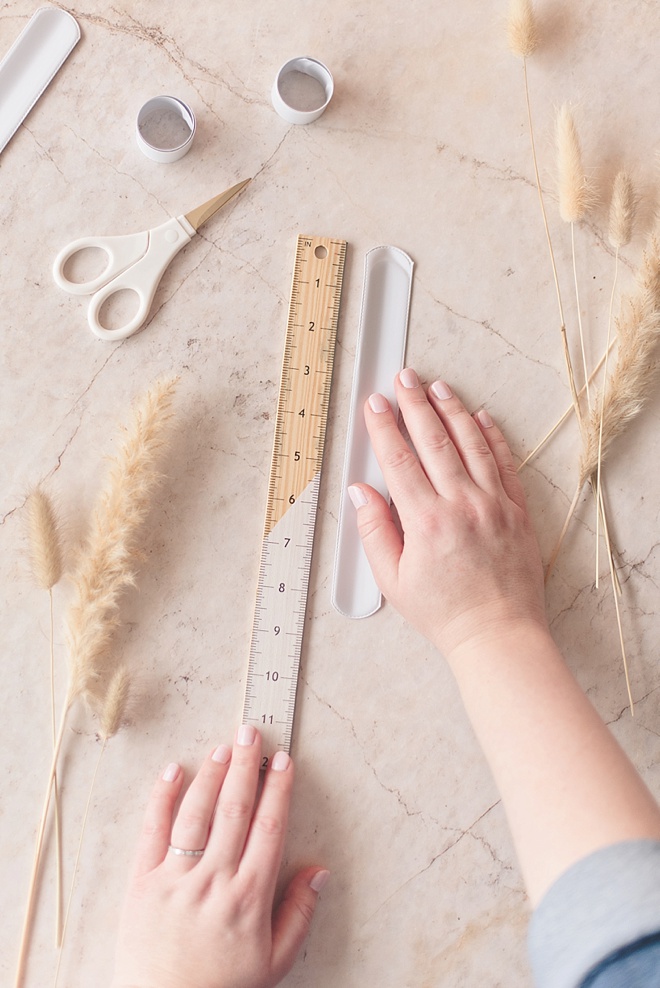
MEASURE YOUR BRACELETS
Using a ruler, measure how long and how wide your slap bracelets are. The ones I used are 8.7 inches in length and 1.2 inches in height/width, so I made a note to make any words no taller than 1 inch.
DESIGN & CUT YOUR WORDS
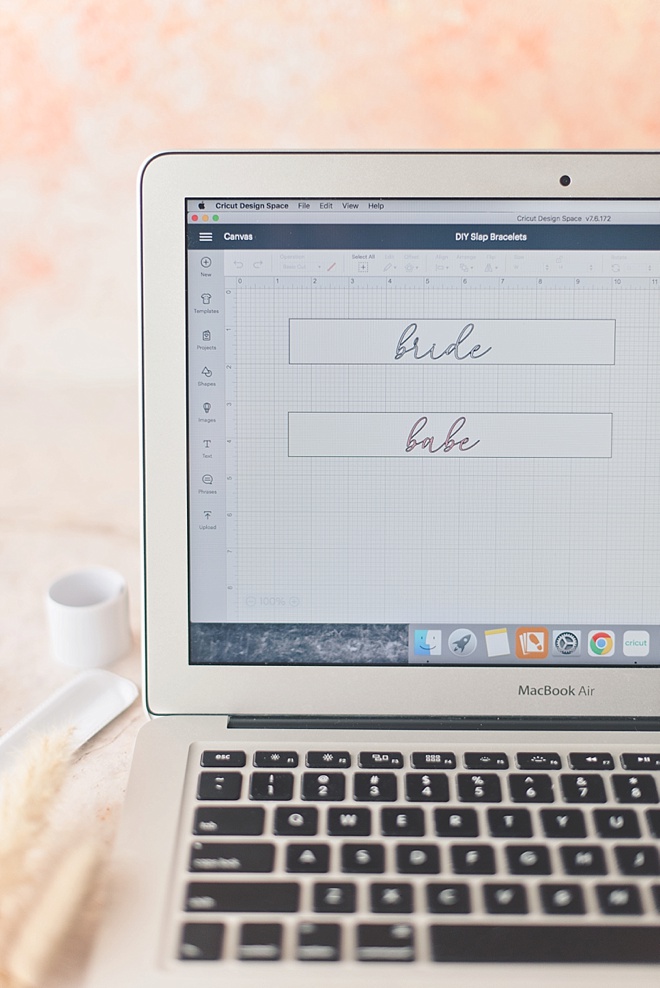
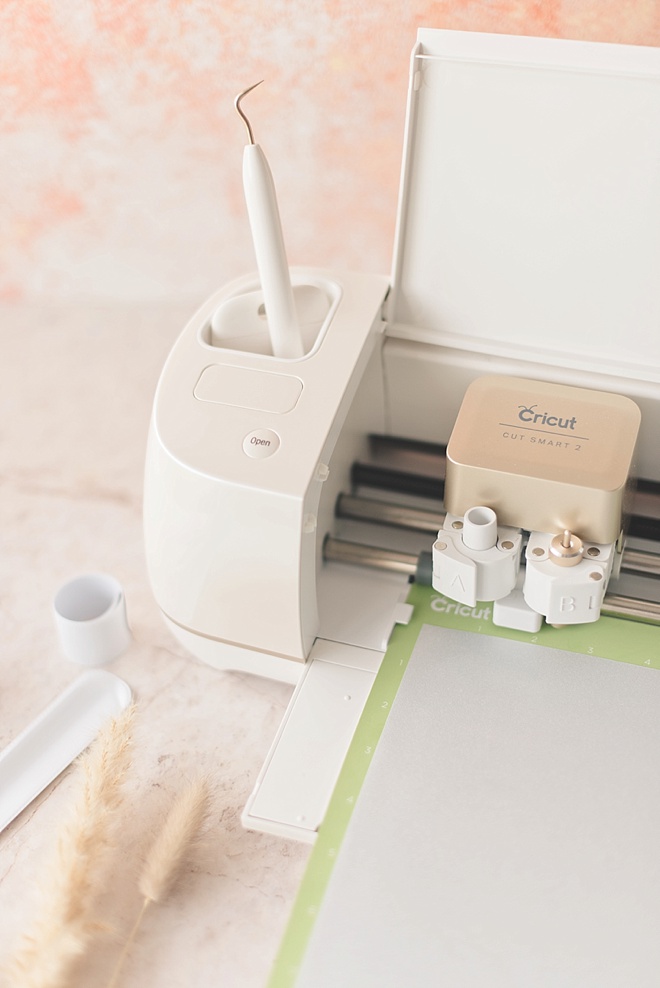
No matter which words you use, keep it short if you want the entire word to show on the tops of everyone’s wrists. Choose your favorite font in Design Space or Studio. To help you decide what size is best, add a rectangle shape with the measurements of your slap bracelet to your Canvas and then fit your words inside of it. Leave a tiny bit of top and bottom space for the textured edge. After you’re happy with your design, cut according to your machine’s specs.
WEED THEN TRANSFER
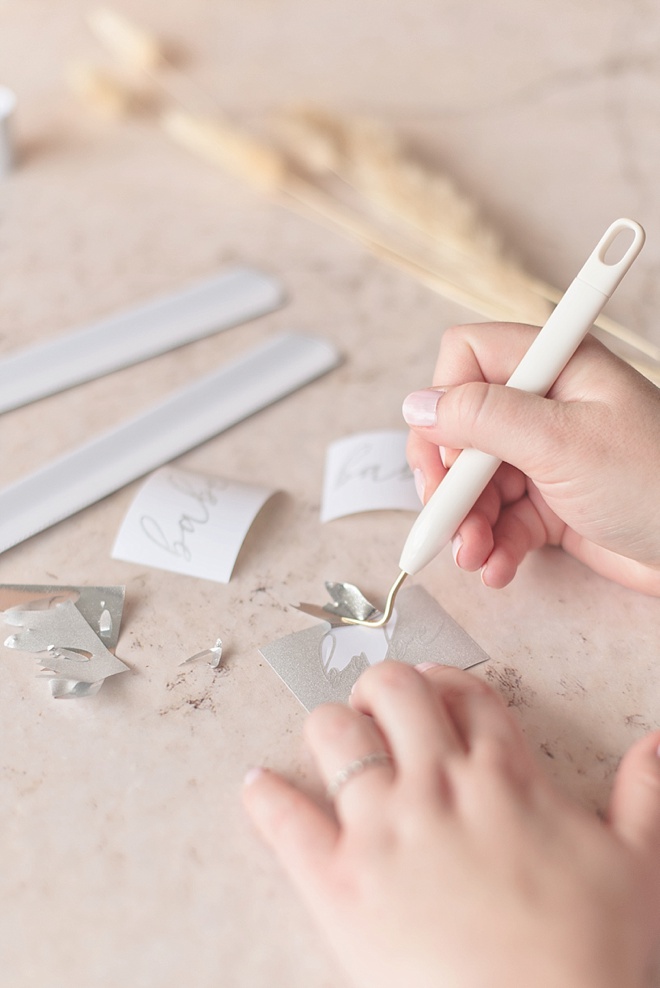
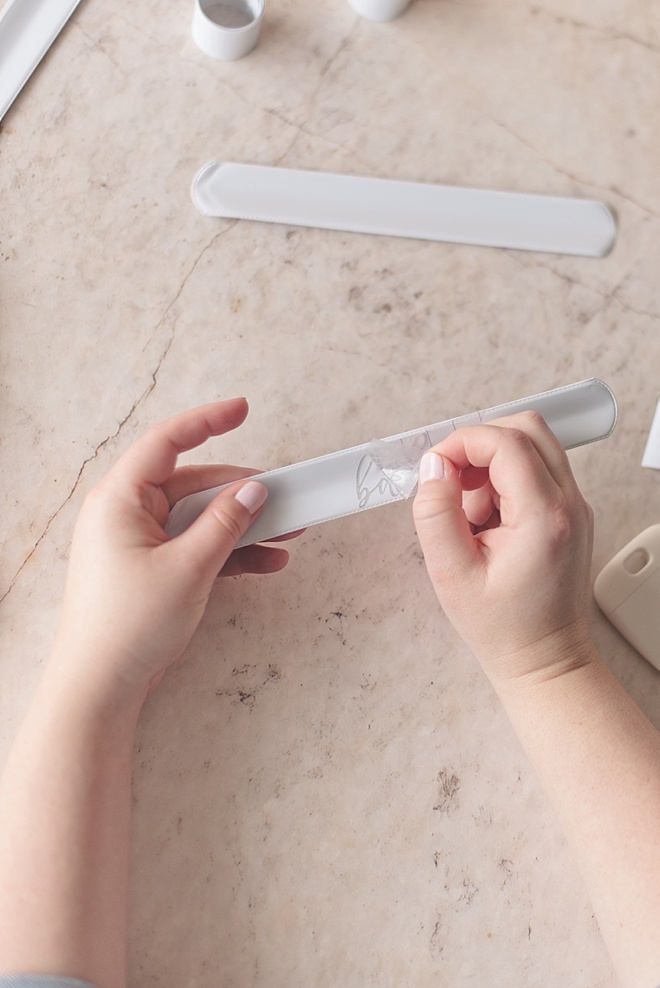
Once your words are cut, weed your vinyl, leaving only the bits you want to keep for your bracelet. To help you adhere your shimmer vinyl, use clear StrongGrip transfer tape as no other transfer tape will pick the vinyl up otherwise. (If you’re not using a glitter or shimmer vinyl, standard transfer tape is what you will need as mentioned above.) Cut the amount you need and place on top of your vinyl words. Use your burnishing tool and “scrape” across the transfer tape to give a good connection to the vinyl underneath.
APPLY TO BRACELETS
Before application, slap your bracelet on your wrist to decide where you want your words. Carefully rub your stickers on top and remove the transfer tape. The bracelets are ready for their brides and her babes now!
If you create one of our projects, please share a picture with us on Instagram or Twitter using the hashtag #somethingturquoisediy, we regularly reshare our favorites! Your profile will need to be public for us to see it otherwise, you can always DM us!
ABOUT THE MAKER
Considered an enthusiastic creator in the wedding industry since 2009, Chelsea LaVere Barton is a retired wedding photographer, editor-in-chief of Coastal Virginia’s online wedding publication, Tidewater and Tulle, and co-owner of UK-based wedding signage shop, High Oak & Co. Before her photographer days, Chelsea was a classroom art teacher and adheres to the mantra of “making life more beautiful” in all she does. When she’s not DIYing, she loves to go on local British adventures with her husband, write about said UK adventures on It’s a Hard Biscuit Life, and quietly relax at home with their cat Pickles Barrington. You can find her scrapbook of life on Instagram.
DIY TUTORIAL CREDITS
Photography + DIY Tutorial: Chelsea LaVere Barton // Flowers: Apple Mint Florist // Cutting Materials: Cricut
SHOP THE SUPPLIES
Find the supplies you’ll need for this project from our affiliate links below.







Comments