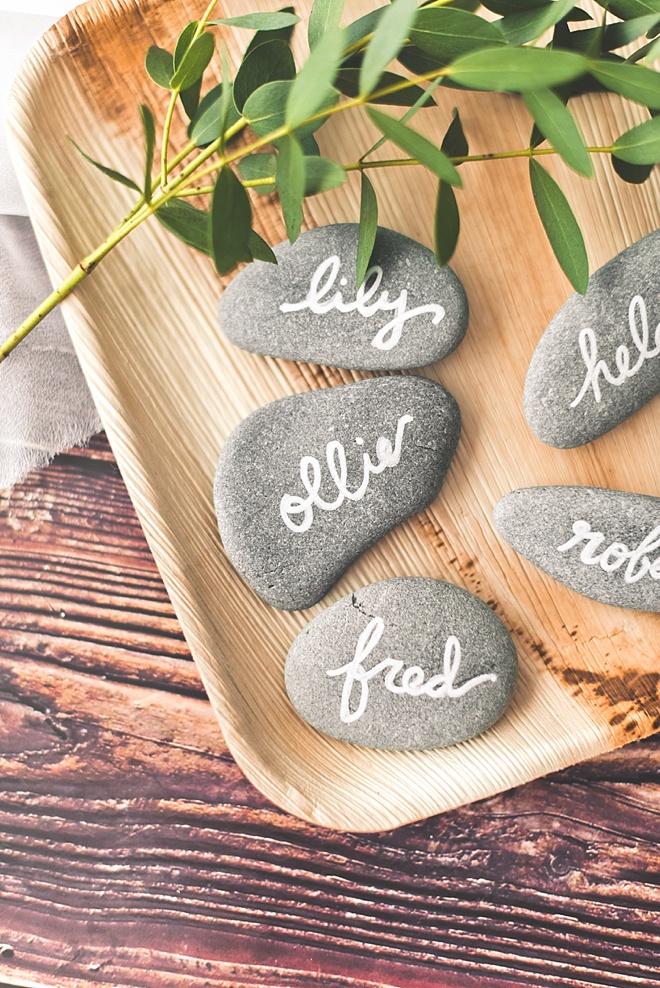
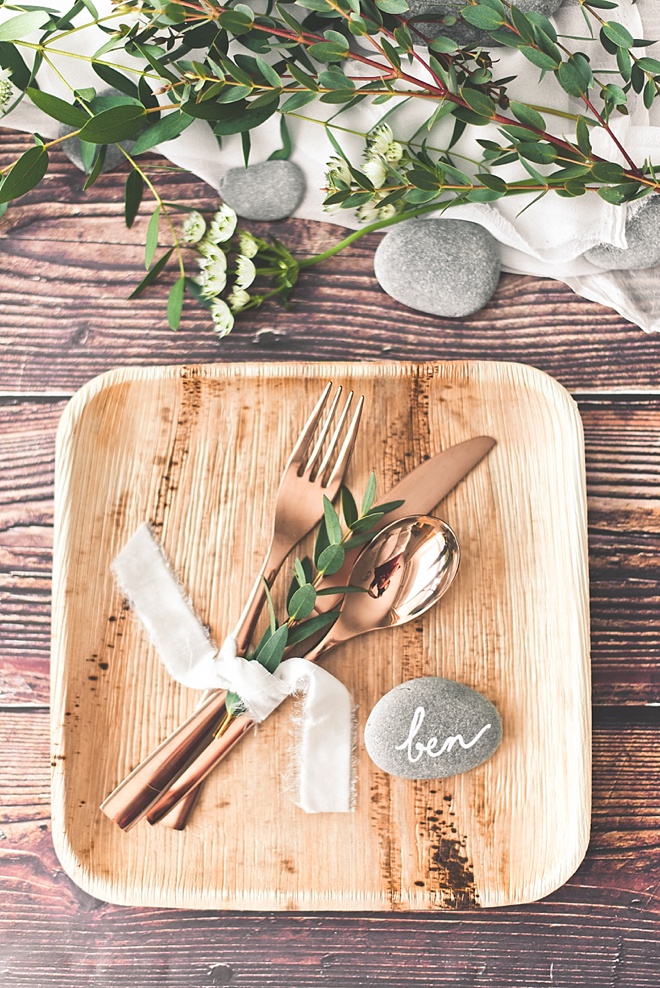
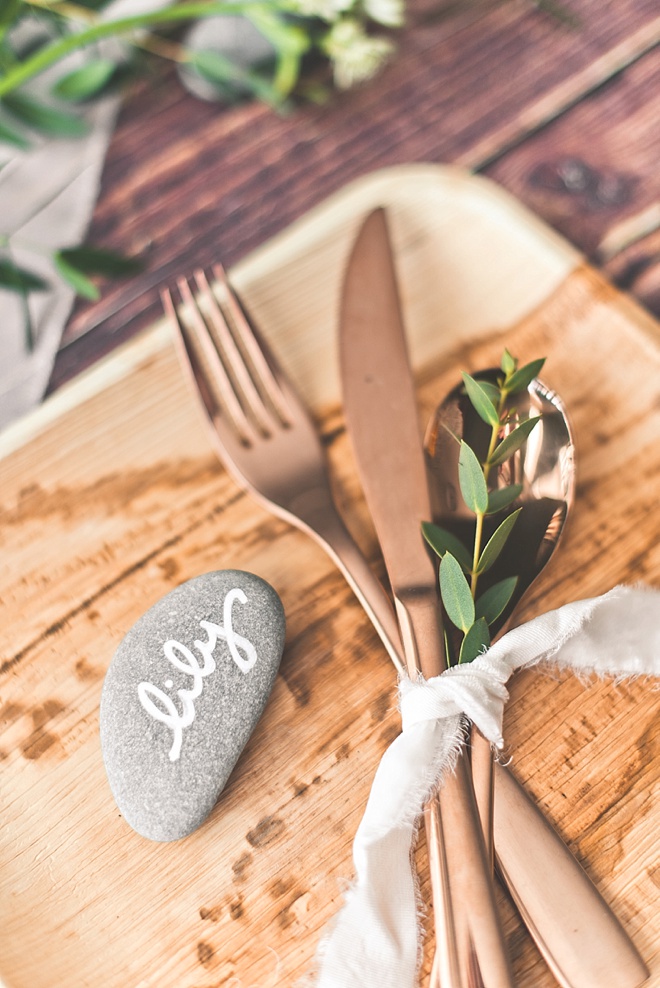
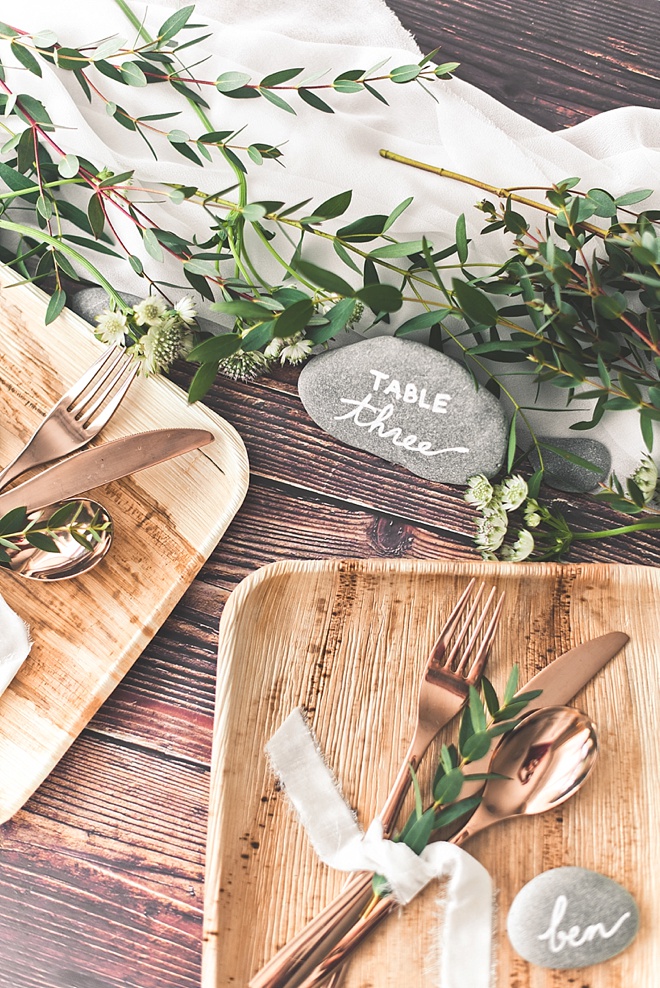
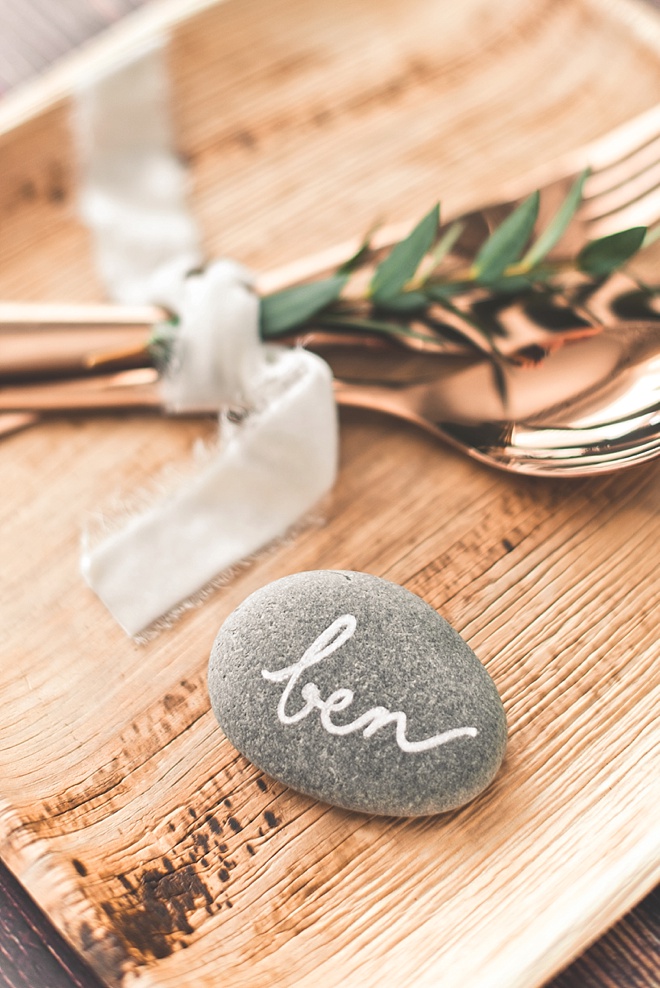
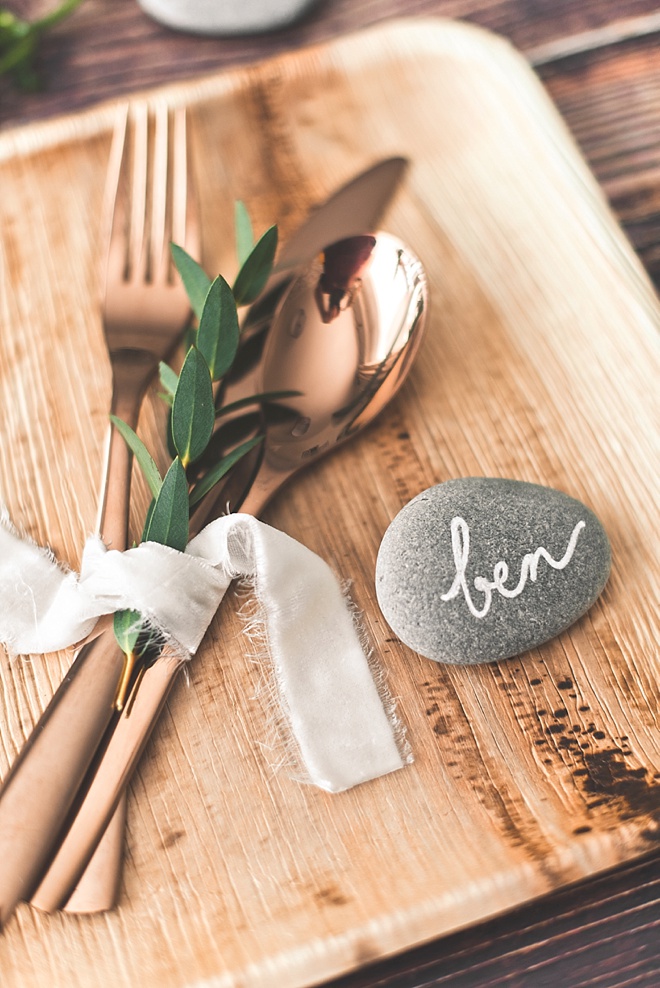
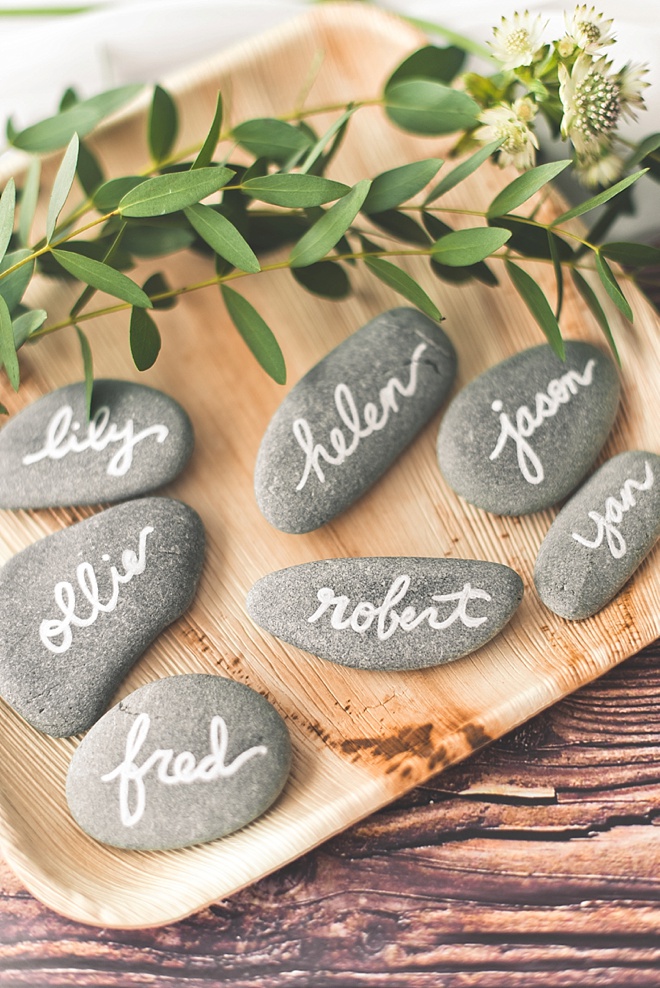
Having a casual chic outdoor picnic or campground wedding? These practical, yet pretty rock place cards are perfectly in style with any surrounding natural setting. They also hold down any napkins or compostable palm leaf plates from the wind and are a sweet keepsake for your wedding guests.
Traditional paper place cards aren’t really on theme (or sensible) when it comes to celebrating in the woods, and thankfully, there are a variety of rock colors and sizes to make your outdoor wedding unique to your special day’s rustic vision. So whether you purchase your rocks or go rock hunting in nature for your place cards, we’ve got you covered on how to write on them once they’re in your hands!
And leave no rock unloved! After the wedding, upcycle any rocks left behind into your gardens or backyards to help with water drainage or decor.
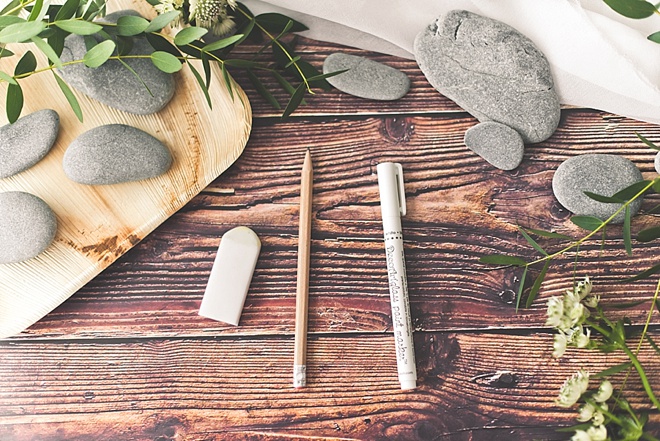
SUPPLIES:
Maker’s Note
When searching for rocks, look for ones that have a flat surface. I found mine on a local British beach that have been tumbled by the ocean to be smooth and flat. You’ll want the majority of your rocks to be about 3” long (the standard length of a paper place card), but definitely seek out longer and shorter ones as well for those guests with longer or shorter names.
For painting, I prefer a glass paint marker, especially if you have shinier rocks (like agate slices) with a slicker surface. Paint markers come in many different colors including metallic gold or silver. Personalize in the color that suits best for your wedding!
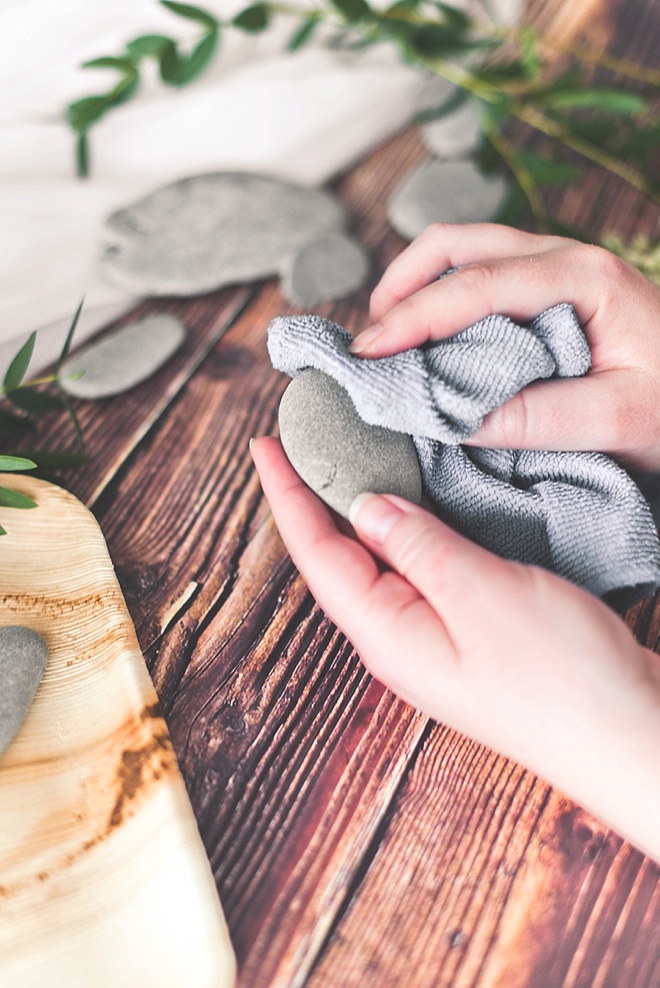
CLEAN YOUR ROCKS
Using a damp cloth or even a water-filled bucket for muddy stones, clean your rocks, especially if you have found them in nature. You need a clean surface for the paint to apply perfectly.
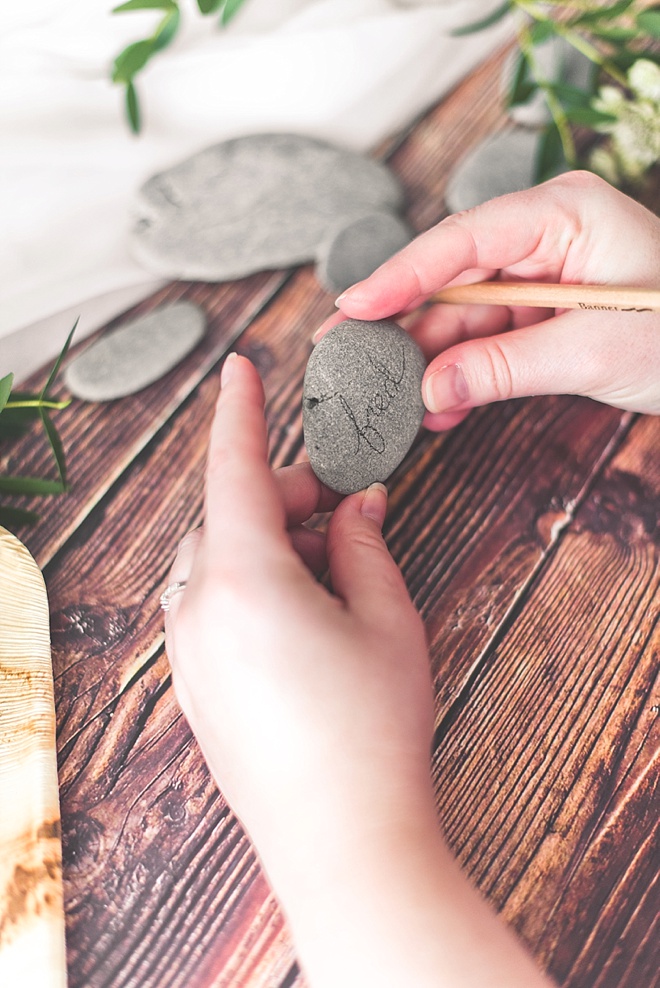
PENCIL THE NAME
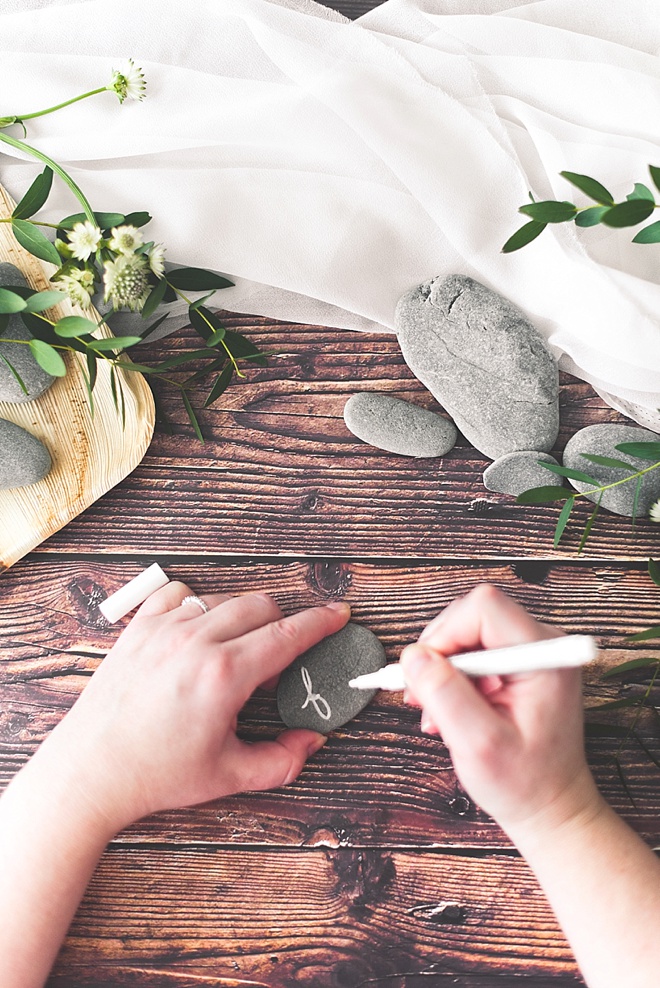
Once your rocks are dry, pencil in your guests’ names onto each rock. If you prefer a different handwritten style than your own, print off your guests’ name on plain paper and copy from that font… or alternatively, grab your favorite friend with fabulous handwriting to help you out!
USE THE PAINT MARKER
Shake your marker well and trace over your pencil marks. Allow each layer to dry before drawing back over your lines to make it more opaque. Let dry completely over a couple of hours before stacking your place cards.
ERASE PENCIL MARKS
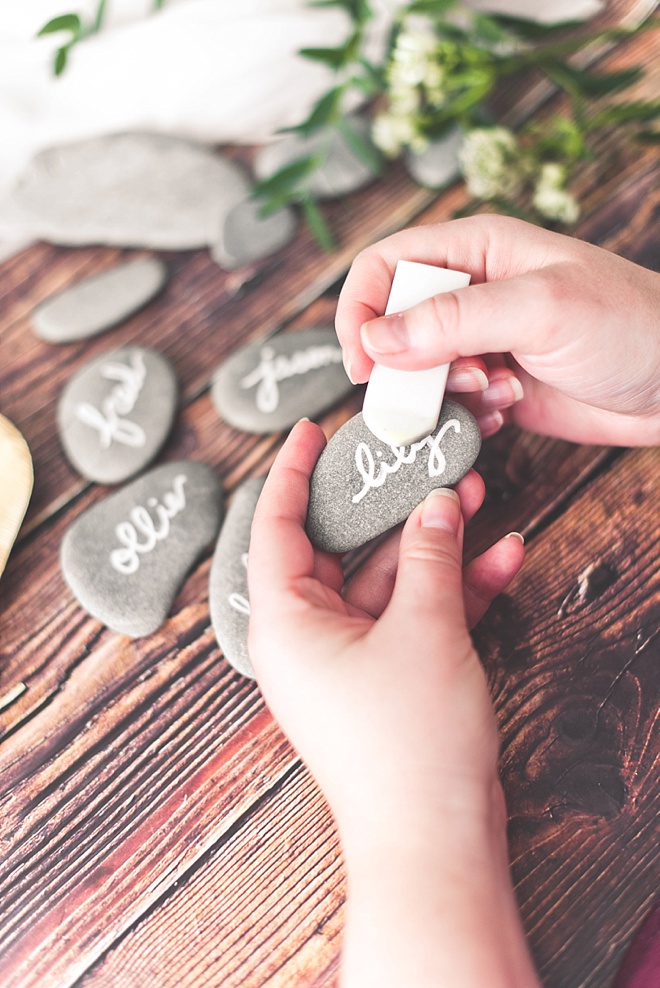
If needed, use an eraser to get rid of any pencil marks shown after your rocks have dried. Enjoy your day in nature!
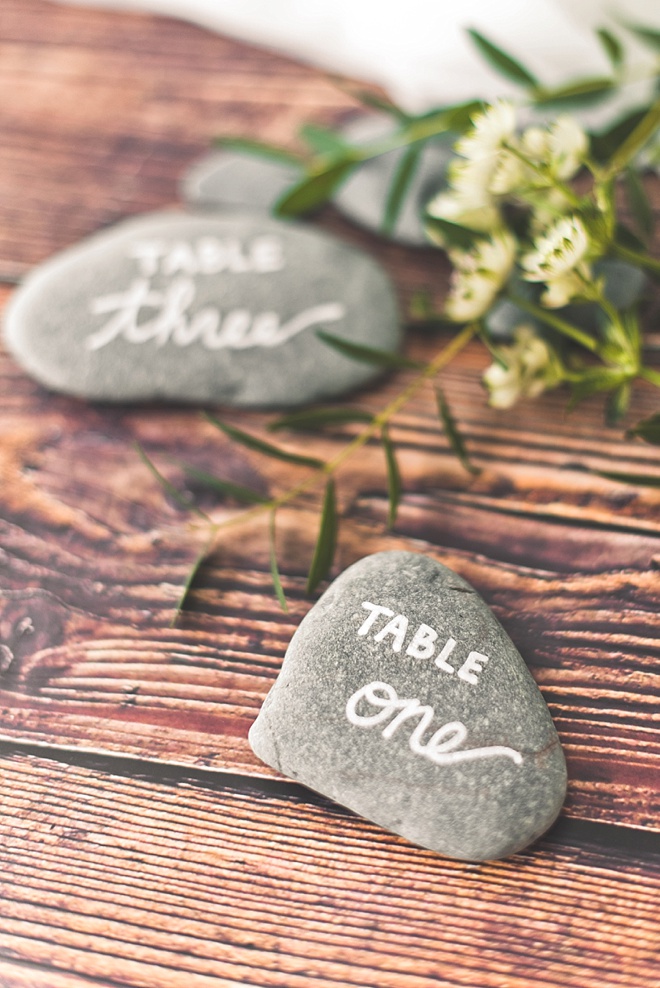
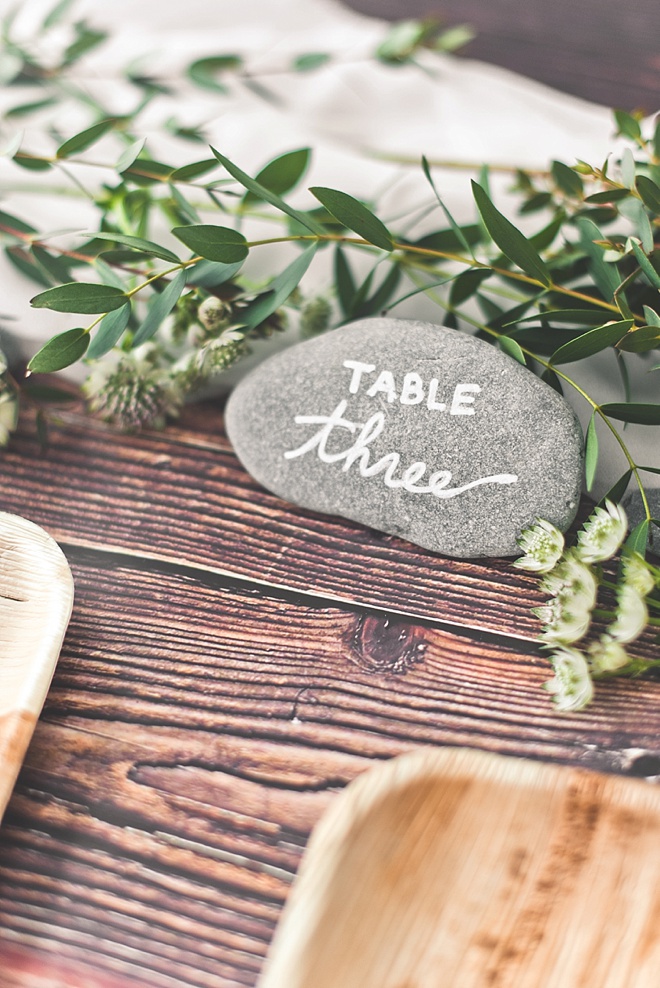
BONUS IDEA: ROCK TABLE NUMBERS
Find some large river rocks? Turn them into table numbers to match your place cards! It’ll also help keep your table runners or linens down on your outdoor tables.
If you create one of our projects, please share a picture with us on Instagram or Twitter using the hashtag #somethingturquoisediy, we regularly reshare our favorites! Your profile will need to be public for us to see it otherwise, you can always DM us!
ABOUT THE MAKER
Considered an enthusiastic creator in the wedding industry since 2009, Chelsea LaVere Barton is a retired wedding photographer, editor-in-chief of Coastal Virginia’s online wedding publication, Tidewater and Tulle, and co-owner of UK-based wedding signage shop, High Oak & Co. Before her photographer days, Chelsea was a classroom art teacher and adheres to the mantra of “making life more beautiful” in all she does. When she’s not DIYing, she loves to go on local British adventures with her husband, write about said UK adventures on It’s a Hard Biscuit Life, and quietly relax at home with their cat Pickles Barrington. You can find her scrapbook of life on Instagram.
DIY TUTORIAL CREDITS
Photography + DIY Tutorial: Chelsea LaVere Barton // Flowers: Apple Mint Florist // Glass Paint Marker: DecoArt
SHOP THE SUPPLIES
Find the supplies you’ll need for this project from our affiliate links below.
River Rocks // Paint Marker // Cloth // Pencil // Eraser





Comments