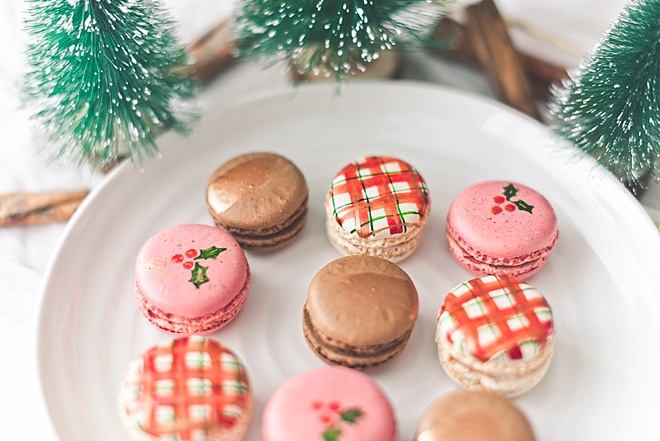
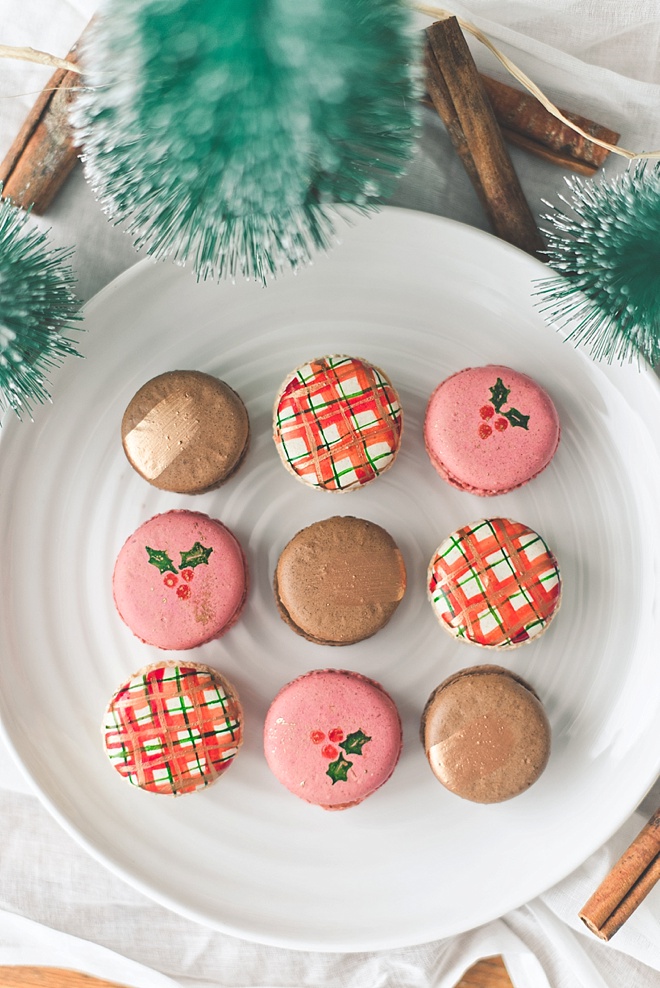
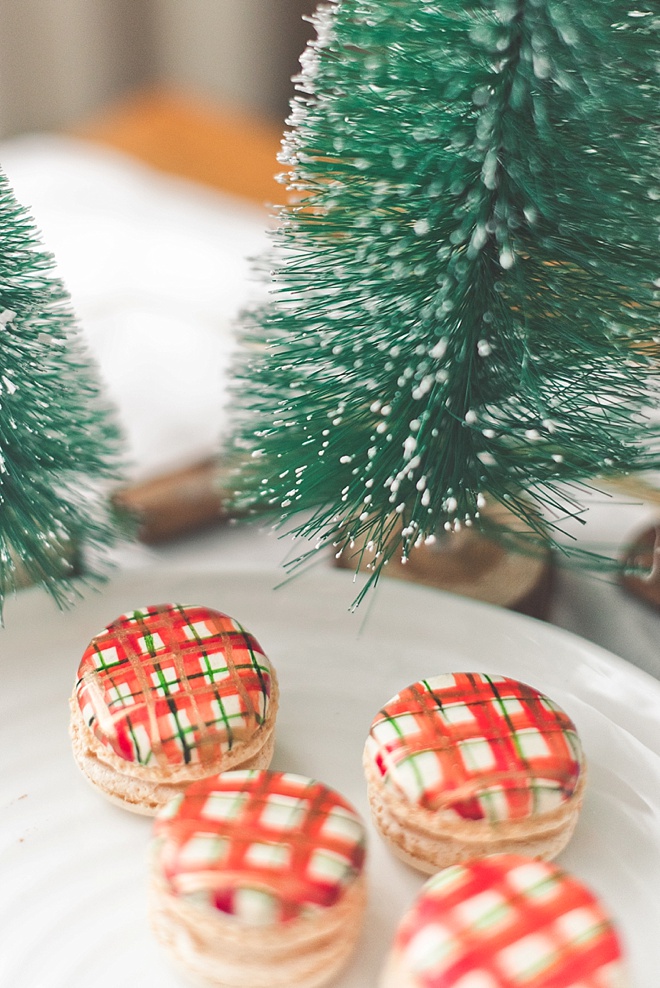
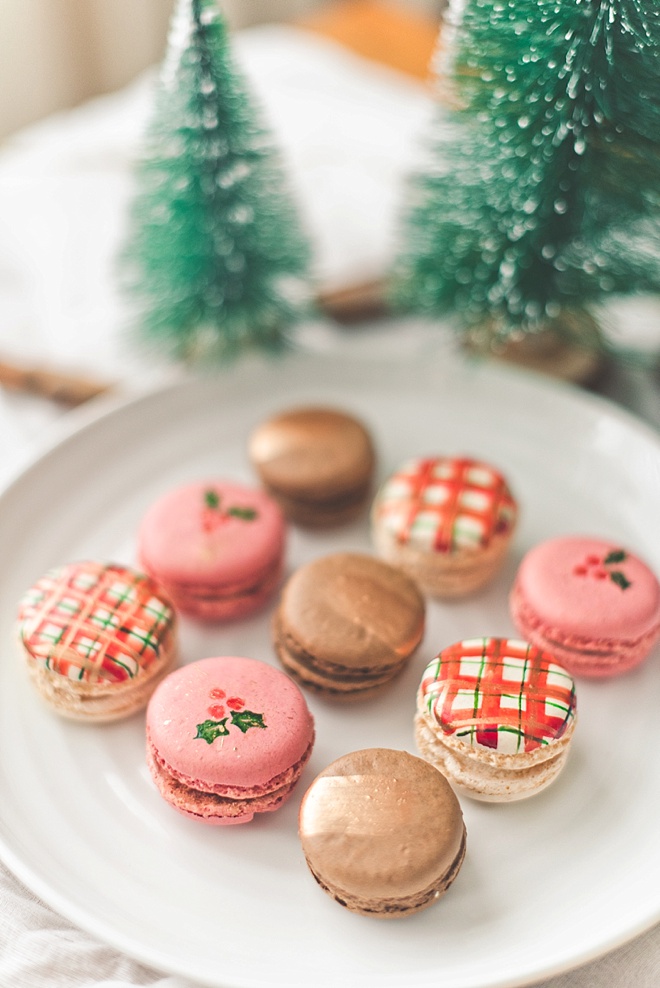
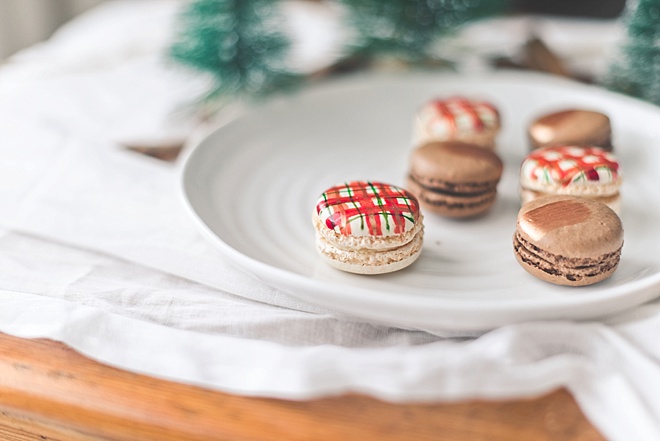
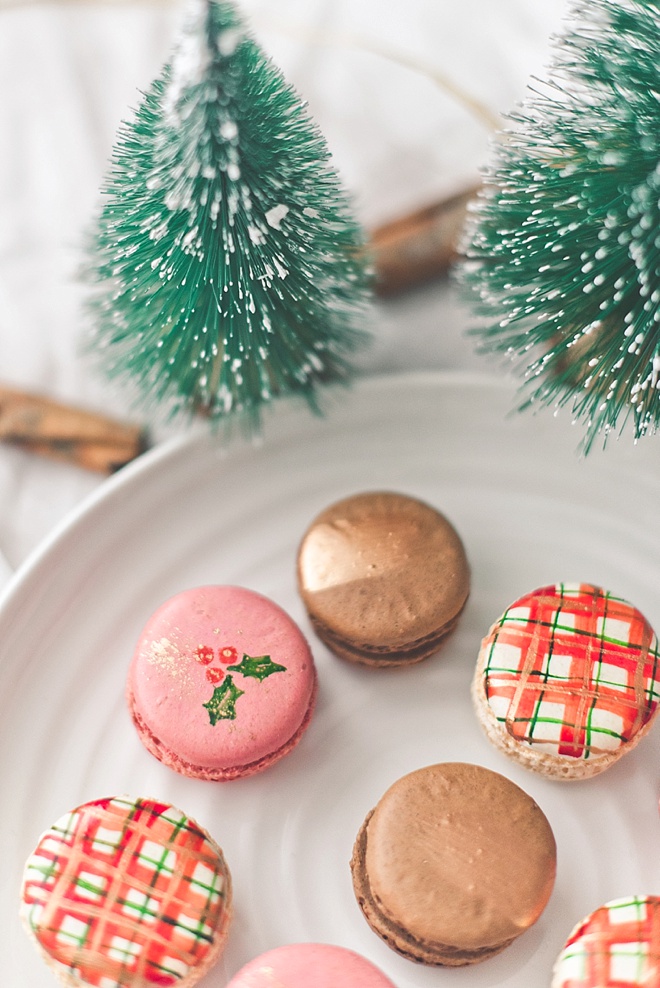
Needing a last minute gluten-free winter wedding favor or gift idea that looks gorgeous and tastes yummy? Look no further because grab some plain pre-made macarons from your favorite local baker or grocery store and gel food color to get started! From holly berries to menorahs to snowflakes to kinaras, there are so many things you can paint onto your macarons this winter holiday season.
This DIY is literally for all skill levels, so even if you aren’t sure about drawing festive symbols, you can even go the paint splatter, initials, or ‘fa la la’ route (with more ideas below). For those lovebirds making these for a wedding, gather your nearest and dearest to help you paint on the dozens of fluffy French cookies that you’ll be giving away on the special day. However you plan on giving these sweet goodies, warning… this project will result in people asking you to always make these once they find out you have created these little works of edible art!
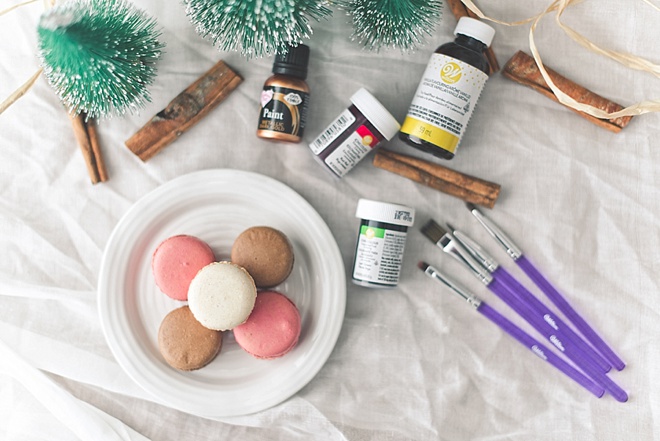
SUPPLIES:
- Homemade or store-bought French macarons
- Clear colorless vanilla extract
- Gel food coloring
- Metallic gold edible food paint
- Parchment or baking paper
- Food safe fine tip paint brushes
- Small dessert plate
- Small pinch bowl
- Pencil and paper
Maker’s Note
Just like watercolor painting, you will want something to help apply your gel food coloring to your cookie canvas! Depending on your local options, you may need to find your clear vanilla online. You won’t want to use regular brown vanilla extract as this will muddy your colors, and water will make your macarons’ shells soft. If you can’t find or don’t want to use clear vanilla, you can also use almond extract or vodka. The common denominator with all of these is alcohol content which evaporates quickly and lets your food coloring dry faster.
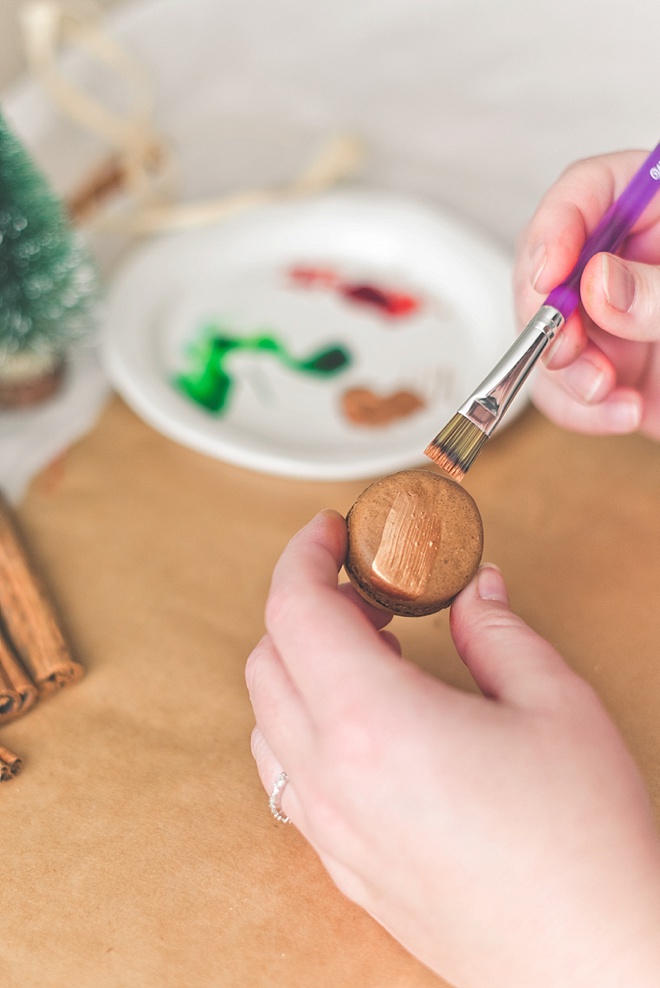
If you choose to use the gold food paint, do not use the vanilla extract to water down as it’s already paint-ready. No dull shimmer here!
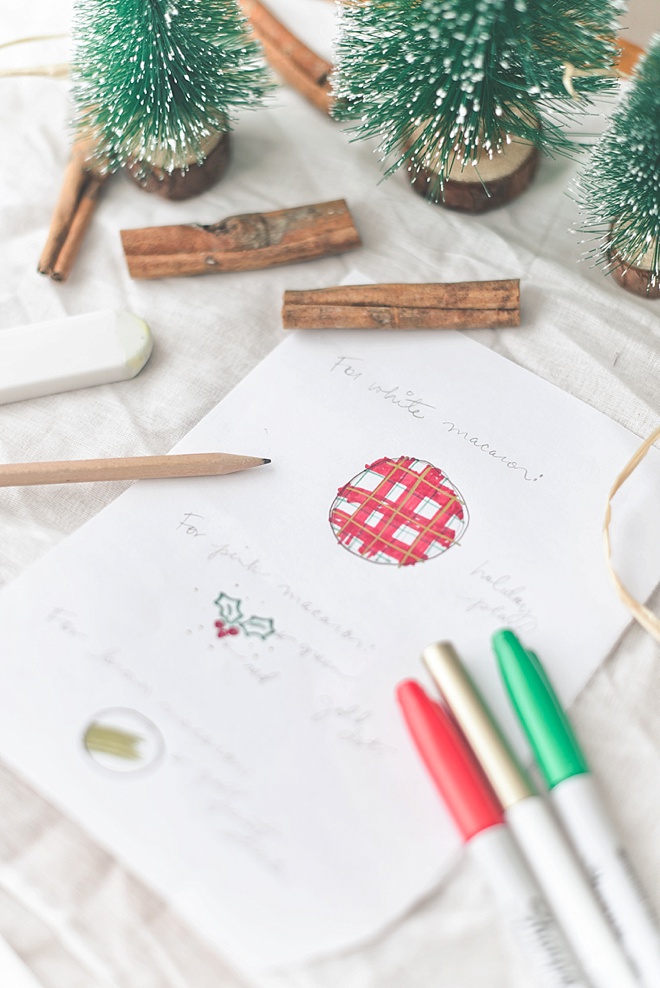
SKETCH YOUR DESIGNS
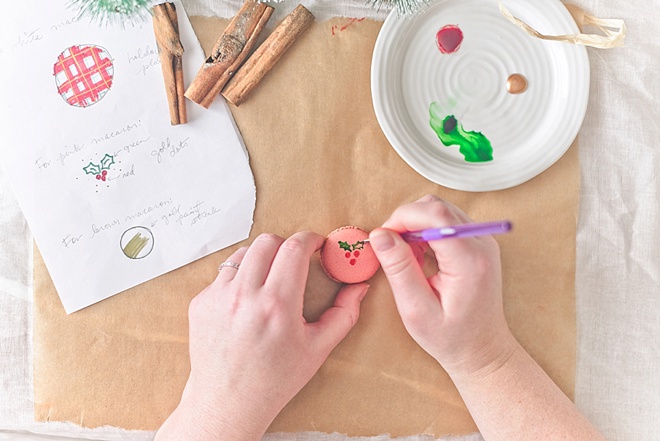
To help you easily with your painted creations, sketch out your design ideas on a scrap piece of paper. If you’re not as experienced with painting, keep it simple and choose designs that you’re confident in. Look online for iconic Christmas, holiday, or winter symbols. At the end of the day, it’s always the thought that counts!
PICTURE & SYMBOL IDEAS: Hanukkah menorah, holly berries and leaves, Christmas tree, snowflake, Santa hat, Kwanzaa kinara, reindeer face, stars, wreath, snowperson, ornament, dreidel, mistletoe, gift bow, Santa belt, gold bells, Star of David, stocking, candy cane, New Year’s fireworks, peppermint candy, British Christmas pudding, pine branch, mittens
NON-PICTURE IDEAS: Monograms, letter initials, paint splatters, Kwanzaa fabric pattern, paint streaks, the words ‘Fa la la’, meaningful calendar date to you, Christmas sweater lines, the word ‘Joy’, New Year numerals (e.g., 2022)
Artist Tip
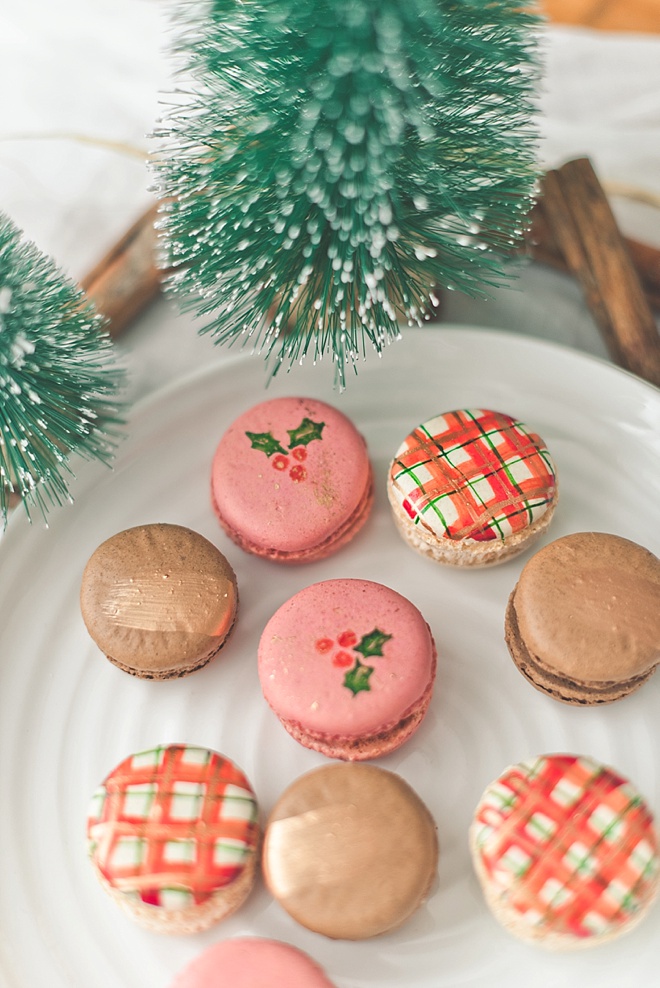
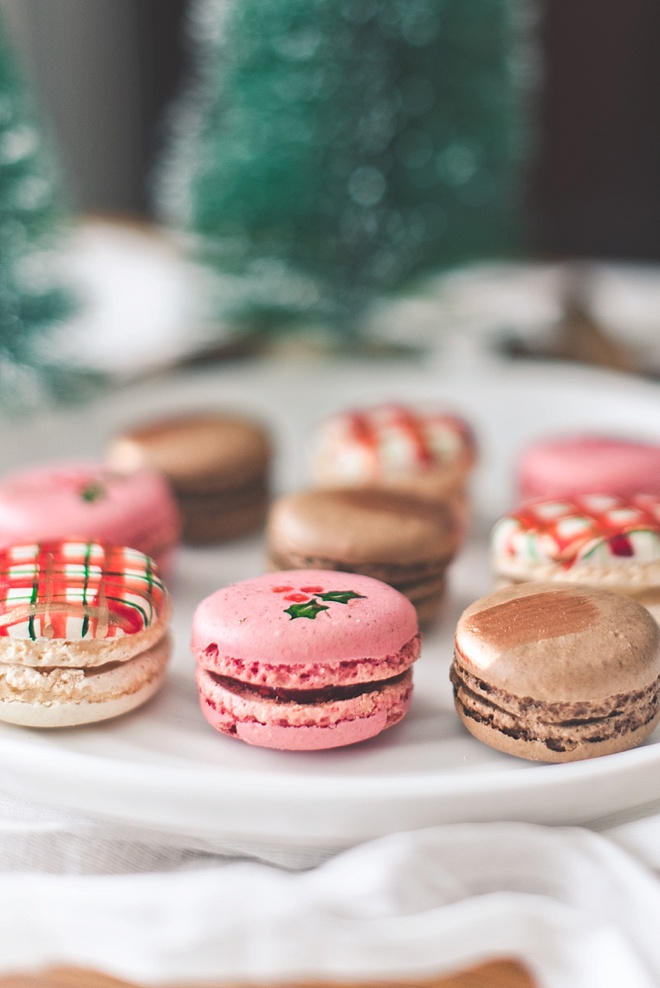
When creating your macaron designs, try to stick to using no more than 3 colors (unless intentionally going rainbow!) and do repeat these colors on each macaron to help your cookies look like they are part of a cohesive collection. Whether gold or silver, a metallic will also help tie all of your designs together and add that festive touch.
PREPARE YOUR SPACE
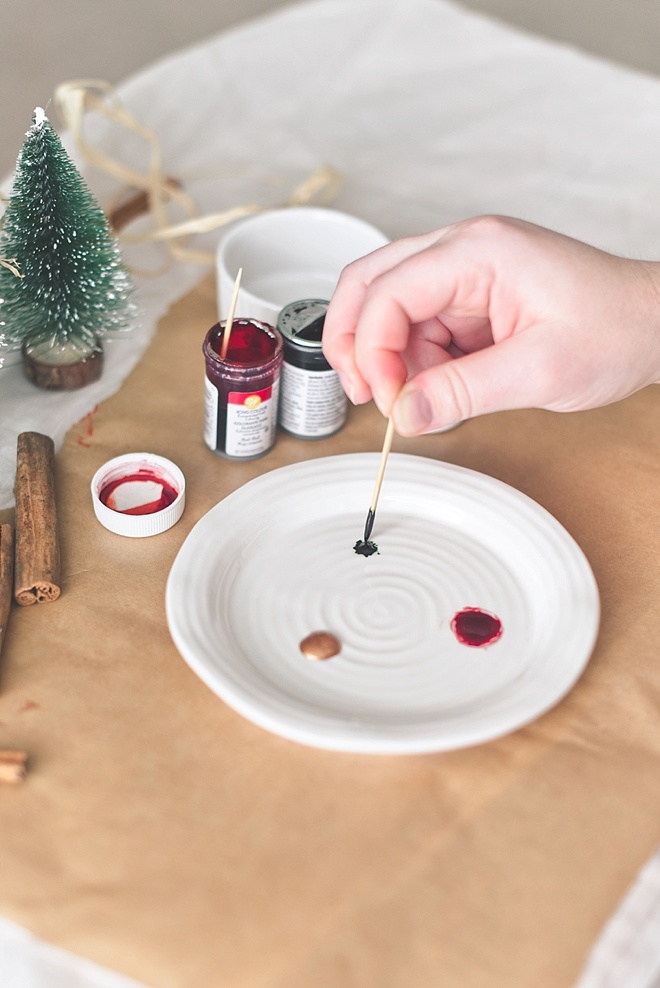
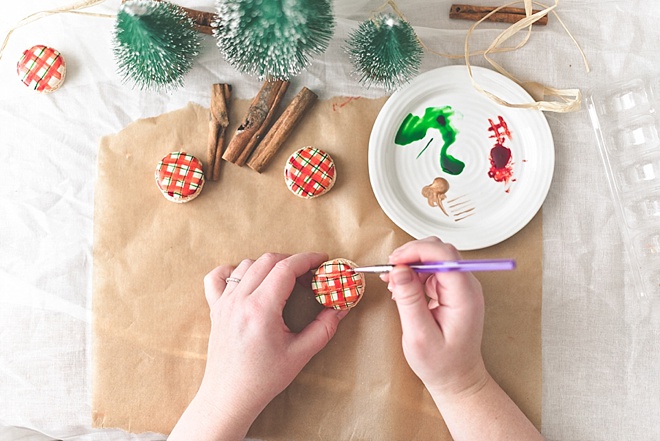
On your dessert plate, put dabs of the gel food colors you want to use. Less is more in this situation, so keep it minimal to start. You can add more as needed. You won’t need a lot for this project! Pour a tiny bit of your clear vanilla into a pinch bowl, and lay out your macarons onto parchment paper.
THIN YOUR GEL COLOR
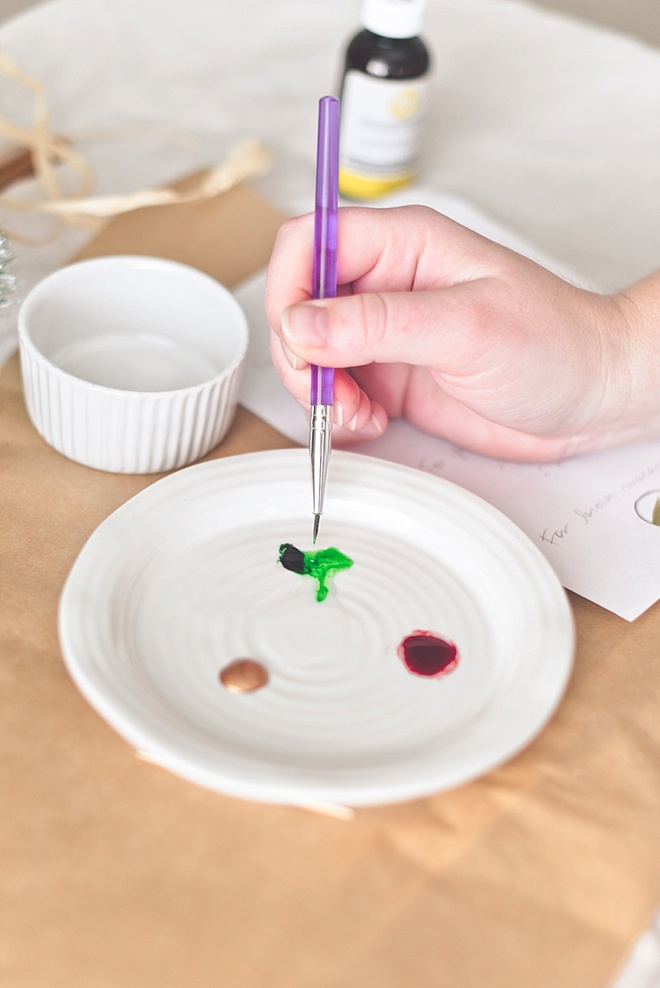
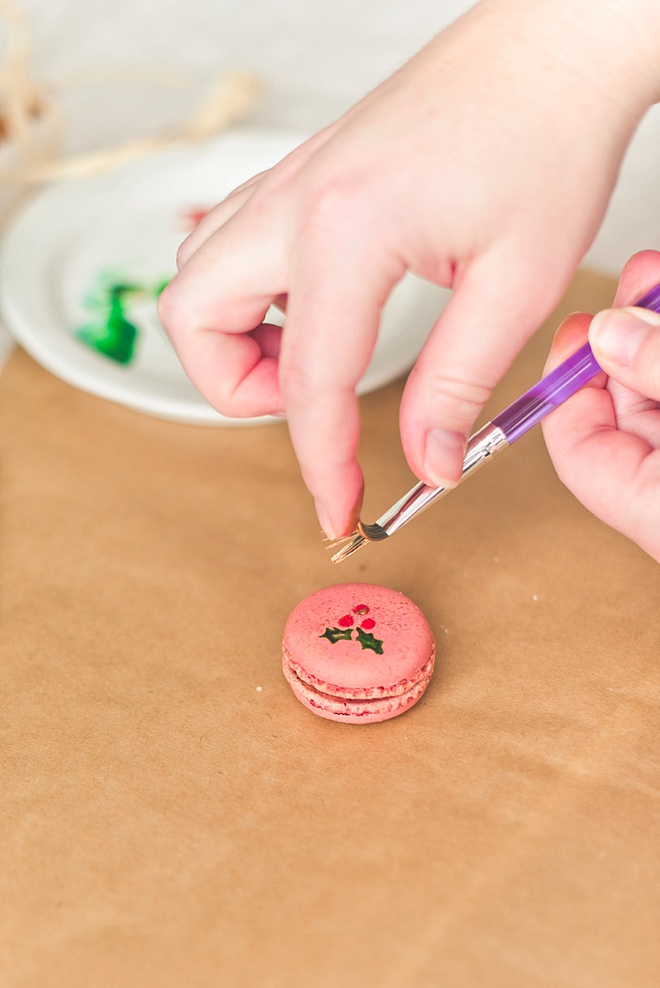
Doing one color at a time throughout your whole project, dip your brush into the clear vanilla and create a watercolor-like consistency with your gel color. You need to help thin it out for the best application. When switching between colors with the same brush, rinse your brush and dry thoroughly before use. Ensure there is no water in your brush as this may make your macarons soggy and colors weak!
PAINT YOUR MACARONS
With your sketches as your guide, paint those macarons! To darken your gel colors, just like watercolor paint, allow each layer to dry before applying another layer on top of the other. It’s an exercise in patience, but it’s worth it.
ALLOW TO DRY
Let your macarons dry before placing in cute gift boxes and then tie a lovely little bow on top!
If you create one of our projects, please share a picture with us on Instagram or Twitter using the hashtag #somethingturquoisediy, we regularly reshare our favorites! Your profile will need to be public for us to see it otherwise, you can always DM us!
ABOUT THE MAKER
Considered an enthusiastic creator in the wedding industry since 2009, Chelsea LaVere Barton is a retired wedding photographer, editor-in-chief of Coastal Virginia’s online wedding publication, Tidewater and Tulle, and co-owner of UK-based wedding signage shop, High Oak & Co. Before her photographer days, Chelsea was a classroom art teacher and adheres to the mantra of “making life more beautiful” in all she does. When she’s not DIYing, she loves to go on local British adventures with her husband, write about said UK adventures on It’s a Hard Biscuit Life, and quietly relax at home with their cat Pickles Barrington. You can find her scrapbook of life on Instagram.
DIY TUTORIAL CREDITS
Photography + DIY Tutorial: Chelsea LaVere Barton
SHOP THE SUPPLIES
Find the supplies you’ll need for this project from our affiliate links below.







Comments