This is a sponsored post written by me on behalf of Canon. All opinions are 100% mine.
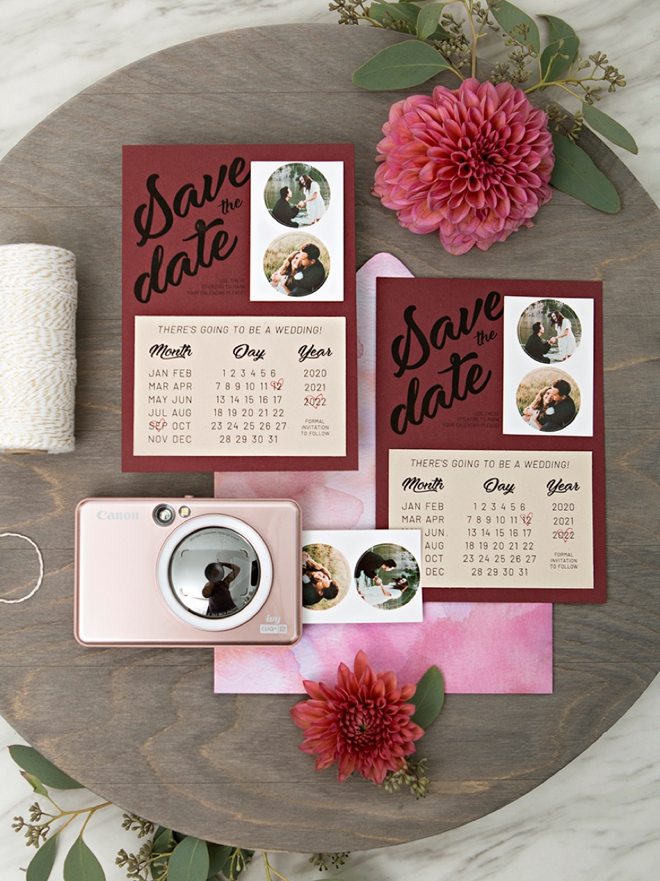
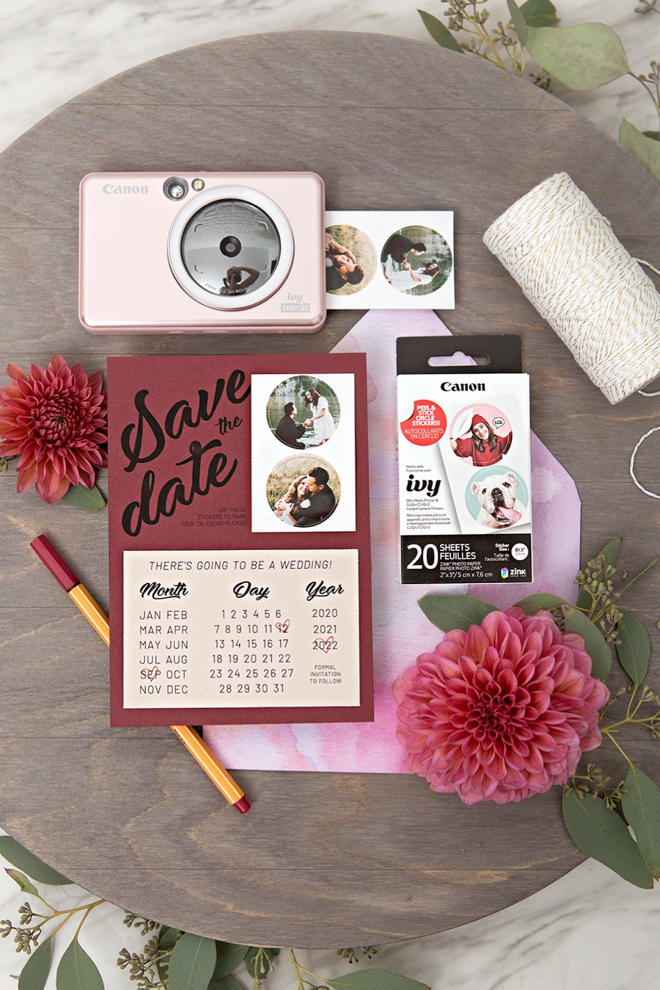
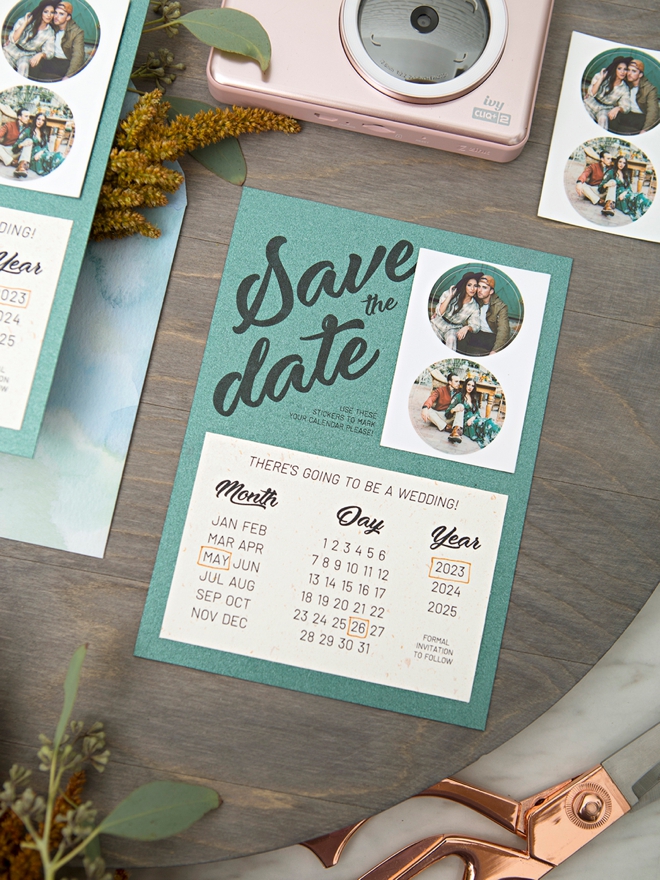
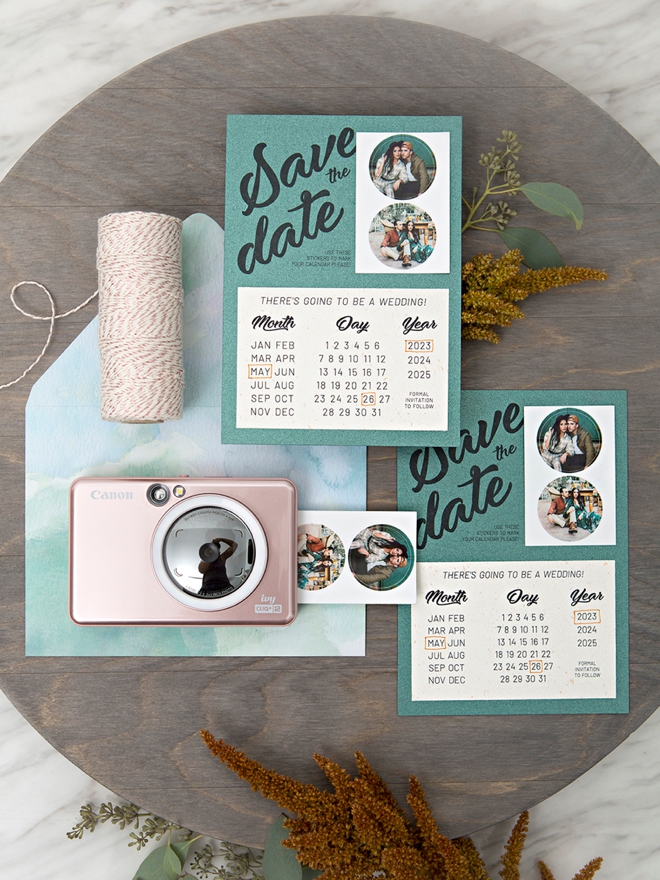
Calendar-style Save the Date invitations with stickers are my jam! It’s such a fun, interactive way to let your favorite people know that they must save that date for your special event. Just a few weeks ago Canon released new ZINK pre-cut circle stickers to print using your original Canon IVY CLIQ or the new Canon IVY CLIQ+2 instant camera printer. As soon as I heard about them, I started planning these invitation designs, so today I’ve partnered with Canon to bring you the printables for free! Choose one or two of your favorite engagement photos, easily print them on your Canon IVY, then print our designs and put them all together. Quick, easy, and adorable custom save the dates that you’re guests will go crazy for!
Personalize By Color
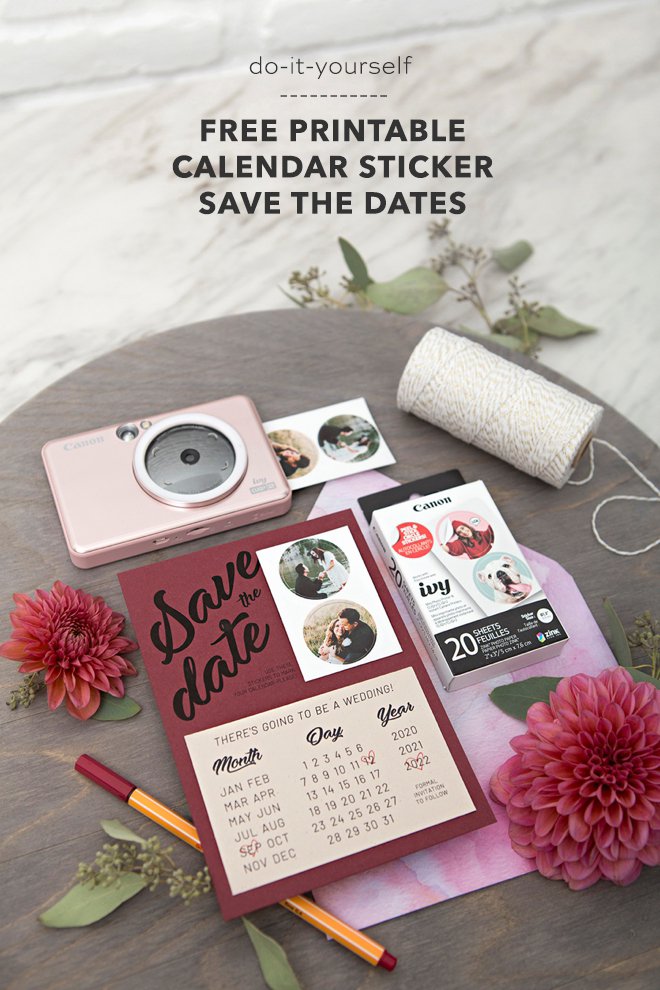
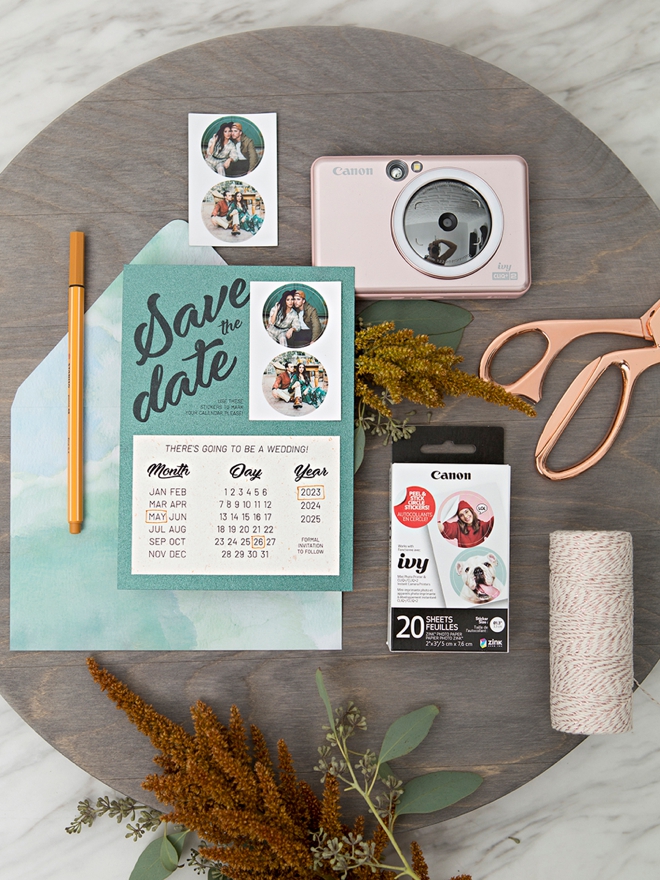
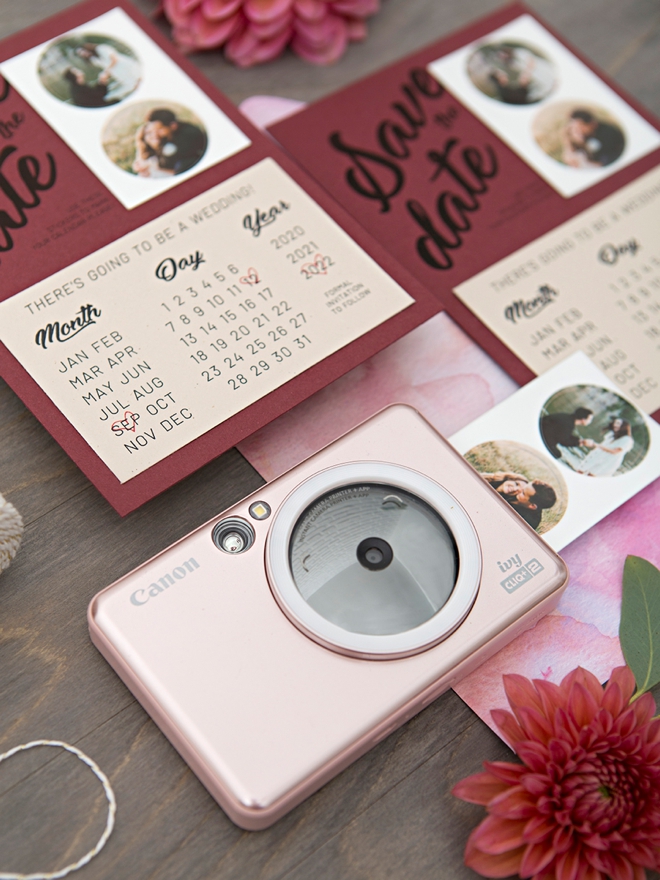
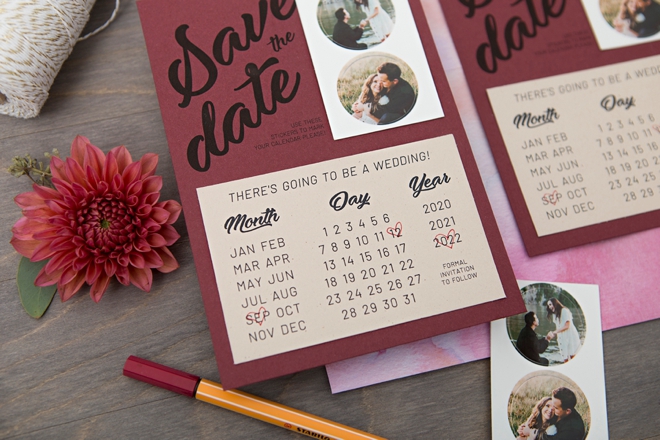
Our all black printable designs can easily look custom and unique – just by the color of paper you use! Match the paper to your wedding, to the current season, to the season your wedding will be in, or even your engagement photos! Two different cardstock colors and a unique envelope make all the difference.
SUPPLIES:
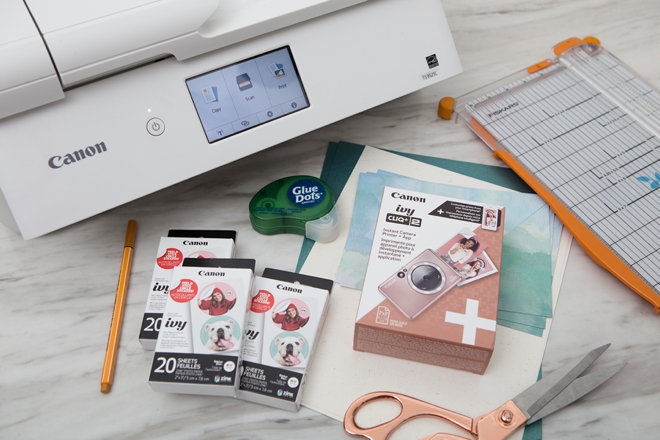
- Canon PIXMA TS9521C Crafting Printer
- NEW Canon ZINK Pre-Cut Circle Stickers
- Canon IVY CLIQ+2, mine is Rose Gold
- Glue Dots
- Paper Trimmer or Scissors
- Cute 8.5″ x 11″ Cardstock
- A7 Sized Envelopes
- Your favorite photo(s)
- Our FREE printable Save the Date designs at the end of the post!
Download + Print
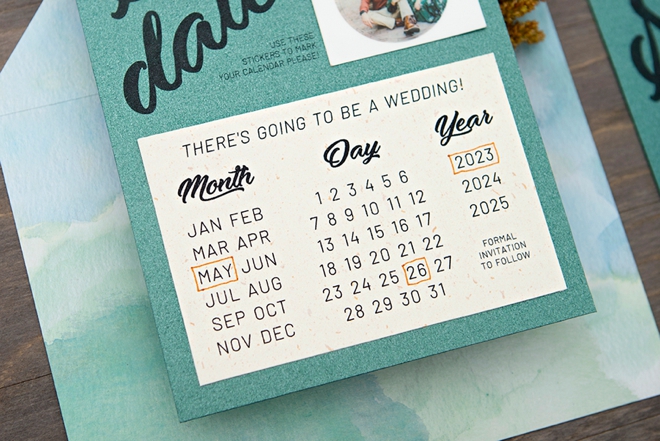
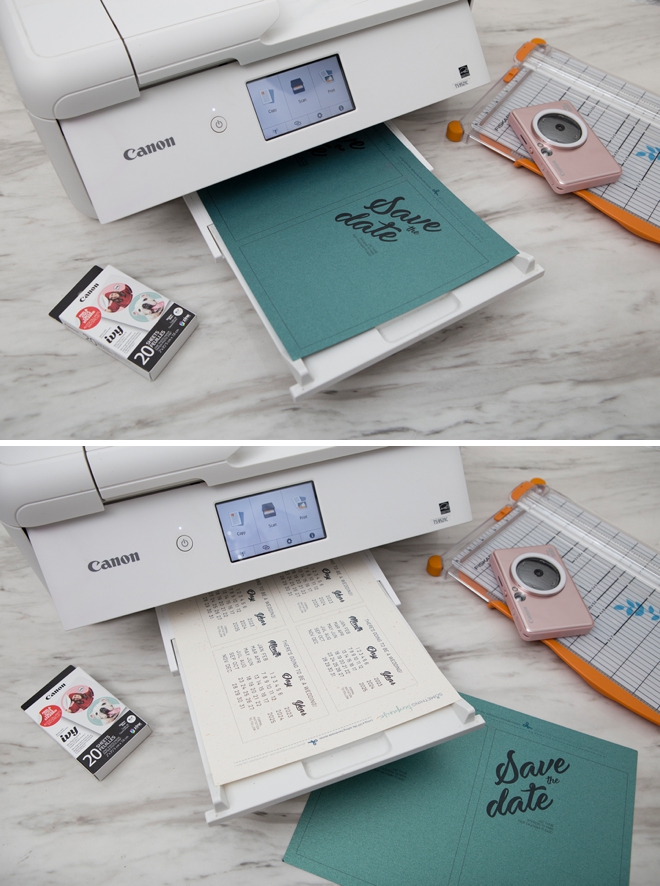
Download: Visit the end of the blog post to grab our exclusive, free printable save the date designs. There is a “Base Card” file that everyone will need, and the second piece, the “Calendar Card” has 3 years on it, download the right one for your event. Once you click on the graphic your download will start instantly, doing it from a laptop or desktop computer is best. There are two base cards on one 8.5″x11″ sheet and 4 calendar cards on one 8.5″x11″ sheet.
Print: Use your favorite Canon printer to get the job done. Here I’m using my Canon PIXMA TS9521C Crafting Printer, it’s my everyday printer and my serious crafting printer, all wrapped up in one. Print both designs on your choice of 8.5″x11″ cardstock.
Print Your ZINK Stickers
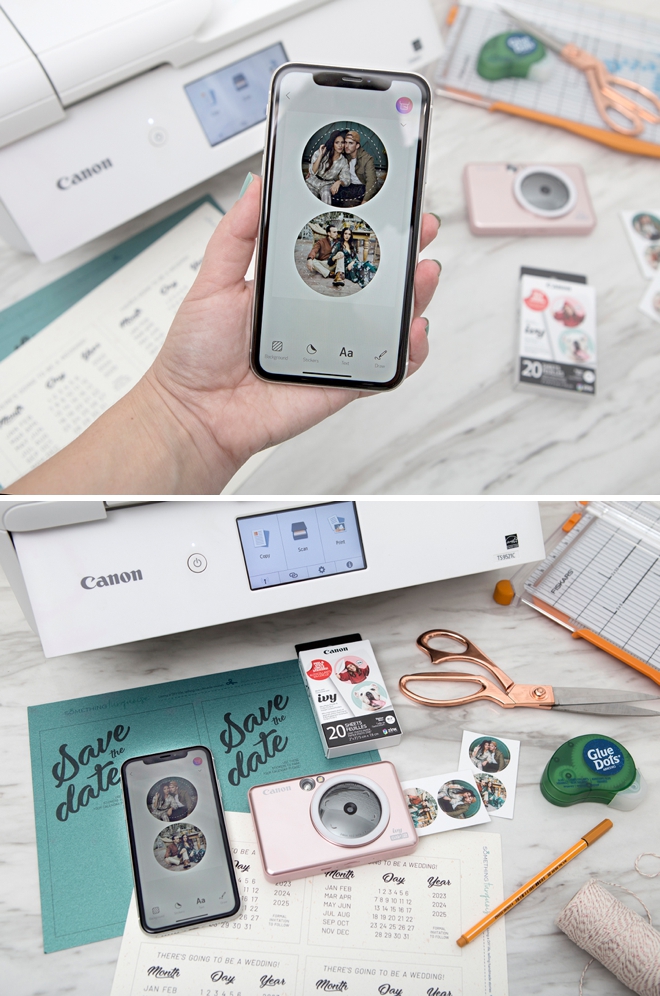
Ahhh! I am in love with these new ZINK pre-cut circle stickers! There are so many fun ways to use these and I’ll be bringing you a few more soon. Simply click through the free Canon Mini Print App to select the photos for each sticker. You can edit your stickers right in the app by adding a background color, adding a cute sticker graphic, adding your own text, or even drawing on top of the photos. If you’re on the go and don’t have your IVY with you, you can also design your sticker file and save it to your phone to print later!
ps. If you can’t see the option to create the circle stickers in your Mini Print App, then you’ll need to do a quick update!
Trim
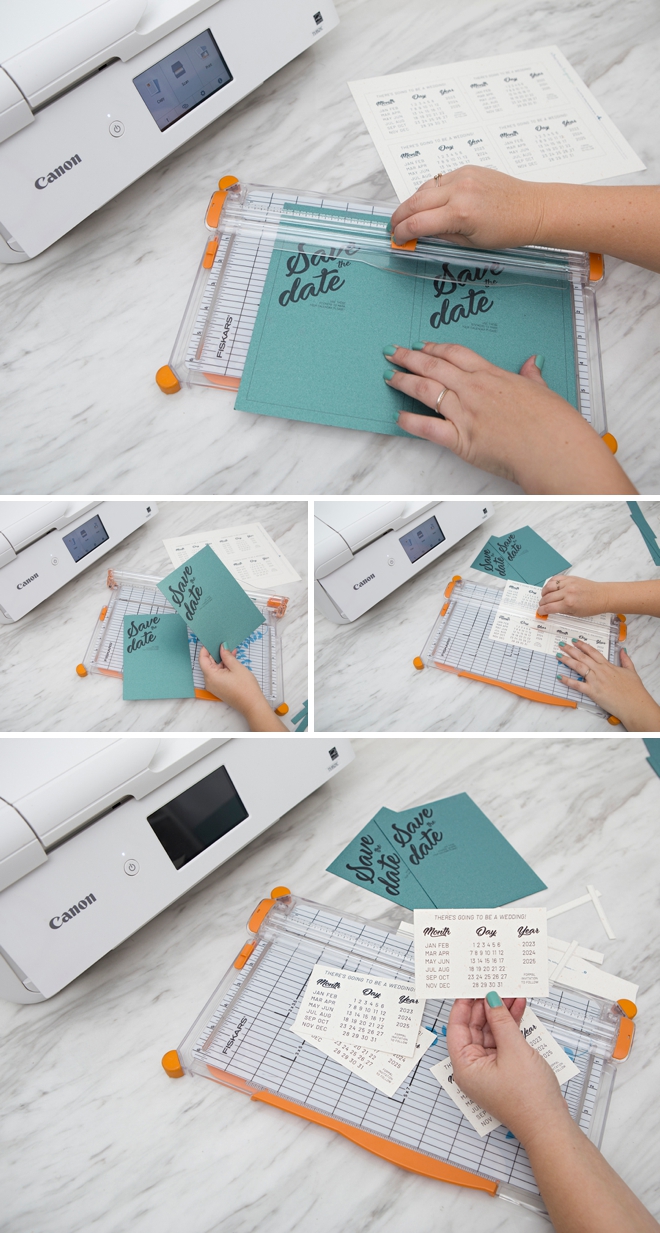
Using a paper trimmer or scissors, trim each card down to size. The base card is 5×7 which is also called A7 and that’s what size envelopes you’ll need. Just follow the lines provided.
Mark Your Date
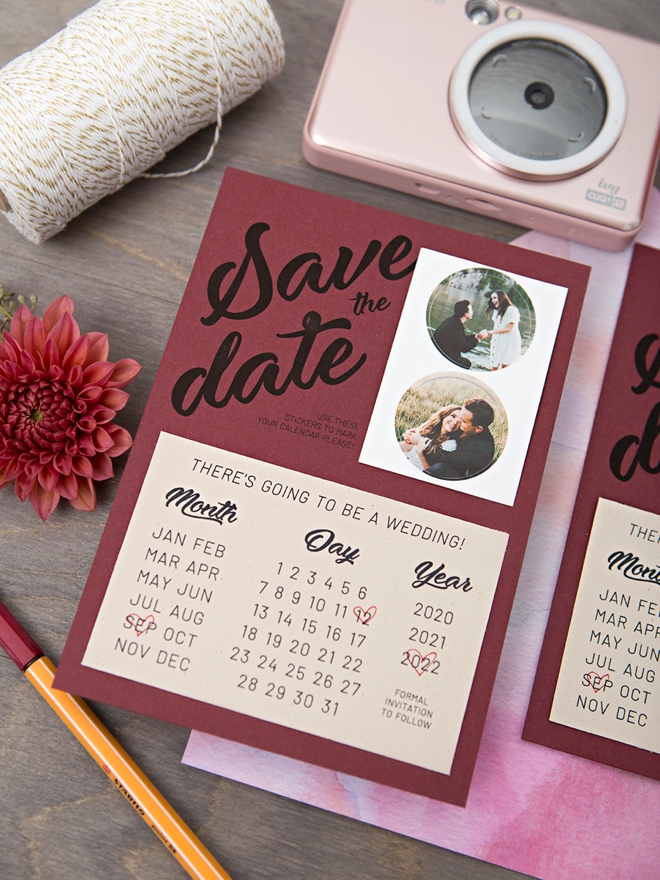
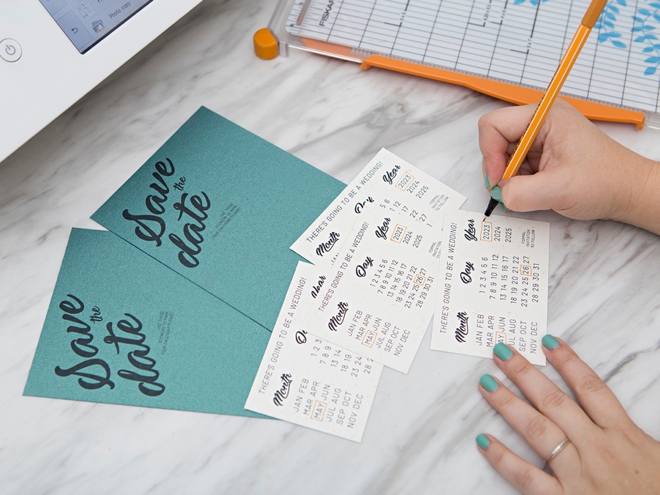
Circle, heart, square, underline… mark your month, day, and year how ever you’d like!
Adhere
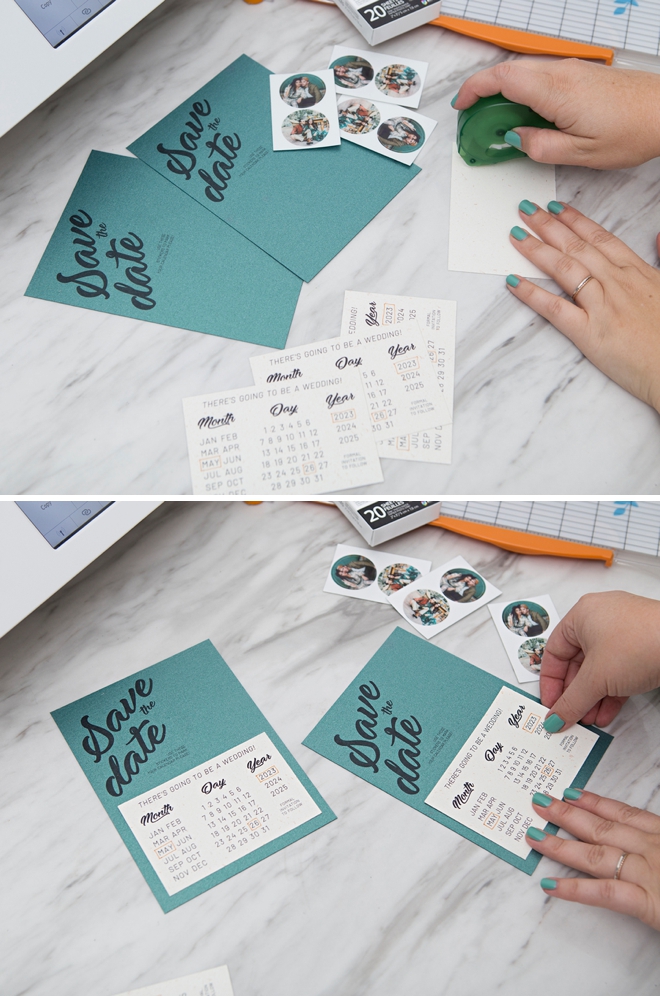
Using Glue Dots, or your favorite scrapbooking adhesive, adhere the calendar card and the sticker sheet to the base card.
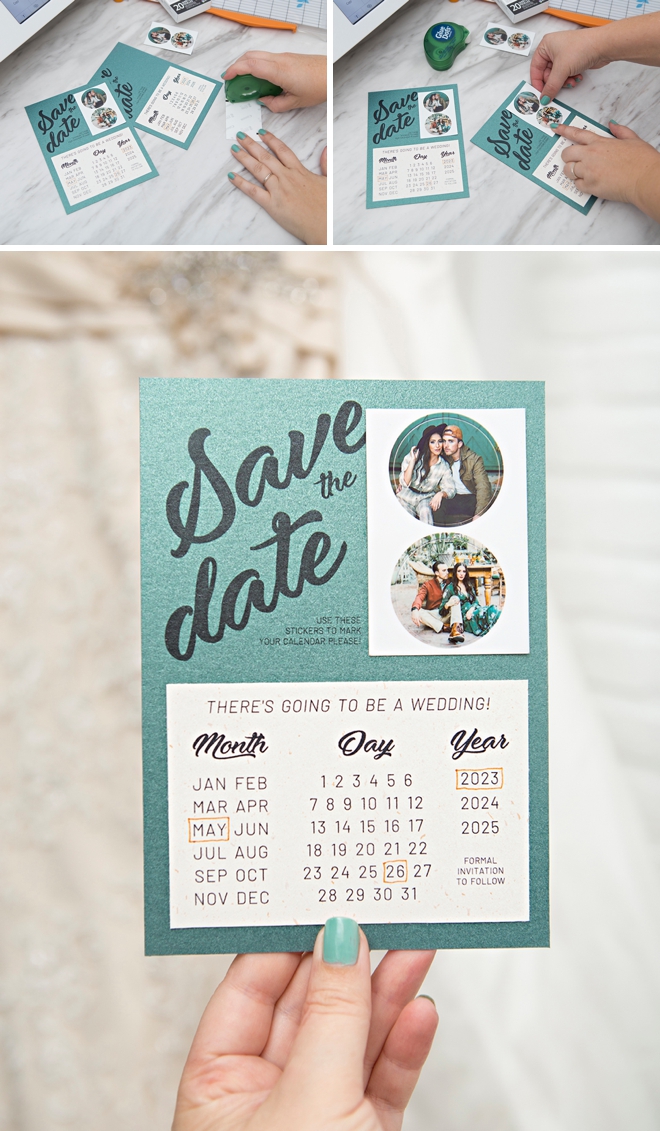
…with a few quick steps we’re already done!
More Info?
Gahhh… aren’t these just the cutest!?! I know… I’ve heard it before.. but Jen, there’s more that I need to tell my guests like the location, our wedding website, etc… so my best advise is to print that info on the backside of the base card!
Fonts used: Moonlights on the Beach and Barlow Light.
Mark Your Calendar
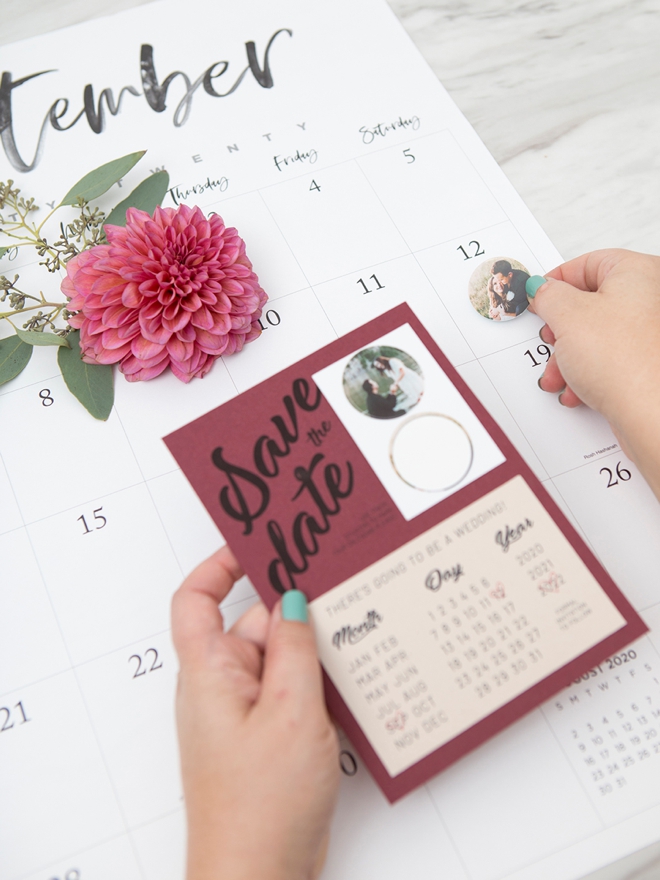
This is the BEST part! It’s so awesome to be able to provide a darling little circle sticker that your guests can put on their home calendar or planner! Your guests who are planner-people will be extra excited about these for sure…
Special thanks to Tanner and Gabrielle for letting me use both of your engagement photos, I just love them and I love you!
DIY TUTORIAL SPONSORED BY:

Canon U.S.A., Inc. prides itself on allowing consumers to create and preserve beautiful imagery, from capture to print. With wireless technology and seamless printing capabilities, you can print your photos and printables with precision and ease.
If you create one of our projects, please share a picture with us on Instagram or Twitter using the hashtag #somethingturquoisediy, we regularly reshare our favorites! Your profile will need to be public for us to see it otherwise, you can always DM us!
DIY Tutorial Credits
Photography + DIY Tutorial: Jen Causey of Something Turquoise // Canon PIXMA TS9521C Wireless Inkjet All-in-One Printer, Canon IVY CLIQ+2 in Rose Gold, and the new Canon ZINK Pre-Cut Circle Stickers: courtesy of Canon // 8.5″ x 11″ Cardstock: Personal Stash // Glue Dots: Amazon // Paper Trimmer: Fiskars
Shop The Supplies:
Find the supplies you’ll need for this project from our affiliate links below:







Comments