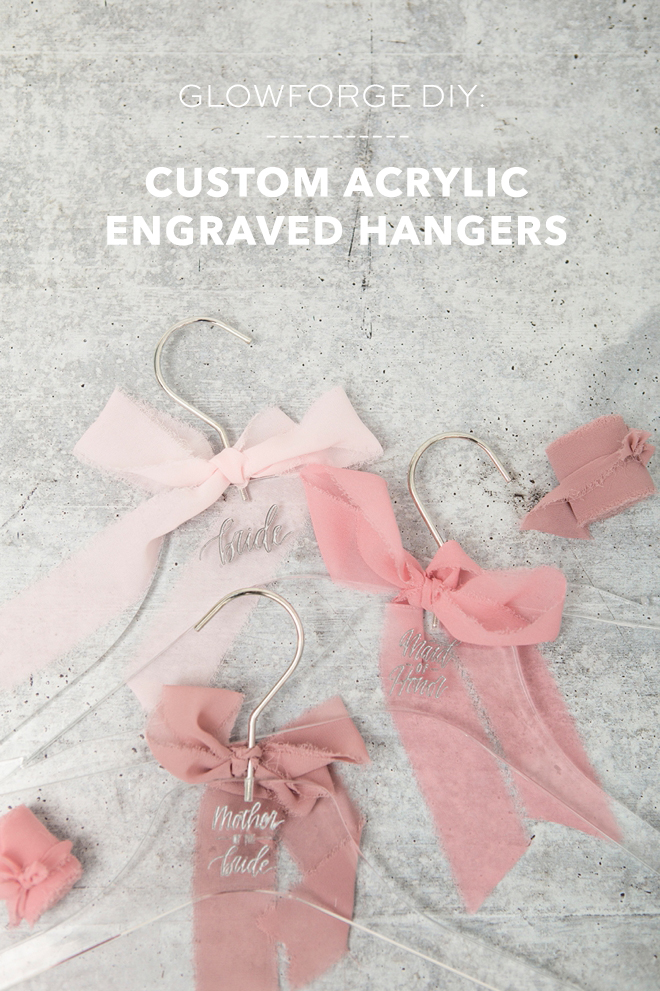
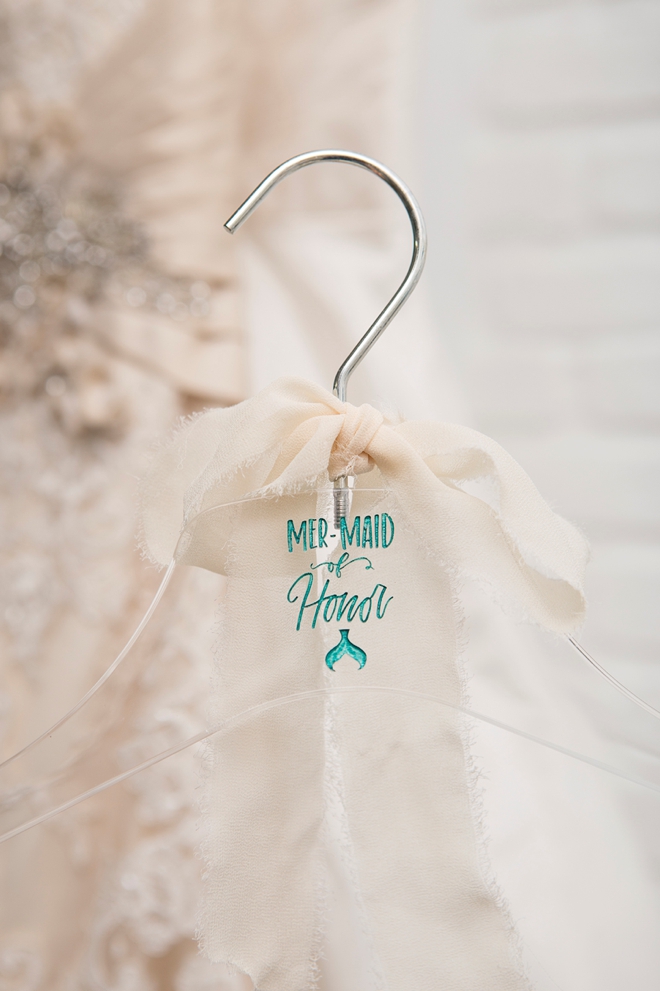
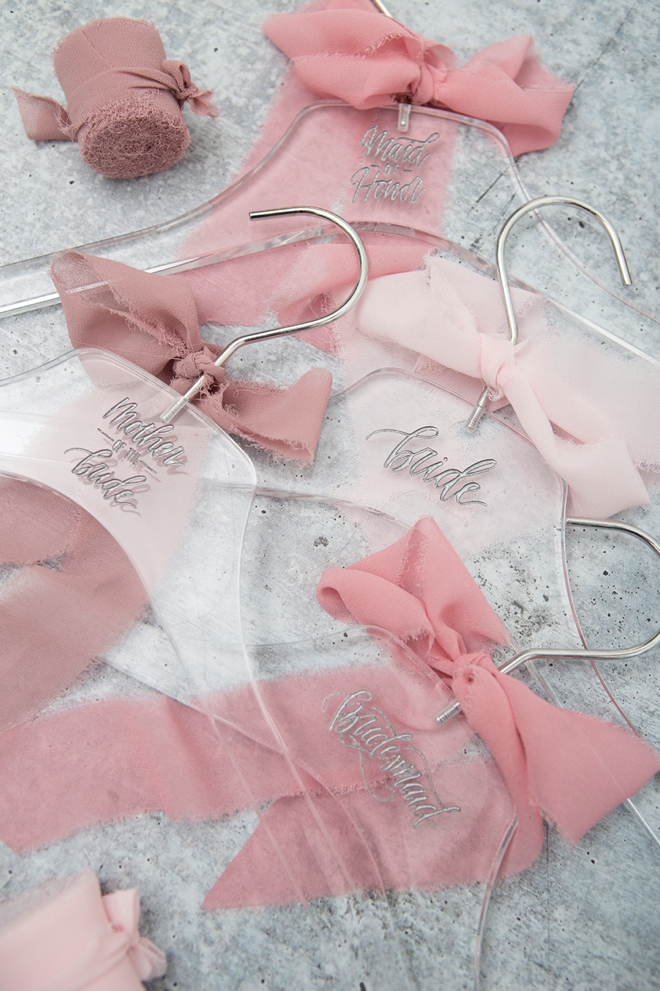
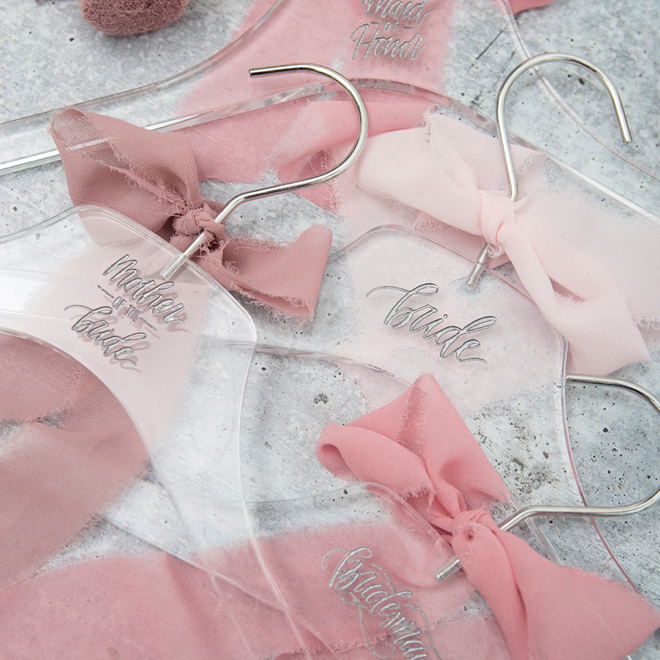
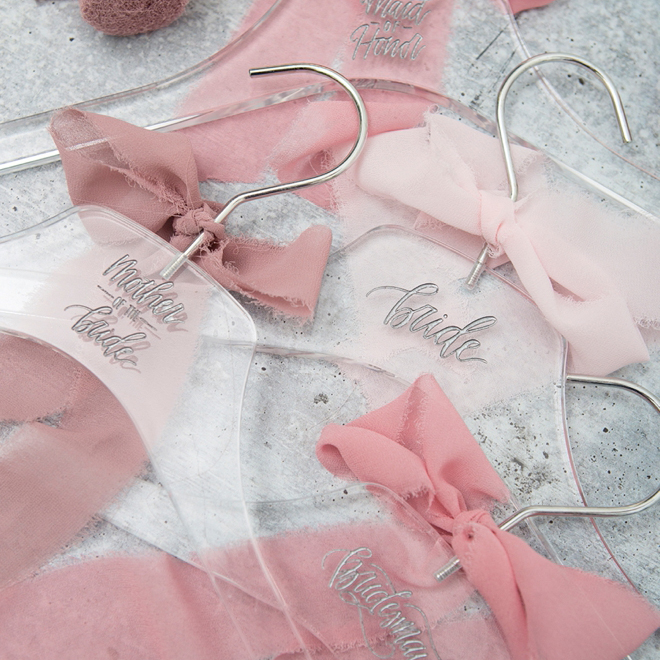
Today we’re using some of our exclusive, hand-lettered wedding design files to engrave gorgeous acrylic hangers using our Glowforge! Custom wedding hangers are a wonderfully special detail for your wedding day and look terrific in photos. From simply writing on wood hangers, to making printable labels (one of my favs!), to covering them with sequins, our latest idea is to fill the engraving with paint, Sharpie, or Rub n’ Buff ~ you’re choice and we’re showing you all three ways below!
You can use this referral link to save up to $500 on your Glowforge purchase!
Three Techniques
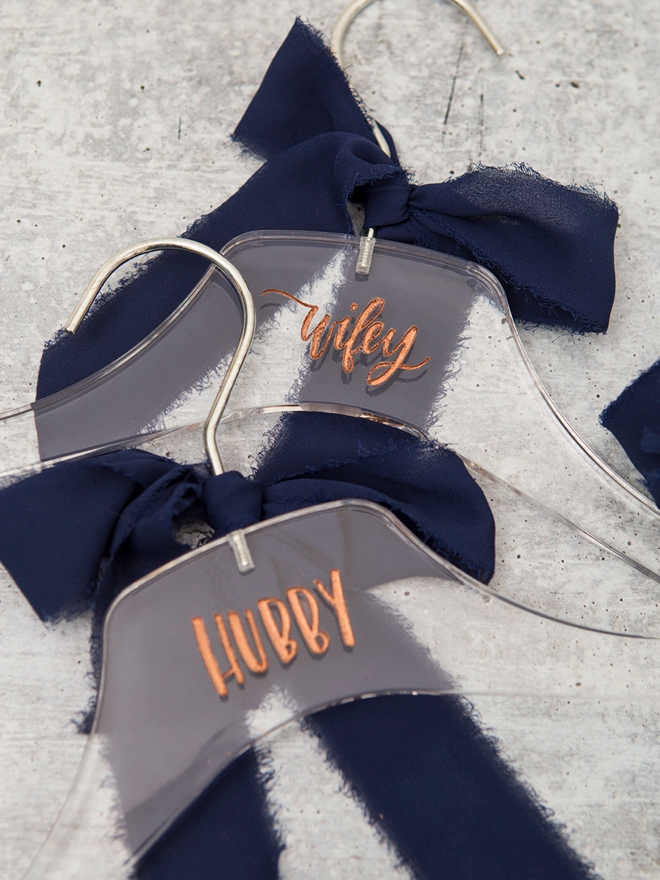
I’m sharing three ways to fill or color your acrylic engraving. Because these hangers are clear the engraving turns clear as well, and needs a color, even if that color is white. So I decided to try it a few different ways; with paint pens, with craft paint, and with Rub n’ Buff metallic finish.
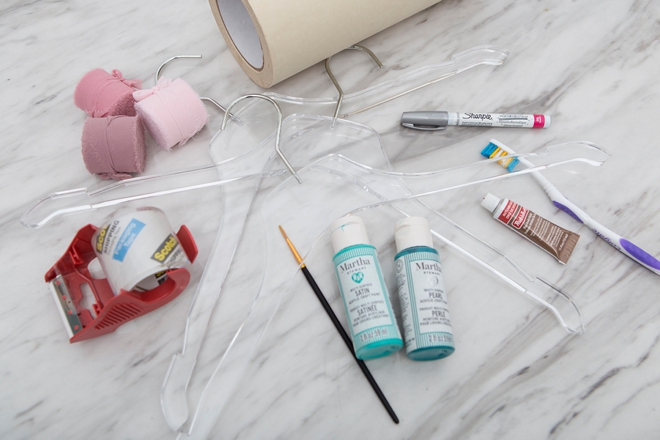
SUPPLIES:
- Glowforge or other laser printer
- Acrylic Hangers, ours are from Amazon
- *Paint, or
- *Sharpie Paint Pen, or
- *Rub n’Buff
- Masking Tape
- 1.5″ Ribbon
- Our exclusive, hand-lettered .SVG engraving files for weddings!
Download + Upload
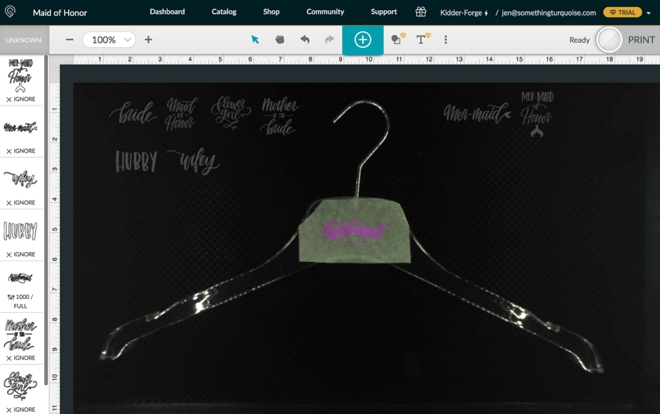
Visit our digital craft shop to find your favorite hand-lettering saying in .SVG form and then upload it into your laser software. I uploaded all the designs I was using and placed them on the left side, ignored. Then as I engraved them one by one, I turned the design on, and then moved it to the right when I was finished, and again ignored the file. I did this to keep all the designs I wanted to use in the project canvas.
Glowforge Settings
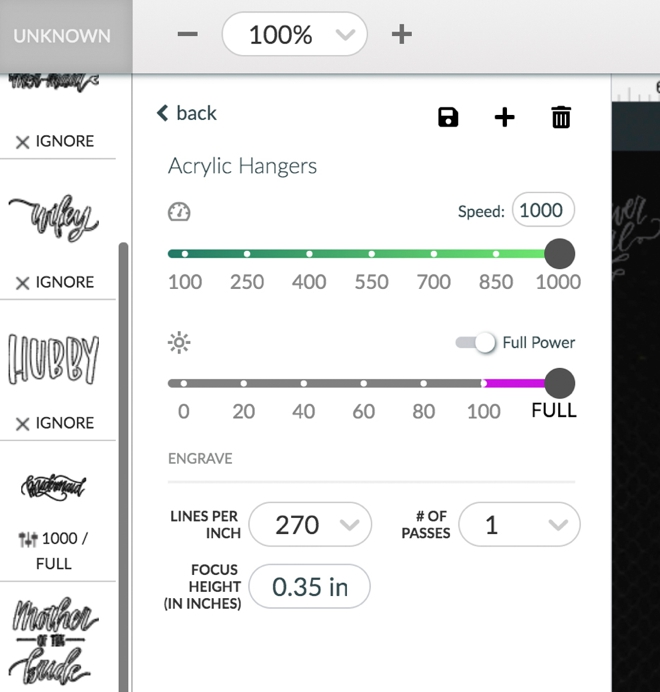
Using my digital calipers I measured these hangers at .35″. Make sure you have proper ventilation when cutting acrylic, especially these hangers, it’s SUPER smelly!
Settings: 1000/Full Power/270 lines per inch
Mask Your Hangers
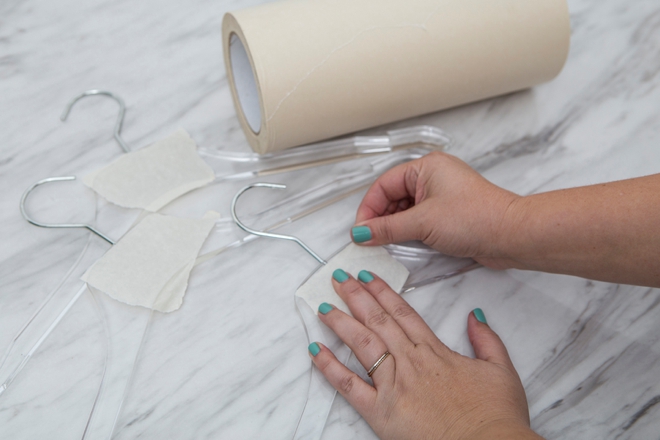
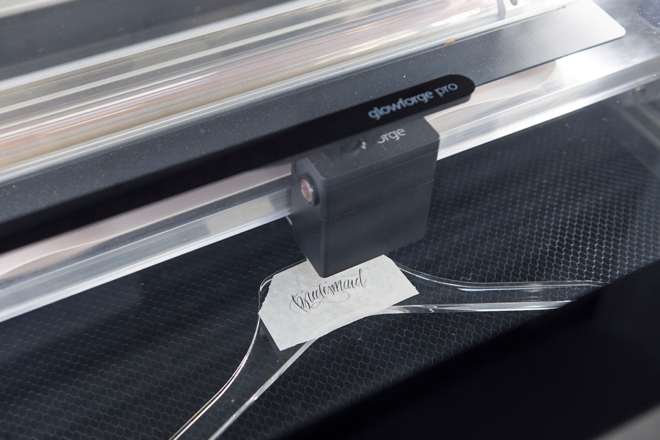
It’s essential to “mask” these hangers. I tried it with and without. While they don’t “burn”, the heat from the laser causes a fog around the design that isn’t appealing at all. Use masking tape to cover the entire top area of the hanger.
Let Your Glowforge Work It’s Magic
Paint Pens
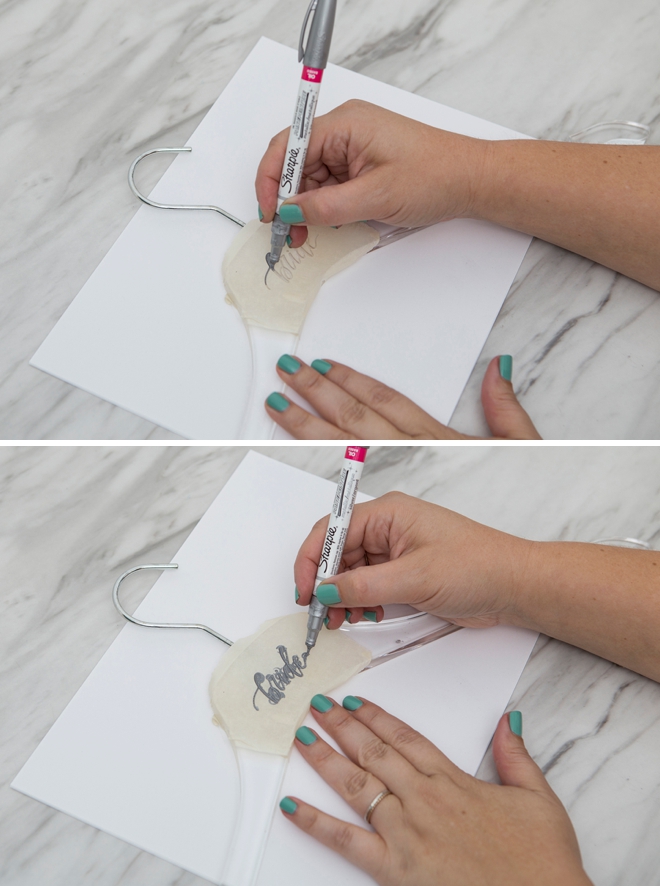
“FILL” the entire engraving with paint using the paint pen. Add more paint then you think you need without it spilling over. Sharpie oil based paint pens are my favorite, but you can use any paint pens. Let dry fully.
Weed + Ribbon
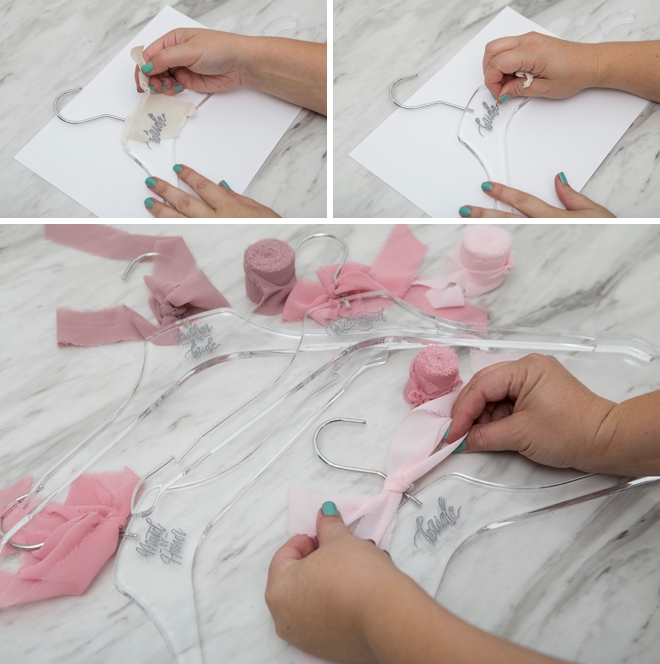
Next up, carefully peel off the masking tape to reveal your design and clean it up if needed. The most annoying part was that some of my masking tape left sticky goo behind which I carefully rubbed and scraped off with my fingernail. Add a pretty bow and your hangers are ready for display!
Craft Paint
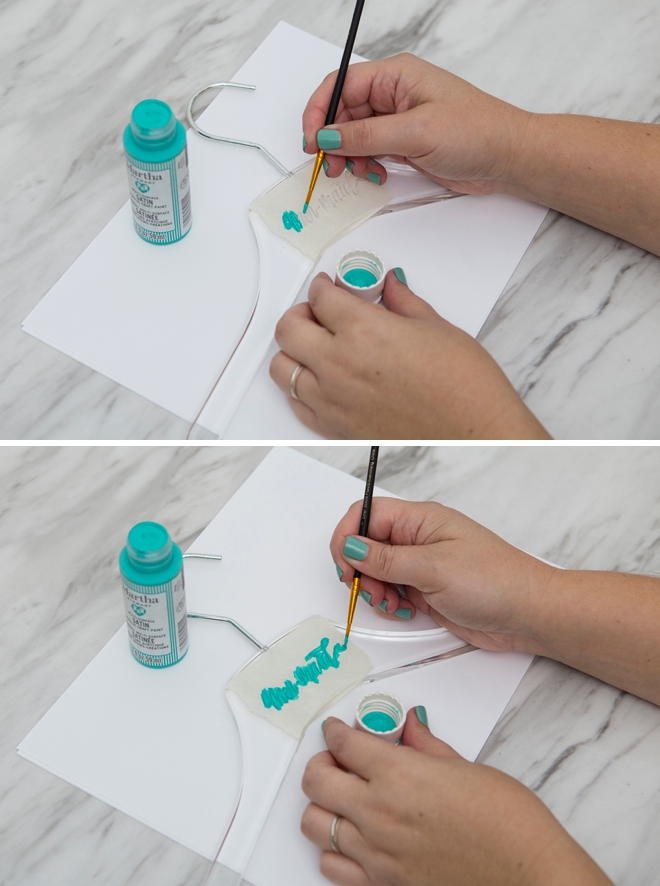
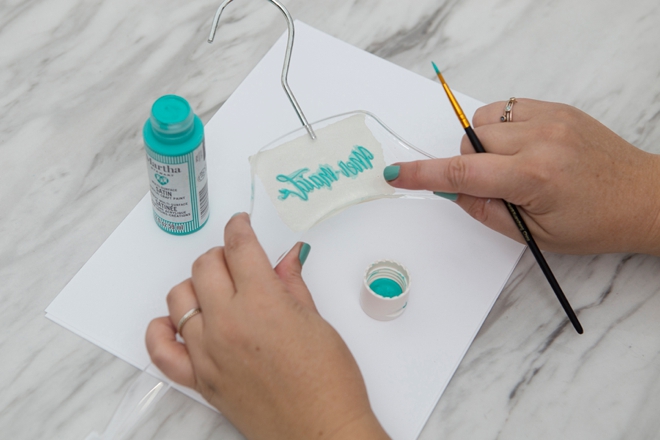
This turned out to be my favorite technique. Using craft paint and a tiny paint brush to fill the engrave area was easy, inexpensive as I have tons of paint on hand and there are almost endless amounts of color available. The “pearl” finish of paint was awesome! Let it dry fully.
Look From The Back
With all three techniques you can flip the hanger over and look at the engraving from the back to ensure that you’ve filled all the engraving areas with paint or rub.
Weed + Ribbon
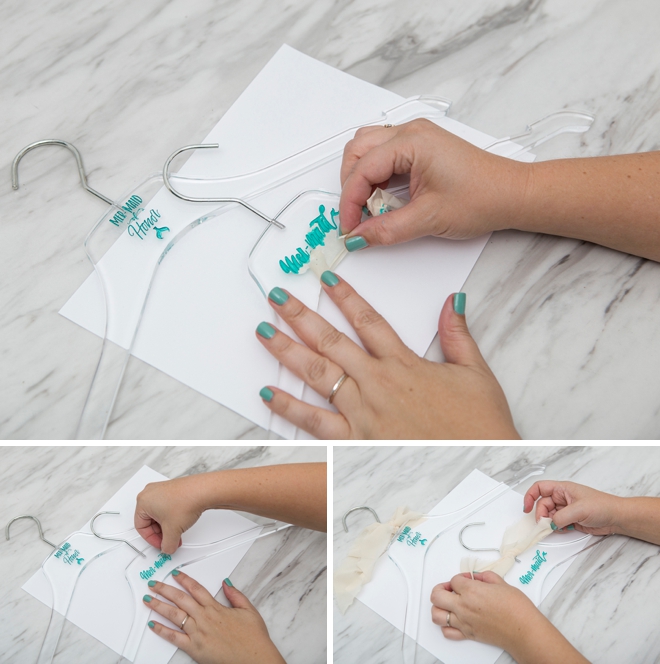
Next up, carefully peel off the masking tape to reveal your design and clean it up if needed. Add a pretty bow and your hangers are ready for display!
Rub n’ Buff
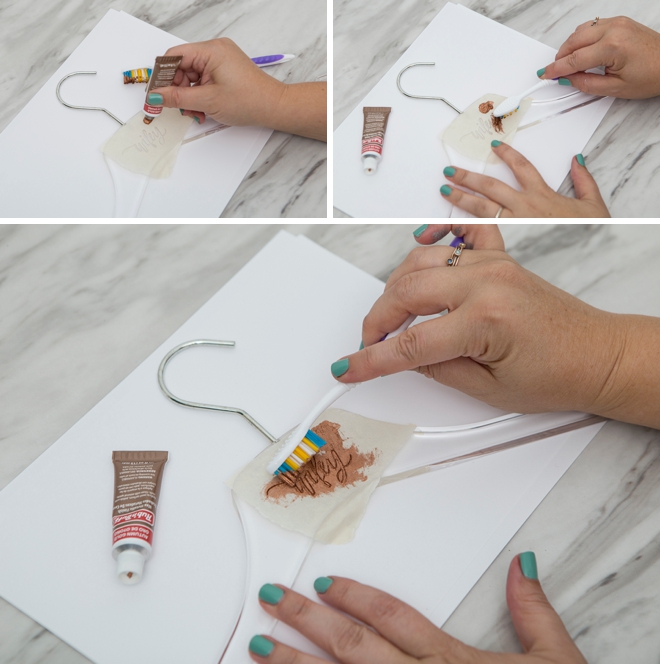
This is a popular way to fill acrylic engravings online and it’s ok for this project. I found it the hardest of all 3 to work with and it was easiest to apply with a dollar store tooth brush. Brush and push the rub into the engraving, be careful not to touch the rub to ANYTHING, it will stain and stay on almost everything. Let fully dry.
Weed + Ribbon
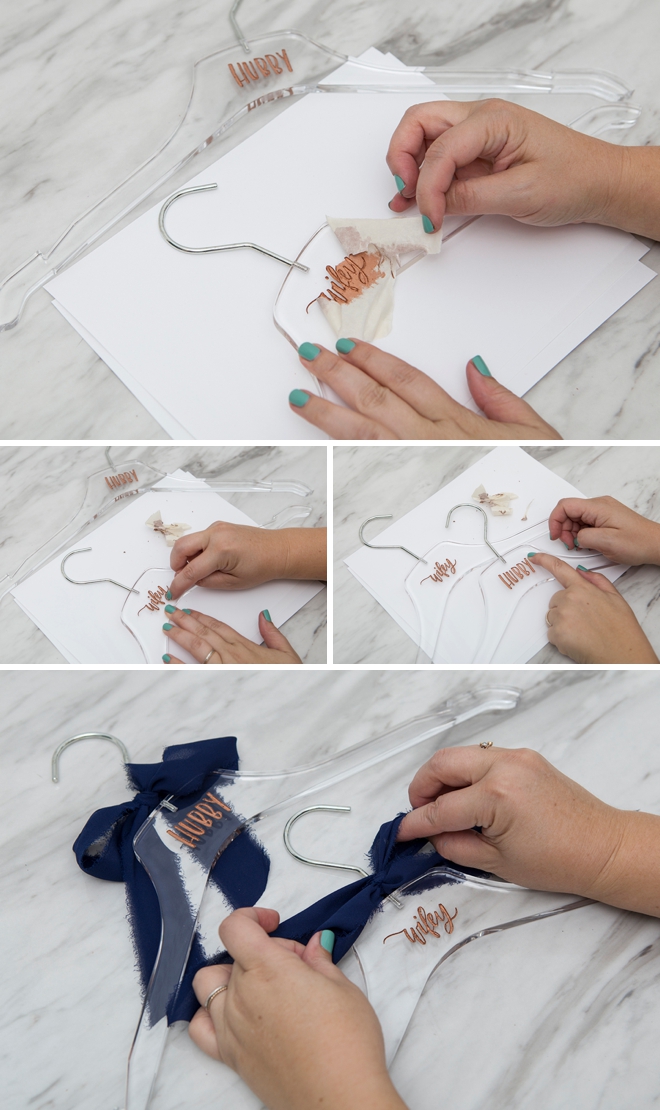
Next up, carefully peel off the masking tape to reveal your design and clean it up if needed. Add a pretty bow and your hangers are ready for display!
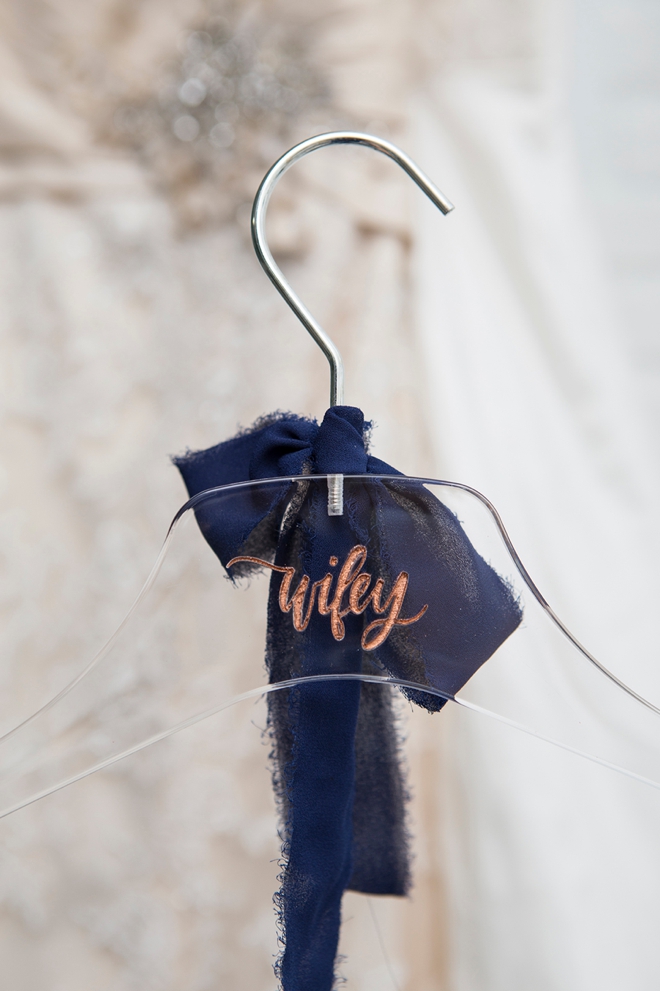
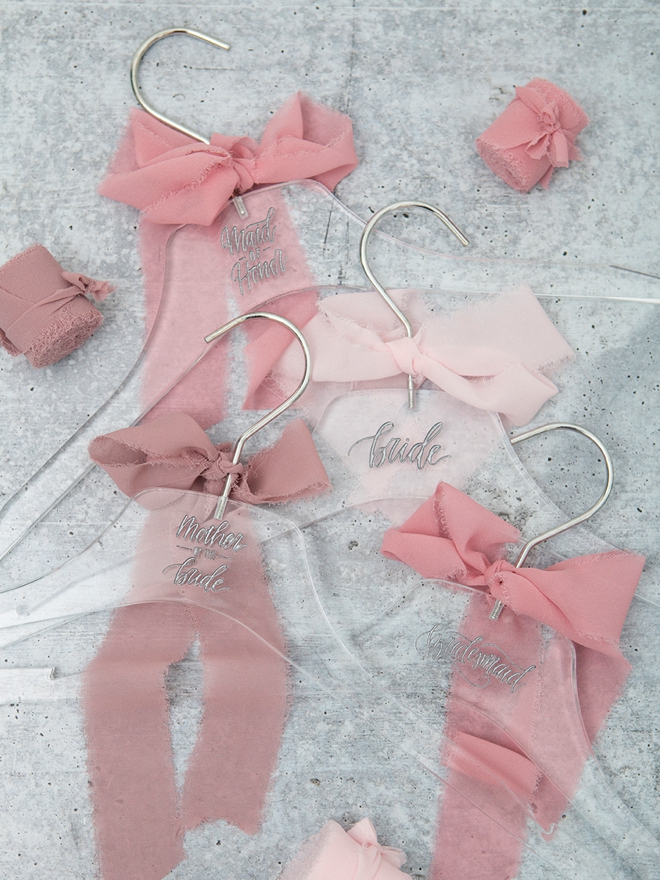
Any Engraving Will Do
These beautiful acrylic hangers obviously have a wedding theme to them, but you could make them for any reason! A special birthday outfit, a special item of clothing, or maybe for your outfits for each day of the week… the technique remains the same.
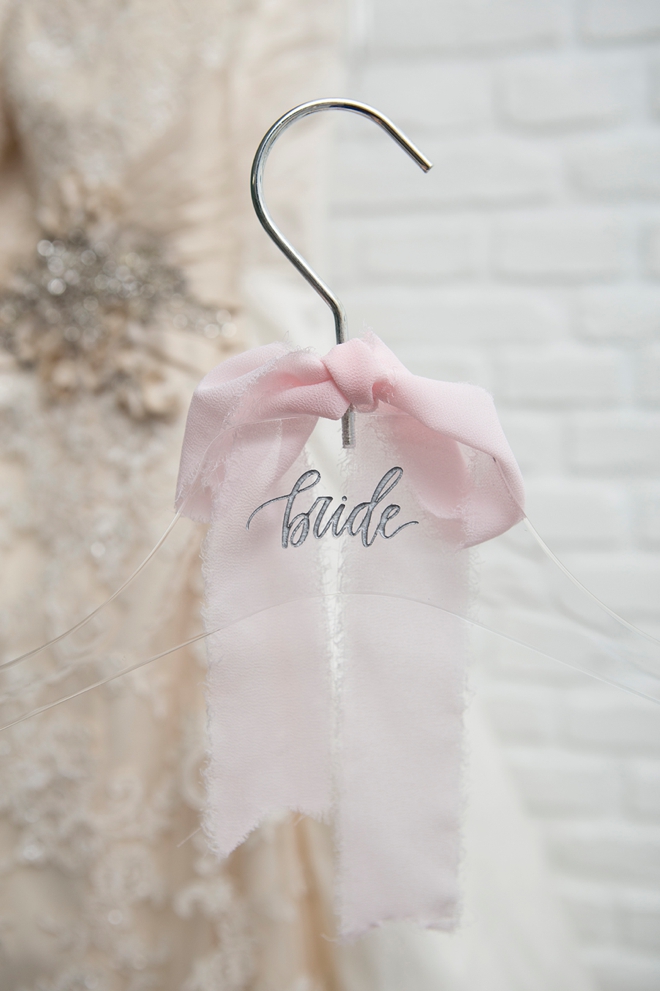
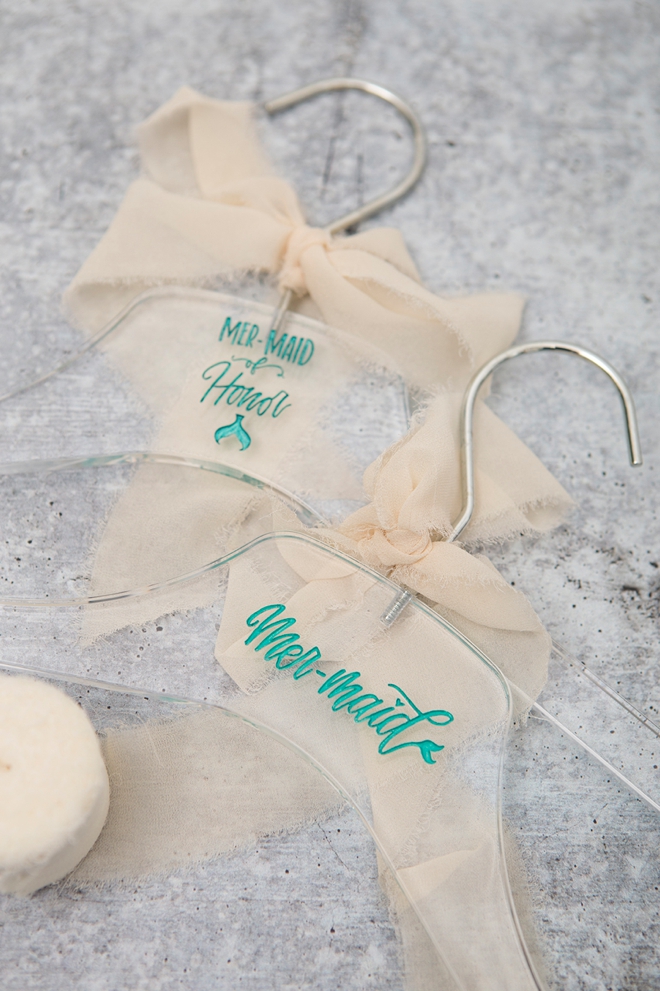
If you create one of our projects, please share a picture with us on Instagram or Twitter using the hashtag #somethingturquoisediy, we regularly reshare our favorites! Your profile will need to be public for us to see it otherwise, you can always DM us!
DIY Tutorial Credits
Photography + DIY Tutorial: Jen Causey of Something Turquoise // Save up to $500 on your Glowforge purchase here: Glowforge.com // Acrylic Hangers: Amazon // Martha Stewart Craft Paint: Amazon // Rub n’ Buff: Amazon // Large Masking Roll: Amazon // Gorgeous silk-like Chiffon Ribbon: Amazon // Sharpie Paint Pens: Amazon
Shop The Supplies:
Find the supplies you’ll need for this project from our affiliate links below:






Comments